
Pocster
-
Posts
14055 -
Joined
-
Last visited
-
Days Won
29
Everything posted by Pocster
-
I've just changed to octopus. Can't see how I change the DD online - can't see the option on their website once I've logged in.
-
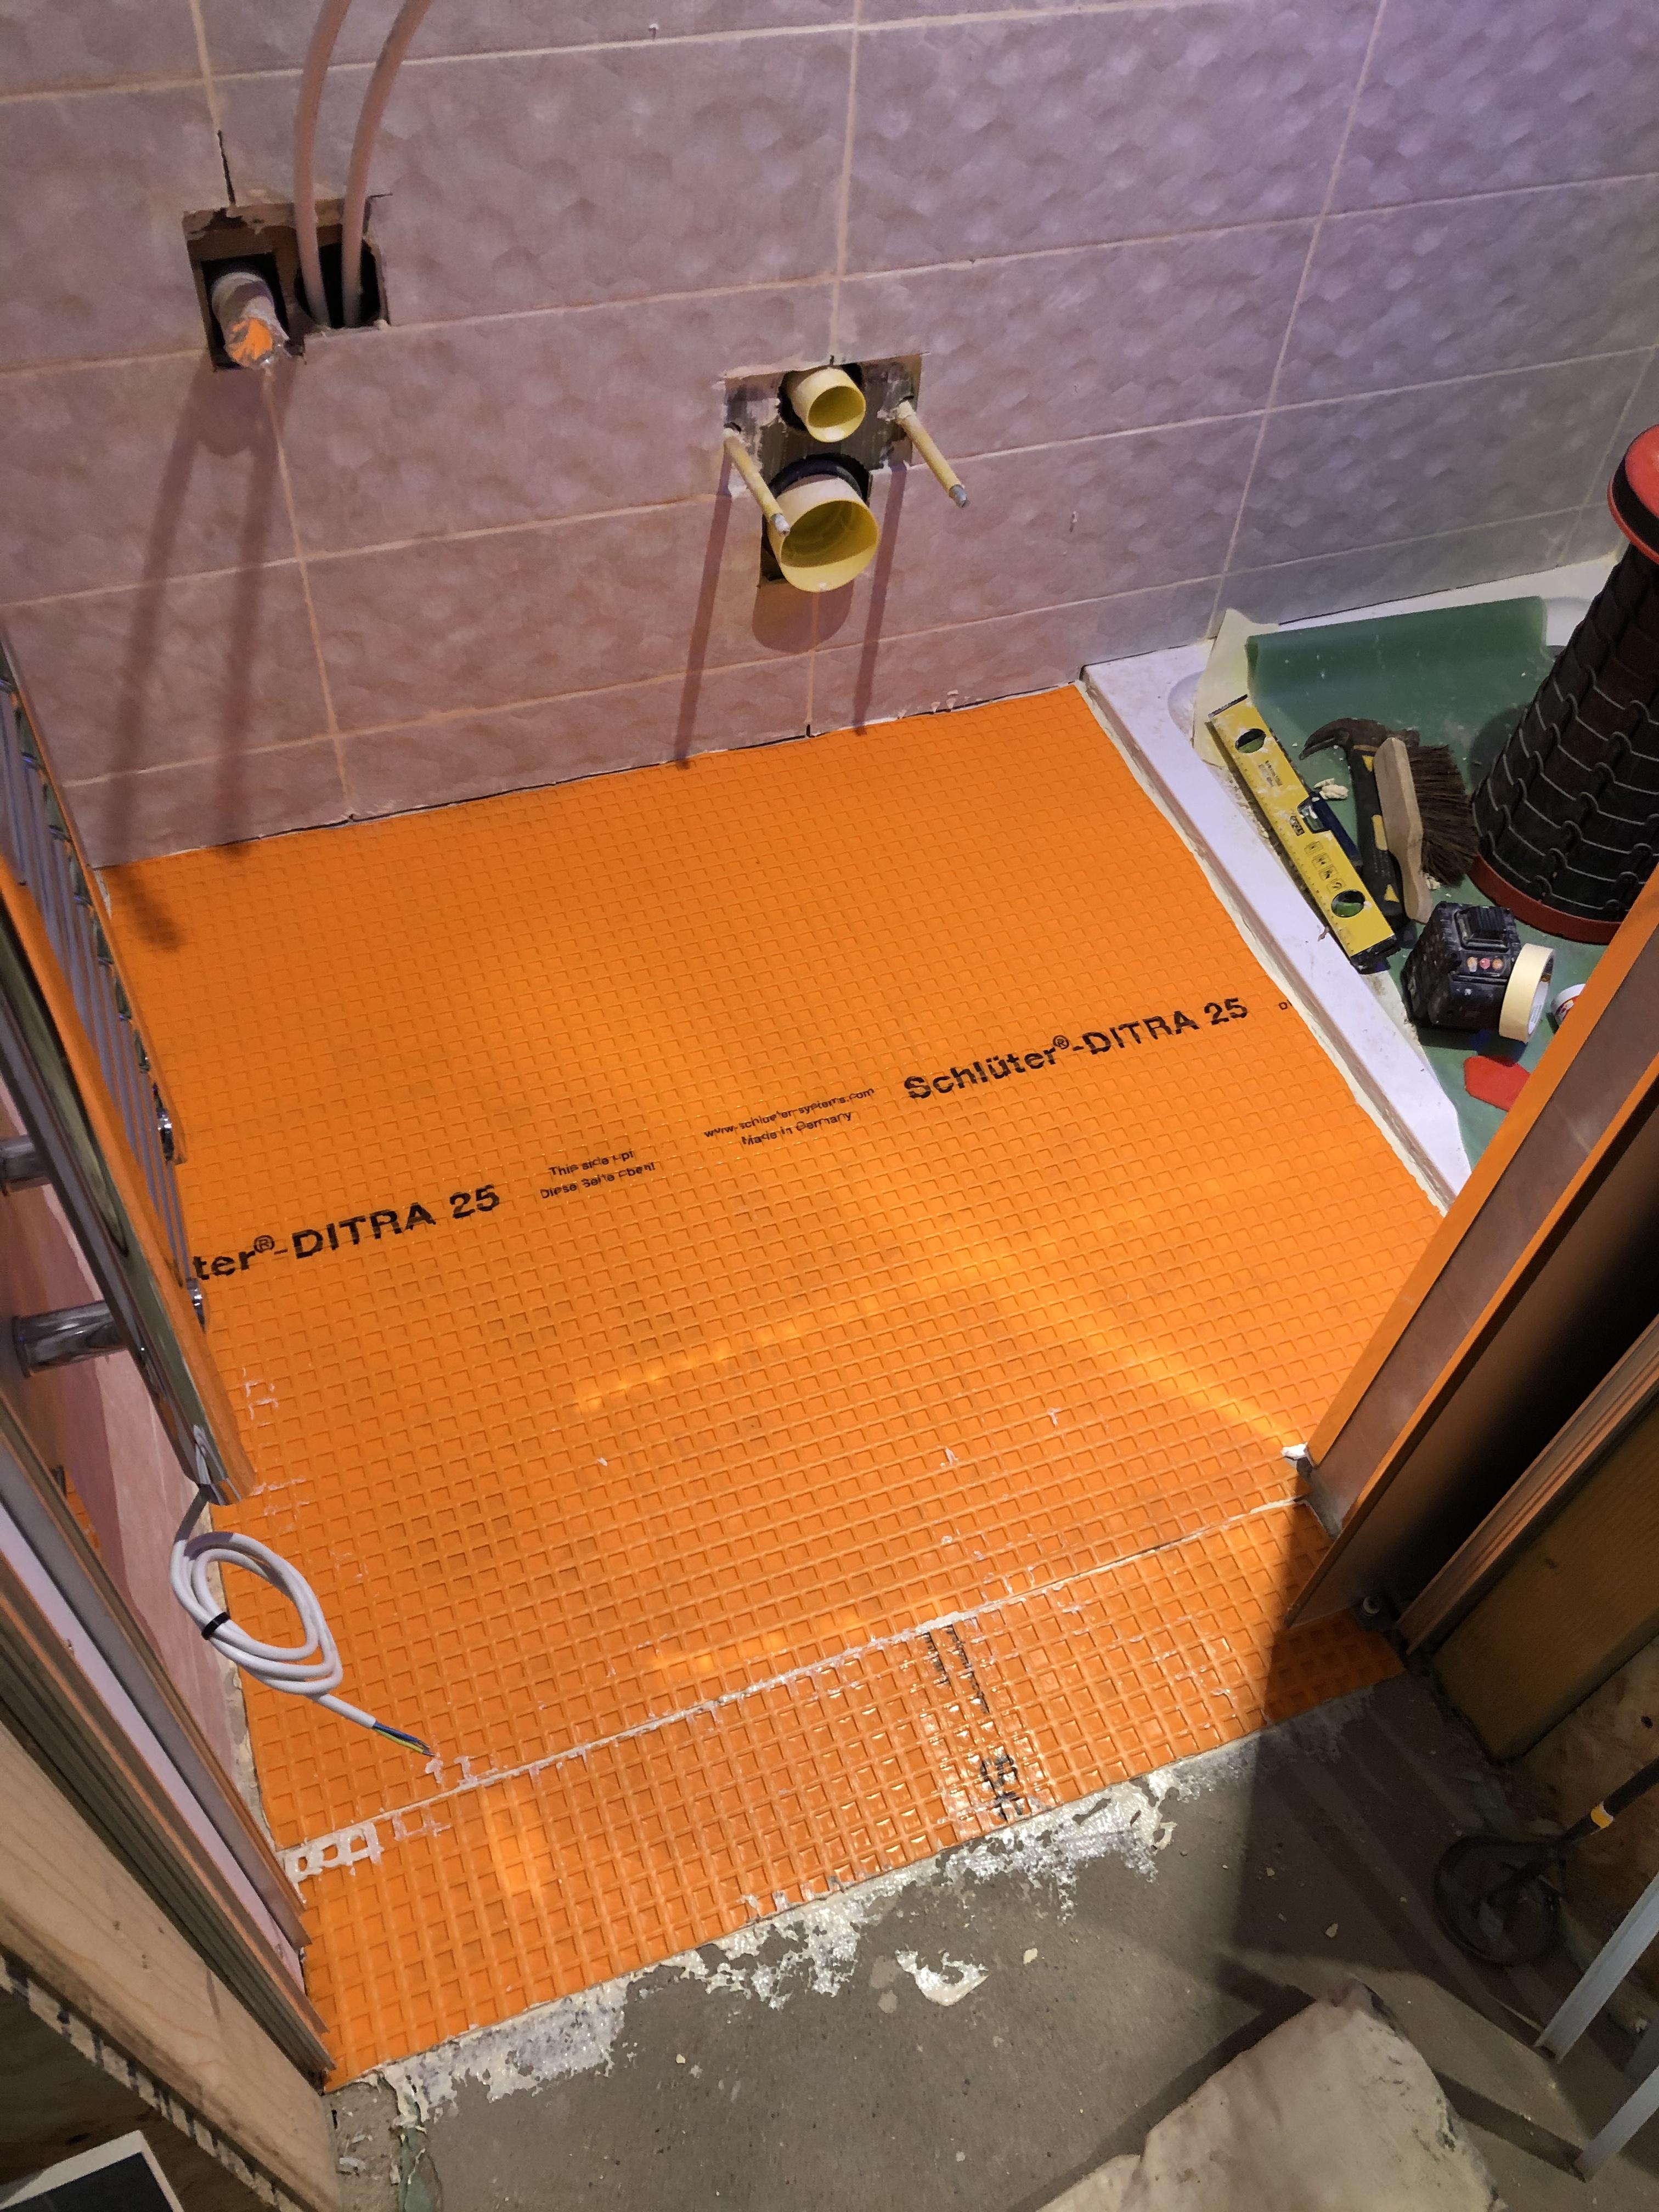
En-suite decoupling Matt down

-
? ? ?
-
Mac or iPhone ?
-
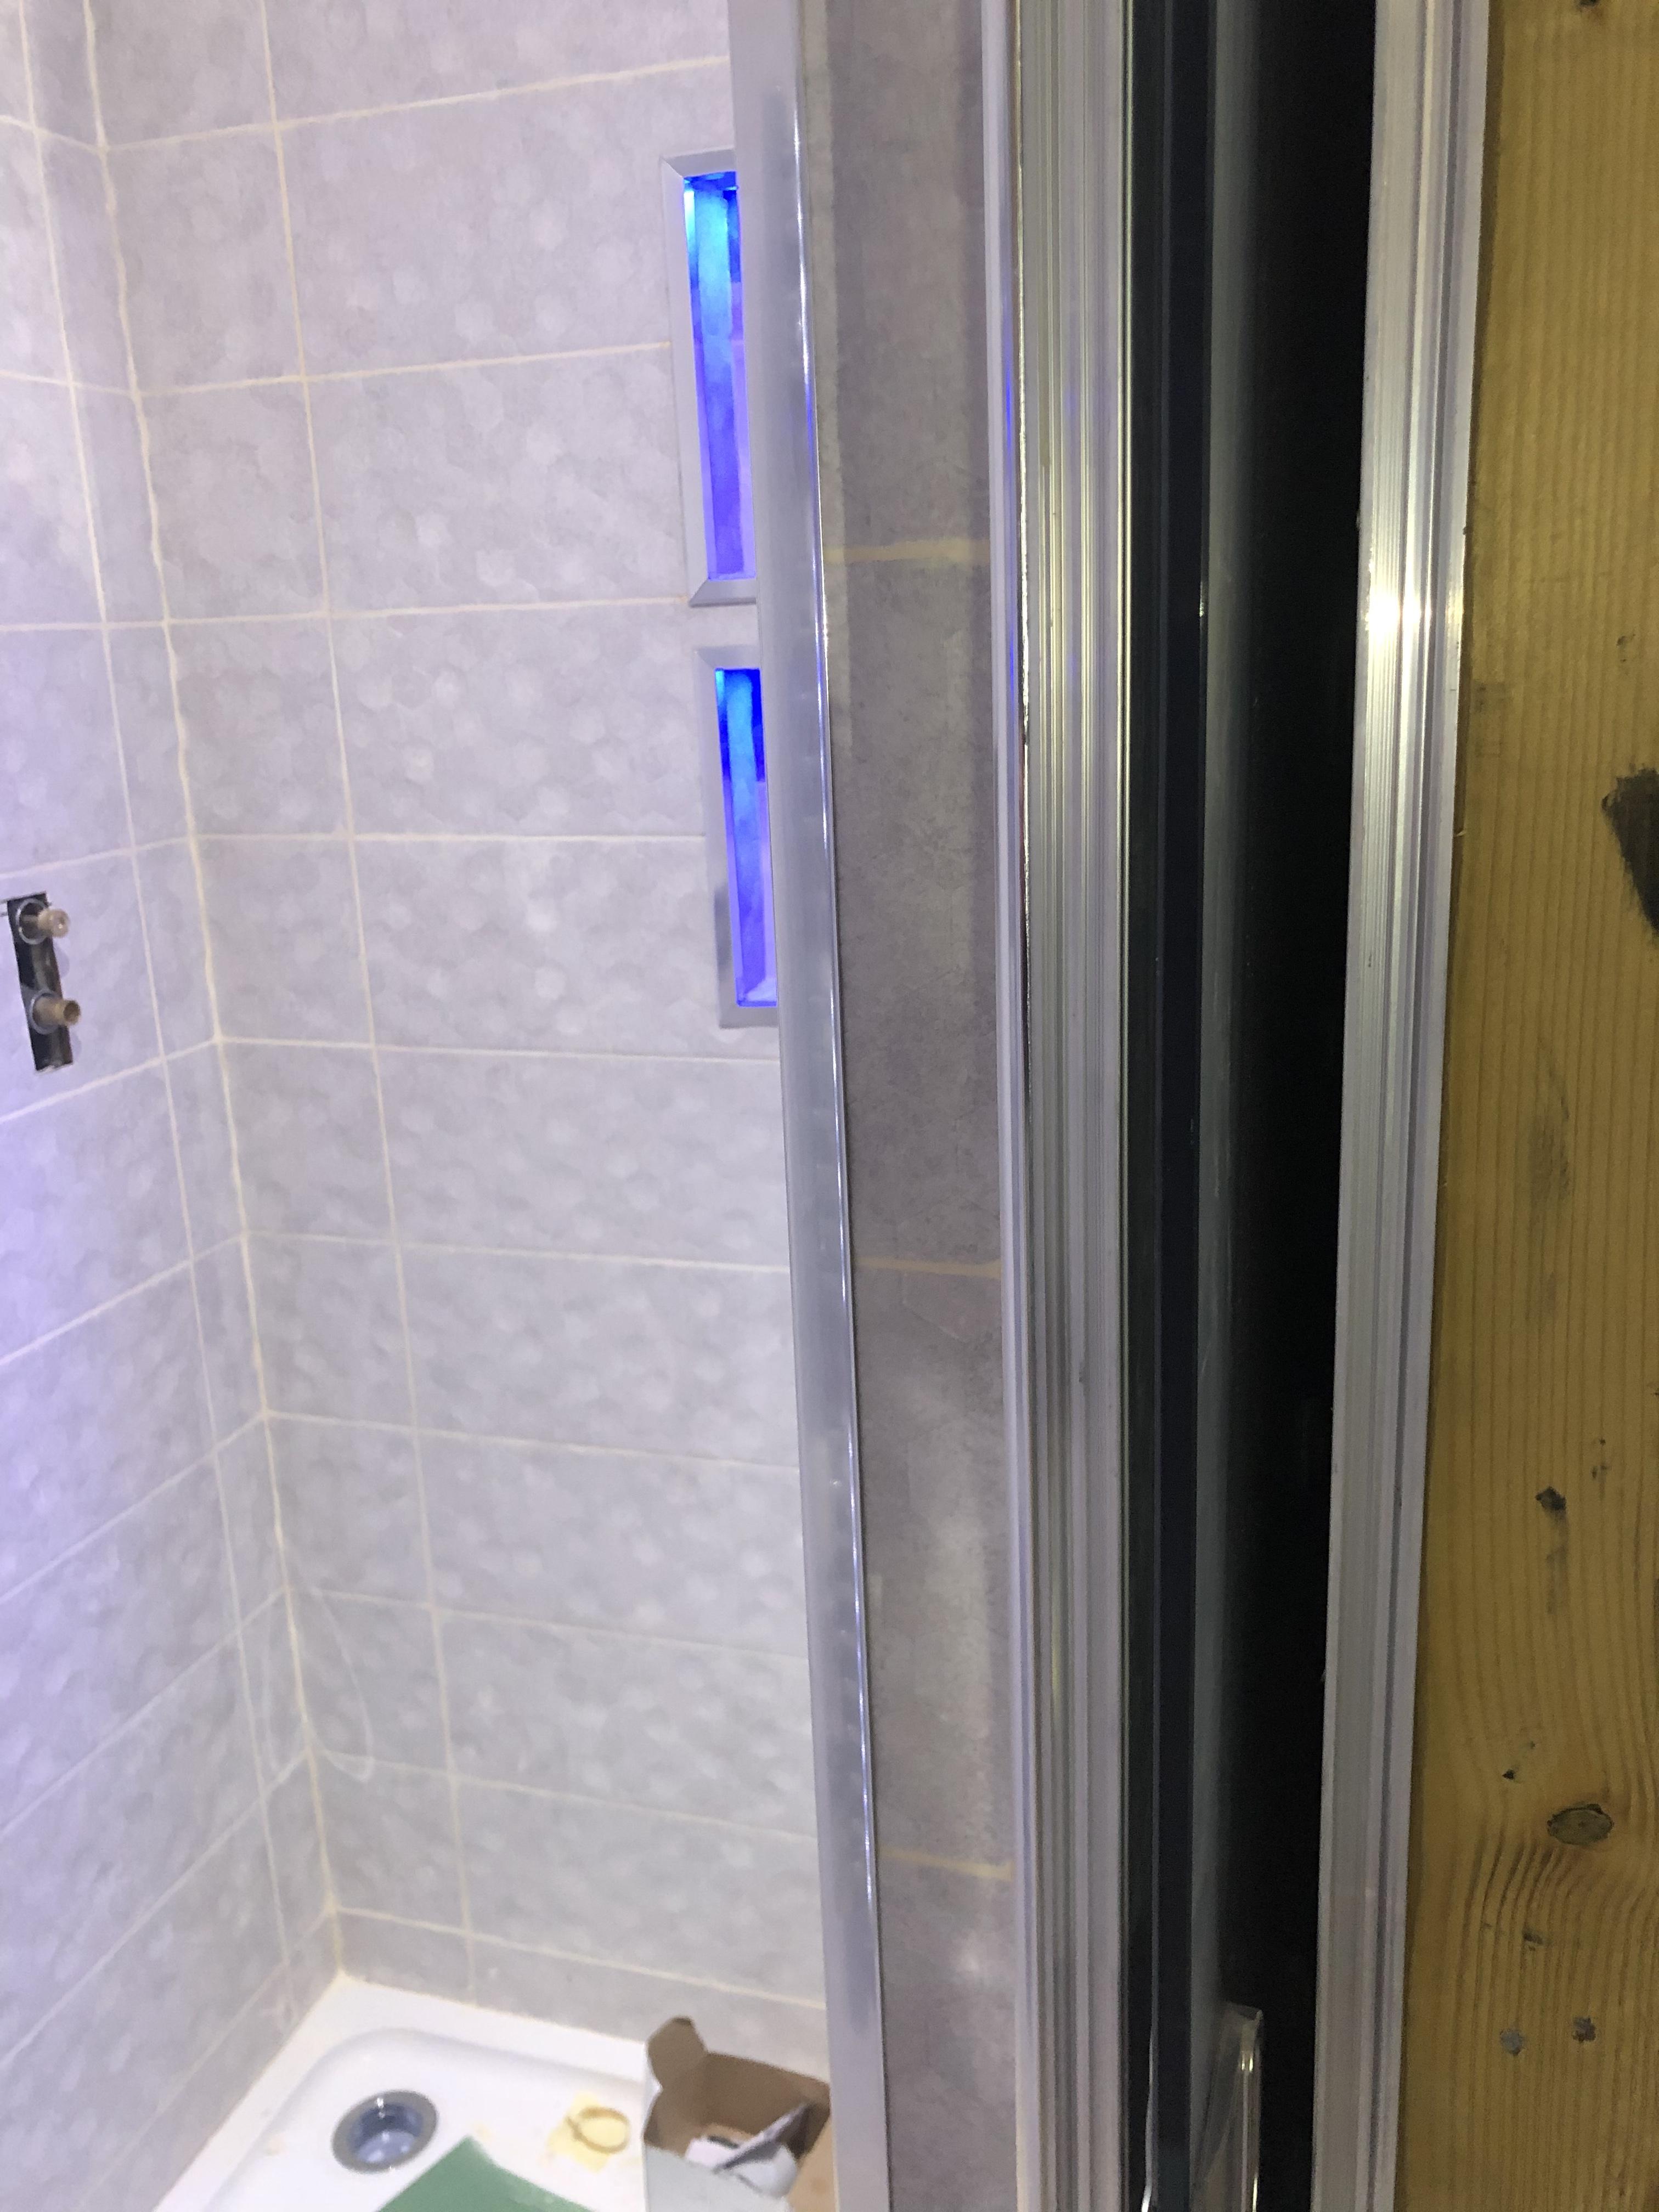
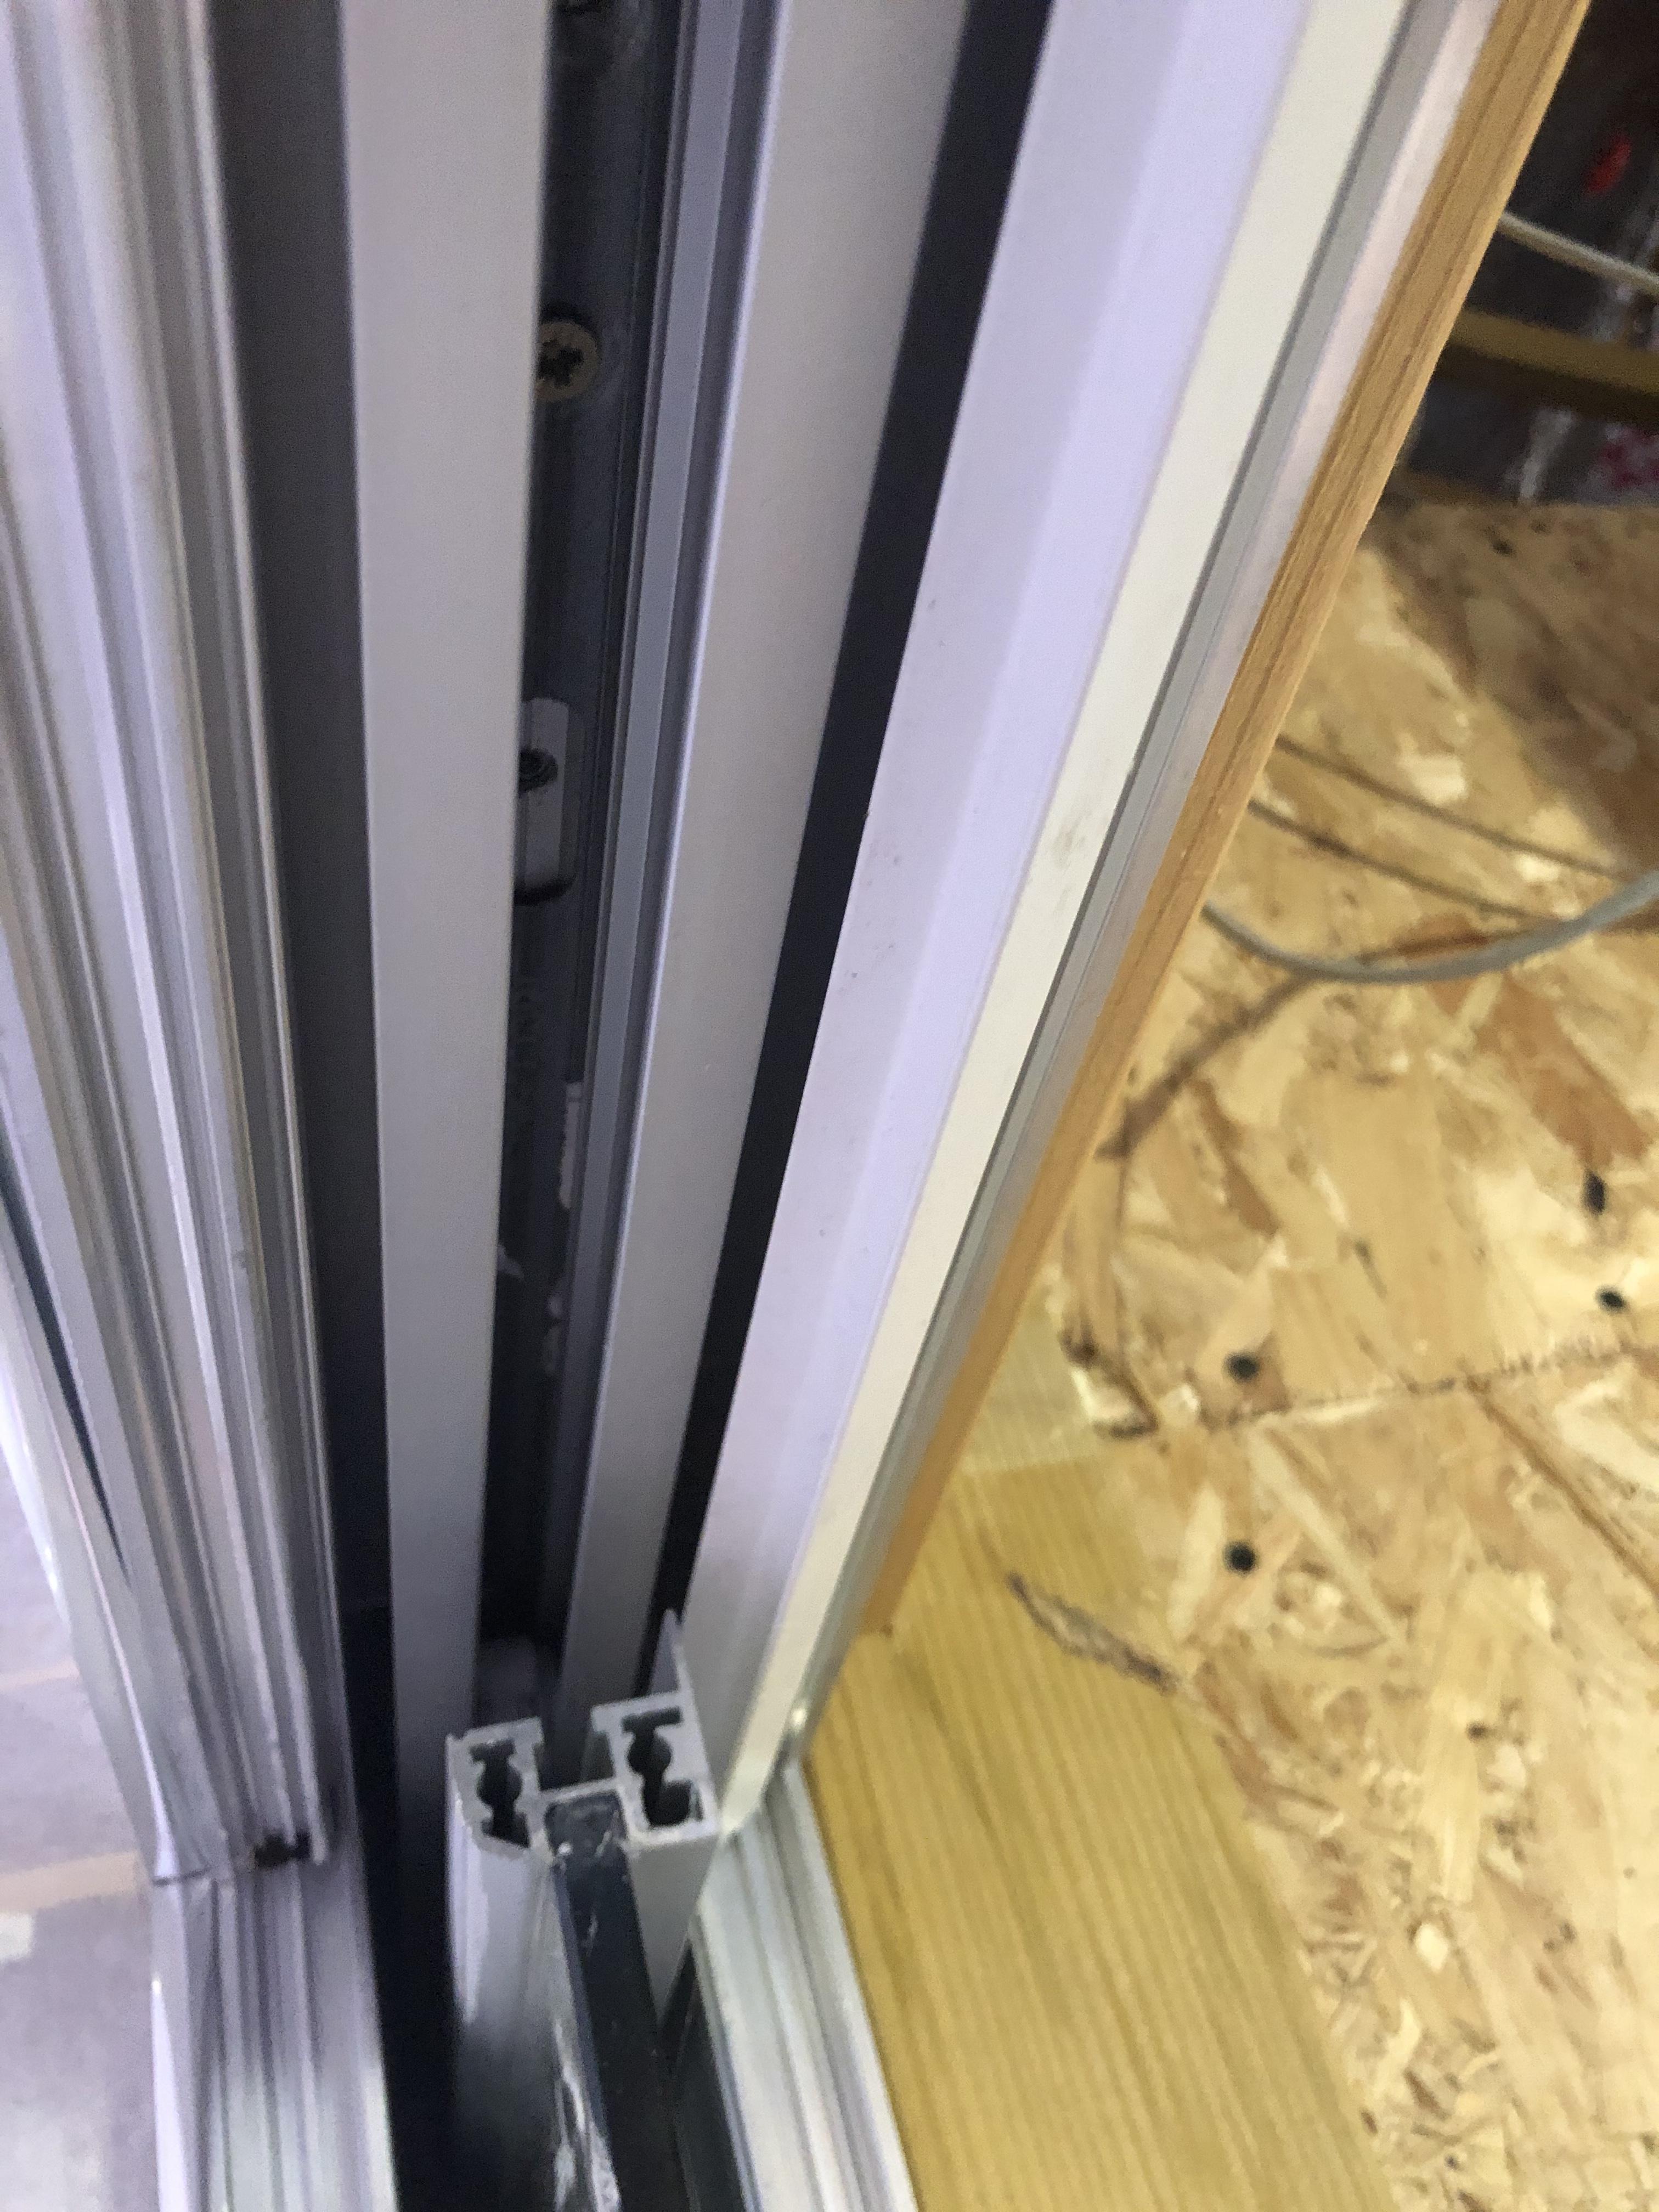
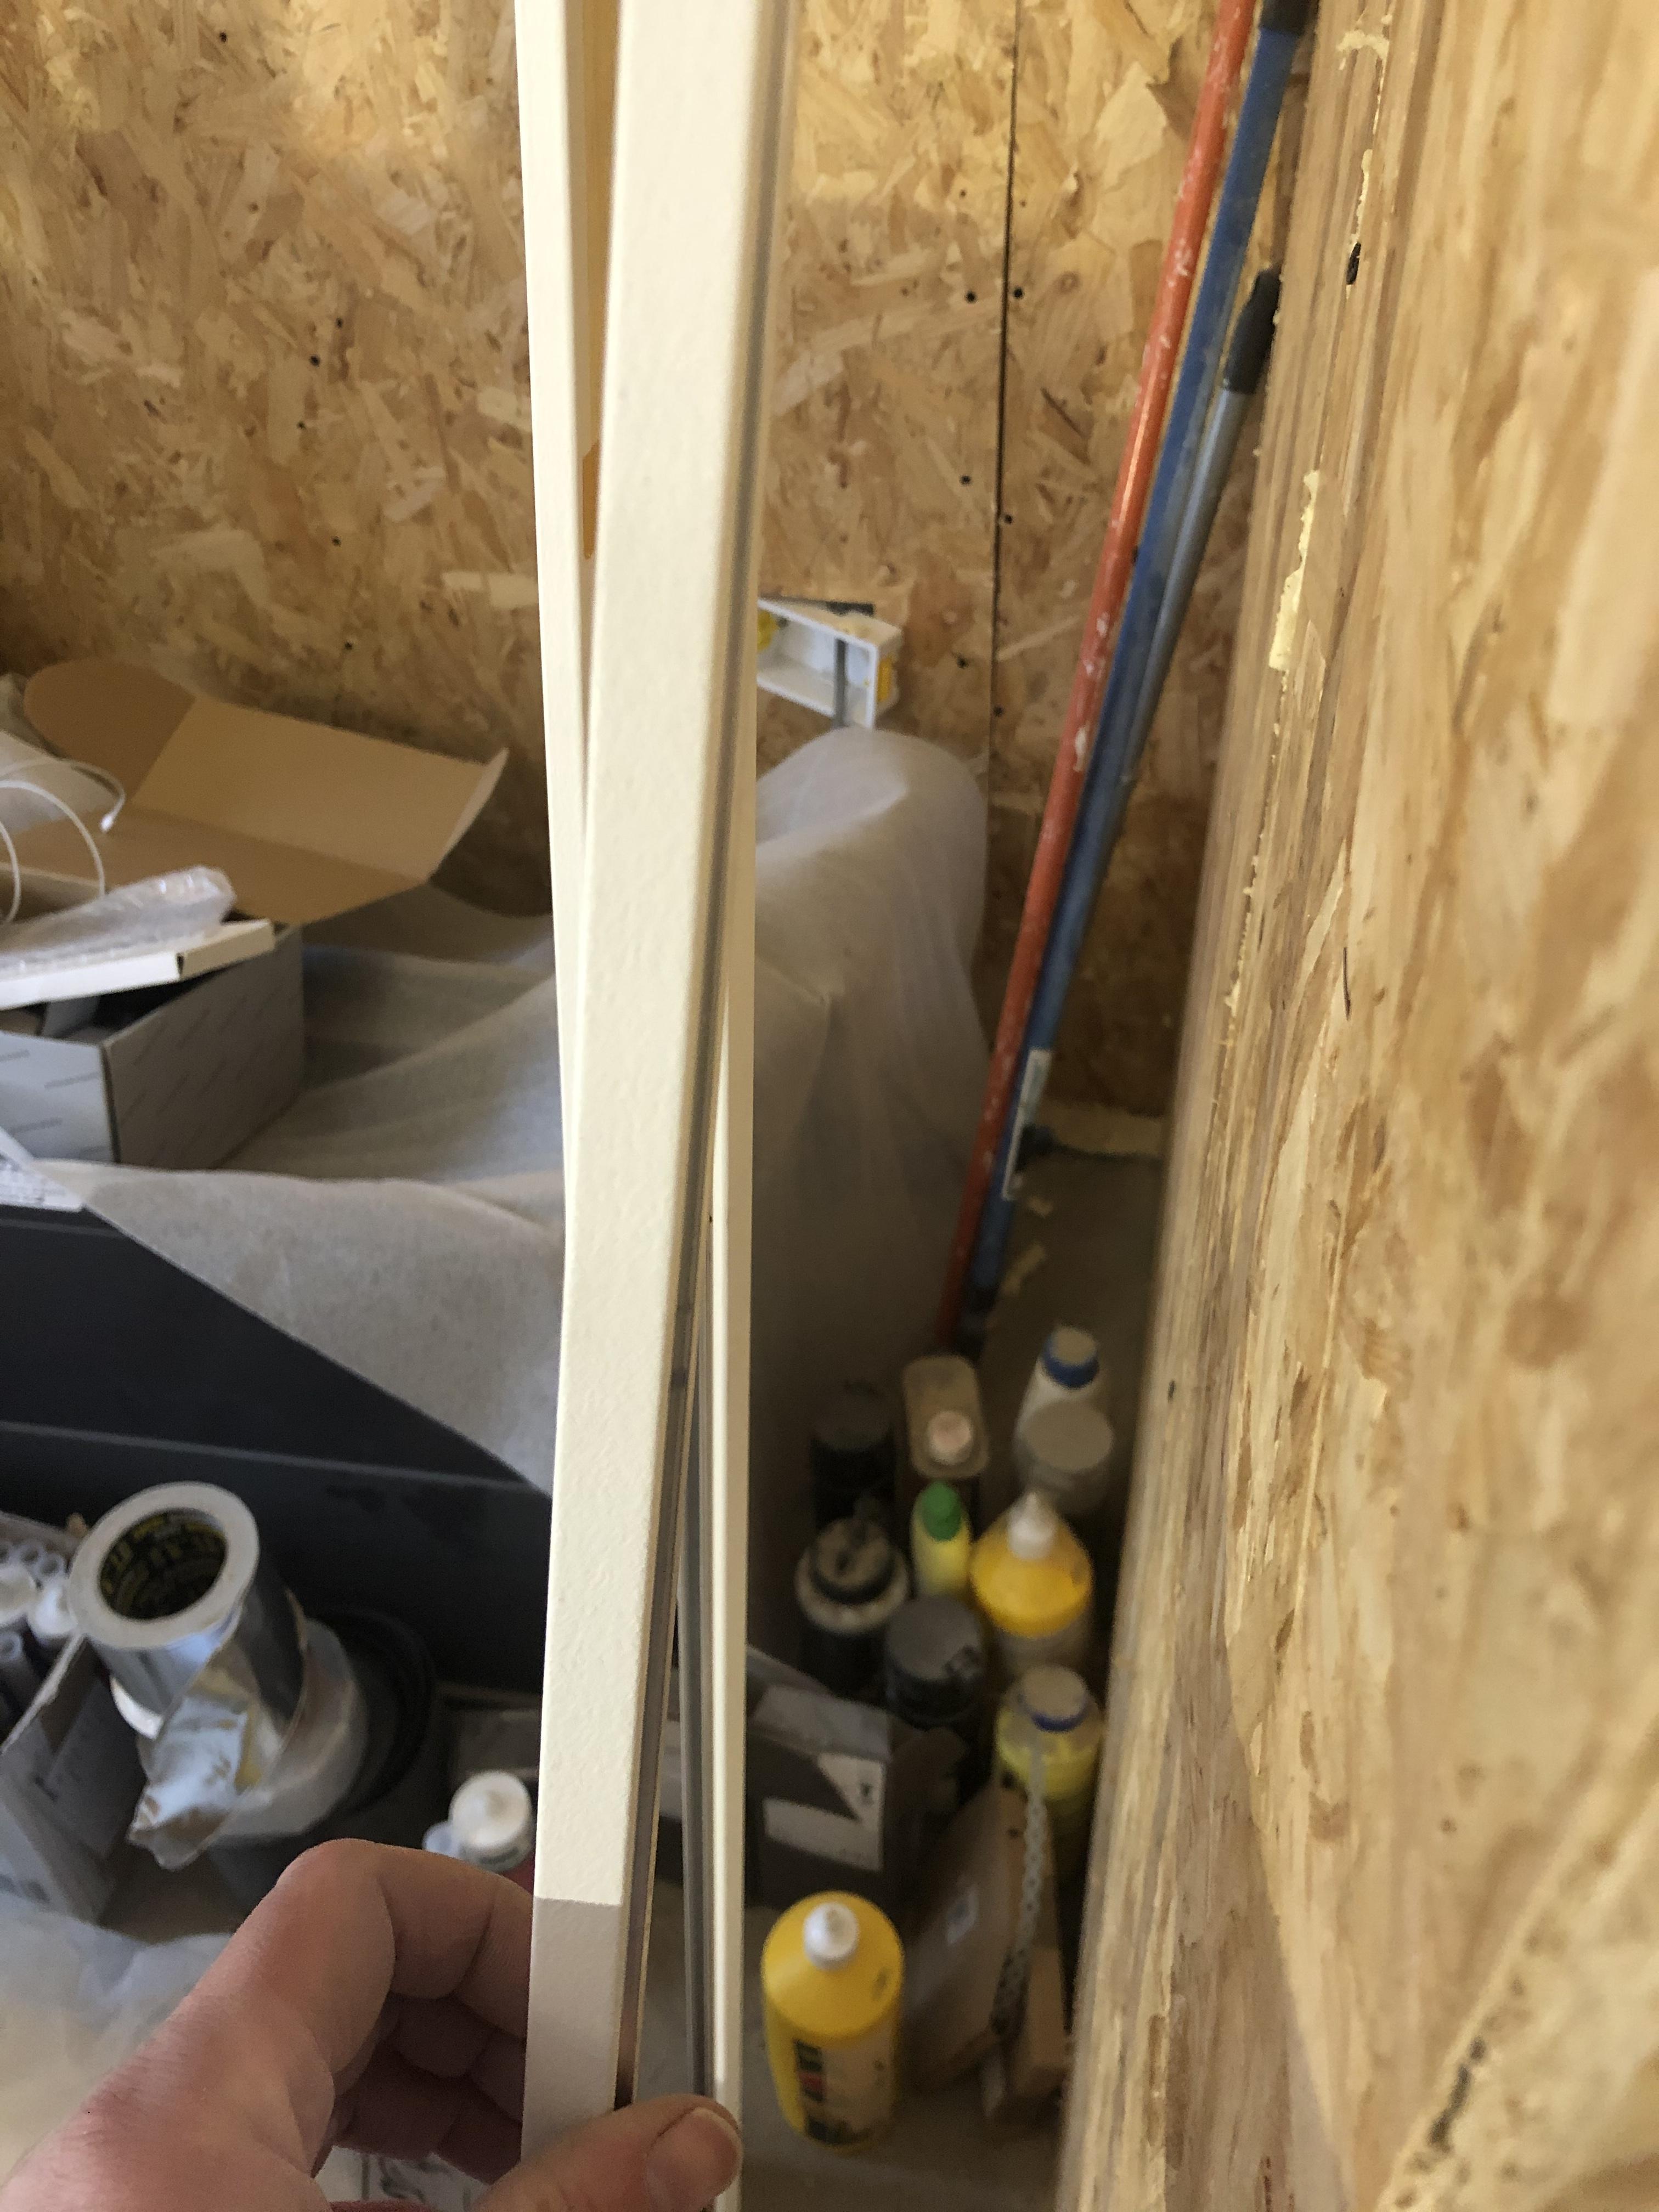
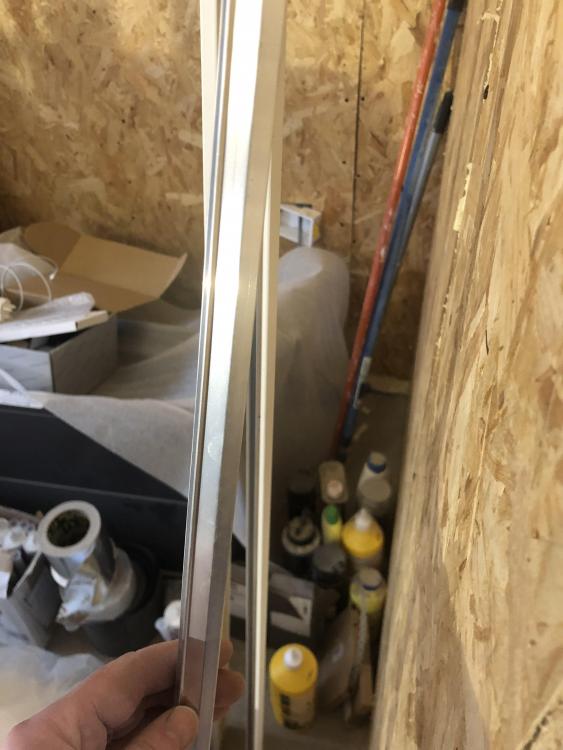
Got a patronising response from Eclisse from the guy I obviously p*ssed off - and I remember him. "To bridge the gap between the door and the aluminium frame you would have been sent a long white cardboard tube with Eclisse printed all over it that contains the Vitro kit,you will have timber infill pieces which you need to glue into place to reduce the gap " There's only 1 wooden piece which is for the door stop end. I *presume* he is referring to the strips ( which are metal ) in my 3rd photo - but who knows..... Tempted to reply how I'm thinking but couldn't be bothered. What I might do is plaster board over the frame upto the door but a mm short. Then ct1 nice metal bead around it.
-
Hey ! That sounds great ! It’s completely unclear how / what brushes fit ! . Have you got a few photos of them ? . Much appreciated !! ?
-
Yes - it's the most confusing thing to construct on the entire build! I have brushes but they sit inside those strips - I've emailed Eclisse but as we had a massive argument last time I don't expect them to be helpful. I'll look online for something I can use - there must be 'brushes' on strips specifically for this sort of thing.
-
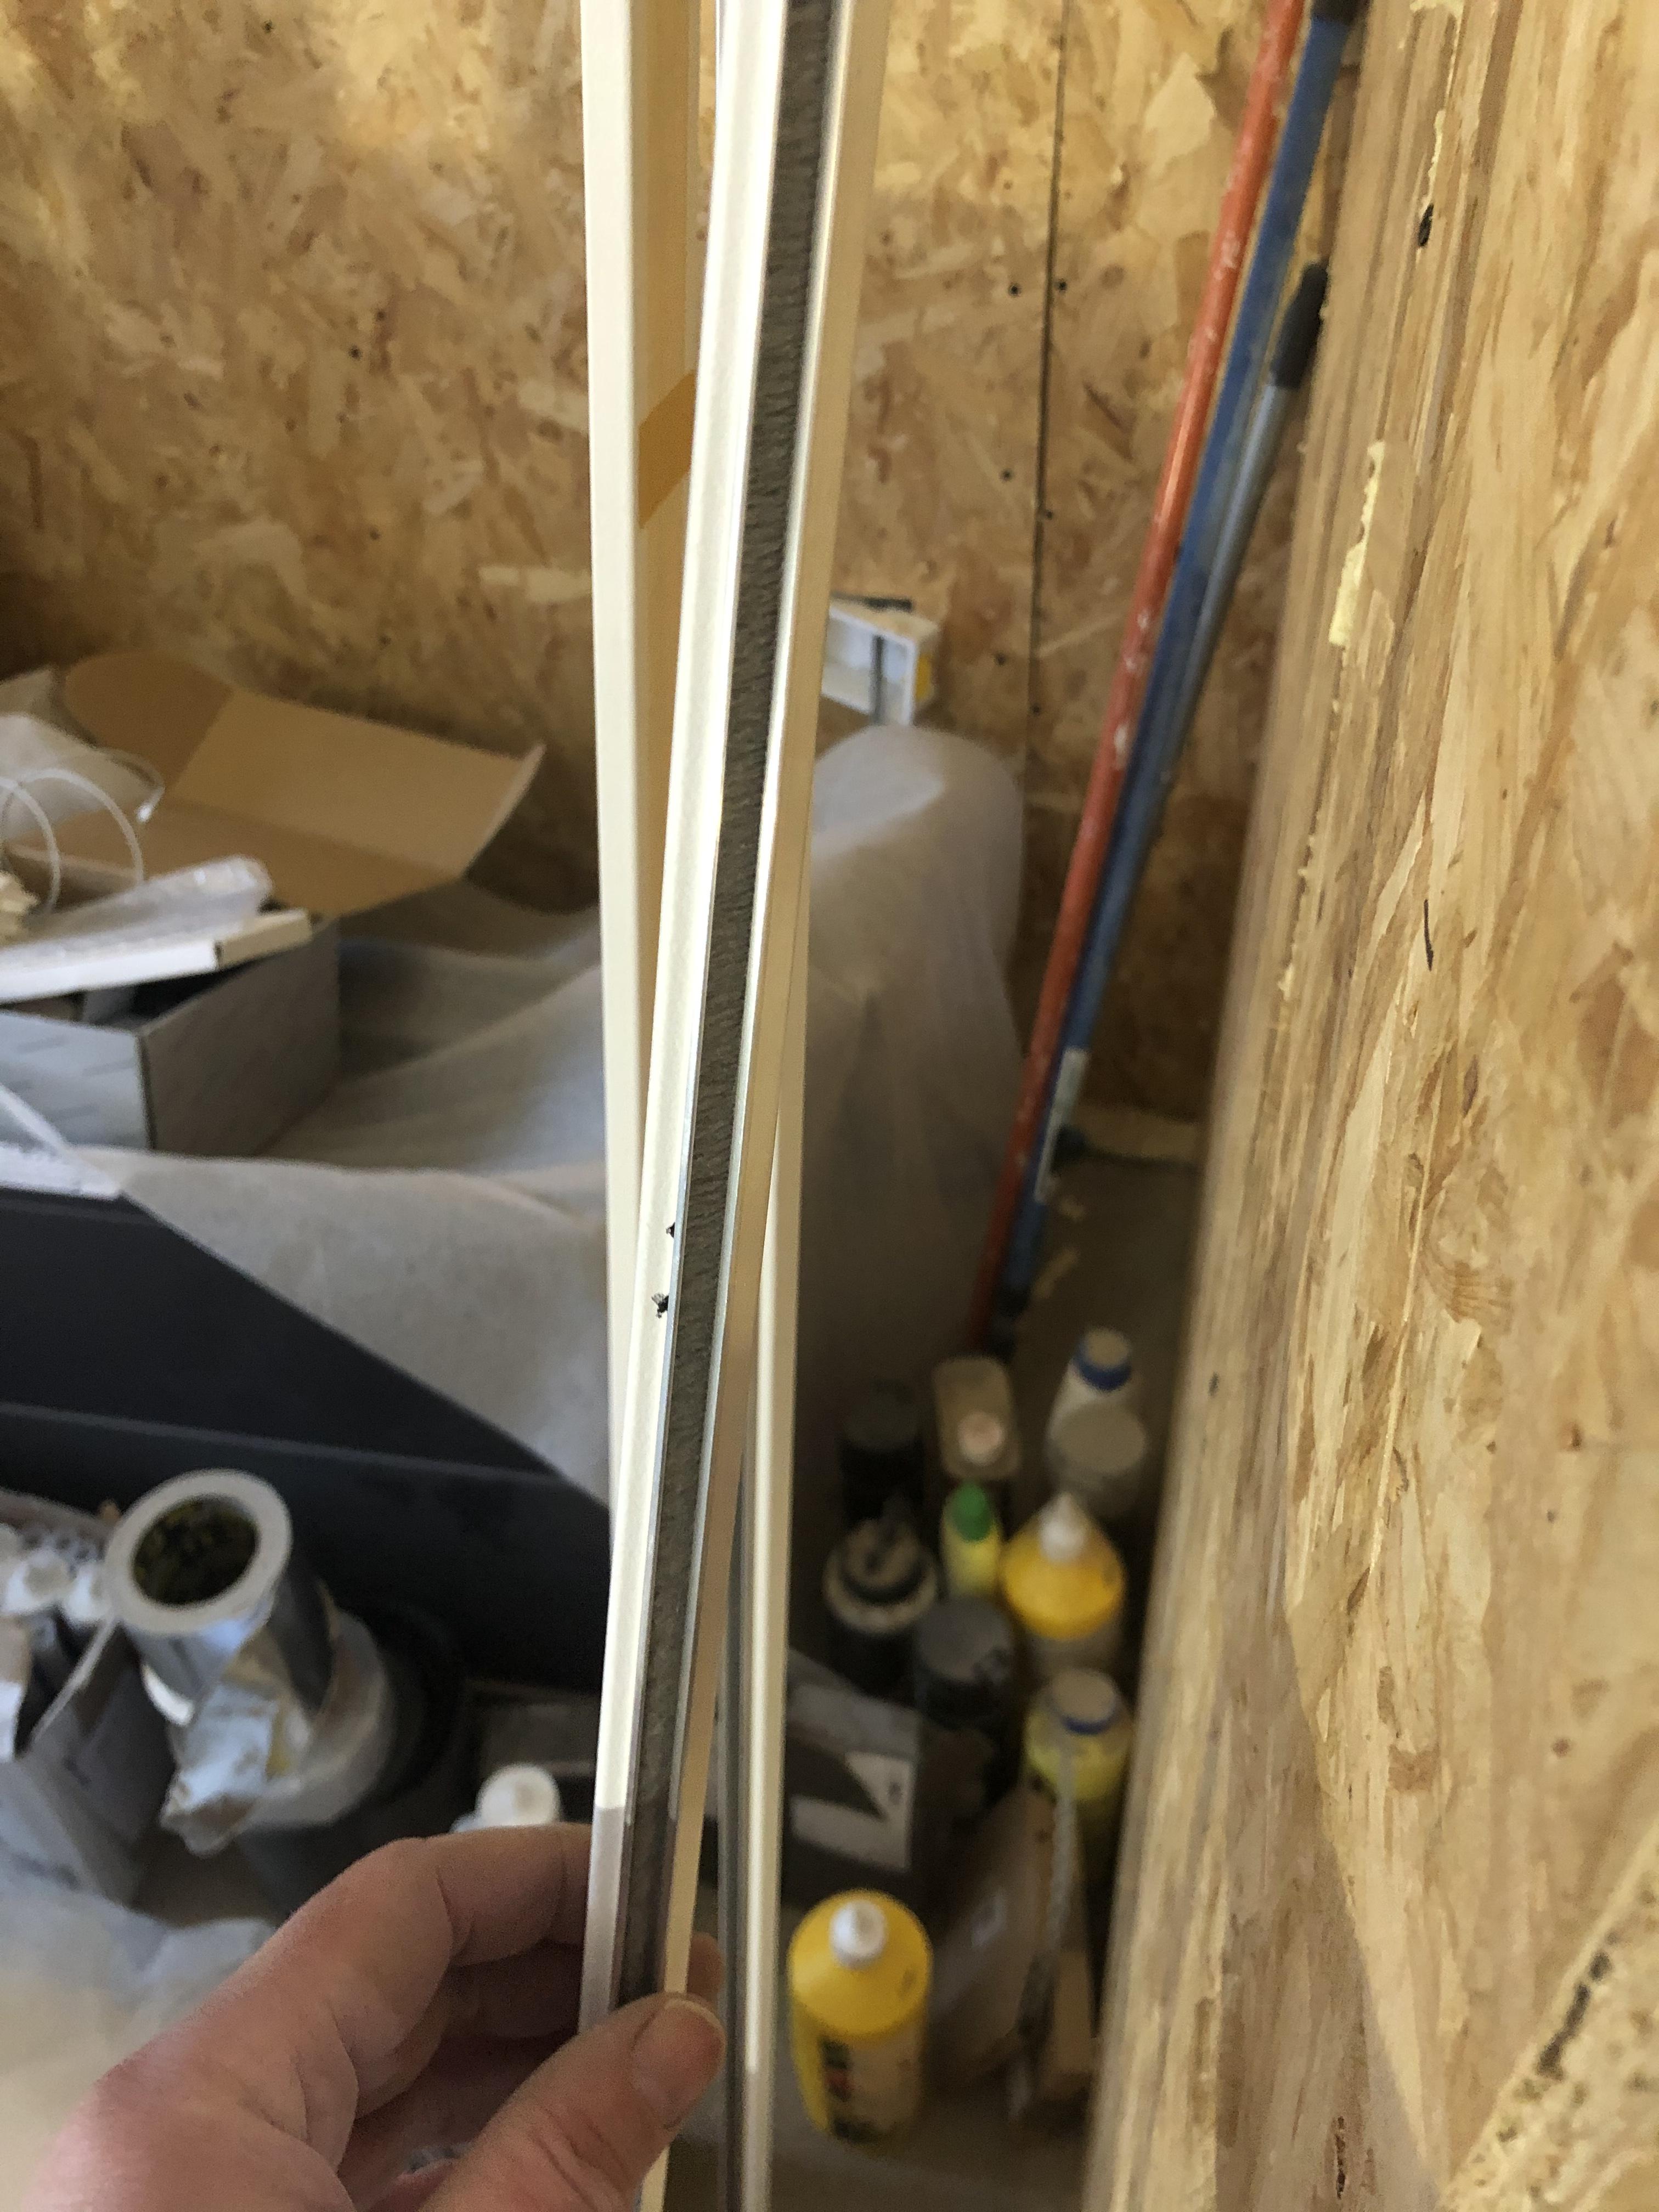
Yes - this again 7 sets of Instructions, numerous parts ( some clearly not relevant ) So ignoring instructions. Glass pocket door works fine but ‘assume’ there would be some rubber or strip down each side vertically ; cover up the gap and stop stuff going in the pocket . Here’s a variety of bits that I simply can’t make head nor tail of . Gussed the white strip goes across the top but can’t see what it’s function is . Final 3 photos shows strips with foam inserts . But can’t see how I use then ... ?


-
Some photos would be ace !!
-
Did the ensuite one . It was cheap and I can tell . Fixings are all crappy plastic . This one was definitely filled with an oil type product . Anyway , all done !
-
Everyday is a school day ! ?
-
Though this sounds interesting BS from the manufacturer ?
-
shit I shouldn't of drunk it!
-
Fitting was a faff but it’s on the wall with element in ( element insertion was easy ) . As I put the element in liquid came out as I displaced it . Assumed it would be oil or something but as far as I can tell just plain water .
-
Cornish simplicity
-
I went for z wave . Currently running surveillance station off a nas but might change to blu iris mvhr should be self activating but I might link the boost to an event ASHP again fairly self sufficient Will control the ufh off z wave relays Raspberry pi with max2play I.e squeezebox with a stereo single speaker in each room . Works great I’m less concerned on this . So freeview , kodi , cat5 to each tv - so options open I believe you can get an auto blind opener that sits on the track - I might look into that .
-
Shhhh @Onoff hasn’t told SWMBO he can do that ...
-
Just bought 250 mixed size grub screws off ebay for 8 quid . Best thing is they come in a box with a lid ! ?
-
What’s annoying is I bought grub screws off ebay incase I lost any . But now I can’t find the eBay grub screws ! Ffs !!! THEY are too small !!
-
Not fully on . Lost 1 of the microscopic grub screws !!! ?
-
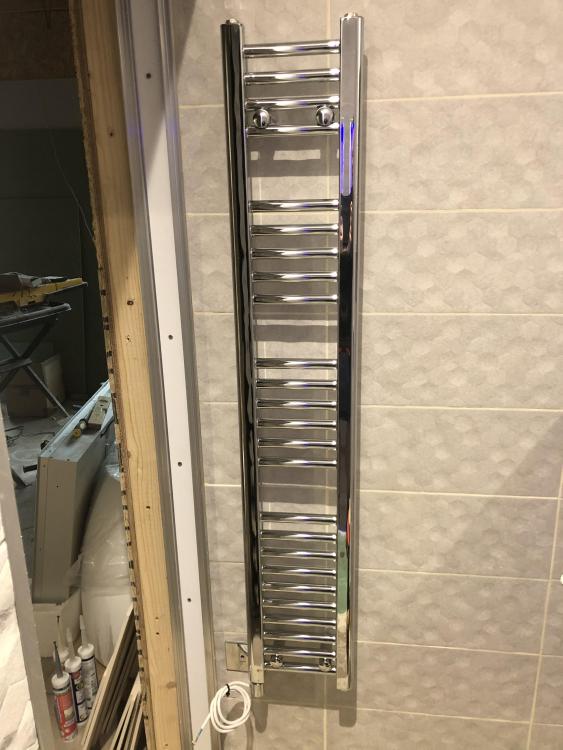
I grew a pair and went for it ?? First 2 fittings up .
-
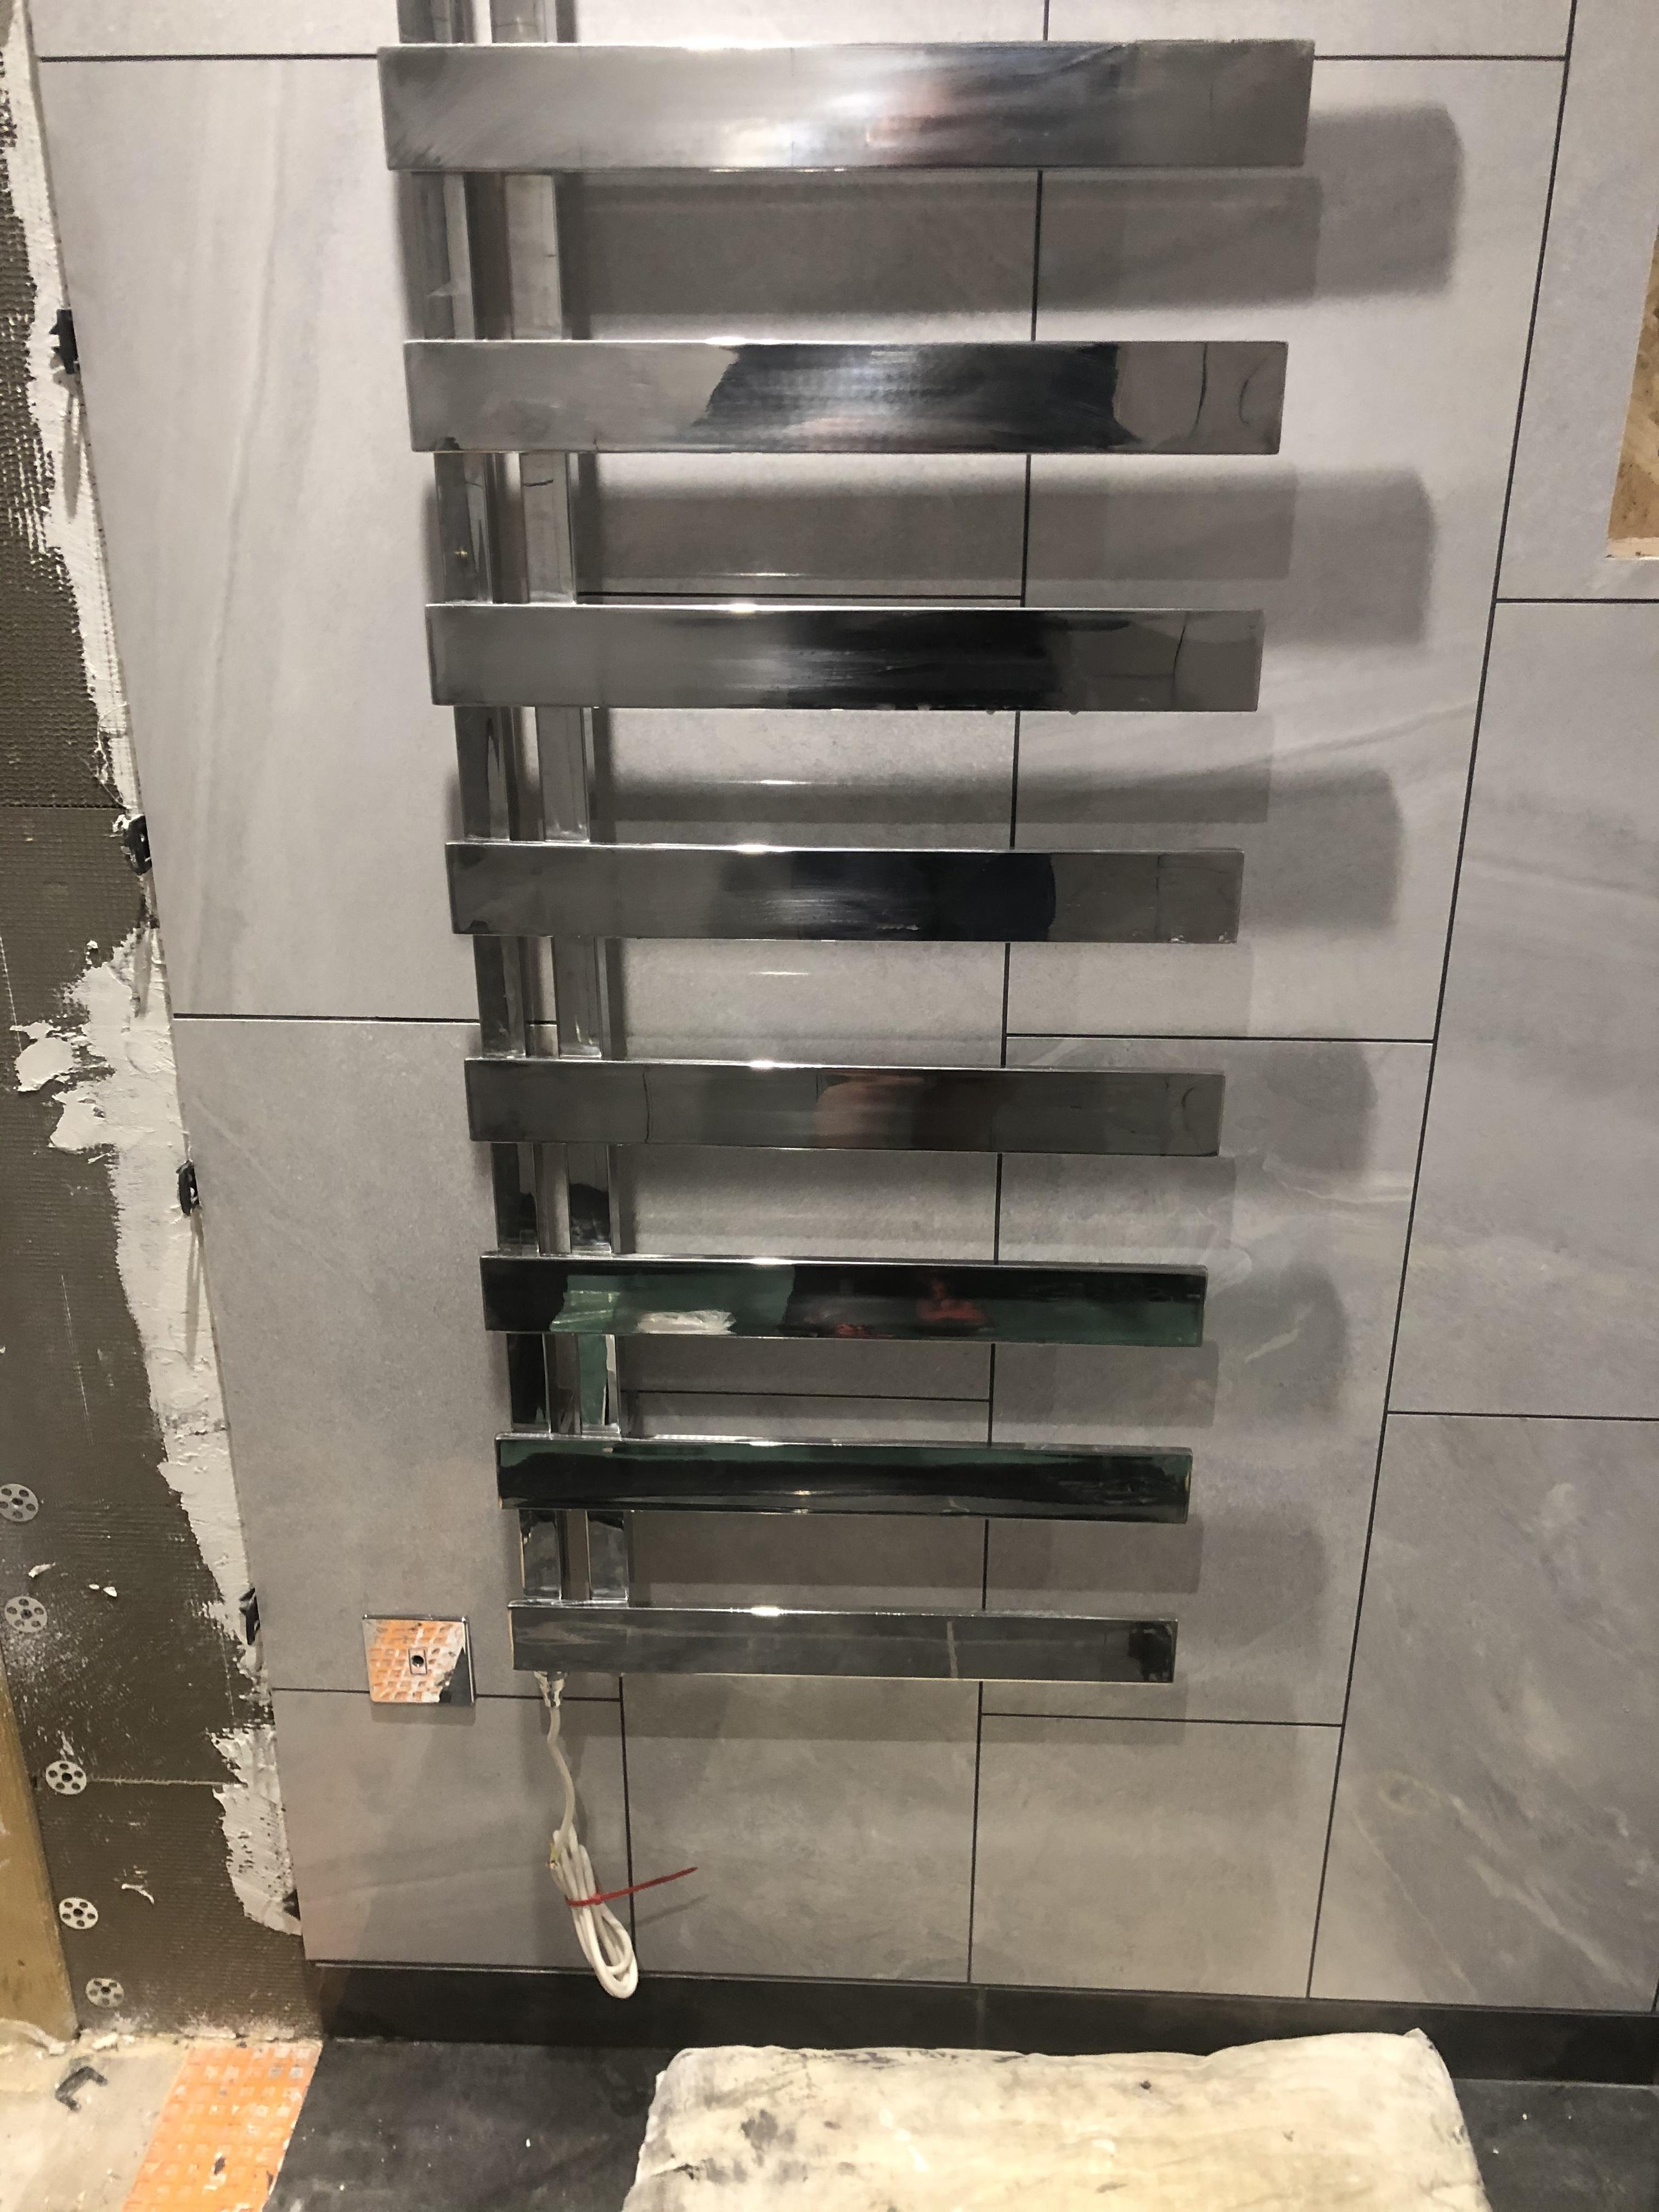
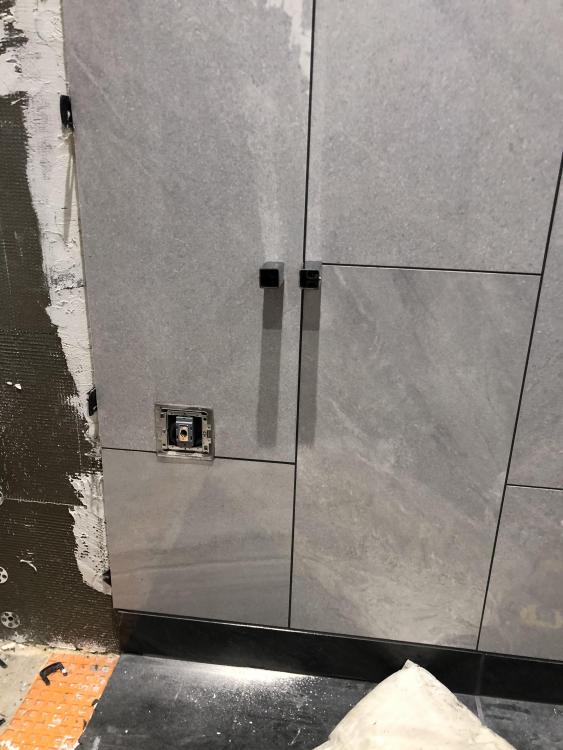
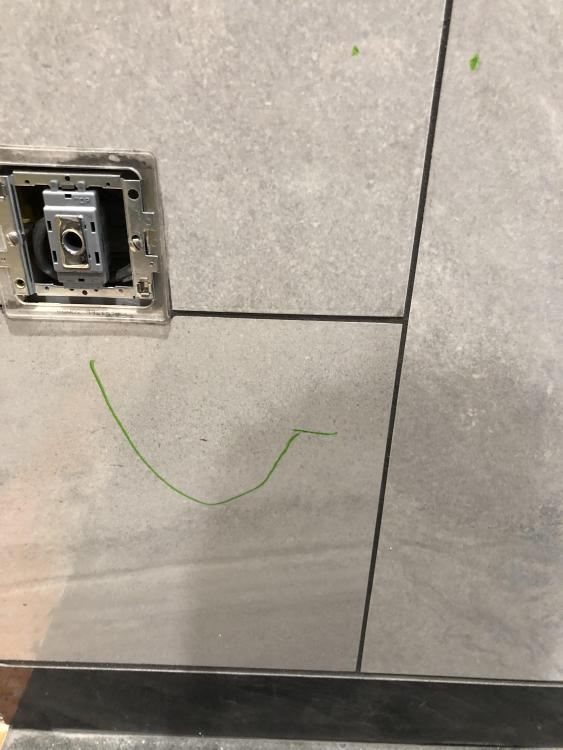
The rads approx 120cm by 50cm . Guess I’m wondering how high ( or low ) up the wall should it be ???
-
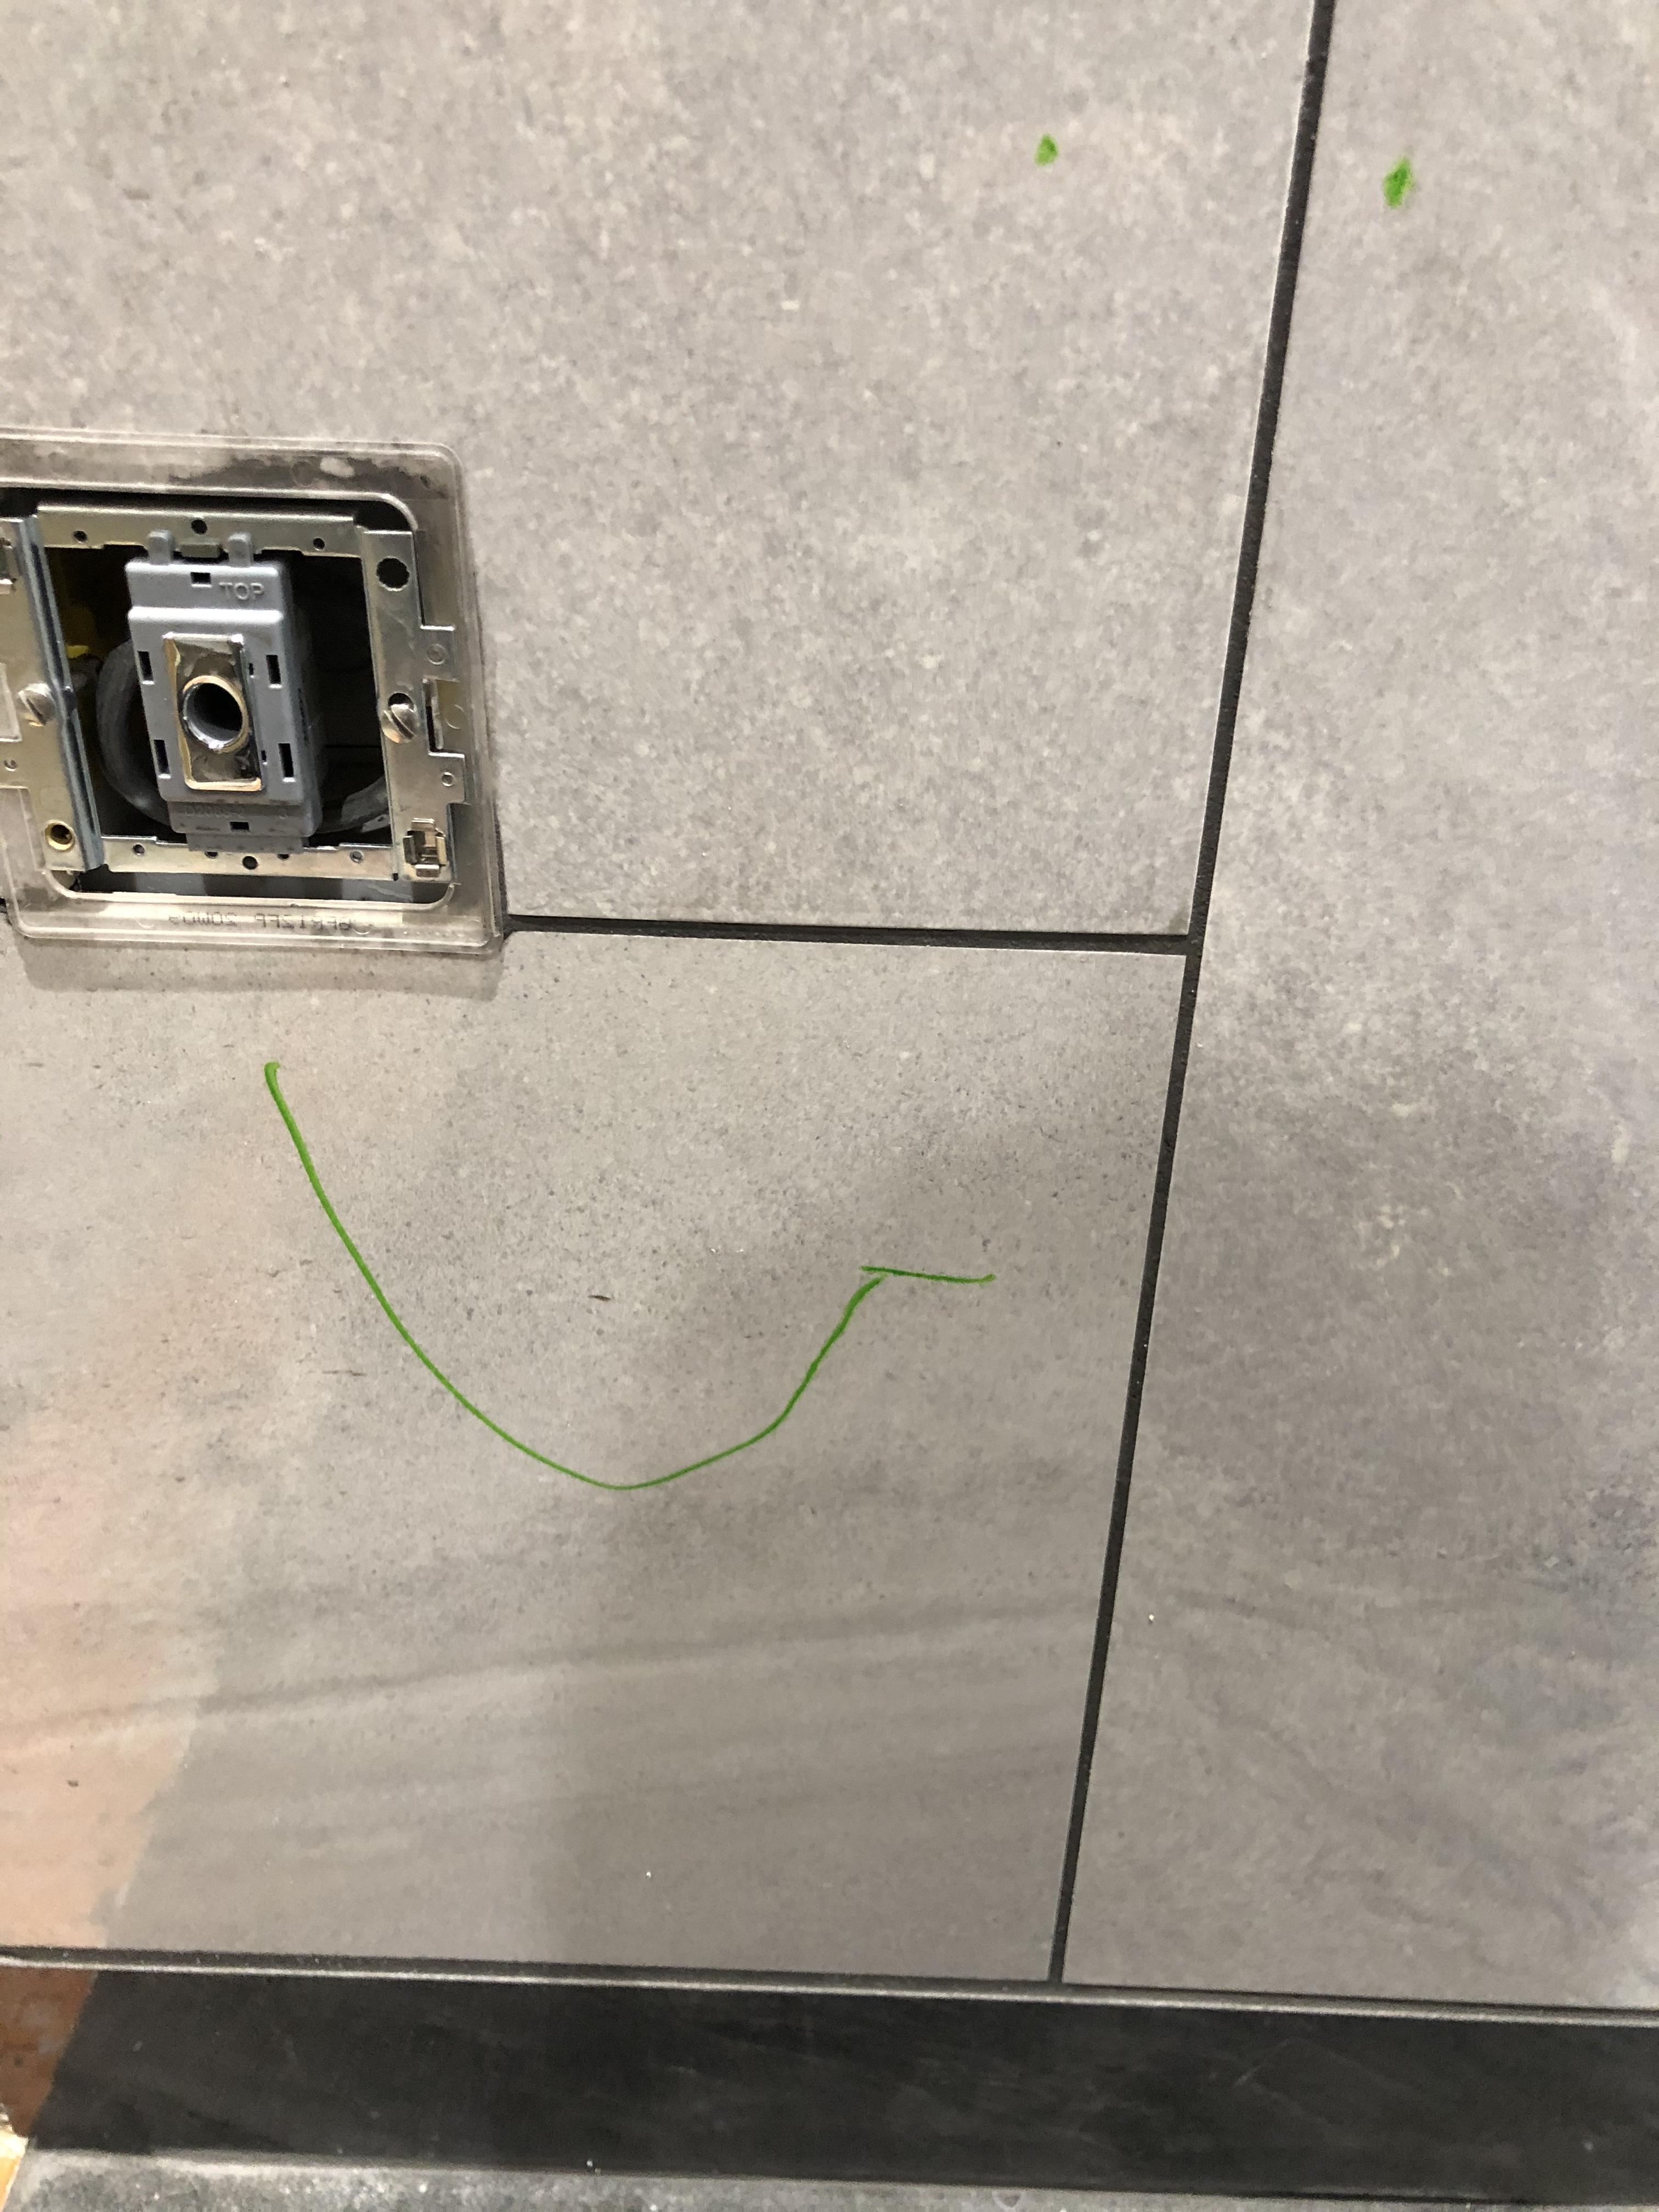
Is the position relative to the electric point critical ? 2 green dots are first fitting . Horizontal green ,base of rad ( add a bit if the element was installed ) then a rough flex line .
-
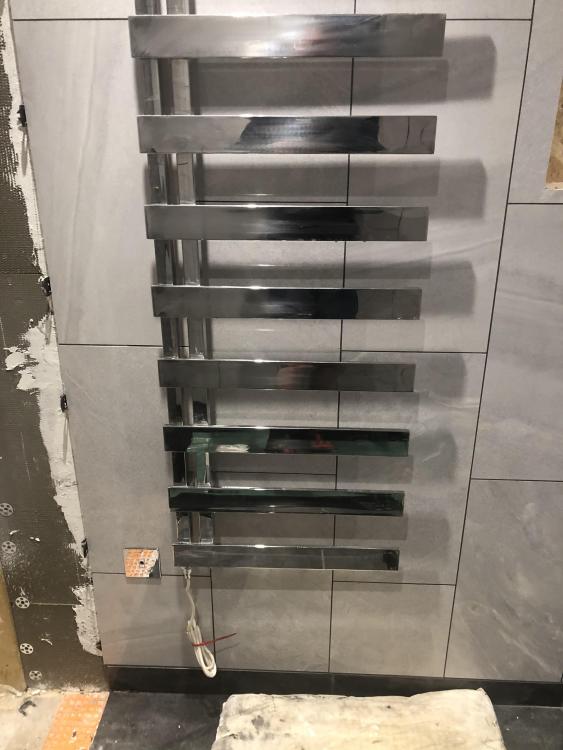
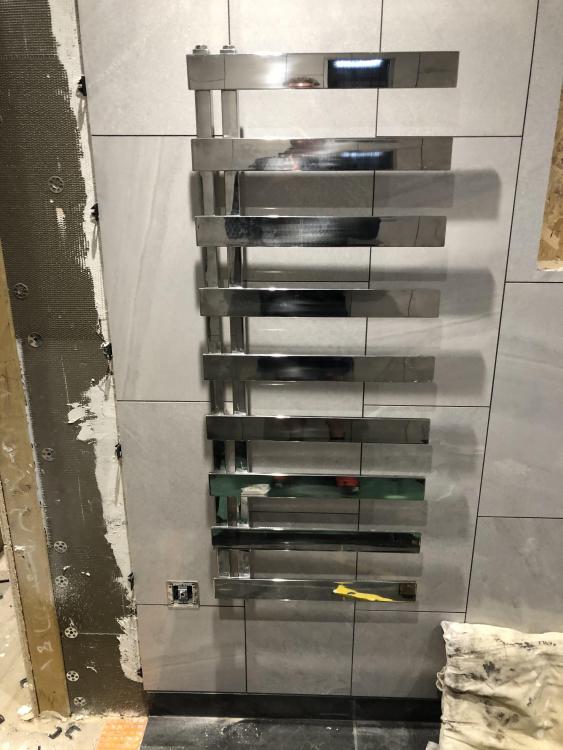
Yes fluids in . I’m tempted to just drill and fit to the wall with no element in . Remove it - fit element ;then leave for sparky .
-
Presumably the element goes in the left fitting in the 2nd photo . I.e when on the wall would be bottom left . Just turn rad upside down . Take cap off . Put element rod in - tighten up - that it ??