Onoff
-
Posts
21061 -
Joined
-
Last visited
-
Days Won
206
Everything posted by Onoff
-
Unreal! A message from Amazon yesterday saying the tanking kit had been dispatched by the supplier and would be delivered 8th August. Another email today saying it's been delivered. Wandered down to our post box and somehow they've wedged the rather large tanking kit in there! Even less of an excuse now!
-
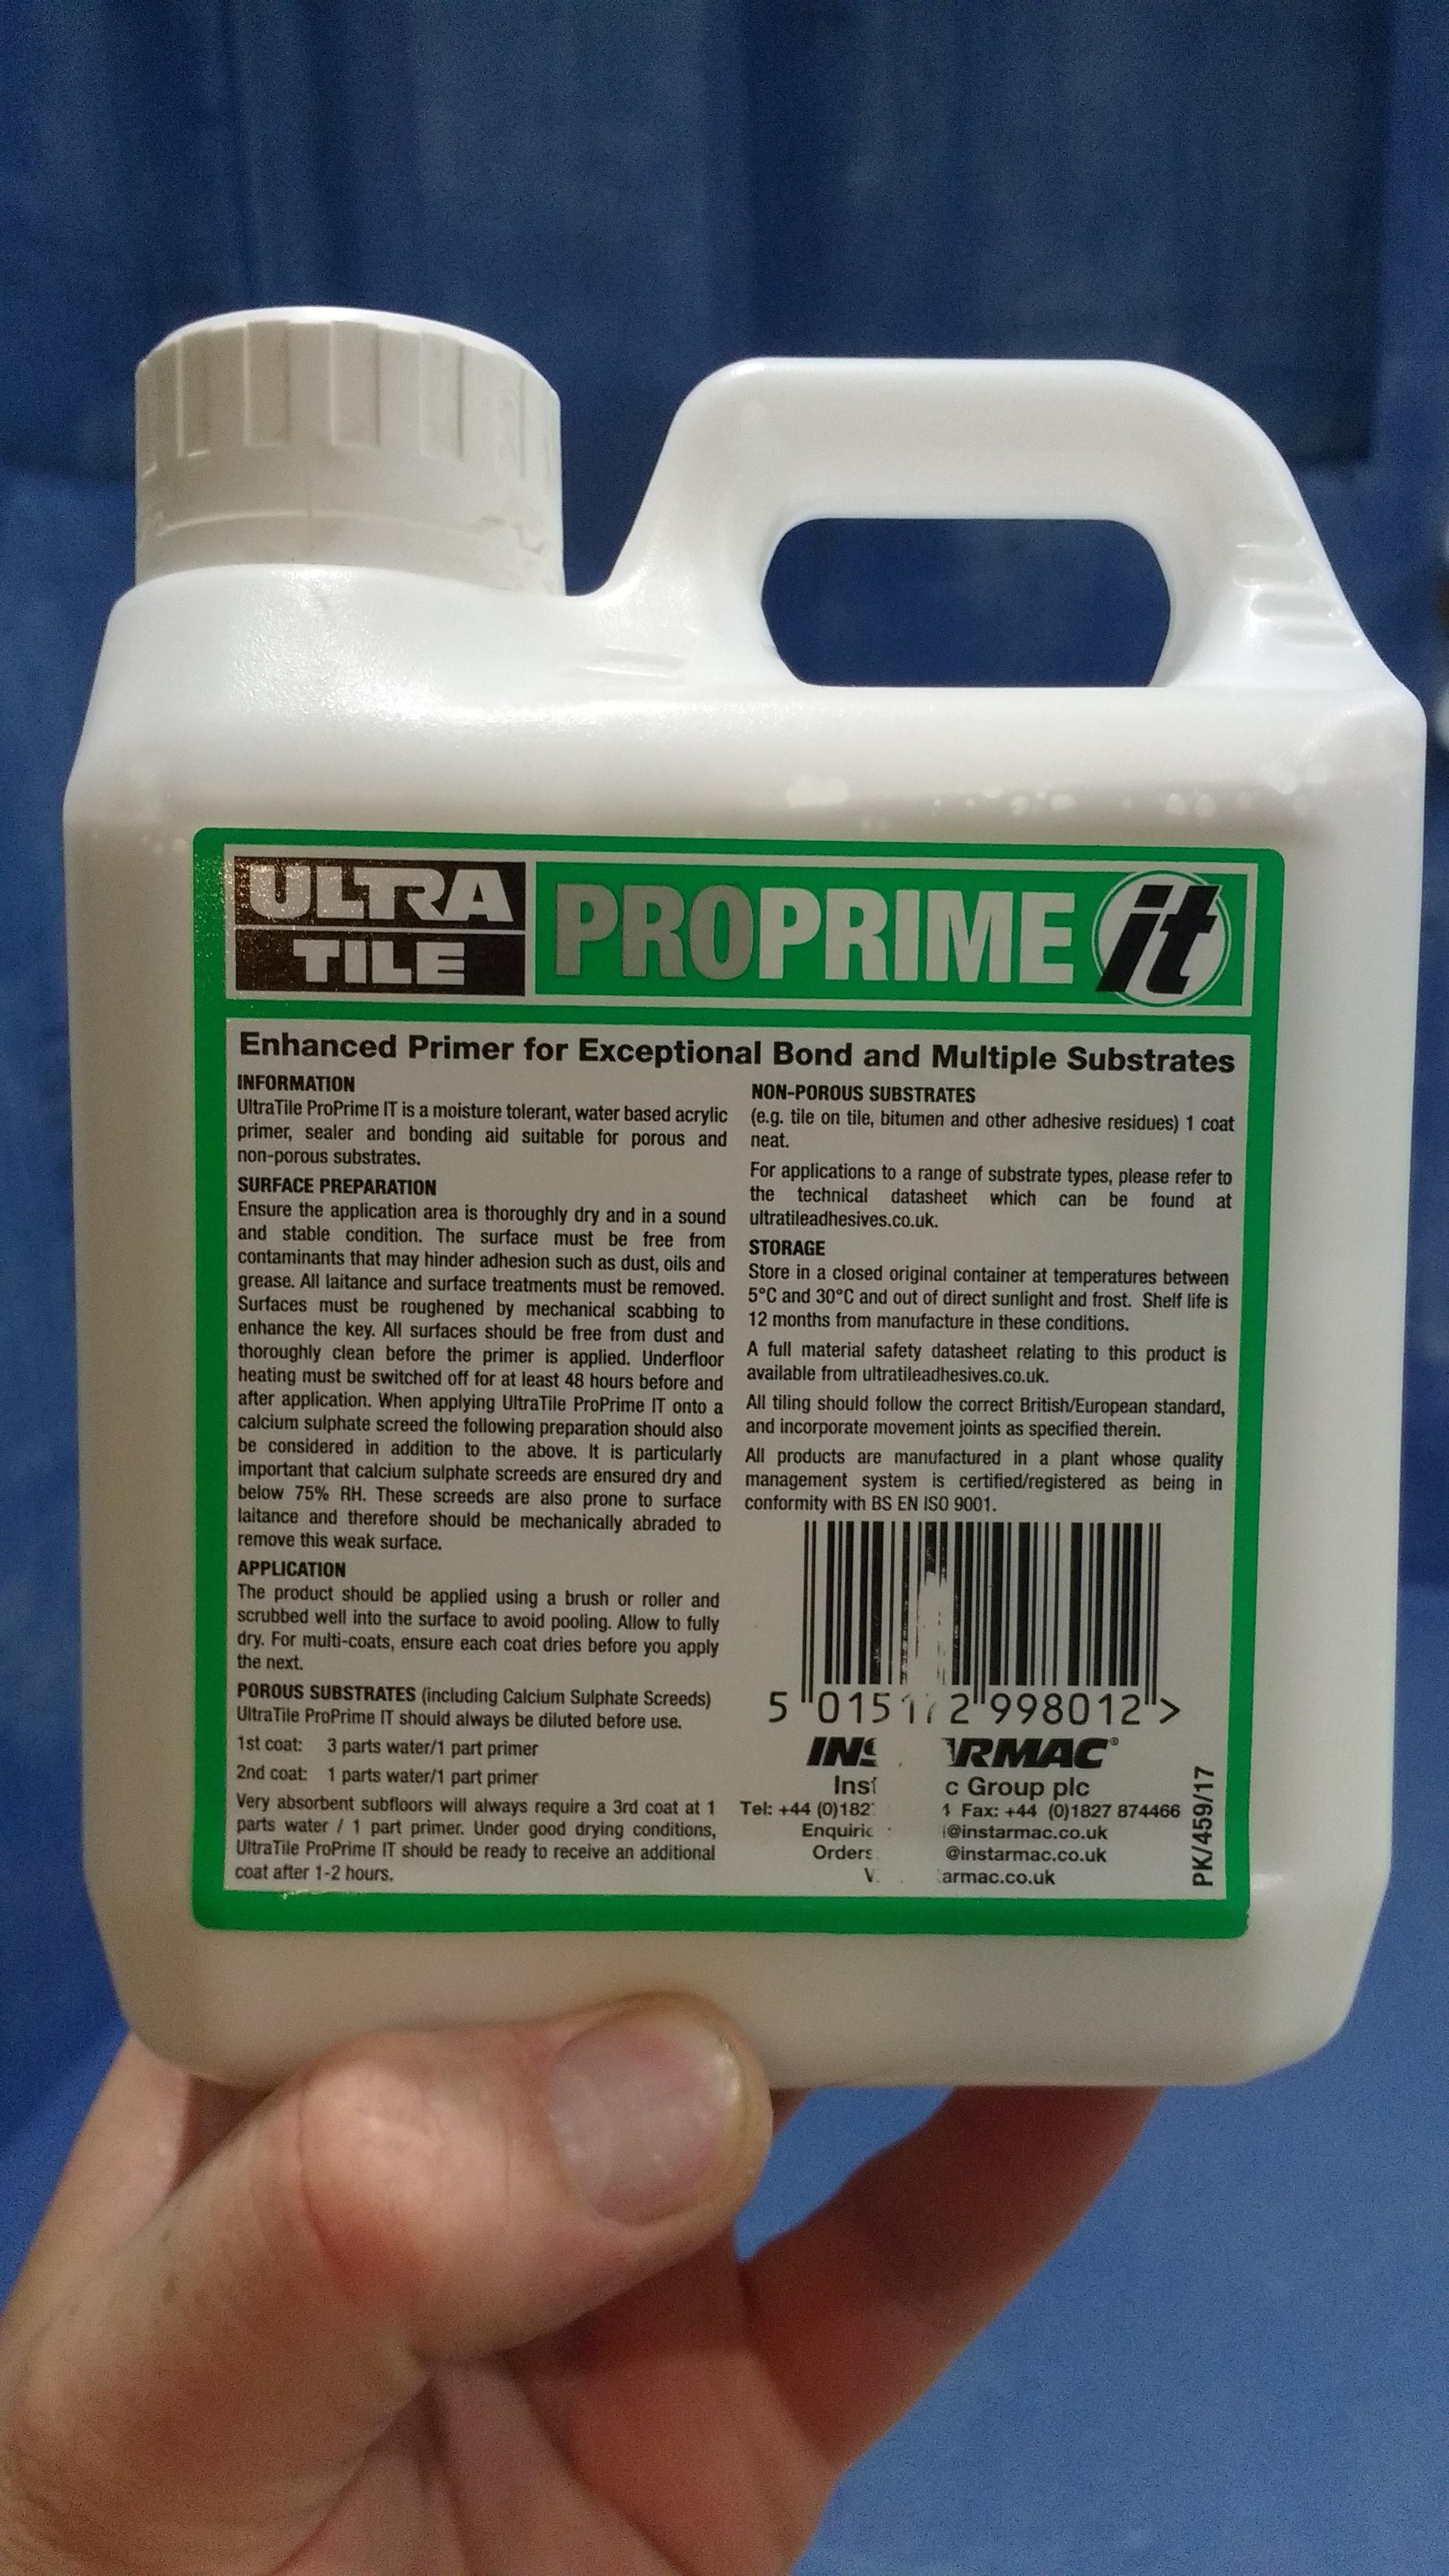
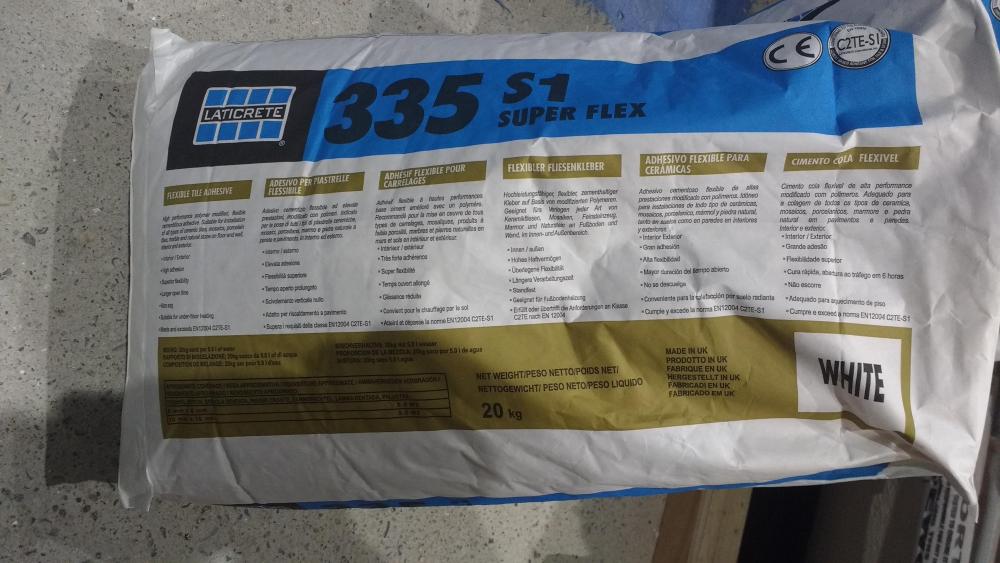
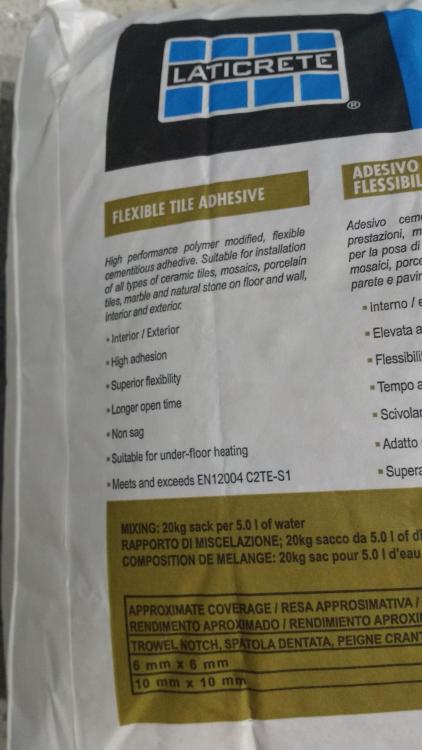
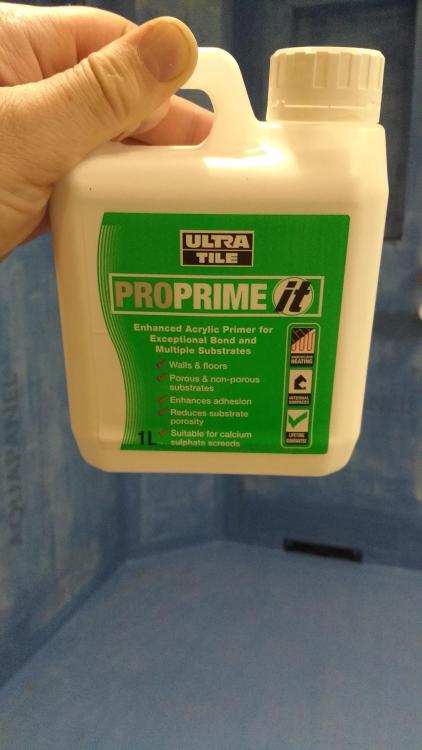
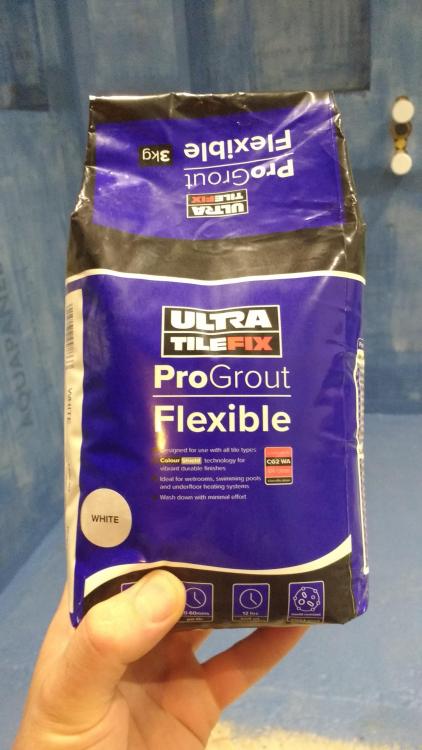
I got the primer, adhesive and grout as "we" have decided on white grout... When I got to the place they didn't do the Larsen extended set stuff (no real call for it, they just do the rapid), I wanted so I got this: With this primer. Slightly more expensive than the Laticrete (same brand as the adhesive) one. Guys there reckon I need to put this primer on the tanking membrane and leave to go off before putting adhesive down? And this grout: Nothing more will happen on the tiling front until the end of next week when I get the rest of the tanking done.

-

Reservoir Levels rapid Changes
Onoff replied to Ferdinand's topic in General Self Build & DIY Discussion
Free veg? -
Link must be in another thread, I did look... Going shortly to get tile adhesive & primer. The place does Larsen products. They do a tanking kit too. Be interesting to get prices / details. Still can't decide on the grout colour! I'll ask when I get to the place whether I should therefore get white or grey adhesive.
-
Reservoir Levels rapid Changes
Onoff replied to Ferdinand's topic in General Self Build & DIY Discussion
Love gun? -
Reservoir Levels rapid Changes
Onoff replied to Ferdinand's topic in General Self Build & DIY Discussion
Foam gun? Nail gun? -
Help with kitchen renovation/ 1st house.
Onoff replied to zoothorn's topic in Bathrooms, Ensuites & Wetrooms
If you'd have read it and taken it in the first time... -
Help with kitchen renovation/ 1st house.
Onoff replied to zoothorn's topic in Bathrooms, Ensuites & Wetrooms
Here you go: https://www.screwfix.com/p/ph2-drywall-screwdriver-bits-ph2-2-pack/6623V? -
Help with kitchen renovation/ 1st house.
Onoff replied to zoothorn's topic in Bathrooms, Ensuites & Wetrooms
32mm fine for 12.5mm board to the battens. You'll need longer like 45/50mm for putting the insulated pb on. 27 or 30mm insulated pb will make no difference. Not trying to spend your money but a plasterboard / sheet carrier is a Godsend if working on your own. Buy or make from scrap. Know any metal works mates? This is mine: https://www.axminster.co.uk/axminster-panel-board-carrier-950130 Screwfix/T'station both do a Roughneck make heavy duty plastic version for the same money. -
Help with kitchen renovation/ 1st house.
Onoff replied to zoothorn's topic in Bathrooms, Ensuites & Wetrooms
Well 12.5mm is 25% heavier to handle...but more resistant to damage... With a bit of experience you should be able to handle getting the boards on the wall on your own. A diagonal prop of some sort might help. Nothing worse than standing a board up and getting distracted and turning around for a second. That "Oh shit!" moment as you feel the rush of wind and the board falls and breaks. You have to hold the board up with one hand and have say a stool with your drill and screws on close at hand. I even mark on the boards in pencil the centres of the battens before I put them up. Most I guess hold the board up and get in one or two screws at random near the top - you get a rough idea as hopefully you've marked the ceiling and floor with the batten centres. Then project your pencil line up and if really anal mark your 150mm centres. -
Help with kitchen renovation/ 1st house.
Onoff replied to zoothorn's topic in Bathrooms, Ensuites & Wetrooms
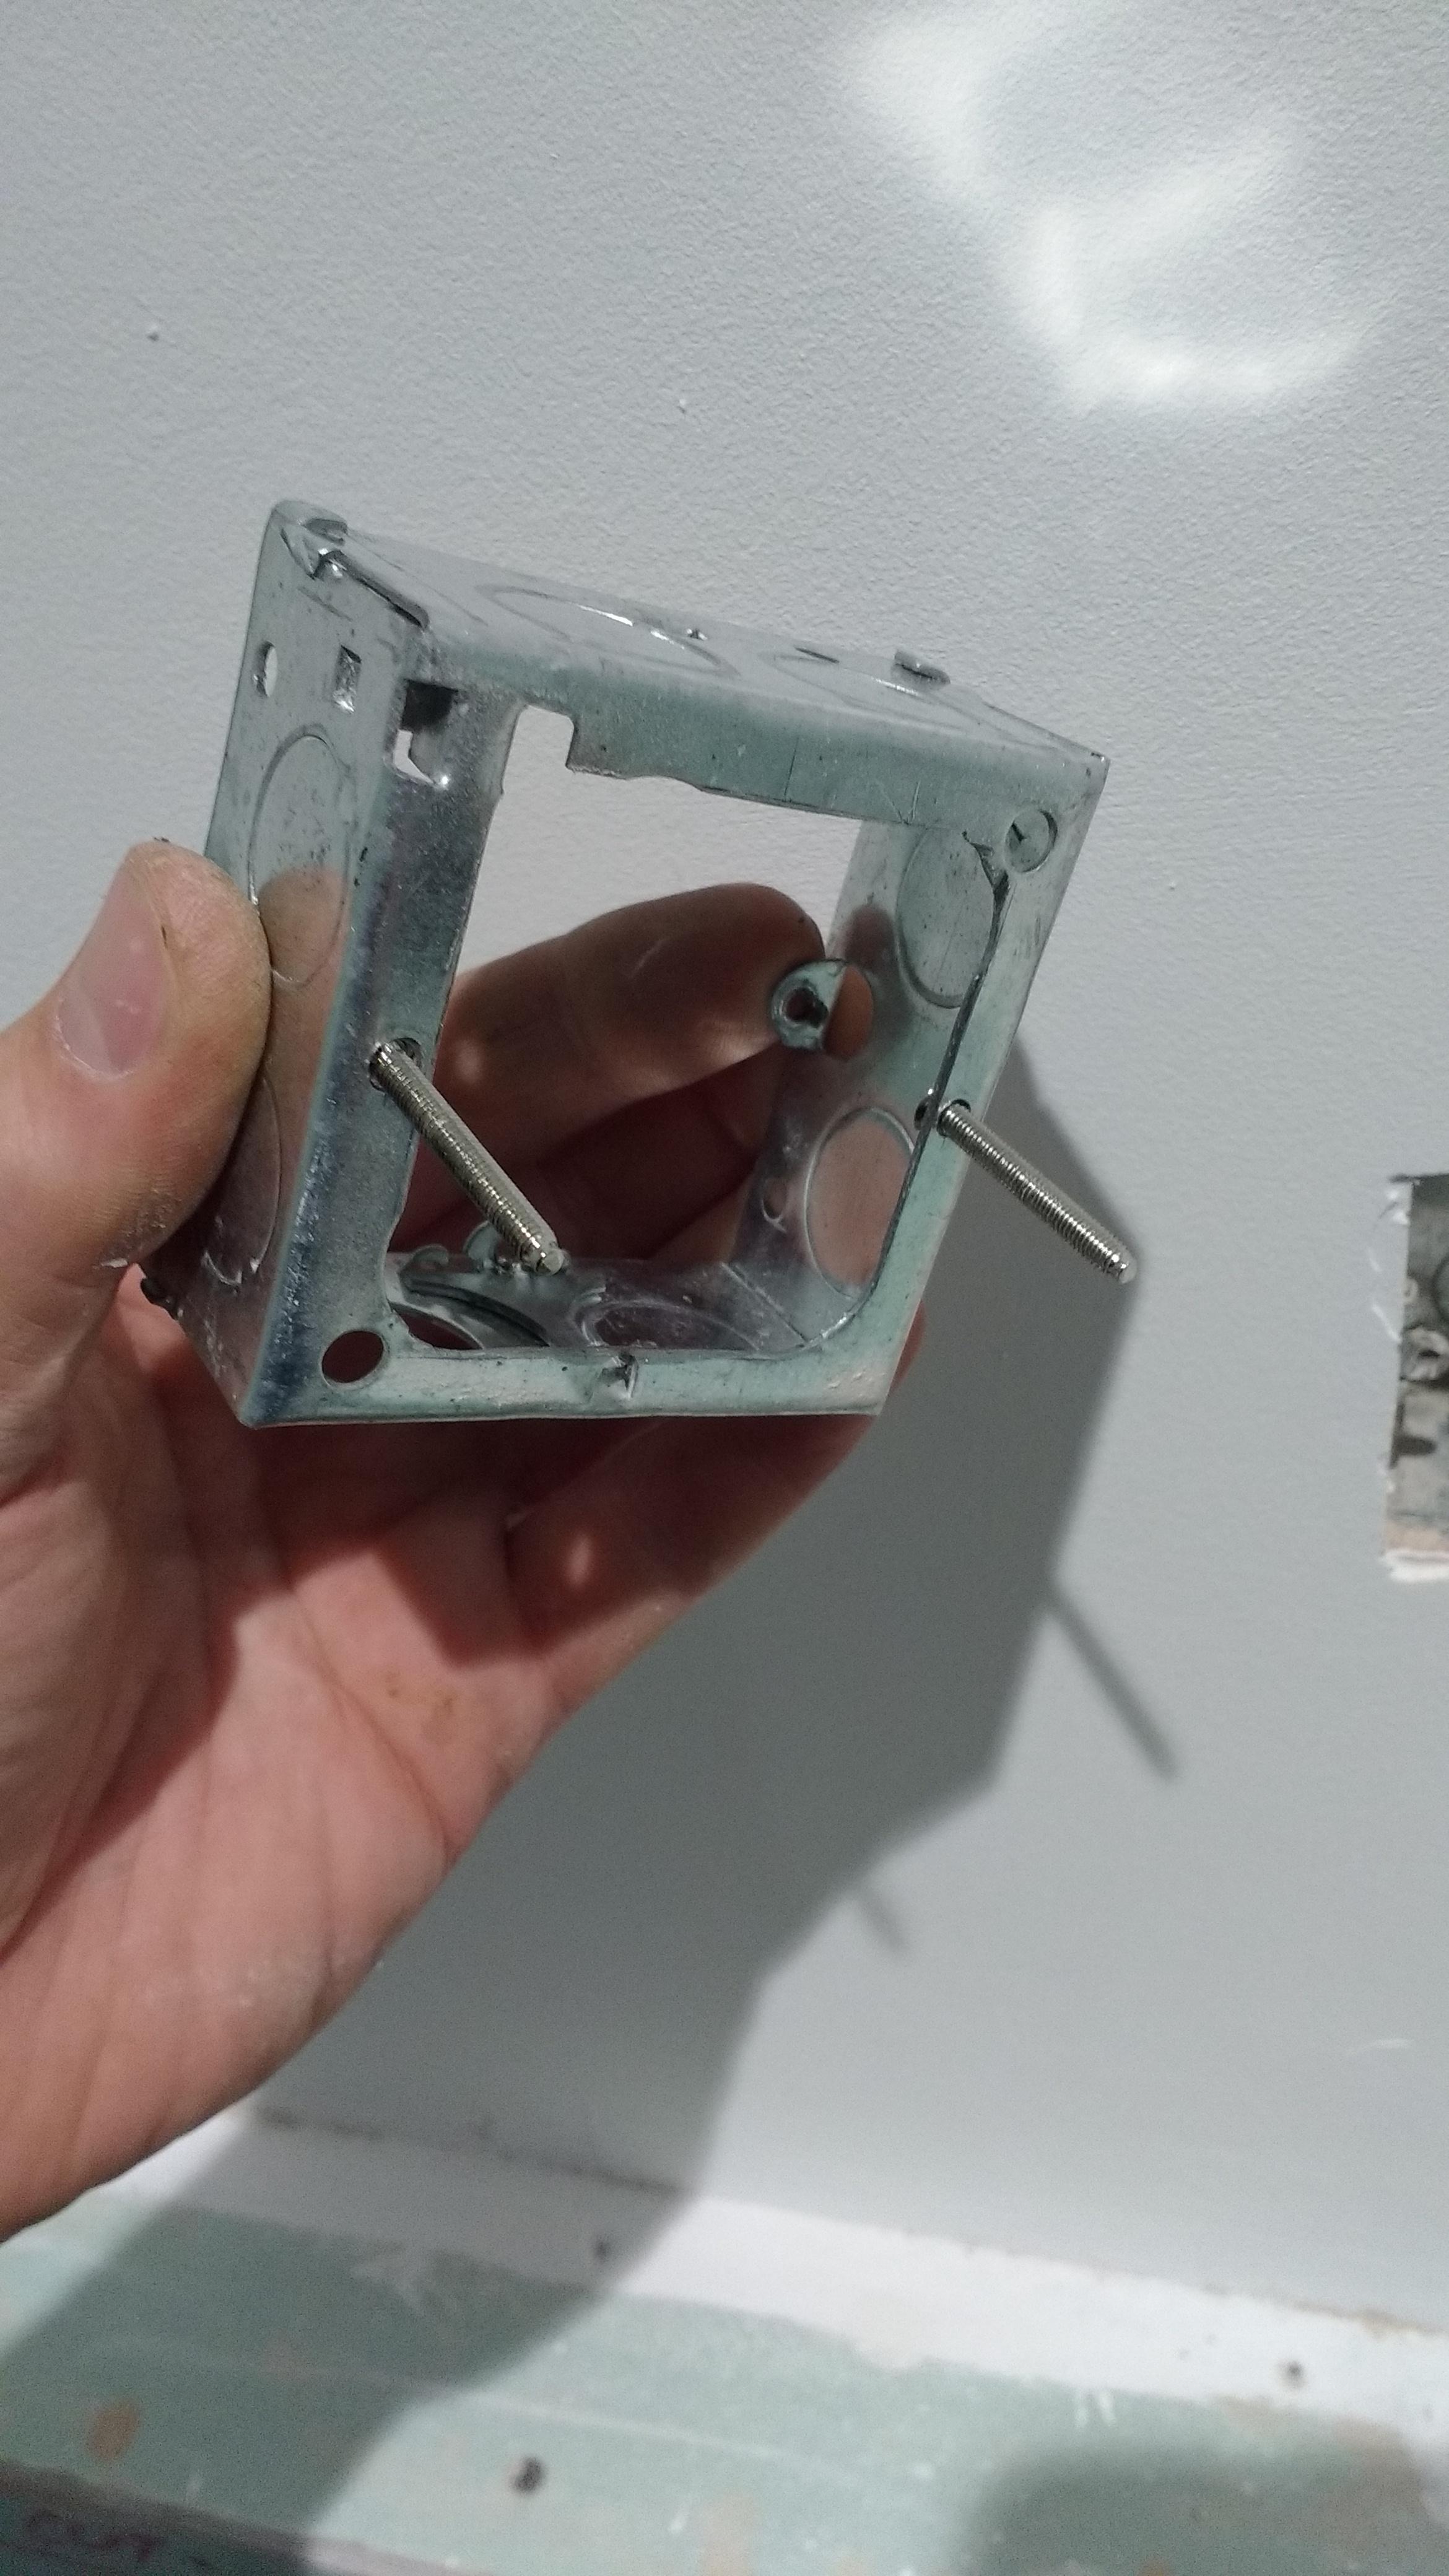
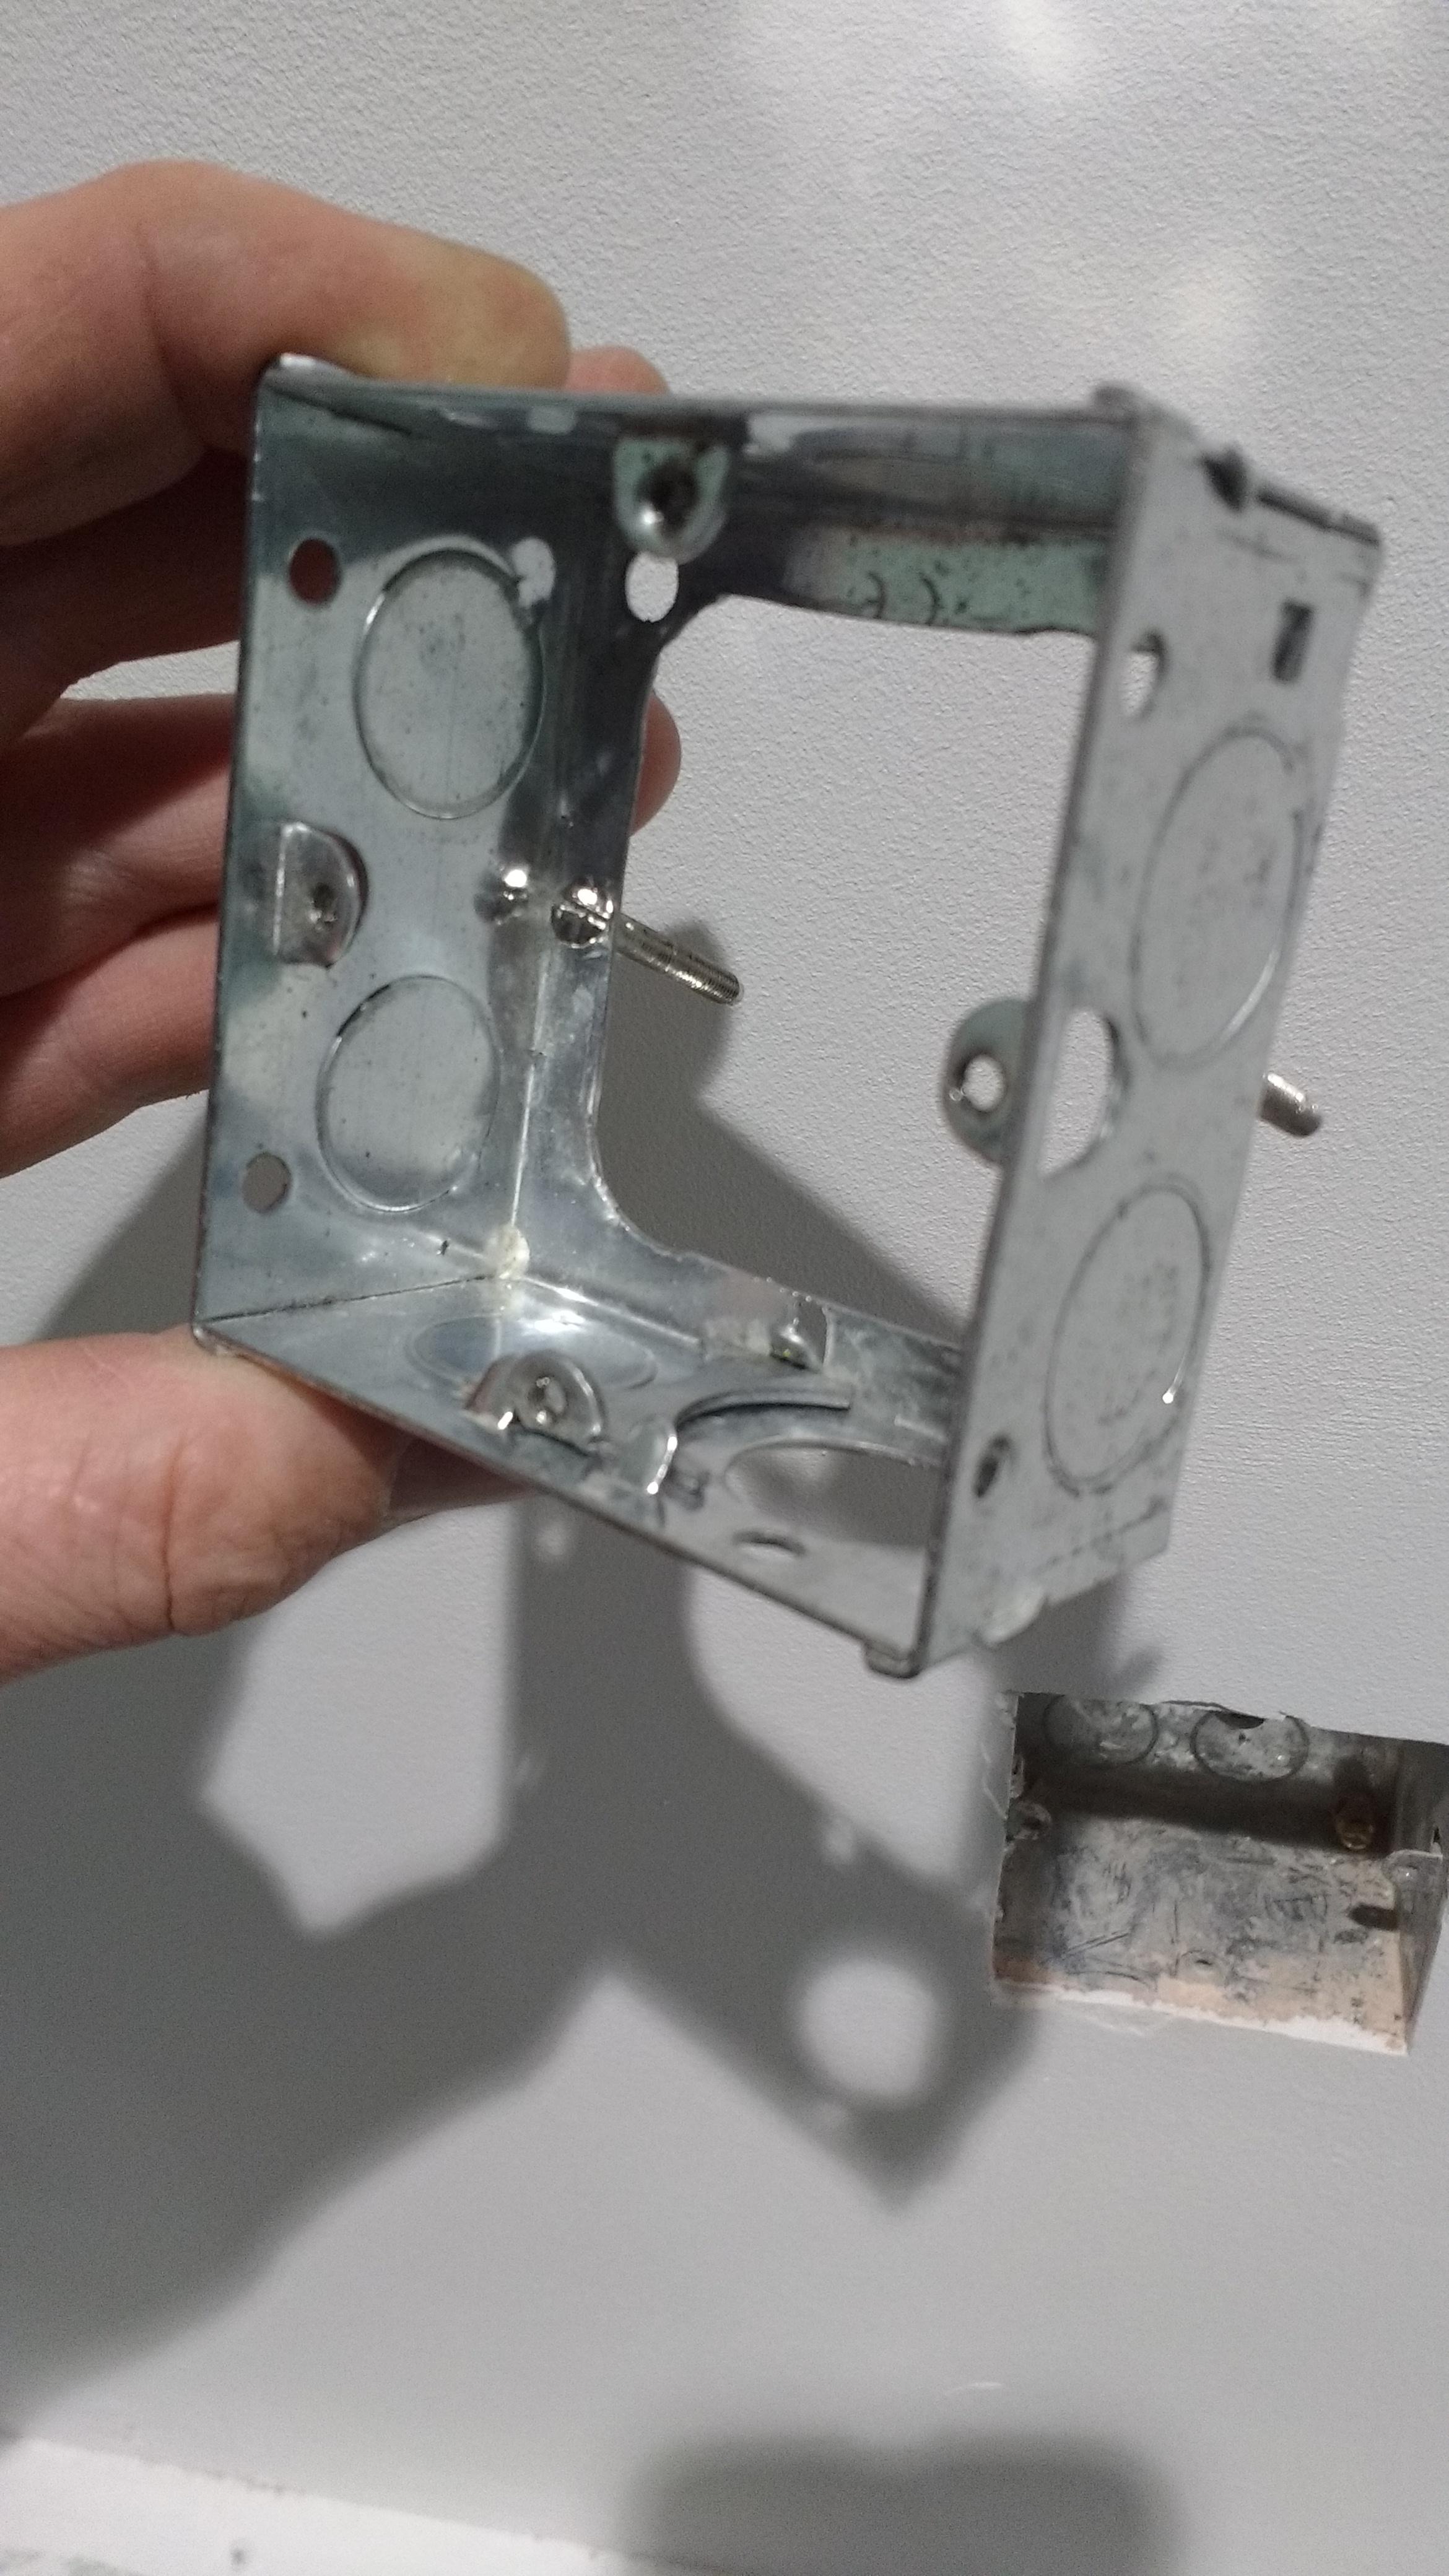
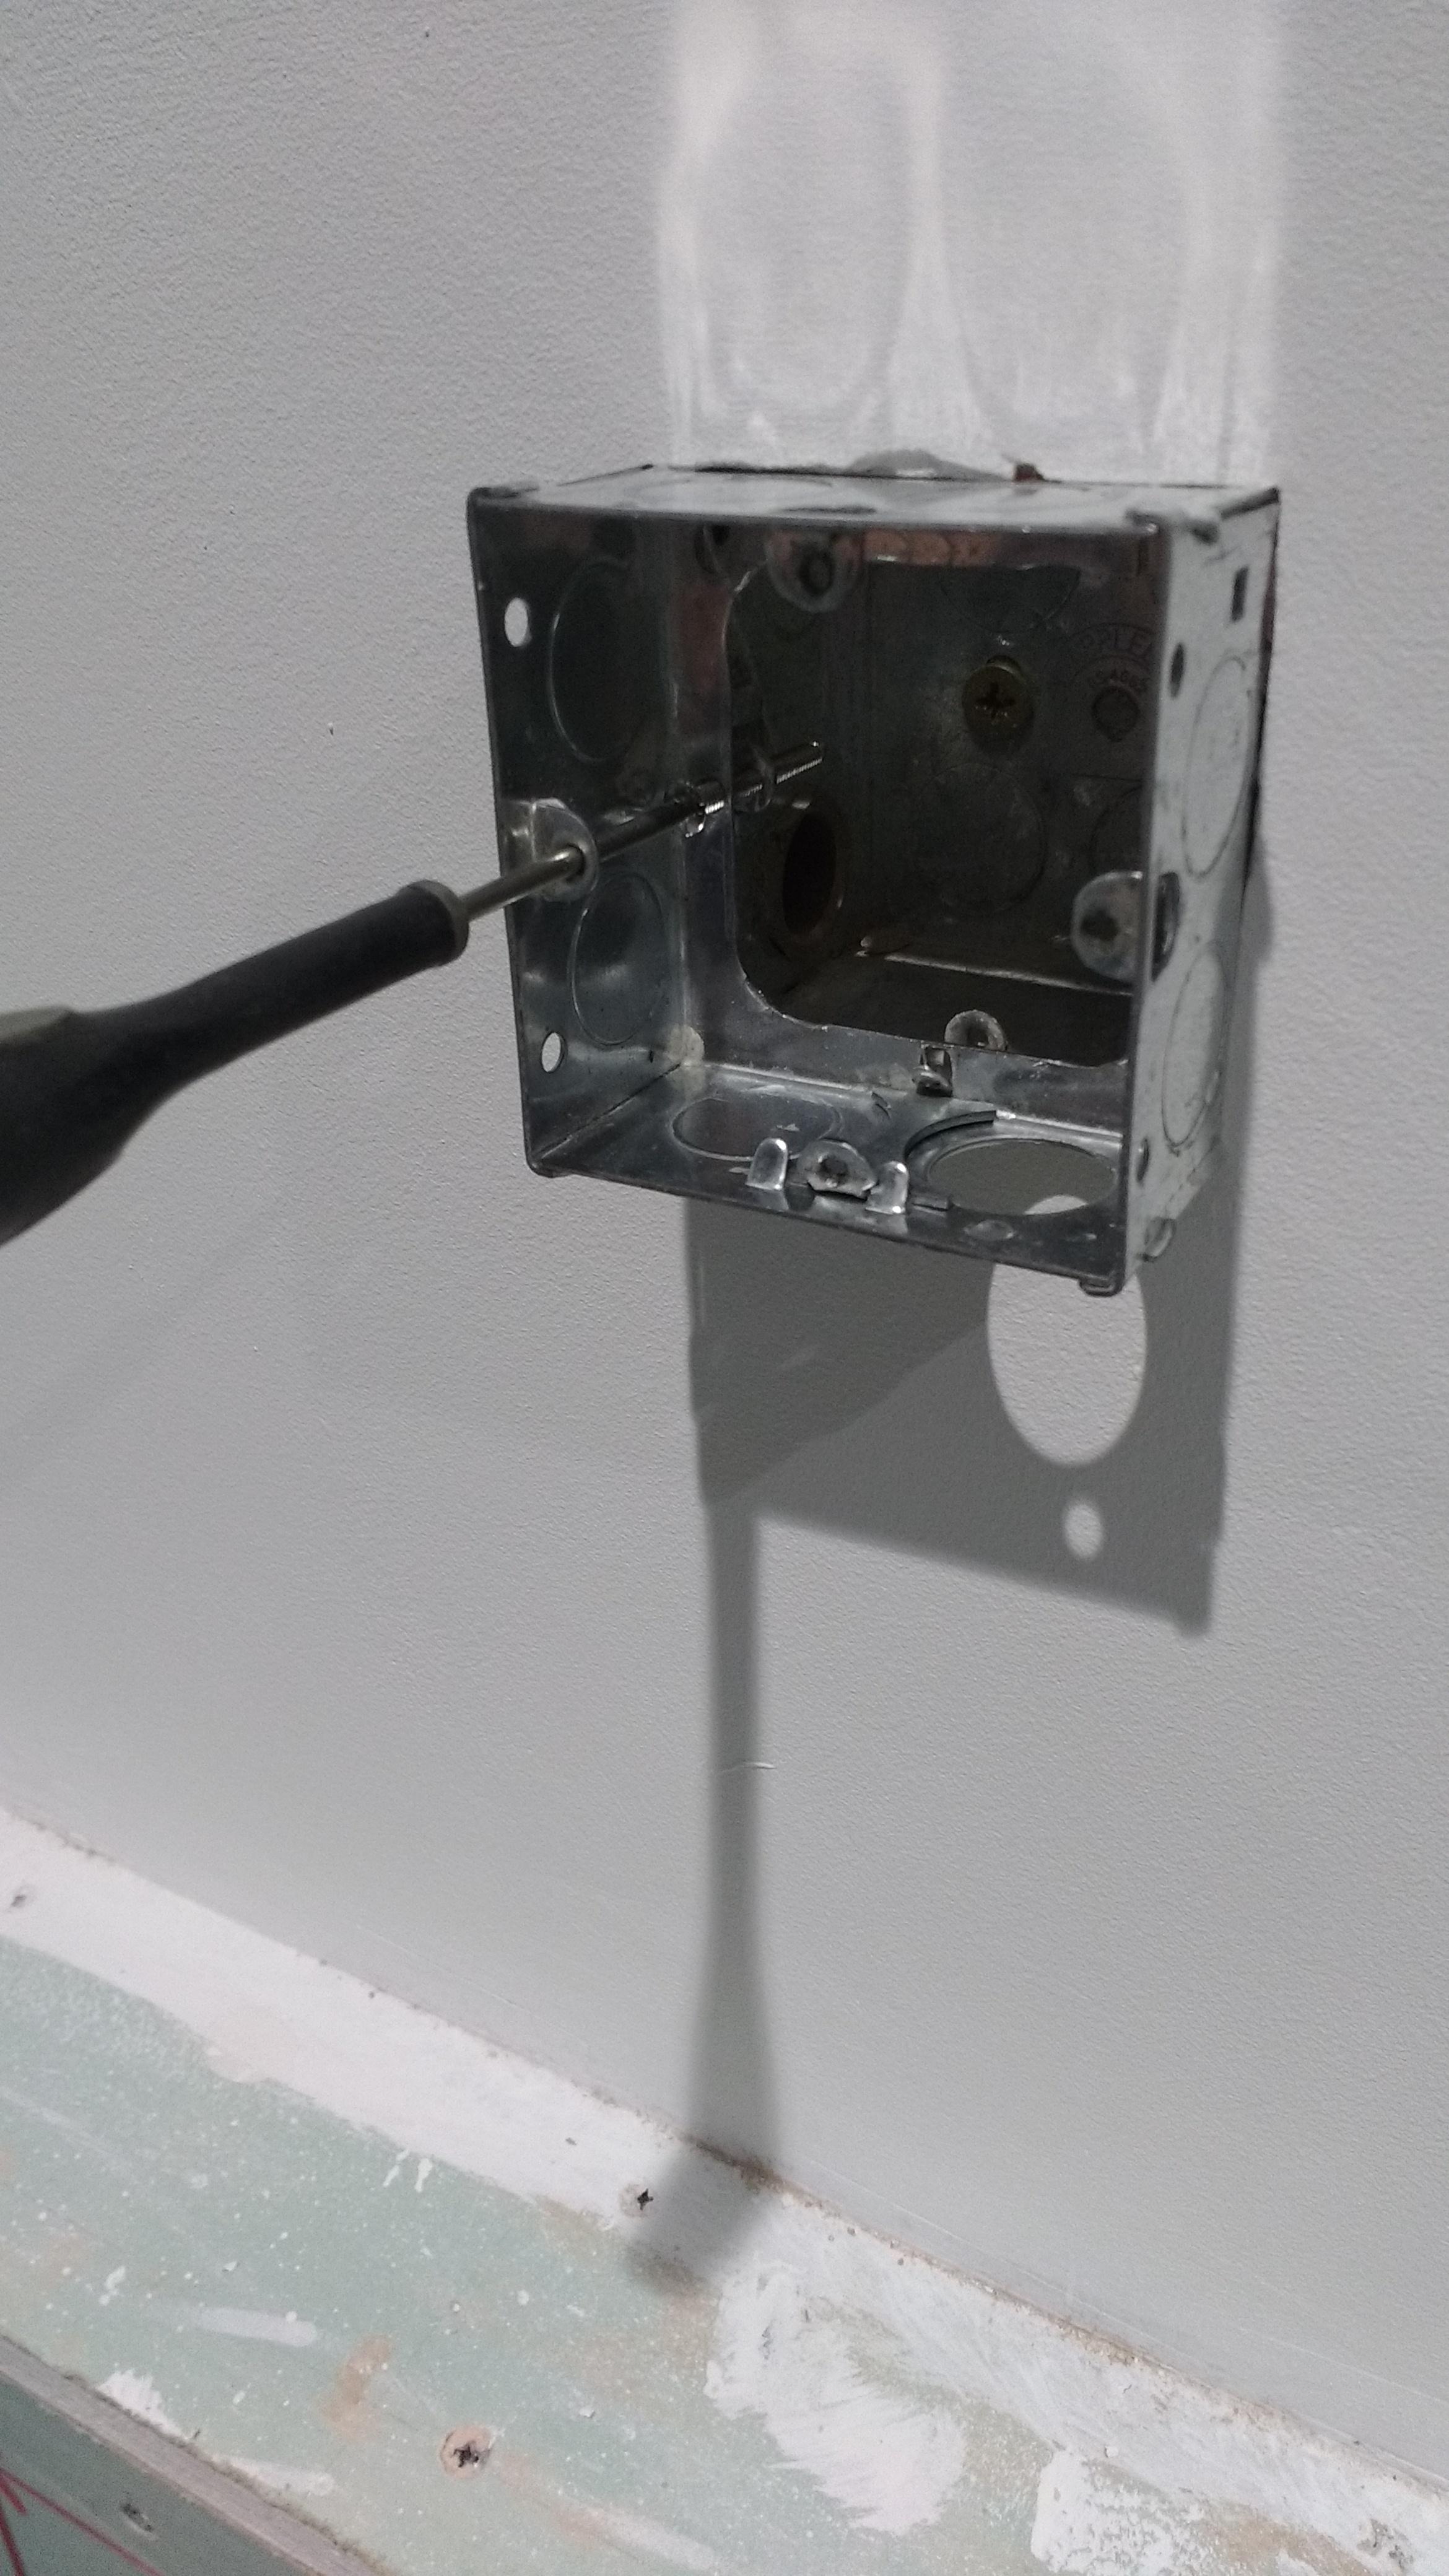
Don't encourage him ffs! The whole grinder thing came about from my drunken post making an extension box. Jigsaw would have been impractical as the blade would have hit the screw lugs! -
Help with kitchen renovation/ 1st house.
Onoff replied to zoothorn's topic in Bathrooms, Ensuites & Wetrooms
I reckon being a newbie at this you might drive the screws too deep to start with until you find the right torque on your cordless. That special bit I linked earlier should prevent that though. 32mm long should do you at 150mm centres. A little bit of extra length & grip won't hurt if you're having to "spring" some boards in. So allow about 20 for every vertical batten I think and you should have enough left over for the horizontals. A decent retractable, metal bodied Stanley knife for cutting boards and a pack of blades. A little surform plane is useful for taking down rough edges and easing boards to fit. Screwfix part number 20388 is a handy tool for this. You should though with practice get to cut cleaner edges with just the knife. As to whether 9mm pb is any good...if you have penetrating damp it won't matter what thickness the pb is! Why not 12.5mm? Much more forgiving when screwing. -
Help with kitchen renovation/ 1st house.
Onoff replied to zoothorn's topic in Bathrooms, Ensuites & Wetrooms
As SWMBO often reminds me there's "pointy" screwdrivers for making holes in things like flower pots or hitting with a hammer if trying to put a Rawlplug in. You then get "flatty" ones. Ideal for any scraping job and getting tin lids off of paint. Either type can be used for stirring paint... -
How come you only went half way up the wall and didn't do the ends then? And that was Mapei?
-
@Nickfromwales I think knows this lot...discount? https://www.bhfunlimited.co.uk
-
Help with kitchen renovation/ 1st house.
Onoff replied to zoothorn's topic in Bathrooms, Ensuites & Wetrooms
With the CORECT blade...and there are multiple types... ...plus gloves, goggles or full face mask if working up close etc. Really not a toy... A&E job or worse if you get it wrong. -
I'm doing another £40 on the extra 7.5m2 tanking and that's it!
-
Yours looks much thicker than mine... Was that on mrpb?
-
What's that tanking membrane make then? Grey is it?
-
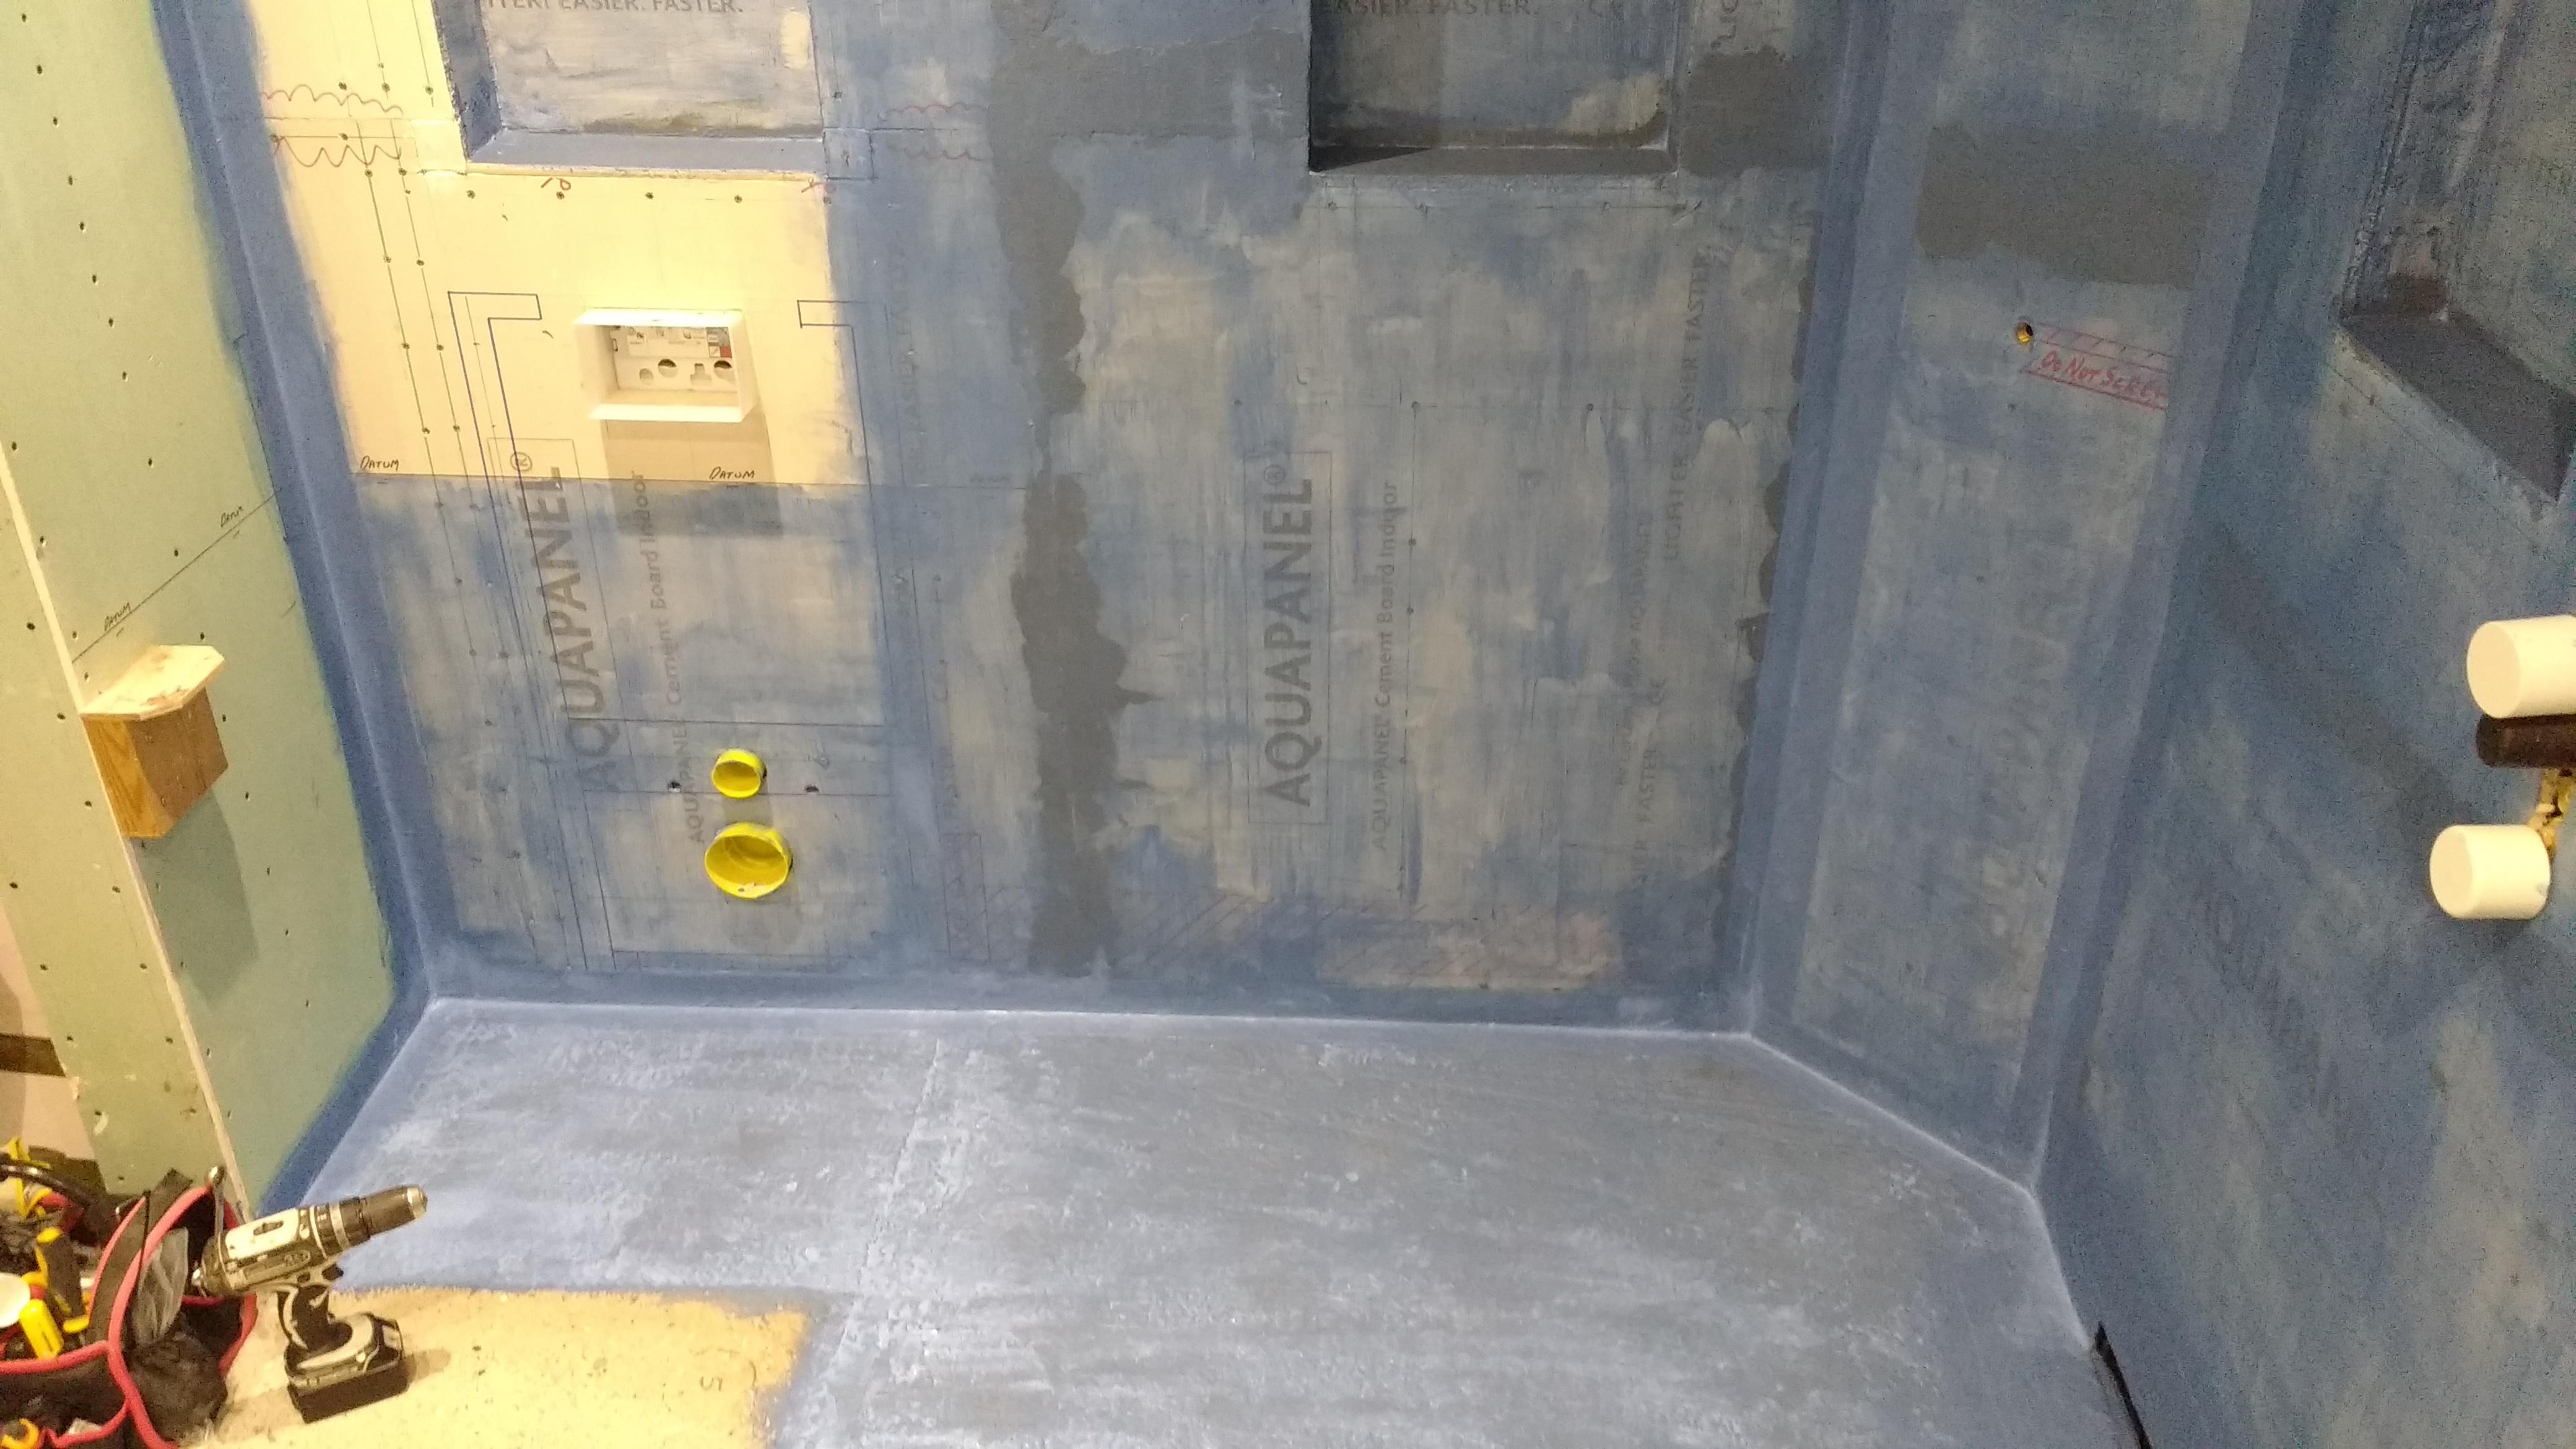
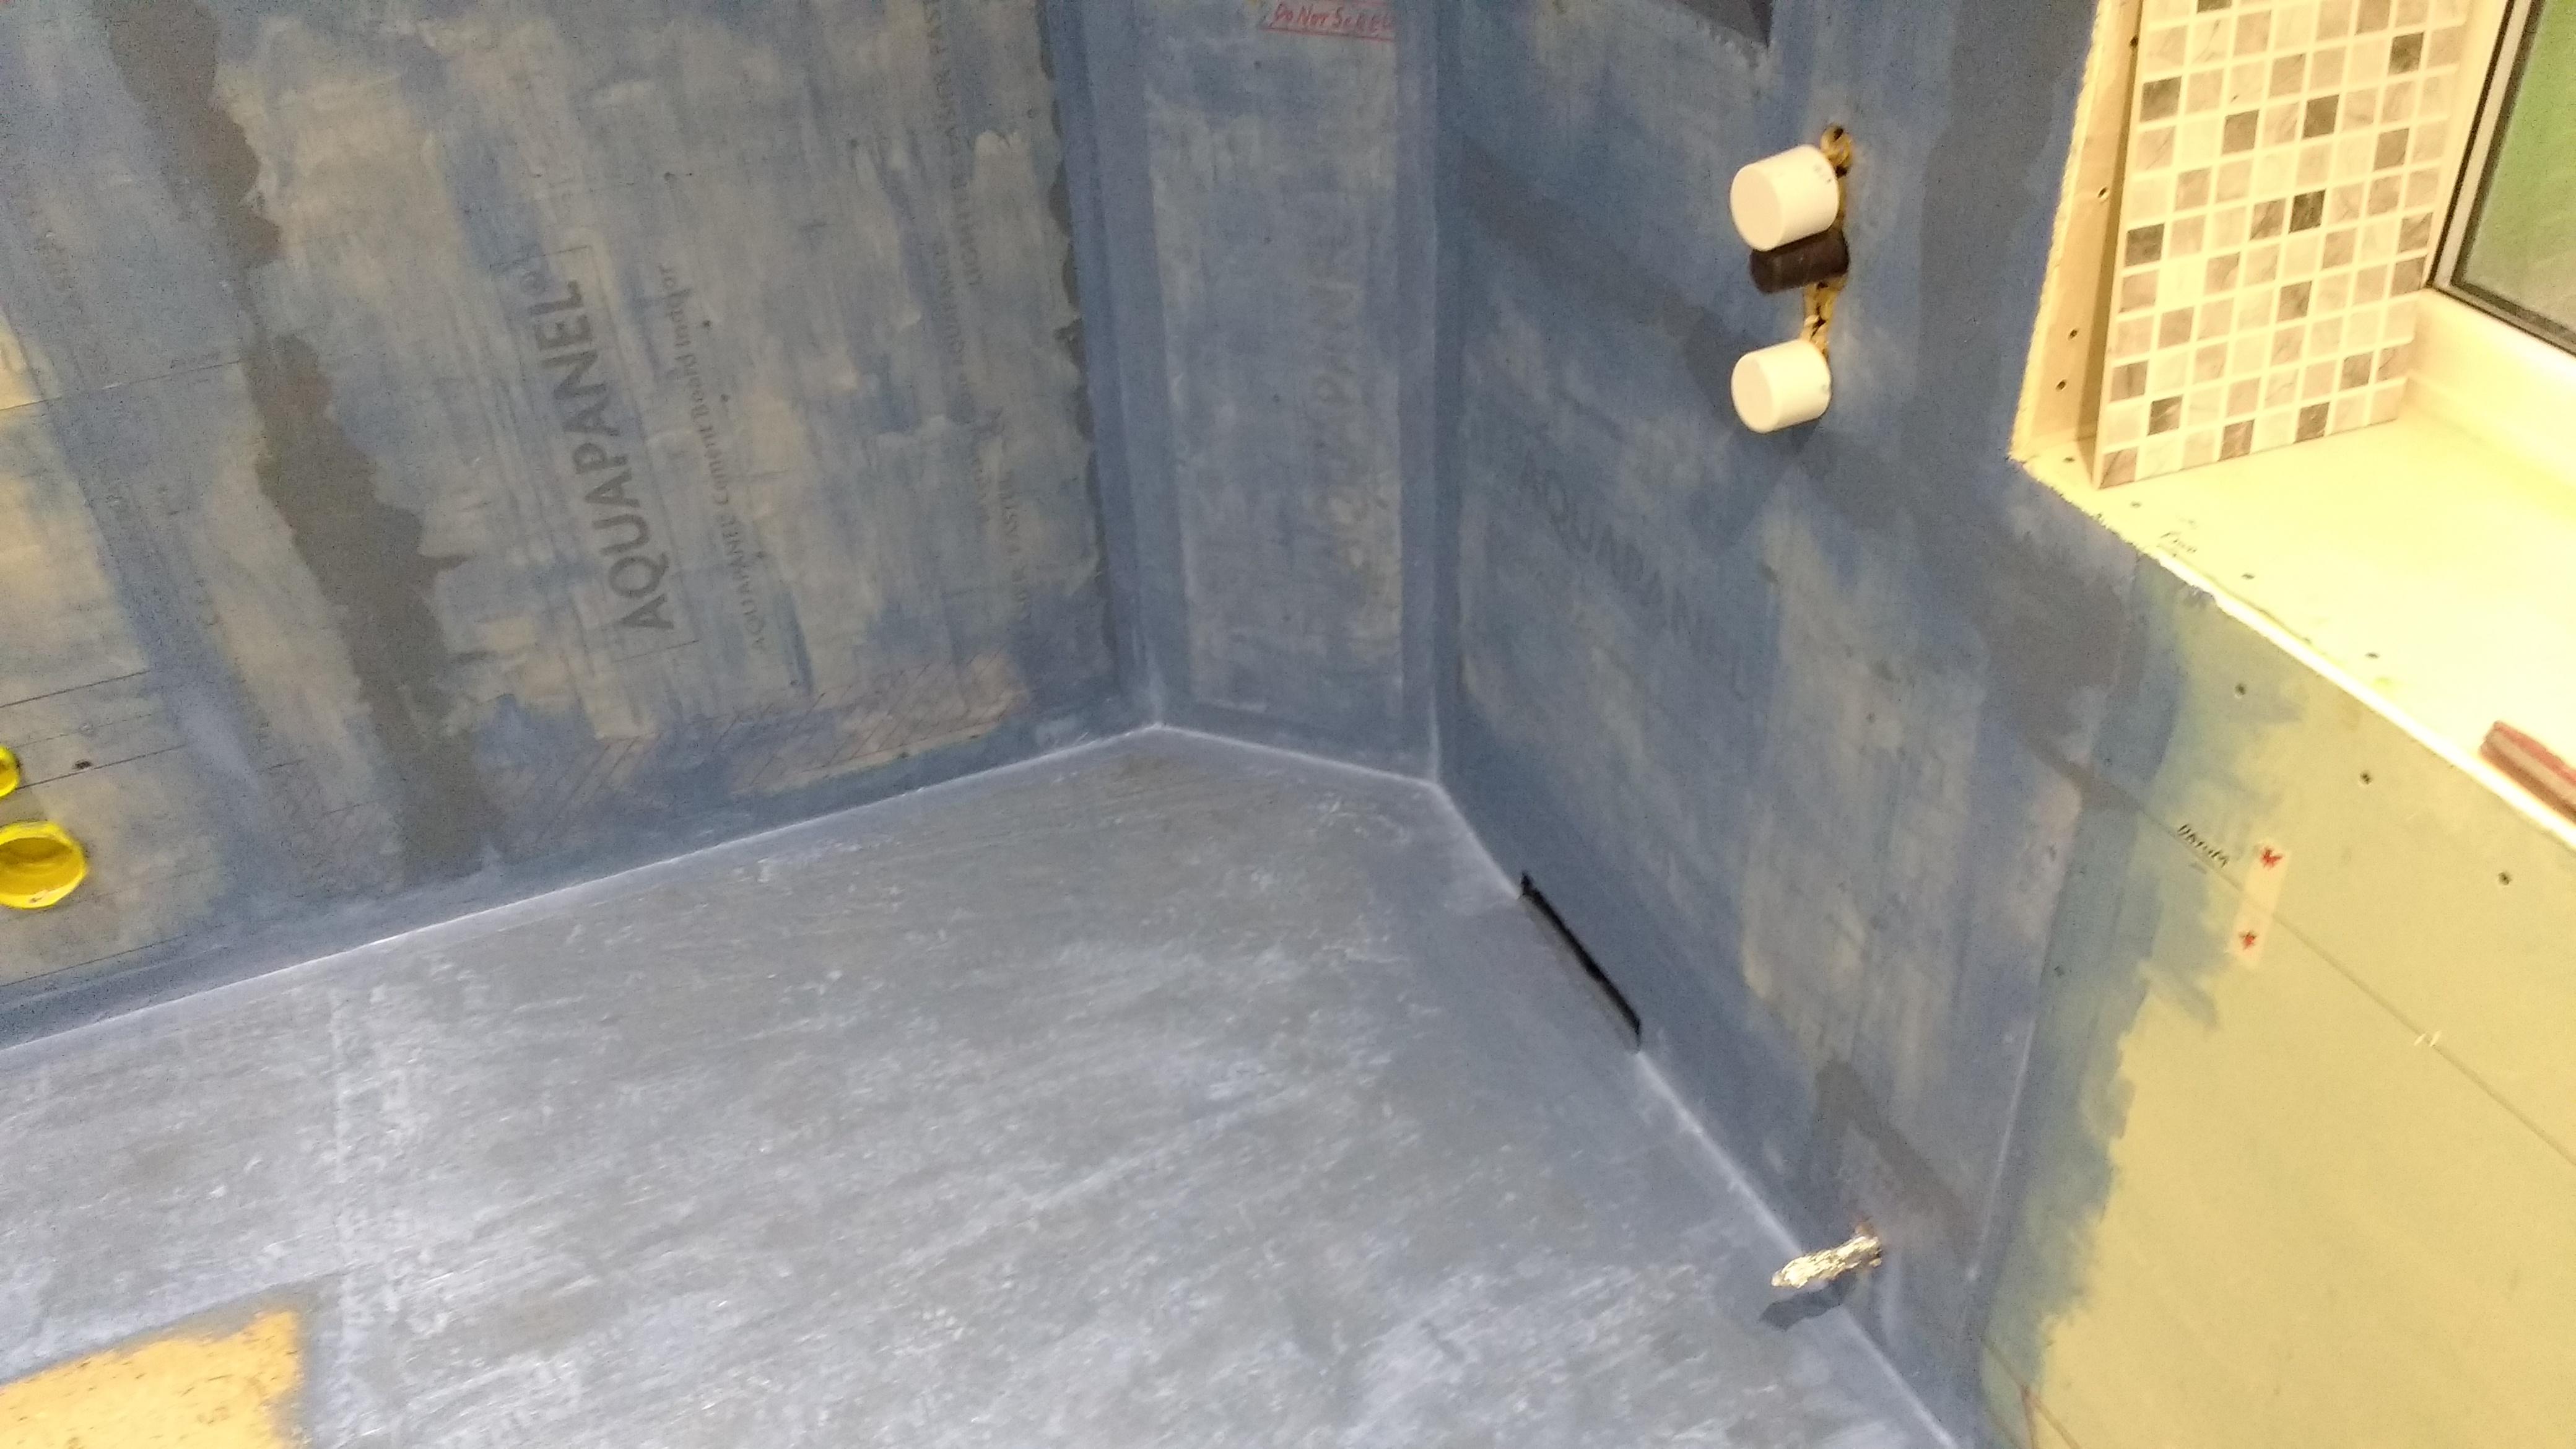
I don't get it tbh. I've done two coats over about 7.5m2. It's gone nowhere except on the wall and floor but it doesn't look that "thick". First coat I used the new 3" brush that came with the kit. For the second coat the 3" was too stiff despite being washed out. I used then a 2" brush. Pretty sure I read somewhere it doesn't appear to have "covered" but in fact has.
-
Help with kitchen renovation/ 1st house.
Onoff replied to zoothorn's topic in Bathrooms, Ensuites & Wetrooms
Erm...in your drug adled state DON'T take my tongue in cheek post about making your own extension boxes as advice ffs! -
Help with kitchen renovation/ 1st house.
Onoff replied to zoothorn's topic in Bathrooms, Ensuites & Wetrooms
Sitting down to watch Designated Survivor on Netflix tbh... Hoping the missus will join me on the sofa as the kids have nicked the cushions and I can lean on her instead! -
Help with kitchen renovation/ 1st house.
Onoff replied to zoothorn's topic in Bathrooms, Ensuites & Wetrooms
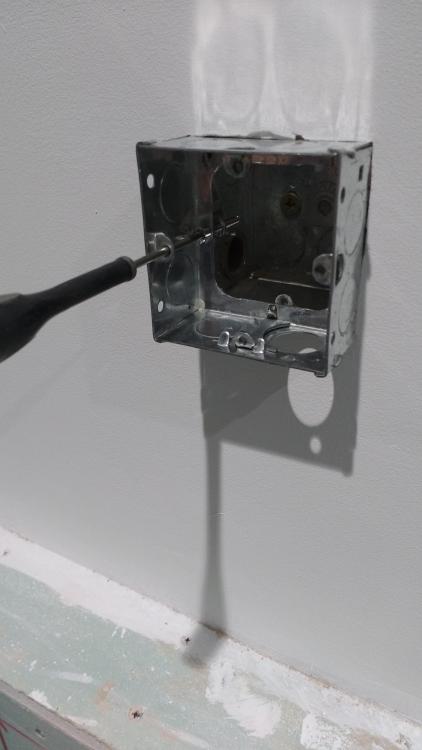
@zoothorn, if like some on here you lack social skills, struggle with interpersonal relationships, have a mild drinking problem and tbh generally prefer contact with tools rather than people then you might like to have a go at making an extension box out of a standard back box: I really can't recommend the use of a 4 1/2" grinder 6" from your nose though. I'd take a bid longer too deburring the cut edges than this bloke did and even consider a grommet strip! Don't either try it either, in the dark with a failing head torch and after 2 pints of Shipyard Pale Ale or you too could be sporting an L shaped burn on your leg from a dropped, hot back box...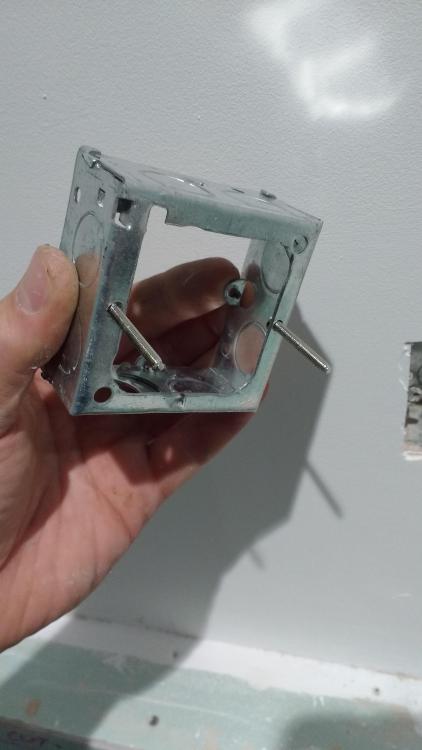

-
@Nickfromwales, just realised, don't you usually apply tanking strip over the shower valve? I was going to then thought what's the point as most of it will be cut out anyway. Now I'm not sure... Bit confused tbh as sure before you've said don't cover it completely in case of future access needs. Also you said about putting an inverted U of Sika flex around it with the bottom open to allow drainage. Ditto the hose outlet on the mitted wall, any need for a square of tape over that? Cheers
-
A couple more shots after 2 coats. Instructions reckon it wants to be 1mm thick... it's NOT...?