Onoff
-
Posts
21125 -
Joined
-
Last visited
-
Days Won
206
Everything posted by Onoff
-
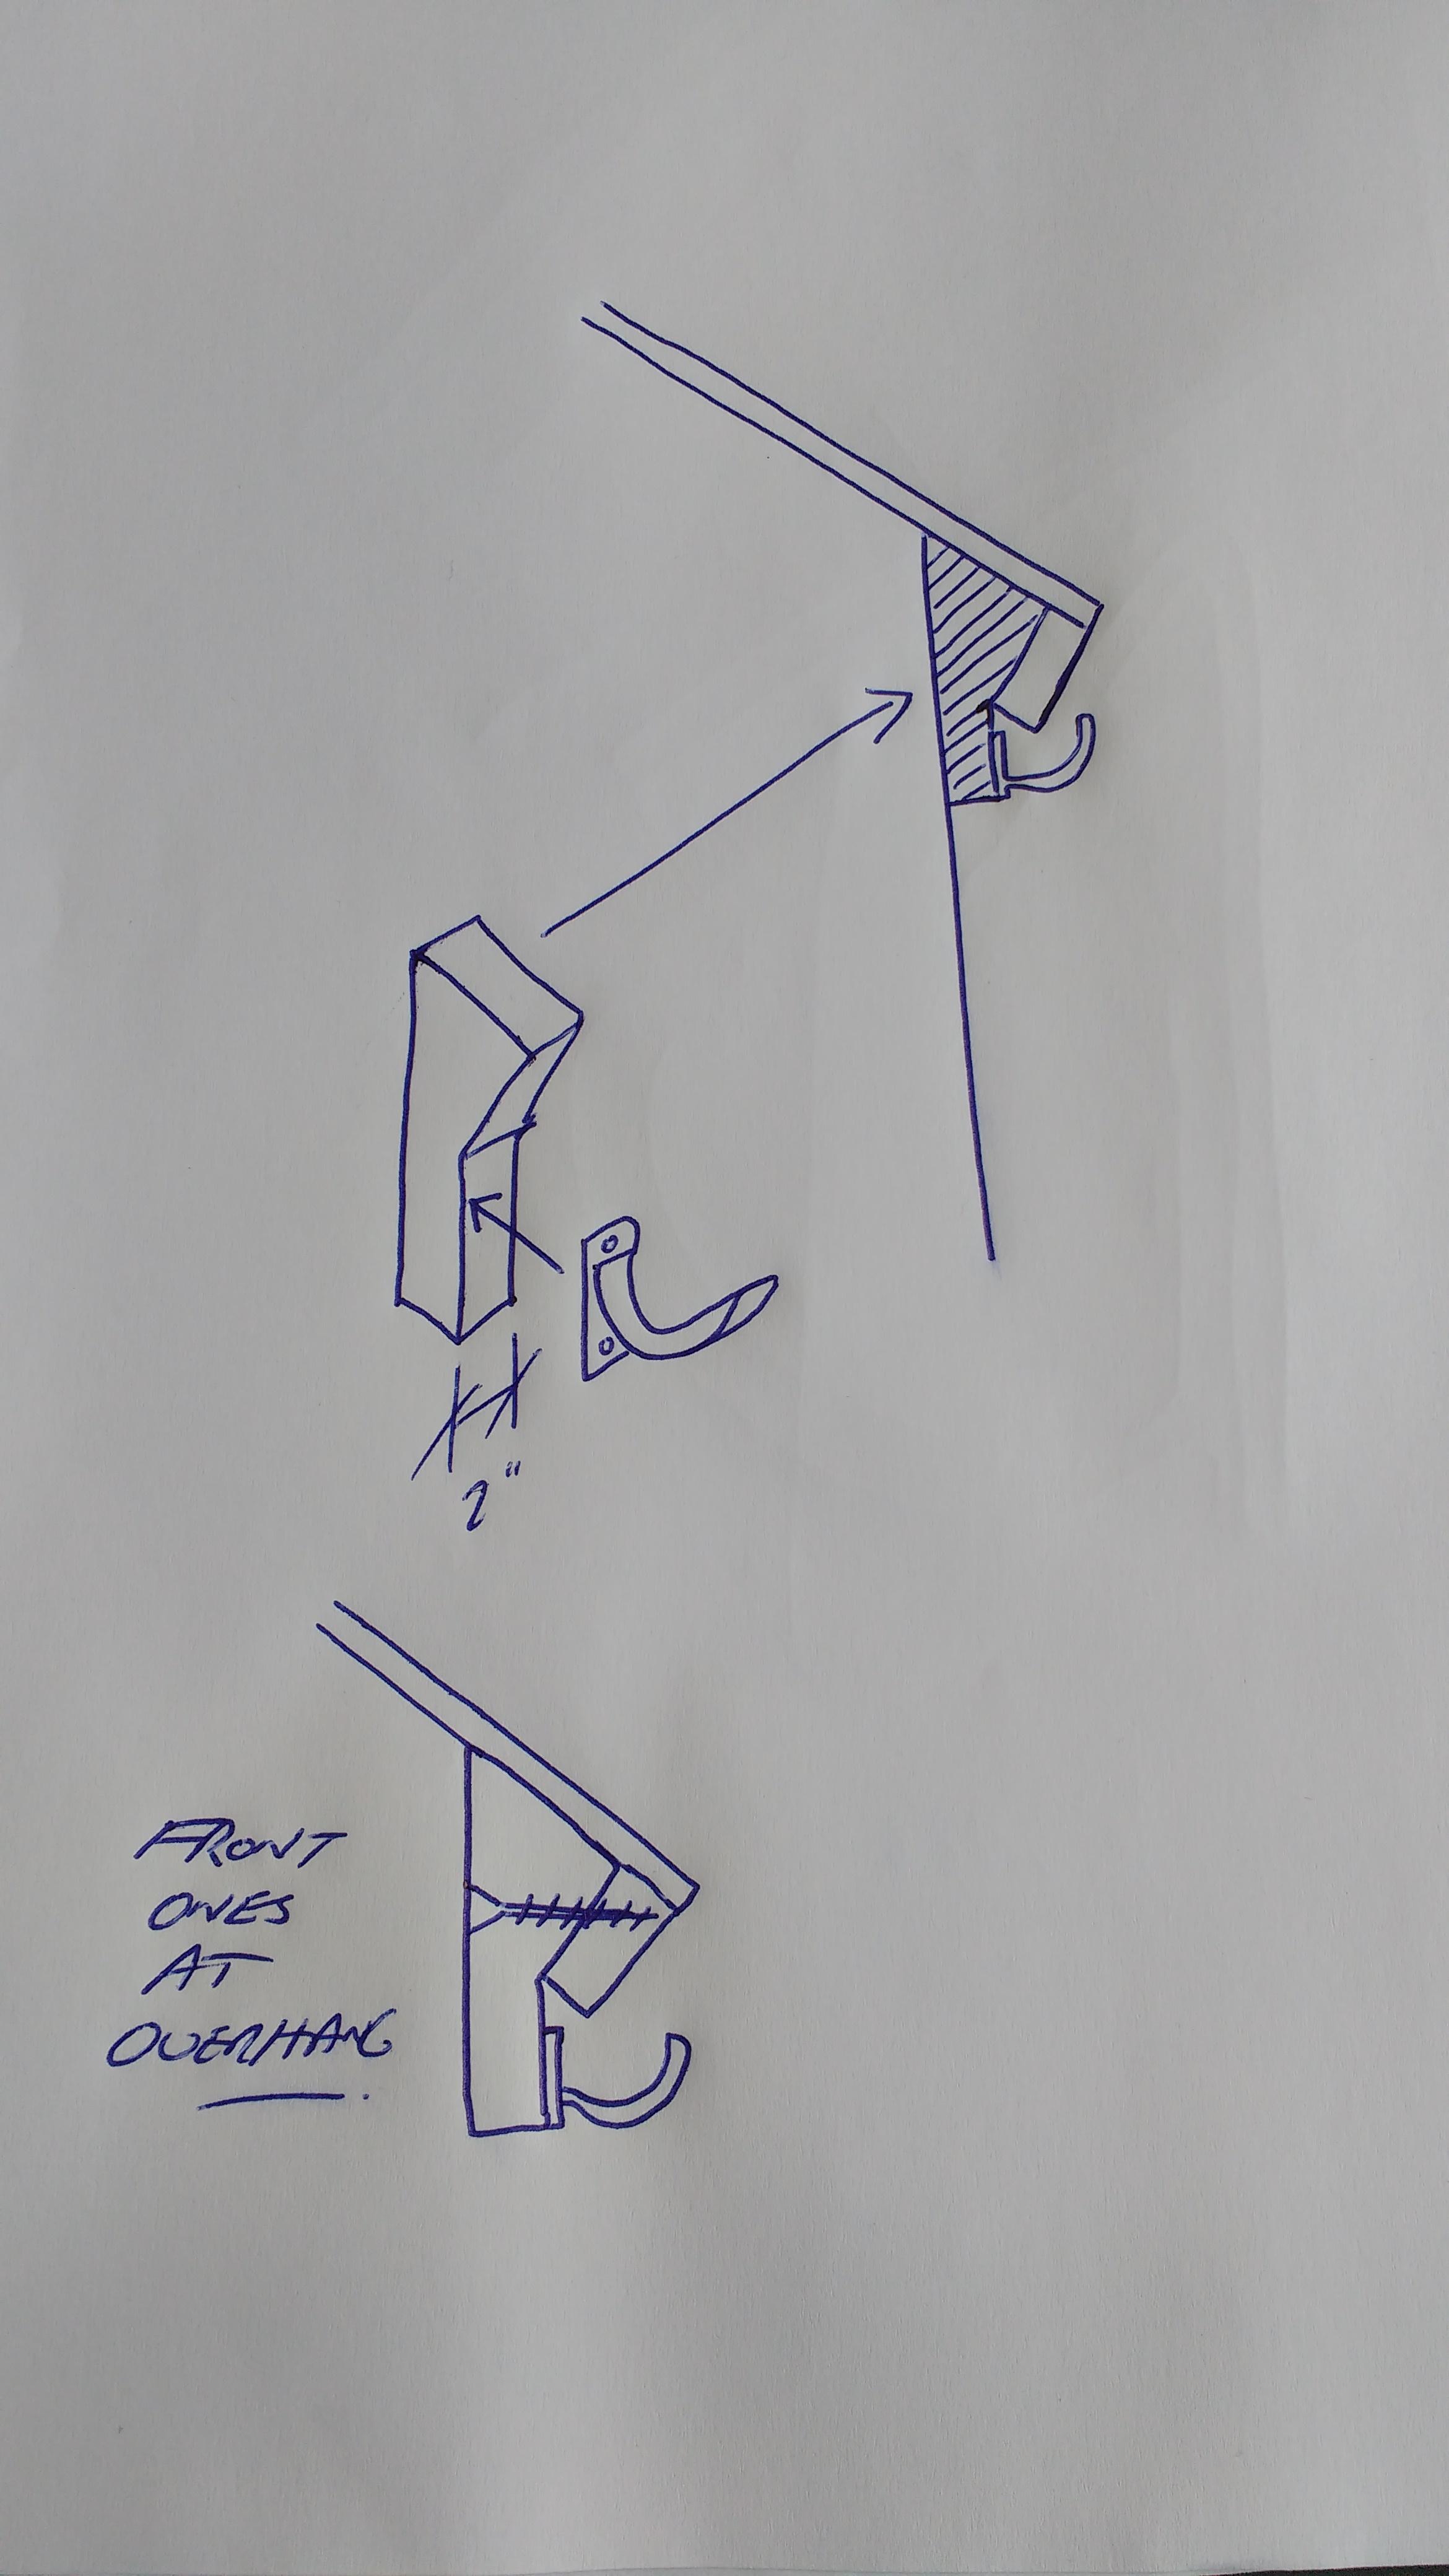
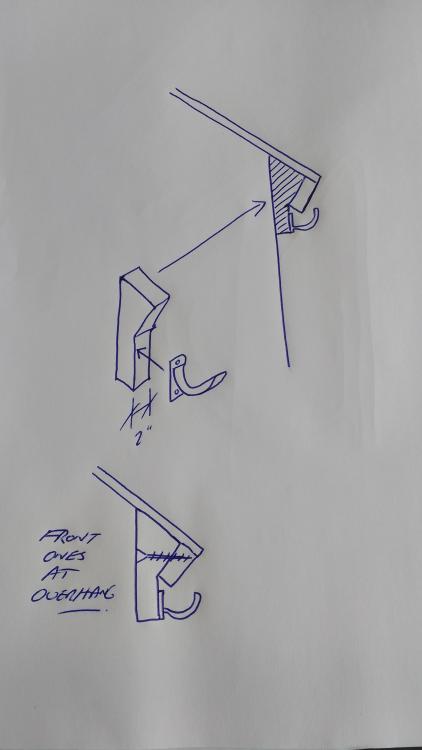
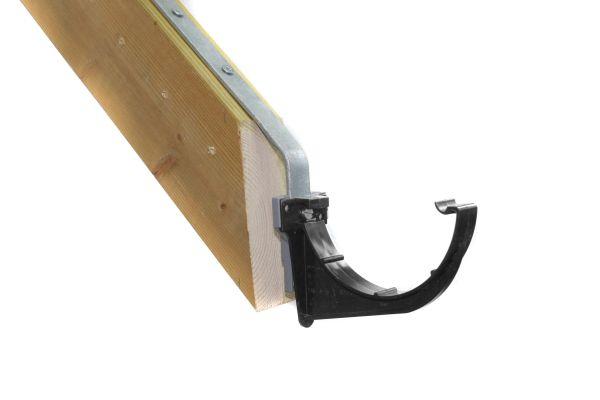
Fair shout. You'll have to give him a picture though! @zoothorn, how about this, no screws for the most part, or the brackets even. Just make a pattern from card then transfer to some 2" timber. The ones against the wall should just slide wedge in there - no screws. You will need screws at the front overhang where there are no walls:
.jpeg.4159361182ed1905b08f74d54855f804.jpeg)
-

Sink, bath and shower wastes in concrete floor
Onoff replied to Triassic's topic in Waste & Sewerage
Nope. My shower waste is a bit unconventional as in the wall anyway not the floor. The trap has a bit of insulation in the form of the perimeter strip: Tbh the shower gets that much use the trap will never dry out. -
At the front won't that block be fixing to thin air? Until he draws what he's got we won't know. Doable either at an angle or with a right angled drill attachment. Hold up Zoot I've an idea you might like, will sketch in a minute.
-
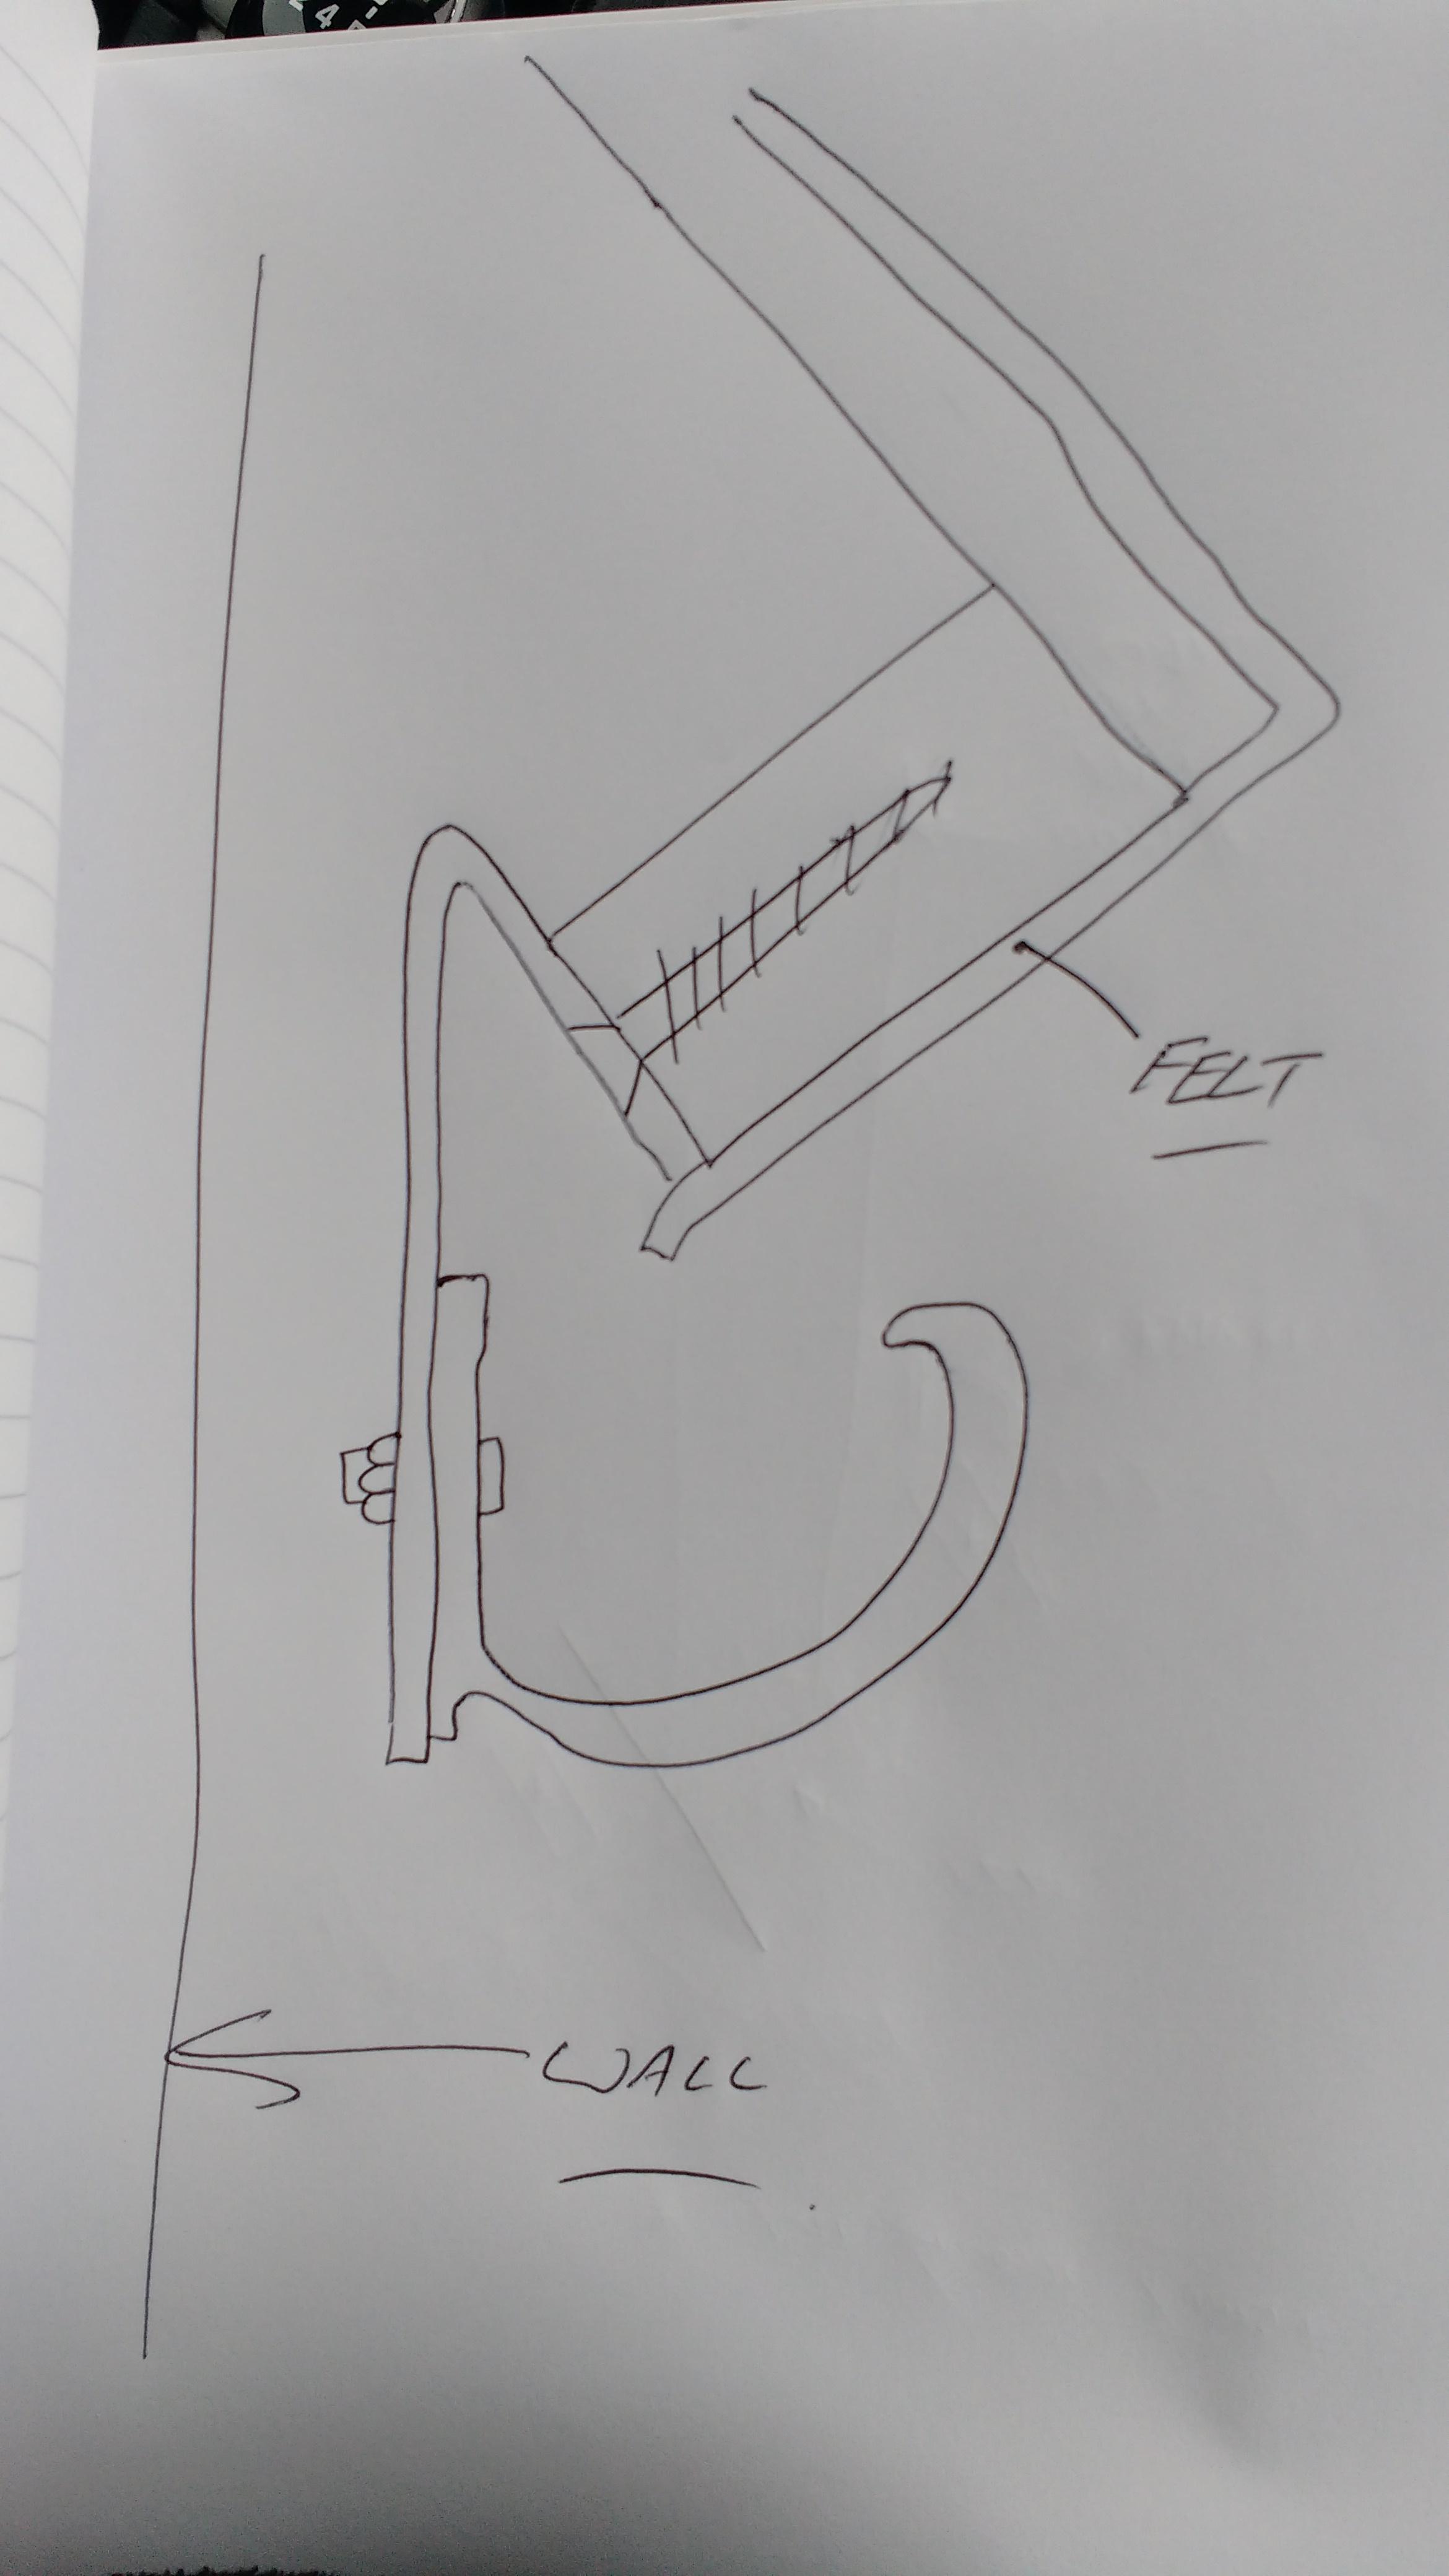
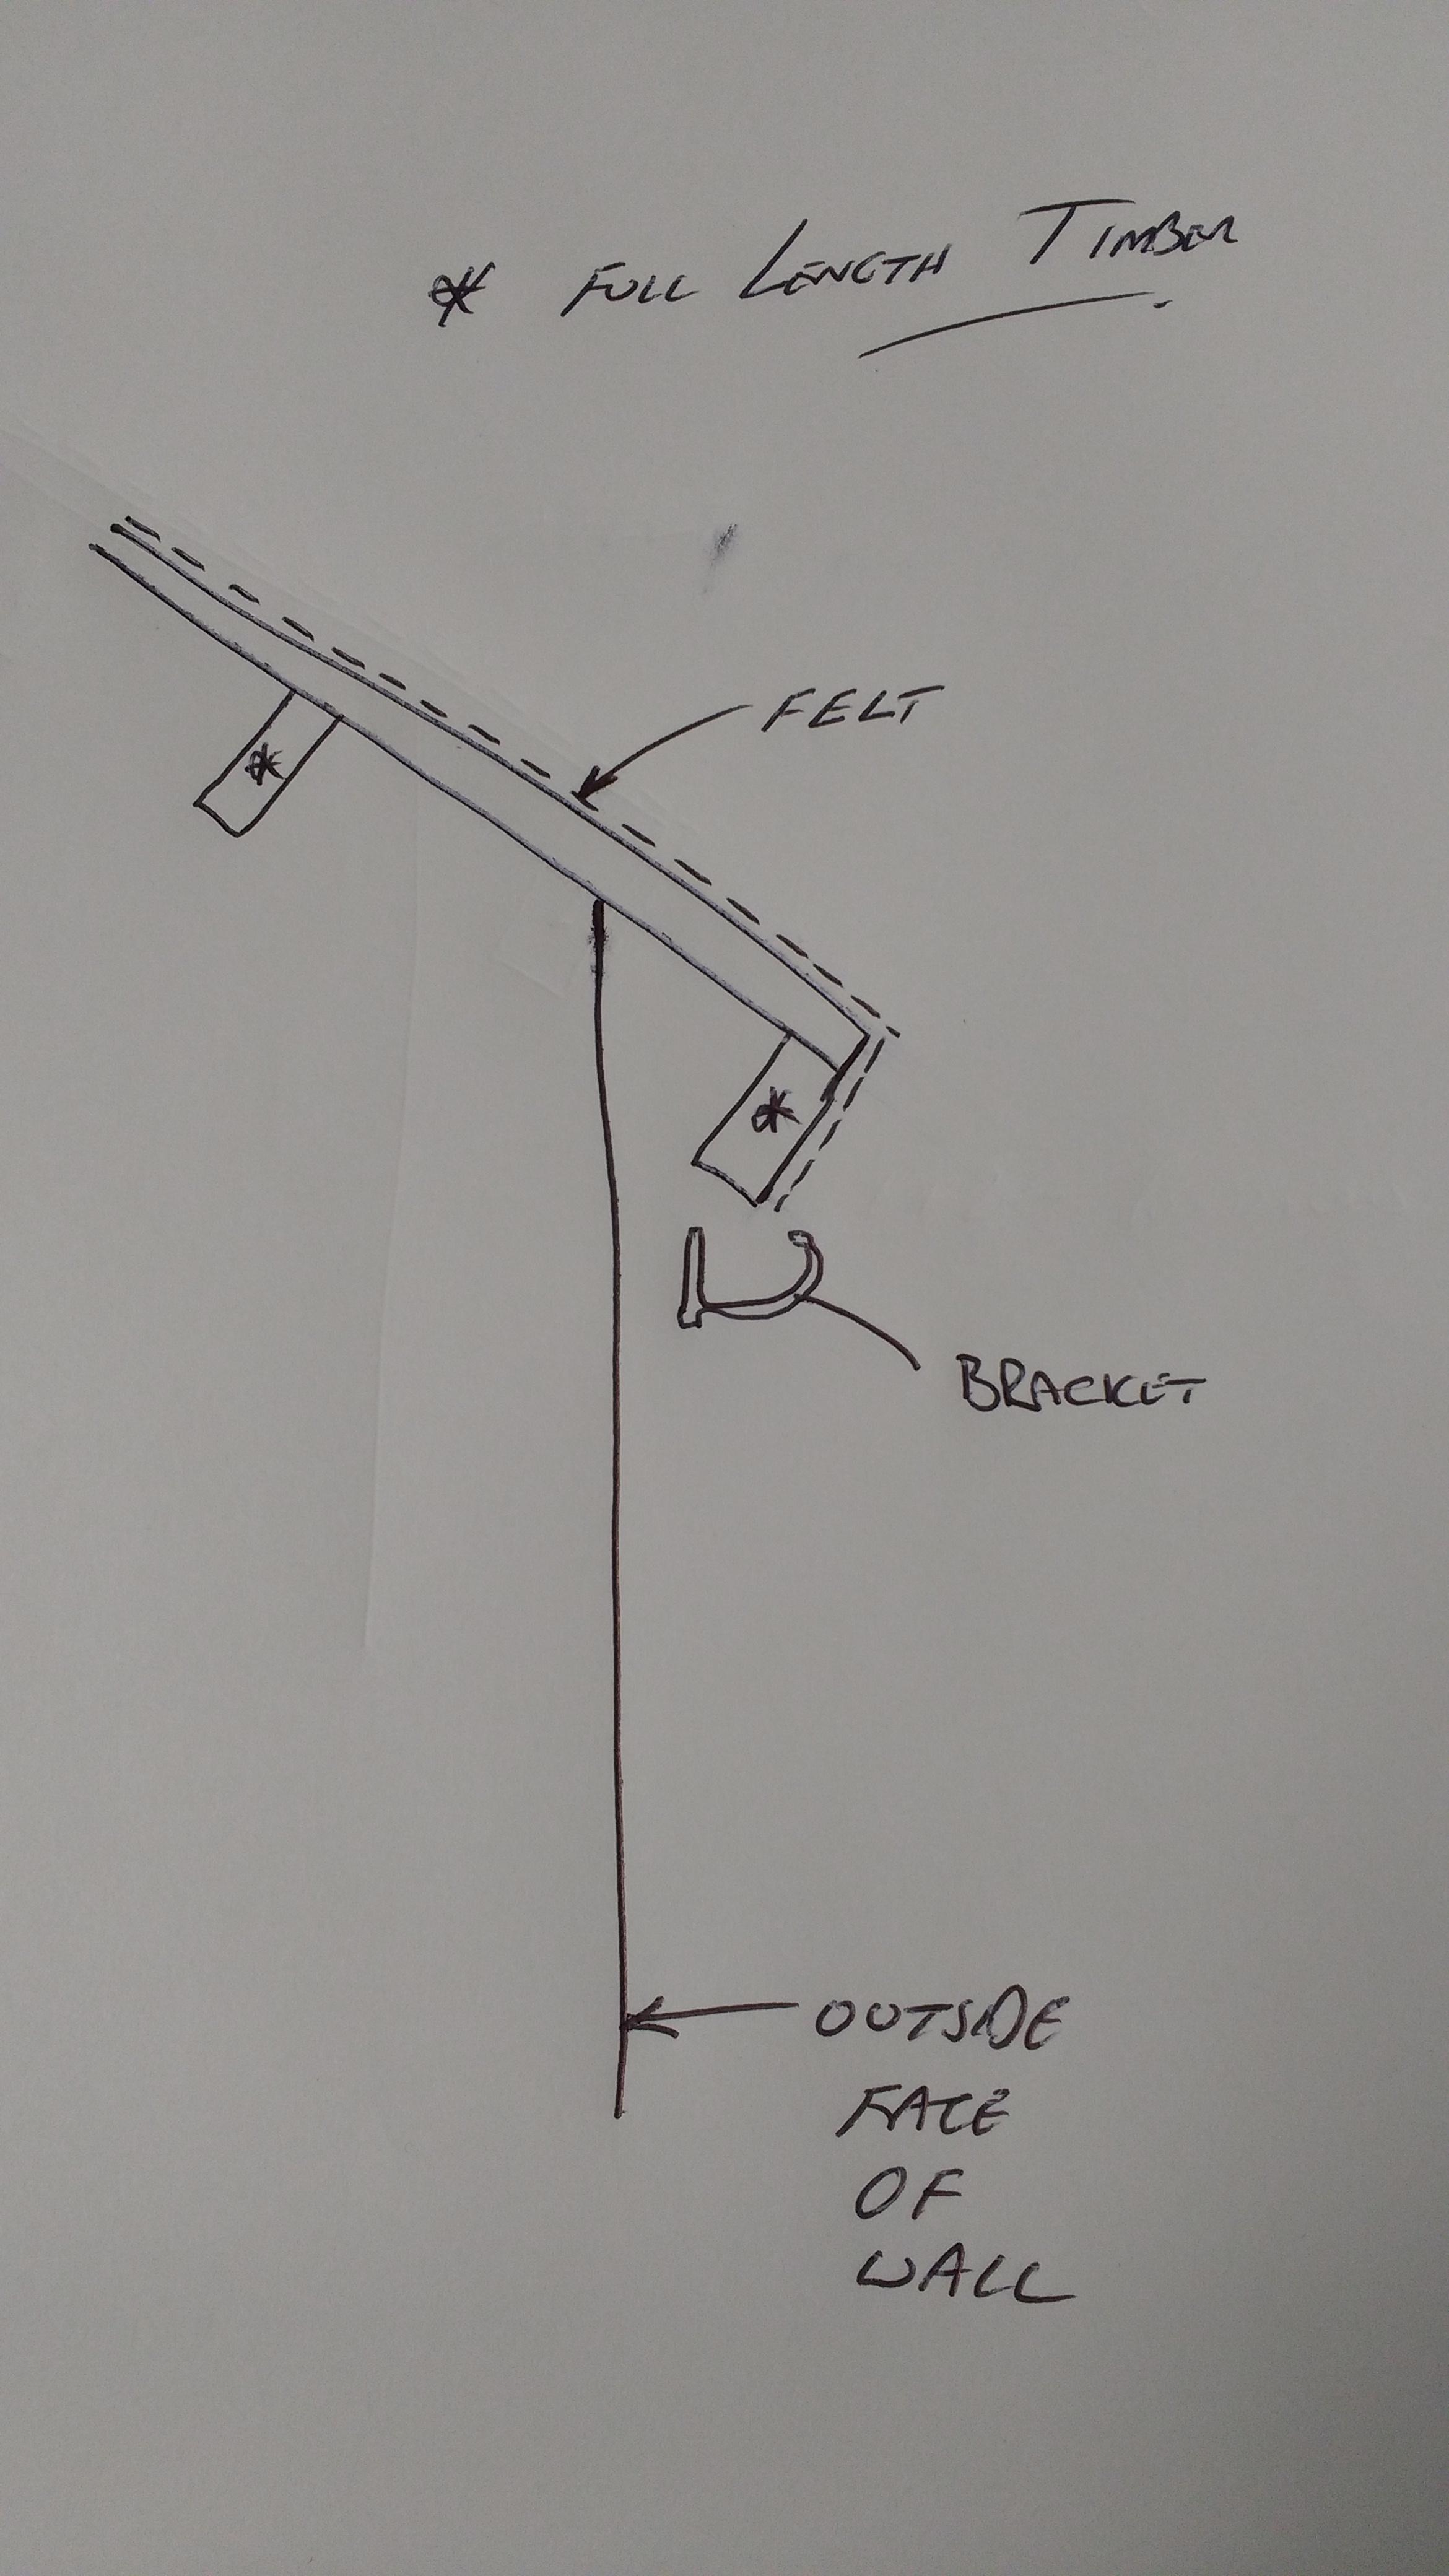
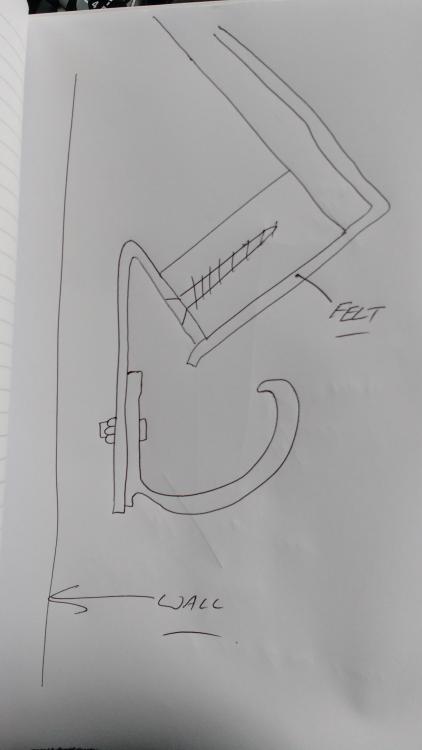
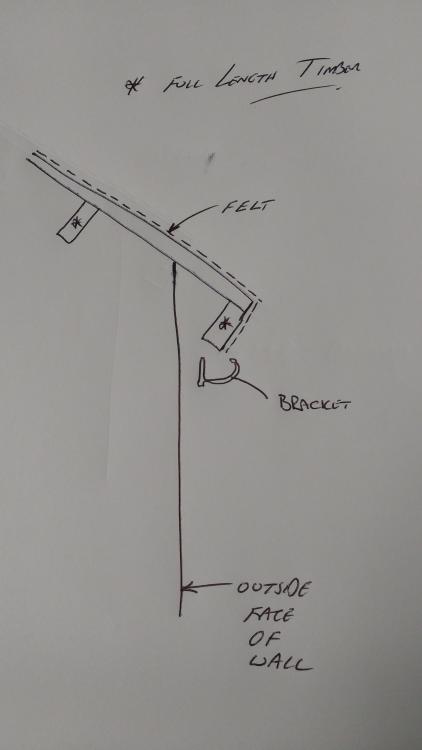
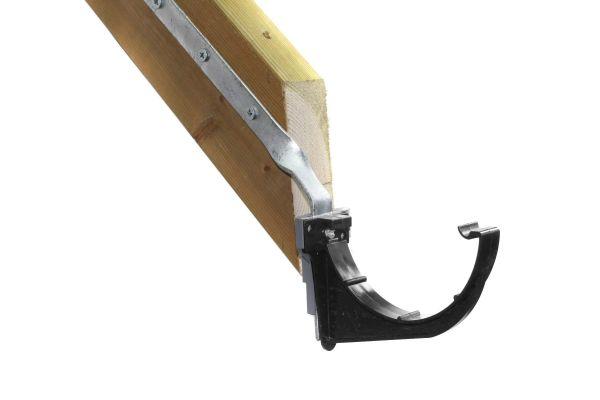
You have to be adaptable...and adapt what you have when you live in the cheap seats(like we do)! You could..... Run a continuous length of timber up underneath the roof overhang and affix your brackets to that. Something like: Just remember, you can do it, you're a winner!

-
I THINK his detail is like this...
-
You might glean something from this: https://www.electrical-installation.org/enwiki/Installation_and_measurements_of_earth_electrodes
-
Multiple rods to get the reading down, correctly spaced (there are guidelines)...or a copper earth tape in a long trench...or a bfo copper earth plate like an old HW cylinder run over a few times with the digger... ? Nothing to stop you combining the above. Increase the surface area of copper to earth is the key. (Dungeness power station had similar issues. They basically built it on a big metal mat).
-
This help?
-
Concealed toilet cisterns: Grohe vs Geberit vs Tece
Onoff replied to Adsibob's topic in Bathrooms, Ensuites & Wetrooms
I shopped around and got my two Geberit flush plates (Kappa 20 Chrome Gloss) for around the £25 - 30 off of I think eBay & an end of line place. Both bnib. Need another one. There's a few Geberit spares can be found and 3D printed from Yeggi. -
Didn't @Barney12 put a gshp coil in, very deep trenches from memory...did he ever connect it?
-
Didn't @Barney12 put a gshp coil in, very deep trenches from memory...did he ever connect it?
-
Got a cement mixer? ?
-
Wtf? Ladies accepting of different pans and frames ergo flush plates??? SWMBO here insisting on the same frames/flush plates and pans throughout. On the frames check, one Geberit fitted and two in storage ready to go. I need to get a 3rd Kappa flush plate from somewhere to make 3. The pans...so enamoured is she with our Bernstein NT2038 (wall hung, rimless), I have to get two more. £130 ish when I bought it from Germany originally. Now doubled in price!
-
@dpmiller, evening, figure you'll know! What's the mechanism on the reset button in the Riello burners? As in how does it work, what does it do exactly? Cheers
-
Just don't run to answer the door, smack your head and bite your tongue! Been there...
-
Do what our neighbour did and hire what I assume was cheap immigrant labour to do it by hand!
-
Solvent weld boss onto underground type soil pipe
Onoff replied to Carrerahill's topic in Waste & Sewerage
? https://www.ebay.co.uk/itm/262548478444?hash=item3d211bd9ec:g:LPUAAOSwaB5XmMv8 -
Casting window cills on-site.
Onoff replied to epsilonGreedy's topic in Bricklaying, Blockwork & Mortar
What happened to the cheap concrete pokers on eBay & Amazon? Doesn't seem that long ago you could get a no name tool with wand for £39.99 or less brand new. Silly money now. -
Casting window cills on-site.
Onoff replied to epsilonGreedy's topic in Bricklaying, Blockwork & Mortar
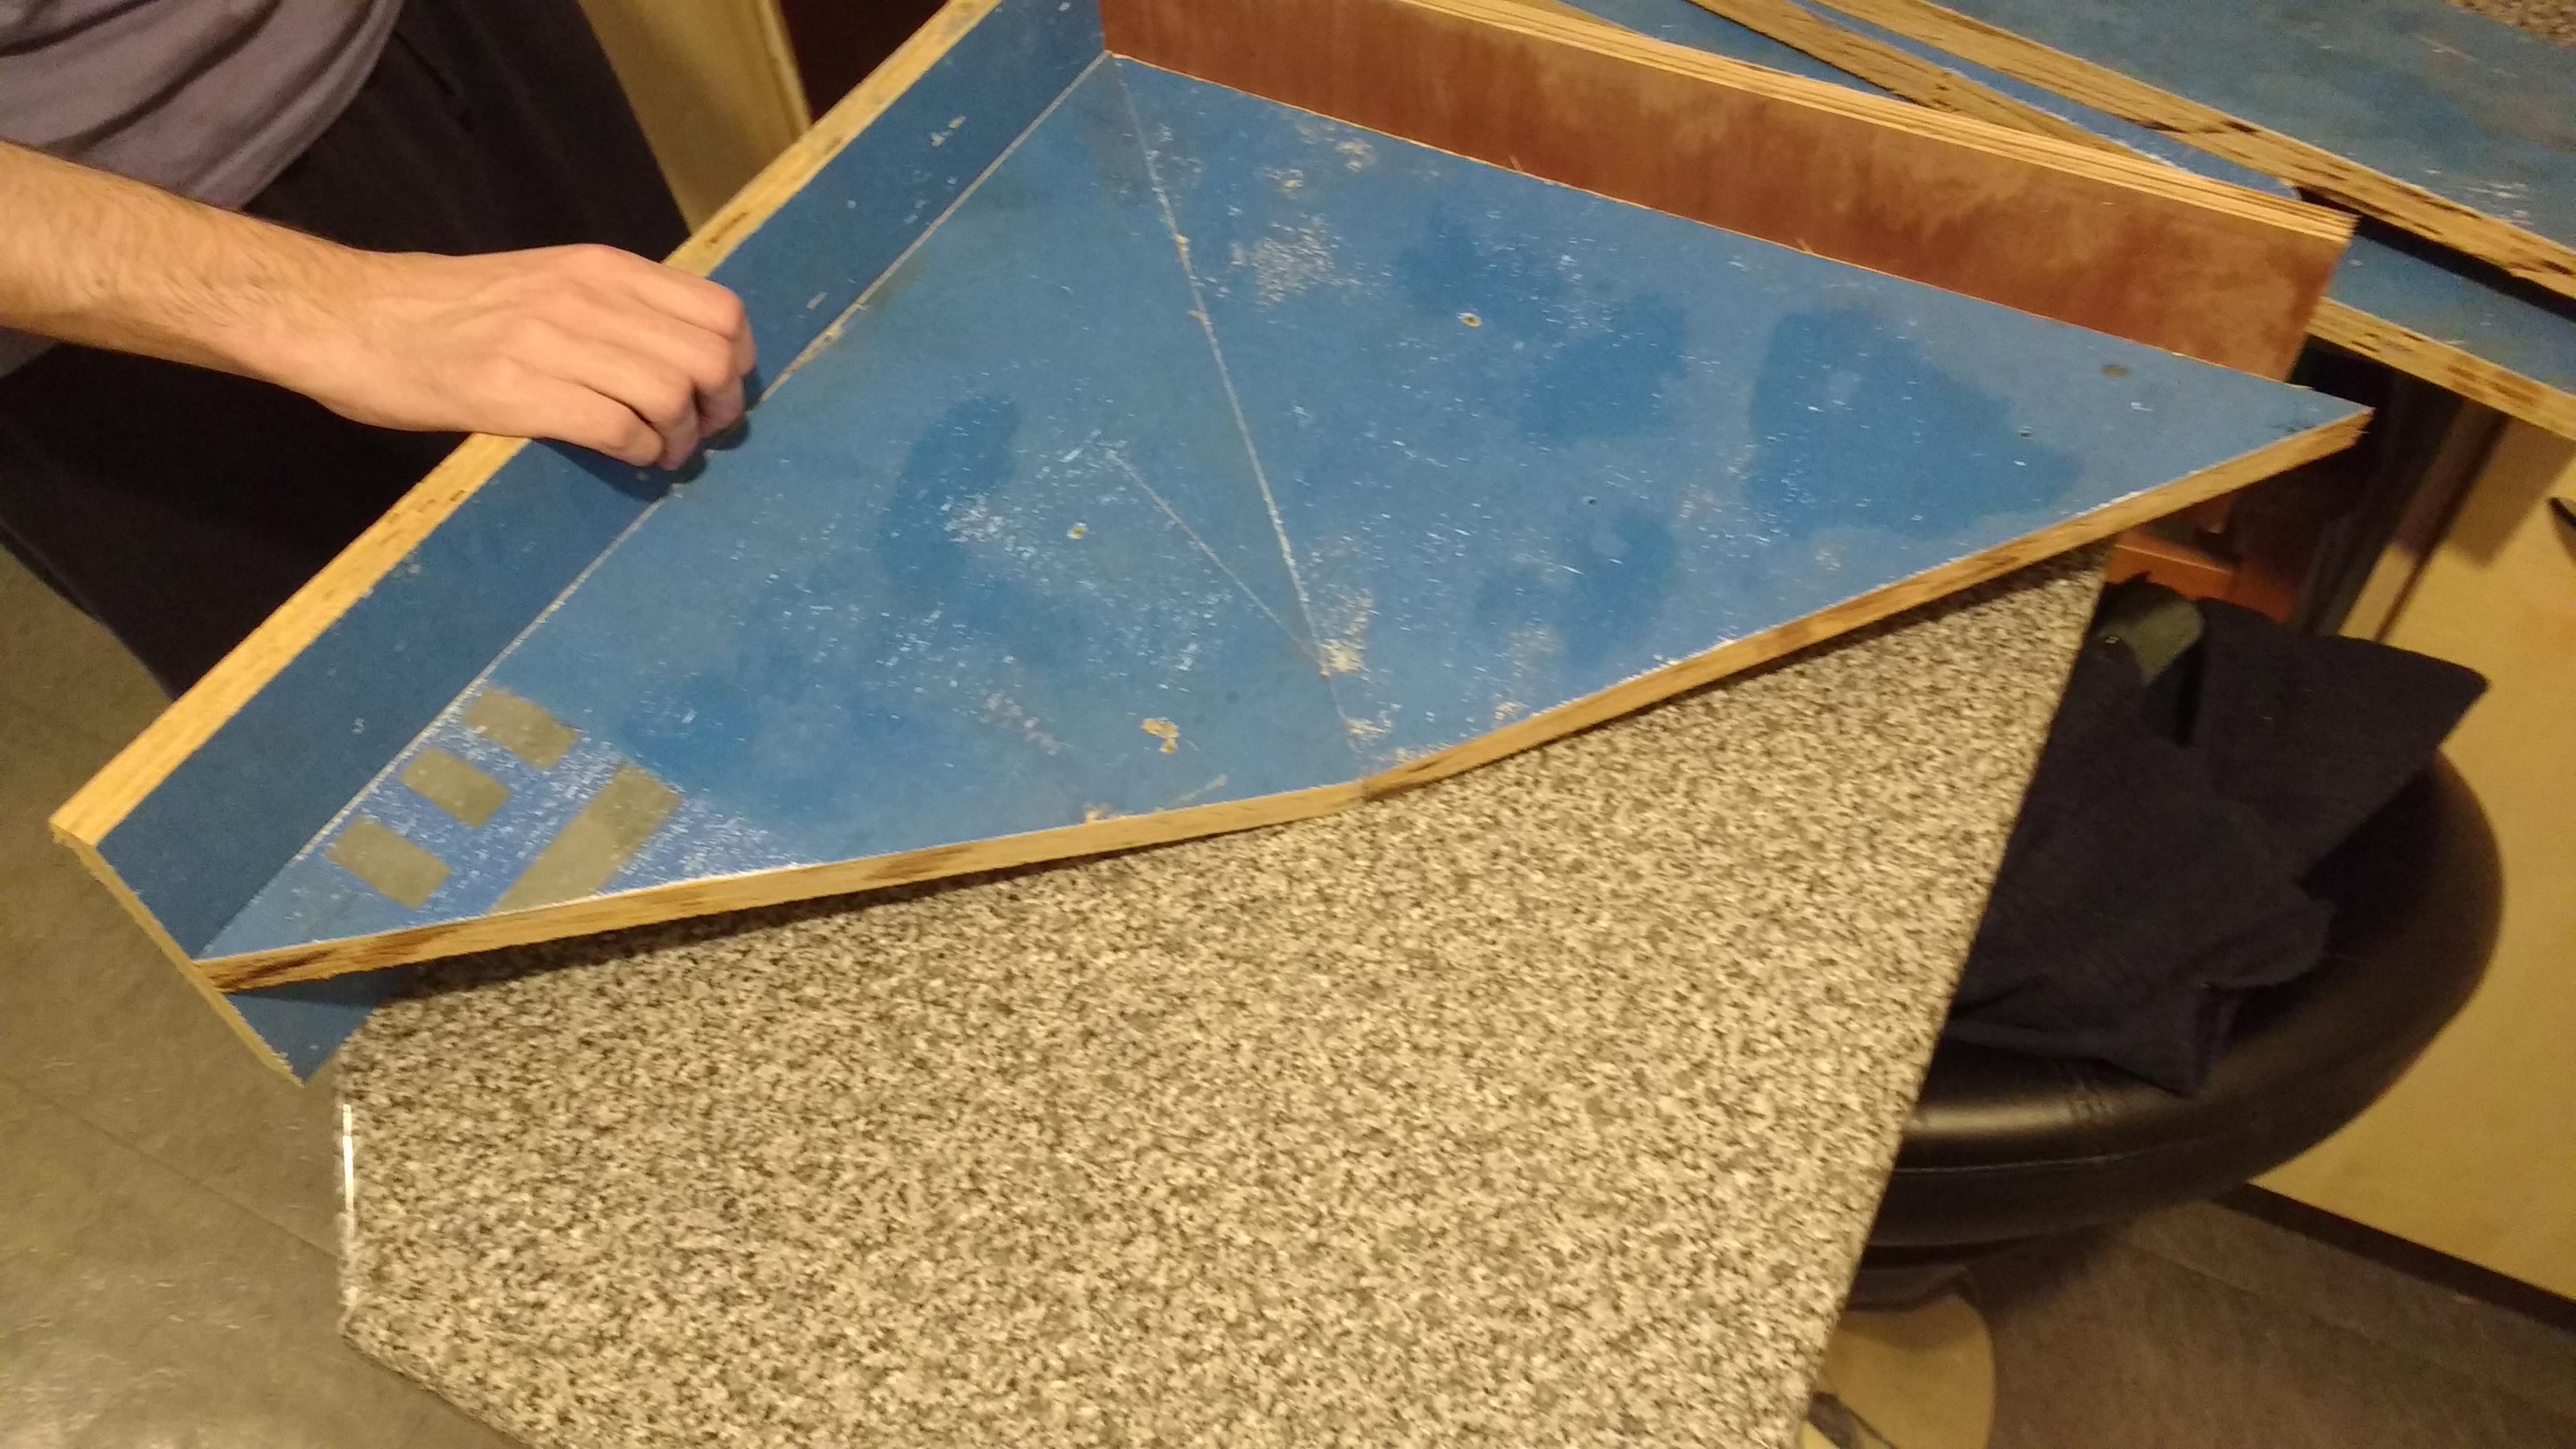
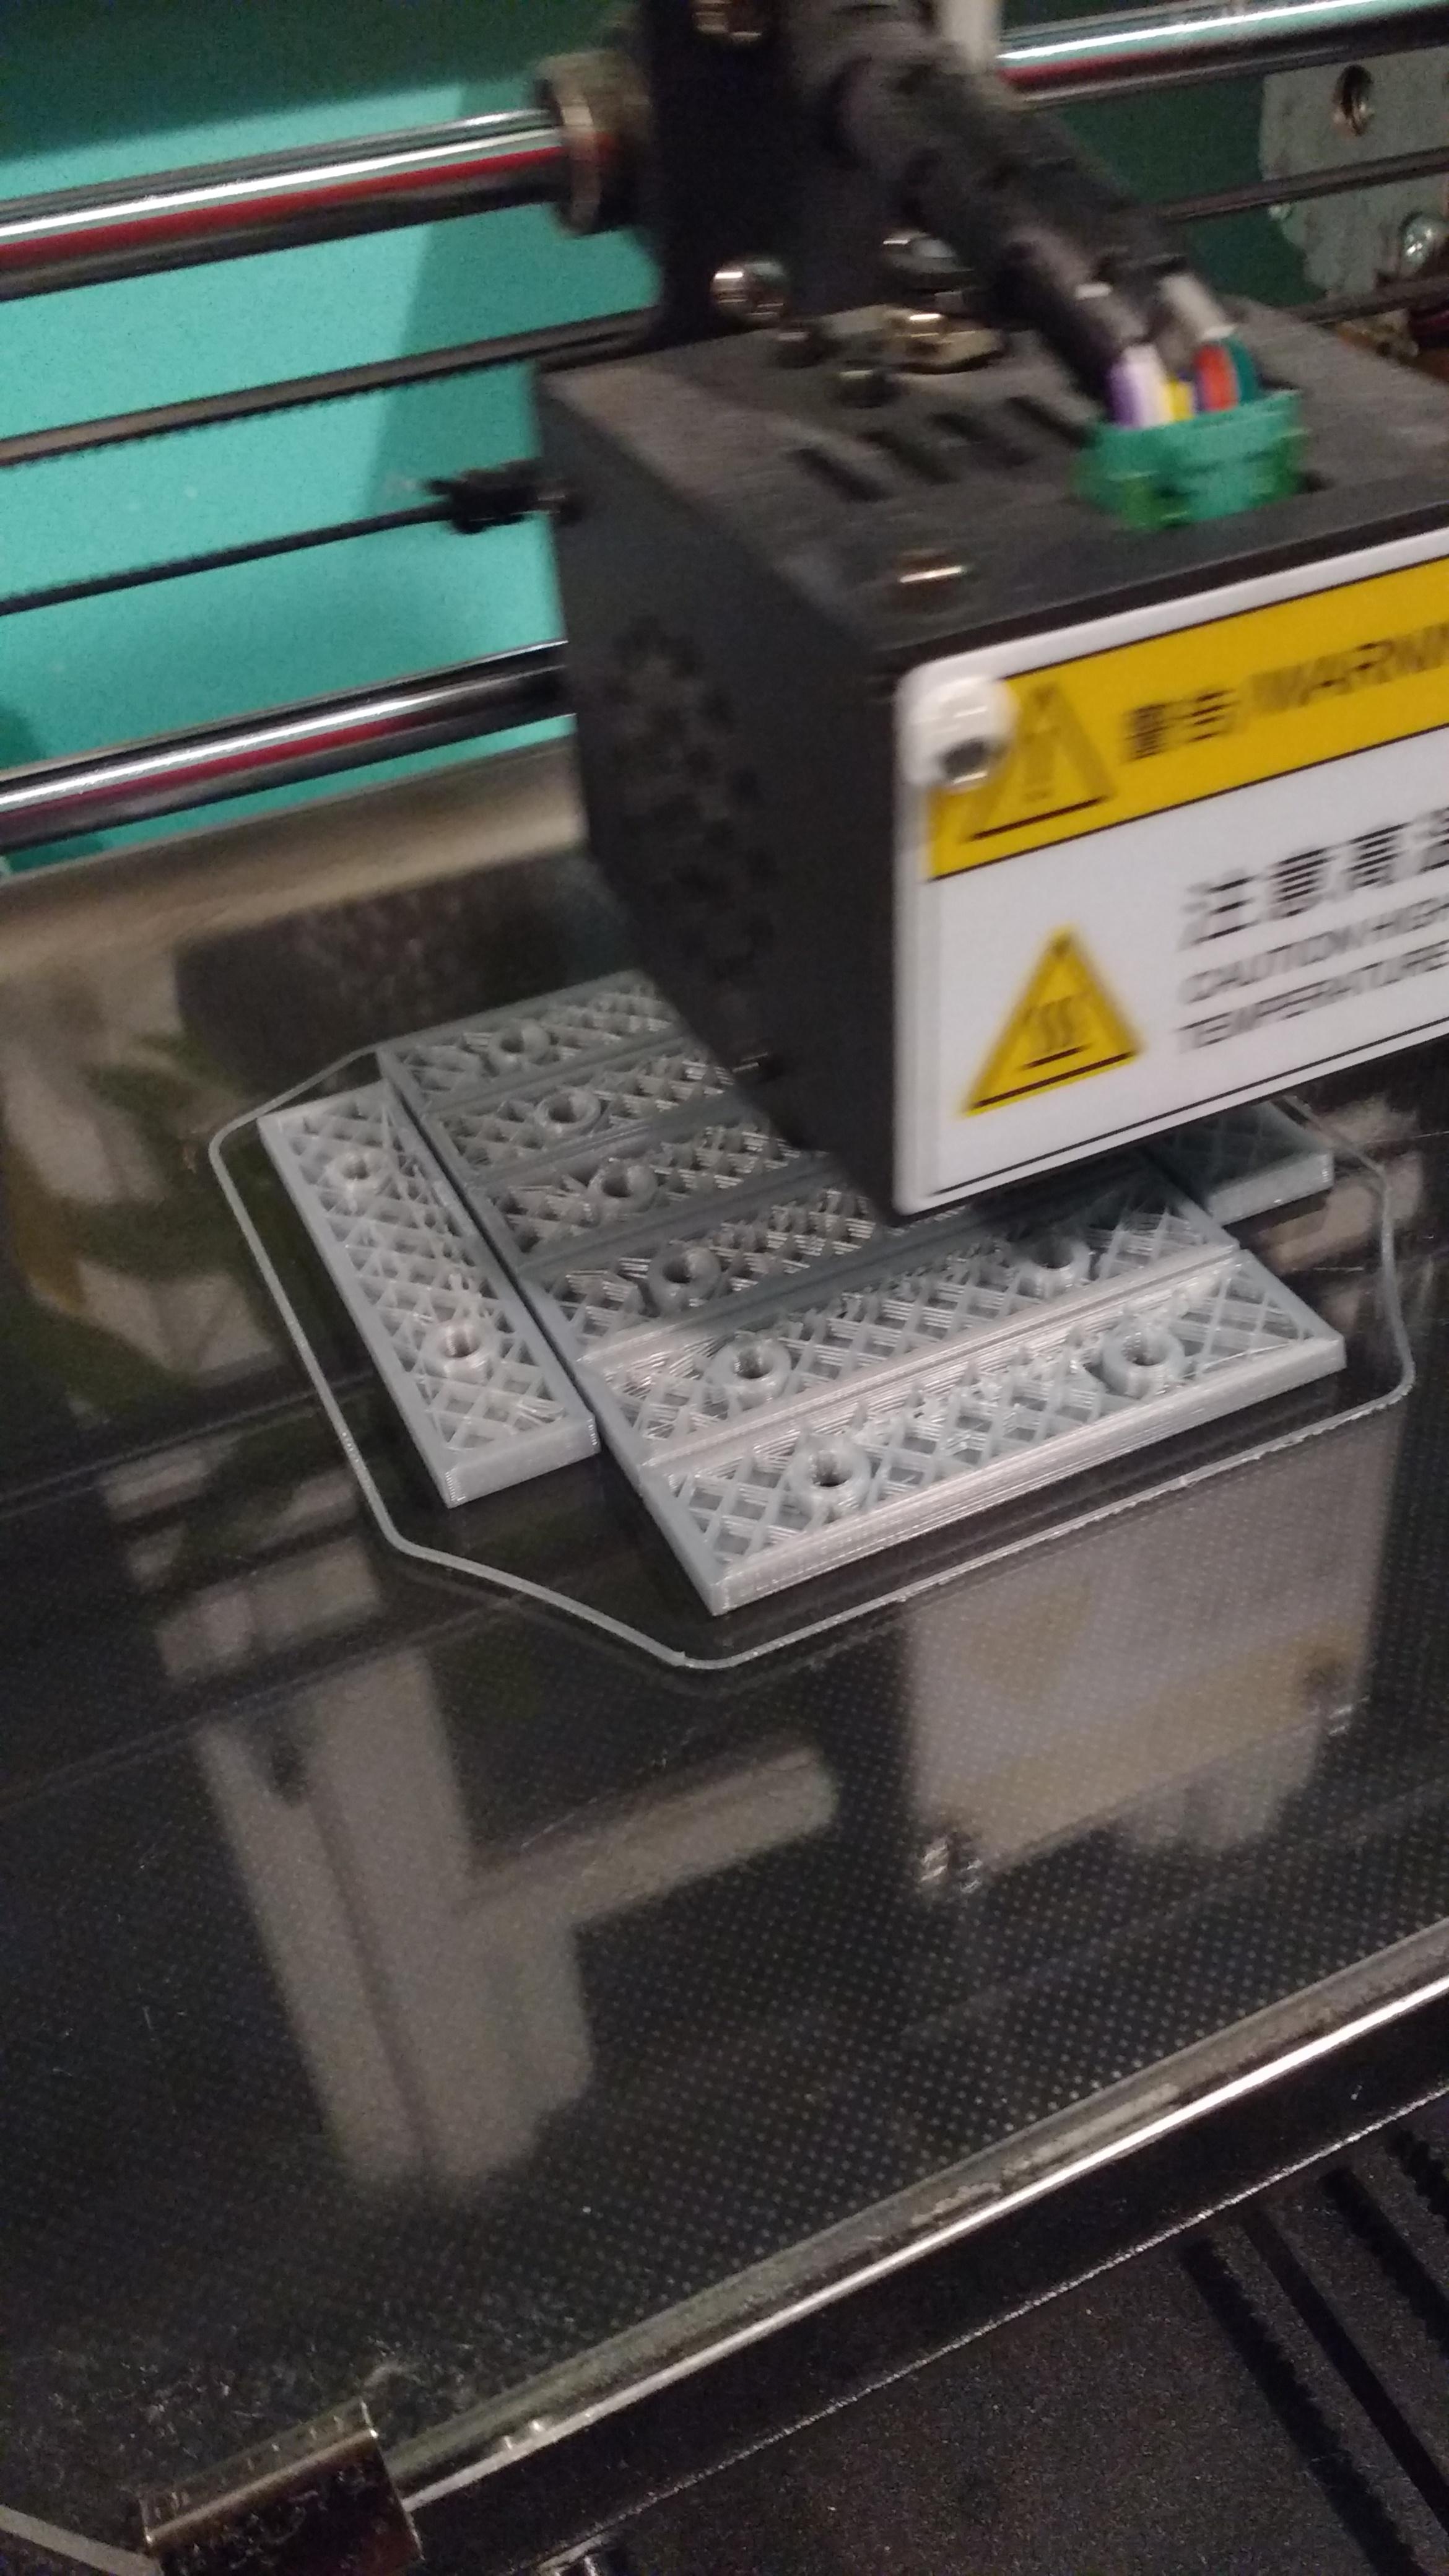
Looking like the mould idea will work. Some scrap 18mm ply (old site hoarding). The 3D printed bits will screw onto the sides. Tbh I should have done them at 9.5deg but they're at 9. These will support the top edge of the triangles that form the pyramid: I was aiming for 65mm and it's just over. Might change when all screwed together. I'm going to use spray adhesive and line the mould with DPM.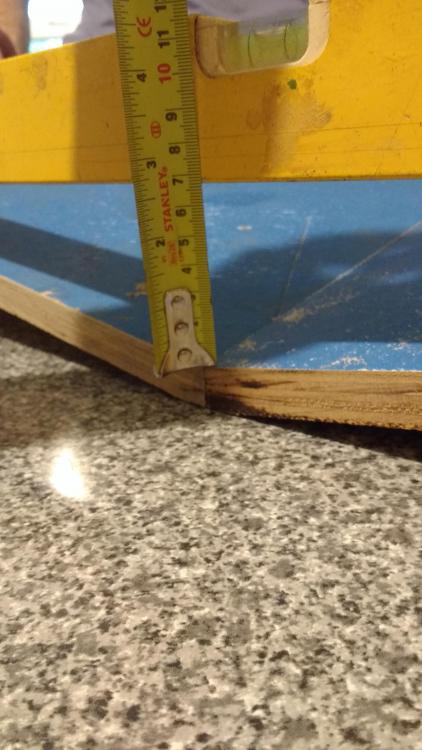


-
@Vijay, yep belt and braces. Gets pretty steamy in there do I went mrpb on the walls and ceiling. I did make my own niches up. Took some figuring out. Just studwork lined with Aquapanel then tanked and tiled. Around the part sunken bath it's mrpb and marine ply, again tanked.
-
Workshop: Advice wanted, and very much needed!
Onoff replied to Omnibuswoman's topic in Garages & Workshops
With taped joints? -
No such thing I don't think as waterproof plasterboard. There is moisture resistant, the green stuff. I think @Nickfromwales uses just that rather than cement board and "hasn't lost a patient yet". I used moisture resistant pb for some of the bathroom then 12.5mm Knauf Aquapanel in the wet room corner so where its abutting the mrpb it's the same level. The wet room corner. All this got tanked after: (Floor was tanked along with the walls before the tiles went down). You can see the mrpb on the right then where it changes to Aquapanel above the window: Cutting the cement boards...can be tricky. They're heavy and have sharp/hairy edges. I used an old circular saw. Also carbide grit edged jigsaw blades. Starrett cutters for drilling holes for pipes etc. https://www.toolstation.com/tungsten-carbide-grit-jigsaw-blades/p67688? The cement boards aren't as bendy/forgiving as mrpb. Easy to get a hairline crack in them (no big deal I don't think as they've a reinforcing fibre mesh throughout). You need special screws for them too.
-
Casting window cills on-site.
Onoff replied to epsilonGreedy's topic in Bricklaying, Blockwork & Mortar
Ta. CAD concurs at 394.3mm on 2 sides. I get 9.49deg on those sides & 13.3deg on the 550mm side. Making some supports to go inside the mould: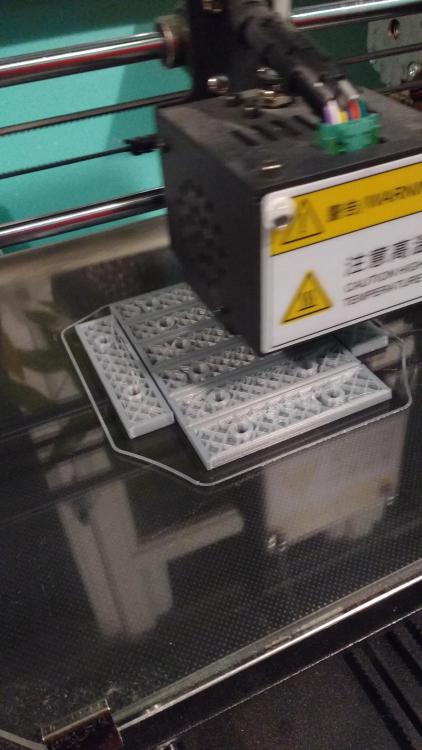
-
I veed the Celotex where the pipes run in my walls. Then foamed and fitted the top section of the V back in. Foil taped over the top.
-
Workshop: Advice wanted, and very much needed!
Onoff replied to Omnibuswoman's topic in Garages & Workshops
9mm on the roof might even sag over time and you'll end up with washing up bowl like depressions where the water will sit.