Onoff
-
Posts
21135 -
Joined
-
Last visited
-
Days Won
206
Everything posted by Onoff
-
I have a black bin bag, folded back on itself to make like a bin. That plus lots of bog roll. Have the bog roll ready and torn into two sheet pieces. When you see a lot building up on the Cramer tool, stop, remove from the tool with bog roll and drop straight into the bag.
-
You could minimise the staining by masking with tape but set the tape a tad wider than where the bead will finish. Do not plan to peel the tape off to give you as clean edge. That will lift the bead edge slightly and allow muck in to go mouldy. I used the Cramer kit. Cleaned the area first with Multisolve. https://flic.kr/p/2dDDn5o https://flic.kr/p/2dHvhmN
-
I got an answer back. From a bot it would appear but it was a pretty much instant response: "Good afternoon, Regarding your question about running two Indra Smart Pro chargers on a single-phase supply: yes, this is possible with each charger using its own CT clamp on the same incoming meter tails for independent load curtailment. On a single-phase installation: - Each charger can independently monitor the total load on the supply using its own CT clamp and will adjust its charging rate as needed to protect the main fuse. - Each CT clamp should be installed at the main supply, before any junctions, and as close to the main cut-out fuse as possible, with the arrows facing the grid (incoming supply). With this setup, both chargers will independently perform load curtailment based on the total current measured by their own CT clamps, so there is no requirement for a dedicated multi-charger load-sharing configuration in this scenario. If you have any more questions or would like help checking your planned setup details, just let us know and we can escalate this to a human agent for you. Thank you for contacting Indra Renewable Technologies Ltd. Best regards, Indra Renewable Technologies Ltd AI Agent"
-
I've asked this specific question over on the OVO forum: "Can two Indra Smart Pro chargers each be fitted with their own CT clamp on the same incoming meter tail, allowing independent load curtailment on a single-phase installation, or do the chargers require a dedicated multi-charger load-sharing configuration?
-
Well, at least having two plugged in simultaneously.
-
I currently have one EV charger on my detached, double garage and am looking to fit a second, identical charger so there'll be one either side of the garage. Symmetry and practicality etc. My charger is a UK made Indra Smart Pro. The single phase, overhead, mains electricity supply comes into the main house. After the incoming 100A fuse the supply is split via Henley blocks to the house consumer unit and a 60A switch fuse. At the 60A switch fuse is a 100mA Type S RCD. This then feeds the garage. From the switch fuse a 16mm², 3 core, SWA goes to a new garage consumer unit. I've used the 3 cores for live, neutral and earth. The steel wire armour is also earthed. For the current EV point I have a 40A, C curve, 30mA, double pole, bidirectional, RCBO fitted in the garage consumer unit. The EV point is fed from there via a 10mm² SWA. The EV charger has current sensing. A cat-6 cable runs all the way from the EV charger to the house consumer unit where it terminates in a current transformer on the house incoming live cable. This ensures the EV charger cannot draw too much current if the house demand is high. I'm mulling a second charger from the garage consumer unit, again with a cat-6 cable running back to the house incoming live cable? I'm trying to think how it would work, but gut feeling is it's a non starter. The charger(s) is 7.2kW so a little over 30A hence the 40A RCBO. Two together would be over 60A so I'll likely need to up the switch fuse to 80A. Presumably if one charger was charging and you plugged in the second, the second would limit it's charging. If though in say the dead of night you had both chargers going at full chat then at the house whacked on say a 40A electric shower what would happen? Would both chargers see the increased draw at the house and limit their output? There are I think intelligent, third party current balancing devices for when using multiple EV chargers. As time goes on, this will undoubtedly be a thing. Something like this maybe: https://www.tlc-direct.co.uk/Technical/DataSheets/SYEV/EV_Balancer_Instructions.pdf Anyone else done it?
-
-

Expensive for sure …. Glass ….
Onoff replied to Pocster's topic in General Self Build & DIY Discussion
Been walked on? Nickel sulphide inclusion? -
You'll very likely get a secondhand chop saw on Facebook Marketplace for not much money and local to you. The orange Evolution saws often come up. Fine for the level of accuracy you need for that.

-
Is there an inexpensive MVHR diy option?
Onoff replied to Wadrian's topic in Mechanical Ventilation with Heat Recovery (MVHR)
This is inexpensive: http://www.builditsolar.com/Experimental/DIYHRV/DIYHRV.htm -
Sound proofing portion walls.
Onoff replied to Russell griffiths's topic in General Self Build & DIY Discussion
The 16mm soundblock (blue) board I used does what it says on the tin. -
Danum TLE roof tile disappointment
Onoff replied to Selfbuildsarah's topic in Roofing, Tiling & Slating
You could ask the tile supplier for all your money back then buy some paint with the proceeds: https://premiumpaints.co.uk/products/everest-trade-ultimate-acrylic-roof-and-tile-paint-high-performance-multiple-sizes? -
Danum TLE roof tile disappointment
Onoff replied to Selfbuildsarah's topic in Roofing, Tiling & Slating
Paint with live yoghurt or spray with water/manure mix. That'll soon get a nice uniform, aged finish. -
Contacted Starlink Weds evening. New gen 3 router turned up today. The only downside is that the new cable is different to the old. I now have to crawl through the loft space in this heat to fit the new cable and unclip the old one.
-
Insulation upstand when not having skirting board?
Onoff replied to flanagaj's topic in General Flooring
Wet as in slopping around the barrow. Left it about two years I think before tiling just to make sure! -
What about Pink Stuff? Been surprised at what that shifts, calcium deposits engrained on glass etc.
-
I'd try a bathroom / kitchen limescale remover.
-
It was caused by "concrete"? Yeah, right! 😉
-
Insulation upstand when not having skirting board?
Onoff replied to flanagaj's topic in General Flooring
You bolt / screw a rail on each opposing wall (I used unistrut), set dead level. You then make a tamping bar that "hangs" on the rails, with it's underside at finished slab level. Then just barrow in your screed or concrete and drag/fill/tamp to level. I did 4:1 concrete. Used Everbuild 202 integral waterproofer as an admix that also incorporates a deaerator i.e less bubbles & less tamping to get them out. I'd do it this way again in a heartbeat: I am however a bit odd. You can set your screed rails in the floor so to speak, fill/tamp to them then pull them out and fill where they were. -
Insulation upstand when not having skirting board?
Onoff replied to flanagaj's topic in General Flooring
How wide is your garage? Set up screeding rails either side and tamp to them. Can't go wrong and more level than a level thing. If mixing concrete yourself add deaerator. -
Our Starlink gen 2 died about 7am this morning we think. The LED on the router no longer lights up. It had been working since the thunder / lightning storm Monday night. Lad contacted them. "Yes, we can see a problem with your set up, we'll send you out a gen 3 kit, foc, under warranty, asap. Do whatever you want with the old kit". Can't fault the service.
-
Screwfix No Nonsense remover worked for me.
-
What Liquid Damp Proofing before applying Tile adhesive ?
Onoff replied to Spinny's topic in Waterproofing & Sealants
Why not tank the surface? -
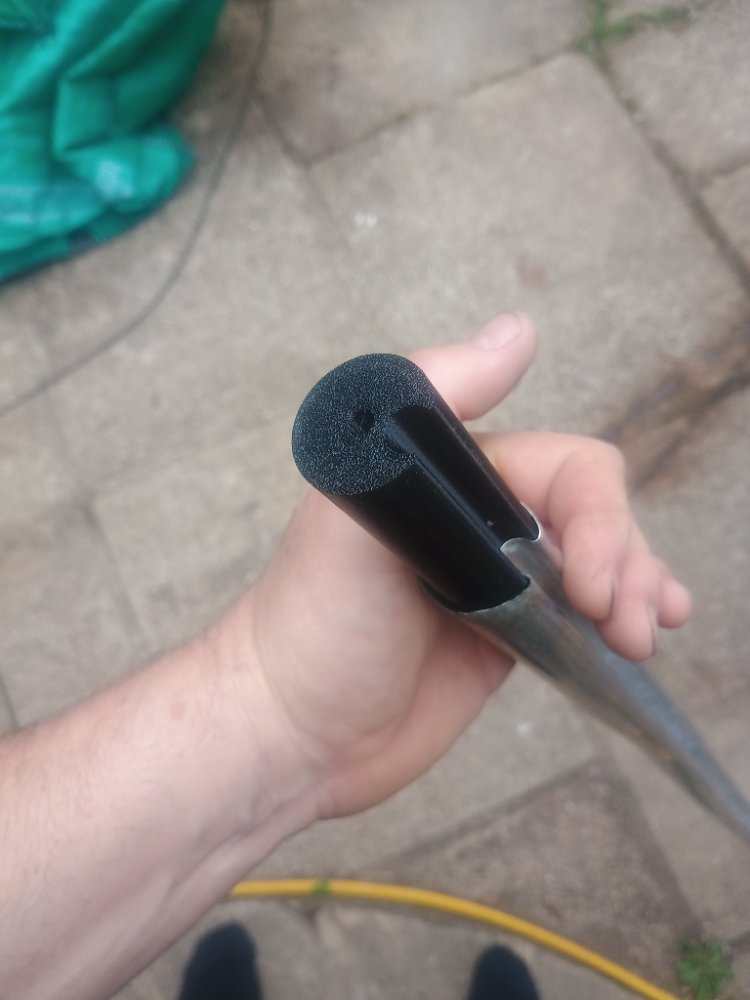
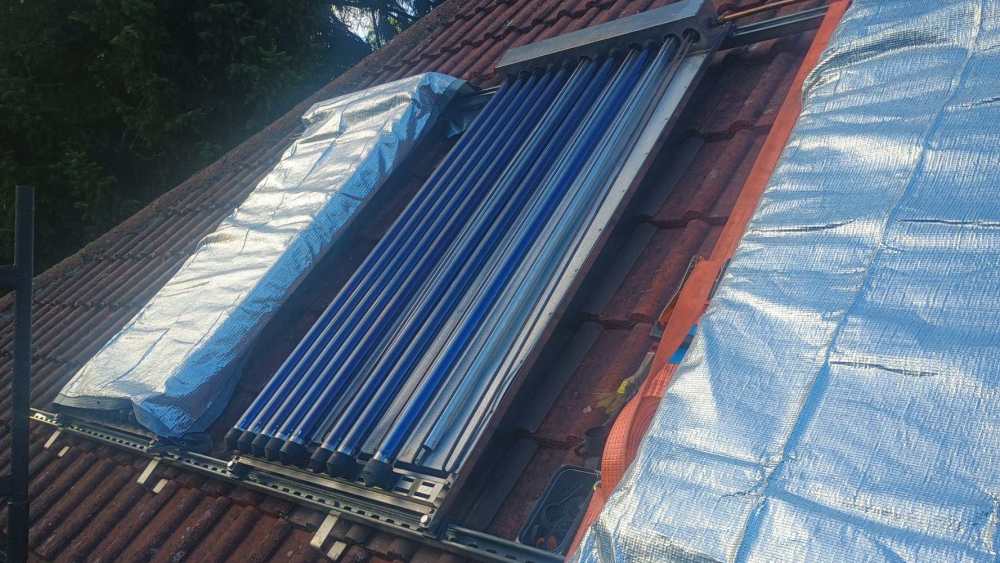
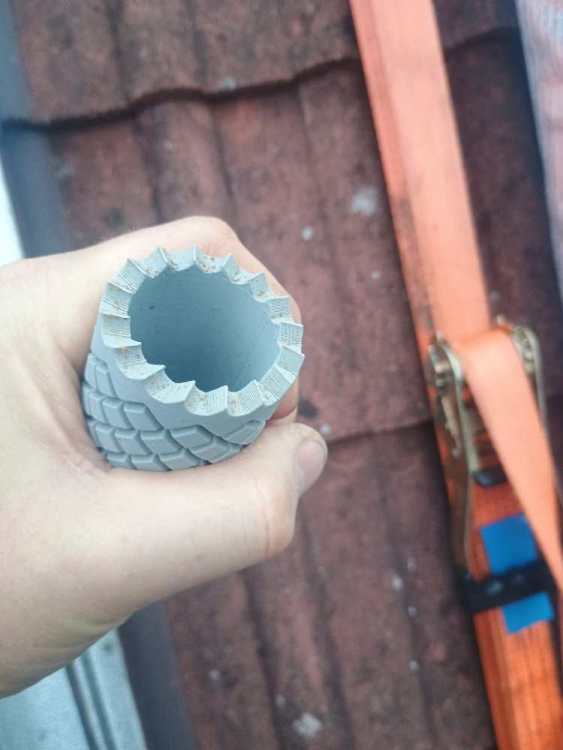
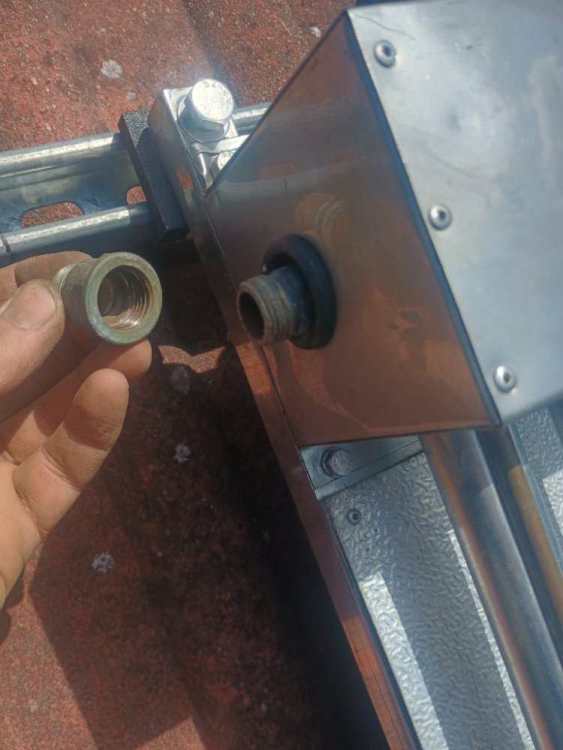
All the panels are up now. Just re-tubing where some got damaged. The installed panels covered with 99% reflective blankets to limit them heating up without any glycol in. Doing the interconnect pipes too in 15mm copper. Boss white and flax string on these joints. Even some 3D printing along the way. A hand hole saw to clear the expanding foam pocket where the tubes push in: Then a reforming tool for the bent, aluminium heatsinks:


-
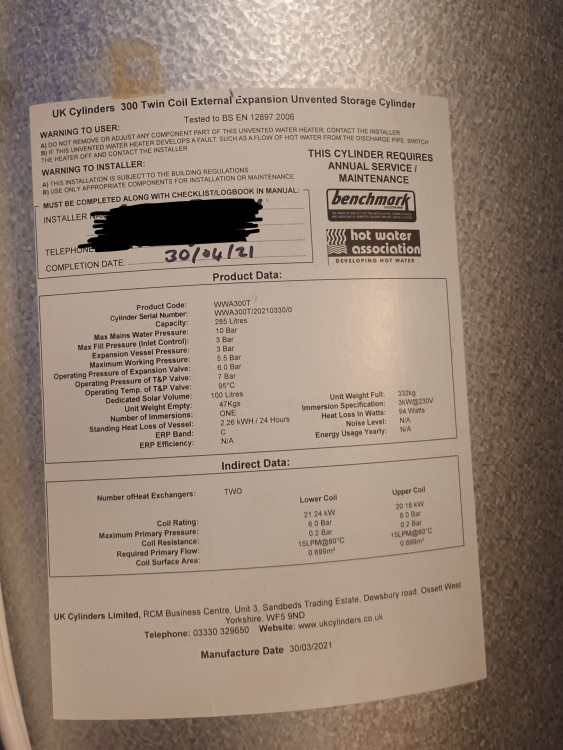
Found a second hand cylinder at last: