
Russell griffiths
-
Posts
7913 -
Joined
-
Last visited
-
Days Won
61


Russell griffiths's Achievements
Advanced Member (5/5)
3.3k
Reputation
-

Advice applying Silicone
Russell griffiths replied to MortarThePoint's topic in Bathrooms, Ensuites & Wetrooms
Your bead is too big before you hit it with the Cramer tool. I bet you’re picking up a lot of wastage on the tool. smaller bead push firmer with the tool lots of wet wipes. -
Renovating 200 year old property in Gloucestershire
Russell griffiths replied to nobody's topic in Introduce Yourself
Morning I’m in Cirencester first question. Why electric showers. would be my last choice, unvented cylinder and nice thermostatic mixer shower will provide good shower pressure and loads of hot water. -
The wife has just finished our vat claim i will see your 161 invoices @Benpointer and raise you 1057 invoices anybody had a larger amount than this.
-
Existing house insurance when doing backfill self-build
Russell griffiths replied to Stu789's topic in Self Build Insurance
I’m not sure I get what you want. you get a self build insurance for the new build and keep your original house insurance on the original house. what has the building work in the back garden got to do with the original house. are you splitting it into two plots ? -
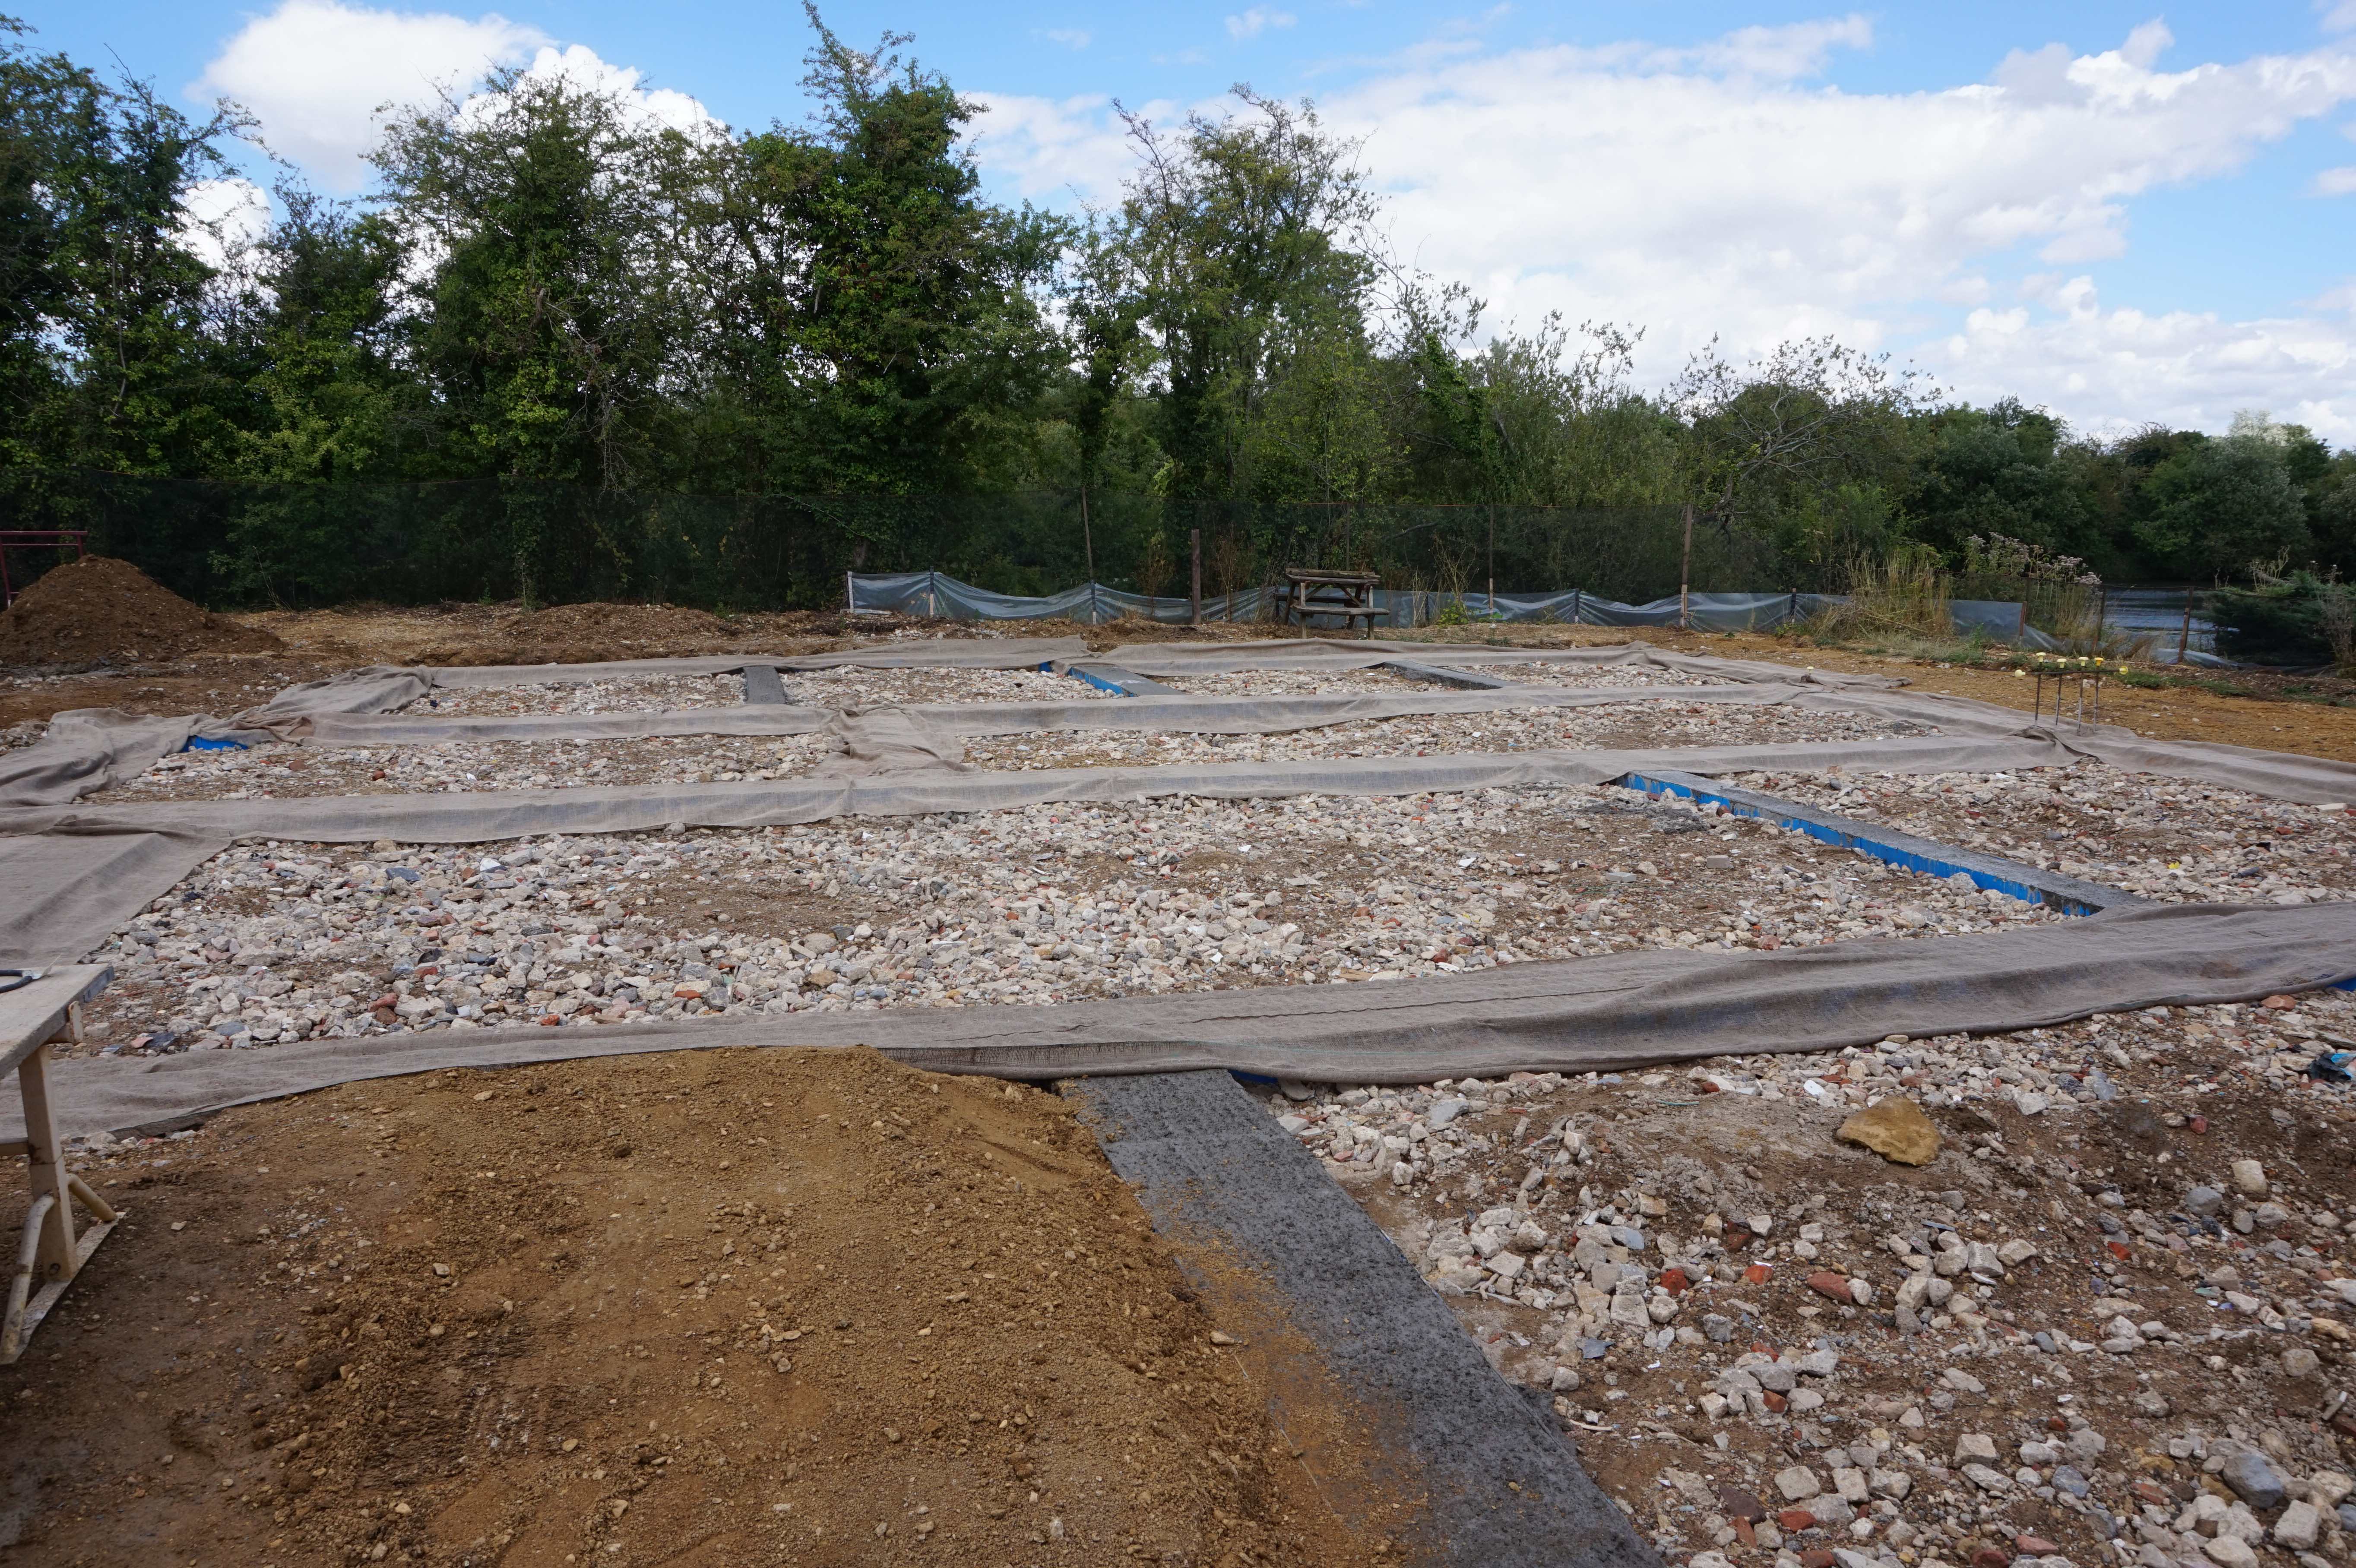
Ground bearing slab curing
Russell griffiths replied to flanagaj's topic in General Self Build & DIY Discussion
If I was pouring a slab in this weather I would have rolls of hessian stacking in an old bathtub of water, an hour after the final trowel up i would cover the slab in the damp hessian. the picture is just ring beams, but it was 28 degrees and the hessian cost pennies compared to the cost of the concrete the pump and the labour. cheap insurance really.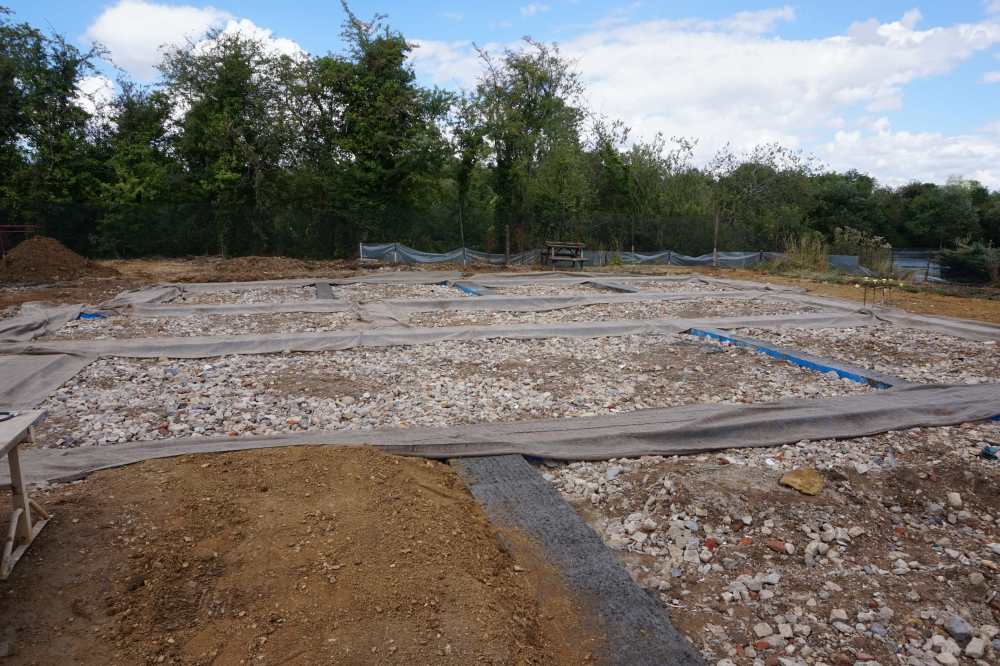
-
Previously unknown basement rears it's ugly head
Russell griffiths replied to kandgmitchell's topic in Basements
-
Previously unknown basement rears it's ugly head
Russell griffiths replied to kandgmitchell's topic in Basements
Imagine concrete but the aggregate is like pumice or volcanic stone, very hard but lightweight. they use it a lot in void filling after pipeline work. it can be cheaper and easier to muck away everything that comes out of a trench and import in all the backfill because it doesn’t need compacting, it just pours and forms into all the irregular shapes of the hole. -
Previously unknown basement rears it's ugly head
Russell griffiths replied to kandgmitchell's topic in Basements
I thought there are a few void fillers that don’t need compacting and are very light and can be pumped. the days of barrows and compacting in layers has gone for these large fills. -
If you have lots of glazing I would not be looking at the lower end price wise.
-
Previously unknown basement rears it's ugly head
Russell griffiths replied to kandgmitchell's topic in Basements
I like your idea, pumped in from outside, leave it 300 mm below the floor level then break out the floor and remove then insulation and a concrete slab on top. -
I don’t know what build method you are proposing, but if it’s a new house and you have failed the sap then you need to go back to the beginning and start again because something is very wrong. you either have an architect who thinks it’s 1960 or you have chosen a poor build method, How are you thinking of building this thing. please don’t say brick n block with 100mm cavity and 75mm mineral wool insulation. we all started somewhere, c’ mon show us what you got.
-
IMHO it’s 6 foot without planning.
-
Ground bearing slab curing
Russell griffiths replied to flanagaj's topic in General Self Build & DIY Discussion
I was recommended a screed company, I was told they are absolutely shit hot, I met the main man and he knew what he was talking about, I asked about screed curl at the edges and covering the screed to slow down evaporation. he said it wasn’t necessary. so I did some more reading and asked a few questions. they did the screed, an hour after they had gone I hosed it down with a very fine mist spray, I then covered it in polythene and also covered all the windows to stop the sunlight coming in. the result is I have the flattest most level screed I’ve ever seen. you need to satisfy yourself how it should be done, and any short comings in your opinion you need to make up. buy the polythene and install it yourself or do you due diligence and insist on a curing agent. if you think they are good why do they not want to cover it ?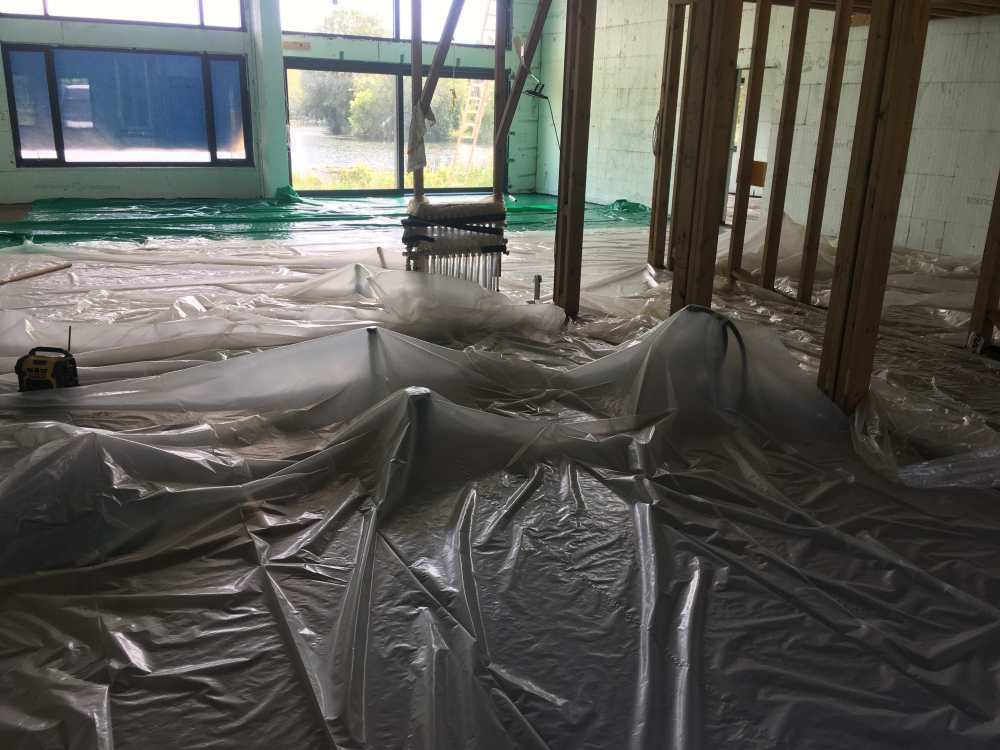
-
Preparing to Screed - What to consider....
Russell griffiths replied to Mulberry View's topic in General Construction Issues
Who cares, you’re not going to stand on them contemplating. you run up and down going from a to b. -
Sheet of plywood cut to the cover size, 110mm pipe in the top, allow a bit of wiggle room to slide ply out and give it a hose.