Nickfromwales
-
Posts
31382 -
Joined
-
Last visited
-
Days Won
346
Everything posted by Nickfromwales
-

Shower Drain Cover Replacement
Nickfromwales replied to mousecat181's topic in Bathrooms, Ensuites & Wetrooms
They aren't all interchangeable, that's the problem you may face, hence me saying buy one complete unit which has both 'parts' of halves -
Shower Drain Cover Replacement
Nickfromwales replied to mousecat181's topic in Bathrooms, Ensuites & Wetrooms
The shower trap usually had the outlet as part of the product, unlike a kitchen sink where the trap and the waste outlet are two separate bits of kit. If you have access then change the whole unit and use something reputable like McAlpine. Check sizes before ordering
-
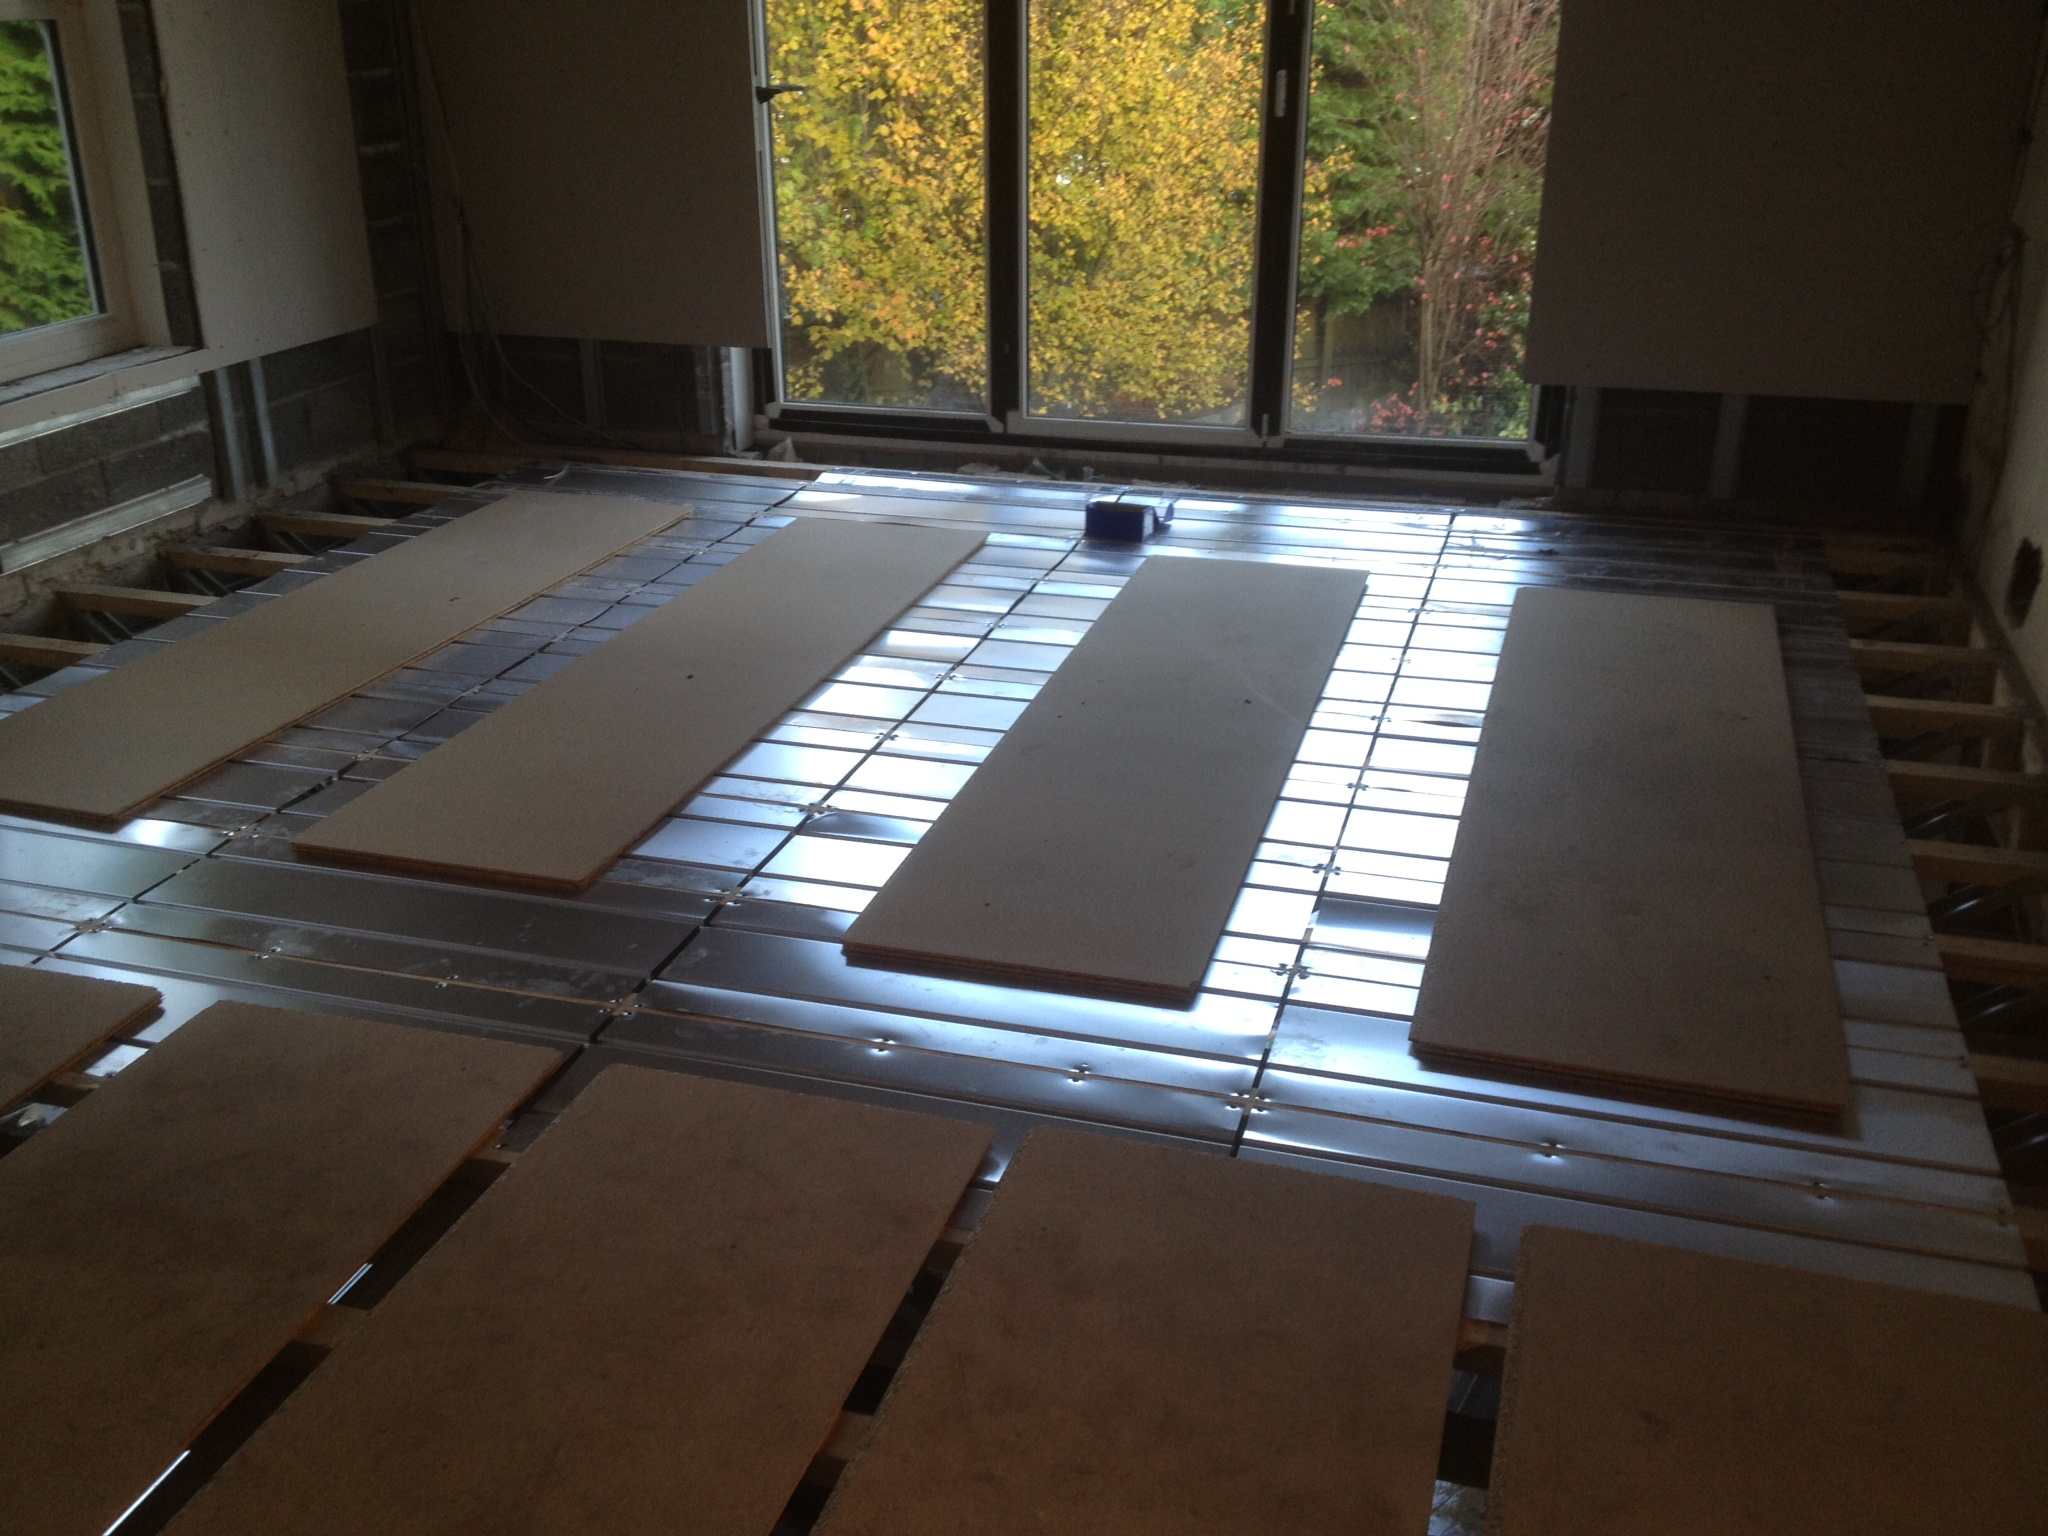
Sorry! Yes, very effective but need a higher flow temp. In that pic was 2x 16mm pipes in spreader plates, then 22mm P5, then 6mm ply, then tile adhesive and porcelain tiles. You’ll defo need a dedicated UFH manifold for the upstairs circuits so you can set different flow temps for GF and FF.
-
Mini Store COP and Running Cost
Nickfromwales replied to cjc88's topic in Air Source Heat Pumps (ASHP)
Just looked at the HG more intensively, and it’s just a whopper of a ‘wet’ heat exchanger in essence? So not really a store so much, just water is ‘in it’. OP says these things in a nutshell. -
Mini Store COP and Running Cost
Nickfromwales replied to cjc88's topic in Air Source Heat Pumps (ASHP)
Perhaps, but taking heat for DHW production from a HP via any type of instantaneous heat exchanger isn’t great however you cut it (imho). Heat pump to UVC is just way better from many aspects. What temps and COP do you get? And is this an EAHP, or a monoblock > TS with an instantaneous DHW coil in it? You’ve prob said many times but I forget. Good to hear what works when it doesn’t ‘click’ with me. -
These ones are sat on top of the joists, others we did from the underside with the plates I linked to (actually we used the single runs and overlapped as the joists were at 400 oc). You need to go slow and steady when lacing the pipes in from underneath to avoid kinking them. And avoid what I did which was sleep on my feet and wrap the pipe around a joist and then notice after I’d tucked it in that void lol.
-
Check valve without water hammer
Nickfromwales replied to ReedRichards's topic in Central Heating (Radiators)
Are you saying you put a ‘swing check’ valve in? -
Mini Store COP and Running Cost
Nickfromwales replied to cjc88's topic in Air Source Heat Pumps (ASHP)
A heap pump and a thermal store should never meet. For a TS to make DHW you need to be above 75°C, so to ask a HP to do that is just no bueno. -
Good point!
-
Fire protection of steels
Nickfromwales replied to Post and beam's topic in General Self Build & DIY Discussion
Sorry. Missed this. My thoughts exactly which means the world’s gone mad! And your BCO lady is out of a job. Protect a steel that’s already protected, but leave the wood exposed that’s holding the fecking steel up. 🤷♂️🤦♂️ -
Fire protection of steels
Nickfromwales replied to Post and beam's topic in General Self Build & DIY Discussion
In that case, not to stir the pot any more than I usually like to do, those timbers should be boarded and skimmed too then? Has that been specified? -
You're welcome, lol. I'd just start parking outside his front door, and requote him.
-
I think this is about spot on tbh...... I'm guessing this was a cash job and no building regs involved? If not, then you need to get your money back, or ask them to do the work to the correct standard.
-
FWIW your new neighbour is an inconsiderate dickhead. Just thought I'd clear that up.
-
Fire protection of steels
Nickfromwales replied to Post and beam's topic in General Self Build & DIY Discussion
Some of them are just completely obtuse penis's. >£4k of costs saved on the one where the fu@@wit wanted all the steels boxed in (bearing in mind that this "beaut" decided to drop this request after I'd 1st fixed for electrics, plumbing, MVHR and drainage!). -
Methinks not! Garages usually have a sloped floor or a step down of 100mm, for the few that do or did leak, to create that rule. "Has your architect dealt with the sloping floor of the garage, to cope with fuel spills, or another method such as a bund (reduced floor level) to meet compliance at the wall party to the residence?" Haha, I doubt that very much!! I wasn't aware that there did need to be a sloping floor away from the house. I was planning on doing the footings myself. It's not rocket science and I have a good laser level and would simplify matters by hiring a pump truck when they are poured. But do i actually need to have a step in them? Can they not be all one level, and it just means that there are more blocks used to come out of the ground for the garage section? Just click on and highlight text in a post and then you'll see the option to "quote selection" Well, you'd defo need that if there's a doorway, but maybe not if there's just a wall and no shared roof space for fire to breach through to the house within. BCO and your architect should be approached now to address / identify this requirement. Door way to garage or not, assuming not due to levels, but there's nowt as queer as folk! Are you referring to strip foundations and then dwarf walls for back-filling, then the garage structure atop? Tanking would be 'complex' to say the least. Walls would be block on flat then, or otherwise suitably beefed up, to deal with the outward forces from the back-fill. A lot more excavation, muck-away, and back-fill, so wouldn't be my first choice solution. What are you building with? Standard masonry walls with a cavity?
-
Fire protection of steels
Nickfromwales replied to Post and beam's topic in General Self Build & DIY Discussion
Nothing needs doing to them. Are those timbers decorative, or load bearing to the steel? -
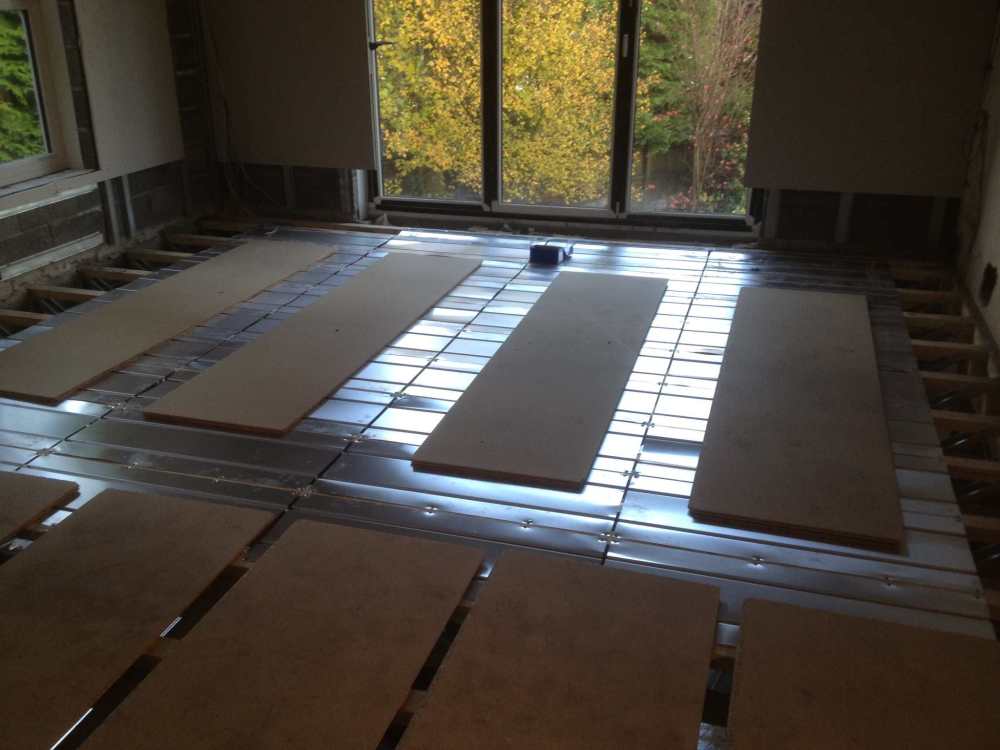
I used this company LINK for the last job where the same decision was agreed on between myself and the client; futureproof for anticipated downstream sale plus the slight possibility that it would be needed. That was enough to justify the small uplift in my fee to do 50-60% of the area of each of the 3 upstairs spaces, as there was no need to 'go mad' up there (MBC PH TF). The biggest thing is to use a load of fixings to ensure as much of the alu is in firm contact with the timber deck as is possible. Go bloody nuts with that; we used an air stapler and just went berserk with a couple of boxes of 1000 going in a wink (job below).
-
Can't you get the installer back? They can't have priced you for an "only slightly leaky" roof conversion?? Make this their problem and get them to do it properly.
-
Thanks for posting the conclusion /solution Happy days.
-
If you want to go right through the building, say from plant / comms room to each TV / WAP point, then consider using 20 or 25mm lay flay or MLC pipe instead of conduit. This will give you one long sweeping run which you can easily pull a cable through retrospectively. This wont crush or kink like flexible conduit will, but won't be a royal PITA to pull in like rigid conduit would. You'd need 1x run for each location, but with a bit of planning and thoughtful layout you can make longer sweeping bends vs sharp turns by making the run follow the 'not as the crow flies / point to point' route. Simply use string and a hoover to install fish / draw lines and leave in situ for whatever may come in the future (like fibre to all areas in the home). Not sure how much more internet a home would / could need tbf though, so a reality check is often wise; lots get caught up micro-managing the shit out of non real-life stuff and forget there's a house to build . Plan for embedded CAT6 now, and install the conduit (pipe) in addition for Justin Case, if you think such redundancy will be required. Likelihood is everything will go over Wi-Fi eventually, and you'll just upgrade the WAP's to suit, and gigabit tech is pretty damn solid tbh. I just installed Wi-Fi7 WAP's for a client we moved in end of last year and I was super-impressed with how well they performed (only 2x units in a 300m2 TF dwelling).
-
@ollie Erm, 'bouncy guy' must think that screed is flexible then?!? Don't be ringing him back..... Bond the flooring down, and confirm with the supplier / manufacturer of the max floor surface temps that the product and the adhesive can cope with (most say <270C). Ask the installer to allow for enough adhesive to fully bed / bond the floor down, and offer to pay for the extra adhesive if so necessary (as some will skimp and use as little as possible, which you don't want for UFH to work best).
-
Fire protection of steels
Nickfromwales replied to Post and beam's topic in General Self Build & DIY Discussion
TF suppliers are not going to identify this btw. Architect is PD and BCO sense checks them, and usually then garnishes with their 2 cents. -
Fire protection of steels
Nickfromwales replied to Post and beam's topic in General Self Build & DIY Discussion
Nope. Standard PB + skim is fine. 15mm FR plasterboard if it wasn't skimmed (tape & joint). BCO lady needs to brush up!!!!! Ask specifically if this is requisite or a recommendation, as last few (almost all BCO's) have rescinded when challenged tbh on many things. One was exactly this subject, with 2 separate BCO's on 2 of my clients builds, where they were adamant that FR plasterboard was needed; 1 where they were saying "but only at / under the steels", and another where the fu@@wit of a BCO was telling the builder (who was also a fu@@wit) that all steels needed to be boxed in with FR PB (before both jobs being boarded over and skimmed!!). Just nonsense. Go back and challenge, but prepare yourself to be polite and pragmatic in your approach so no knickers get twisted -
I would have assumed that 'good' groundworkers would be able to pour that split-level slab with a 4-500mm step in it, in one hit, by managing slump and shuttering it to suit. Have you spoken to any preferred contractors about this yet? Has your architect dealt with the sloping floor of the garage, to cope with fuel spills, or another method such as a bund (reduced floor level) to meet compliance at the wall party to the residence? Any part that is subterranean will need to be waterproof concrete and tanked externally, but 4-500mm is not a huge issue. Are you using ICF? That would make this a lot easier to do tbh.