
Leaderboard


Popular Content
Showing content with the highest reputation on 05/21/17 in all areas
-
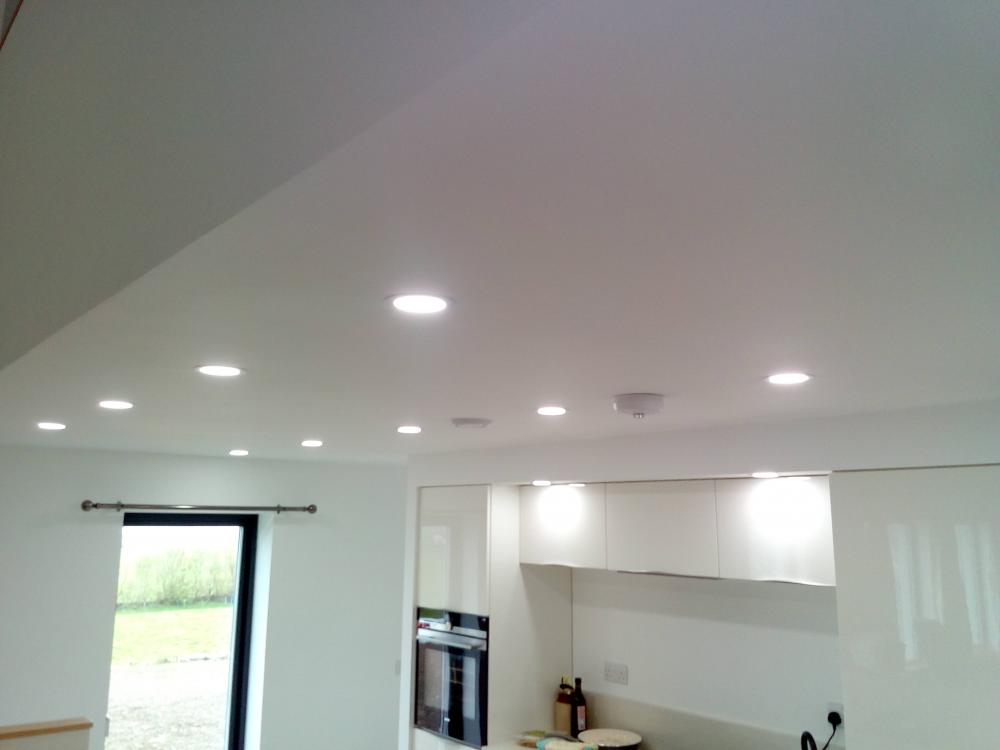
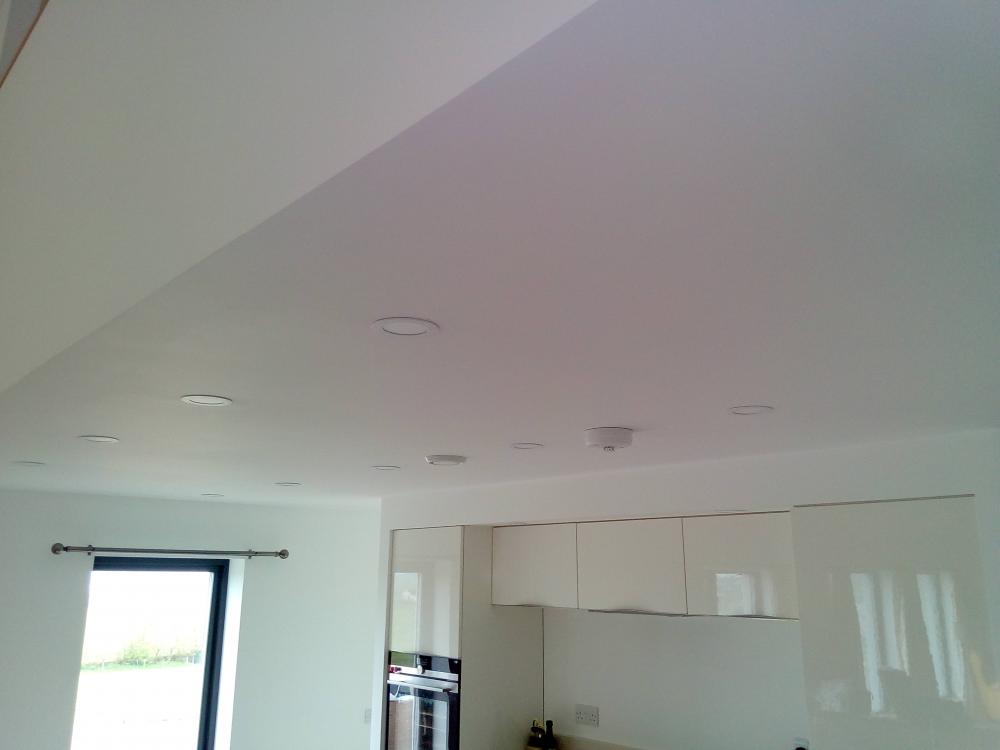
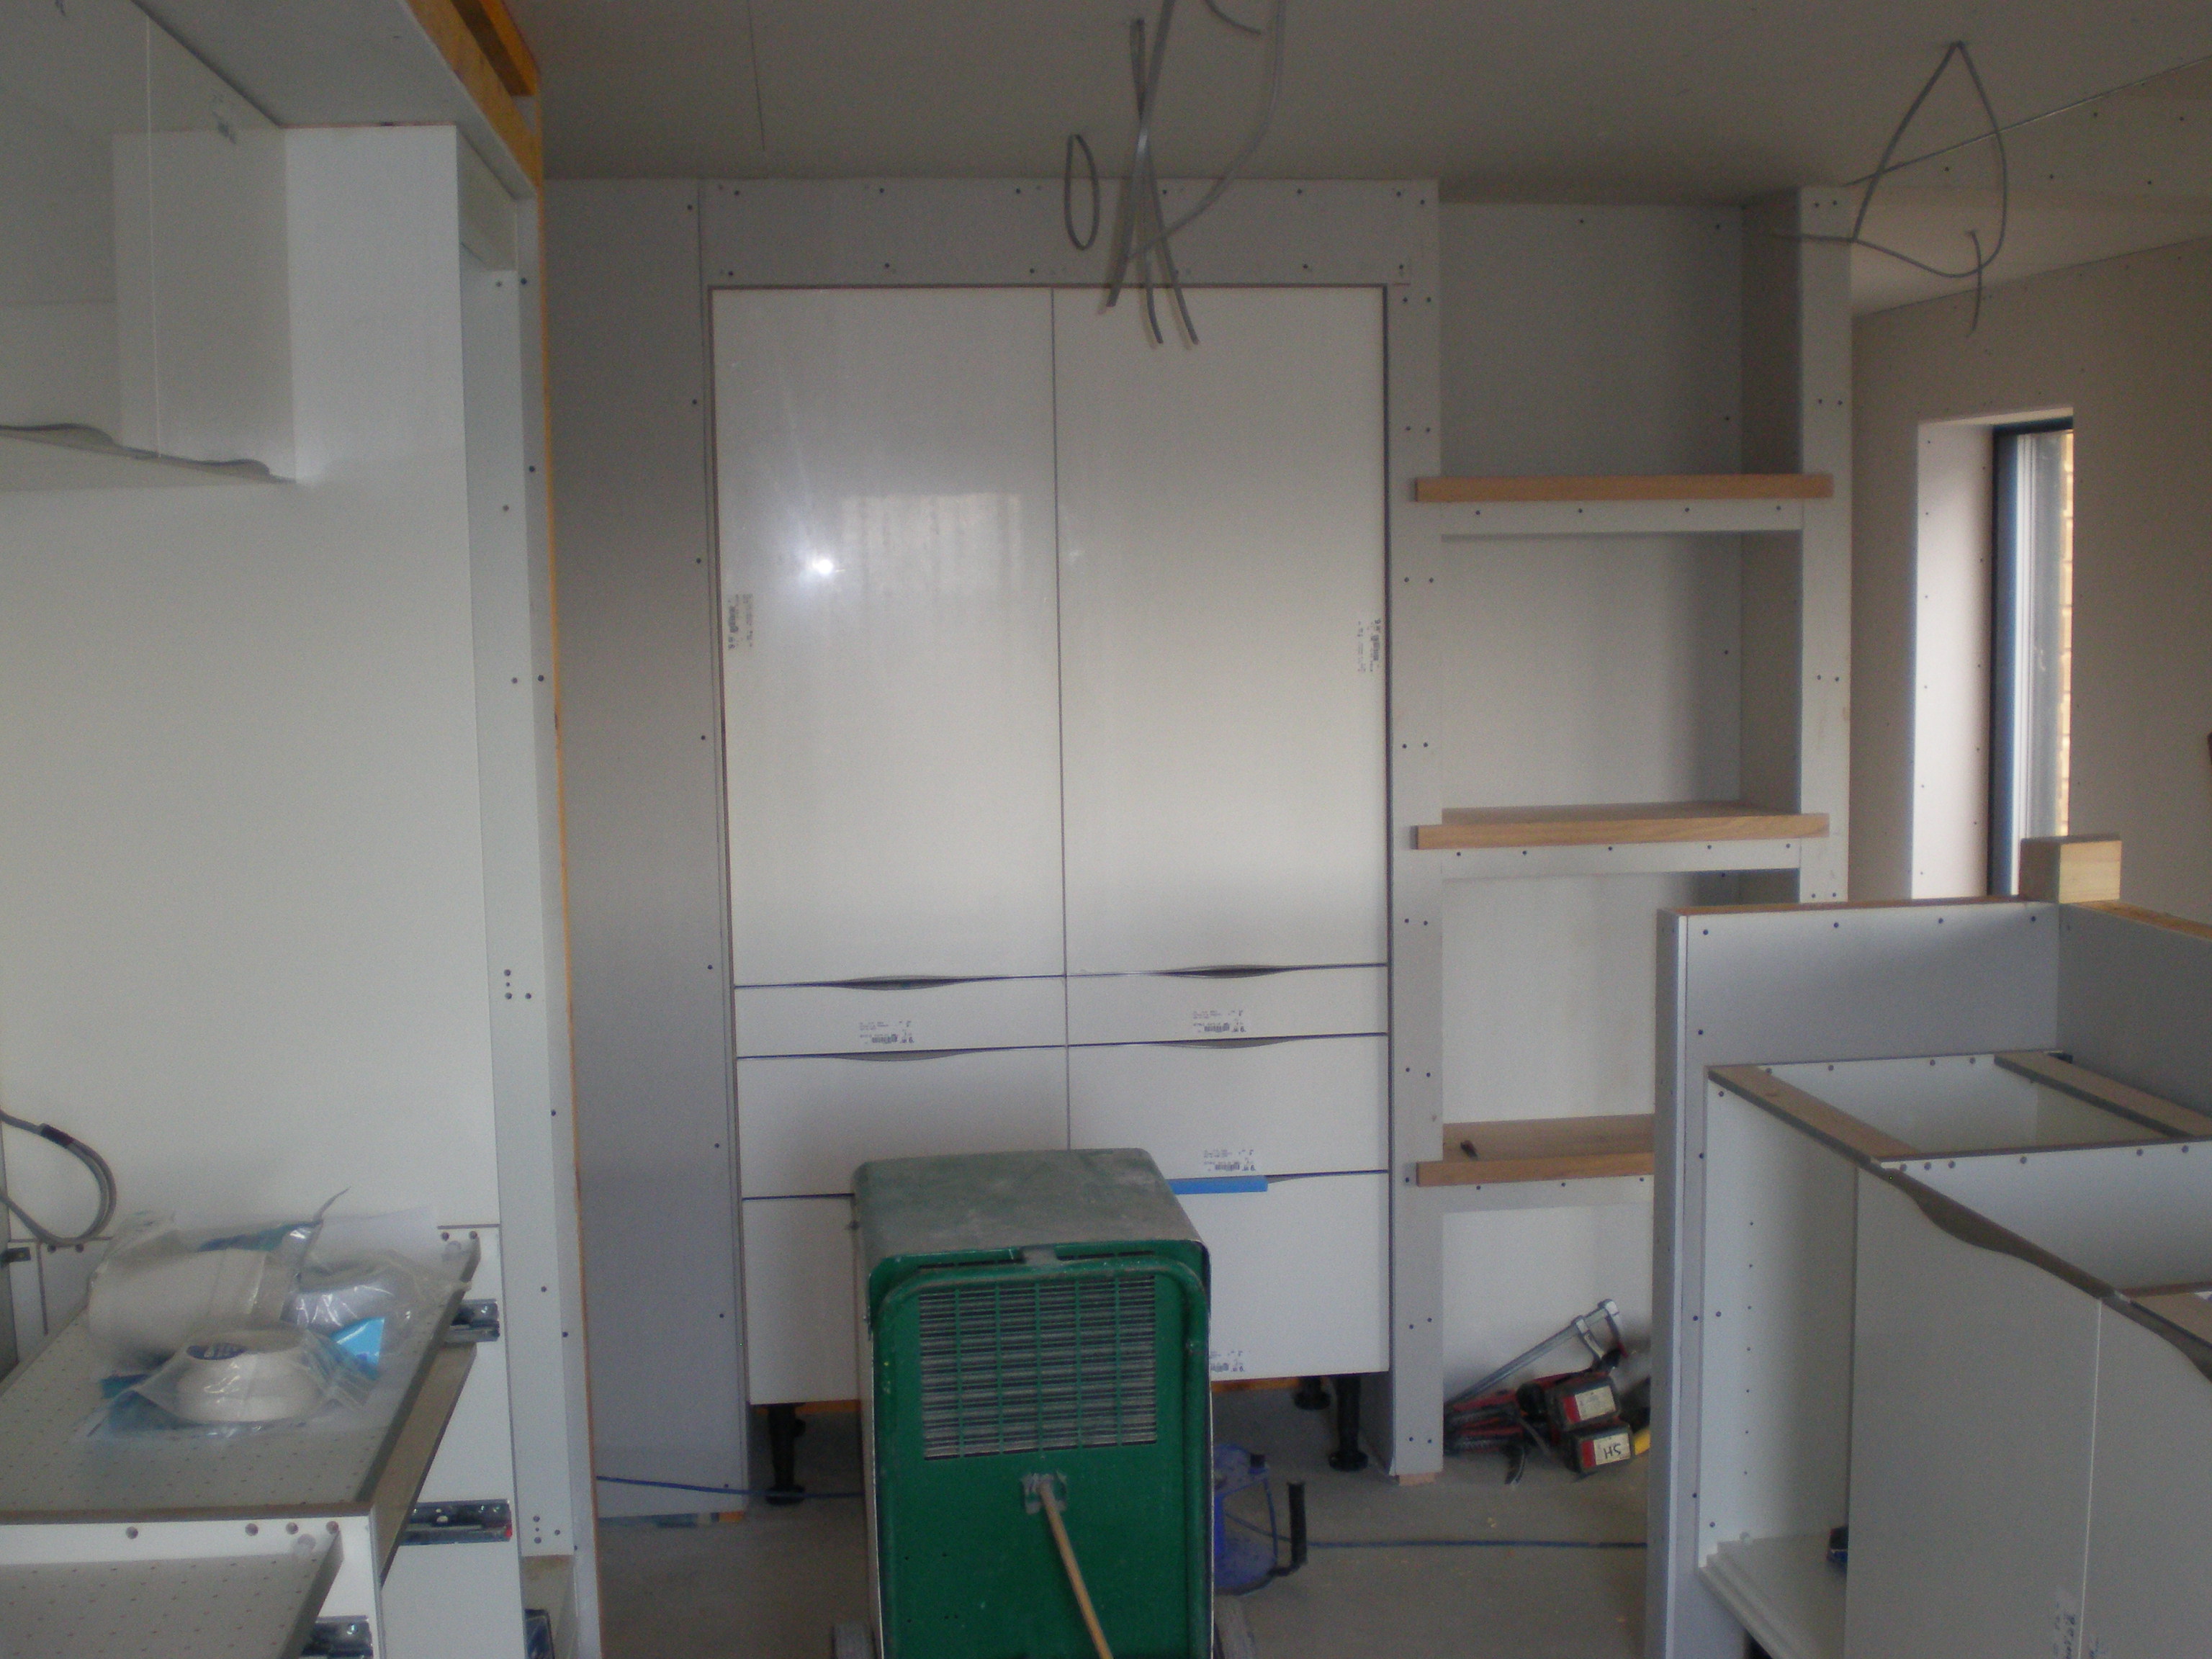
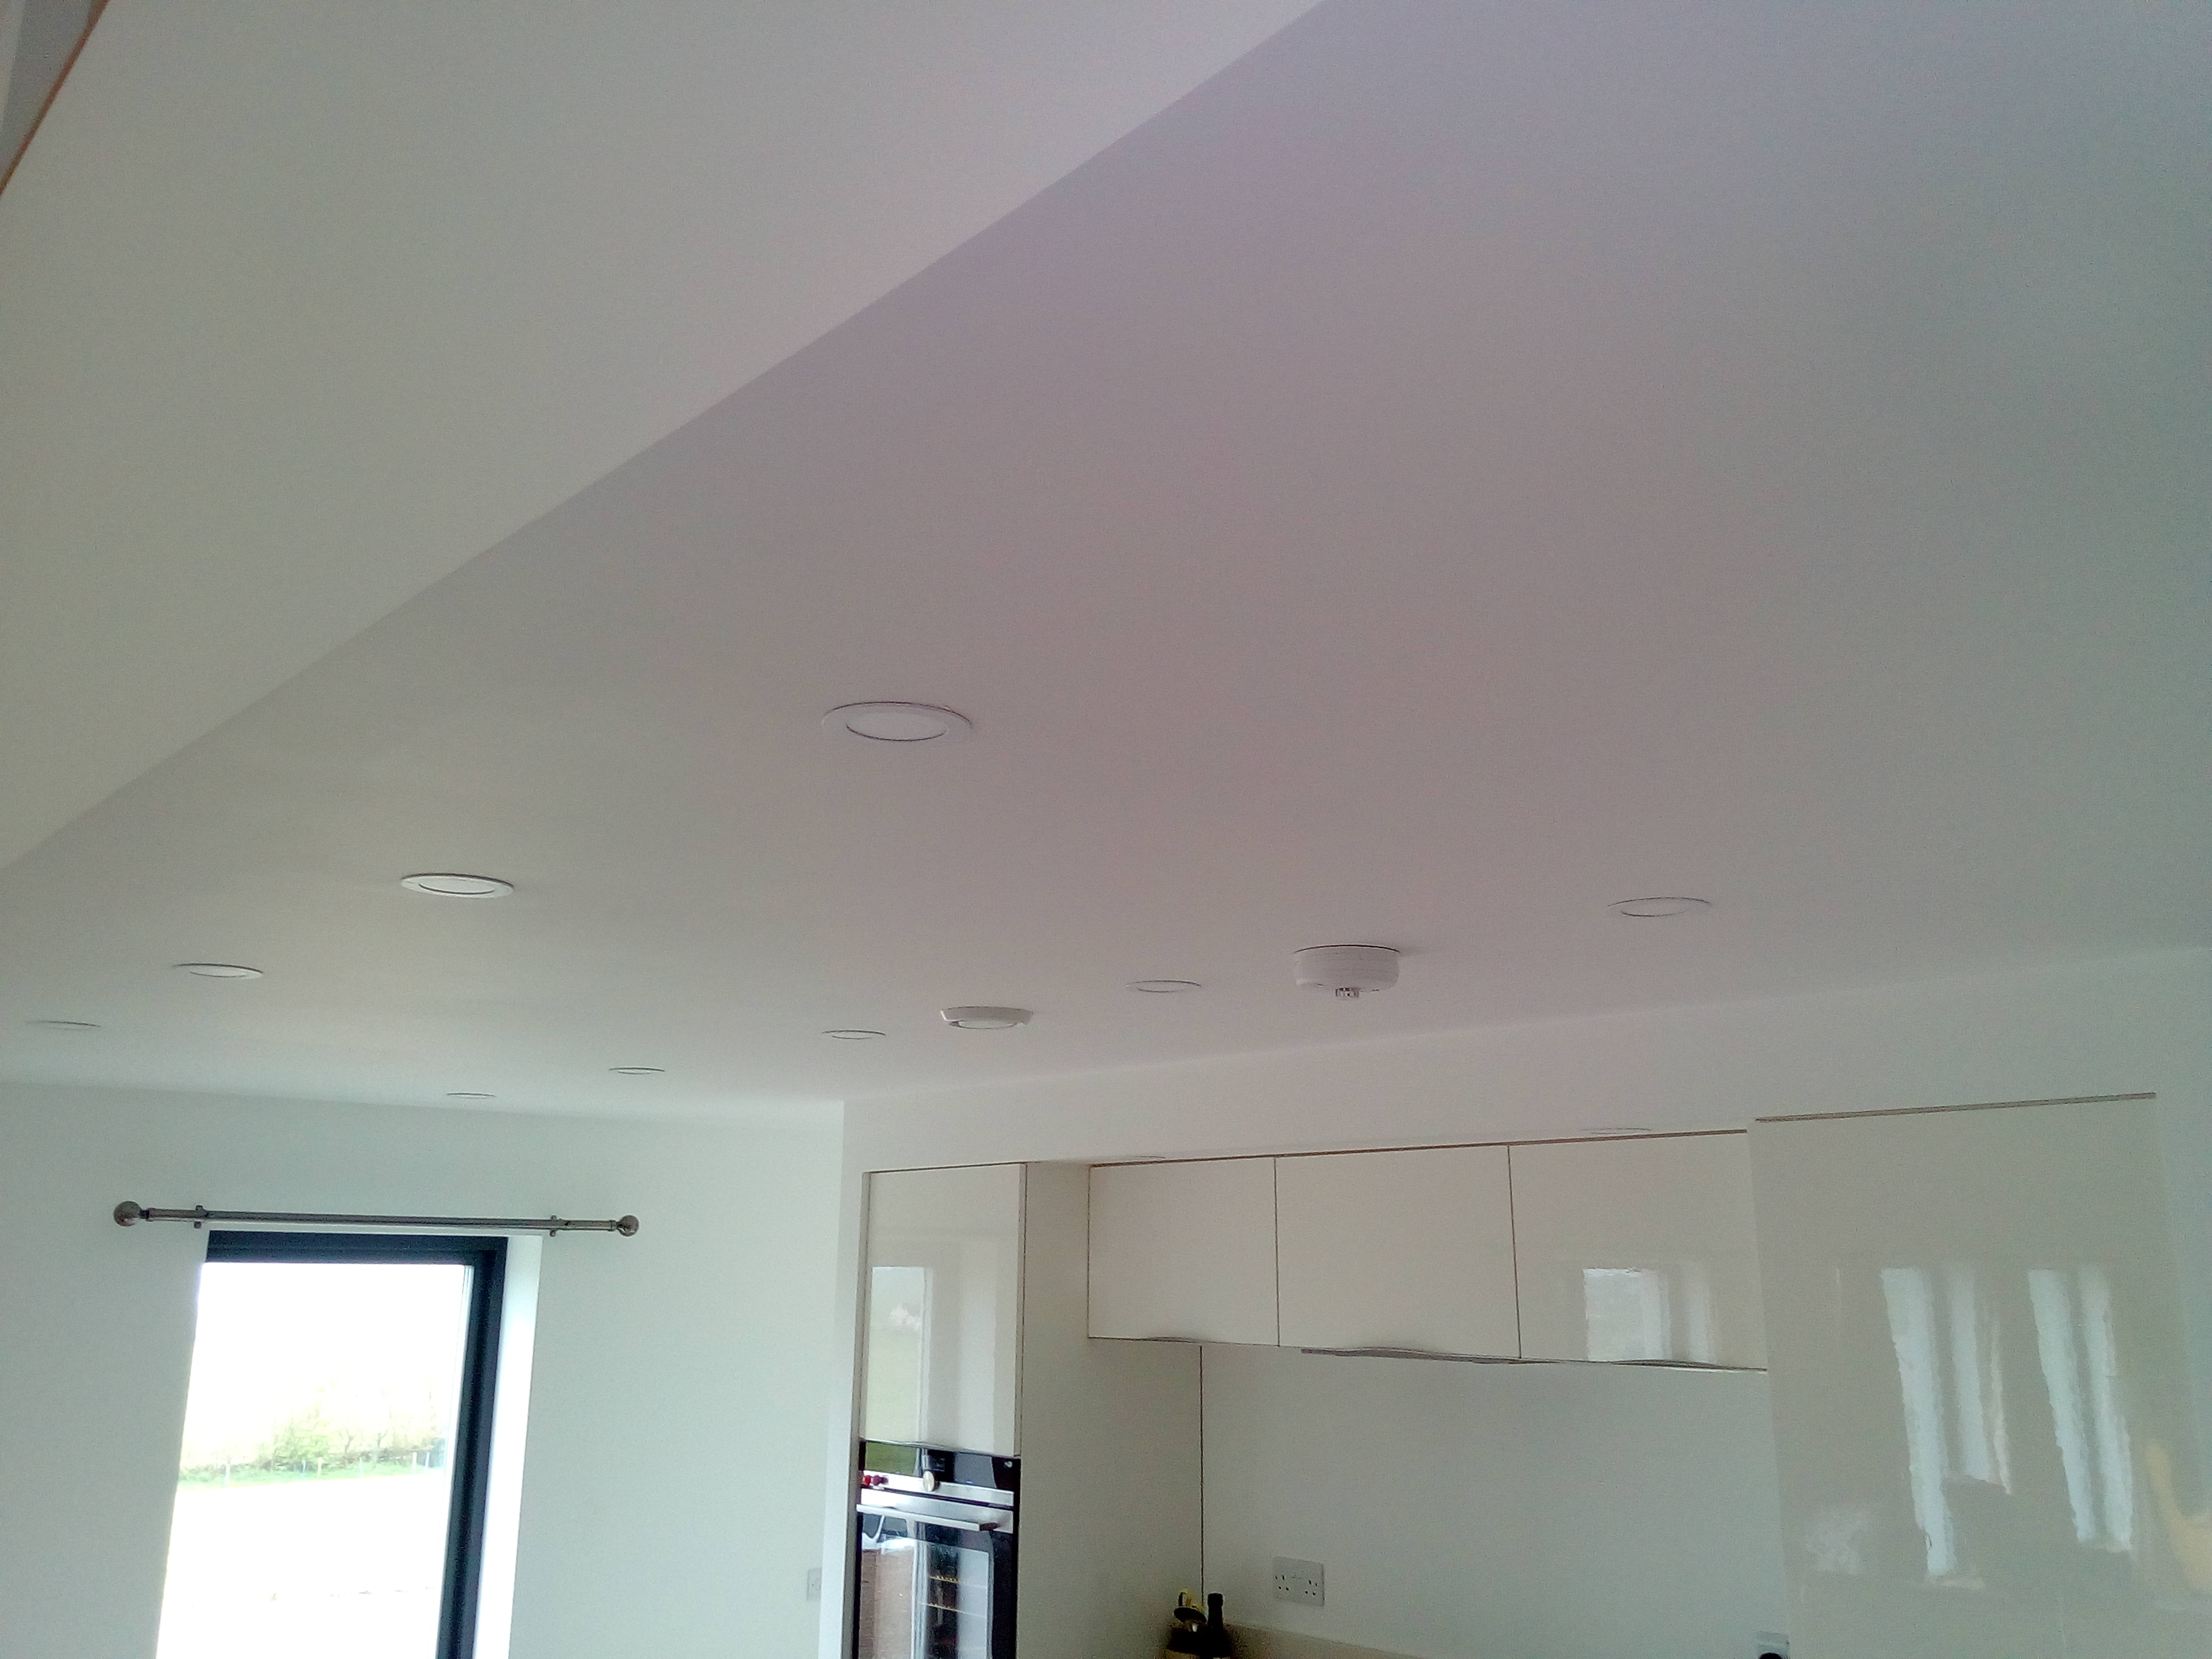
Working around the joiners as they completed the internal fit out, the electrician returned to complete second / final fix. I won’t bore you with endless photographs of sockets and light switches, but will describe the most notable electrical installations: LED lighting – after obtaining various samples and some electrical testing, I purchased a quantity of slimline 6W recessed fittings from https://hartingtonheath.com/product-category/led-recessed-lights/non-dimmable/ I bought mine via their ebay outlet which gave me an additional 10% off. The electrician was a little dubious, primarily on the issue of the cut out size required being greater than a standard downlight. We went ahead and fitted them in the kitchen, utility, staircase and upper floor. Each light comes with its own driver so to wire up to the mains, a connector block enclosed in a 'choc' box was used. This did increase the amount of time required to install each fitting, but the actual cost of the fitting was significantly lower than the more traditional alternatives we had previously looked at. The light they give off is fantastic and they really do seem to disappear into the ceiling, far more so than many standard downlight designs I’ve seen. Apologies for the quality of the pictures! The slimline design was especially helpful when fitting in the coomb ceiling as there was no requirement to hack into the insulation as the fitting sat comfortably in the service void. Chatting to the electrician, he commented that they had now adopted this type of downlight because of the flexibility it offers. Our next luxury was a 5A lighting circuit - fitted in the main room so we can switch off all the occasional lamps used from a master switch. Simple, effective home automation! To future proof the house we installed Cat 5E data points to every room, with the hub located in the meter cupboard next to the BT master socket. I've located my BT router there and currently hard wire direct from an ethernet port on the back of the router to the port on the hub for the data point in use. There are still 2 ethernet ports left on the router, however, if I want to make any more than three of the data point live, I'll need some additional equipment (not really sure what would be required so following various current topics with interest). Whether we end up using all or indeed the majority of the data points, I have no idea, but it certainly made sense to put all the cables in. The last electrical item of note was a CO2 detector – a wonderful (Scottish) building regulation designed, I think, as a way for large developers to avoid having to fit a mechanical ventilation system, because householders have a means of monitoring air quality and therefore a way to manage it – by opening windows etc. At £200 they are not cheap (but from a developers point of view, a lot cheaper than an MVHR system). Here is the link to the relevant requirement - look up part 3.14.2 http://www.gov.scot/Topics/Built-Environment/Building/Building-standards/publications/pubtech/th2015domcomp No doubt this regulation will creep in elsewhere in the UK. I did have quite lengthy discussions about whether we could use a CO2 sensor in the MVHR to actively manage our ventilation. The idea of doing so was certainly very positively received and thought to be a far better / more sensible approach, but unfortunately, there was no getting round the installation of a stand alone detector as the Vent Axia sensor that you could integrate with my MVHR didn’t have the specifications required in the regulations. At £350, it was also significantly more expensive. If you read through the specification, you’ll notice that one of the requirements is that the sensor alarm must be capable of being switched off, which does make you wonder, why bother? Next entry: MVHR final connections and commissioning.2 points
-
Crikey I think that's a first for the forum. Ecology actually working in the self builders favour2 points
-
When we were renovating our last house I had been to toolstation to pick an new radiator for one of the bedrooms. Drove home and took it out the packaging ready to start fitting it, only to discover that the radiator side panel had a small ding in it. Being a 1 hour round trip to exchange I considered if I could maybe persuade the small ding out but came to the conclusion that as it was just bought it should be perfect. So I then jumped into the wife's car and rushed down to exchange it........................in my mad rush (not breaking any speeding laws here btw) I thought I could make it through an amber light but the car in front decided otherwise!! Needless to say my wifes car had a nice dent in it as did the car in front............although our replacement radiator was dent fee1 point
-
Interesting point though as they are a solid aluminum fixture so would reasonably be expected to be min 30min fire proof anyway. Would be interesting to see if something like Zeroflame used on them would provide any additional protection.1 point
-
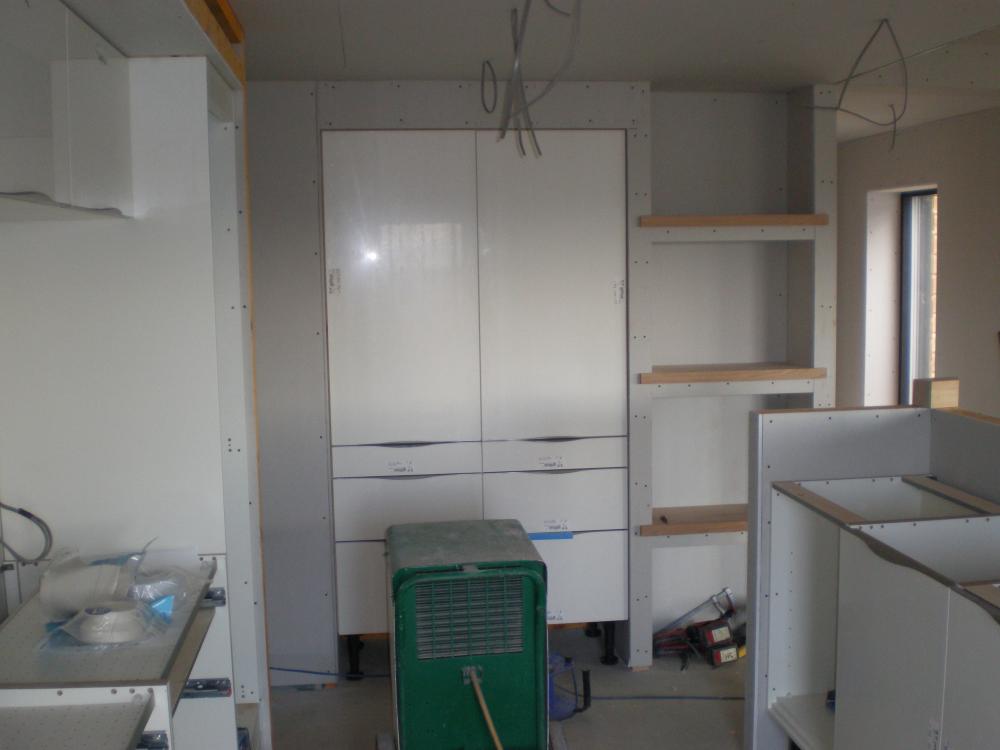
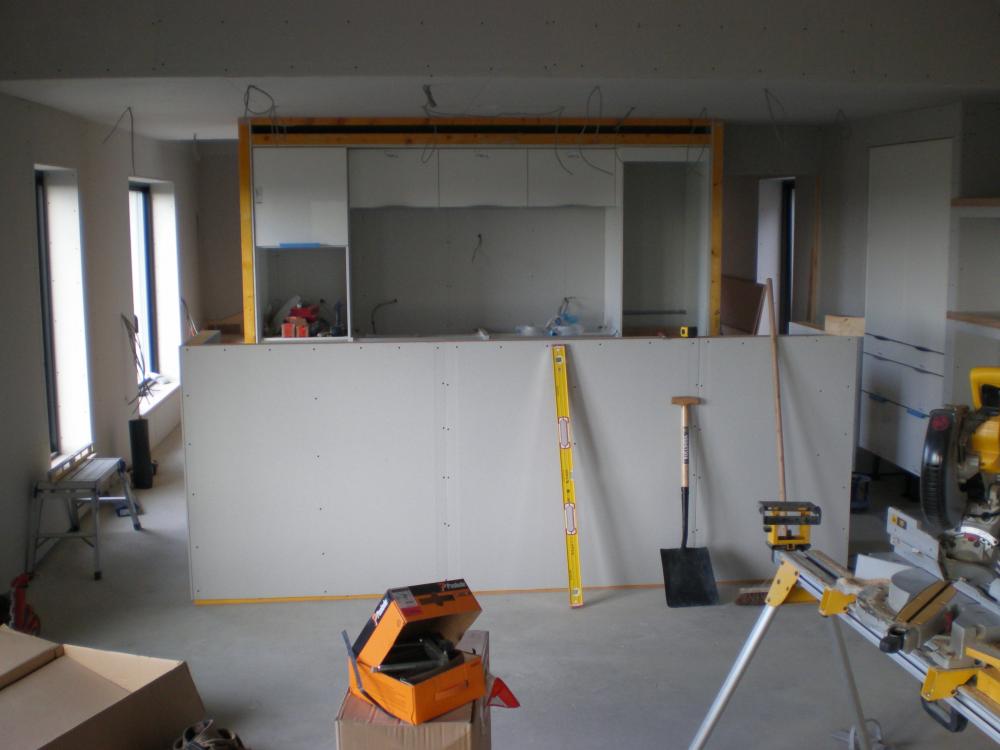
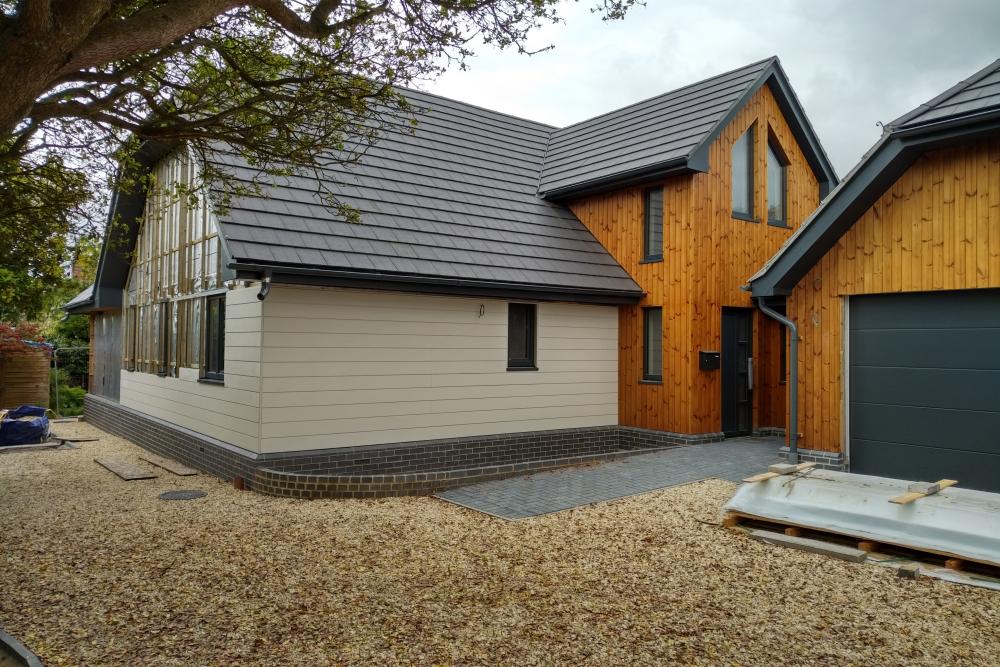
A few comments so I'll answer the LED ones first. @Nickfromwales @PeterW @Barney12 @Onoff I initially bought a couple of samples to test for myself - i.e. run for 8 hours to see if there was any issue with overheating or radio interference. Satisfied, I then discussed with the electrician, who tested them and was happy to install them. Can't comment on the results others have had when testing other electrical equipment, but I'm satisfied on the basis of my own and the electricians input. The lights have milled aluminium casings and inset diffuser lens, which provides an initial solid barrier to flame, although I've not fire tested a fitting yet to see how long it would last. Our installation is perhaps a little different as although the majority of lights are fitted to a ceiling where the 'room' above (mezzanine study) is open to the main living area, just as the kitchen is. The remaining lights (over the stairs / upstairs) have no rooms above and are simply fitted in the service void. Our main reason for fitting them in the kitchen was asthetics. @Crofter Looking at the driver, DC output 15 - 28V I first saw the idea (recessed bank of larder units) in one of the builders houses, and simply extended the idea to frame that run of units. I'm pretty sure we'd also seen some pictures in brochures as well. We had initially been thinking about a straight run of larder units on that wall, but decided that we wouldn't have enough worktop space if we did that and settled on the design you see. Partitions / framing were built around the units, so the kitchen units went in a lot earlier than would normally be the case. A 5 mm fillet of timber was fixed to the outside of the units to create a shadow gap between the partitions and units.
 1 point
 -
Is it just a coincidence that Faye was the barmaid? ?? and although I can see the usefulness of the book for others. For me it would just show me how much I am not paying myself.1 point
-
Given we have MVHR, I don't see the CO2 detector as anything other than a waste of money. My proposed alternative was simply a way of getting some useful benefit from it. One of those things I had to fit to get my completion certificate... Can't say I've noticed any issues in terms of shadows / not illuminating part of the area beneath the coomb ceiling. We fitted the lights in our kitchen (12) and its like Blackpool Illuminations when they are on!
 1 point
 -
Slow progress due to a combination of learning curve around window profiles and limited time on site, but it's moving in the right direction.
 1 point


This leaderboard is set to London/GMT+01:00