All Activity
- Past hour
-
 The two cables coming down the wall will go to double sockets 1 and 3. The other length of cable taped to the two coming down the wall will link socket 1 to 2 then socket 2 to 3.
 -
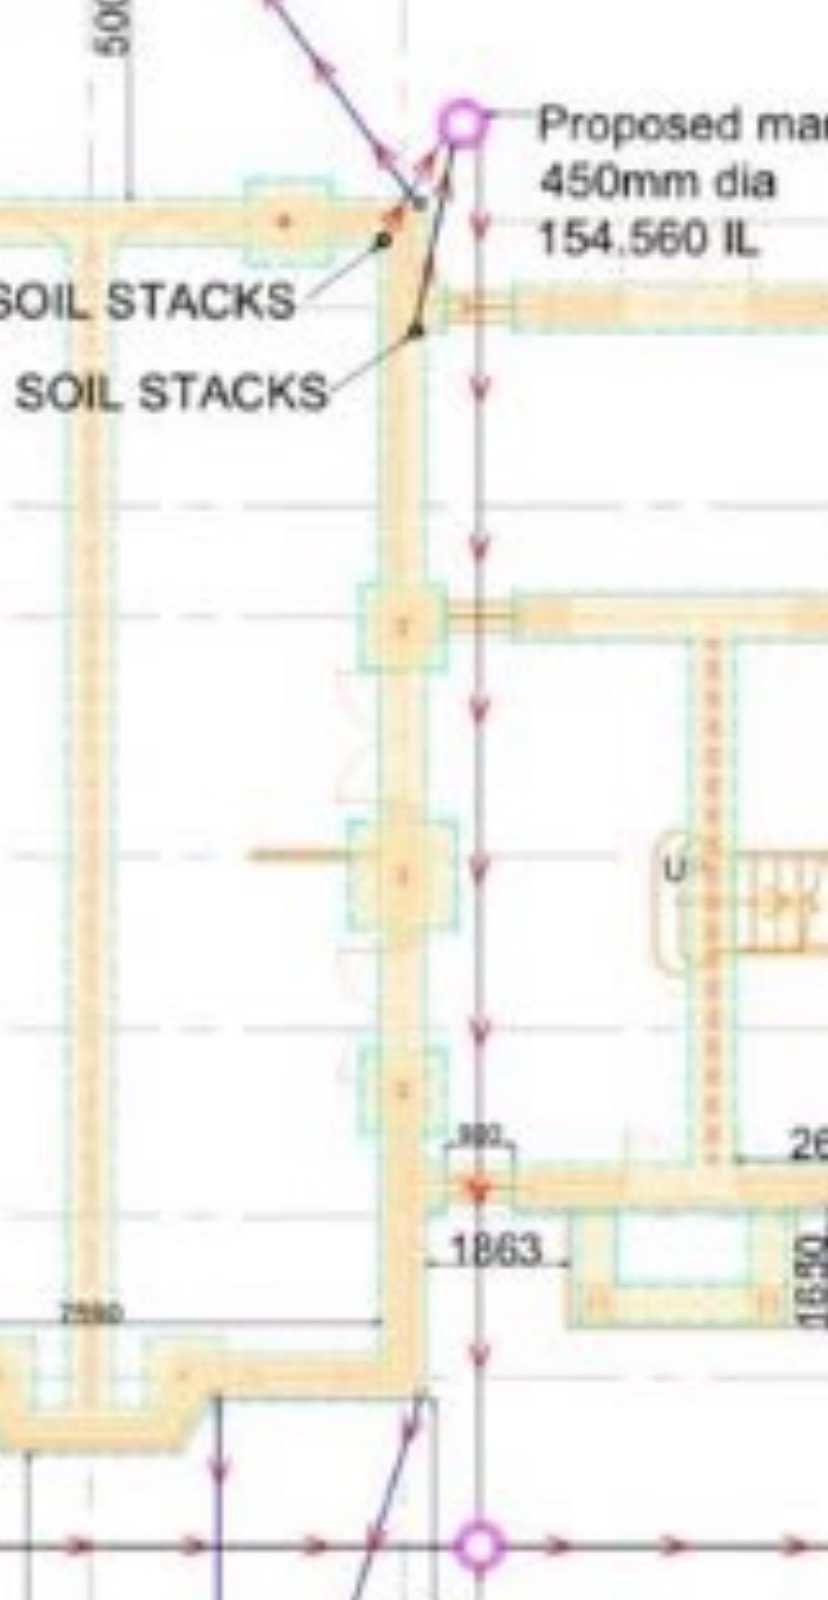
Why? That is terrible. Is it so the pipe is joined outside the building? I've had pipes join under a building before probably isn't best practice but when you see something like this it hurts your eyes. In my case the stub stack coming up might have been accessible to rod a blockage thru so maybe thats why was ok. If you do want it going into that manhole it can be done but just take a long swing into the 90 deg connection of the manhole. You want to be forming a slow bend in connections so the waste is already flowing around.
-
 No they have just put in the base cables. When they come to fit the socket they will add another length of cable between the sockets on the left.
 -
Hi we have part of our drainage design which is currently showing a sharp turn into an inspection chamber followed by a long straight run of approx 10m i have attached the images below Any thoughts on how this can be over come? Or whether it poses risks of blockage? It’s an upstairs toilet and en-suite bathroom (2 diffeerenr connections in with one connection out


-
 Looks like our electrician has only allowed for 2x double sockets here whereas red marks on the wall were showing 2 x doubles on left and 1x on right. I suspect this is an easy fix and think I know how to do it but be grateful for some guidance. Thanks.
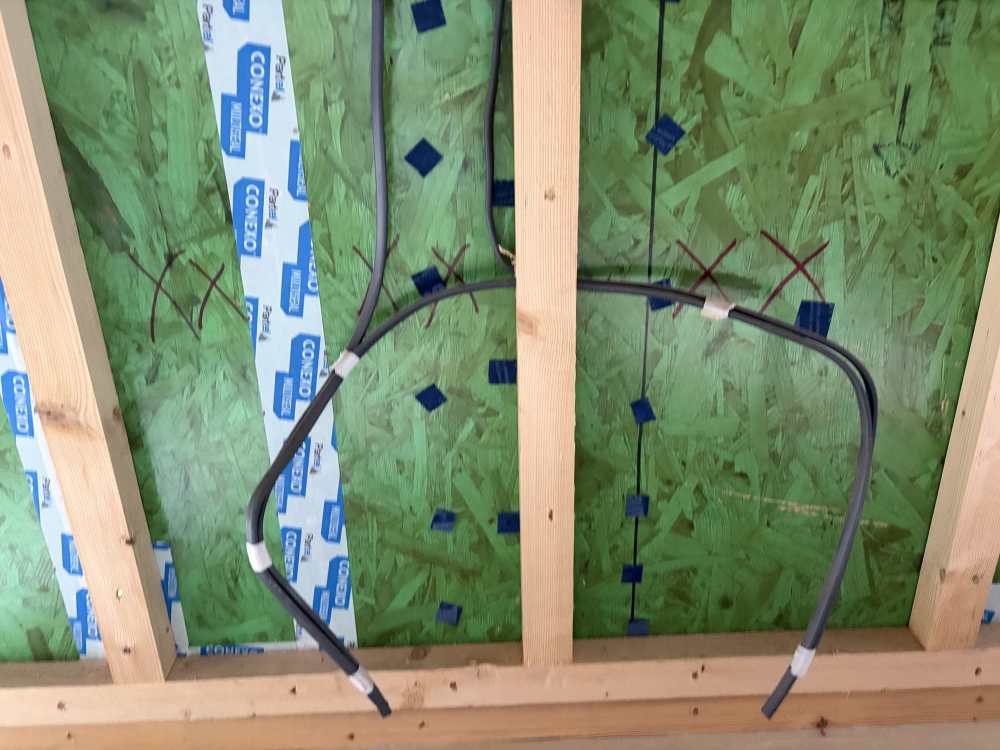
- Today
-
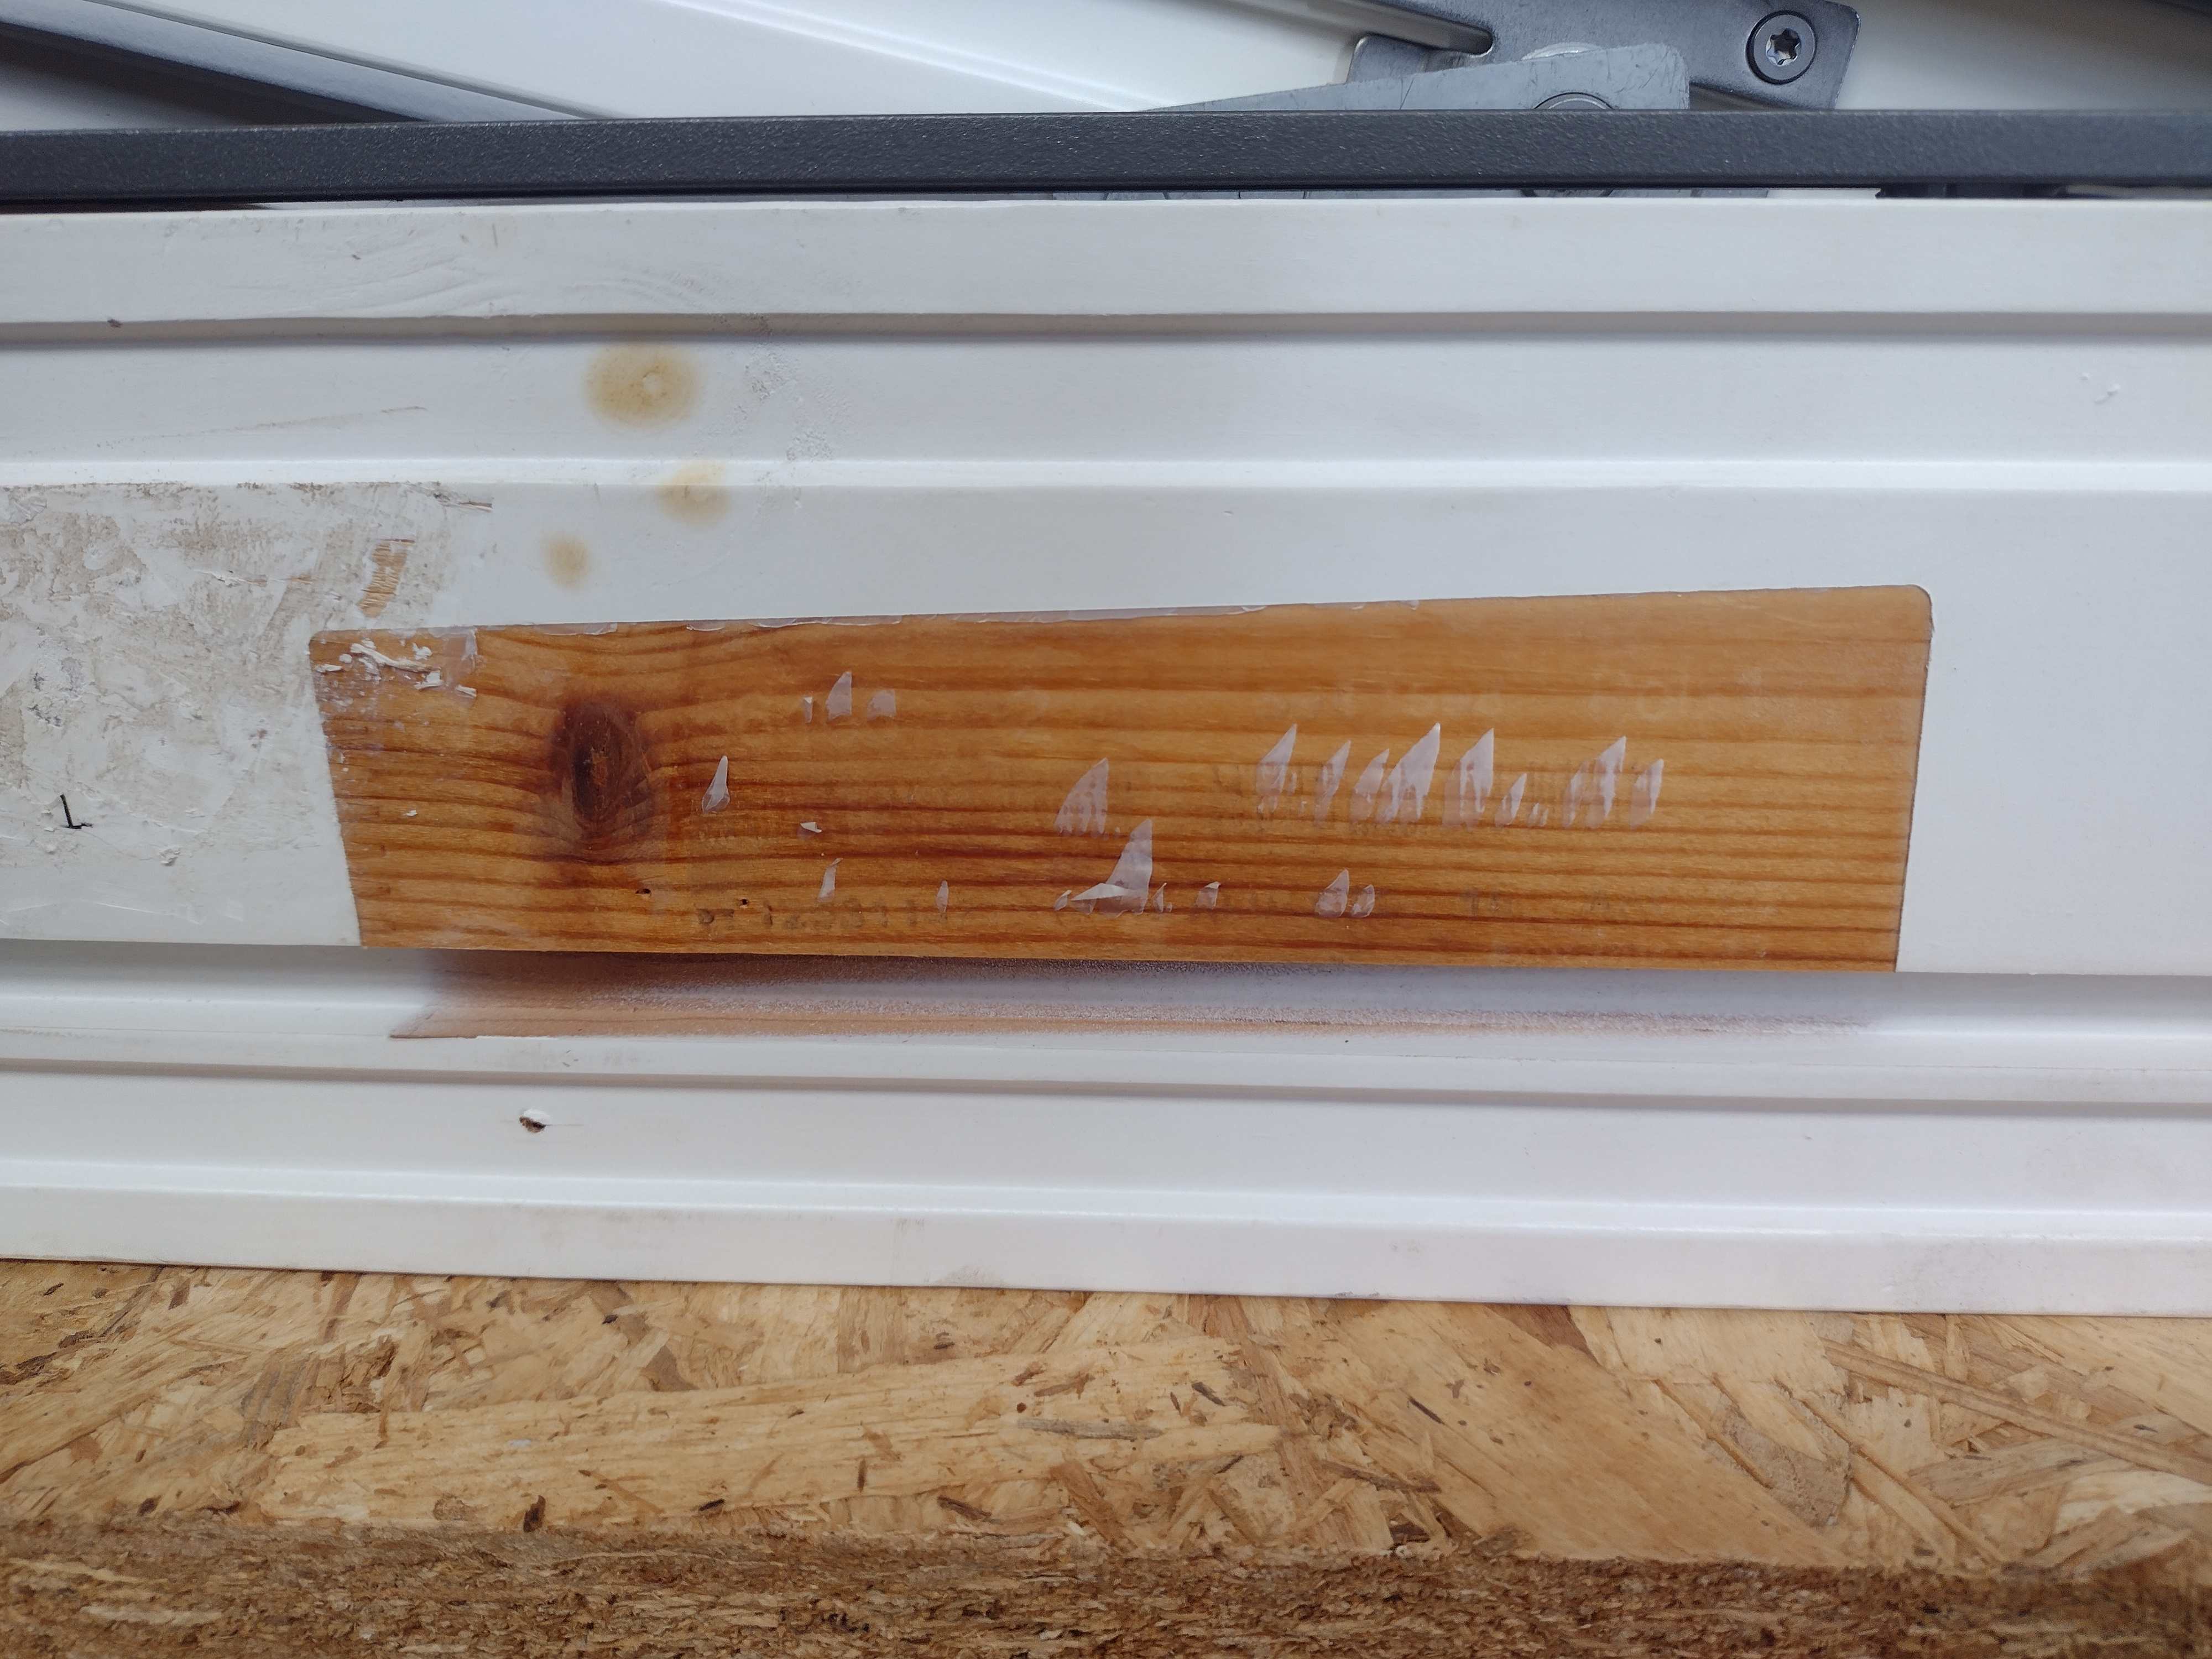
Or paint this window brown being the other, increasingly likely, option.
-
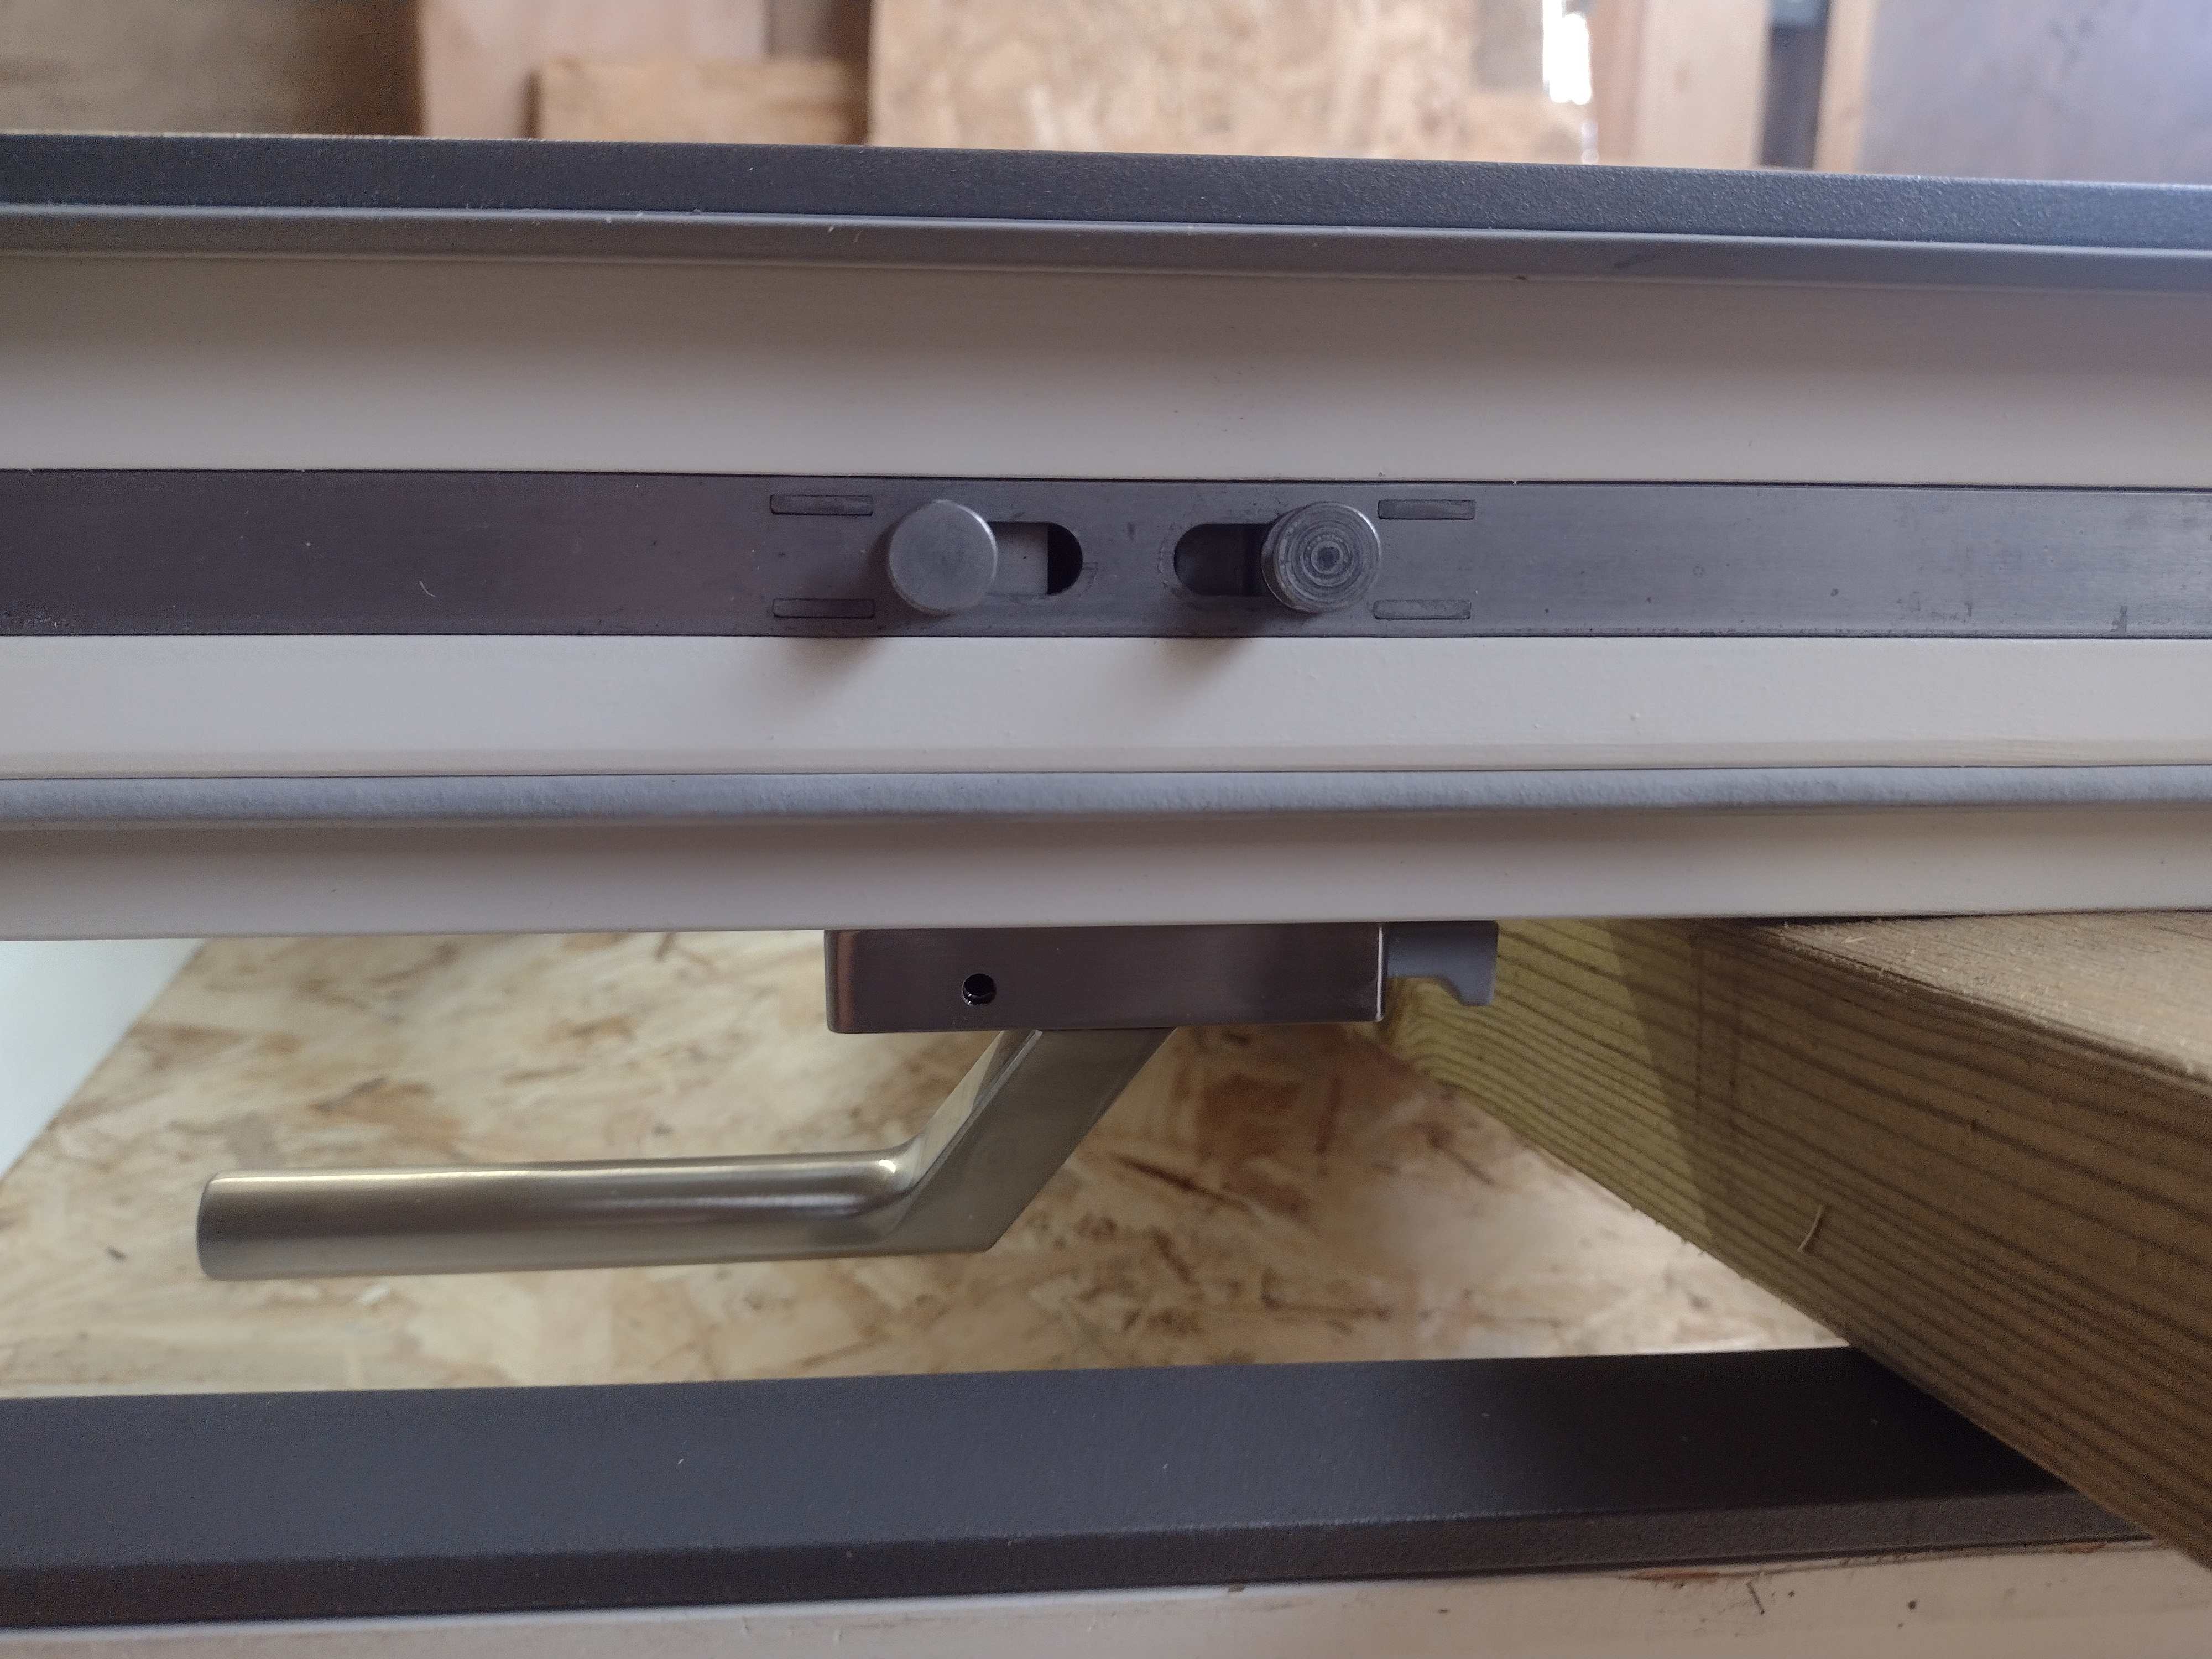
But if there's a key in the lock inside, you're locked out aren't you? That's how ours works and sooner or later I think we're bound to fall foul of it.
-

Locks - key only or key & turn cylinder?
ProDave replied to JohnBishop's topic in Doors & Door Frames
That would not be my choice -
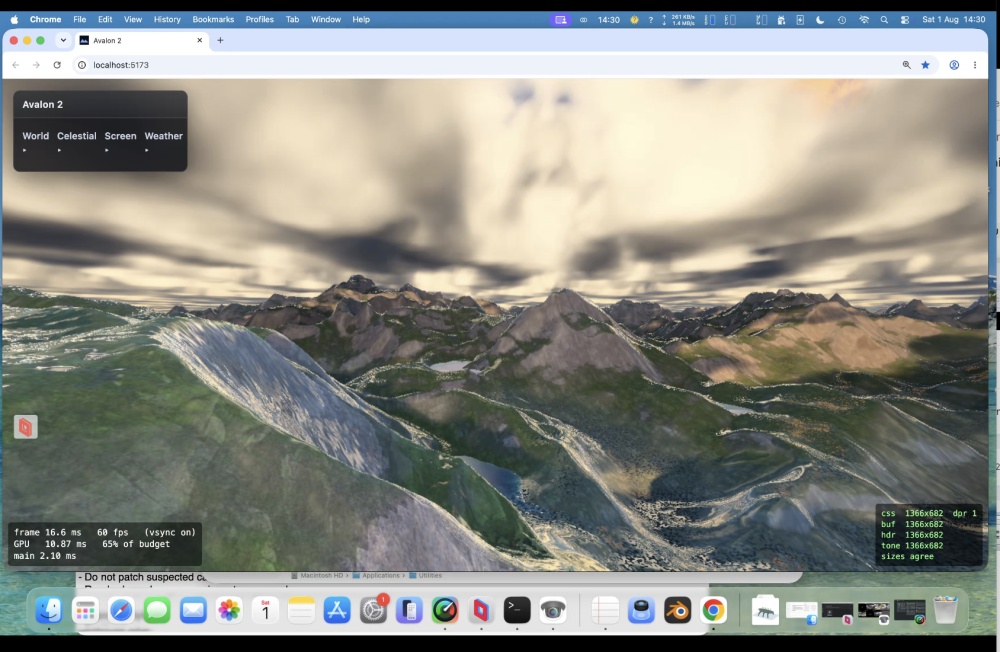
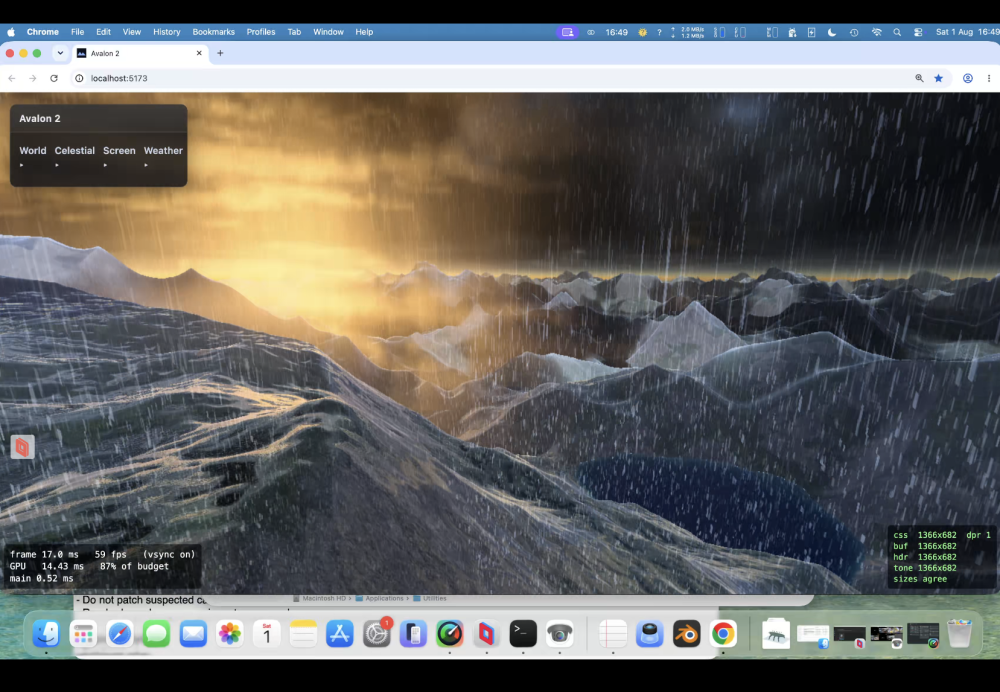
PUKE now does God rays, lightening storms, ambient occlusion , terrain can influence cloud colours and likewise; same for water etc. So all in the same render pipeline. Limits in webgpu are no more than 16 sampler passes for the march. This limit has been a constant problem. Also back at a crippling frame rate if you have max clouds/max rain and a lightening storm and decide to look at a grazing angle over water!.
-
Without wanting to get in to a slagging match why would you want to punish high energy users? Surely the attitude should be I want us as a country to produce as much energy, reliably and as cheaply as possible (plus cleanly if that bothers you). It just seems such a backwards way of thinking to me and feels like it's why we're in the position we are.
-
Locks - key only or key & turn cylinder?
Mr Punter replied to JohnBishop's topic in Doors & Door Frames
We have slam lock doors from RK Doors. If the door shuts behind you, you need a key to get back in. There is no lever handle on the outside. -

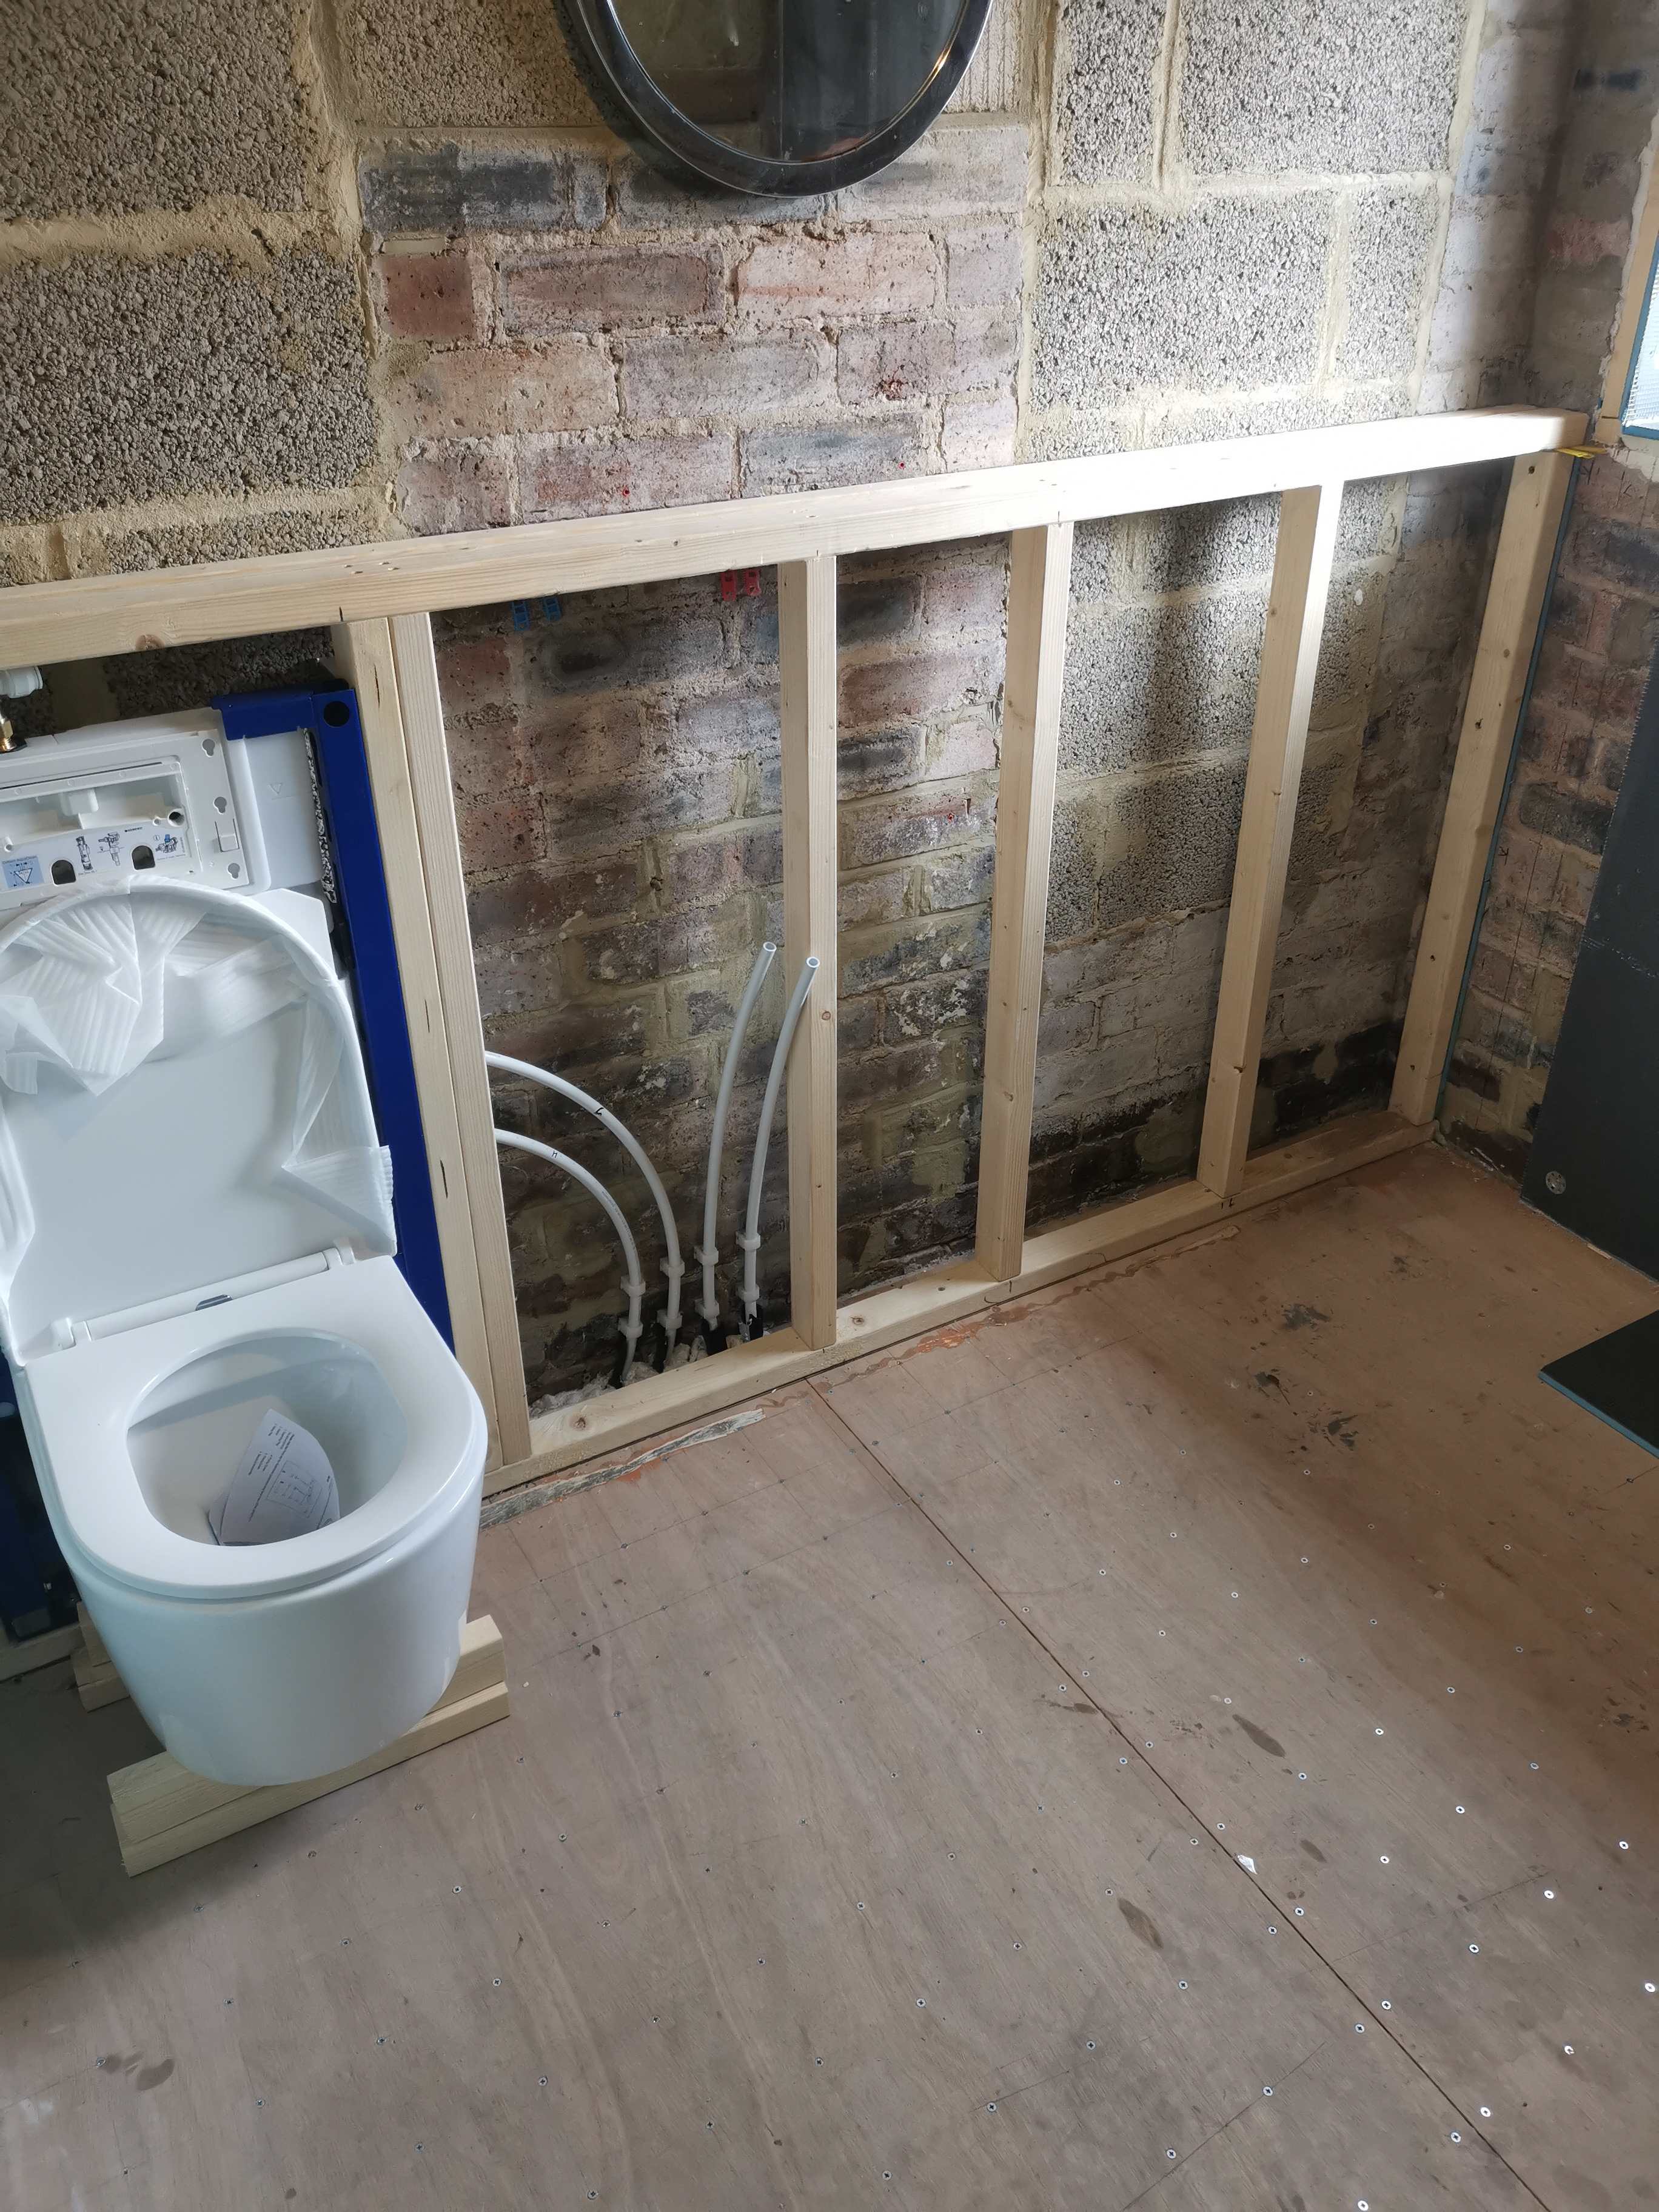
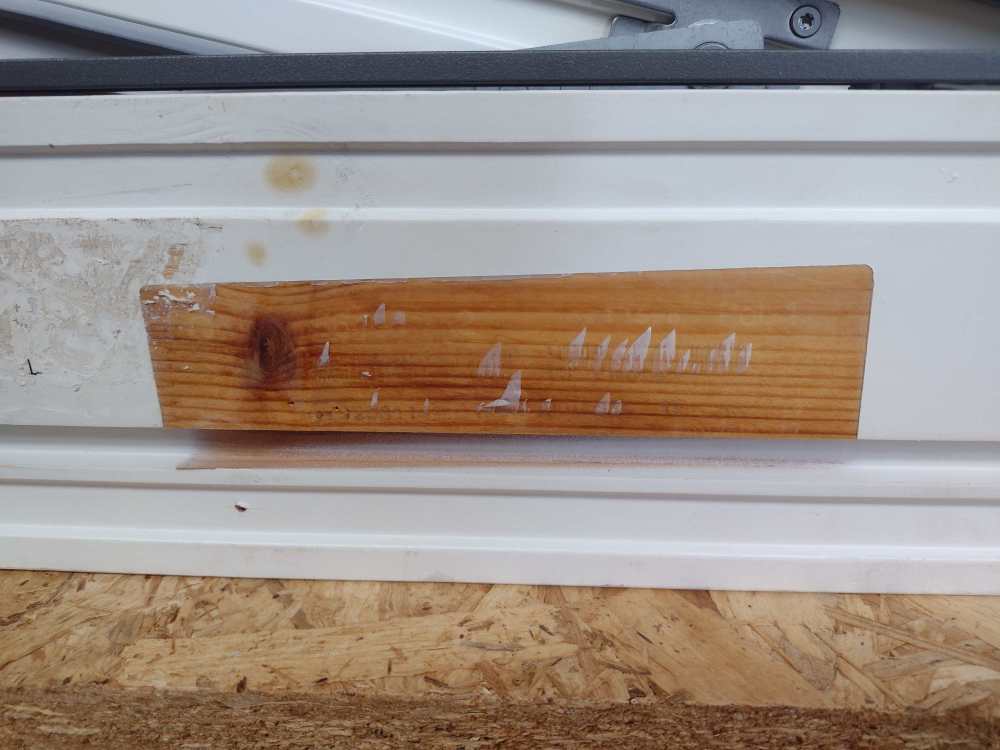
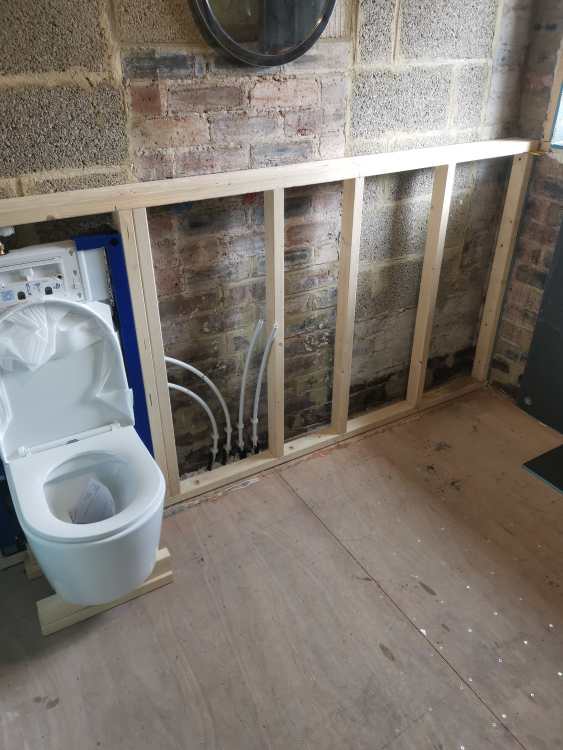
Plywood or MR board on stud
Super_Paulie replied to Super_Paulie's topic in Bathrooms, Ensuites & Wetrooms
Just making work for myself ain't I. Seen online that people double up the board but I guess that's more for sound reduction from the flush and waste. Deffo need plywood in some capacity to hold the wall hung unit, which I currently don't have so can't position it up. -
I don't have a fence only a hedge, and at one point I have to pass a gate and another a drive way. In the field I could see effectively building a fence to carry the cable - i'll probably do that. at least the buried sections will then not be in a field. the biggest bugger is there are a ton of other services around, gas, mains, water and sewage plus some telephone. Potentially I could go overhead the whole way, it's just passing over the drive way and gate are a bit untidy.
-
I'm prepared to take that risk re bare joinery looking bad or at least cross that bridge when/if I come to it. But I can't see how to remove the handle for the sash part of the window anyway so not sure if I can get that far.. I've removed screws on the corners but nothing is moving, nothing obvious on the handle to unscrew or hint that it comes away.

-

Plywood or MR board on stud
BotusBuild replied to Super_Paulie's topic in Bathrooms, Ensuites & Wetrooms
Your tiling the wall and putting a vanity unit in front of it. I think you've got it covered 😀 Seriously, I think you'll be OK with plywood and tiles. Prime and/or seal the plywood before tiling. You could always put a couple of coats of tanking before tiling to be sure, to be sure. -
Plywood or MR board on stud
Super_Paulie replied to Super_Paulie's topic in Bathrooms, Ensuites & Wetrooms
Basin will be on top of the wall hung vanity, sat on top of a worktop though. -
Plywood or MR board on stud
BotusBuild replied to Super_Paulie's topic in Bathrooms, Ensuites & Wetrooms
Apart from someone missing the pan, what is the chance of that getting splashed? Plywood should he fine IMHO -
Any thoughts on this. I was going to just plywood over this before tiling so I've got strength for fixing wall mounted units. But I could also recess the plywood between each stud and then MR board over the top of that. Any benefits or just making work for myself?
-
Pocster's Unreal Kafkaesque Engine P.U.K.E (tm)
-

Locks - key only or key & turn cylinder?
JohnBishop replied to JohnBishop's topic in Doors & Door Frames
is this a limitation of any lock that you cannot unlock it if a key is inserted on the other side or a limitation of some older locks? I lean towards the key only solution but may reconsider. I reckon this locked out situation only applies when a person exited through e.g. the front door but want to e.g. sneak back into the house through back doors so wife won't notice. or you lost the key to the front door and want to get in from the back. I reckon to mitigate that you can have the locks keyed alike. -
Locks - key only or key & turn cylinder?
JohnBishop replied to JohnBishop's topic in Doors & Door Frames
thanks for pointing this out. As I lean toward the key only solution I forgot about this limitation. -
I get the impression from watching builders on youtube that the variation between states is quite significant, with those states with higher and denser populations having much tighter rules and those states that have very cold winters having much tighter rules. Still overall, Americans are well known for using vastly more energy per capita than other parts of the world. It's the typical result of very polarised politics. Democrat gets in and tries to get tighter rules. After big fight, watered down rules get put in then Republication gets in and undoes them (and even makes them worse than before). Thankfully a lot of rules are by the states, the federal ones are minimums that the states often exceed and the states have more stable politics (for good and bad).
-
You can strip with paint stripper's but it tends to leave a raised grain. You could simply sand it down. Or paint the other windows to match.
-
Starlink loose end on wire.
ProDave replied to saveasteading's topic in Networks, AV, Security & Automation
True, but I read this as being near the end as he just wanted to fit a Cat 5/6 plug and plug it in? @saveasteading More information needed -

Starlink loose end on wire.
-rick- replied to saveasteading's topic in Networks, AV, Security & Automation
Think it depends which model you have. If you are only repairing a break you only need to match the colours on both sides. The only real condition is to keep the each twisted pair near each other to maintain signal integrity.