Jump to content

The roofs, the windows and the solar PV array


Thorfun

4584 views

Well, it’s been quite a while since my last blog post but we’ve not been idle but I do admit to having been slack in updating the blog.


At the end of the last blog we had a superstructure and the roofer was about to begin his journey up the scaffolding. This is where that tale begins…..


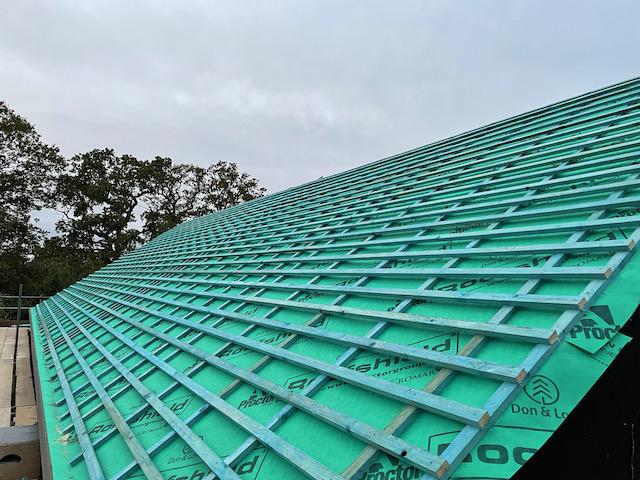
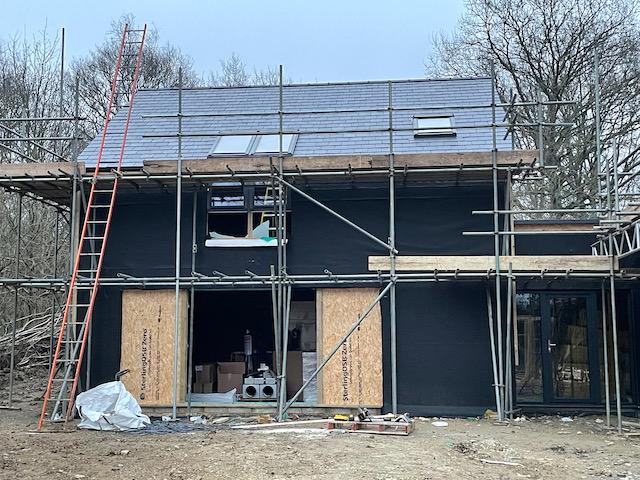
’Twas a sunny November morning when all was quiet that a white van man arrived at our site to felt, batten and slate our sloping roofs. And he wasted no time at all in cracking on with it after the site orientation was complete. With his dad along to help with the battening it didn’t take long for the membrane (or ‘felt’ if you’re a roofer) and battens and counter battens to be done. After discussions with our BCO it was decided that we would fully fill our rafters and use a breathable membrane (Proctor Roofshield) attached to the roof trusses and then 25mm x 50mm  counter battens and then slate battens which gave us 50mm ventilation. This allows us to not need soffit vents (or indeed soffits) which fitted in to the design of the house better and also meant we don’t have to worry about creepy crawlies living in the soffits.
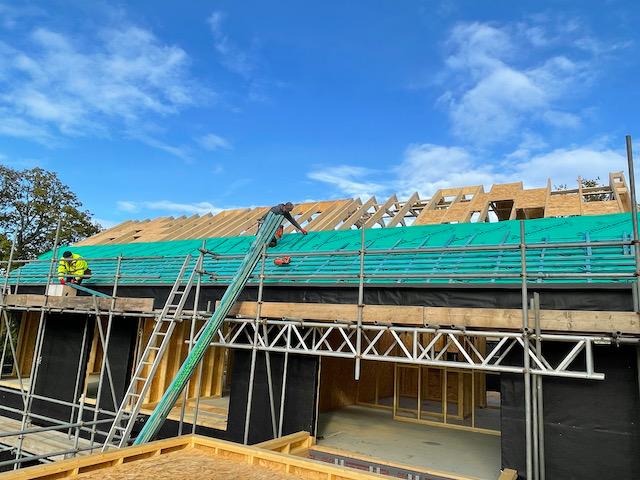
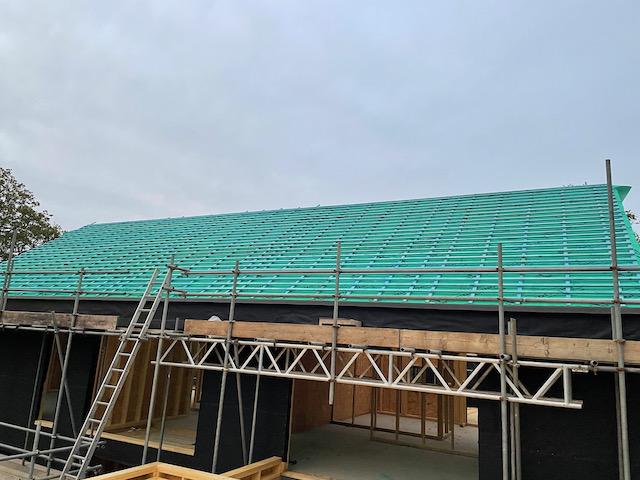
 

IMG_2021.jpeg.4f1ea2a6491d3912105317ca2776d114.jpeg

IMG_2022.jpeg.0602dd80a18f95f23726f74d52521f9b.jpeg

IMG_2023.jpeg.7fa273352a325a28488022b397010562.jpeg


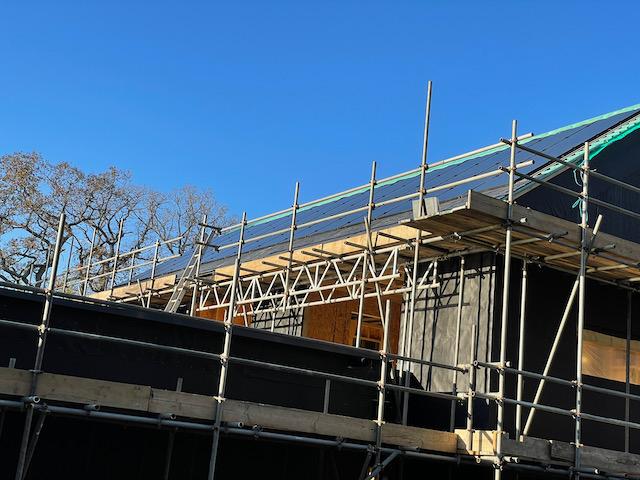
We started with the southern elevation so that the solar PV array could be installed and the roofer (Chris) fitted the first few rows of slates and some flashing leaving it ready for the solar team to arrive before moving on to the northern elevation
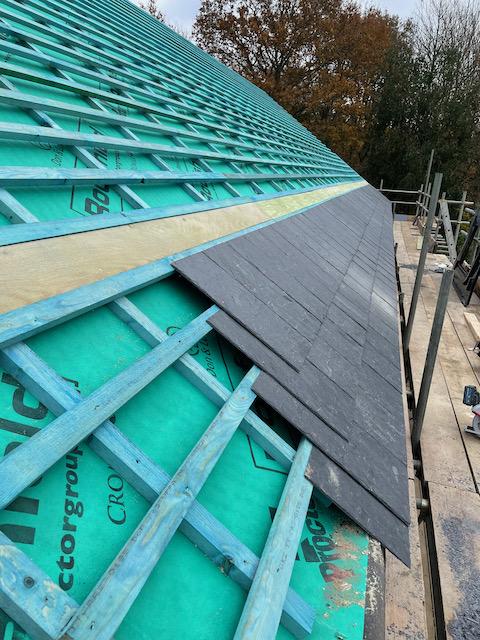
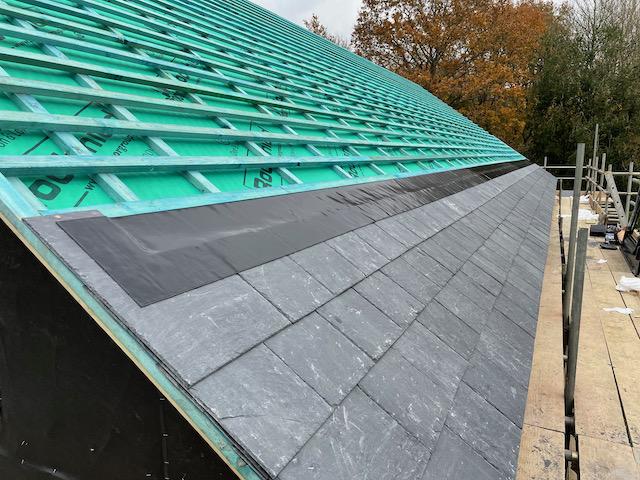
 

IMG_2061.jpeg.91860998e46fb89a9bdc6a66a7ee647d.jpeg

IMG_2063.jpeg.7afb72189eaff51cda31d3af4a7ba3c1.jpeg


So while Chris was busy working on the north side of the house the solar installers arrived and fitted our GSE trays. Once done they started to fit the panels. But it was then discovered that the company who did the ordering ordered the wrong size GSE trays and the panels wouldn’t fit. So the solar installers took all the trays down and left site after wasting a day’s work.


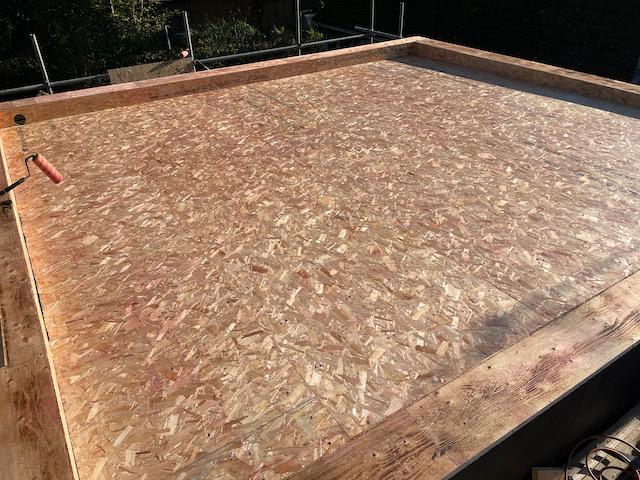
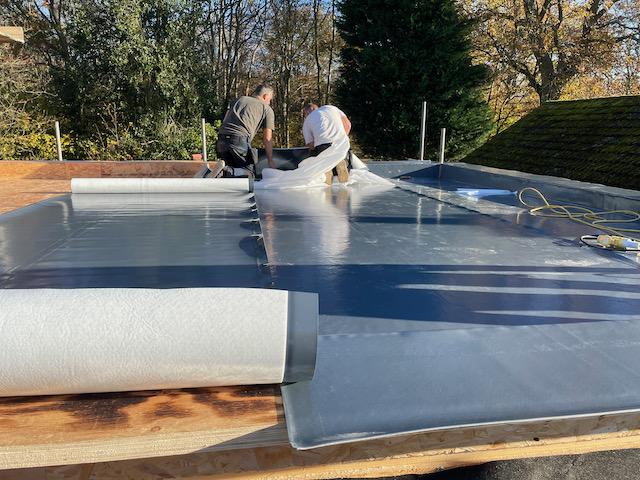
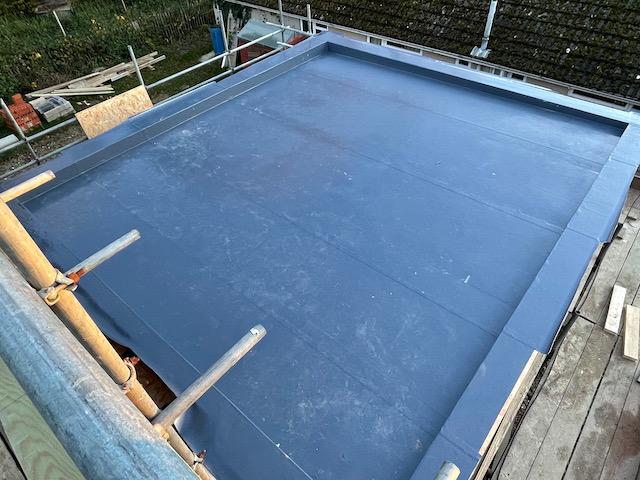
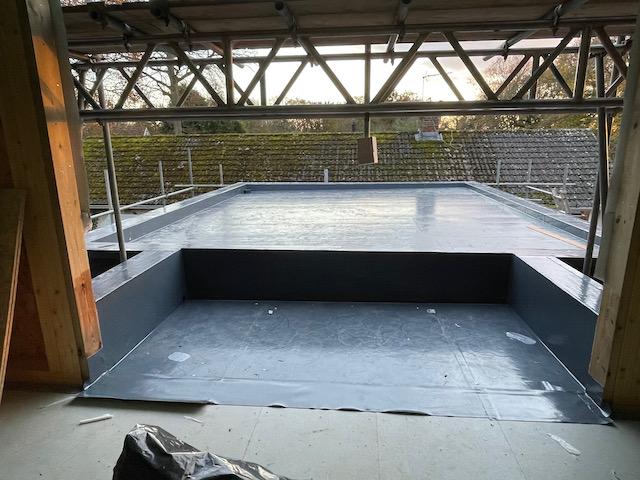
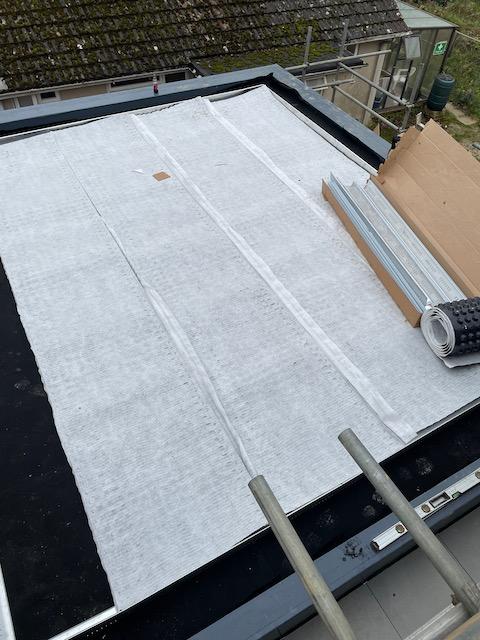
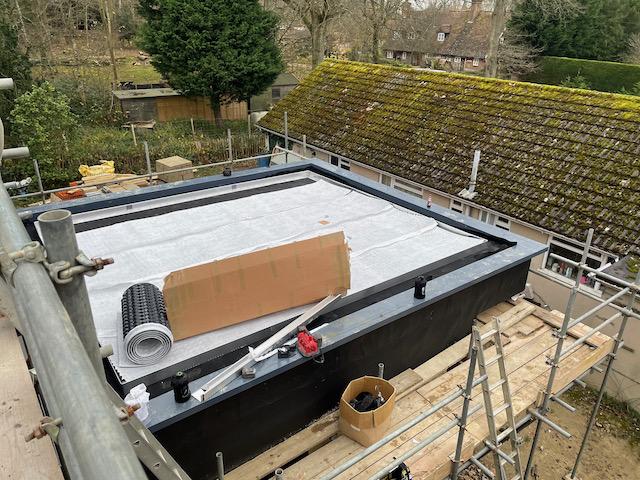
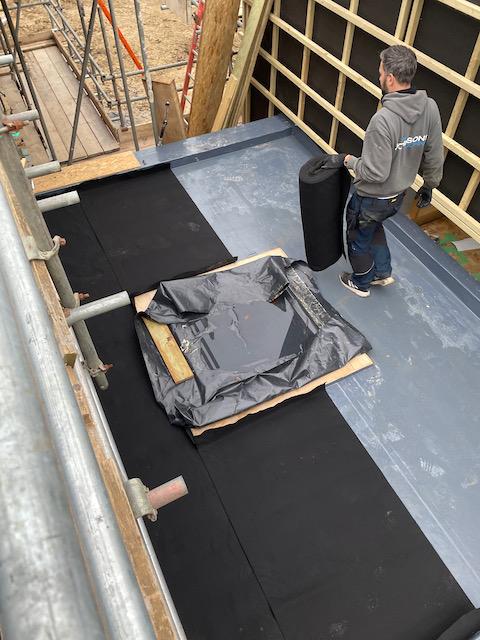
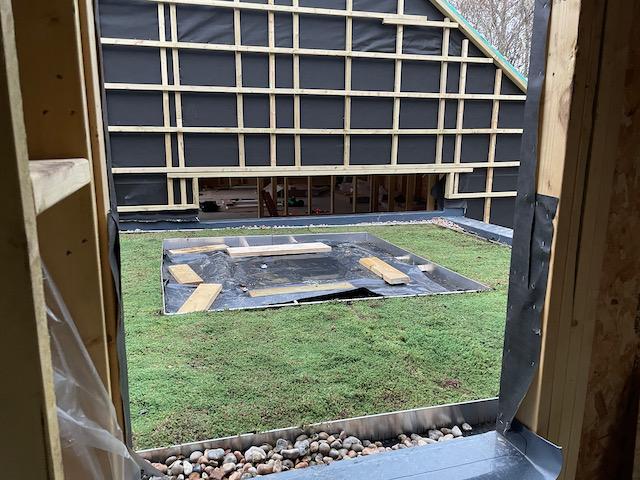
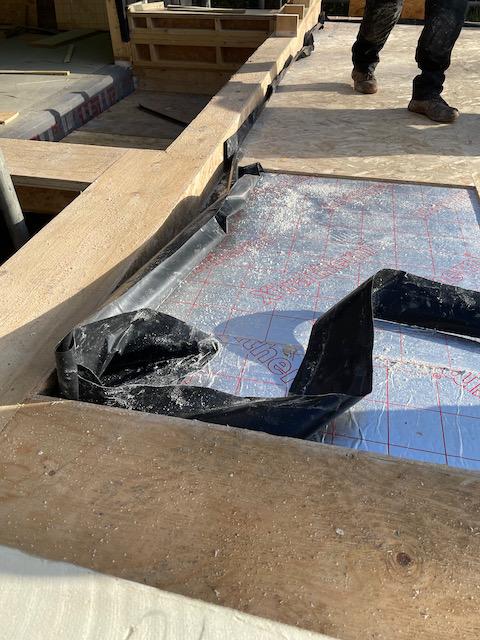
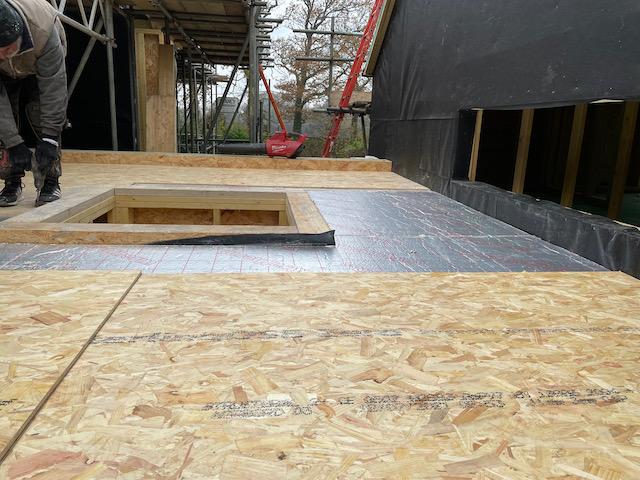
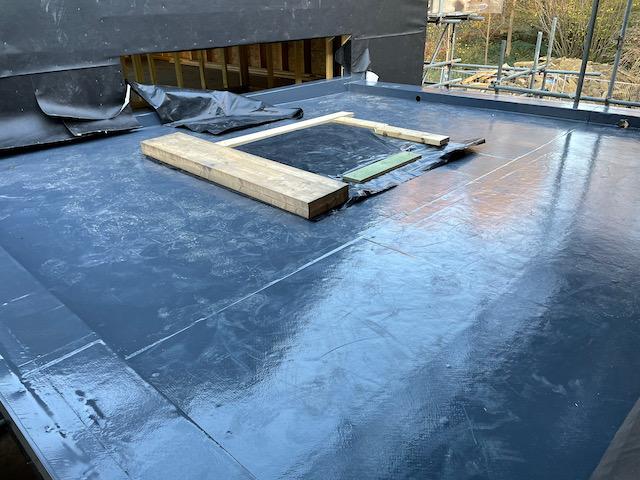
Meanwhile the flat roofers attended site to single-ply membrane our flat roofs and balcony. A great bunch of guys from a company recommended to me by Chris so I had every confidence of them doing a great job, and they didn’t disappoint. DPM, PIR, OSB then single-ply membrane.


First roof which will have a wildflower green roof being overlooked by our bedroom balcony
 

IMG_2078.jpeg.df4c1fa495c47d13a2004867ca616a47.jpeg

IMG_2081.jpeg.4fe0eba821f56403ab017aad194af50b.jpeg

IMG_2085.jpeg.2963d092533e4b15d00b445ccb3346b6.jpeg

IMG_2088.jpeg.609eff8963d9fc4f8fd93e287943849b.jpeg

IMG_2105.jpeg.d71a817ceb2860cf23c8cf3fbdc307bb.jpeg


Second roof above our utility room which links the house to the garage which will have a sedum roof
 

IMG_2093.jpeg.a62fe9e7b637b5b7f2124c5c66723890.jpeg

IMG_2098.jpeg.7191e6d1713a37da97d4daf233437464.jpeg


They will return a little later on in the blog to install the green roofs.


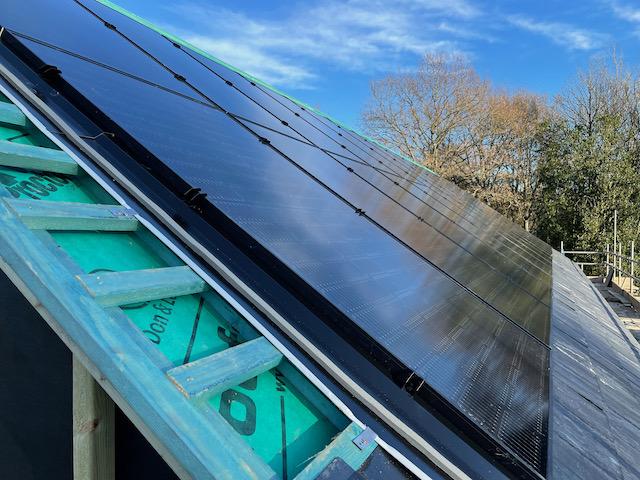
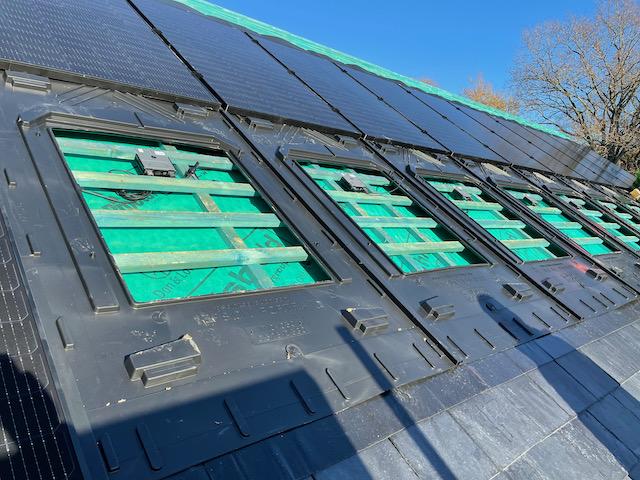
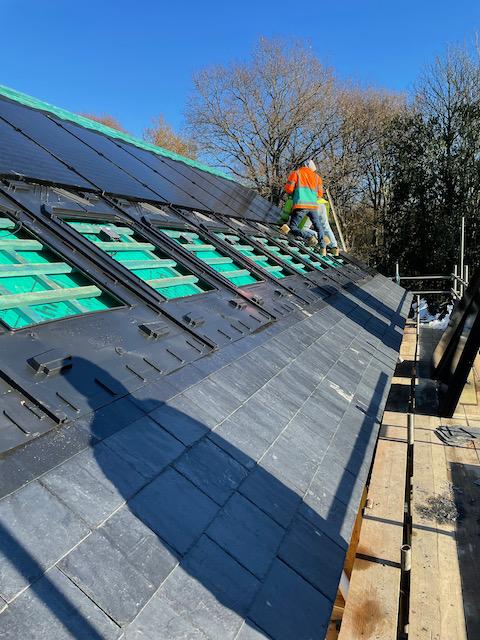
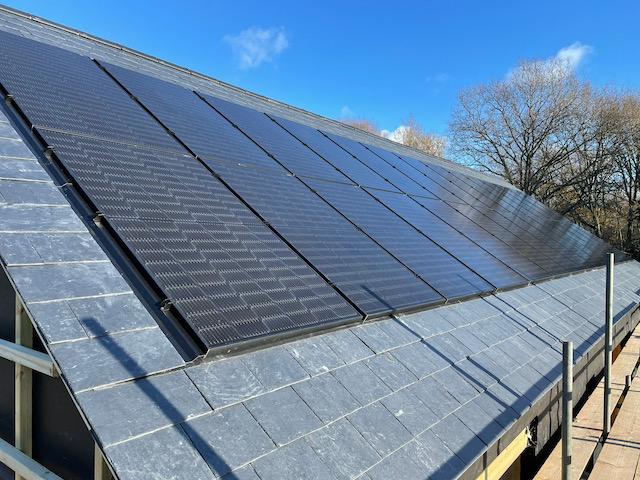
Meanwhile the solar installers returned after the correctly sized GSE trays had been delivered and managed to fit it all in a day. We think it looks brilliant. 28 x 375W LG panels, each with Solaredge optimisers as we have lots of trees around us. And when they’d finished each panel was giving out 1V and was confirmed each was working by being shown the 14V on each string in the loft. Job done for now until we get electrics first fix done and they can come back and fit the inverter.
 

IMG_2141.jpeg.62e9f46f60d5c41942121fb81001d194.jpeg

IMG_2143.jpeg.ac7f39f859f1fe656103b2643cf9a45b.jpeg

IMG_2146.jpeg.f3e906ed856a78d857277ebef0de9fe2.jpeg

IMG_2149.jpeg.41b19f9fe3ab3ef5aa8b8ba24daf822c.jpeg


The only real issue we had with the solar is that the panels were resting on the slates making them lift up in places. I created a thread about them (https://forum.buildhub.org.uk/topic/24530-slate-tiles-lifted/) and after much discussion and deliberation I decided to simply use black CT1 to stick them down which worked nicely. A bit of a bodge but you can’t tell from the ground and a lot less disruption to timelines than other solutions.


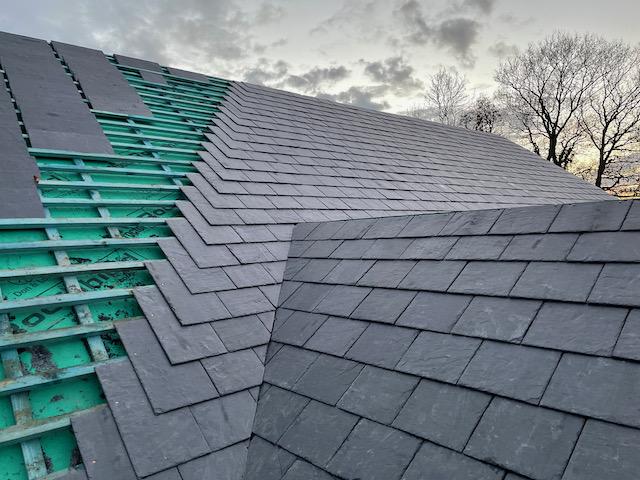
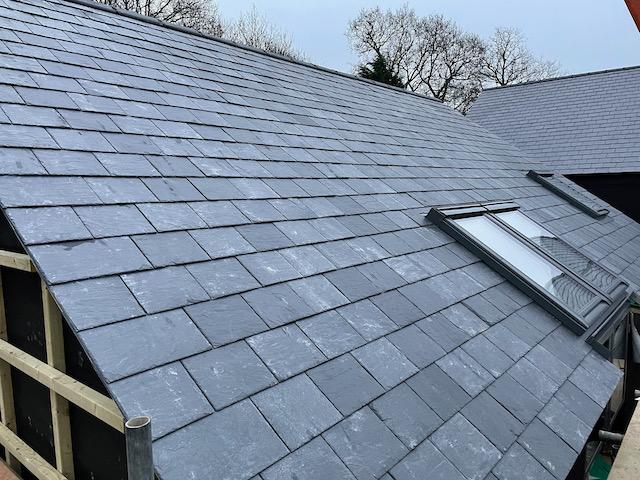
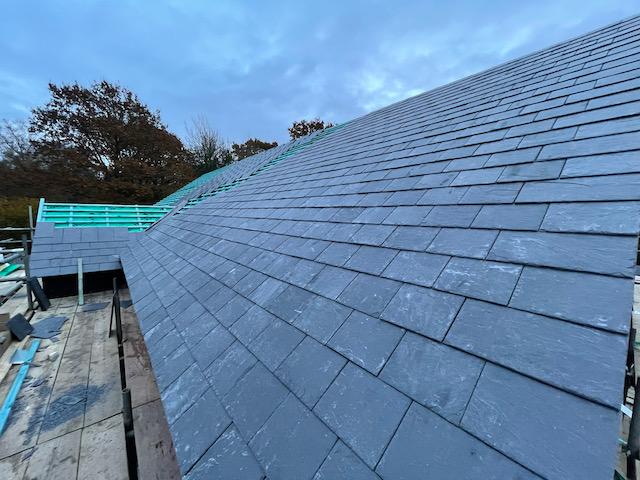
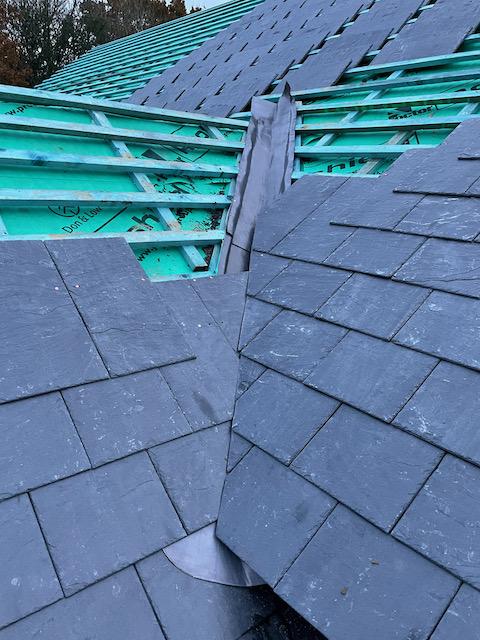
While all of that was going on Chris was busy slating the northern elevation and it was all coming along nicely.
 

IMG_2067.jpeg.a97ffb877936cdf723f8fe1fb2c20833.jpeg

IMG_2068.jpeg.793fe90ff0bb4990bfcec6fe2426d134.jpeg

IMG_2113.jpeg.abb8a9a6e11228059a966f2e734dadd9.jpeg


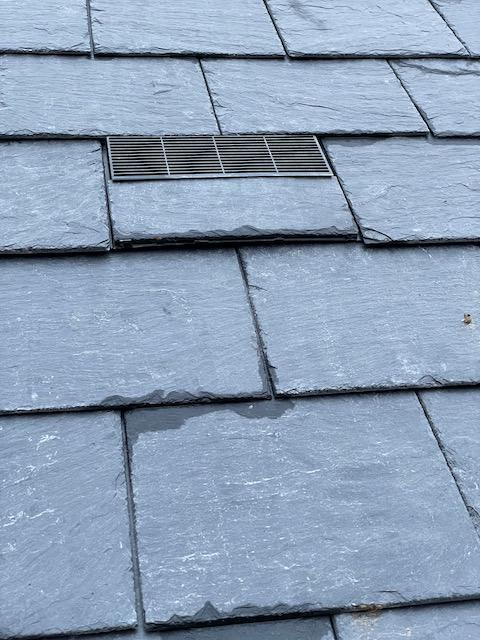
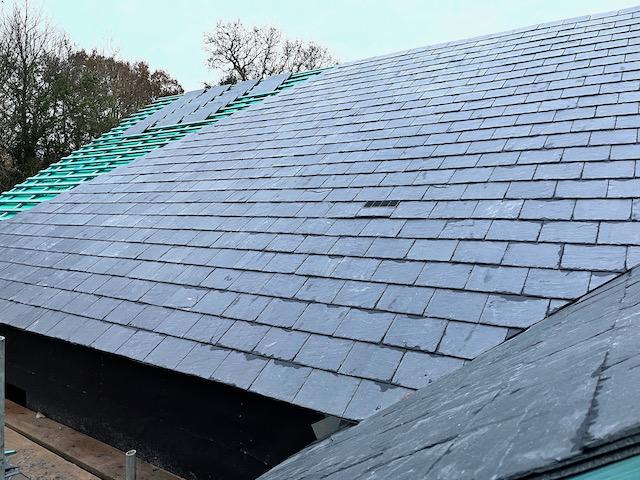
During that I had another discussion with the BCO about vent pipes. I asked if I could have one by the STP but she was adamant that I had to have one through the roof. When I mentioned I didn’t want a pipe sticking out the top of the roof she said that they do slate vents. A quick google search revealed what she was talking about and I purchased the item and it was installed. Looks fab and from the ground you can barely notice it which is just what I wanted.
 

IMG_2119.jpeg.3a0c095af087318ab63b177d46d528a8.jpeg

IMG_2120.jpeg.4da2cd2baaf61f5e088c1b2ab97868cd.jpeg


And now the solar PV install was finished he could move on to the southern elevation.


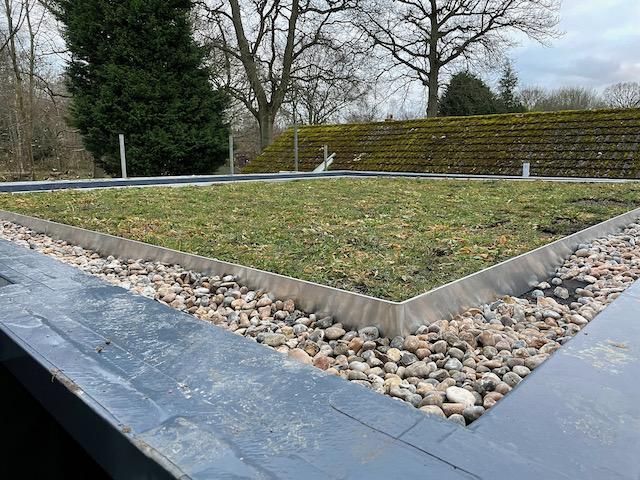
But while he was doing that the flat roofers came back and installed our green roofs.


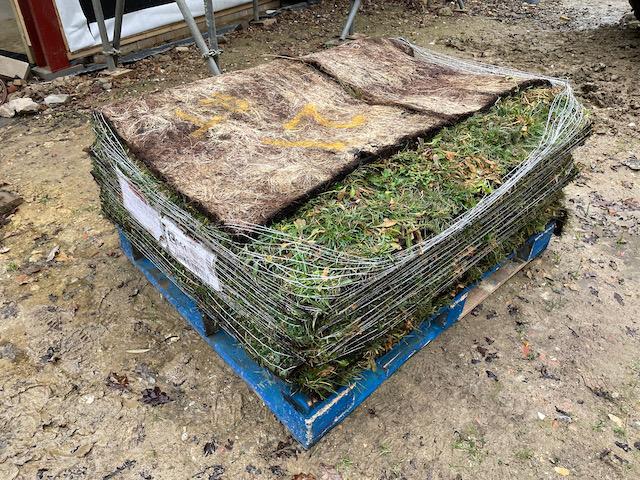
The wildflower material
IMG_2215.jpeg.43adb070ab3f14ccf319099fdd53fd26.jpeg


IMG_2219.jpeg.4000eebe8c9d4ba81d30baa774c27266.jpeg

IMG_2222.jpeg.9dcfce89cc63317feddc12642a107fa3.jpeg

IMG_2231.jpeg.3f1c83c82b880b1d98811fe05689bb5a.jpeg


IMG_2220.jpeg.2f3c24c91fd966b3b688381b577d624a.jpeg

IMG_2234.jpeg.ea4d3c1621c29be8d0930db28a15a251.jpeg


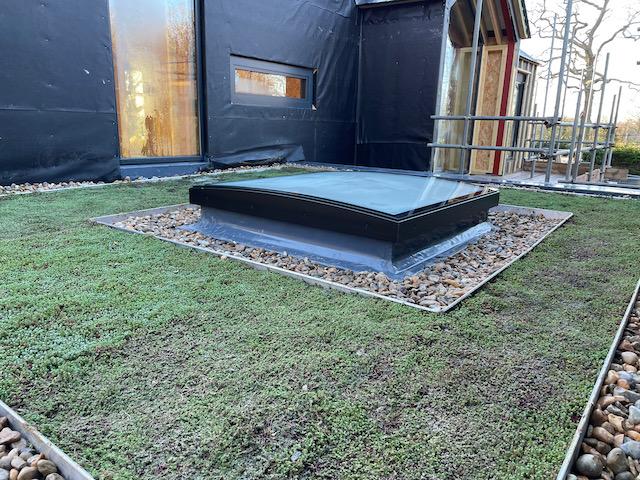
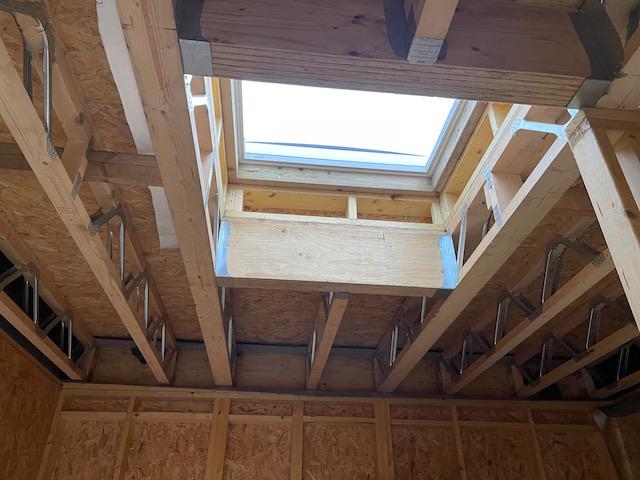
So that’s those finished although we were still waiting on a Velux roof light for one of the roofs which was delayed but the flat roofers came back to install that for me and finish off that roof a bit later.


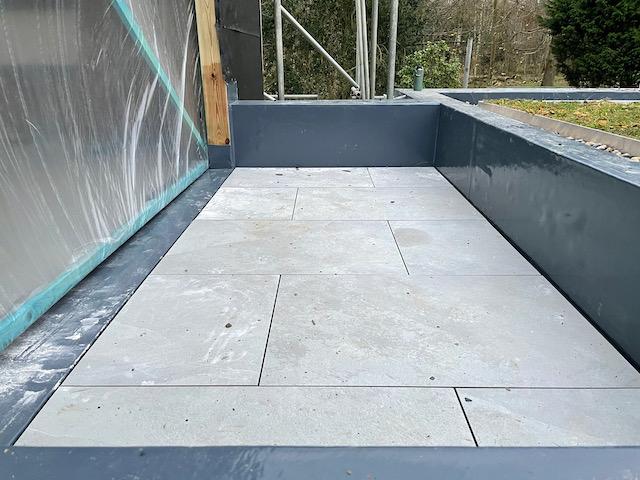
They also installed our patio paving slabs which we think look ace.
 

IMG_2232.jpeg.6af02a0d2010ab4744a0b94652e48577.jpeg


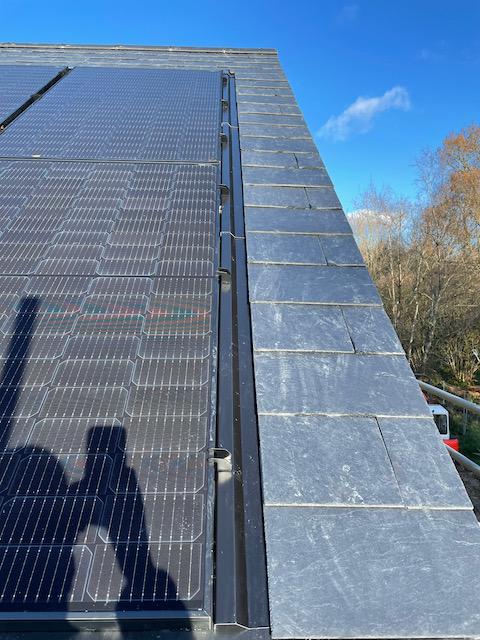
So, back to Chris and he’d now finished the main house roof slating and it finished off around the PV panels nicely. He did make a start on the garage roof but as we were still waiting on Velux windows he couldn’t finish that so he left site and would return once the Velux’s were delivered.
 

IMG_2184.jpeg.e07b54ce8d26e33c4a8be4125daa3b77.jpeg

IMG_2178.jpeg.42c14595834fbd82eb8d7e22b4bee320.jpeg


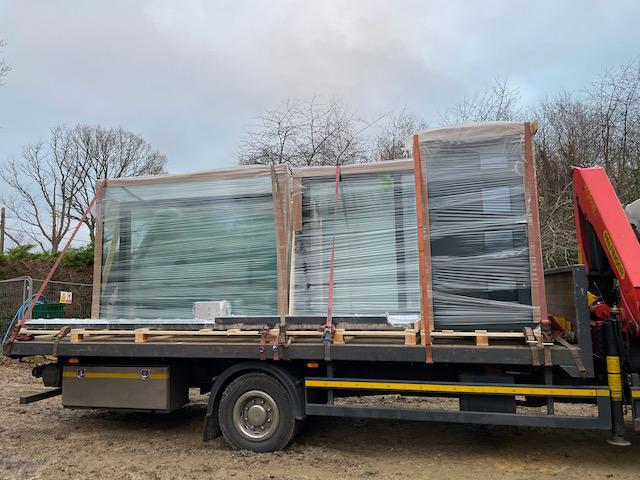
During that period our windows and doors arrived!
 

IMG_2244.jpeg.5df4943844a6035fc34ddf16e2119aeb.jpeg


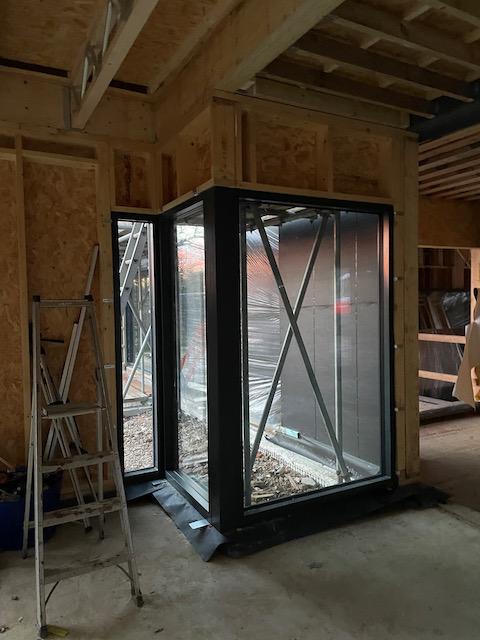
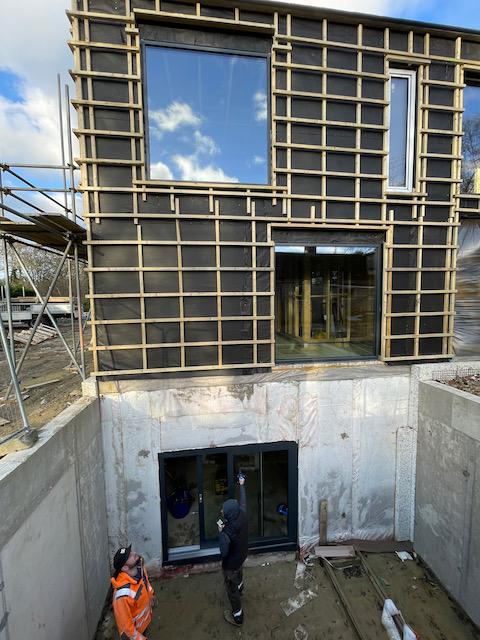
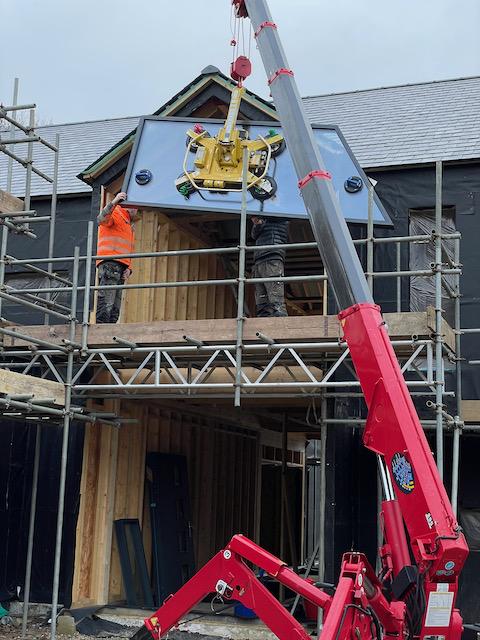
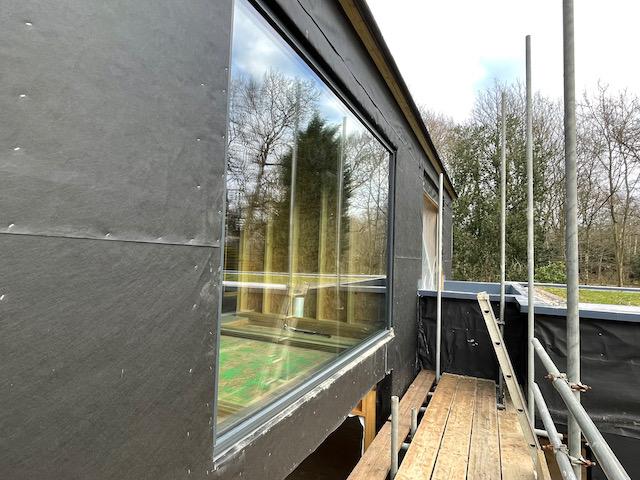
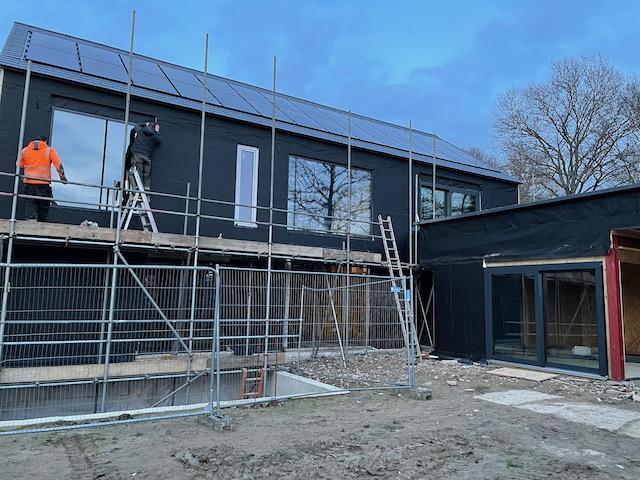
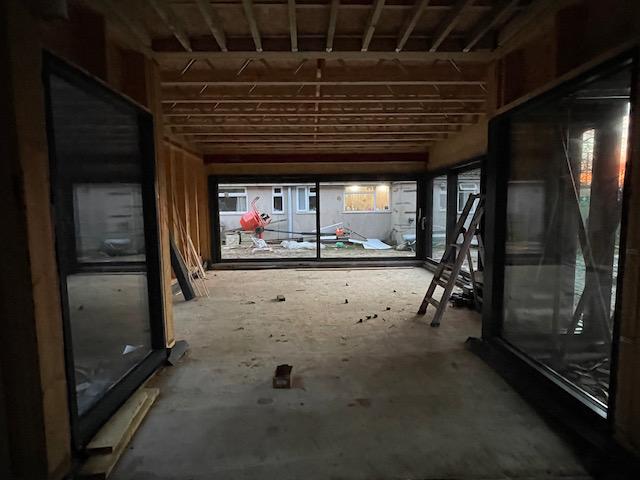
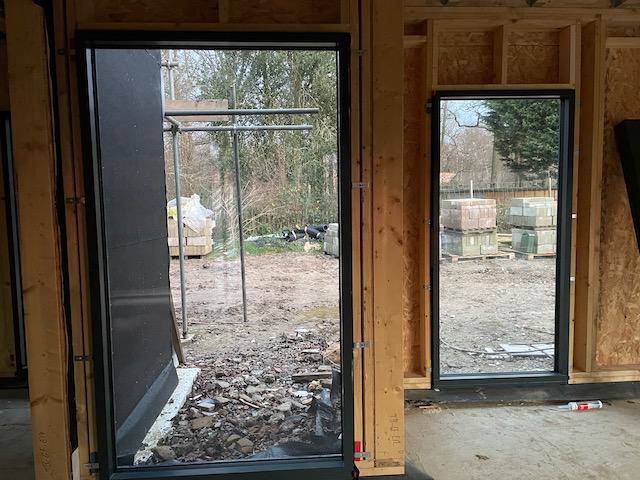
We used Norrsken for these and went for alu-clad triple glazed windows and sliders. The majority of our windows are fixed and we had quite a small profile for the frame which means more glass. The installers, Elite Installations Nationwide (https://www.eliteinstalls.co.uk) were brilliant and Jim and his team were a joy to have on site. They brought their spider crane with them which made lifting our windows up to the first floor a breeze for them.
 

IMG_2255.jpeg.d0e95f4fadda650be78669962d7c37a6.jpeg


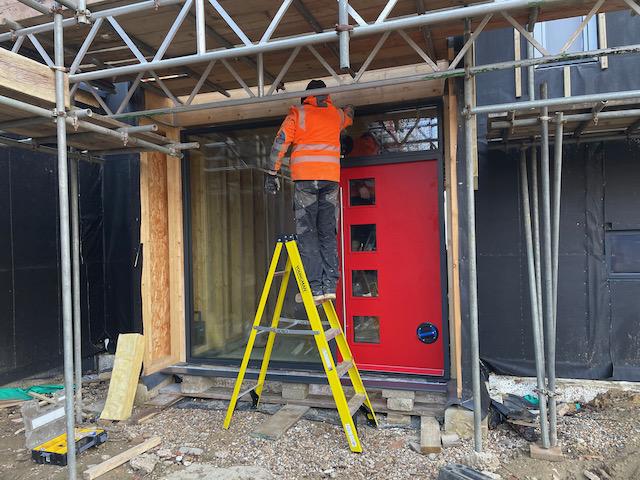
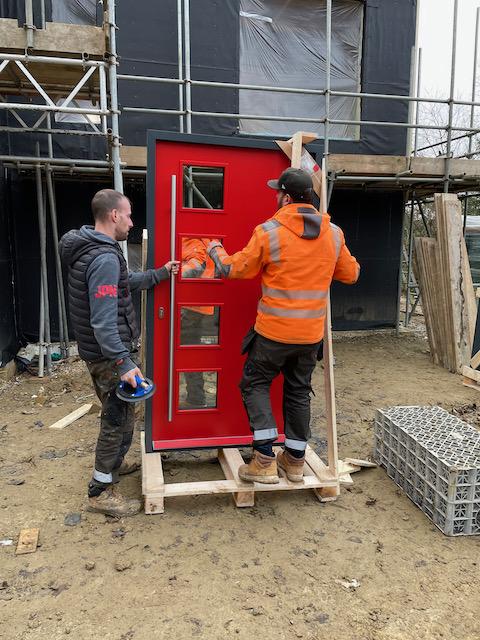
We decided to be bold and went for a red front door. We love it.
 

IMG_2248.jpeg.a5b458beab4c7a683b8d33291b5a2053.jpeg


As the window install was done the week of Christmas the installers couldn’t finish them all in time before the Christmas break so we wished them a safe trip back to York and would see them in the new year.
 

IMG_2259.jpeg.c682d3b6c2faba582c657fe92cdc023b.jpeg

IMG_2265.jpeg.7d2ded76a5c06afc10791099526bffb8.jpeg


Happy new year!! (Belated).


With the new year came the return of Jim and his team to finish off all our windows and doors. Once they were installed it made the house feel so much more like a house. Closing the front door had a feel of shutting out the outside world and we were (almost) water tight at last.
 

IMG_2295.jpeg.9696cb962250e5b1898aa6beaad32055.jpeg

IMG_2296.jpeg.4e789e5c22390ffc066ff5f6e7d26674.jpeg

IMG_2297.jpeg.22a7290a1cd5c04e8302b52012a3b43f.jpeg

IMG_2305.jpeg.49e6b8ce5b4b3700a390460eff0b0088.jpeg

IMG_2316.jpeg.efd86f5b7fe81dadbb4155497c1b6241.jpeg


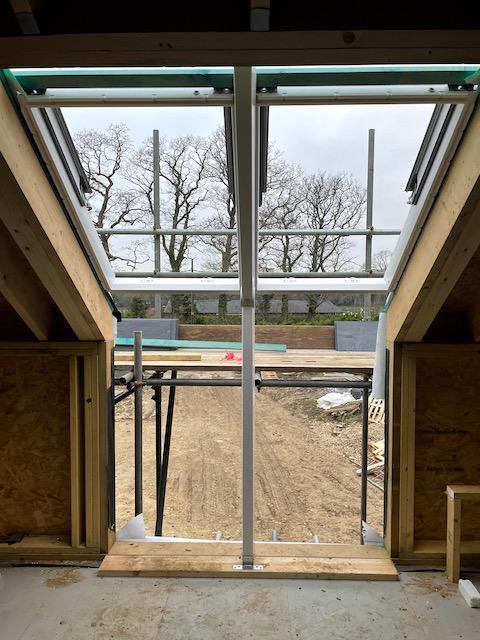
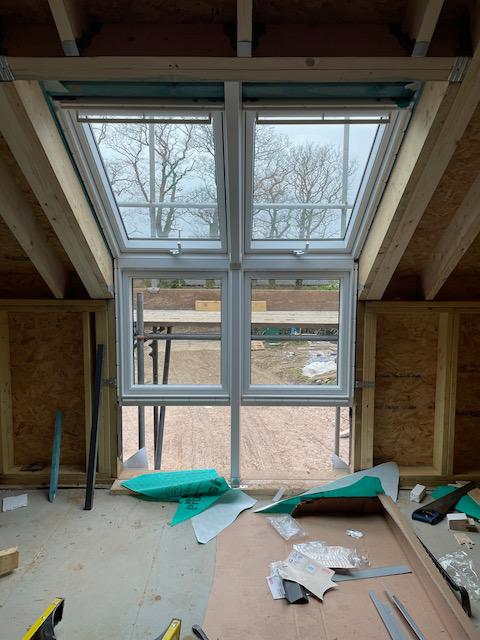
We also eventually received our Velux roof light and sloping and vertical windows. So the flat roof was finally completed and so was the garage roof. So we are very nicely watertight at this point.
 

IMG_2335.jpeg.12184deefdf324cb775a799611d004c8.jpeg

IMG_2338.jpeg.57850de05eaa0dde2f5134e0a4850553.jpeg


IMG_2392.jpeg.fcfe9d963710677c2909df247919725b.jpeg

IMG_2402.jpeg.6813893c7d612fc59db115ab9c4949ba.jpeg

IMG_2397.jpeg.b02597b0b49b54b624acd888d72e24d2.jpeg

IMG_2401.jpeg.1b4014aaa06b98d3761df5f98e402d14.jpeg


All that’s left now is the time-lapse video for this period of time. Sadly our camera only shows the south side of the building so we only get footage for stuff that happens on that side but it still makes for an interesting watch and I hope you enjoy it.


Until next time.


Edited by Thorfun

  • Like 16

40 Comments


Recommended Comments


5 minutes ago, Russell griffiths said:

Do you like the front door, it’s the same as mine, but haven’t fitted it yet. 

we do very much! love the colour and the door itself feels very solid. I'm sure you'll love yours once it's installed.

Link to comment

Thanks, looks like my roof design. My builder felt the green roof or balcony was an unnecessary cost addition . He will build the flat roof to take the weight in future development. Only at early stage of plans .

I feel I am doing a fair bit on concept development and specifications.

with such a big roof , are you happy that it won’t overheat in the summer ? I am amazed that so many attics are too hot for comfort.. insulation and reflective barriers are mentioned . What was your approach ? Please 

Link to comment
1 hour ago, 7dayworker said:

Thanks, looks like my roof design. My builder felt the green roof or balcony was an unnecessary cost addition . He will build the flat roof to take the weight in future development. Only at early stage of plans .

I feel I am doing a fair bit on concept development and specifications.

with such a big roof , are you happy that it won’t overheat in the summer ? I am amazed that so many attics are too hot for comfort.. insulation and reflective barriers are mentioned . What was your approach ? Please 

the roof may well overheat in the summer but as it's just storage space I'm not that worried. there's not too much you can do about stopping the sun shining on the roof to block out solar gain! you can use different forms of insulation to increase decrement delay. i have used mineral wool between the rafters and PIR underneath. the mineral wool has better decrement delay than PIR so it might help a bit but if I had my time again I would get pumped cellulose in the roof for two reasons.....1. installing mineral wool and PIR is a ******* and 2. cellulose has a very good decrement delay so will help with keeping the loft cool in the summer sun.

Link to comment

Looks AMAZING. Great attention to detail everywhere. Makes such a difference when you have a dry enclosed space.


  • Thanks 1
Link to comment
5 minutes ago, Onoff said:

How are you going to mow that roof?

thinking we might buy a goat?

Link to comment

I don't think you've got enough PV ! :)


Seriously that looks cracking, very envious. How much PV is that and how's it utilised?

Link to comment
11 minutes ago, joe90 said:

Looks brilliant well done, you must be very pleased 😇

thanks. so far so good! can't wait for it to be finished though.

Link to comment
9 minutes ago, Onoff said:

I don't think you've got enough PV ! :)


Seriously that looks cracking, very envious. How much PV is that and how's it utilised?

10.5kWp. when we're done it will eventually all be on a single phase running the house with excess going to some form of battery storage for use overnight. at least that's the plan!

  • Like 1
Link to comment
10 minutes ago, Thorfun said:

10.5kWp. when we're done it will eventually all be on a single phase running the house with excess going to some form of battery storage for use overnight. at least that's the plan!

👍👍👍👍👍👍👍👍👍👍

Link to comment

Exceptional attention to detail from the timber frame producers and erectors. Not seen work as neat and presentable as that for quite some time.

Love the red front door, what a great signature :) 


Have you applied to the DNO for capacity of A/C coupled batteries as well as that whopper of an array? The A/C capacities ( PV and intended battery ) combined seem high for a 1ph installation?


Tres bien.

  • Thanks 1
Link to comment
1 hour ago, Nickfromwales said:

Exceptional attention to detail from the timber frame producers and erectors. Not seen work as neat and presentable as that for quite some time.

Love the red front door, what a great signature :) 


Have you applied to the DNO for capacity of A/C coupled batteries as well as that whopper of an array? The A/C capacities ( PV and intended battery ) combined seem high for a 1ph installation?


Tres bien.

Thanks. We were very happy with the TF company and erectors. 
 

DNO signed off the 10kW array and PW2 on single phase. 😊

  • Like 1
Link to comment
32 minutes ago, Thorfun said:

DNO signed off the 10kW array and PW2 on single phase. 😊

23.5 total on 1ph! You were lucky there me thinks :) 

Link to comment
1 hour ago, Nickfromwales said:

23.5 total on 1ph! You were lucky there me thinks :) 

15kW. 10kWp array and 5kW from the PW2. the G99 says 17kW max so I can potentially reapply to change the battery storage to discharge at 7kW as I don't think I'll be going Tesla for my battery storage. but, for the moment, I have the 15kW in the bag!

  • Like 1
  • Thanks 1
Link to comment
6 hours ago, Thorfun said:

I don't think I'll be going Tesla for my battery storage.

They're a way off for availability atm anyways.

Link to comment
9 hours ago, Nickfromwales said:

They're a way off for availability atm anyways.

yeah. I was quoted 9 months. 

Link to comment

Create an account or sign in to comment

You need to be a member in order to leave a comment

Create an account

Sign up for a new account in our community. It's easy!

Register a new account

Sign in

Already have an account? Sign in here.

Sign In Now
×
×
  • Create New...