
Interlude and internals

Entry posted by vivienz
2182 views
And so almost another month has gone by but progress is still being made on the build and, just as importantly, hubby and I got away for a week's holiday in northern France just as the warm weather hit. After our abject failure at R&R over Christmas, it was wonderful to have a really relaxing break without illness or stress and come back refreshed for the final push on the build, which is just as well as there's a busy time to be had over the coming weeks.
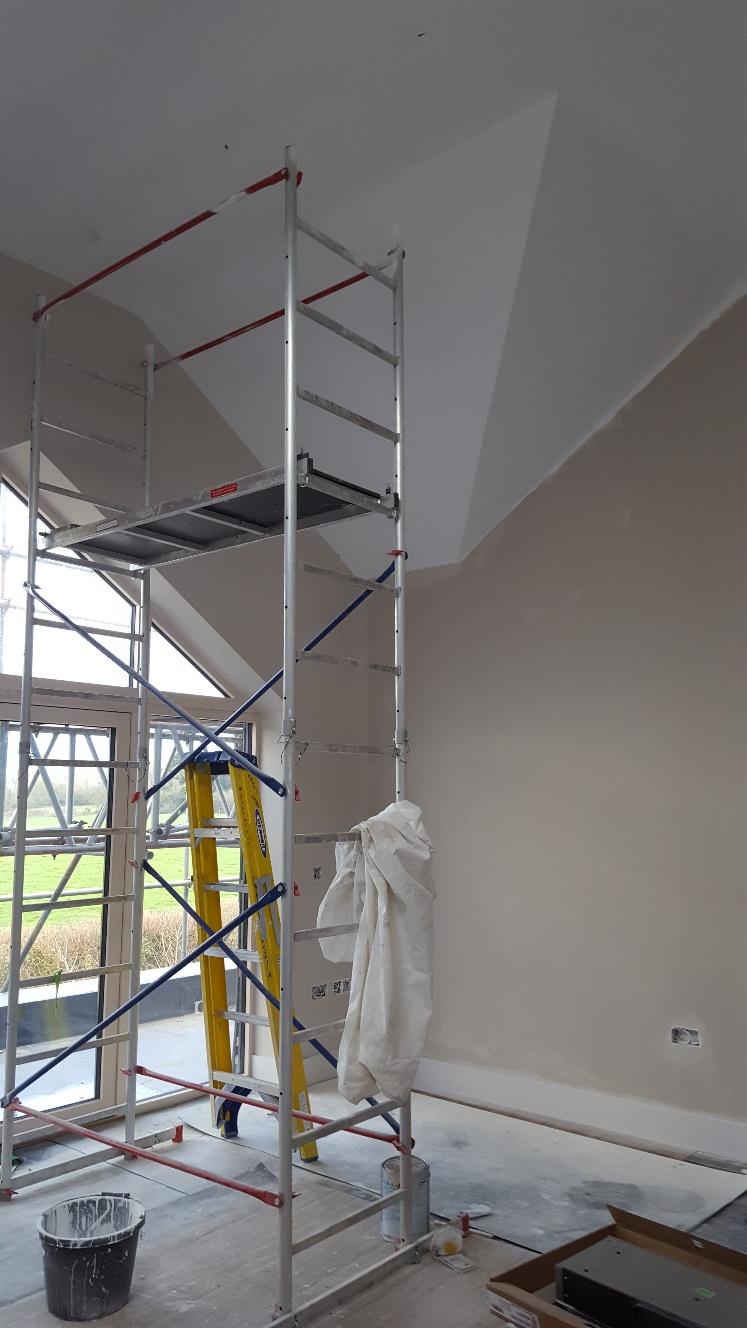
In the last blog entry, I detailed some of the painting and kitchen fitting that had been going on and there's been more of this recently. I've been getting the colour coats onto the walls upstairs but haven't managed to complete a room yet apart from the kitchen, but I'm generally pleased with the neutral colour choice. I say generally, though, because in the lounge, the different light in there makes the wall colour bring out the warm tones of the internal window frame finish which makes them look a slightly odd peach colour. It's not awful and I'm not going to change it now, but if we ever redecorate (hah!) it will be something I check before committing. For the more vertiginously challenged amongst you, you may wish to look away now, as here's a view from the top of my internal scaffold tower when I was putting the colour coat on up to the vaulted ceiling above the gable window in the guest bedroom.

And here are the colour choices. The purple will be on one wall only. It looks a bit garish at the moment but once the room has its furniture and soft furnishings in, it should tone well and add a bit of life to the room.
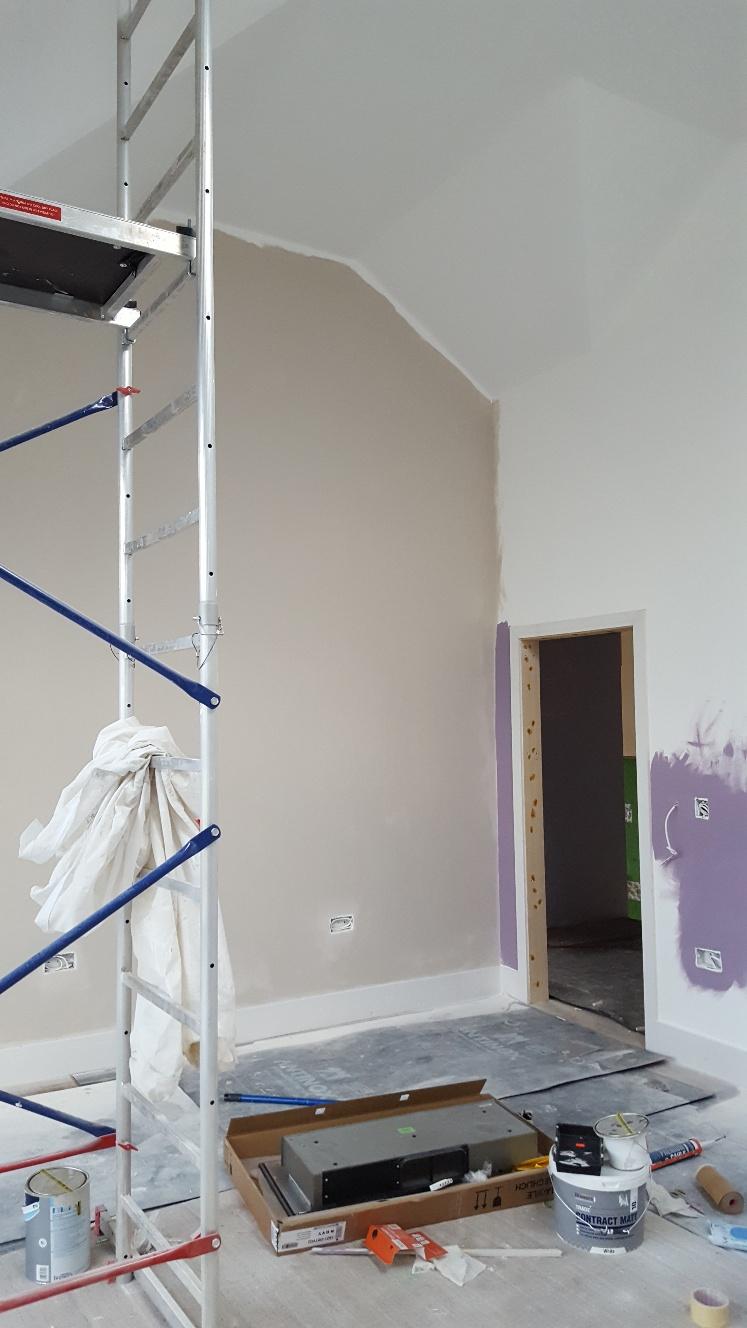
Cutting in and painting up to the high vault was a bit of a challenge, but I got there. I really didn't want to get any colour spatter onto the white ceiling so opted to use paint pads rather than a roller and I was pleased with the outcome. They give a good finish over the sprayed mist coat and are far less physically demanding than a roller.
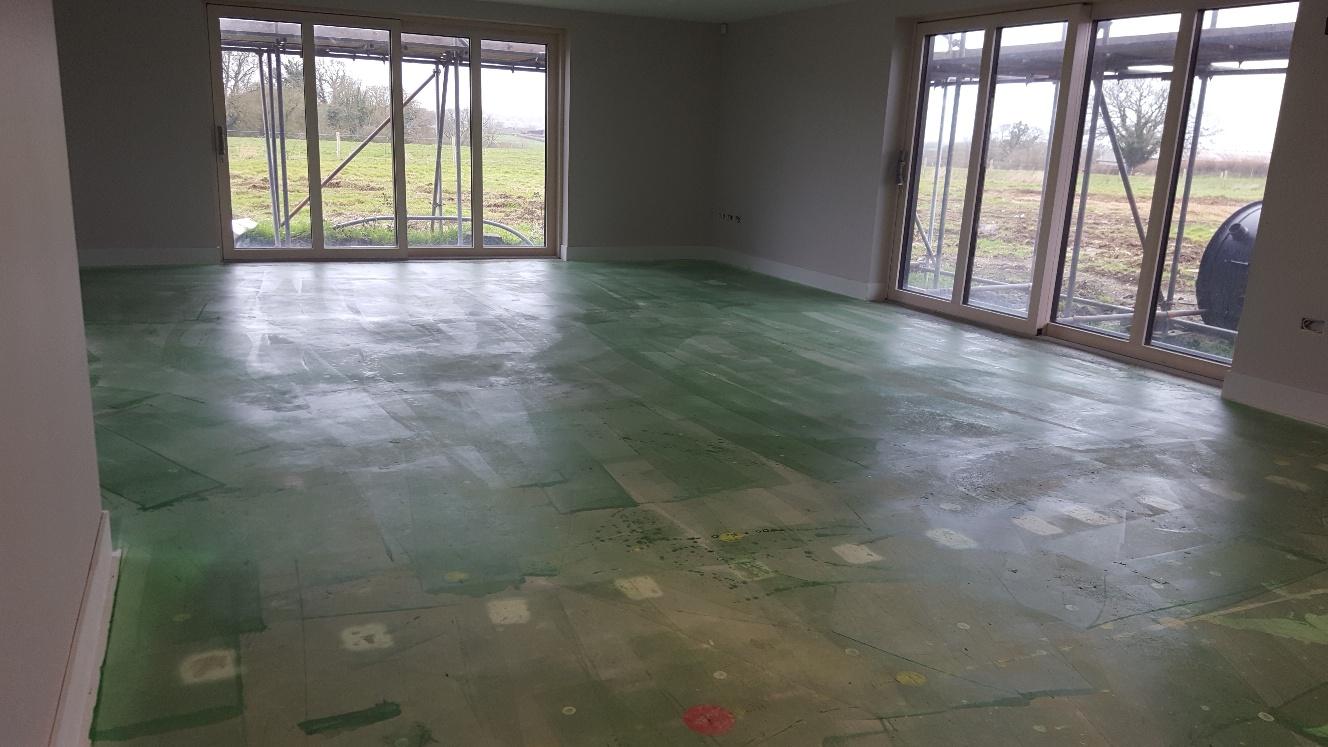
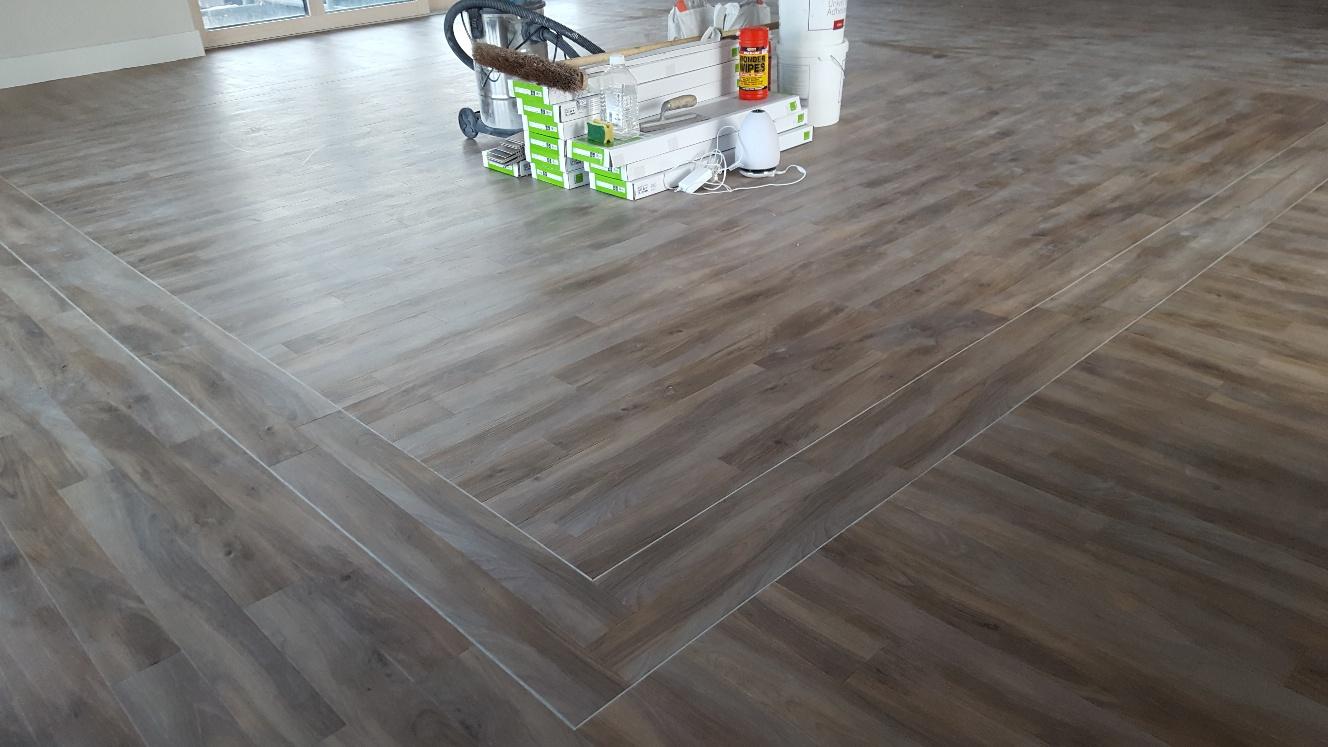
I was painting upstairs as the flooring guys were in downstairs putting in the karndean (same choice as upstairs) and it kept me productive but out of the way. Given all the work that went into making the dropped section of the ceiling in the lounge area, I wanted the floor to echo this but not in too obvious a fashion and so the team took a laser reference from the inner square of the lounge feature and reversed the direction of the planks, using a feature strip to create a subtle border. First, though, they had to screed the floor with a latex self levelling compound. In preparation for this, I needed to turn off the UFH a few days before they arrived to make sure the screed didn't go off too quickly due to the heat of the slab. I turned it off on a Friday afternoon and they started work on the following Tuesday and it was just about perfect.
Once the screed was down, the floor was scraped to make sure it was completely level and then primed.
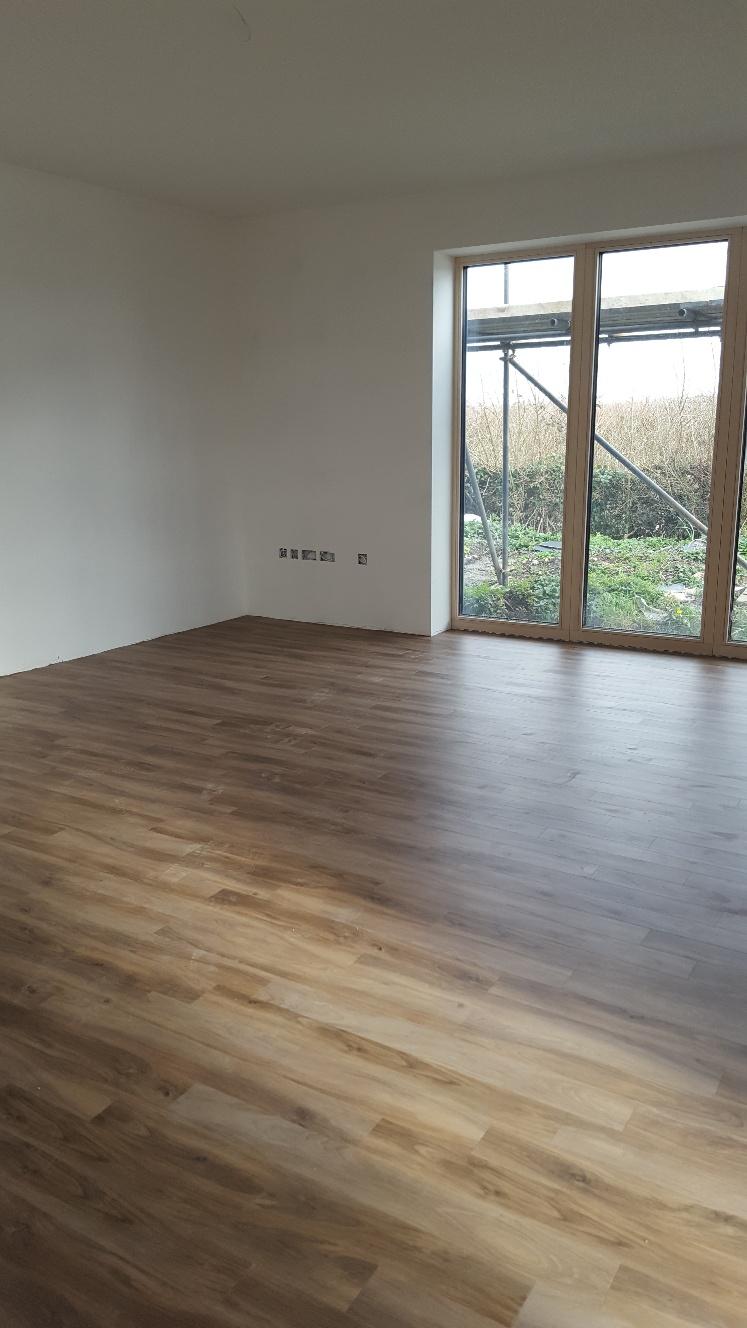
After the priming, the planks were put down. Here is the snug - I went in the weekend before the flooring guys arrived to get the mist coats and ceiling painted as it's far easier to do when you only have to mask the windows and not worry about any other area.
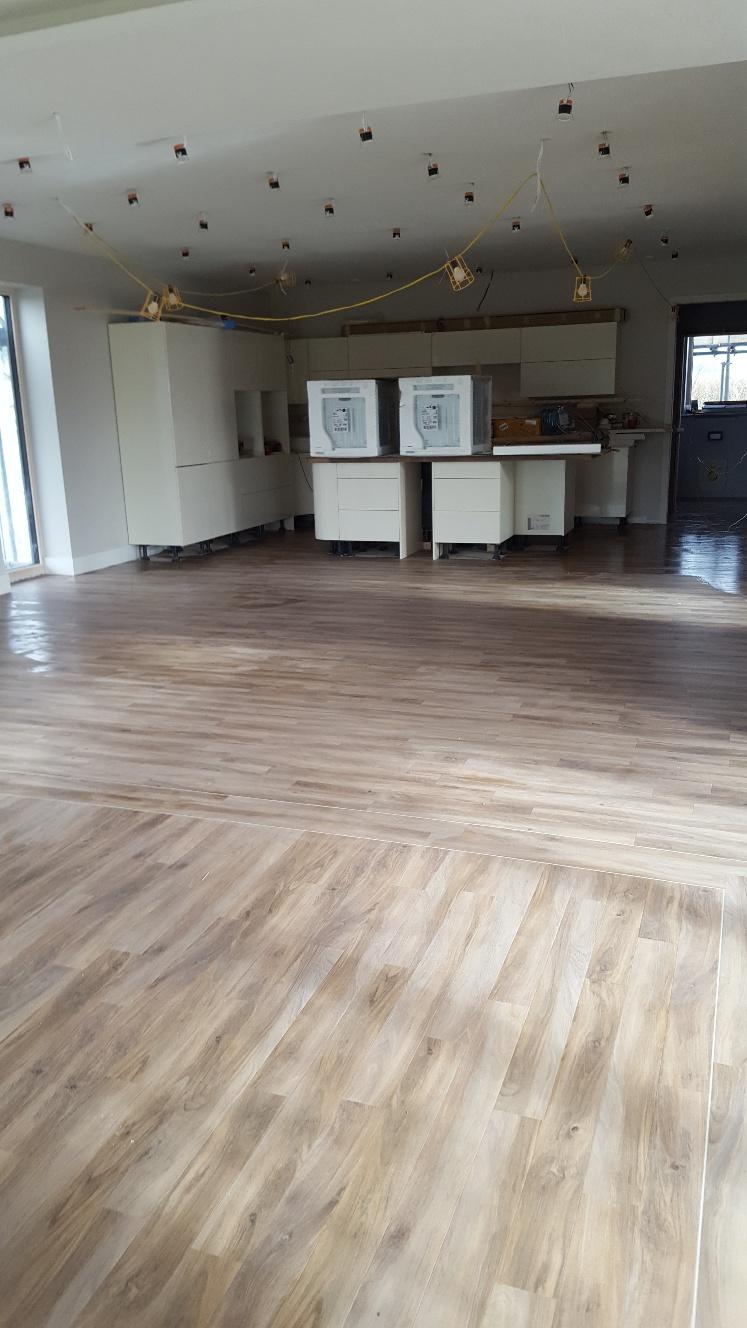
Here's the long view of the kitchen/lounge area:
And here's a close up of the feature border underneath the ceiling feature:
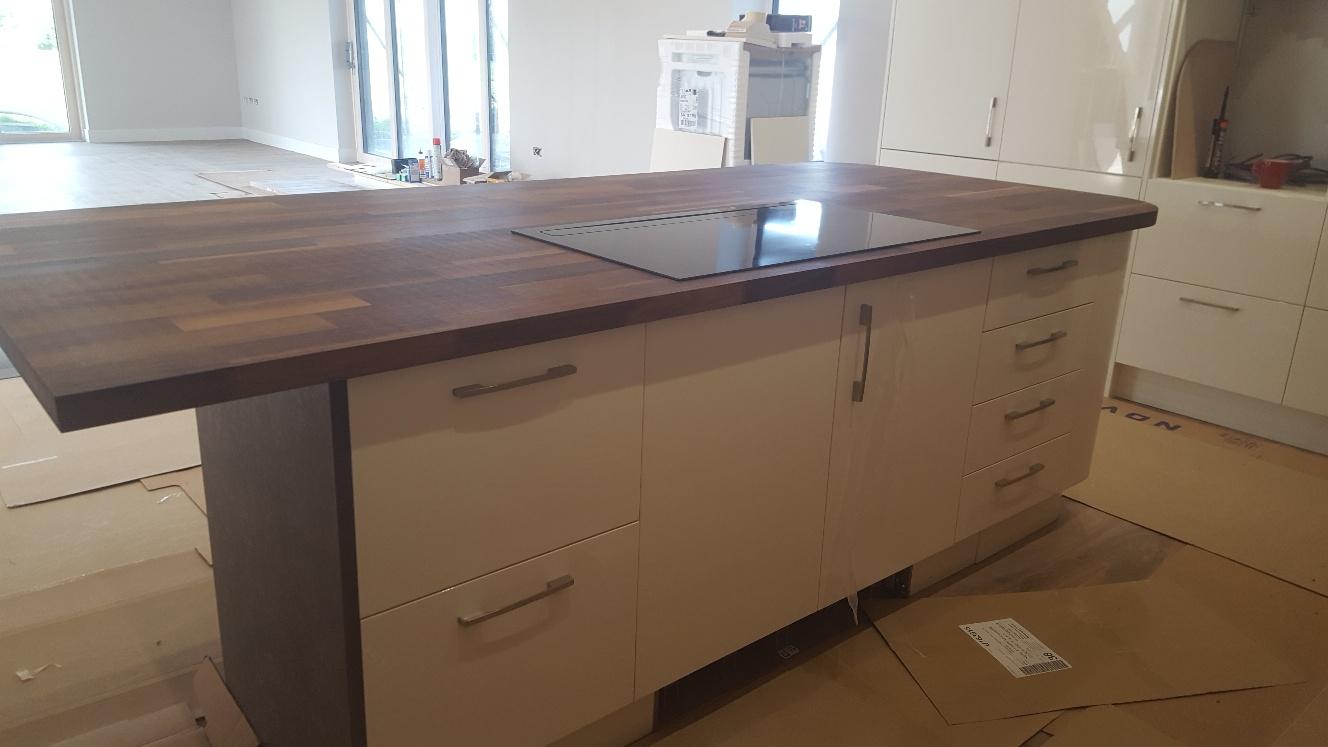
Moving on from the flooring and painting, my joiner, Harry has been busy at work on the kitchen. In particular, he was working on the large walnut work surface for the island. I decided months ago that I wanted solid walnut for the island but then, as I'm sure happens to many, I had a last minute dither and started looking at other materials instead. In the end, I decided that granite or other stones really didn't give the colour tones that I wanted and laminates weren't wide enough. I sourced the walnut from Worktop Express as they were very competitively priced for what I wanted, and delivery was quick. I looked at using their online template service, but it was just too tricky to get the different profiles right and, in the end, decided to get Harry to make up the island top on site. It was absolutely the right choice as he's done a lovely job on it. Here's a photo of the finished top with the induction hob surface mounted into it.

A word on the hob. You can recess the work surface so that the hob is flush, but I preferred it to be surface mounted, sitting proud of the walnut, purely from a cleaning point of view and so I don't have to spend ages digging out crumbs and bits of food debris from around a flush recess.
These are the two worktops as they arrived from the supplier, waiting to be joined together. Harry routed along their length, used a biscuit join and then glued and clamped.
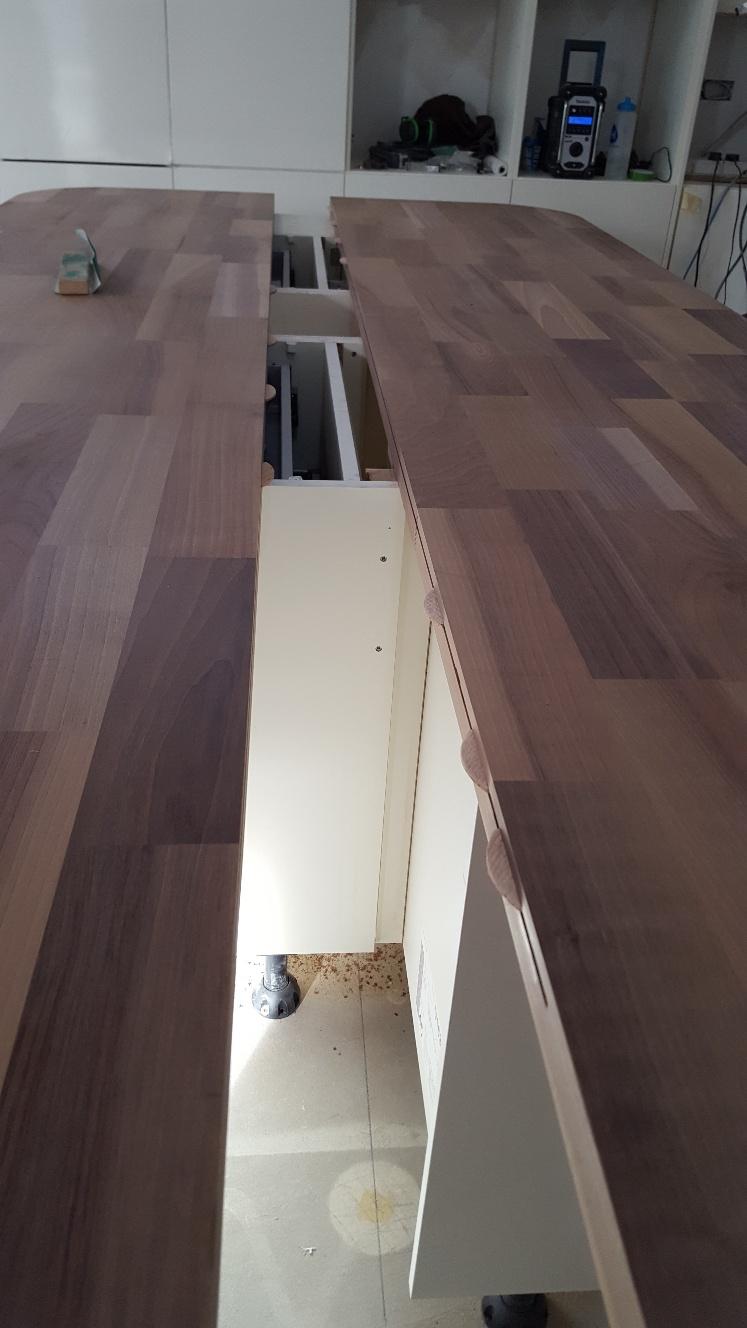
The worktops being clamped. They look and, indeed, are lighter in shade than the first photo as they come treated with one coat of Danish oil. Harry put a further two coats on once he had sanded the finished surface.
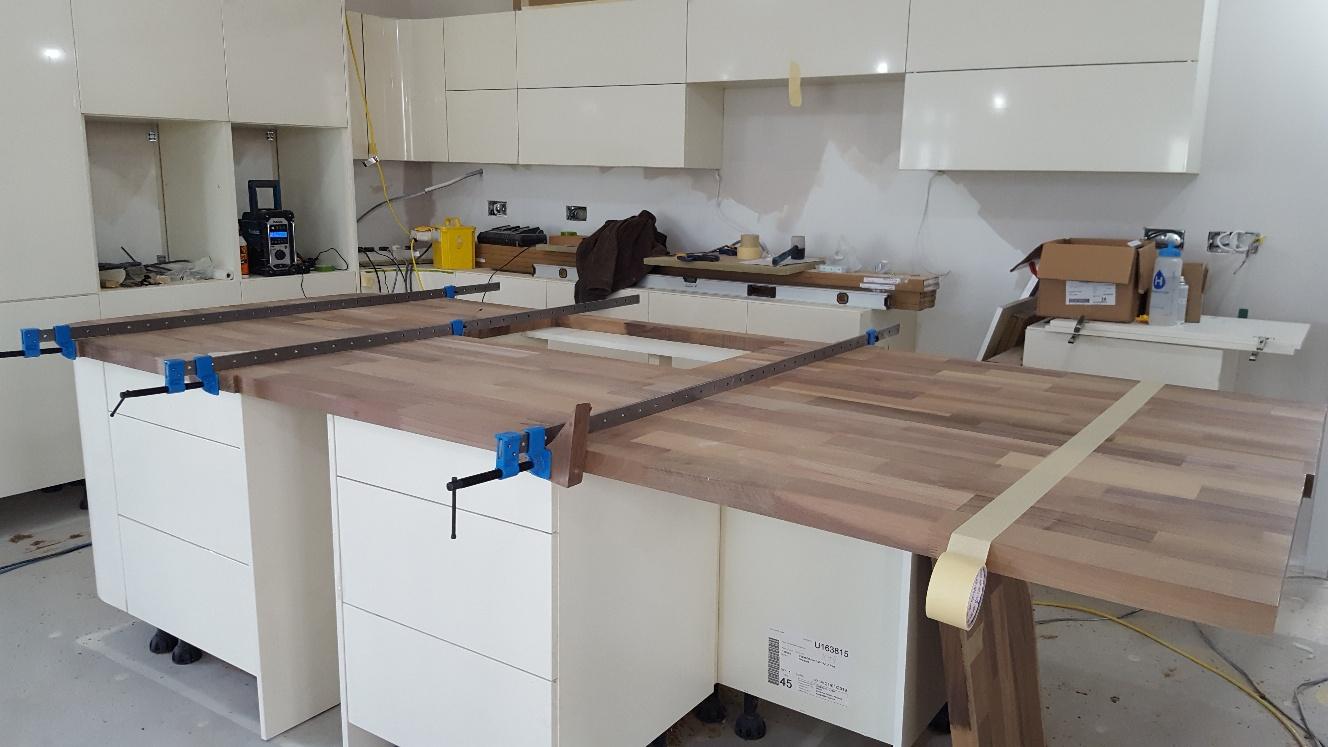
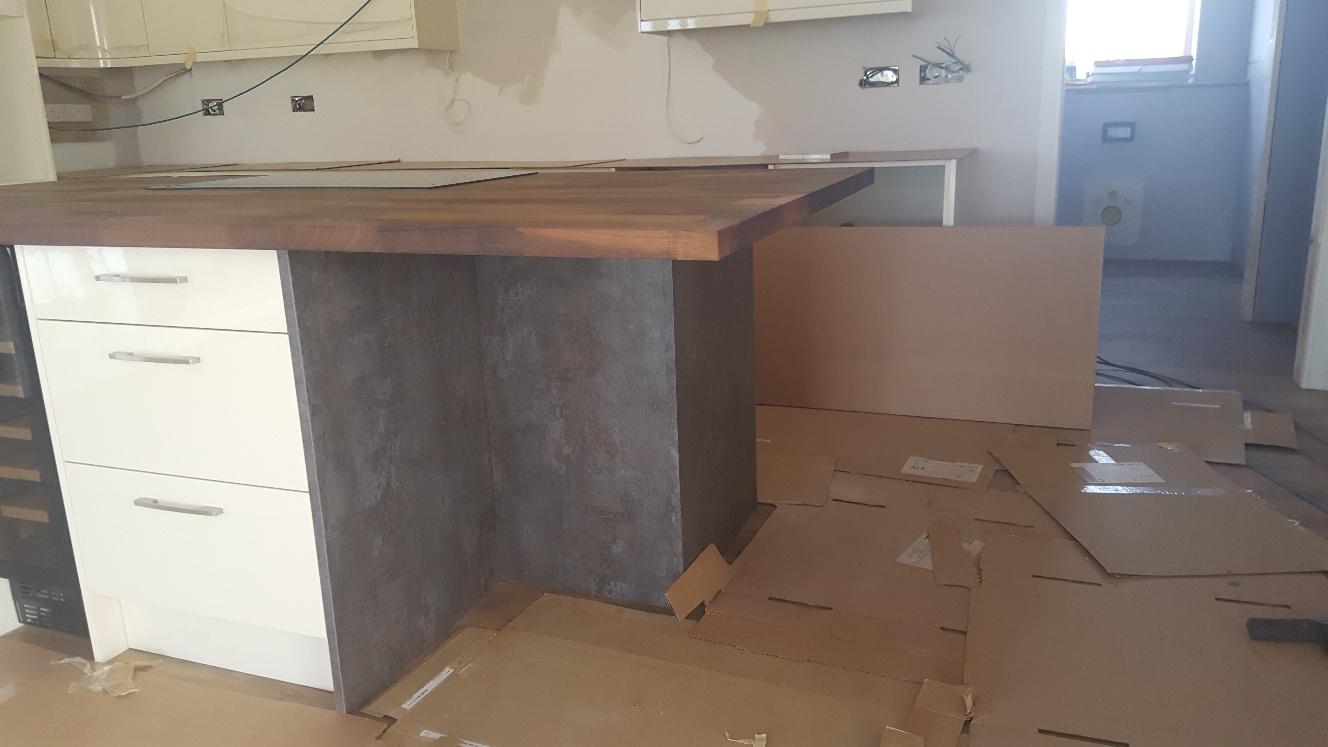
The area where there appears to be a base unit missing and where the surface projects beyond is intended as a breakfast bar area. There will be a supporting leg on the near right hand corner.
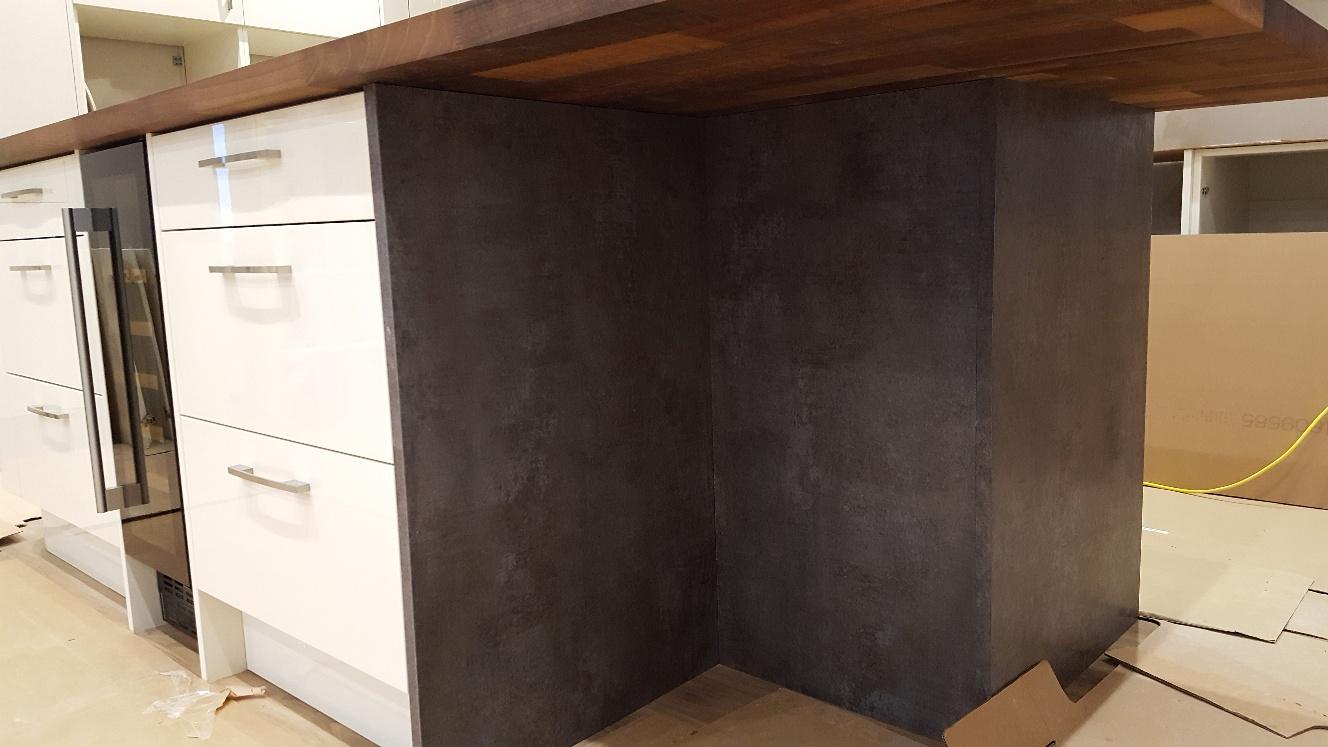
Because the kitchen and island are large, I didn't want anything to be too matchy-matchy and wanted to break up any monotonous areas. Also, I didn't fancy walnut as the worksurface leading off the sink as I think that's asking for trouble in the long run. So, I went hunting through laminate choices. Way back when I was first considering the kitchen, I had been thinking about using large format tiles with a metallic type finish as the splashback, but it was proving to be a gruelling and not very fruitful search. When I eventually revisited this part of the kitchen a couple of months ago, I came across some laminates with exactly that type of finish, nice long runs (I need a 4m run for the back work surface) and with matching splashbacks. I also wanted to line the recessed area under the island with the same material to make it more durable and give a contrast in materials and textures. I sourced the laminates from a firm called Rearo and dealt with their Newport branch. They were lovely to deal with and very helpful.
Here's the splashback applied to the breakfast bar recess. Harry beefed it up and packed it out with some ply and then put the laminate edging onto the ends to give a substantial look.
Whilst we were away on holiday, my splendid general builder and neighbour, Drew, got on with putting the rainwater goods up. I'd ordered in soffits and fascias from Fascia.com as they had the width I needed in anthracite grey to match the slates and windows, as well as vented soffits, which save a lot of bother and look much neater. The guttering is all deepflow and was mounted onto black fascia board. I looked at other colours of guttering, but none of them were quite right and black guttering is so ubiquitous that the eye kind of slides past it. Having it mounted on the fascia board also reduces the visual impact of the brackets that can look a bit clunky. Whilst he was up there, Drew also mounted our swift boxes and bat boxes. We were required as part of our bat licence conditions to put a bat box somewhere on site, but this is something that we had planned to do all along. Also, there has been a dramatic loss of habitat for swifts that migrate to the UK to breed in the summer and we wanted to make provision for these too, in the hope that we're lucky enough to attract them to our site. These fabulous birds migrate 6,000 miles to reach their summer breeding grounds and are the fastest birds in level flight. Once they have fledged, the only time they ever land again is to sleep and recover from their migration flight and to feed their young. They are the most fabulous birds and I would urge anyone to make provision for them wherever possible. If anyone wants details of where to buy some brilliant swift boxes, PM me and I'll send you the details.
Here are the boxes, all sited on the western corner of the north facing wall.

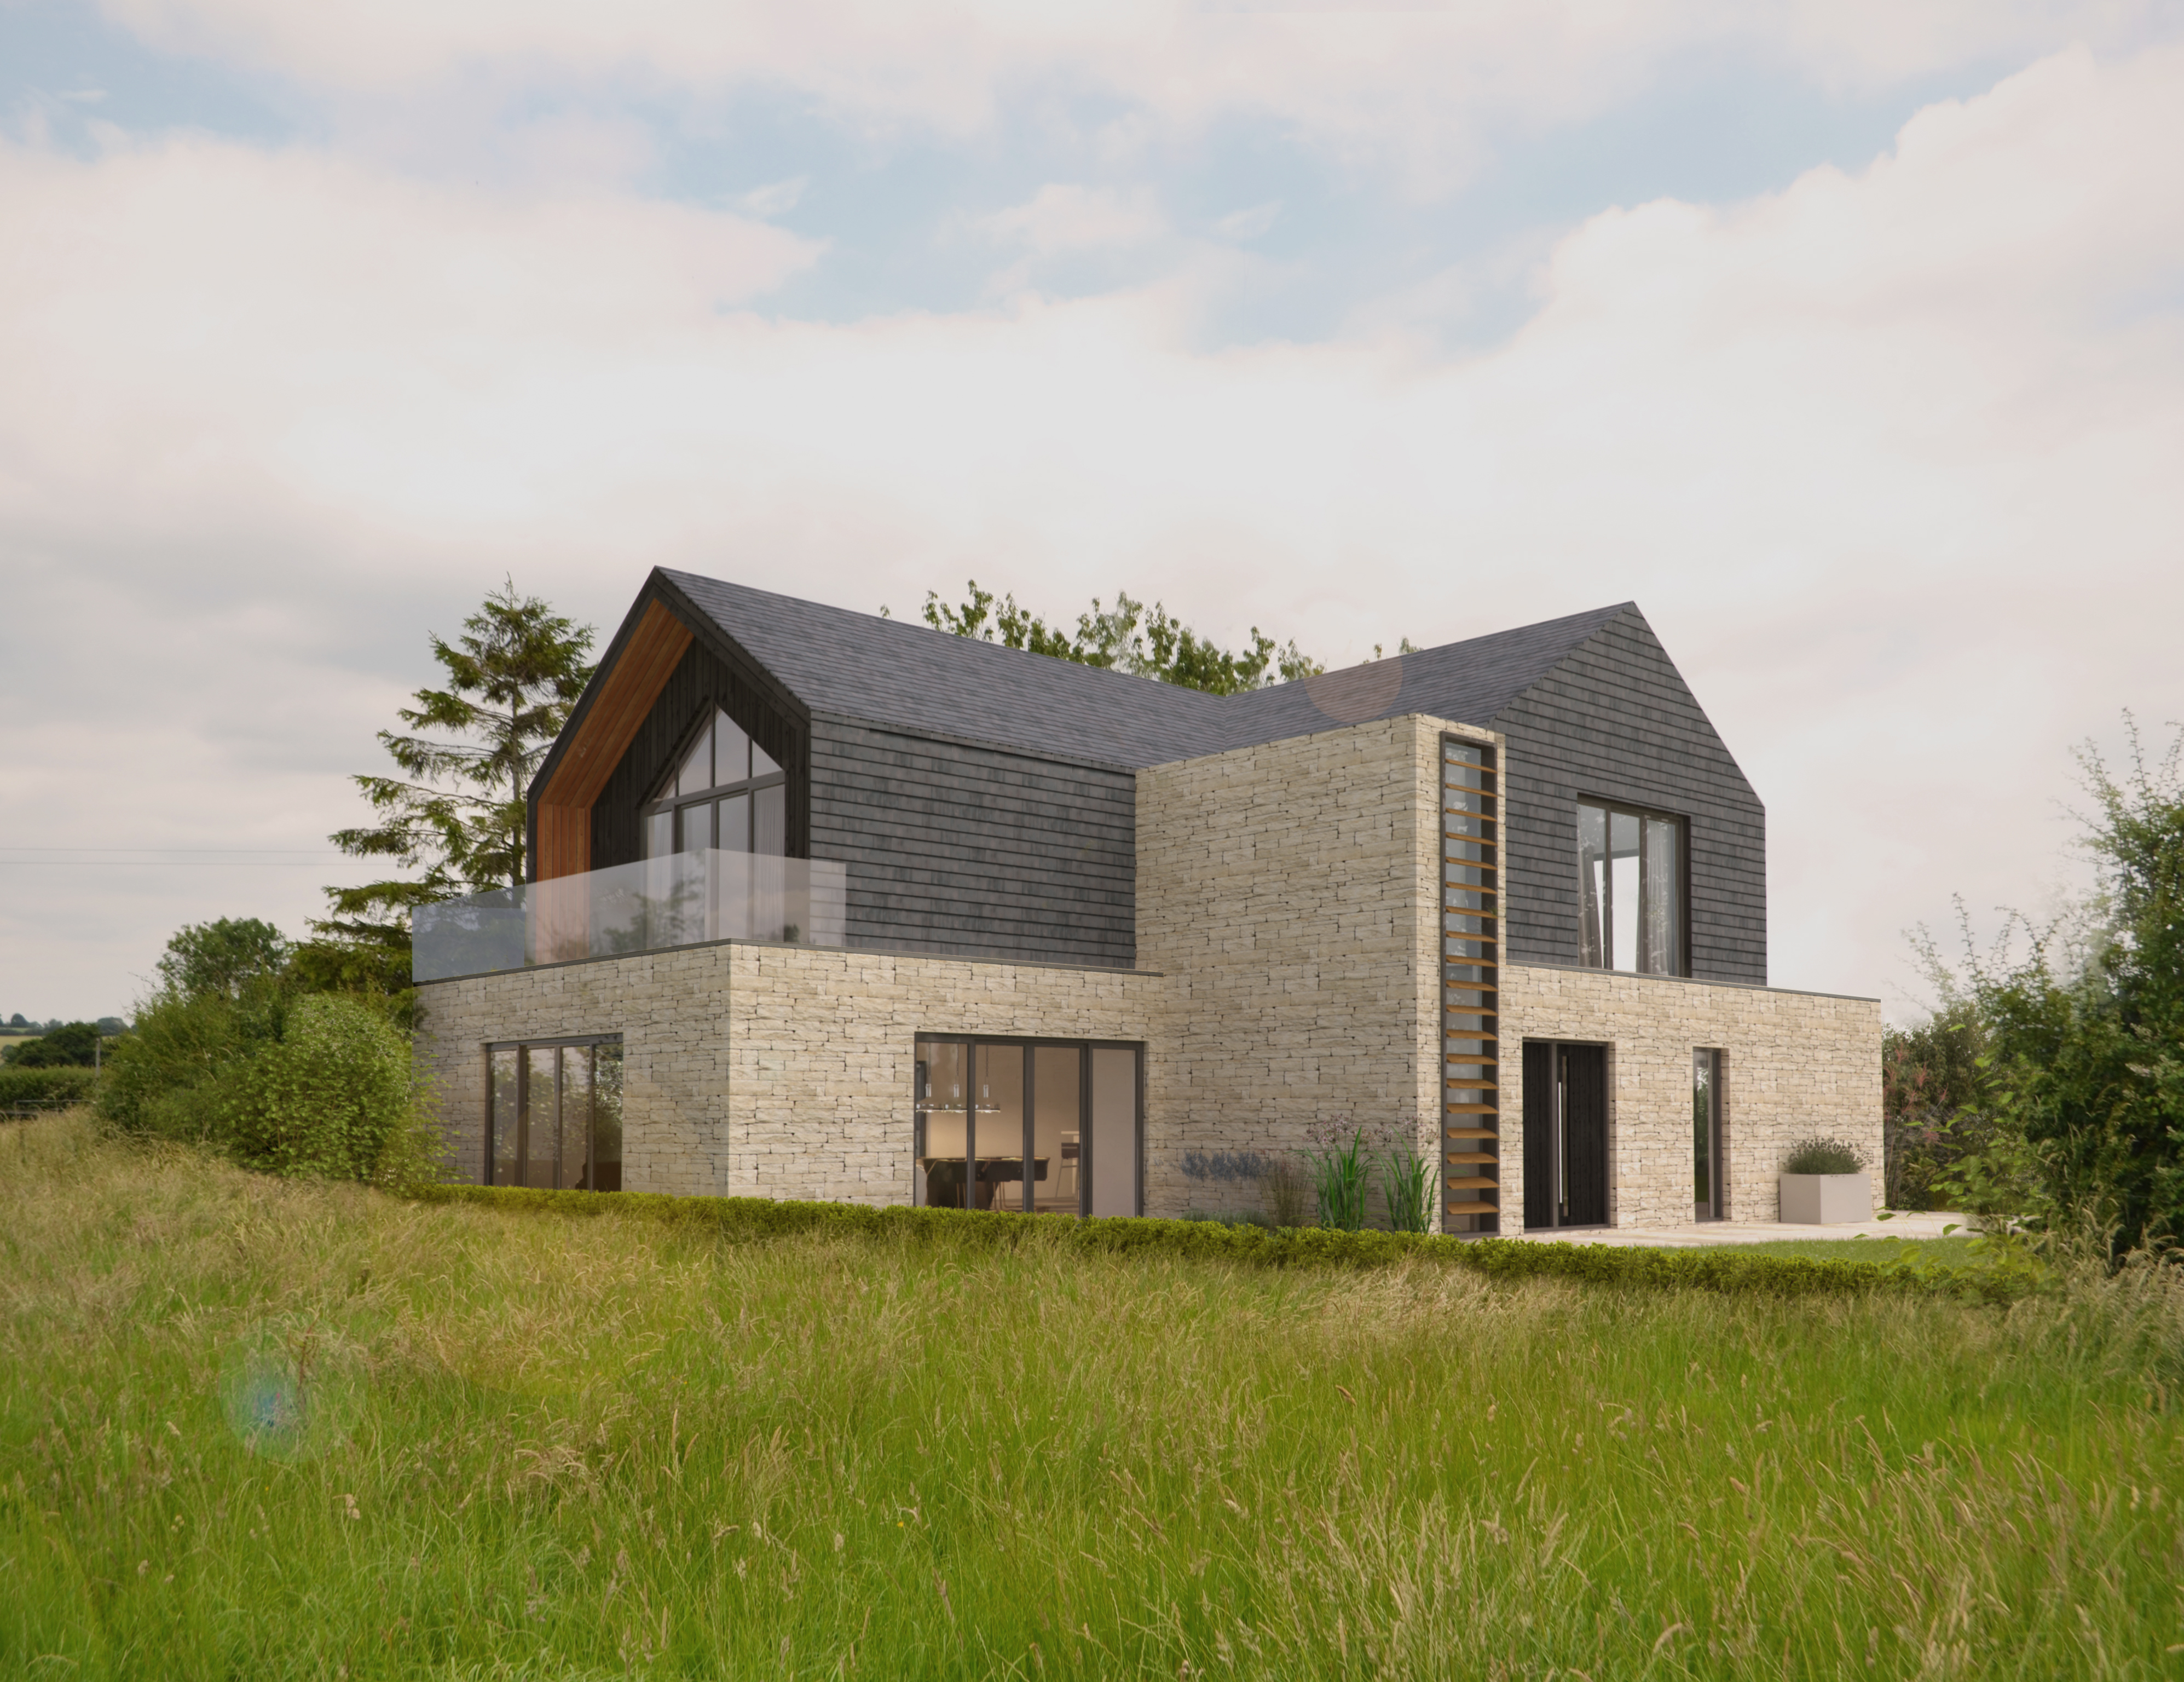
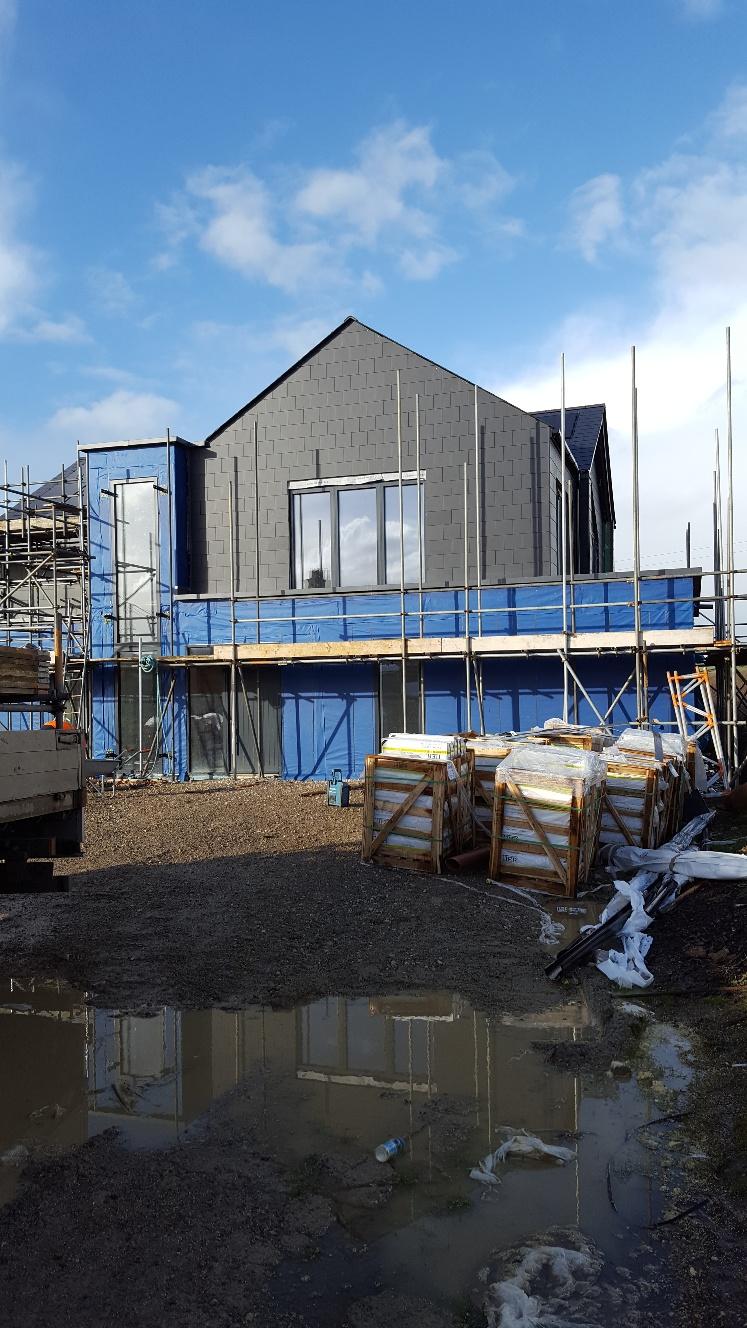
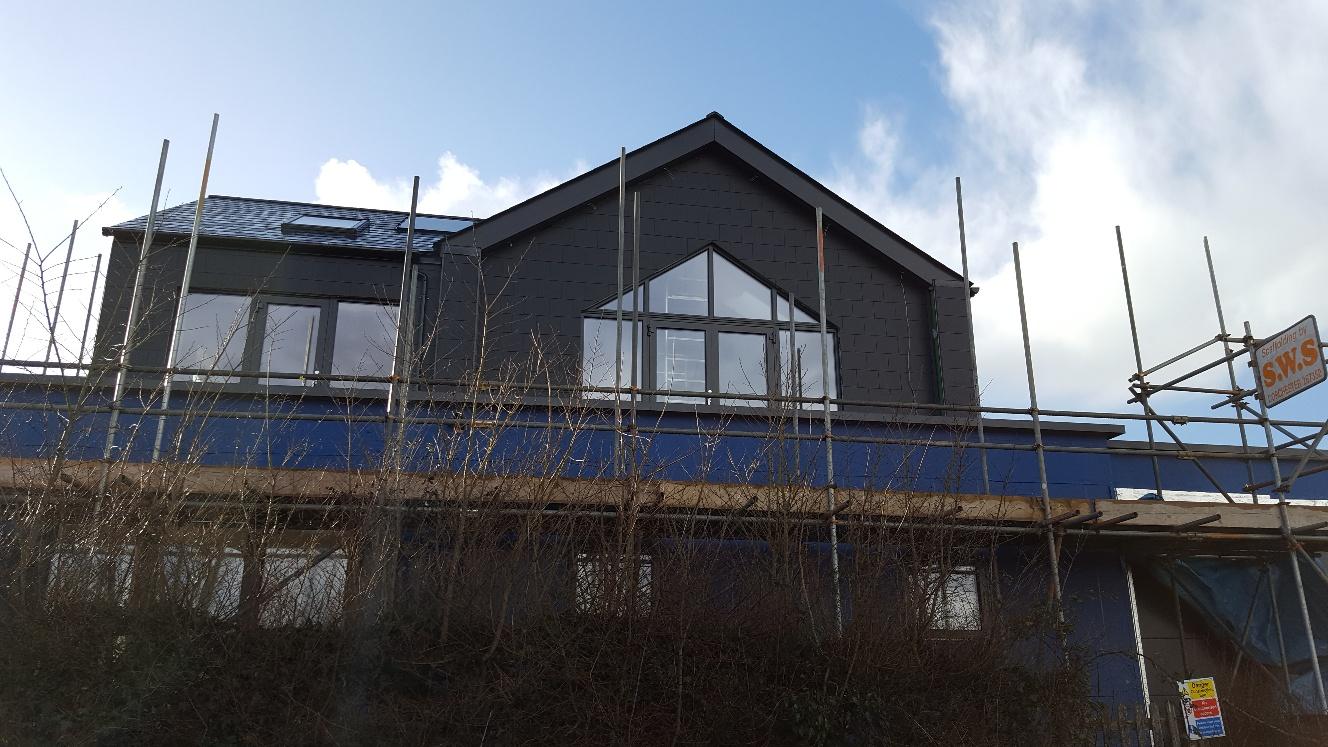
Finally, today marked a milestone in the house progress - the scaffolding is coming down. Our foul and surface water drainage works start on Wednesday and the site needs to be clear to allow access for that. Any remaining work at height can be done from ladders apart from the cladding, but I will hire a separate mobile tower of some sort for that work once I've had a chance to identify what will be most suitable. The stone cladding arrived a couple of weeks ago, ready to go up once the drainage work is done, more details of which will follow in the next post.
Here's the south face gradually being revealed. The crates to the right of the picture are the stone cladding.
Here's the east face slowly coming into view.
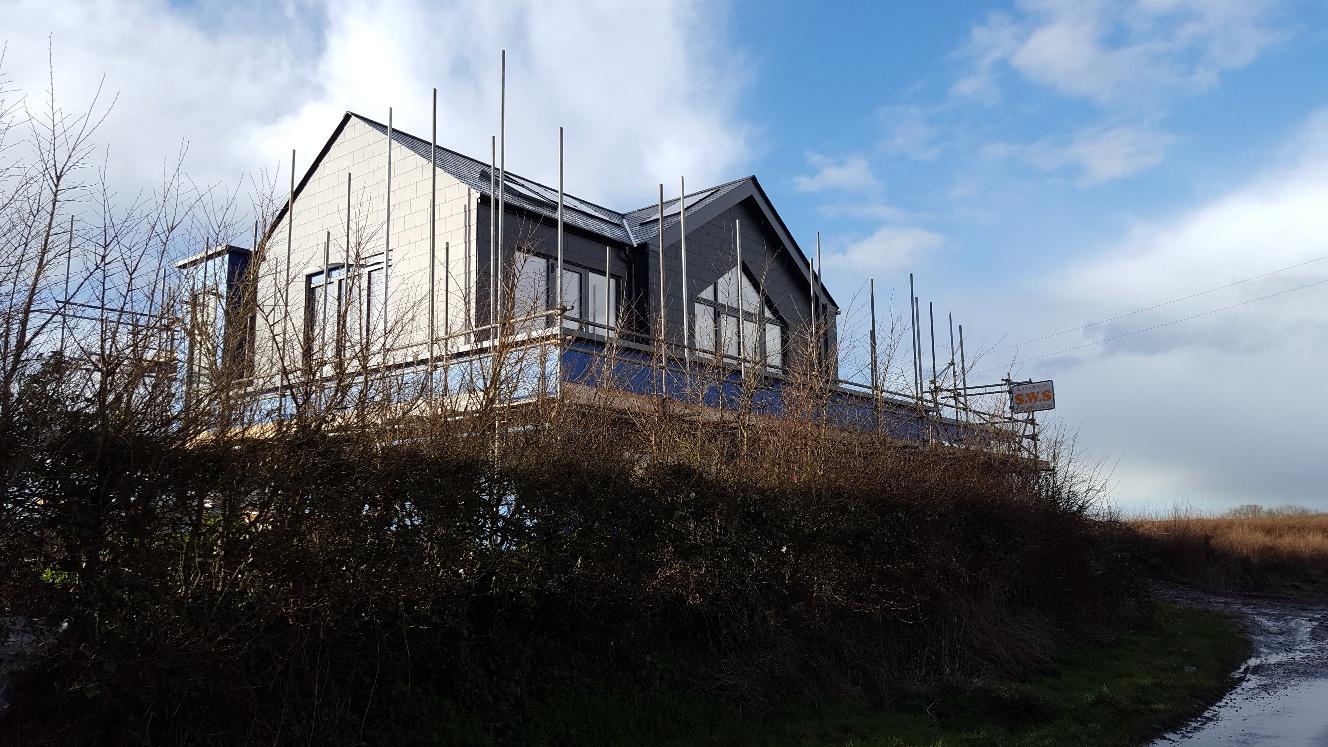
And another view of the same.
Work planned for this week is more plastering, more painting (if I get the chance as I'm the plasterer's labourer this week), groundworks and starting to move some young trees to the site that we've been nursing in pots at home for 12 months. Next week, the en-suite bathroom will be started, the kitchen finished and the utility room kitted out. Plenty to do yet.
TTFN.

-
 14
14
13 Comments
Recommended Comments
Create an account or sign in to comment
You need to be a member in order to leave a comment
Create an account
Sign up for a new account in our community. It's easy!
Register a new accountSign in
Already have an account? Sign in here.
Sign In Now