Having originally planned then dropped the idea of Solar PV (a combination of budget constraints and drop in FiT rates) I recently acquired a number of Solar PV panels (a pallet bought in conjunction with @ProDave from Bimble Solar via Ebay).
Having recently collected the panels, lengths of mounting rail and various other bits and bobs @ProDave had kindly sourced, I fitted the system over the last two Saturdays.
First off was mounting the rails on my rear, SW facing garag
In Part 22, I detailed my decision making process in relation to my choice of a pre-plumb Mitsubishi Ecodan 8.5kW ASHP based DHW and heating system.
I now have a full set of data covering 12 months so can provide figures in respect of how the system, and our house has performed.
My baseline requirement was to maintain 21.5C in the house 24/7 throughout the heating season (October to April), and a supply of DHW water that would allow multiple showers to be drawn of
Having spent the summer months pottering in the garden, and generally ignoring the list of outstanding things to do inside, I finally summoned enough motivation to get things finished off.
Fortunately, the list was fairly short so once started, was completed in a reasonable timescale.
In the kitchen we tiled the splashback, fitted a decor panel underneath the bridging units (rather than having to see the underside of the units) and fitted a breakfast bar.
P
Having completed the initial groundworks last year (see Part 15) it was great to get the digger back and be able to spread the remaining sub and top soil over our site. All in all, there has been around 150 hours of digger time to get all of the site landscaped. Other than using stone excavated on site to edge parts of the driveway and round the back of the house, most of the digger time (supplemented for earth moving with a dumper) has been spent on earthworks.
At the front of the
In this entry I'm going to discuss in more detail how I came to choose our heating and hot water system, and how it has performed to date.
As other forum members have found, deciding which fuel source and type of technology to use in a low energy house, is a challenge given the different requirements each of us has. We had three stipulations – low running costs, hot water available on tap 24/7 and maintenance of the whole house at an even and constant temperature 24/7.
H
I had intended this entry to be about our heating system and DHW, but due to the interest and debate on MVHR silencers, have brought this entry forward.
As reported in a previous blog entry, I’ve been aware of fan noise being emitted from the individual room supply and extract terminals. The valves themselves do go some way of dampening down the noise, so acoustic valves may well be a good solution, but I decided to go down the route of building my own silencer following some discus
As we approached our move in date, our tiler was unfortunate enough to come down with a bug that was doing the rounds. He had to take a couple of days off (and I think probably came back before he really should have) but it did have a knock on effect on the plumber, who couldn’t get all the sanitary ware fitted before we moved in. On the morning of moving in day (and to obtain our Temporary Certificate of occupation) we had one fully working bathroom. At the end of moving in day we had both w
One of the final significant jobs I had to do before we moved in was connect up and commission the MVHR. All the radial ductwork and individual plenums had been fitted at first fix, however I had left installing and connecting the actual unit until the loft has been insulated, as I didn't want to risk pipe connections being damaged.
The day before we were due to move in, the insulation contractor having laid all the loft insulation, I spent a couple of hours in the loft space above
Working around the joiners as they completed the internal fit out, the electrician returned to complete second / final fix. I won’t bore you with endless photographs of sockets and light switches, but will describe the most notable electrical installations:
LED lighting – after obtaining various samples and some electrical testing, I purchased a quantity of slimline 6W recessed fittings from
https://hartingtonheath.com/product-category/led-recessed-lights/non-dimmable/
Having gone through the process of considering then discounting travertine as our floor covering of choice, we eventually settled on a porcelin tile to cover those areas (kitchen, utility and vestibule) that were not having oak flooring laid. Unfortunately for us, the person who we believed was going to be doing our tiling (and does virtually all of the builders tiling), at the last moment refused to undertake the work in our house. Quite why I've not been able to establish, nor has my builder.
It's been a couple of months since my last update, during which time we have (almost) finished work and moved in. In this entry I'm going to talk about the joinery work.
As readers may recall, our UFH was switched on 2 weeks before Christmas, which meant there was very little activity on site until the builders came back after their Christmas fortnight.
The joiners were first back, and got to work straight away laying around 105m2 of engineered oak flooring in the main
It's been a few weeks since the last update, but we've had plenty of activity on site.
The decorator has taped, filled and sanded the walls. He was good enough to do the house in two sections, which let me paint one half of the house while he was taping and filling the other. 10 days in total of painting say me roll three coats onto the walls and ceilings. First coat was a thinned down Armstead contract matt. Second coat Armstead contract matt, finished by a third and final coa
Work continues on site with our foul and surface water drainage now installed;
Following an initially negative assessment of the treatment plant design by the digger driver, its installation worked out far better than he or I expected, causing him to take back everything negative he had said. A hole was dug out to the required depth and the conical shaped treatment plant lowered in. Naturally it pivoted about on the point of the 'cone', but all it required was four le
A busy couple of weeks on site has seen the majority of the timber cladding finished, the rendering completed, and first fix / plaster boarding progress inside.
The render system used by my builder is made by Mapei. Having prepared the area to be rendered (as described in the previous blog entry) a base coat :
was sprayed onto the EWI, then floated by hand to a 6 / 7mm depth finish.
Fibre mesh (which you can see at the bottom of the
There has been progress on all fronts over the last couple of weeks, inside and out.
Taking advantage of some good weather, the joiners pushed on with the larch cladding.
We still have one wall to finish off and around the entrance door, but due to a shortage of cladding (a slight under ordering) we will not get this finished for another week or so. It looks very crisp at the moment, but we still have various cover pieces at the co
With spectacular timing, our window order went in too late to beat the summer factory close down, resulting in a 4 week delay on top of the normal 6 - 8 week delivery time. Better late than never, our windows arrived a fortnight ago, all the way from Poland.
Having a passionate hatred of UPVC windows, we specified 3G aluminium clad timber windows. I obtained a few quotes from different manufacturers / suppliers, but in the end, after pushing hard on price, we went with Rationel, (
Since the roof was finished, things have slowed down on site while we have been waiting on our windows. There has been some activity, with the garage being progressed and some EWI fitted to the external face of the ICF walls. Rather than tinker at the edges, the joiners have now been off site for a couple of weeks pushing on another job in readiness for returning to our site next week. Our windows are as I type this, sitting in the delivery depot in Kirkwall awaiting delivery to site.
Having fitted sarking boards and roofing membrane, the next task for the joiners was to batten out the roof ready for tiling, and forming timber 'skews'.
'Skews' are a verge treatment seen widely throughout Orkney, be they lead covered, stone or formed from concrete.
Nothing especially complicated in their construction, as can be seen in the 'technical diagram' used by the joiners:
With no external block leaf, our options were a bit
A busy couple of weeks for the joiners has seen us progress from poured walls to roof on.
First order of business was removing some of the bracing used to secure the walls during the concrete pour;
and bolting a wall plate on ready for the roof trusses. A laser level (you can just make it out on the earth mound in the background) was used to ensure the wall plate was level.
Using a telehandler, engineered trusses are lifted into position an
A busy week on site has seen us transition from foundations to solid structure.
First order of the day, getting prepared - ICF blocks, braces, window formers and other equipment moved onto the slab.
Building the walls up - basically a giant lego kit!
Blockwork finished and scaffolding going up.
Although the ICF blocks interlock with each other, the walls themselves (6 blocks high) are subject to a lot of movement. T
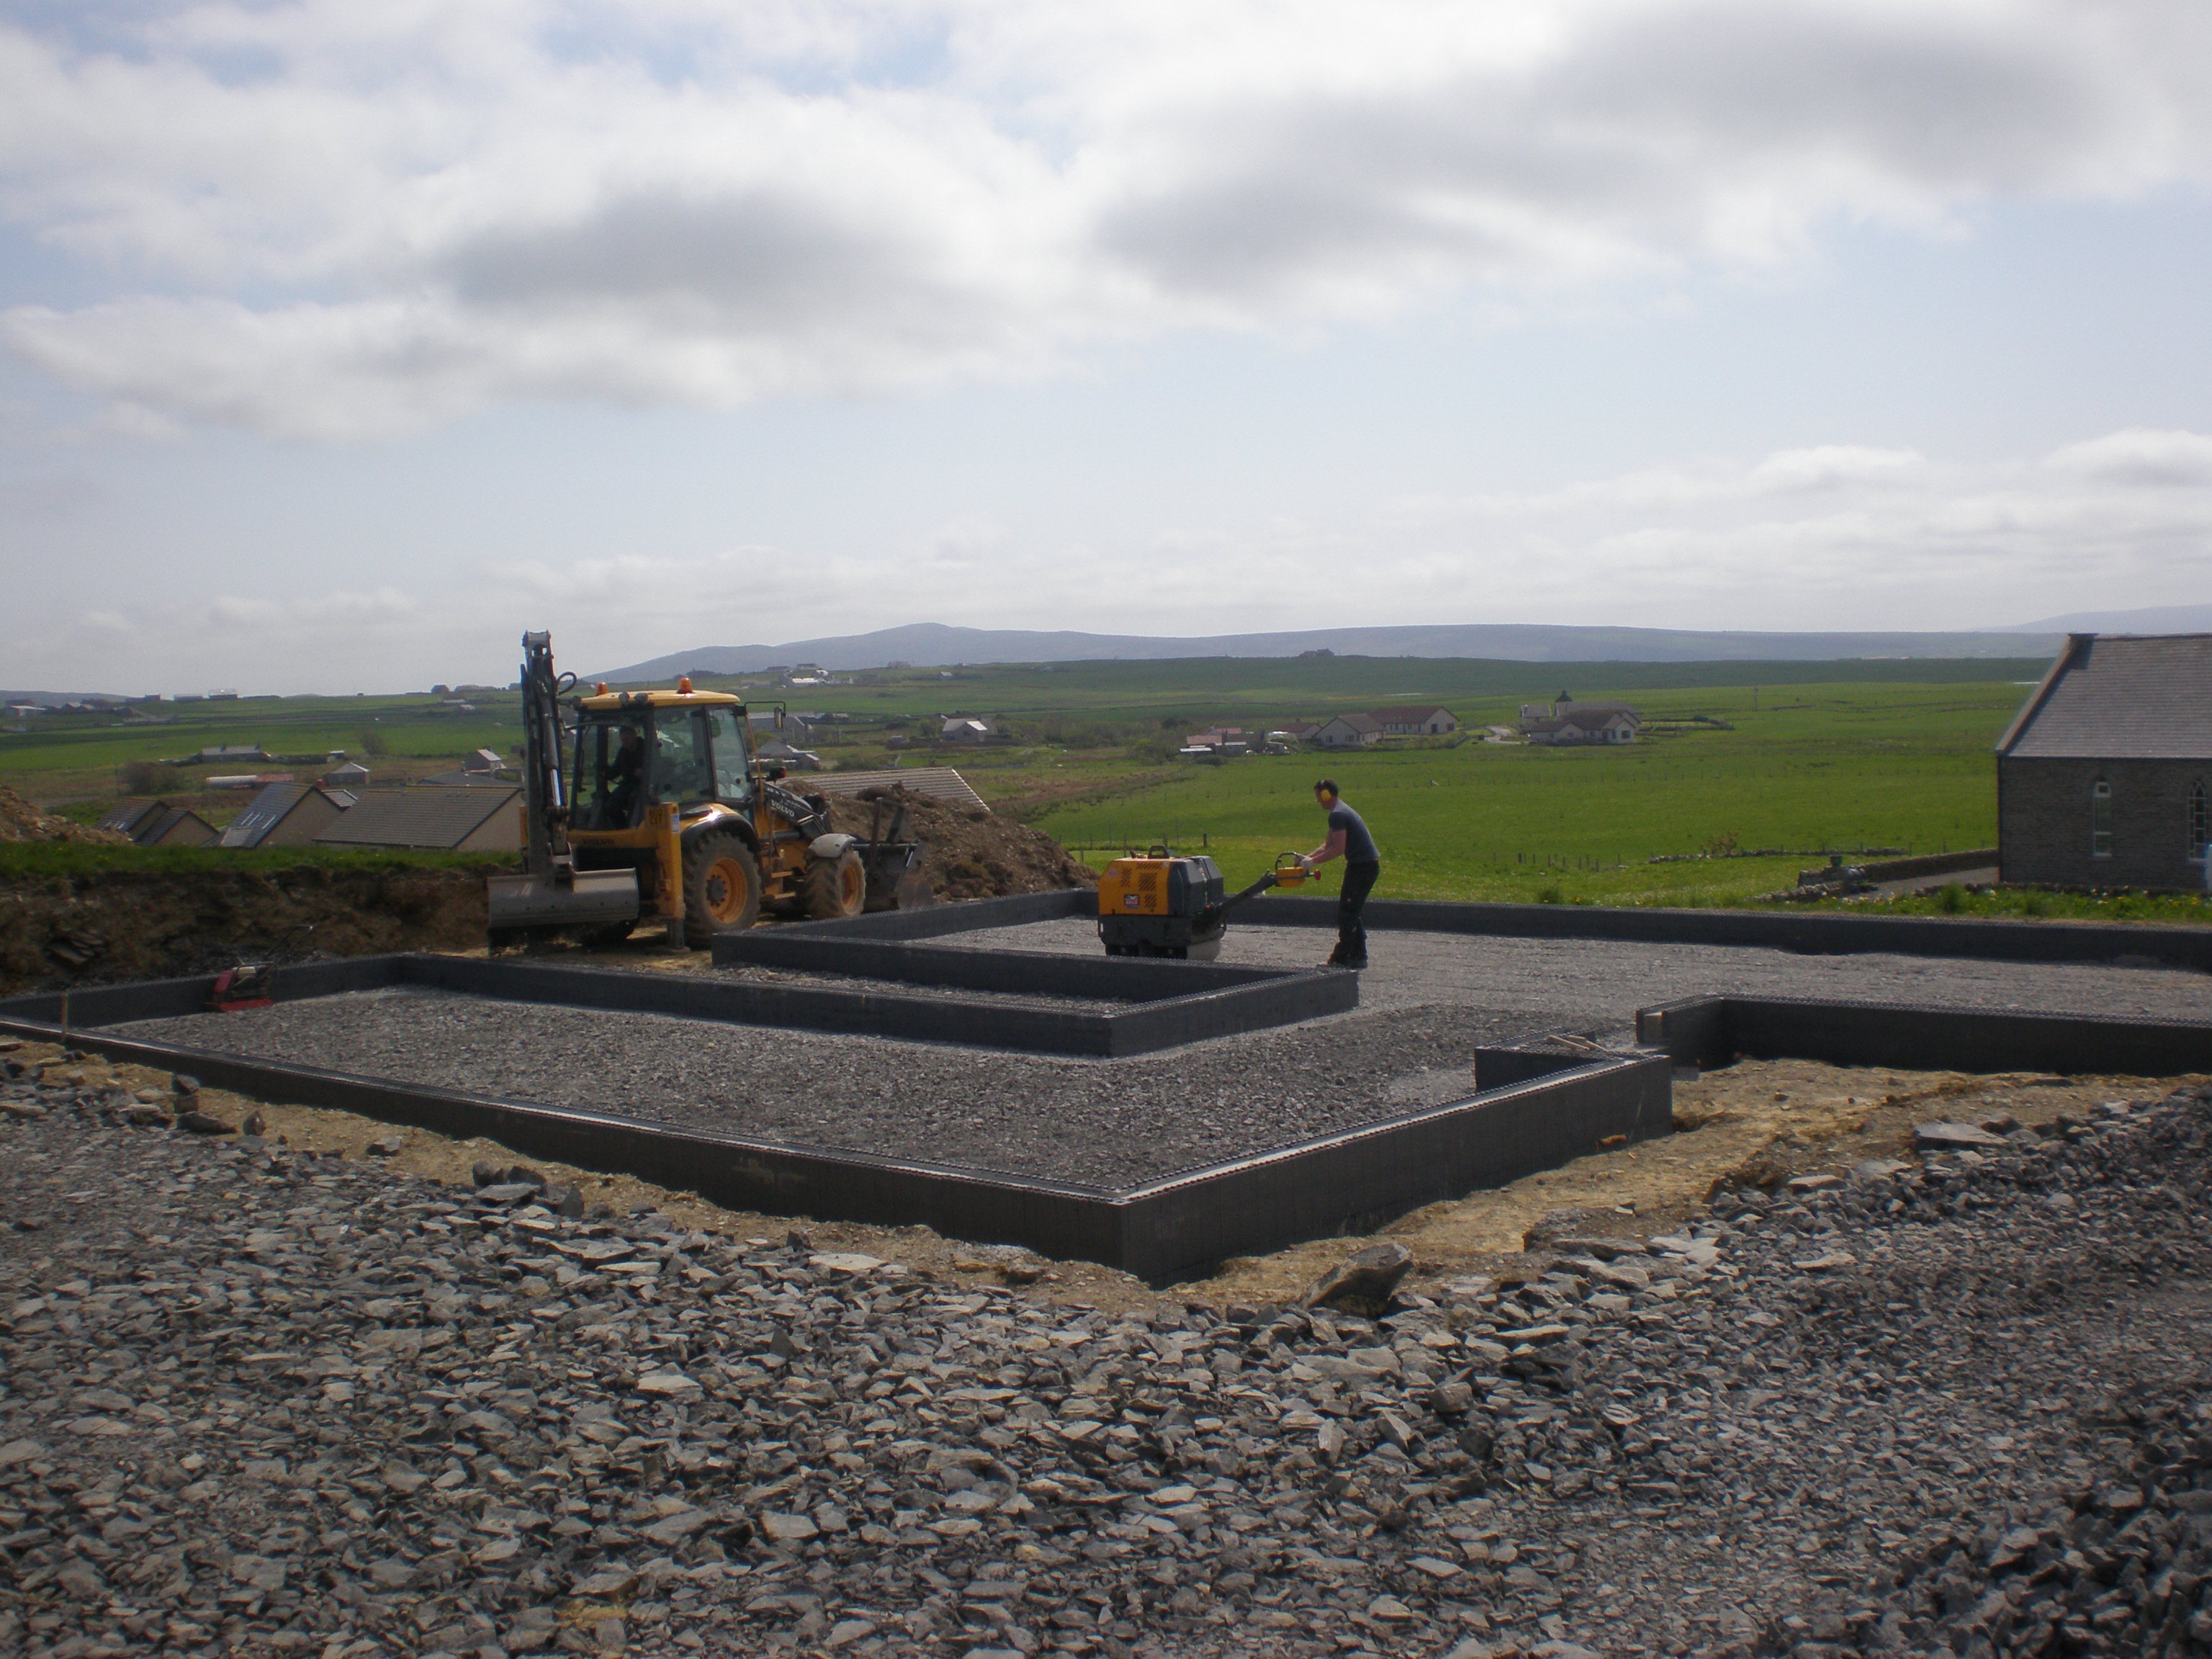
Another week of hard work by the builders and the foundations are complete.
Type 1 up-fill (only 100mm or so required) was spread then compacted down with a vibrating roller. A final layer of quarry dust was added to finish the blinding. In keeping with previous comments about a clean and tidy site, you can also see the digger spreading type 1 around the foundations.
Internal drains and ducts are added, DPC / Radon barrier laid and 150mm PU insulation fitted.
NEW ENTRY
4 weeks after we hoped to have it, our warrant was finally approved. Another weeks delay waiting for the digger driver, but finally work has started in earnest on site.
Strip foundations were dug and concrete poured the following day. A minor set-back during the pour, a hydraulic line split on the mixer forcing it to shut down. An hour later after the mechanic had brought out and fitted a new line, the job was finished.
Originally published on the old forum April 2016.
Had to happen, the lack of a building warrant has pushed our start date back. I had started the process back in November and having been encouraged to do so, handed over the submission of the warrant application to a local surveyor well versed in our chosen method of construction. Without boring you all regarding the reasons why, the application wasn't actually submitted until the end of January and there have been delays in getting
Originally published on the closed forum March 2016.
In submitting our planning application, I had purposefully had the external walls and roof depth drawn as 450mm thick, reasoning that this would let me investigate construction costs for a variety of different construction methods. First port of call was MBC, but our geographical location meant that was a non-starter for them. Next, I got in touch with Danwood, who were happy to travel and build on Orkney, but were not prepared to build
Originally published on the closed forum, March 2016.
So armed with our ideas, and having read through the guidance documents on housing in the countryside http://www.orkney.go...Countryside.pdf http://www.orkney.go...ctober_2013.pdf I contacted the council to see if I could speak to the planning officer who had dealt with the outline planning application for the site. Having read all of the comments on here about pre-planning processes, I was pleasantly surprised to find that Orkney