Jump to content
  • entries
    26
  • comments
    247
  • views
    68777

Part 14 - Drainage and a few other things


Stones

4765 views

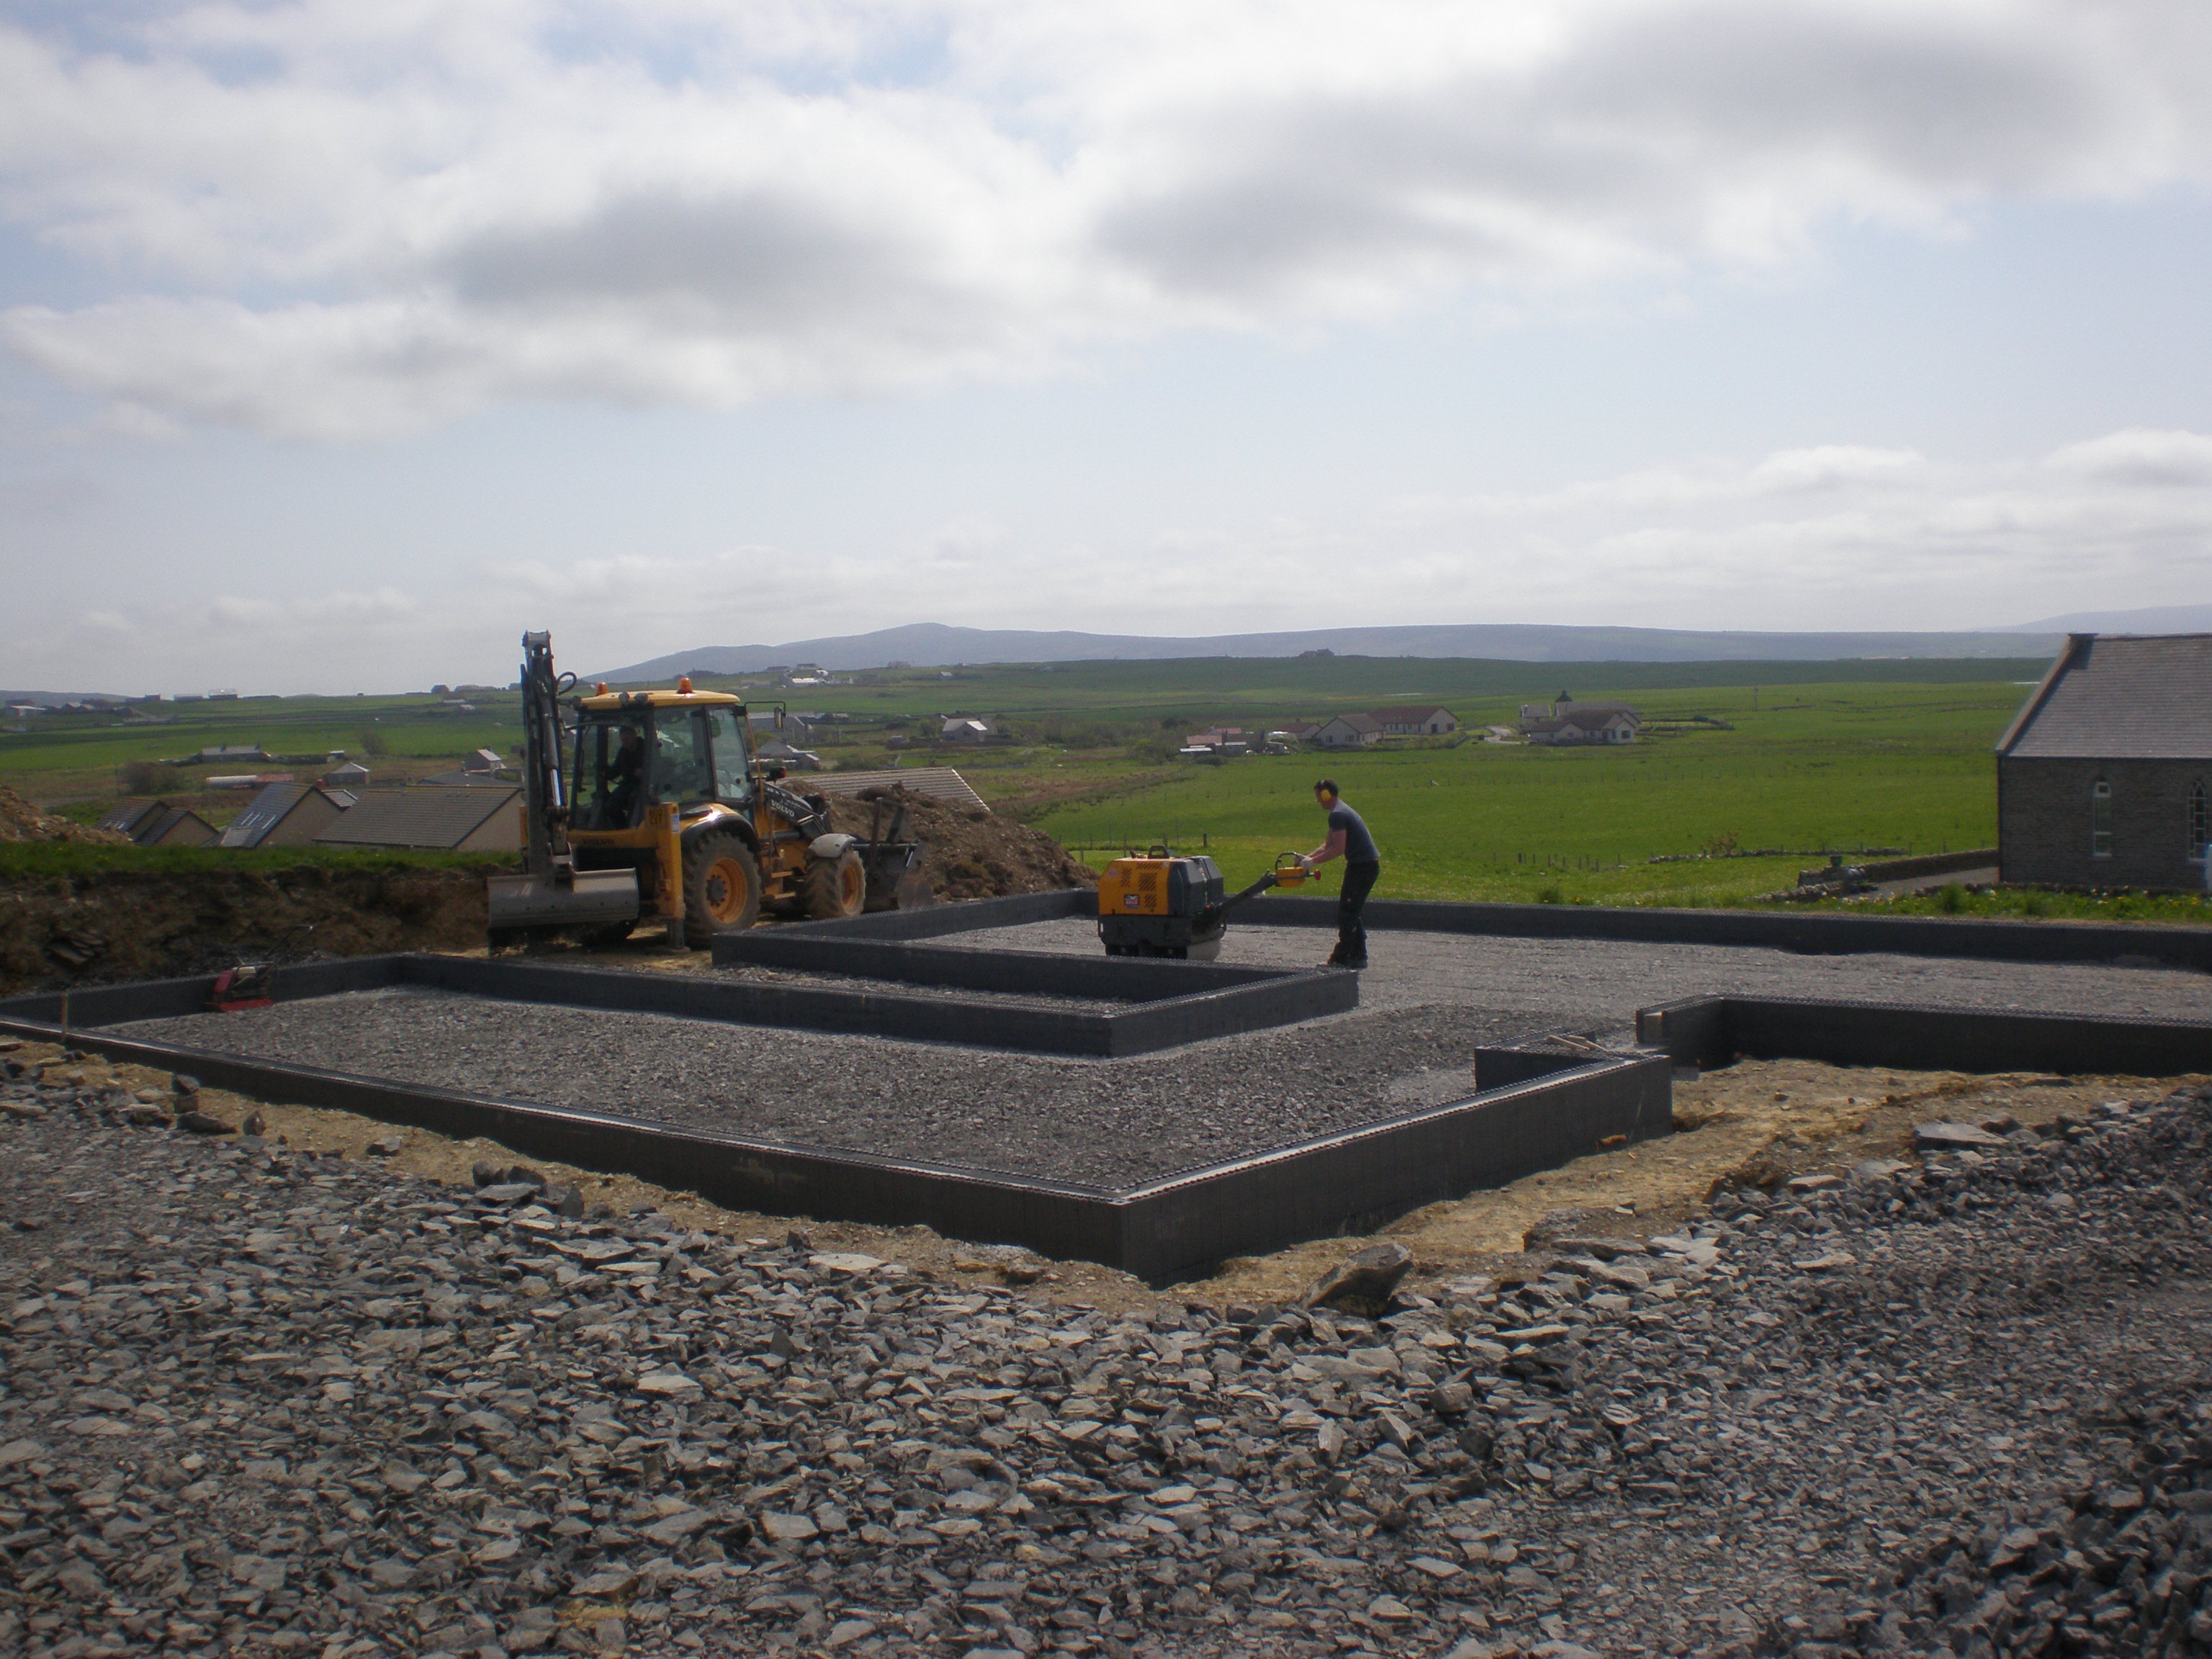
Work continues on site with our foul and surface water drainage now installed; 


P9120021.JPG


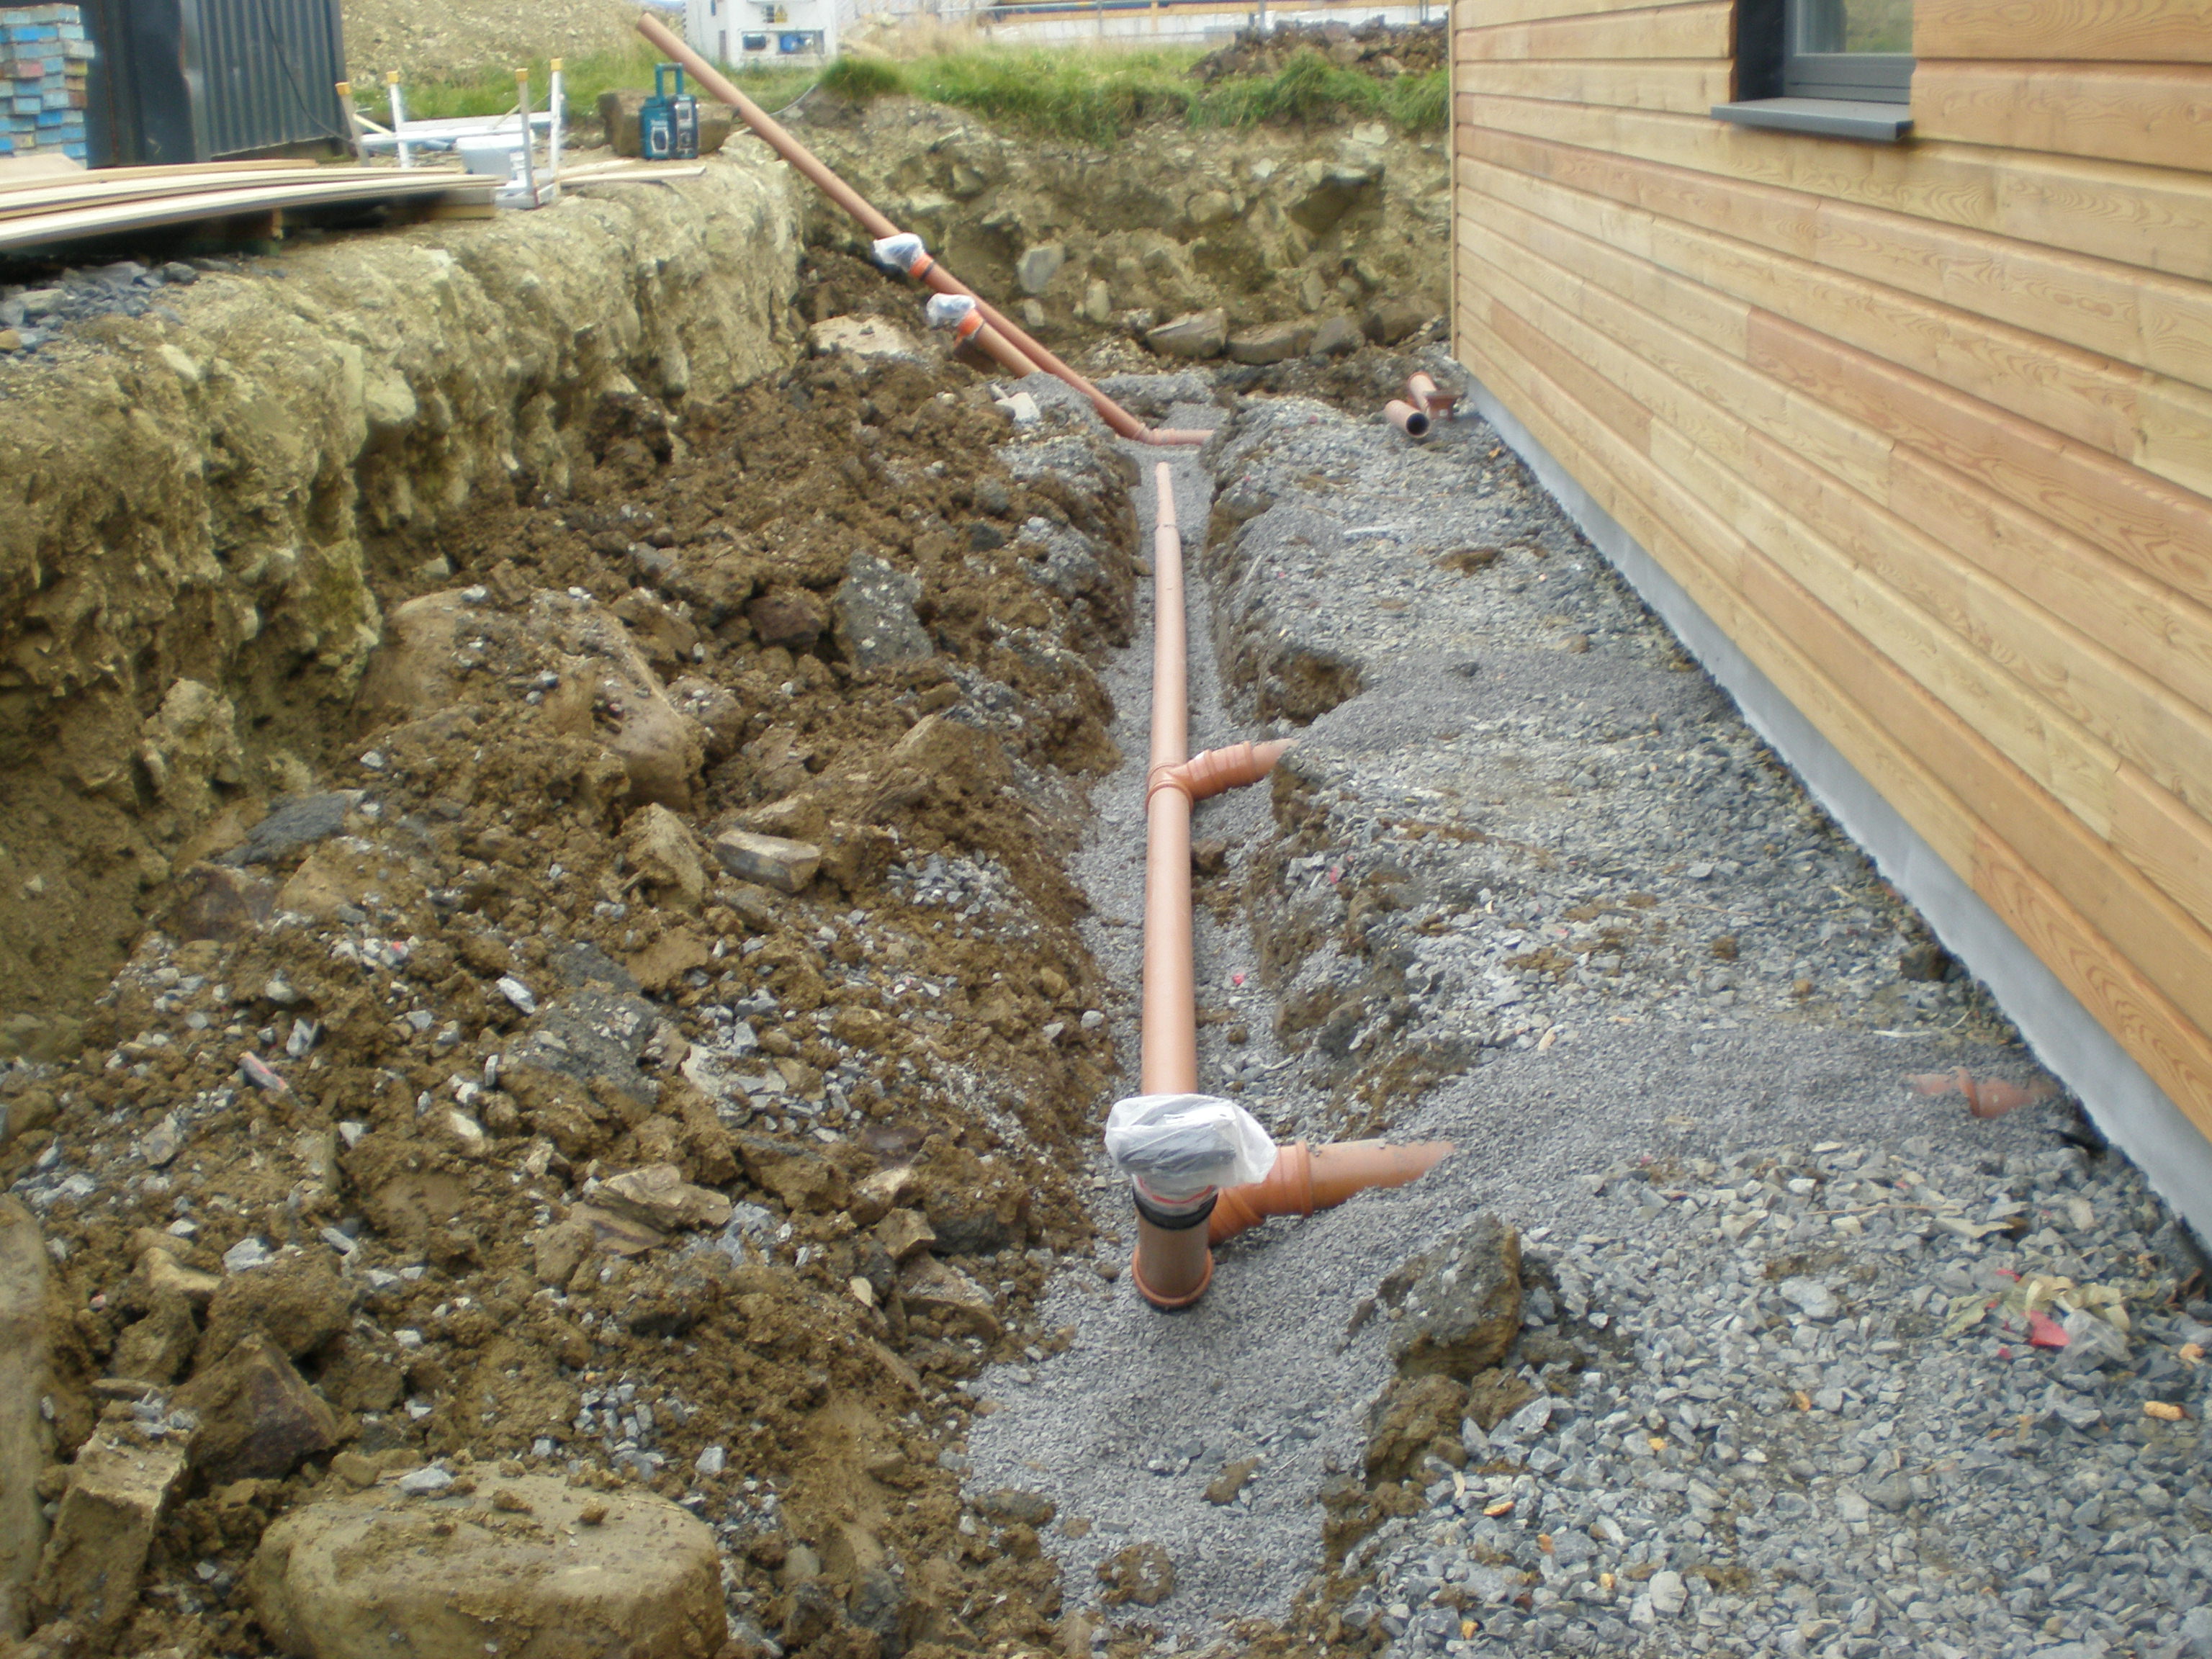
Following an initially negative assessment of the treatment plant design by the digger driver, its installation worked out far better than he or I expected, causing him to take back everything negative he had said.  A hole was dug out to the required depth and the conical shaped treatment plant lowered in.  Naturally it pivoted about on the point of the 'cone', but all it required was four lengths of timber to prop it in place, then backfill with a dry mix concrete / fill the plant with water.  


P9150029.JPG


Our foul water and surface water soakaways were dug out and filled with aggregate, in the case of the surface water, mixed size aggregate I had picked off the spoil heap on site, and for the foul water soakaway, clean aggregate bought in.


Slab laying followed the completion of drainage works, and we now have a 600mm riven slab path running right round the house, as well as the landing/access area at the main door;


P9270014.JPG


PA020023.JPG


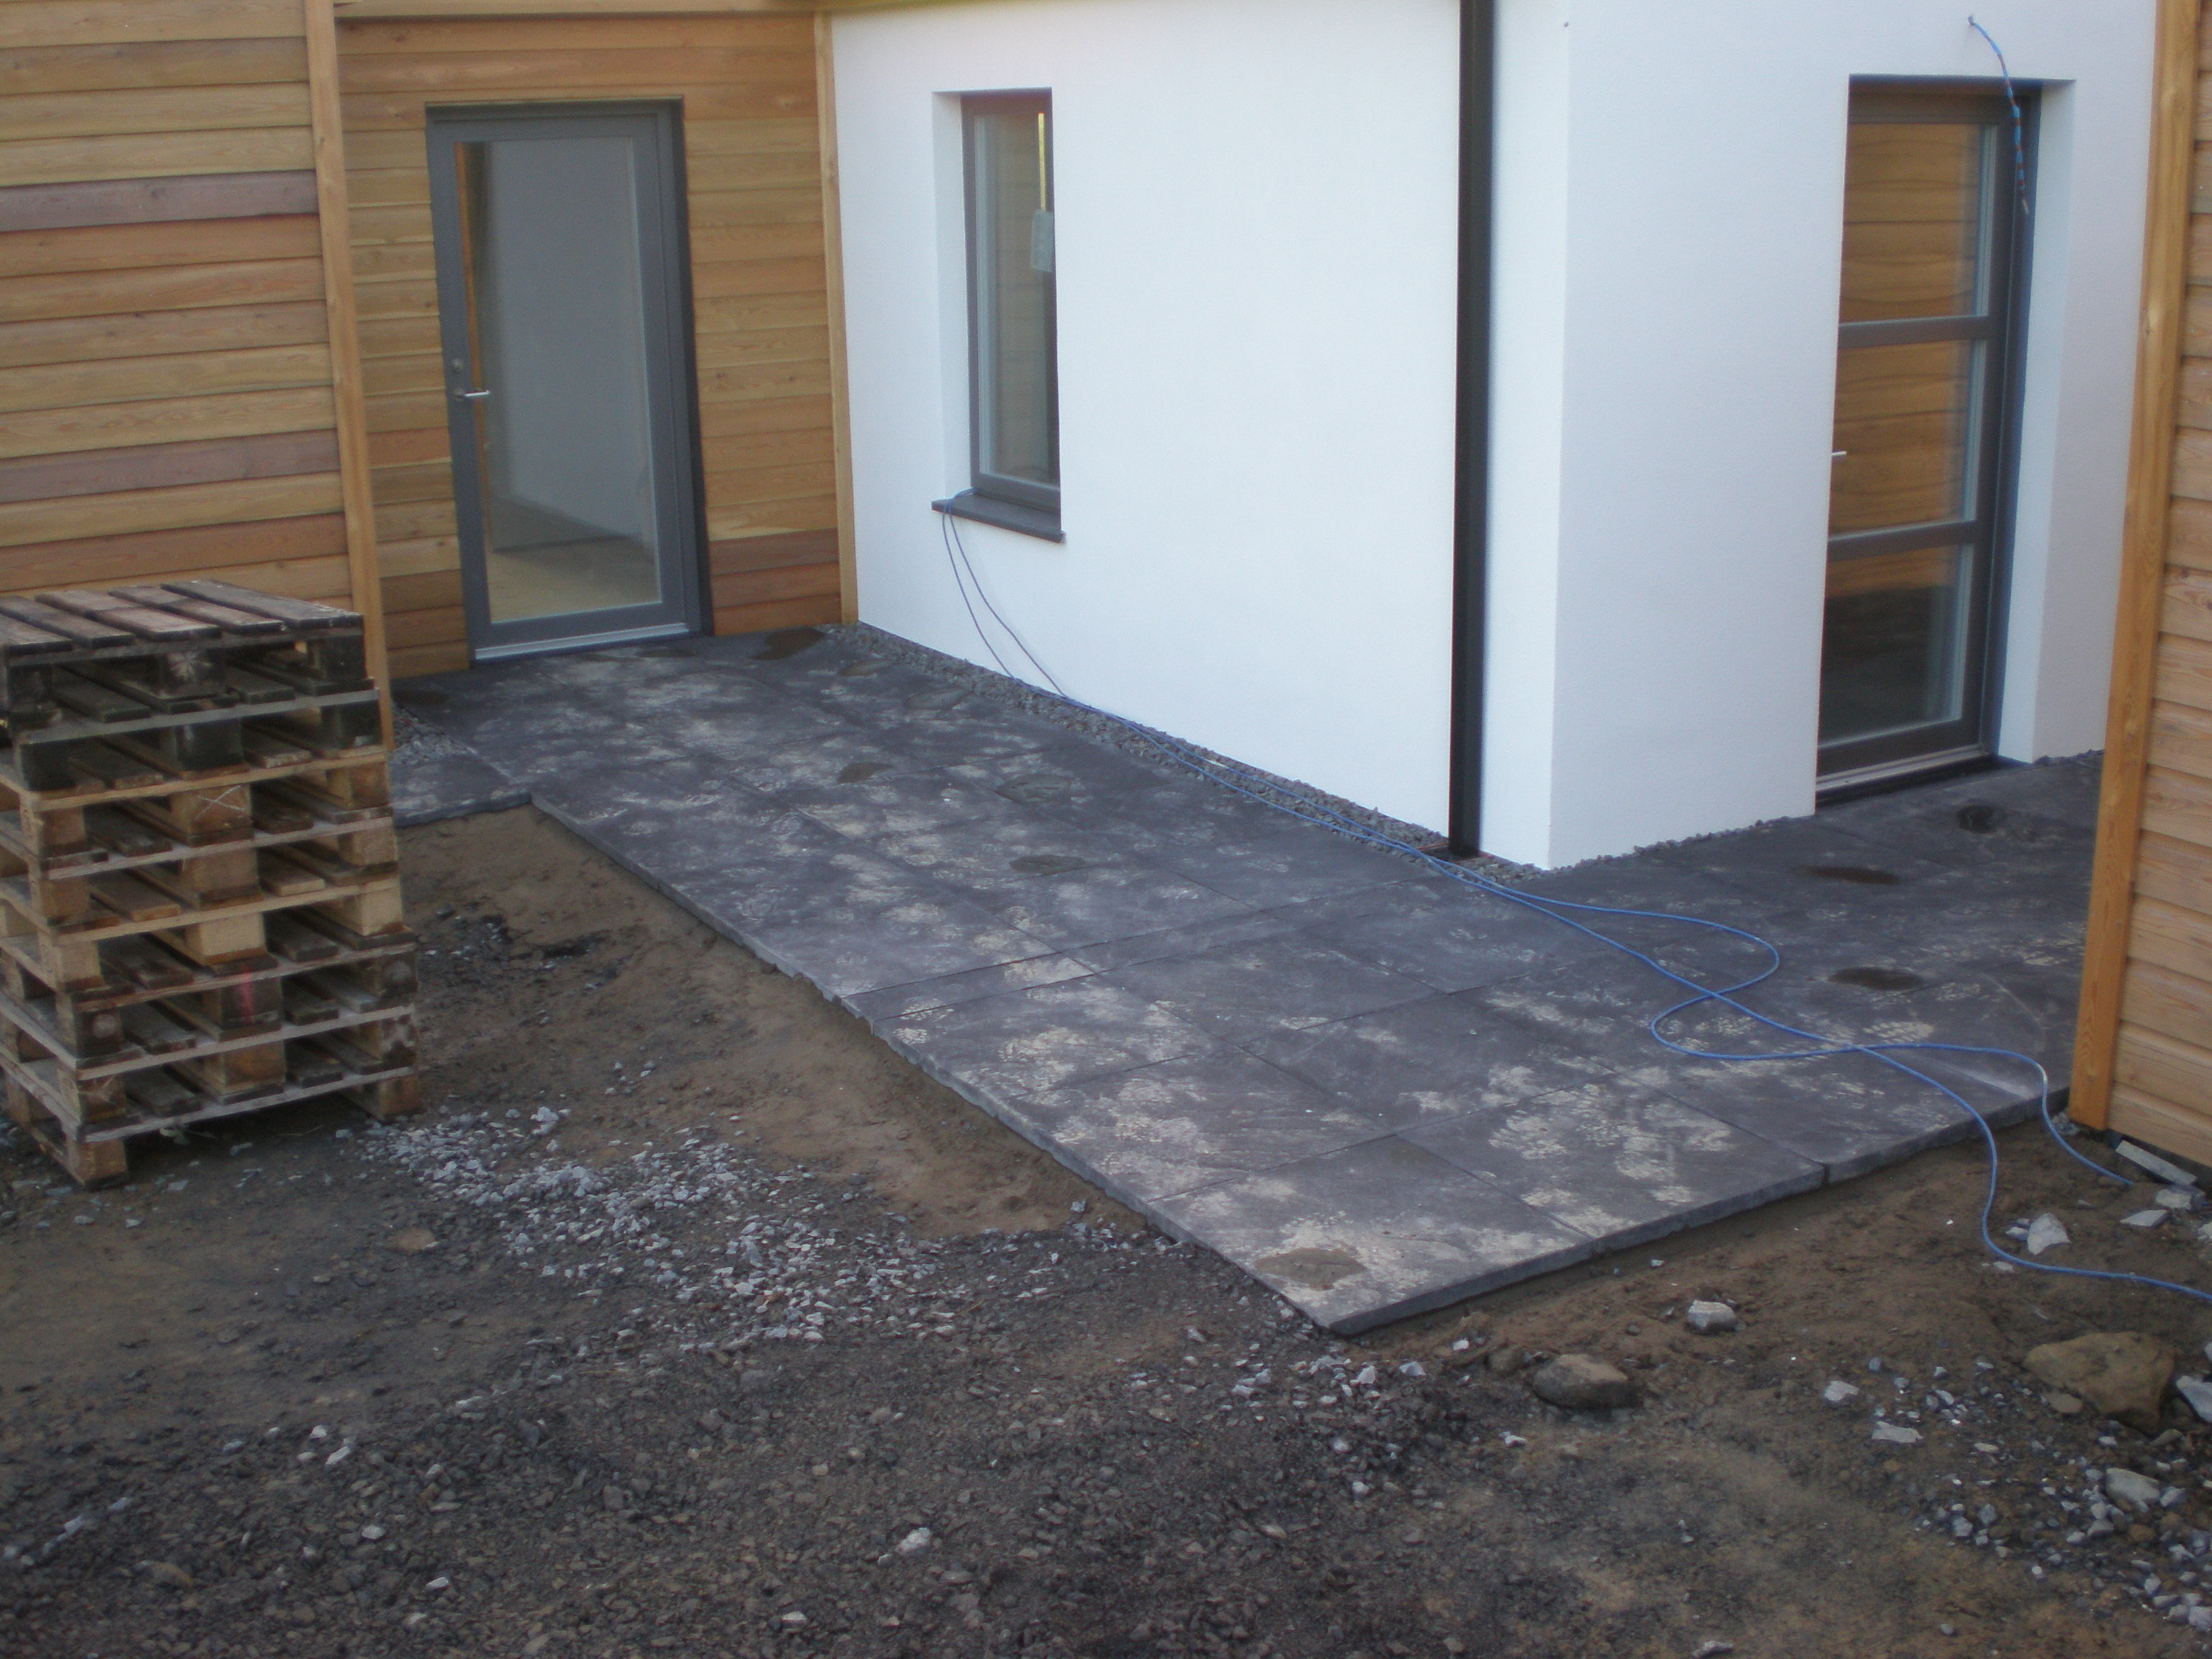
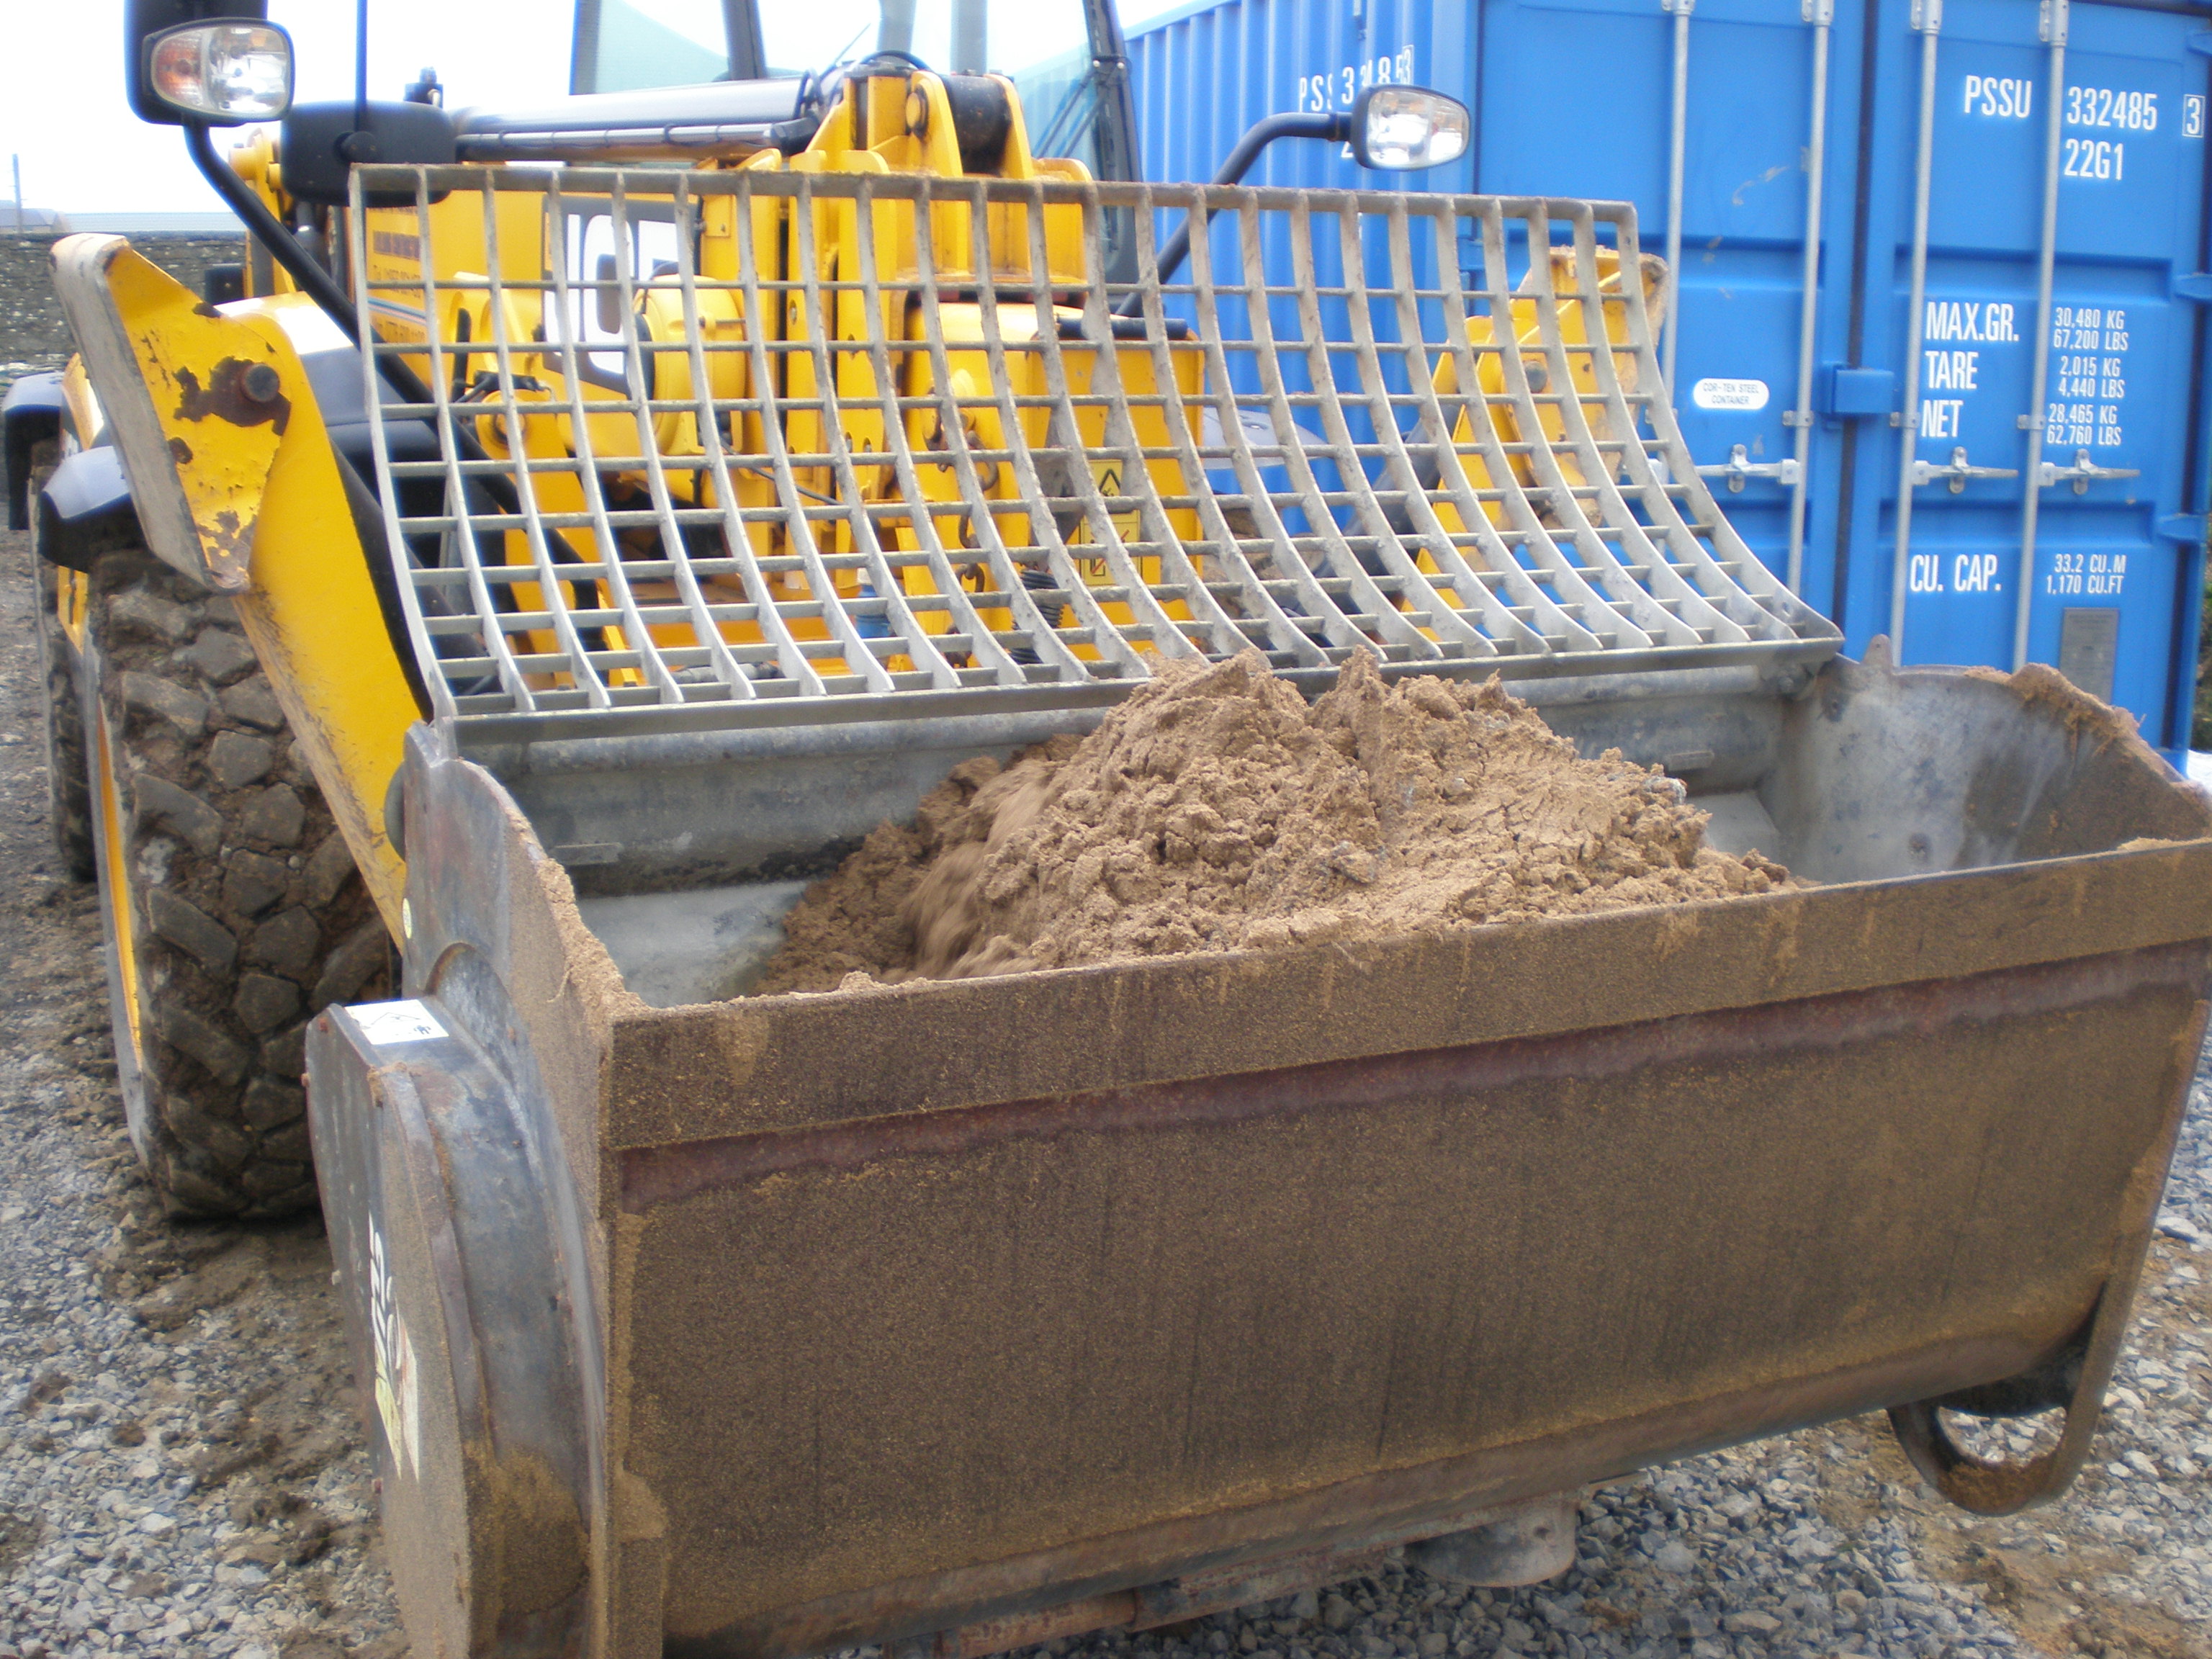
The slabs were laid on a dry sand / cement mix, mixed on site using a mixer scoop fitted onto the loadall;


P9270015.JPG


The slabs give us a nice clean edge to landscape up to.  The digger is due back shortly to finish digging out / creating our driveway and turning area, and to do the basics of landscaping / earth moving ready for final landscaping in the spring, once the winter weather has done its job and everything has had a chance to settle:


PA020024.JPG


Inside, the joiners have finished off plasterboarding, fitted the kitchen units and staircase.  The kitchen has been fitted at this stage as it's being 'built in' with enclosing partitions;


P9220010.JPG


P9220012.JPG


The staircase;


P9080014.JPG


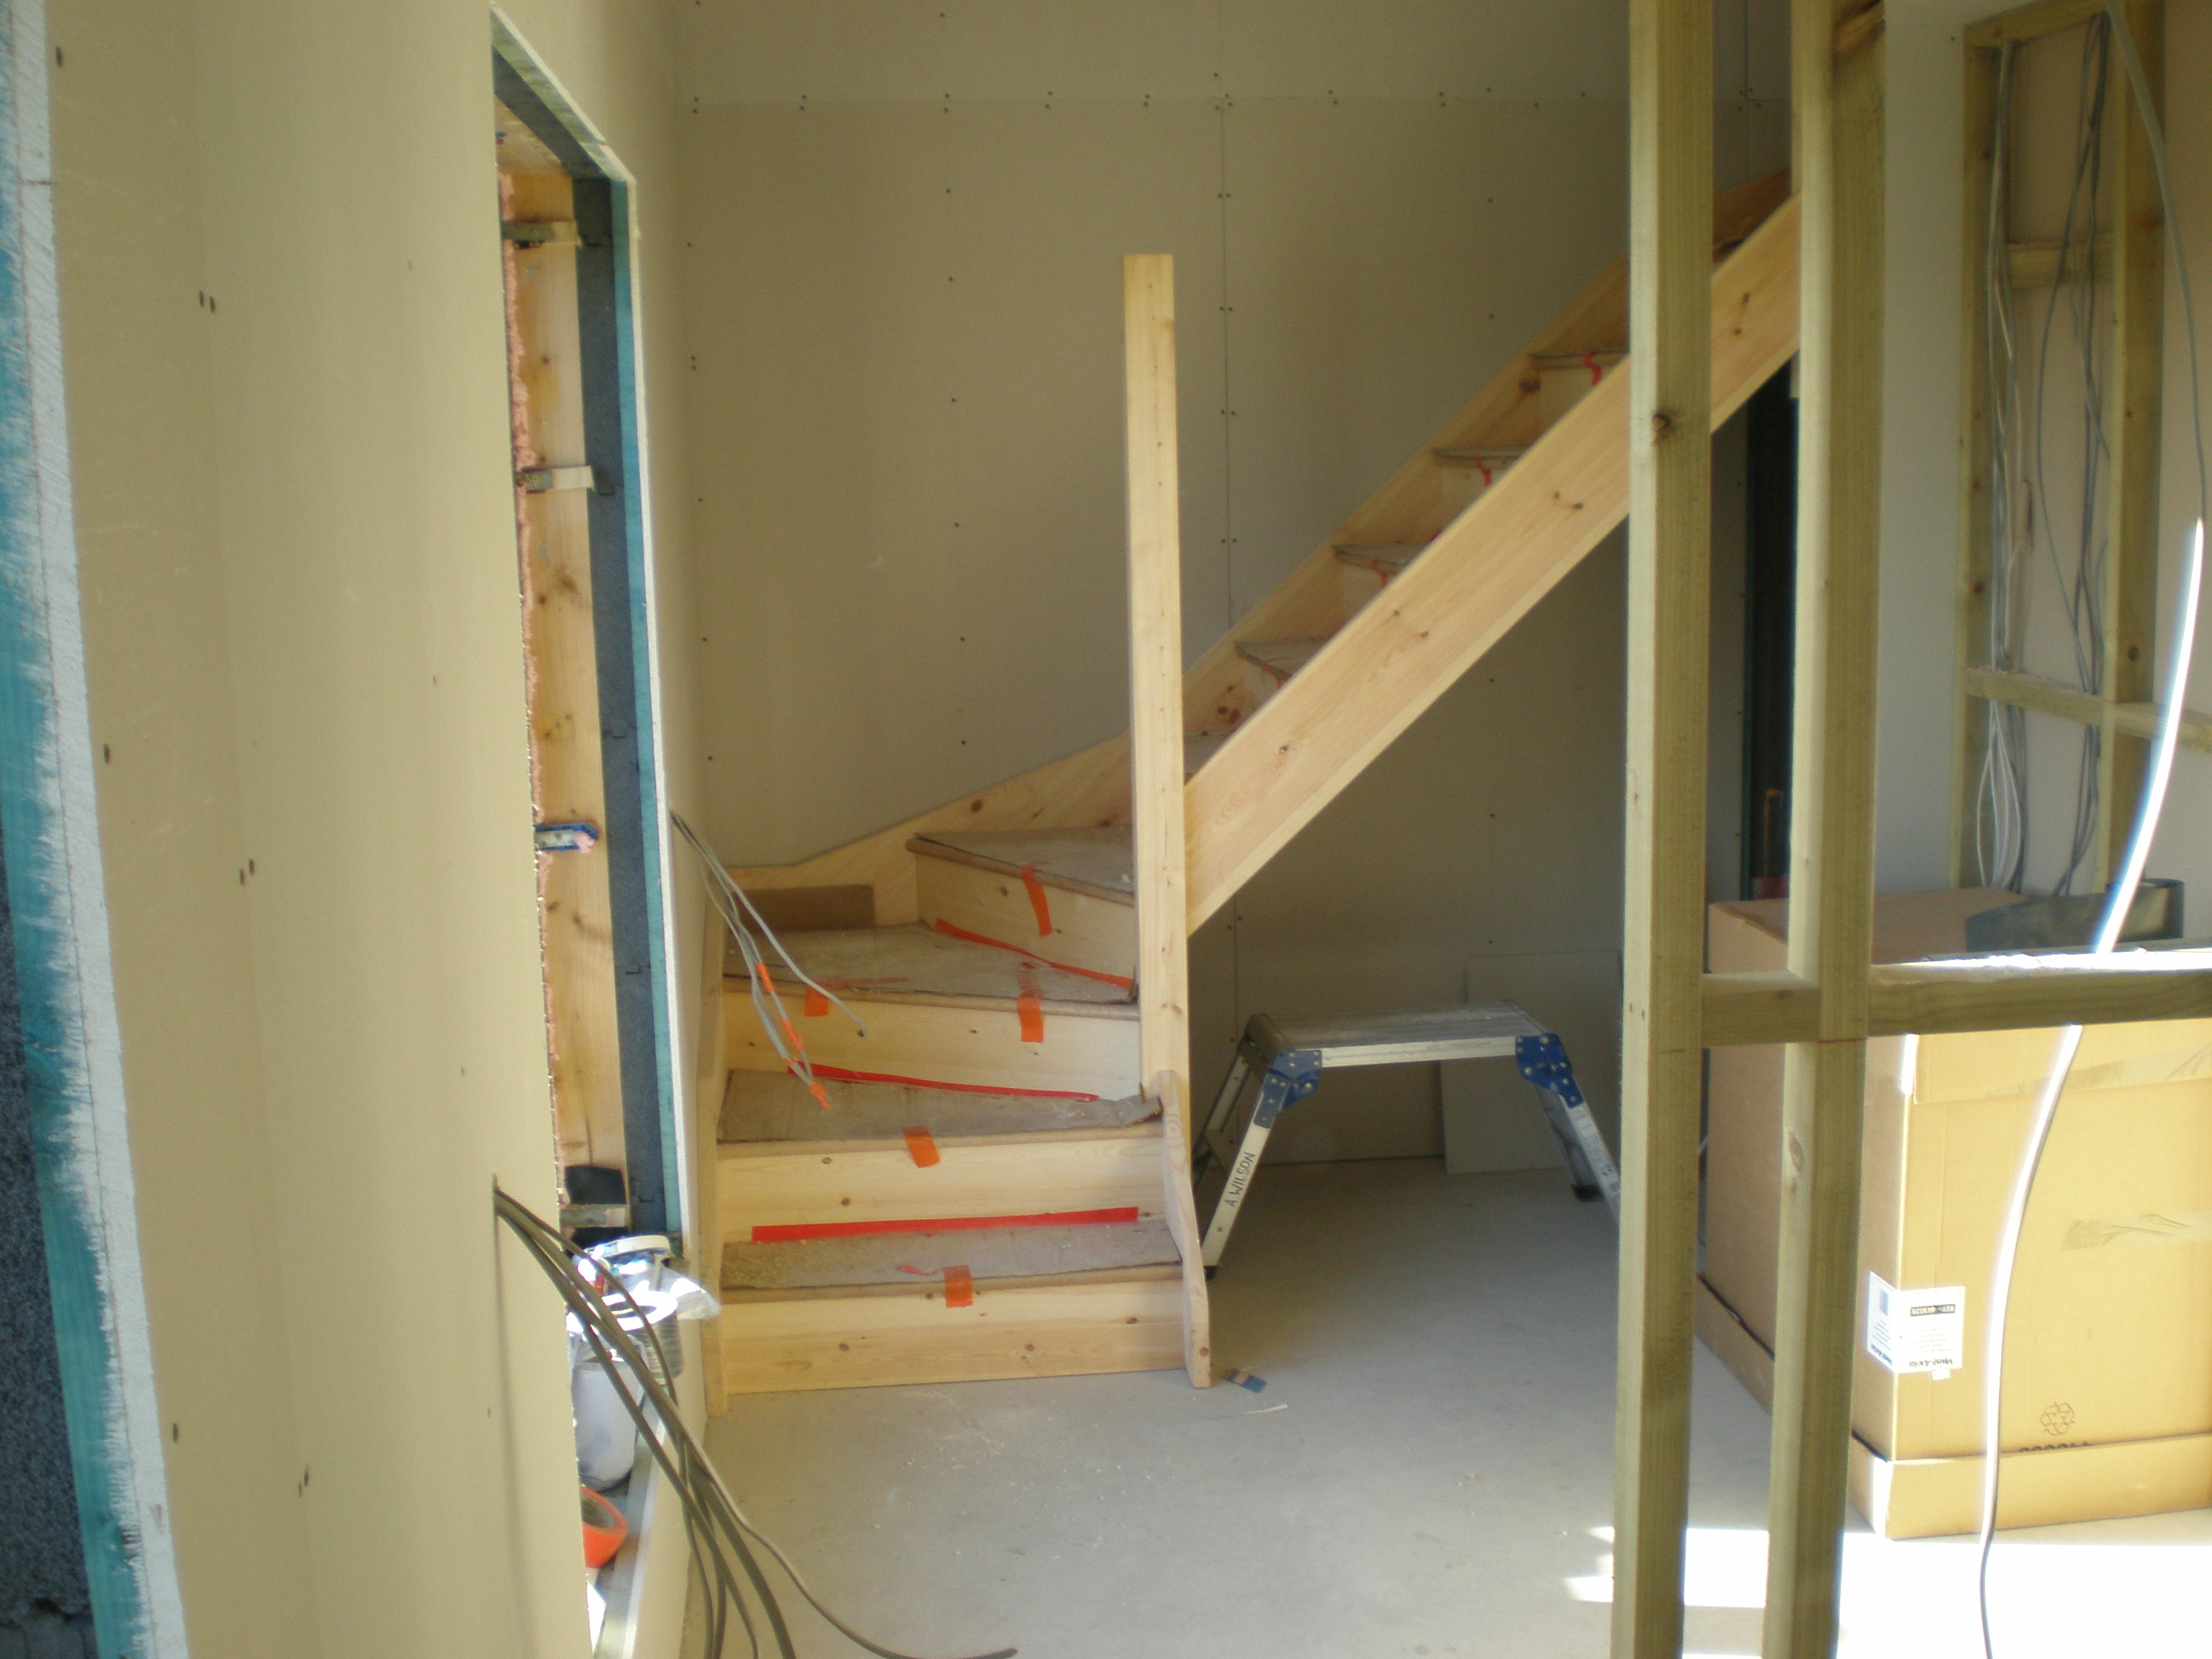
The joiners have built some shelving underneath the stairs, and created a solid balustrade using MDF and plasterboard, topped with an oak handrail.  As you can see, I've primed the newel post ready to paint in to the adjacent plasterboard, the idea being we will have a seamless appearance.  I'm not sure yet how we will fill the join between newel and plasterboard - flexible filler or caulk. 


PA020019.JPG


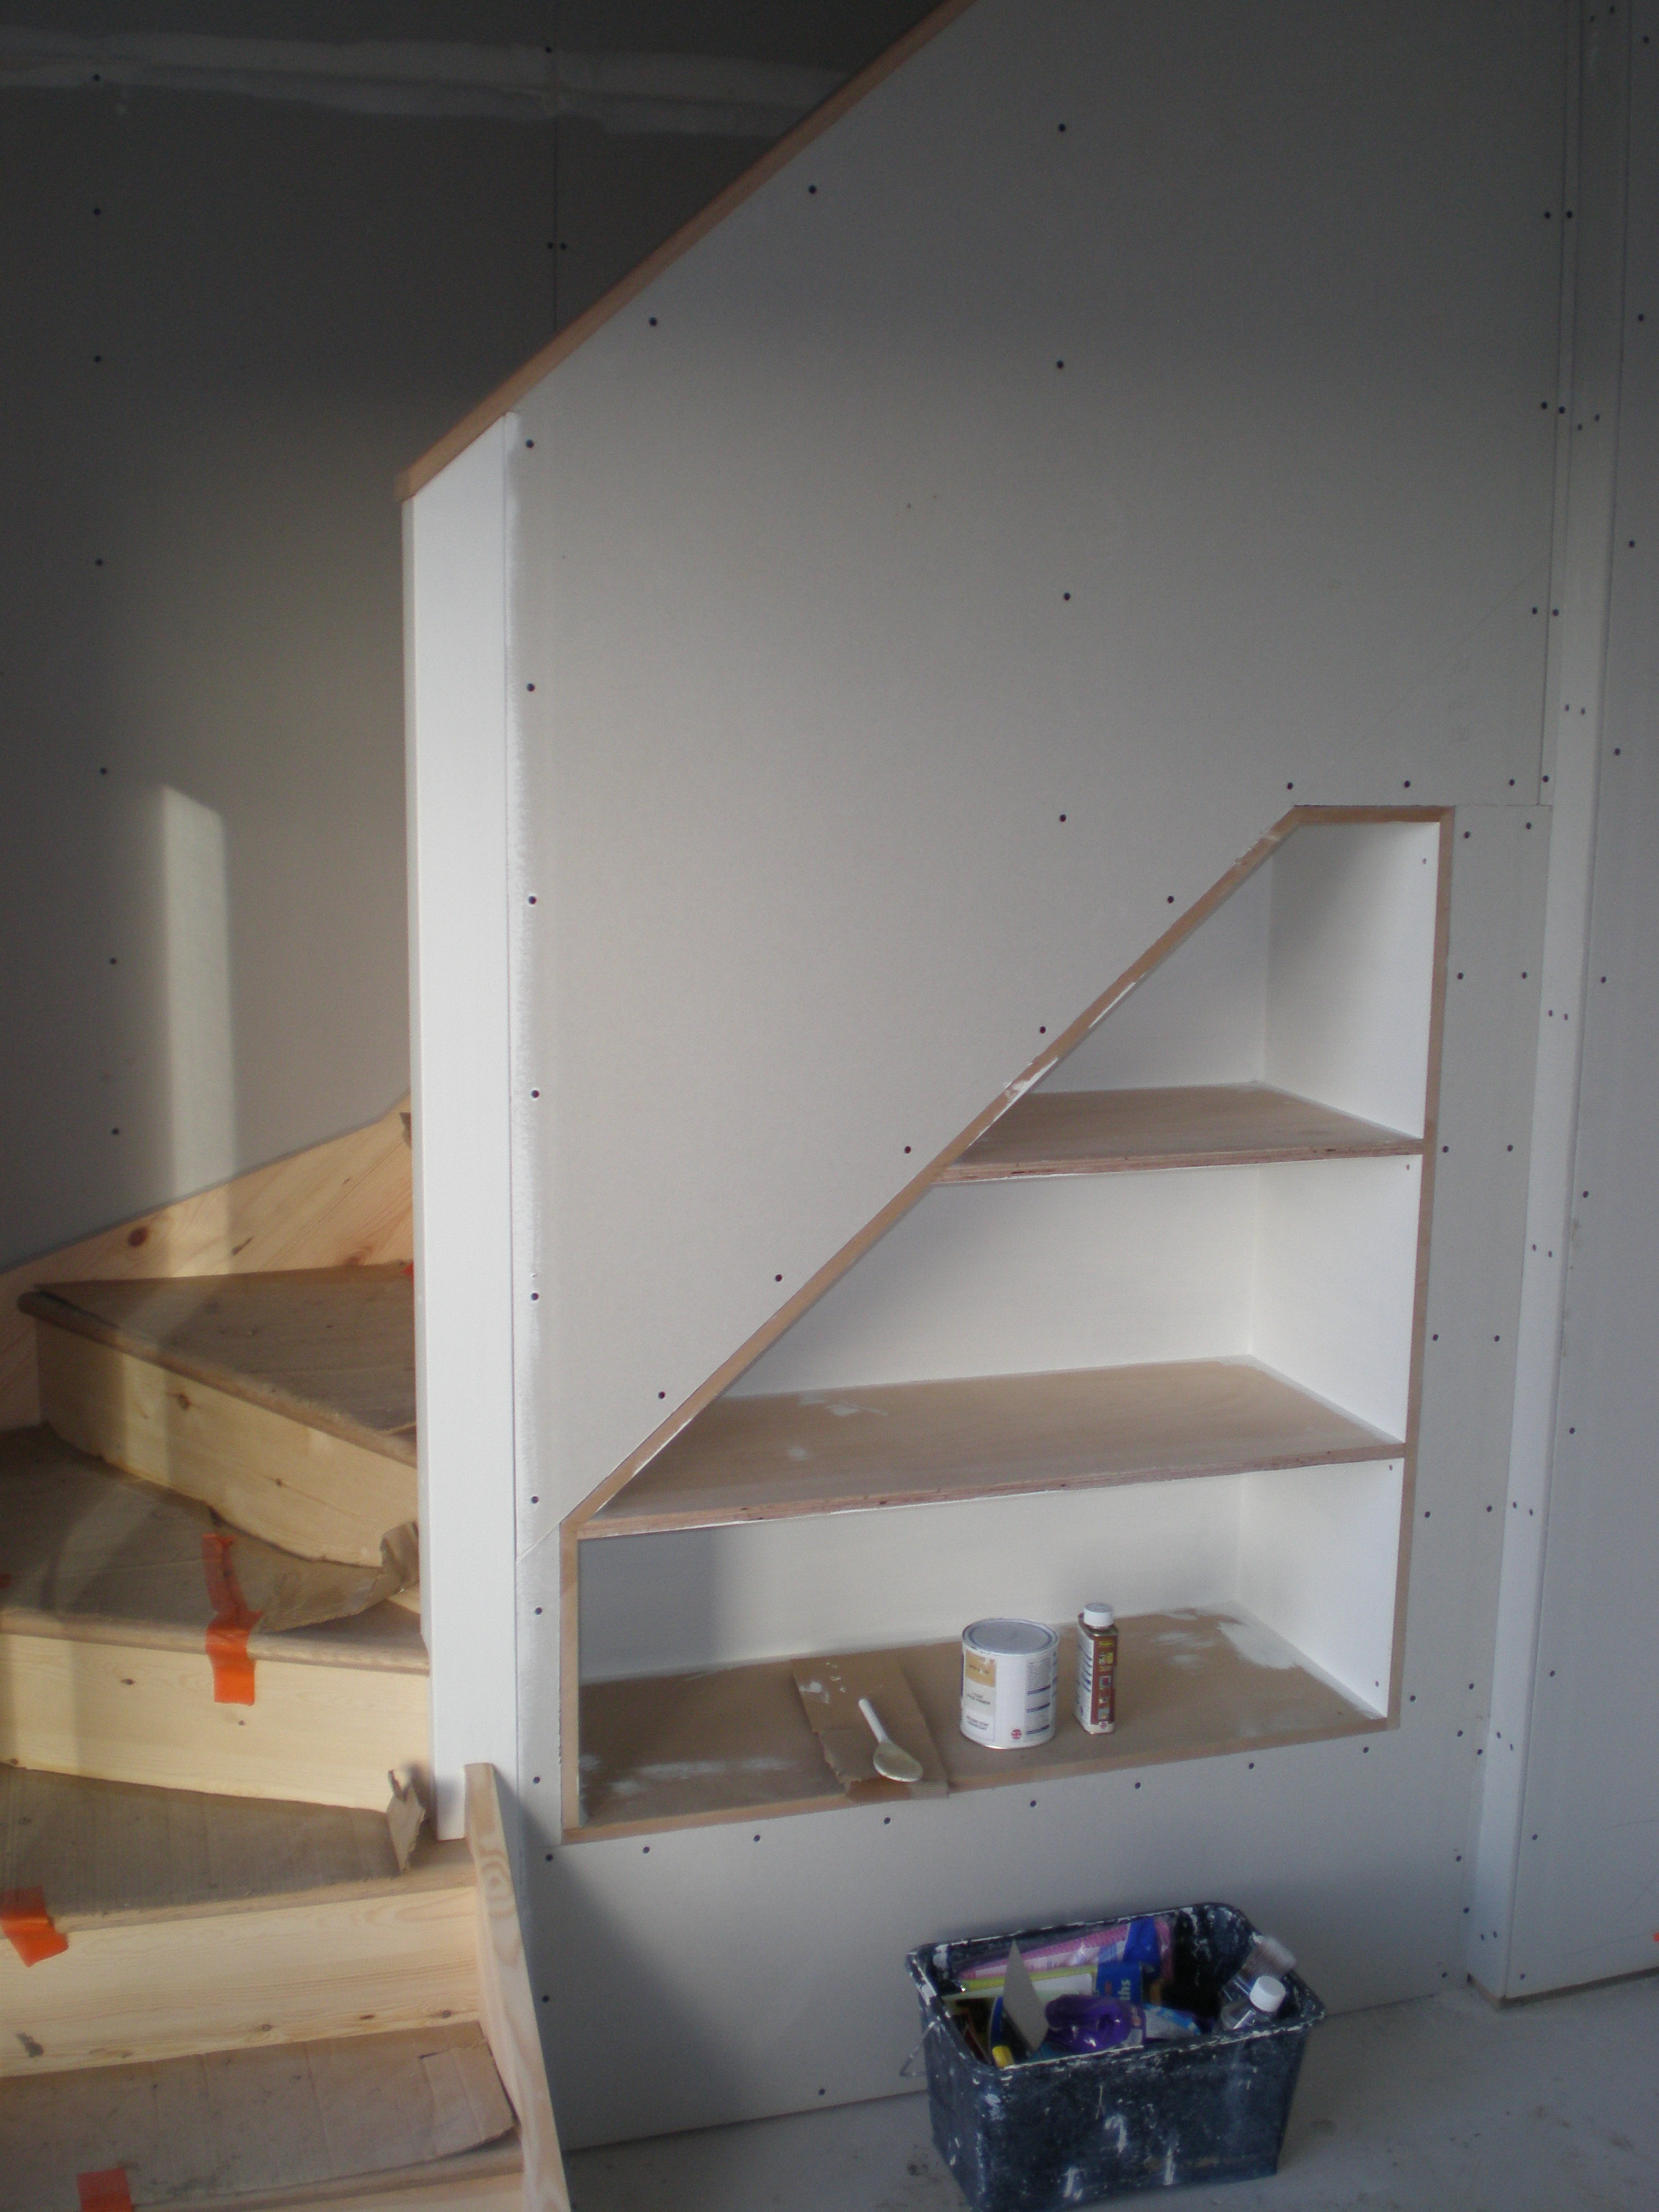
Oak veneered MDF shelves have been made and will be fitted into the unit once decorating has been completed.  Oak veneered MDF faced with a solid oak apron has also been used for the shelves you can see in the kitchen, and for all our window cills.


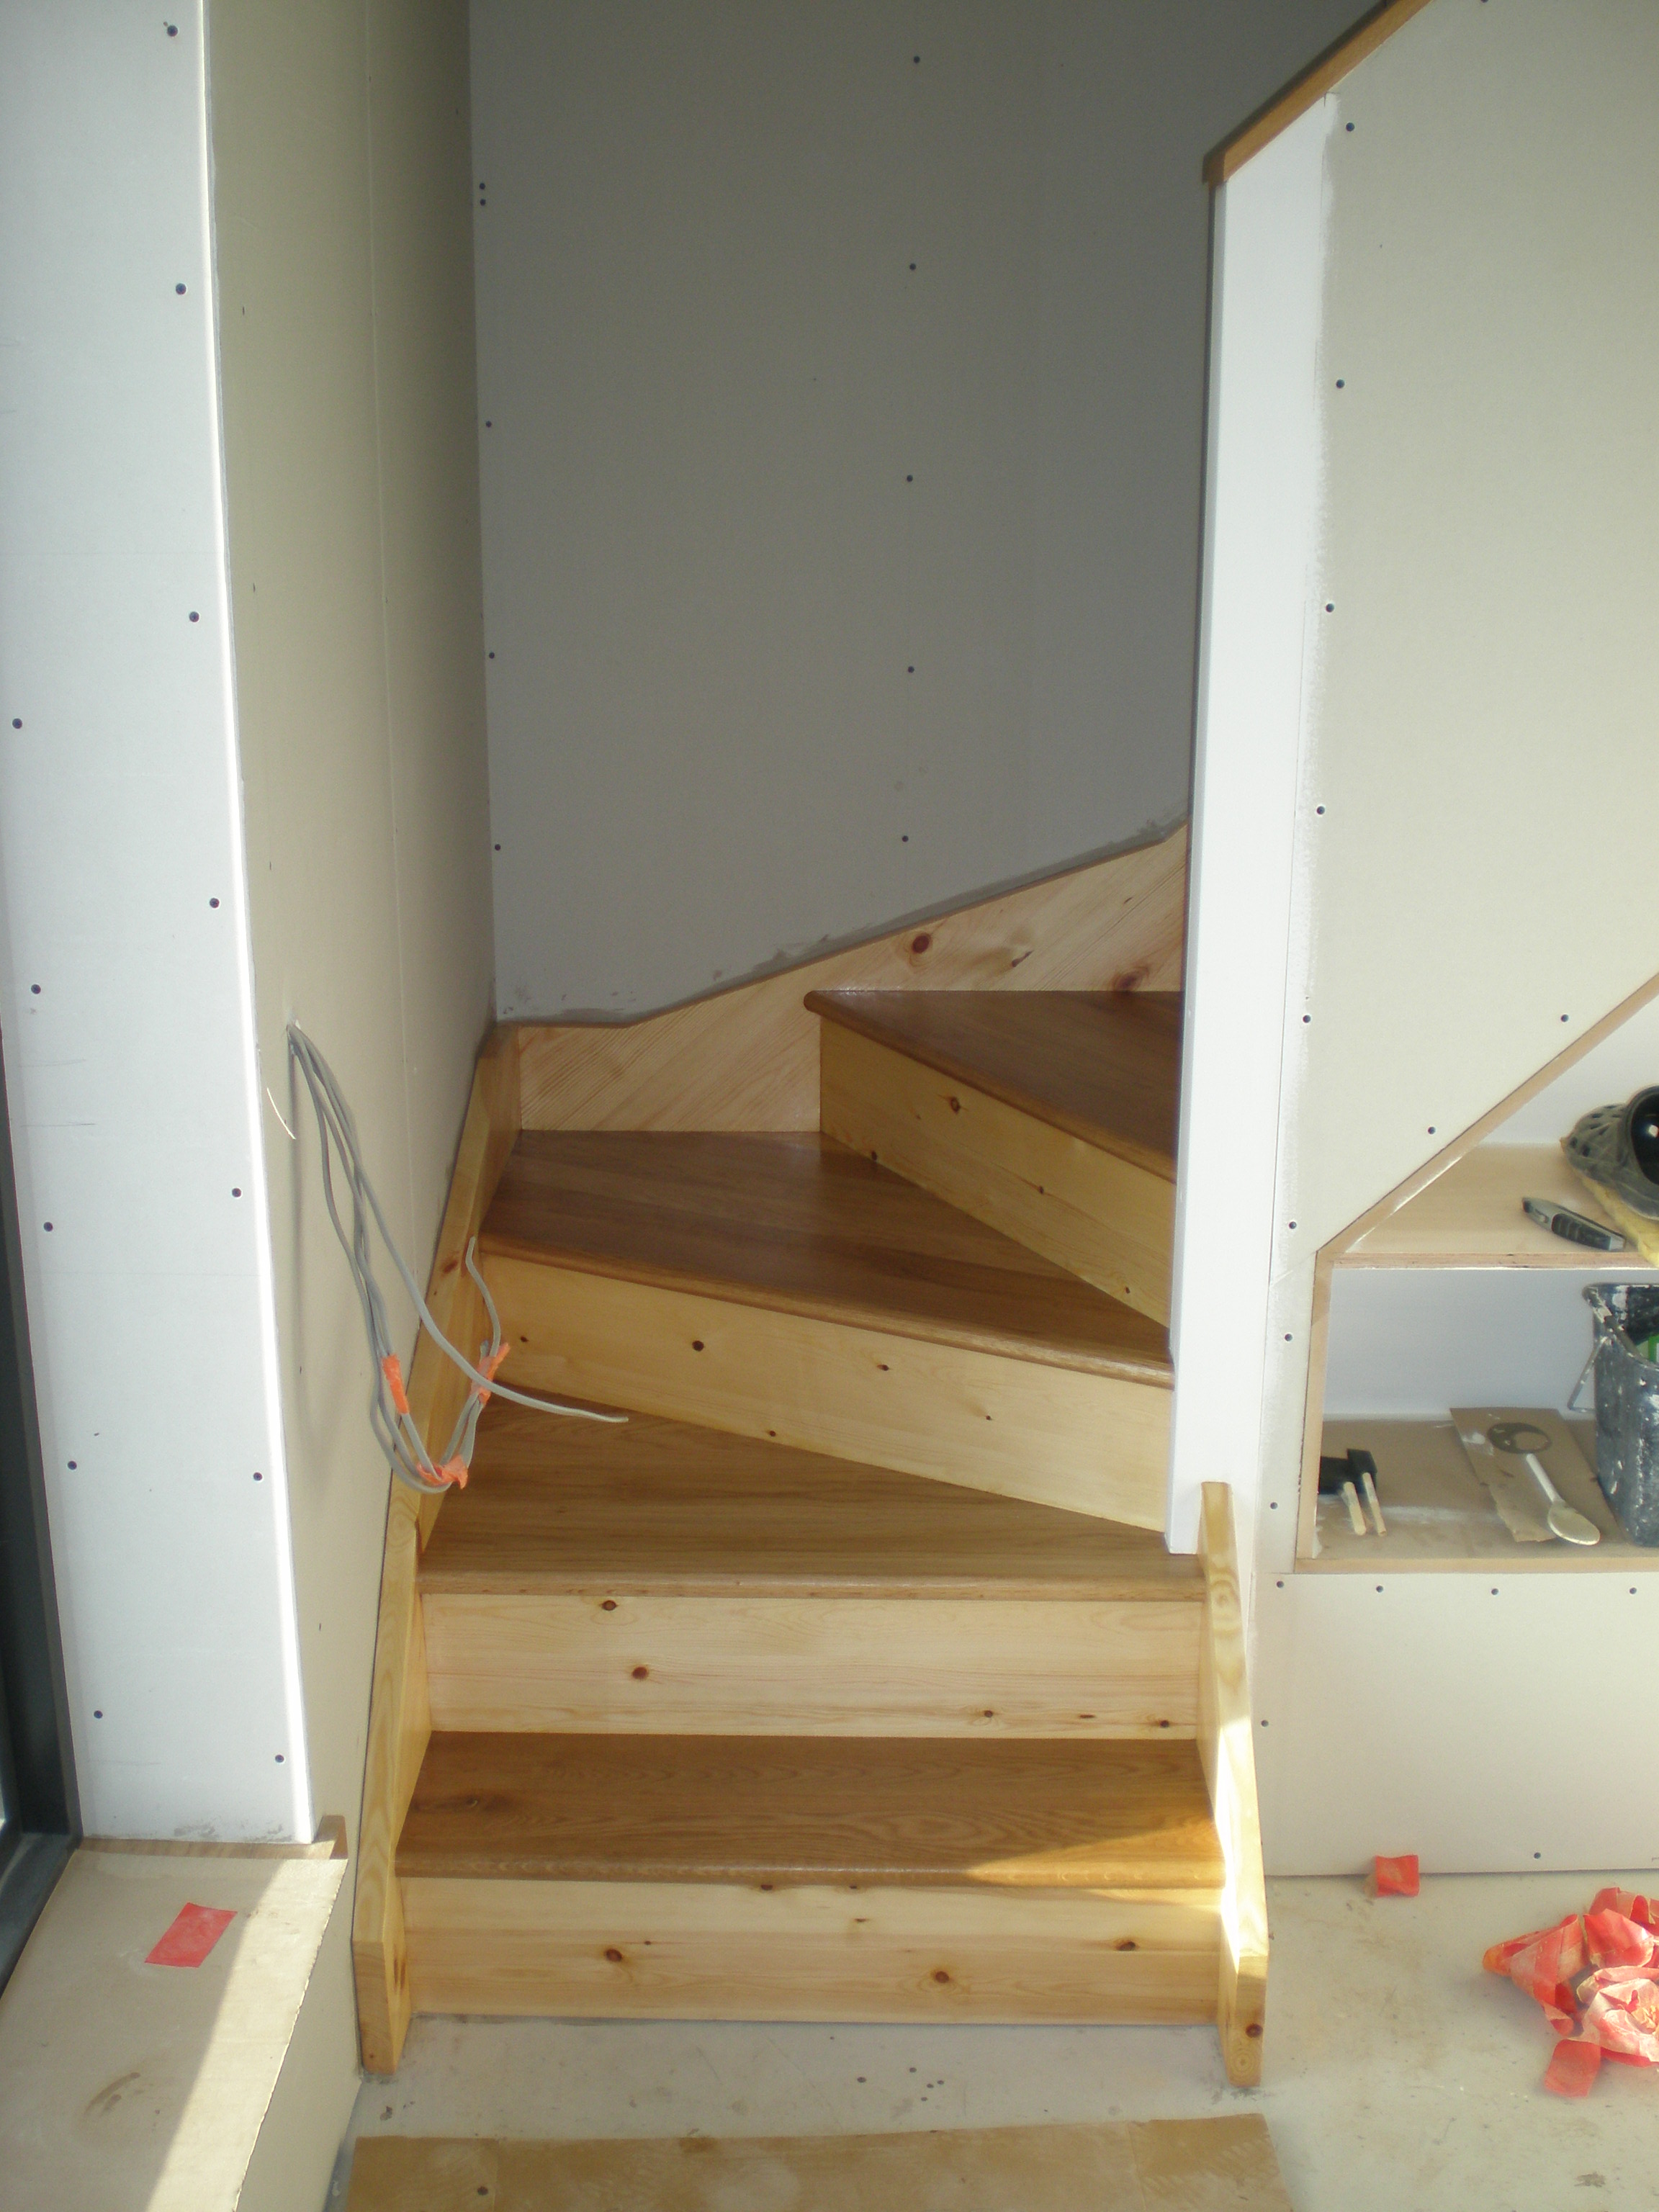
This next picture shows the stairs after a coat of osmo oil.  We had initially been thinking of painting the stringers and risers white so that the oak tread would 'float', but in the end decided to go with the two tone appearance.  I spent half a day sanding it all down, and have now applied two coats of oil. 


PA060002.JPG


The final couple of pictures show the mezzanine area accessed by the stairs and the view down into the main room;


PA020021.JPG


PA020022.JPG


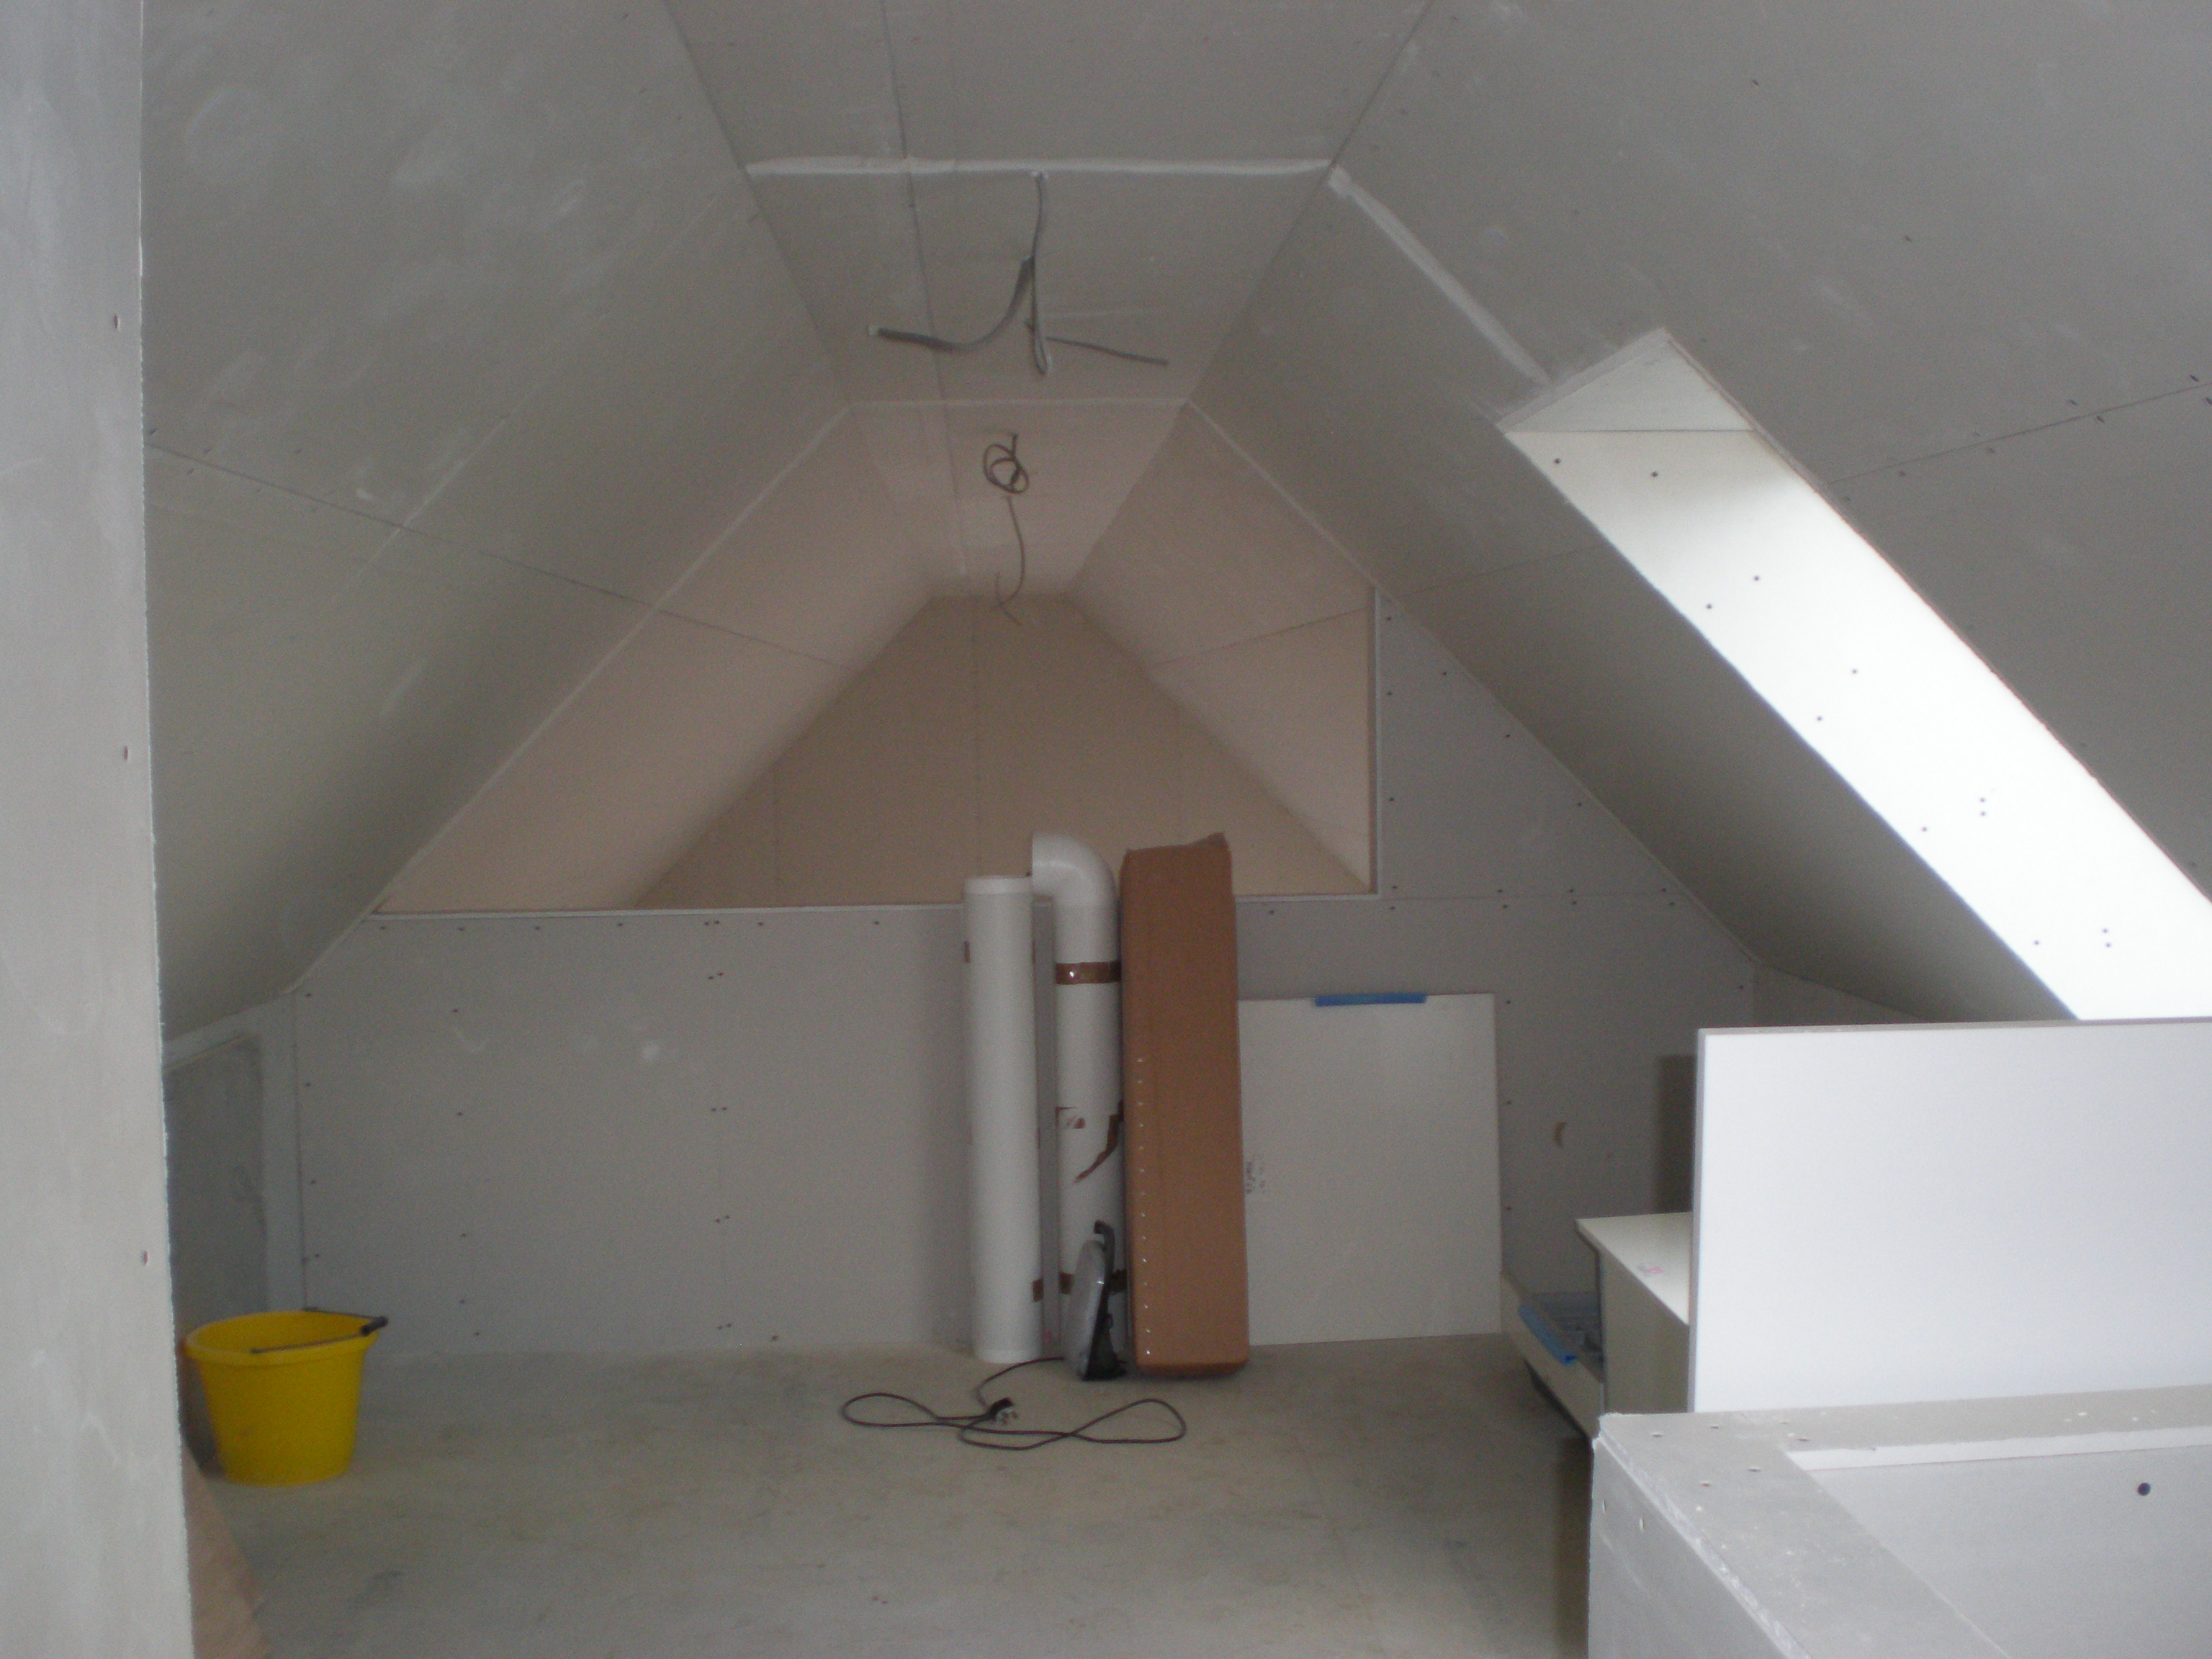
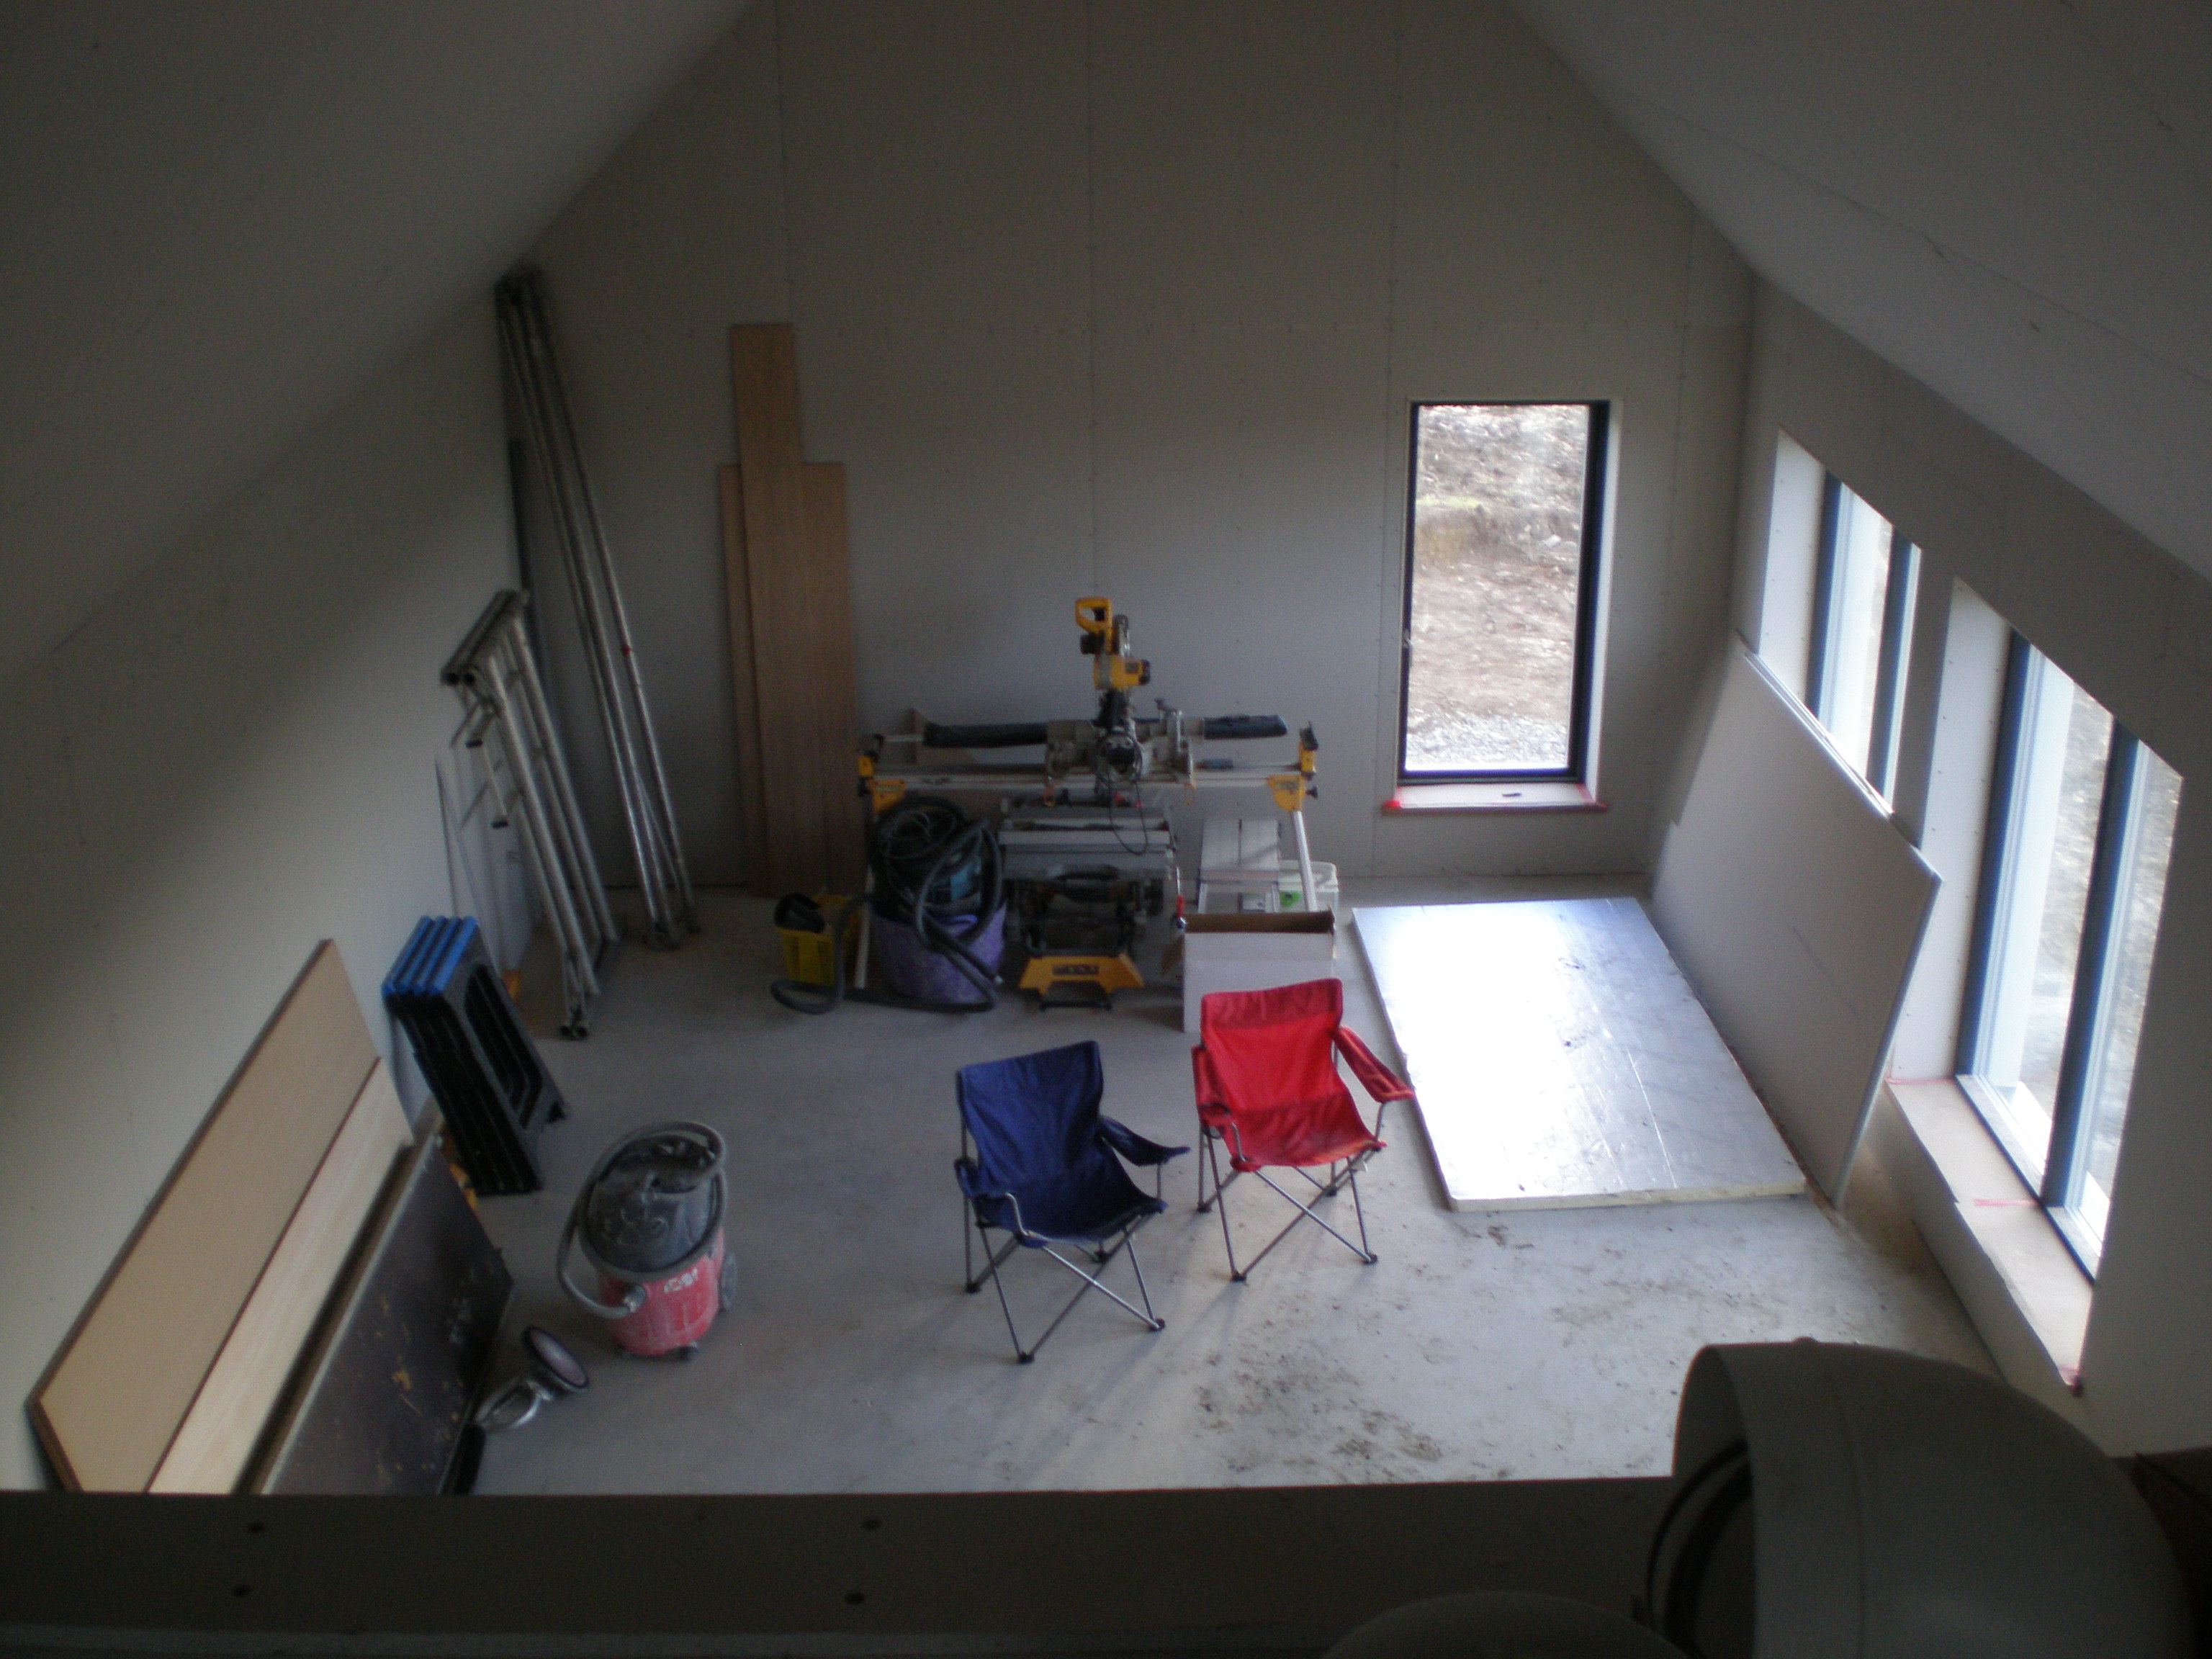
Where we have solid balustrades, they will be topped with oak to tie in with the other internal finishes and stair balustrade.


The decorator has started and will have the bedroom and link section of the house taped, filled and sanded for me by the middle of the coming week, which will let me get the first half painted while he tapes and fills the other half of the house.  


  • Like 1

9 Comments


Recommended Comments

Just one comment about your drainage run along the back of the house.


You appear to have a drain joining into the main run with a tee underground.  I was under the impression a branch like that had to be made with an inspection chamber?
 

Link to comment

Looking great - and the weather appears to have been playing its part too looking at those blue skies. One aspect of the build I am still trying to understand is the drainage system.  I understand how the foul water is dealt with when using a treatment plant but it is the surface water that is causing me some difficulties. Can it run off into the same network of pipes as the foul water and then eventually through the treatment plant or does it need its own network of pipes which lead into a soak away of sorts? How have you dealt with yours?

PW.

Link to comment


Dave,


When I think back to other builds, you are absolutely right, that is invariably what they have done.  BC certainly came out and had a look, and the various pictures taken by the guys who put the pipework in, and seems happy enough.  


Looking round the house I'm renting there are no inspection chambers here either, just rodding points...perhaps one of those things done differently here.  

Edited by Stones
Link to comment
6 minutes ago, Redoctober said:

Looking great - and the weather appears to have been playing its part too looking at those blue skies. One aspect of the build I am still trying to understand is the drainage system.  I understand how the foul water is dealt with when using a treatment plant but it is the surface water that is causing me some difficulties. Can it run off into the same network of pipes as the foul water and then eventually through the treatment plant or does it need its own network of pipes which lead into a soak away of sorts? How have you dealt with yours?

PW.


Surface water runs to a surface water soakaway in its own set of pipes.  Round the house, the pipes are side by side in the same trench.  At the front of the house, foul water pipework all links up and goes one way, surface water pipework links up and goes the other way, both soakaways being as far apart as possible.

  • Like 1
Link to comment

Stop bead and shadow gap at newel to plasterboard? Would likely crack otherwise. You could fill shadow gap with flexible caulk see if the looks ok?

Link to comment

I think that probably will be the way forward.  It's one of these details we will see / notice, but go unnoticed by everyone else.  

Link to comment

Unbelievably useful post in terms of getting my head round what needs doing.

For example;

'....  but all it required was four lengths of timber to prop it in place, then backfill with a dry mix concrete / fill the plant with water.   ...'


@Stones, how much of your digester will be proud of the ground? I ask because @PeterW arranged things so that all of his is hidden (somehow, must ask him)


@Oz07, what's a shadow gap?

Link to comment

Wherever something will crack you use a gap or a champher to create a gap where it cracks. Hides the crack in the shadow rather than trying to stop it happening 

Link to comment
8 hours ago, recoveringacademic said:

Unbelievably useful post in terms of getting my head round what needs doing.

For example;

'....  but all it required was four lengths of timber to prop it in place, then backfill with a dry mix concrete / fill the plant with water.   ...'


@Stones, how much of your digester will be proud of the ground? I ask because @PeterW arranged things so that all of his is hidden (somehow, must ask him)


@Oz07, what's a shadow gap?


The plan is to landscape around so only the lid is showing, but until we reach that point, I can't say for certain - digger driver currently off work walking wounded :(

Link to comment

Create an account or sign in to comment

You need to be a member in order to leave a comment

Create an account

Sign up for a new account in our community. It's easy!

Register a new account

Sign in

Already have an account? Sign in here.

Sign In Now
×
×
  • Create New...