
Part 15 - Decorating and Landscaping

Entry posted by Stones
4440 views
It's been a few weeks since the last update, but we've had plenty of activity on site.
The decorator has taped, filled and sanded the walls. He was good enough to do the house in two sections, which let me paint one half of the house while he was taping and filling the other. 10 days in total of painting say me roll three coats onto the walls and ceilings. First coat was a thinned down Armstead contract matt. Second coat Armstead contract matt, finished by a third and final coat of Armstead Durable (scrubbable) matt. We have gone all white, so I didn't have much in the way of cutting in. I did take the precauation of fully masking the windows and doors, and whilst there was some bleed under the masking tape, the polythene that I taped to the windows meant I didn't have any roller splatter to clean off. I did use two different brands of masking tape, and I think it fair to say that there was a fairly big difference quality wise between the two, the cheaper 'value' roll, suffering more bleed and being more difficult to remove in one piece.
I've also pre-oiled all of our oak facings and skirtings ready for the joiners to fit. In the picture you can see my use of the scaffold tower as a convenient drying rack.
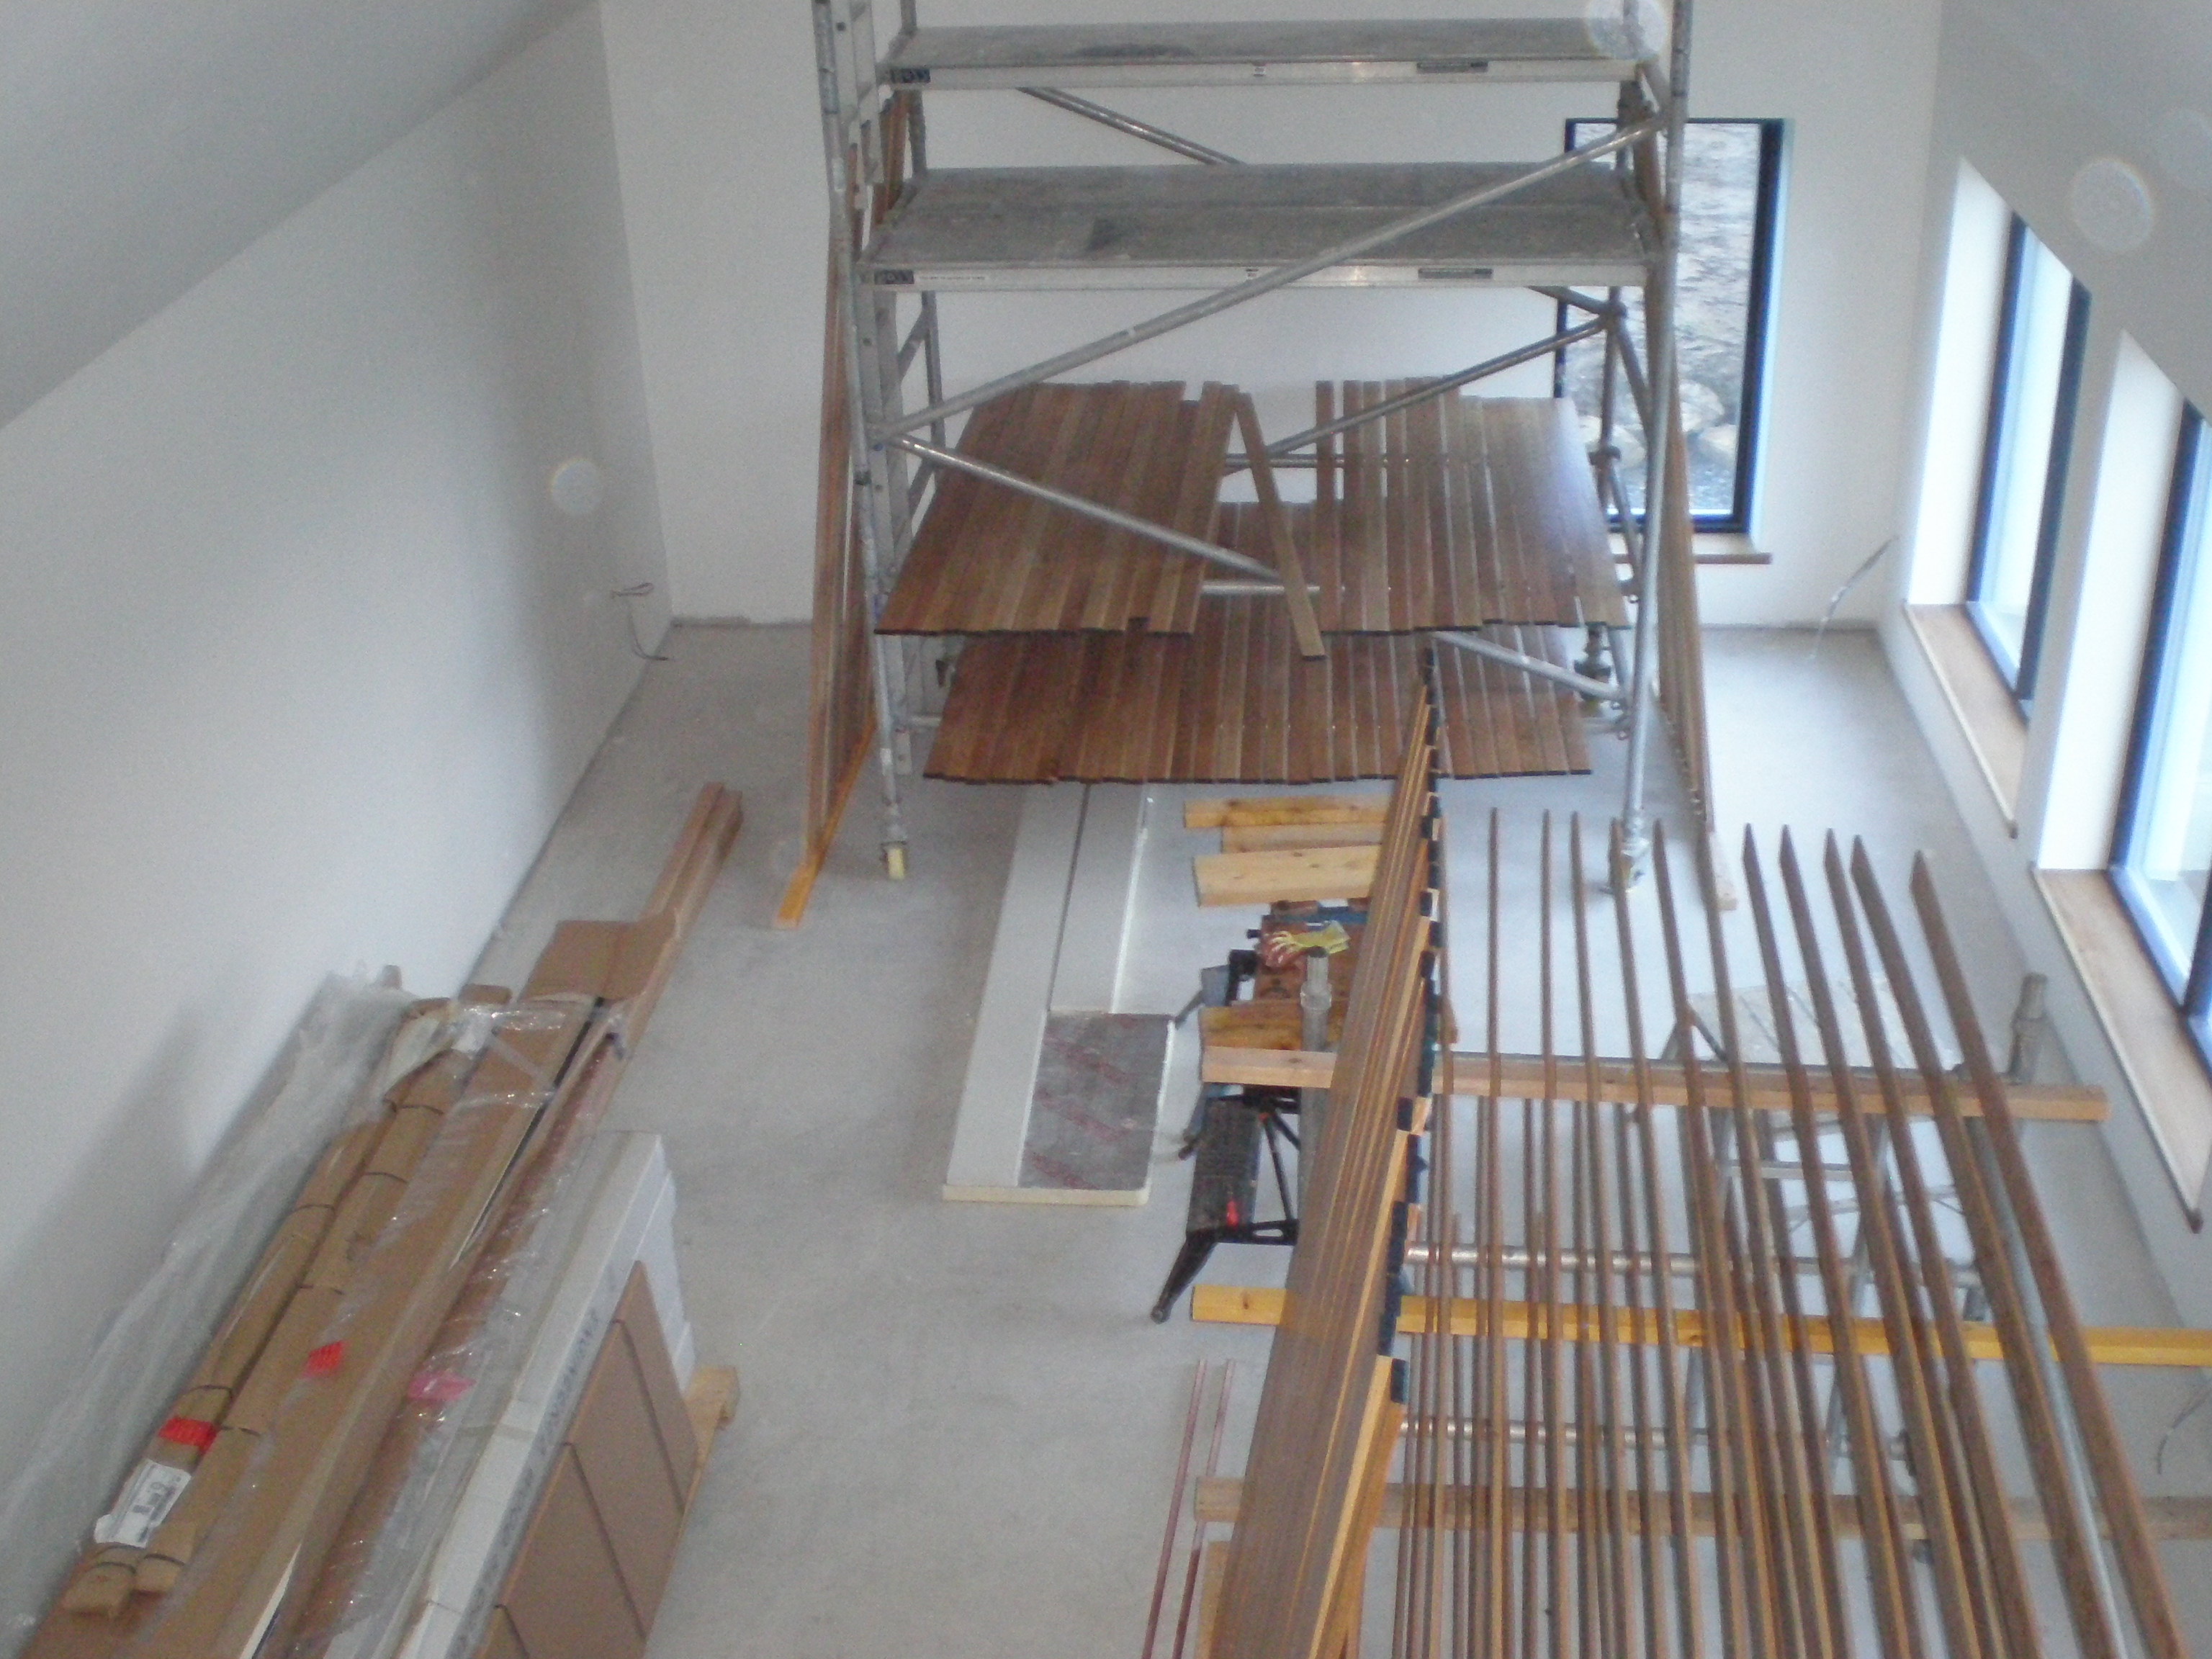
Having experimented with various finishes (dansih oil, varnish) we opted for Osmo Oil - (clear satin) as our finish of choice, and I have to say it does really enhance the look of the wood.
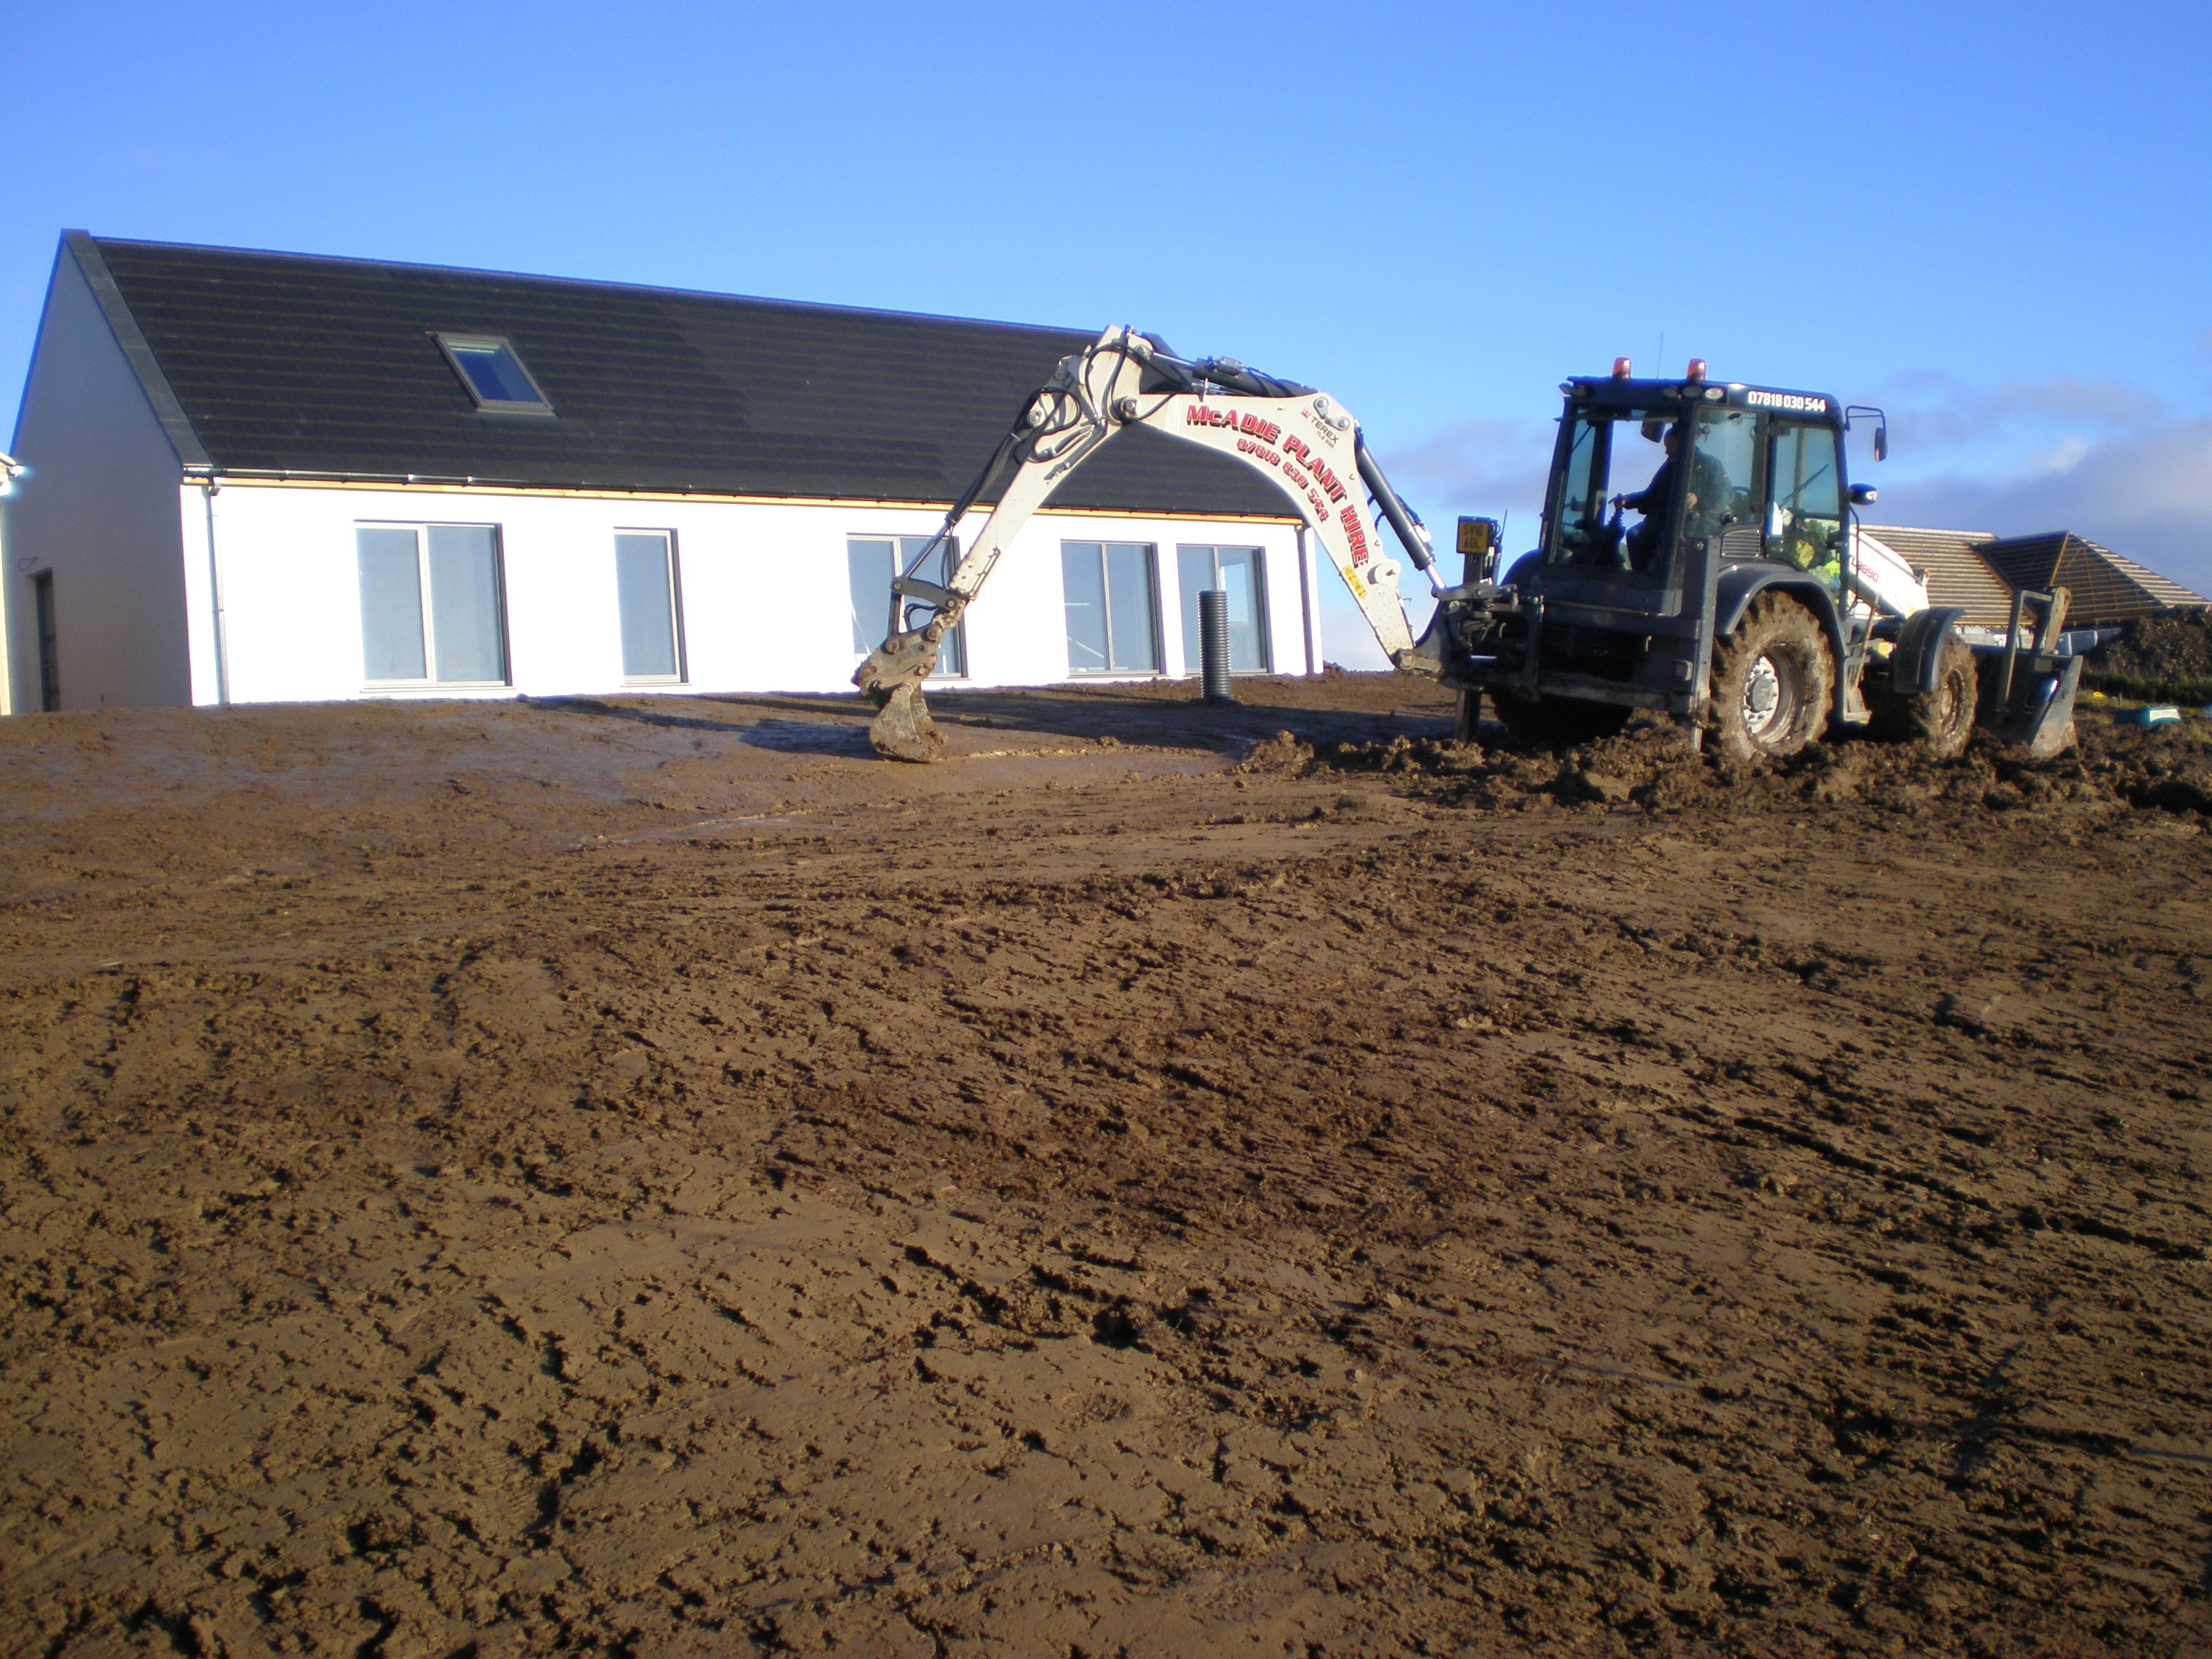
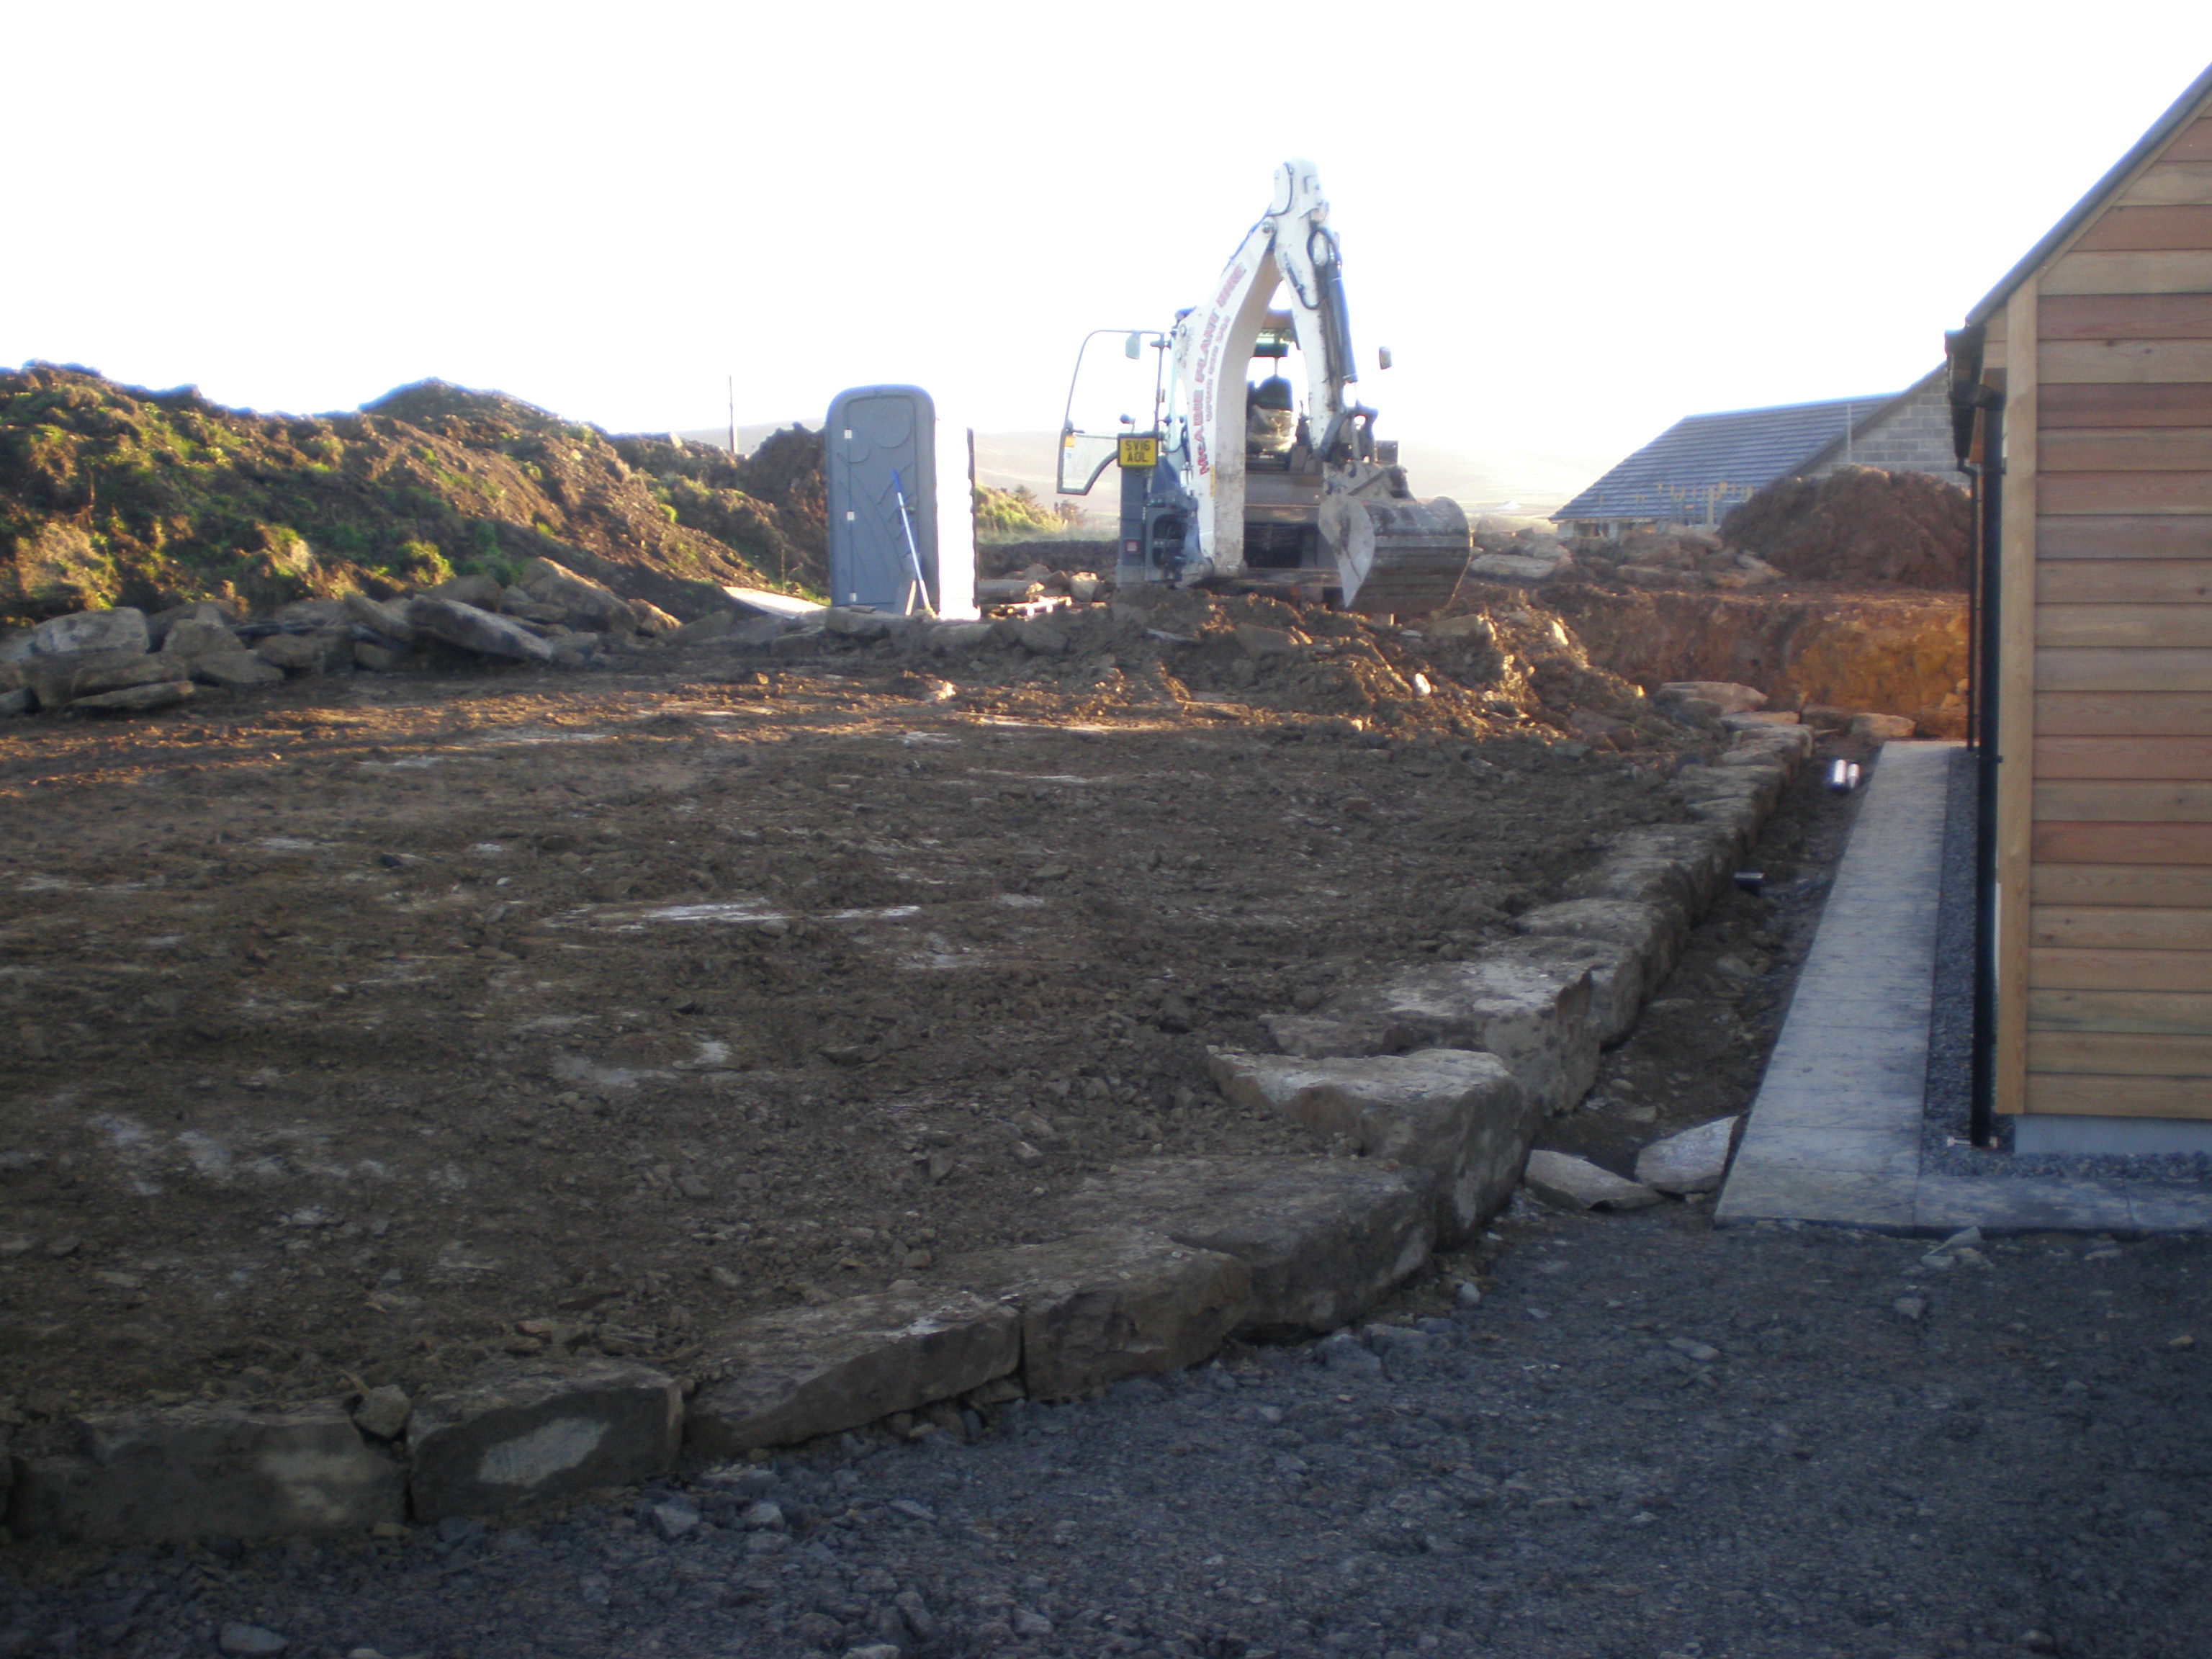
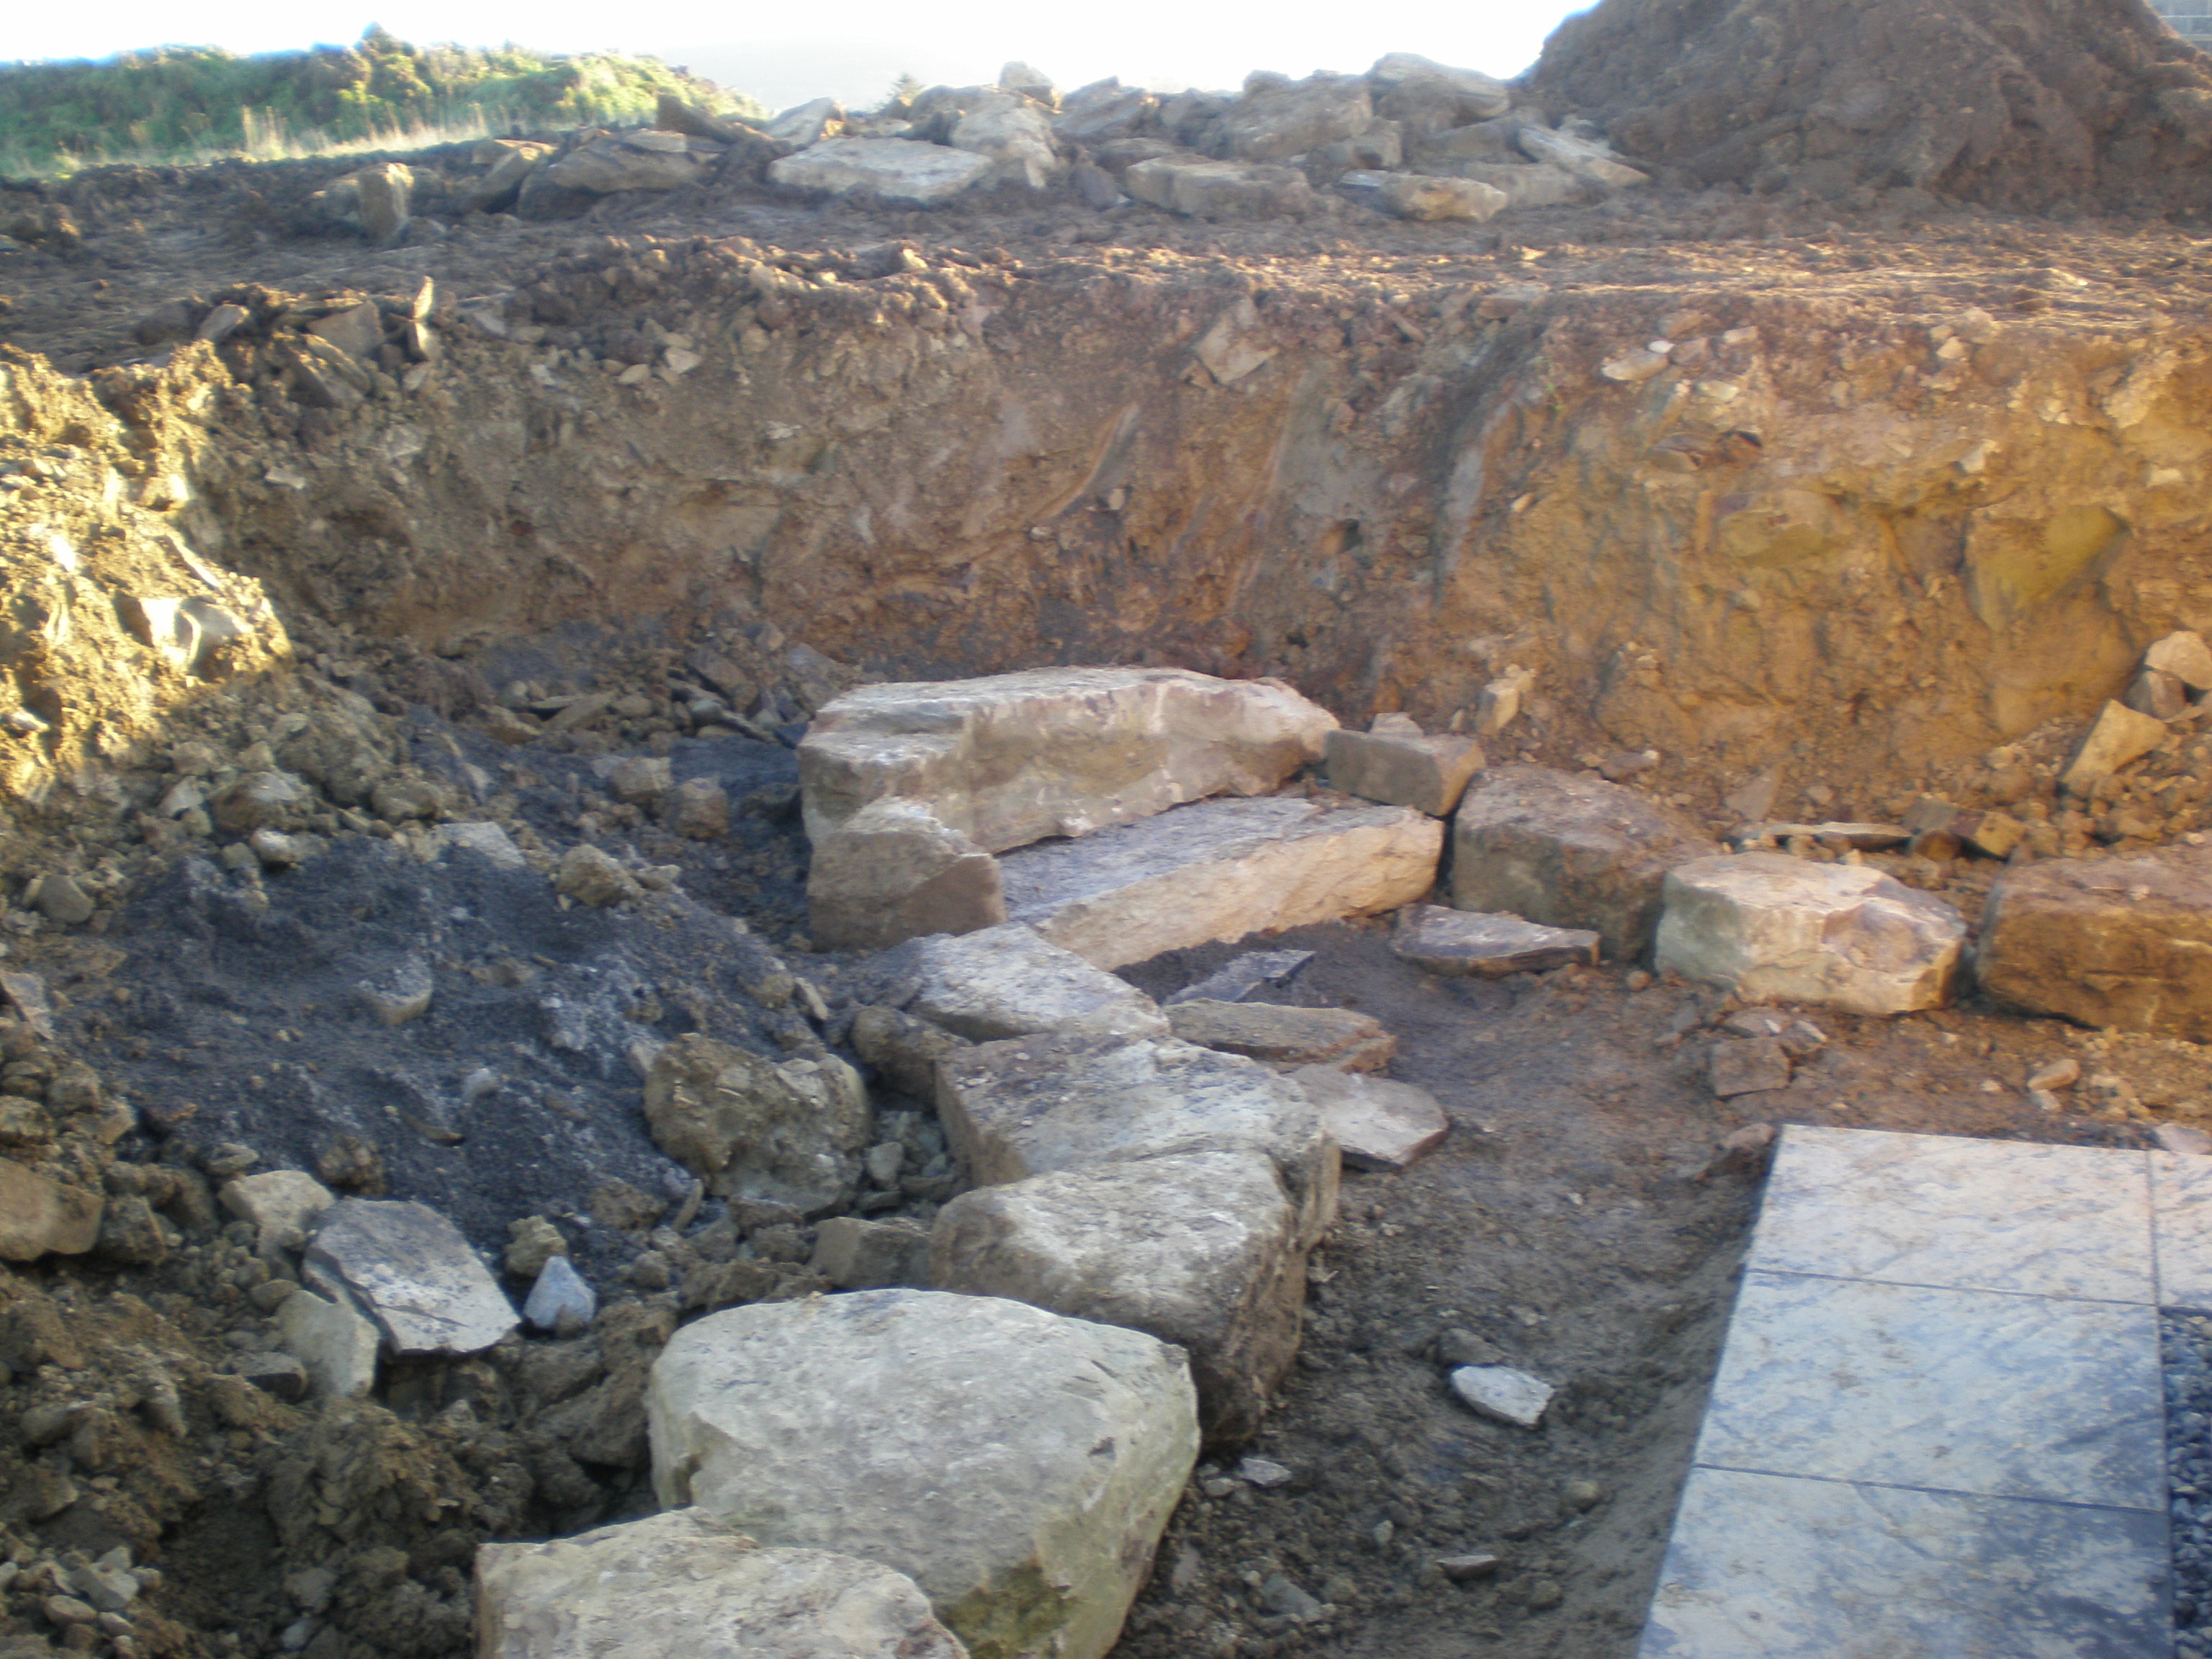
Outside, the digger returned to do the bulk of the landscaping and form the rest of the driveway. I'll let the pictures do the talking here, but needless to say, utilising a 6T dumper, we shifted a huge quantity of subsoil around to the front of the house, which the digger formed into two terraces, tying the slope into the existing,
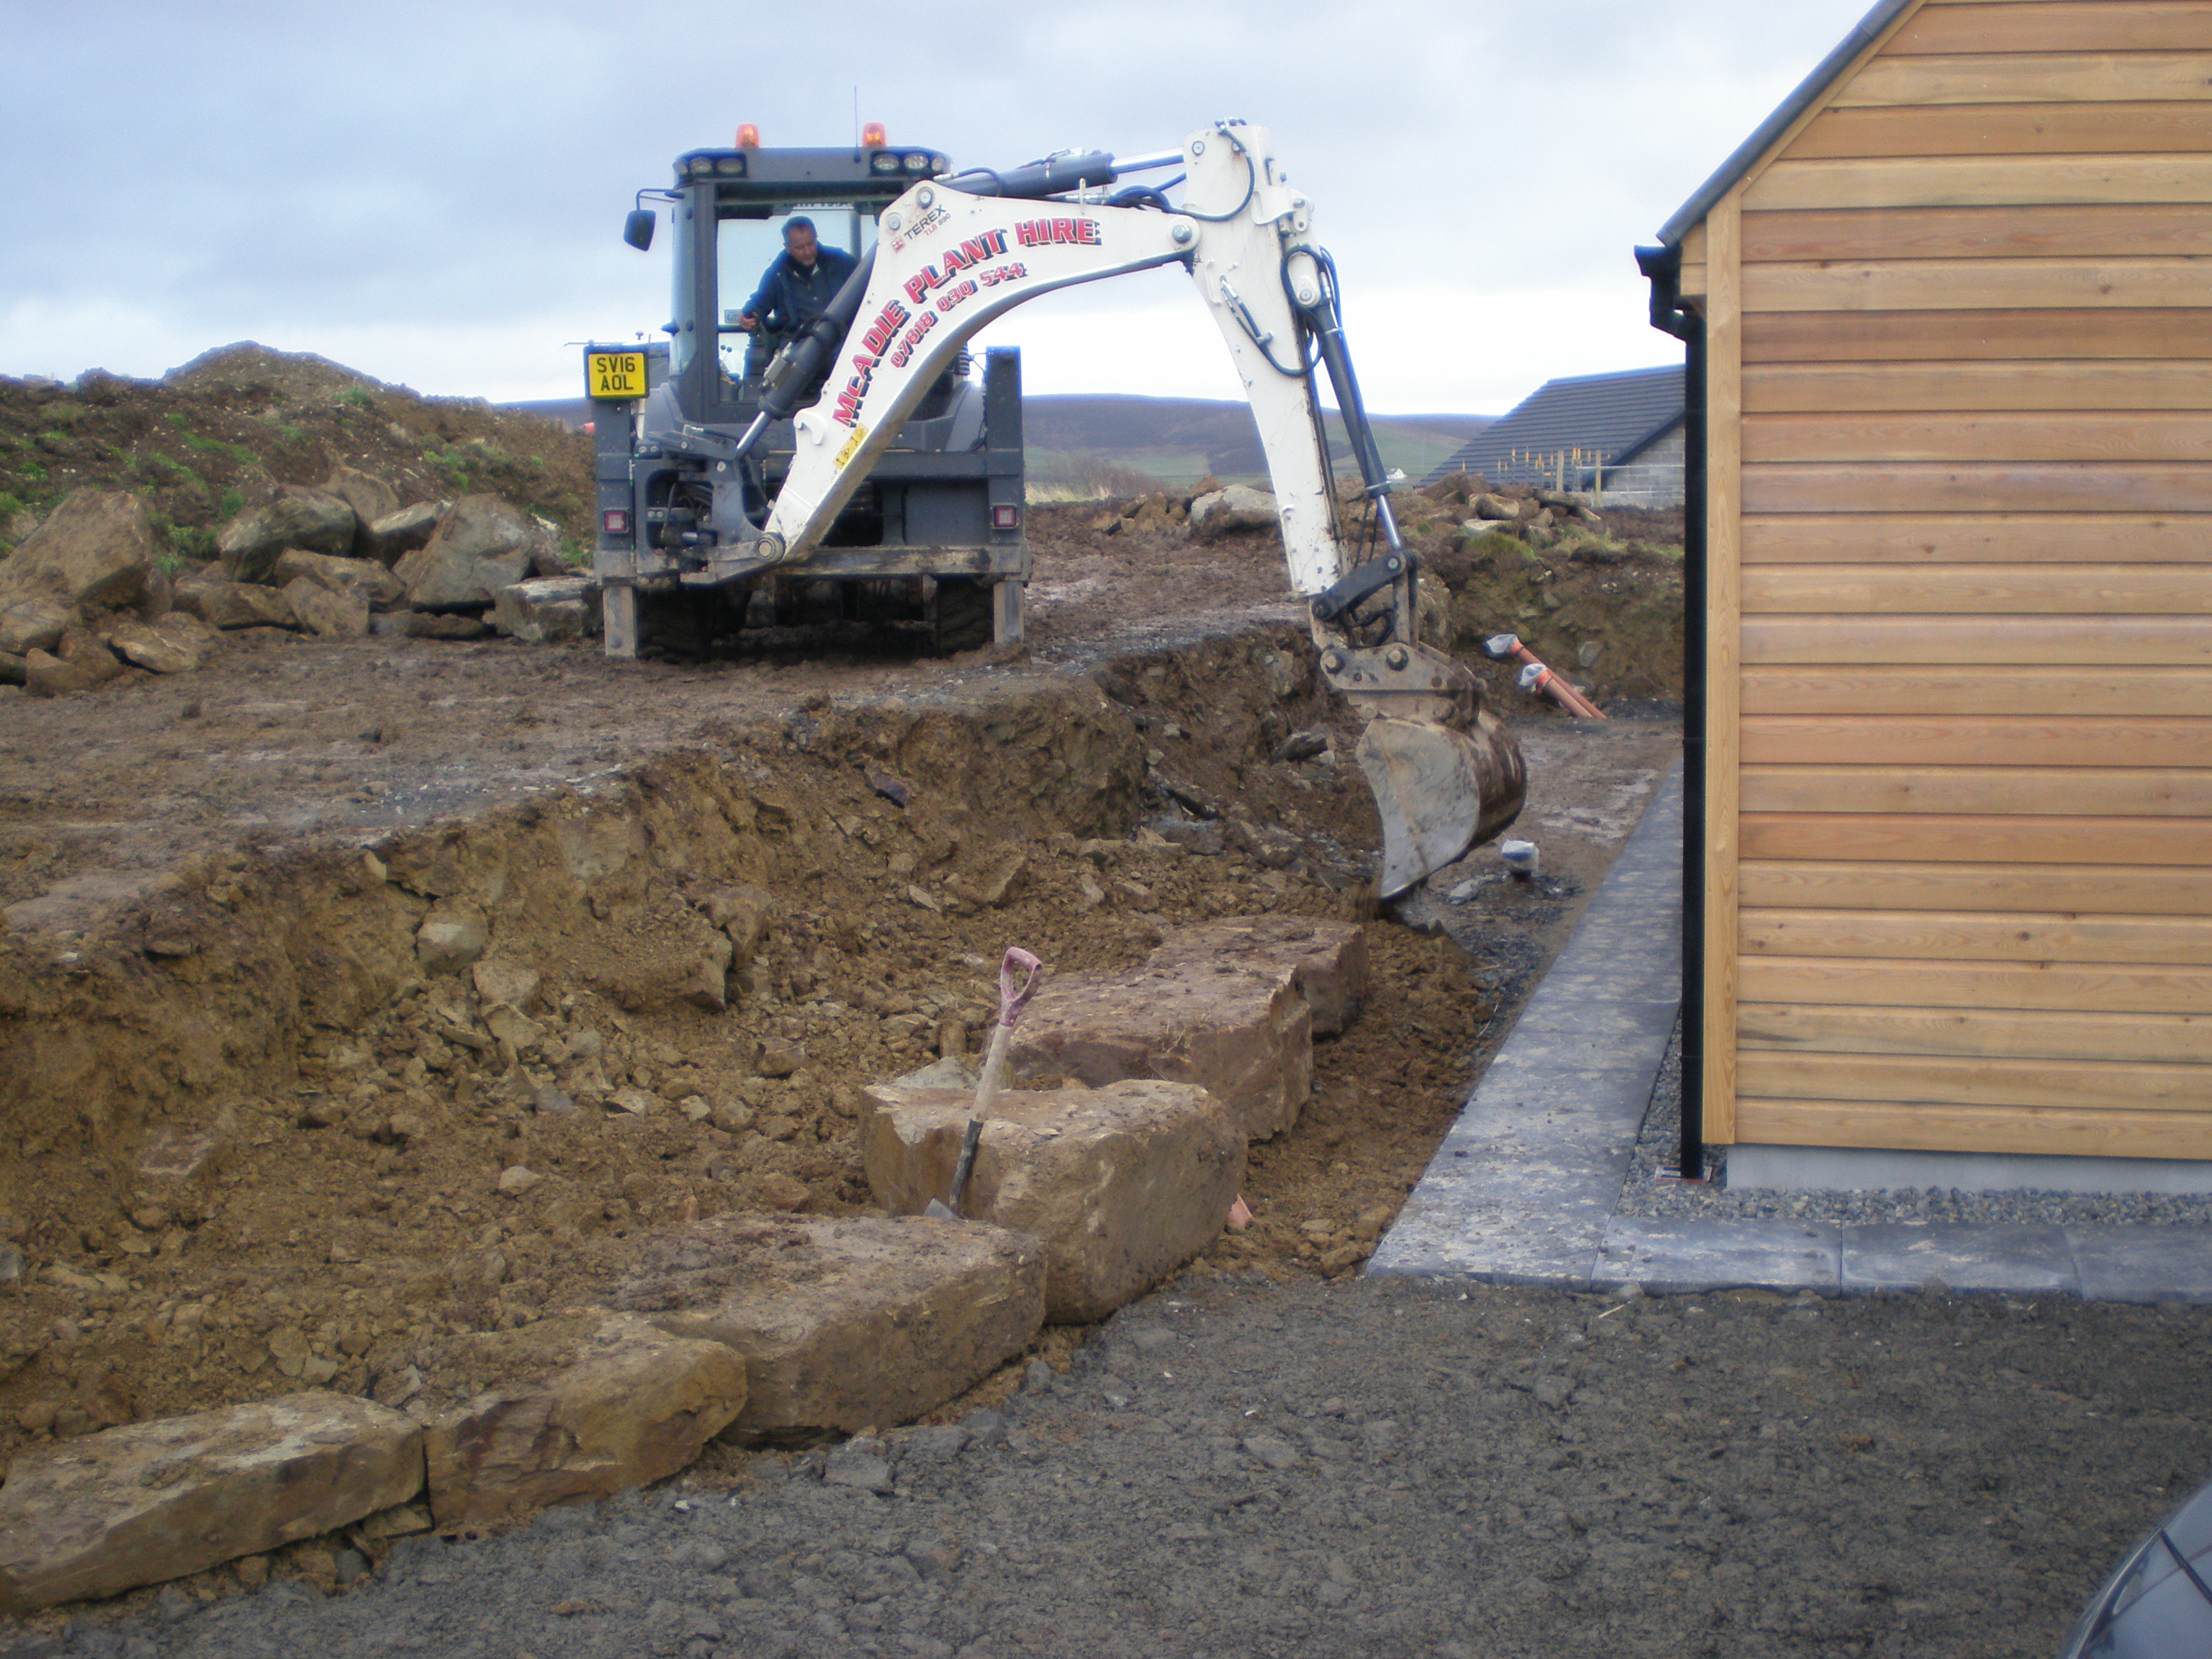
We also used some of the larger stones / rock that dug up when digging out the foundations to form a mini retaining wall around the house and to line the driveway turning area;
The end result of all that work;

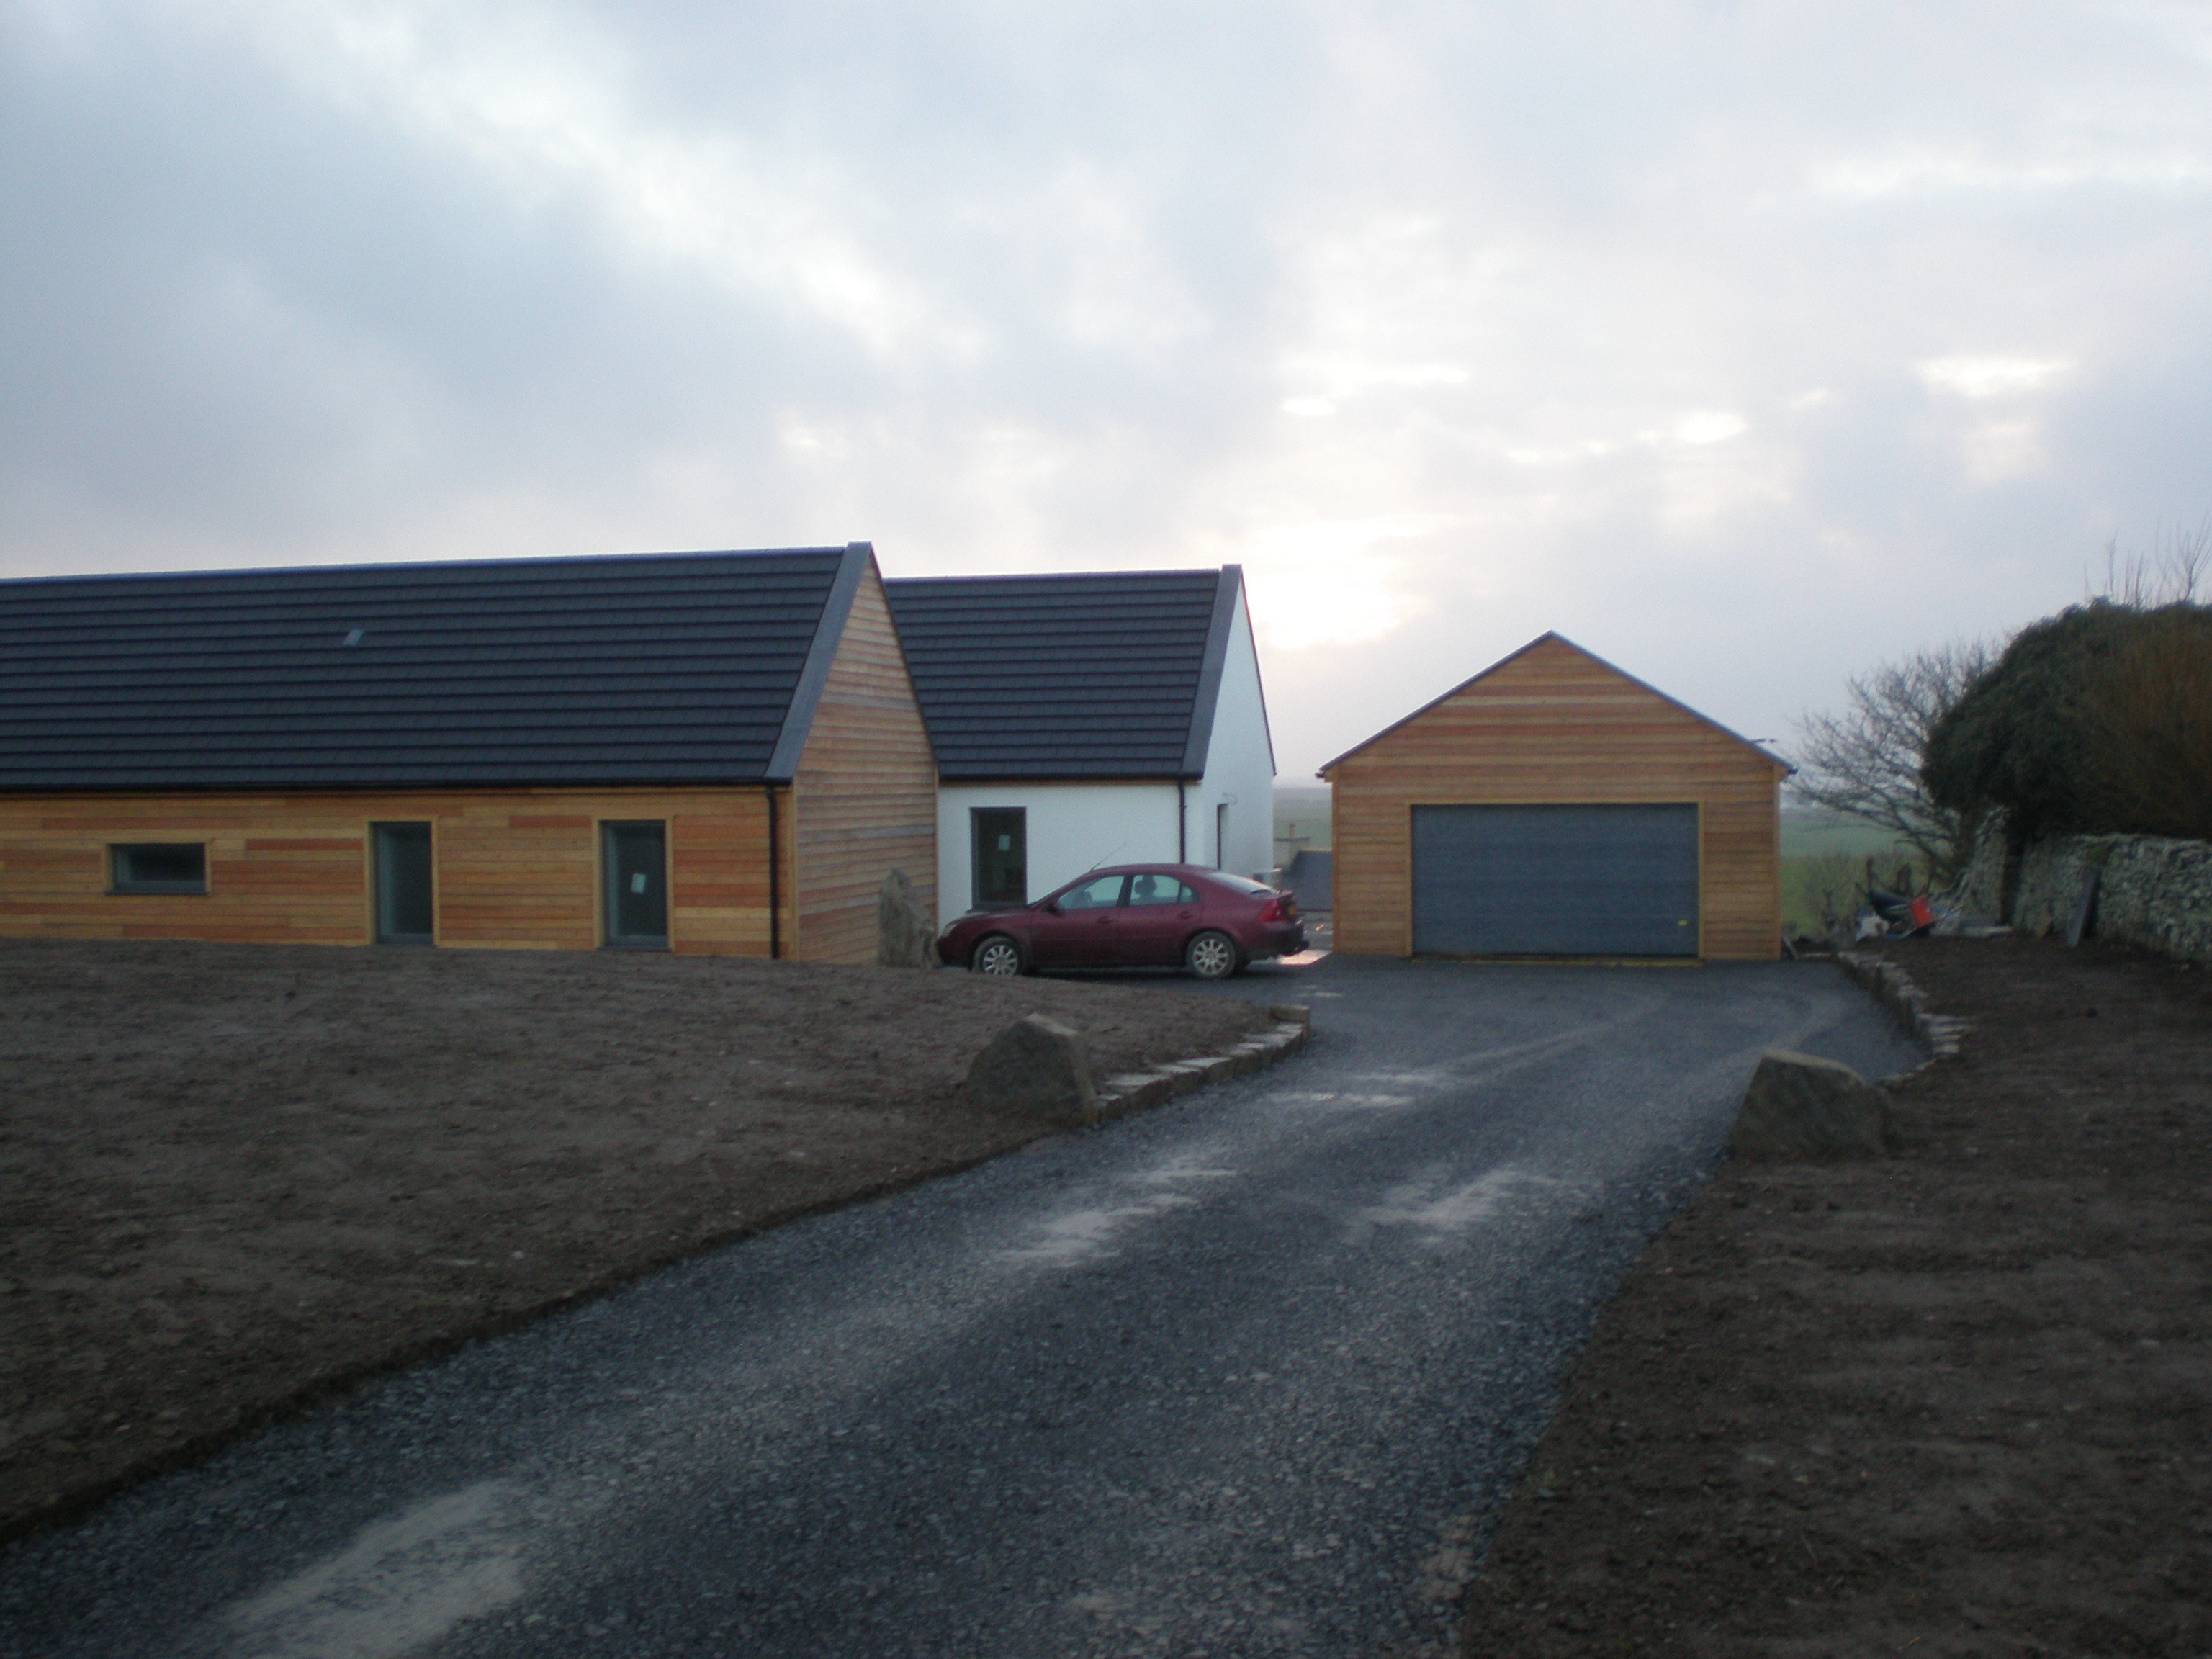
Whilst we got a fair chunk of the outside work done, we will need to revisit the landscaping in spring next year, once the subsoil moved to the front of the house has had a chance to settle and harden. One more week with the digger should finish off spreading our remaining topsoil, let us form our finished driveway entrance - something we decided to leave until all bigger vehicles are finished on site, and do final repairs / resurfacing to the track we take our access from.
There is of course still a fair amount of finishing to be done inside. Completing the decoration (or at least having put on the final coat) prior to all of the other work inside being completed is of course a risk, but I concluded I would rather have to touch up any paintwork as required rather than have to spend double the amount of time painting a full final coat once flooring and joinery works have been completed.
We now have all of our finishings on site ready to be fitted. The plumber and electrician came through the week to get the UFH up and running, locating and connecting the monobloc ASHP outside, and the preplumb cylinder inside;

The plumber spent a day or so connecting everything up, albeit a fair amount of that time was running pipework from tails he had previously left. The electrician was there for a day as well, but again the vast bulk of his day was fitting the CU inside and bringing in the mains supply from the meter in the garage. The actual ASHP and cylinder connection took minutes - mains cable from CU to ASHP, control cable from ASHP to control module on cylinder, remote programmer connect to control module. The electrician actually commented on how simple and straight forward it was in comparison to other makes of ASHP based systems he routinely works on. The installation is such that my builder is seriously considering switching to this very set up.
Whilst the UFH is now up and running, there is now a period of waiting until we can switch the UFH off, and proceed with the installation of flooring (tile and engineered oak), which in turn, dictates when we can get the rest of the joinery finishes completed. With the Christmas break just around the corner, we are not going to get much more done inside before the joiners return in the new year, with an entry date planned for the end of January.
5 Comments
Recommended Comments
Create an account or sign in to comment
You need to be a member in order to leave a comment
Create an account
Sign up for a new account in our community. It's easy!
Register a new accountSign in
Already have an account? Sign in here.
Sign In Now