
ProDave
-
Posts
30861 -
Joined
-
Last visited
-
Days Won
427
Everything posted by ProDave
-

Sum it up in one sentence then... Go on.
ProDave replied to ToughButterCup's topic in General Self Build & DIY Discussion
Completion certificate and an A EPC certificate to frame and hang on the wall. -
Sum it up in one sentence then... Go on.
ProDave replied to ToughButterCup's topic in General Self Build & DIY Discussion
(long sentence / paragraph) The dream : A unique chance to build the house of your dreams, designed and built to your design with perfect craftsmanship and detail. The reality: Nothing goes to plan in almost every way you could imagine (and plenty you could not) and you have to adapt, fight, be patient, get inventive and work your socks off to eventually reach where you wanted to get 5 years ago. Then the ultimate stupidity, you don't learn from your mistakes and think about doing it again. -
I am shocked that a brand new car has been written off by this. As said above, that was some hard hit.
-
They are most likely immitation stone bricks, often cast from concrete in a mould with colouring. Bradstone was a well known manufacturer about the time that house was likely built, I don't know if they still exist. As above, you will be far better off getting the builder appointed to rebuild this, to salvage as many as possible of the original bricks for the outer face as possible, any new ones should be interspersed rather than having a patch of new. But don't let anyone tell you they are not available, they will be from somewhere preferably any "new" ones needed will be reclaimed and similar age / weathering. It will be an insurance claim so make sure you have a loss adjuster / surveyor on your side to make sure it gets rebuilt to your satisfaction.
-
Was that really new work done recently? It's a LONG time since I have seen joists fitted without joist hangers. Not since I was a boy playing on building sites at weekends (as you did then before elf and safety) and I remember thinking even then, gosh is 3 nails banged into the end grain all that is supporting that joist. And back then, it was.
-
Distance to combustibles flue passing through wall
ProDave replied to jimseng's topic in Stoves, Fires & Fireplaces
Yes that is the thing. Just check it is the right size for your stove flue. -
Distance to combustibles flue passing through wall
ProDave replied to jimseng's topic in Stoves, Fires & Fireplaces
I have looked but I can't find it listed where I bought mine from. It is just a fireproof insulated sleeve that goes around the twin wall. In practice, the outside surface of our twin wall is barely warm to the touch and would not threaten even a piece of paper from igniting, but that might be very different with the pipe encased in insulation. Whatever you do, don't do it without the approval of your installer. -
Distance to combustibles flue passing through wall
ProDave replied to jimseng's topic in Stoves, Fires & Fireplaces
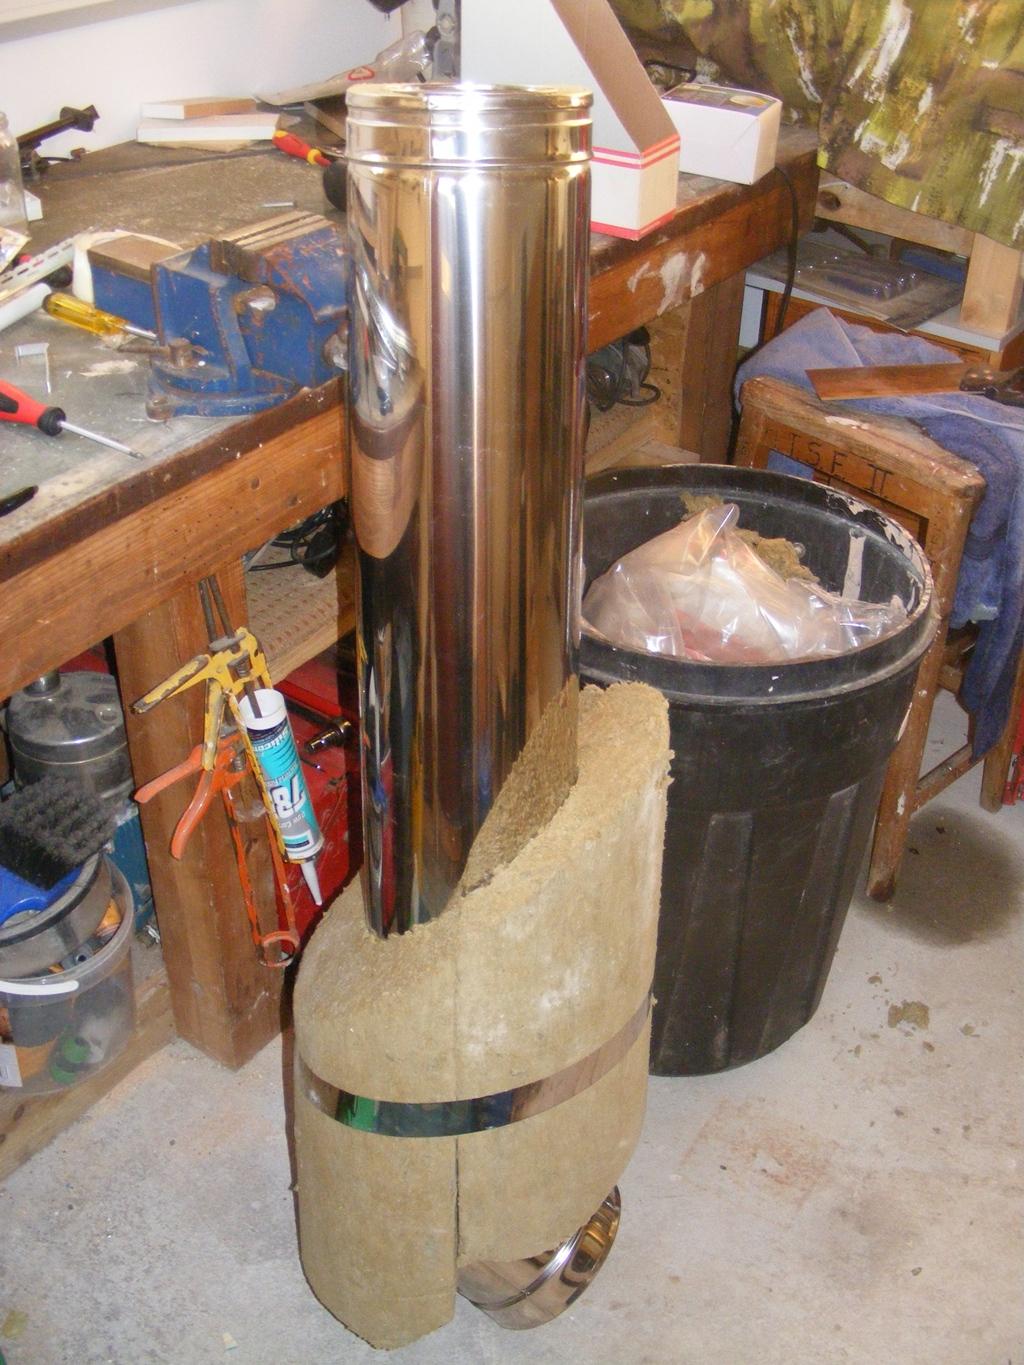
When I did mine, I used an insulated sleeve, supplied by the flue supplier for the purpose. It was 50mm thick and obviously fireproof and thus everything else gets the 50mm from combustibles it needs.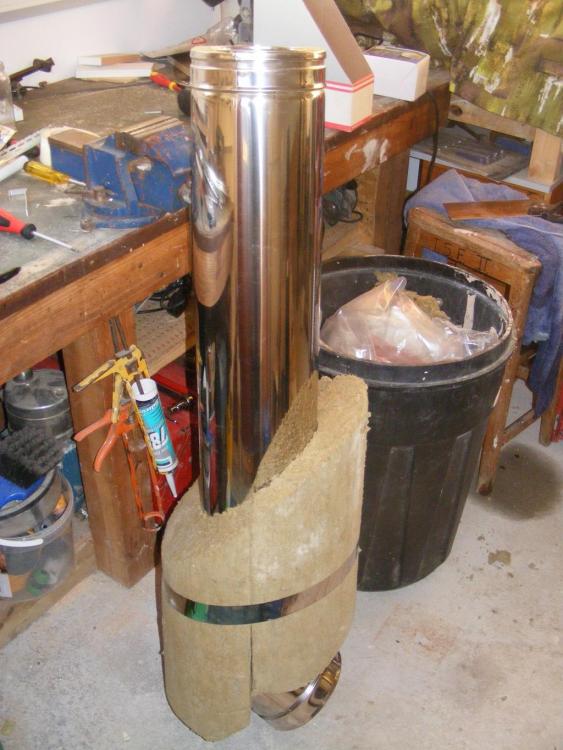
-
Pictures? Doesn't building regs say to nail in every hole?
-
Temporary power to the building from our existing supply.
ProDave replied to saveasteading's topic in Barn Conversions
Conductor area 1.25mm No I would not buy that. My long 250V extension lead is self made using 5 core 2.5mm with 2 cores in parallel for both L and N. I doubt you will find a pre made lead with 2.5mm cable, read the small print. Buy a drum of 3 core 2.5mm flex and make your own lead to the length you want with no joins and a good quality plug and socket each end. -
Temporary power to the building from our existing supply.
ProDave replied to saveasteading's topic in Barn Conversions
Better to use a heavy duty 240V extension lead and move the 110V transformer. 110V means a little more than twice the current so double the volt drop and larger cable needed. -
Most boxes are just too hard and brittle to drill. You can cut them with an Abra file in a hacksaw blade, but you have to start at an existing hole and cut from there.
-
Looks like the party is over....
ProDave replied to Beelbeebub's topic in Air Source Heat Pumps (ASHP)
IF those points were argued clearly and correctly by the main stream media, I strongly suspect the declining oil reserves would be a far more compelling reason to adopt more renewable generation and a great deal more people would support that, than some mythical suggestion that if we don't the world will end in climate disaster. -
Can you post pictures of one of the old ones with dimensions of what you are trying to match? Alternatively buy one of these and see if you can accept the look, if you can, these are a softer plastic that you can drill to match the holes of the old box. https://www.screwfix.com/p/deta-tte-2-gang-surface-pattress-box-32mm/437vt
-
Unless the back boxes are rusted, threads stripped, or some other damage, an electrician would do nothing. It seems a strange idea to change something you should not ever see when the fitting is in place. Photos might explain the why?
-
It just struck me as "wrong" with the wall plates sitting directly on concrete no membranes or anything looks like a recipe for damp and rot. Just me expecting better detail?
-
Do the lights have switches? Can we see a picture of the inside of the light fittings. The second picture, can you clean off the dust / paint obscuring the cable core colours and take another picture. I have said MANY times on another forum and repeated here mainly for the benefit of others to prevent this situation. TAKE NOTES AND PICTURES BEFORE YOU DISCONNECT THE WIRING, THEN YOU WILL KNOW HOW IT GOES BACK.
-
I am more curious what is all the timber laid out on the floor?
-
I can't imagine the quantity of washing up liquid you would have to add to a 7PE tank to get the air blower to make it foam up like that. Normally after doing the washing up, there are hardly any bubbles left in the water to send down the drain. Are you sure the tank has "started"? Folklaw up here says throw a dead Rabbit into a new tank to get things going, you can even buy chemicals to put in to start it if you don't like the former idea. If the lid you are talking about is where the air blower is, then it needs a vent so can't be sealed.
-
Windows delivered - wrong internal finish/colour
ProDave replied to AppleDown's topic in Windows & Glazing
When we bought our Rationel windows, a timber internal finish was not an option. I understand it has been reinstated but it won't be bare wood, it will be laquered. As above we had a full schedule to check including internal ans external colours and RAL numbers etc. If painting the inside yourself is your plan this may not be a deal breaker though? Only such if you really wanted a timber finish. Time to dig out ALL the paperwork and go through it with a fine tooth comb. I caution that because I know someone that ordered an Oak staircase and all the communication mentioned the floor to floor height they wanted, but then when the final schedule arrived for checking, that drawing showed the floor to floor height wrong, and the stairs did not fit. But because they signed that drawing without properly checking, the manufacturer rejected any claim. -
Looks like the party is over....
ProDave replied to Beelbeebub's topic in Air Source Heat Pumps (ASHP)
I started my apprenticeship the year Mrs T came to power. I can remember the labour governments before that, and the winter of discontent, rolling power cuts, 3 day week etc. so things were not good before then. I know it is trendy now to blame her for everything, but she did do some things right, though a lot of things wrong. It almost sticks in my throat to say it, but the early Blair years seemed good (apart from that war) but things went downhill when it was Blairs turn in the hot seat and has not really improved since. My daughter has no interest in politics, never watches the news, doesn't read a paper. She just gets on with it and takes whatever is thrown at her and lives her life doing the best for her, as I have said before she makes decisions for her usually not thanks to government policy but regardless of it. I suspect a lot of younger people take that attitude, so it's no wonder the old stick in the mud folk are the ones that still vote and still complain. -
Looks like the party is over....
ProDave replied to Beelbeebub's topic in Air Source Heat Pumps (ASHP)
As you rightly say, things have slowly been going the wrong way for over 40 years. So people of my age (the relatives in that recent conversation) all see we have had 40 years of the 2 main parties often in power for long periods, and neither seems to have had much foresight to plan for the long term. So what are we supposed to do. Keep on voting for one of the same two yet again? That is your classic case of choosing the same thing but expecting a different outcome. Or we carry on what some have been doing, just choose the least bad option? Or as more and more are thinking the "none of those two" option, whatever that option is, it surely can't be any worse. Nobody expects things to get better quickly after such a long period of going downhill, but we would at least hope for some signs that they have started to turn a corner. For much of my working life I have made individual choices doing what is best for me and my family, with only a few exceptions, most of that has been in spite of government policies, not as a result of. -
Looks like the party is over....
ProDave replied to Beelbeebub's topic in Air Source Heat Pumps (ASHP)
A discussion with relatives recently revealed most of them don't like ANY of the choices on the ballot paper and if there was a "none of the above" box on the paper that is what they would choose. I get the impression that Reform, will take the mantle of that none of the above choice, simply because it is something different to what has been tried before and deemed by so many to have failed. -
Yes it's shocking. Put a well insulated roof on top of a well insulated wall, but detail it so badly that cold air just gets in and negates it. Shocking that so many builders just do not understand that.
-
And to add to that. Once ALL the bits of PIR closing the gap are the right size (they reach the OSB layer) AND are properly sealed so there are NO gaps for air to pass through, that will have got you reasonably air tight so no fear of cold draughts coming in from outside, then you need to go outside and add as much more insulation as you can behind those relatively thin bits of PIR. It is this sort of detail that needs to be got right NOW while you can get at everything. There have been at least 2 threads on here recently where the builders have been left to it and done a shoddy job and cold air is getting in and it can be a VERY invasive job to fix it later if not done properly now.
- 18 replies
-
- 3
-

-
- insulation
- posi-joists
- (and 2 more)