Onoff
-
Posts
21061 -
Joined
-
Last visited
-
Days Won
206
Everything posted by Onoff
-

What is the name for a membrane added to an old roof?
Onoff replied to Ferdinand's topic in Roofing, Tiling & Slating
Eaves guard / eaves protector / felt support tray -
Bath Surround / Boxing In, and concealed pipework
Onoff replied to Onoff's topic in Bathrooms, Ensuites & Wetrooms
Cheers. That didn't take long did it? Further down the line I'd like to add ensuites to the others bedrooms so it'll be a repeat...twice. The "can I drill a 110mm hole through the web of the RSJ that runs under the centre of the dormer" questions can wait for another time! -
Bath Surround / Boxing In, and concealed pipework
Onoff replied to Onoff's topic in Bathrooms, Ensuites & Wetrooms
This? -
Bath Surround / Boxing In, and concealed pipework
Onoff replied to Onoff's topic in Bathrooms, Ensuites & Wetrooms
True, my pension prospects are such that we seriously won't be able to stay here / maintain it into our old age. :( Just have to hope something comes up. This time next year Rodders... -
Bath Surround / Boxing In, and concealed pipework
Onoff replied to Onoff's topic in Bathrooms, Ensuites & Wetrooms
Thanks. The "problem" is that the "ADD W/C" run wants to go straight thru the 9"x6" perimeter beam - the one where the old white junction box is screwed to: -
Never thought I'd say it about DeWalt but I want one! Very impressed.
-
Is the shadow line a laser?
-
Quite impressed with the 255mm diamond blade fitted to the Evolution Rage 3 saw: https://www.toolstop.co.uk/index.php? Only cutting Aqua Panel with it admittedly.
-
Bath Surround / Boxing In, and concealed pipework
Onoff replied to Onoff's topic in Bathrooms, Ensuites & Wetrooms
Sketch pls? Sketch pls? Until I move this soil I can't run my shower feeds in the loft. It's holding me up... -
You could just continue that ply on over the tap and stain it...
-
I've got two showers, this is the al fresco, solar one:
-
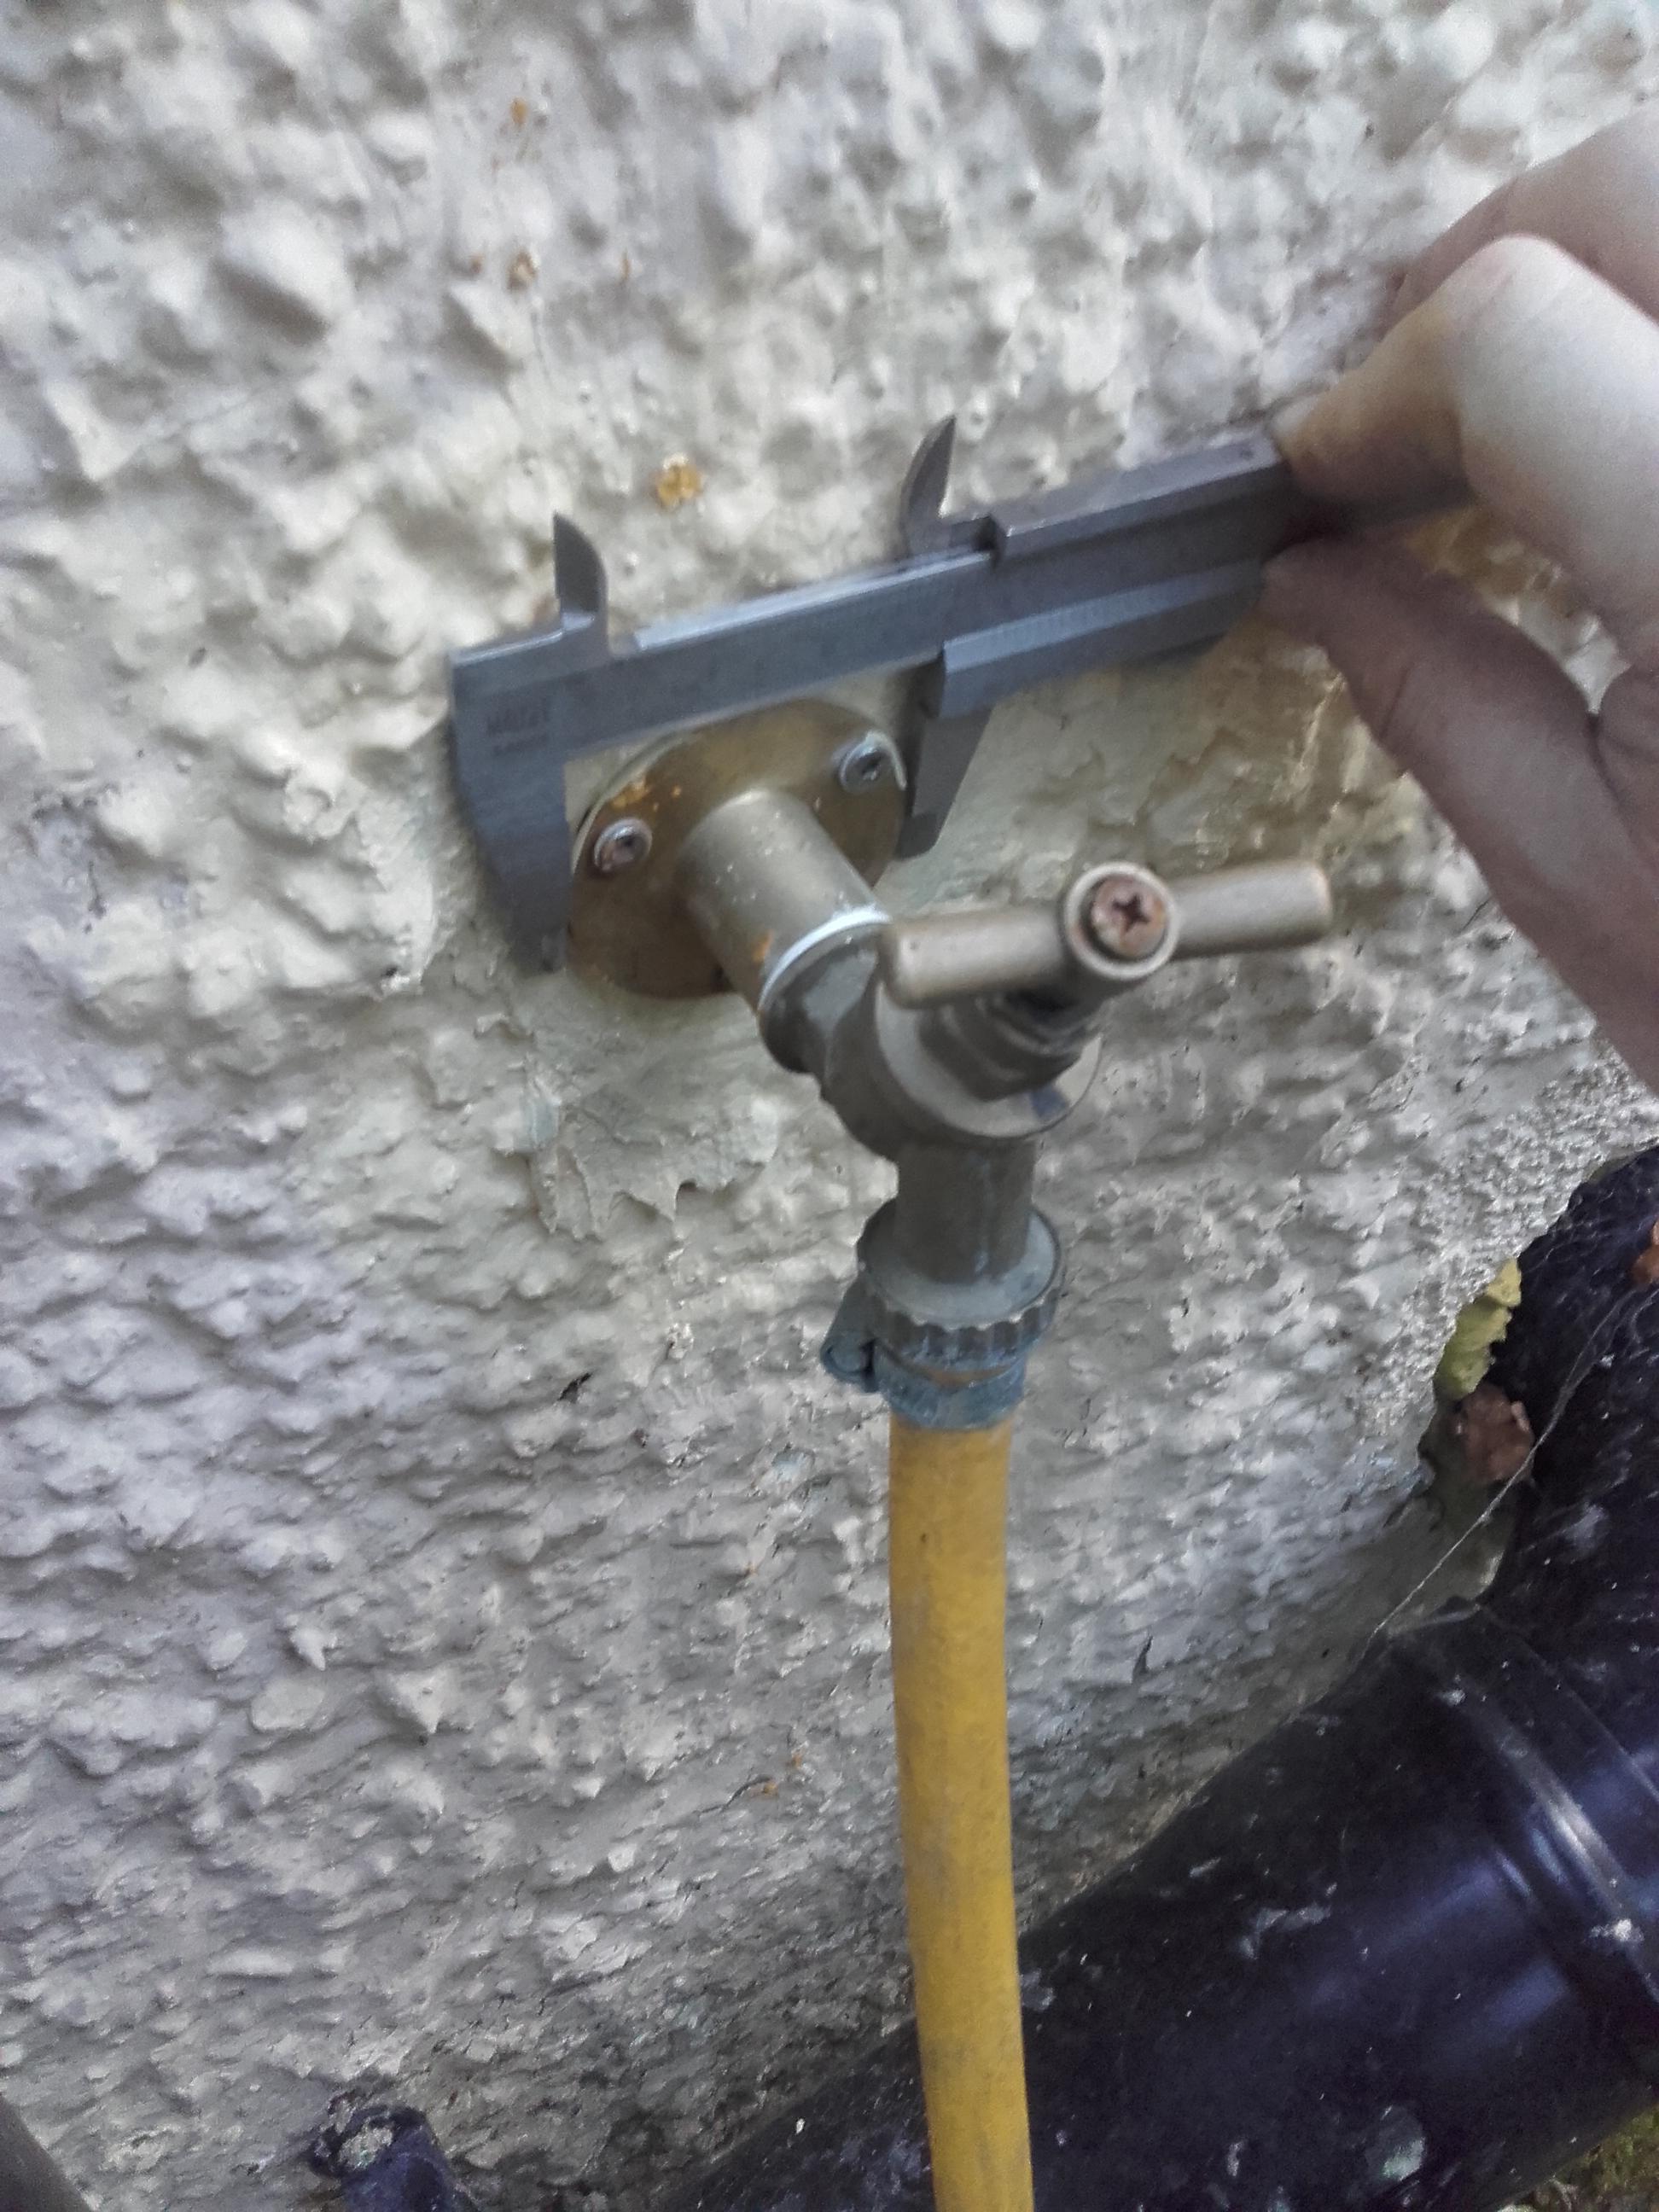
I would, seriously: 1) Measure the diameter of the brass bit. On my fugly one from Screwfix it's 57mm: 2) Draw around the brass bit with a Sharpie. The st/st cover I think will cover the pen mark. Get one of these a couple/few 50mm bigger than the brass bit diameter: https://m.ebay.co.uk/itm/Carbide-Grit-Hole-Saw-Masonry-Brick-Concre-Metric-19mm-to-152mm/323201779781? You then need to remove the outside tap and the bit thru the wall. A plumbers job unless you're confident It'll be a pig to centre your new hole saw over the pen mark as you've a +15mm hole through there! A bit of ply with the hole saw put thru it will act ad a template to neatly counter bore the wall. Affix the ply with plugs and screws into the mortar joints as they're easily made good. Drill to depth and the brick "plug" should break out neatly. Or something like that...

-
I quite like the tap. Reminds me of a morgue fitting... Whatever, it'll freeze just as well as a Screwfix brass one. One of these and no need to call the plumber back!

-
See now, I'd bring the wall further out...
-
Bath Surround / Boxing In, and concealed pipework
Onoff replied to Onoff's topic in Bathrooms, Ensuites & Wetrooms
That's a good shout but the"future" run would slip nicely between the underside of the dormer floor joists and top of the downstairs ceiling floor joists. If I turned the branch vertical and lifted it up I'd lose that run option. -
Bath Surround / Boxing In, and concealed pipework
Onoff replied to Onoff's topic in Bathrooms, Ensuites & Wetrooms
This? -
I've just actually used Multisolve to remove some gummy labels and the residue of super sticky double sided tape from stainless steel control cabinets. Looks spotless but in a certain light there's still a "shadow". I might try WD40. Got a feeling I'll end up doing the whole panel! Gentle heat is sometimes the trick on a full label if you can peel one corner and heat as you go. I use a hot air gun on its lowest setting. Hairdryer might work too.
-
Bath Surround / Boxing In, and concealed pipework
Onoff replied to Onoff's topic in Bathrooms, Ensuites & Wetrooms
Have bin bag may travel! -
Bath Surround / Boxing In, and concealed pipework
Onoff replied to Onoff's topic in Bathrooms, Ensuites & Wetrooms
Tbh the majority of the cutting back has been where the gun foam has expanded widthways rather than out. Still got the best part of a bin bag full. The thickness of finished depth foam/PIR varies from 25mm to 125mm just in this area there's so many thicknesses of old brick, block and render. I ditched the EPS behind the pipes and replaced with PIR too. -
Multisolve
-
Bath Surround / Boxing In, and concealed pipework
Onoff replied to Onoff's topic in Bathrooms, Ensuites & Wetrooms
Eat, sleep, foam, repeat... -
Bath Surround / Boxing In, and concealed pipework
Onoff replied to Onoff's topic in Bathrooms, Ensuites & Wetrooms
Bump. What about x2 135deg bends instead of the 112.5deg branch on it's side? Any better? -
Bath Surround / Boxing In, and concealed pipework
Onoff replied to Onoff's topic in Bathrooms, Ensuites & Wetrooms
Another 38 pages to go at least... -
Bath Surround / Boxing In, and concealed pipework
Onoff replied to Onoff's topic in Bathrooms, Ensuites & Wetrooms
Tbh on the basis the Aqua Panel is waterproof then sealing the joints is an attempt to "tank" the pocket, pre tanking. -
Bath Surround / Boxing In, and concealed pipework
Onoff replied to Onoff's topic in Bathrooms, Ensuites & Wetrooms
This is the data sheet for the £1 one: Instant Nails rev 2.pdf I can prime the edges easy enough for assembling the pockets. Will I need to prime all the Aqua Panel before tiling or will the tanking to that?