
BotusBuild
-
Posts
1379 -
Joined
-
Last visited
-
Days Won
10
Everything posted by BotusBuild
-
We had a similar situation. Our problem turned out to be a combination of a manufacturing fault that meant water was staying inside the frame rather than draining out and an installation fault. Our fitters came back, removed the whole unit, dismantled the outer frame, fixed the manufacturing fault, then bunged a tube of sealant in each end of the bottom rail to stop any water getting out the ends. They refitted the frame with proper DPC. All good now
-
Heehee - when most electricity cuts happen 🙂
-
We should all build an Edison Generator 😁
-
What's below that screed? A concrete slab? If you're sure not chance of water ingress and it's already air tight, then just fill with expanding foam or your PIR solution as it's not going to to be a heavy foot traffic area 🙂
-
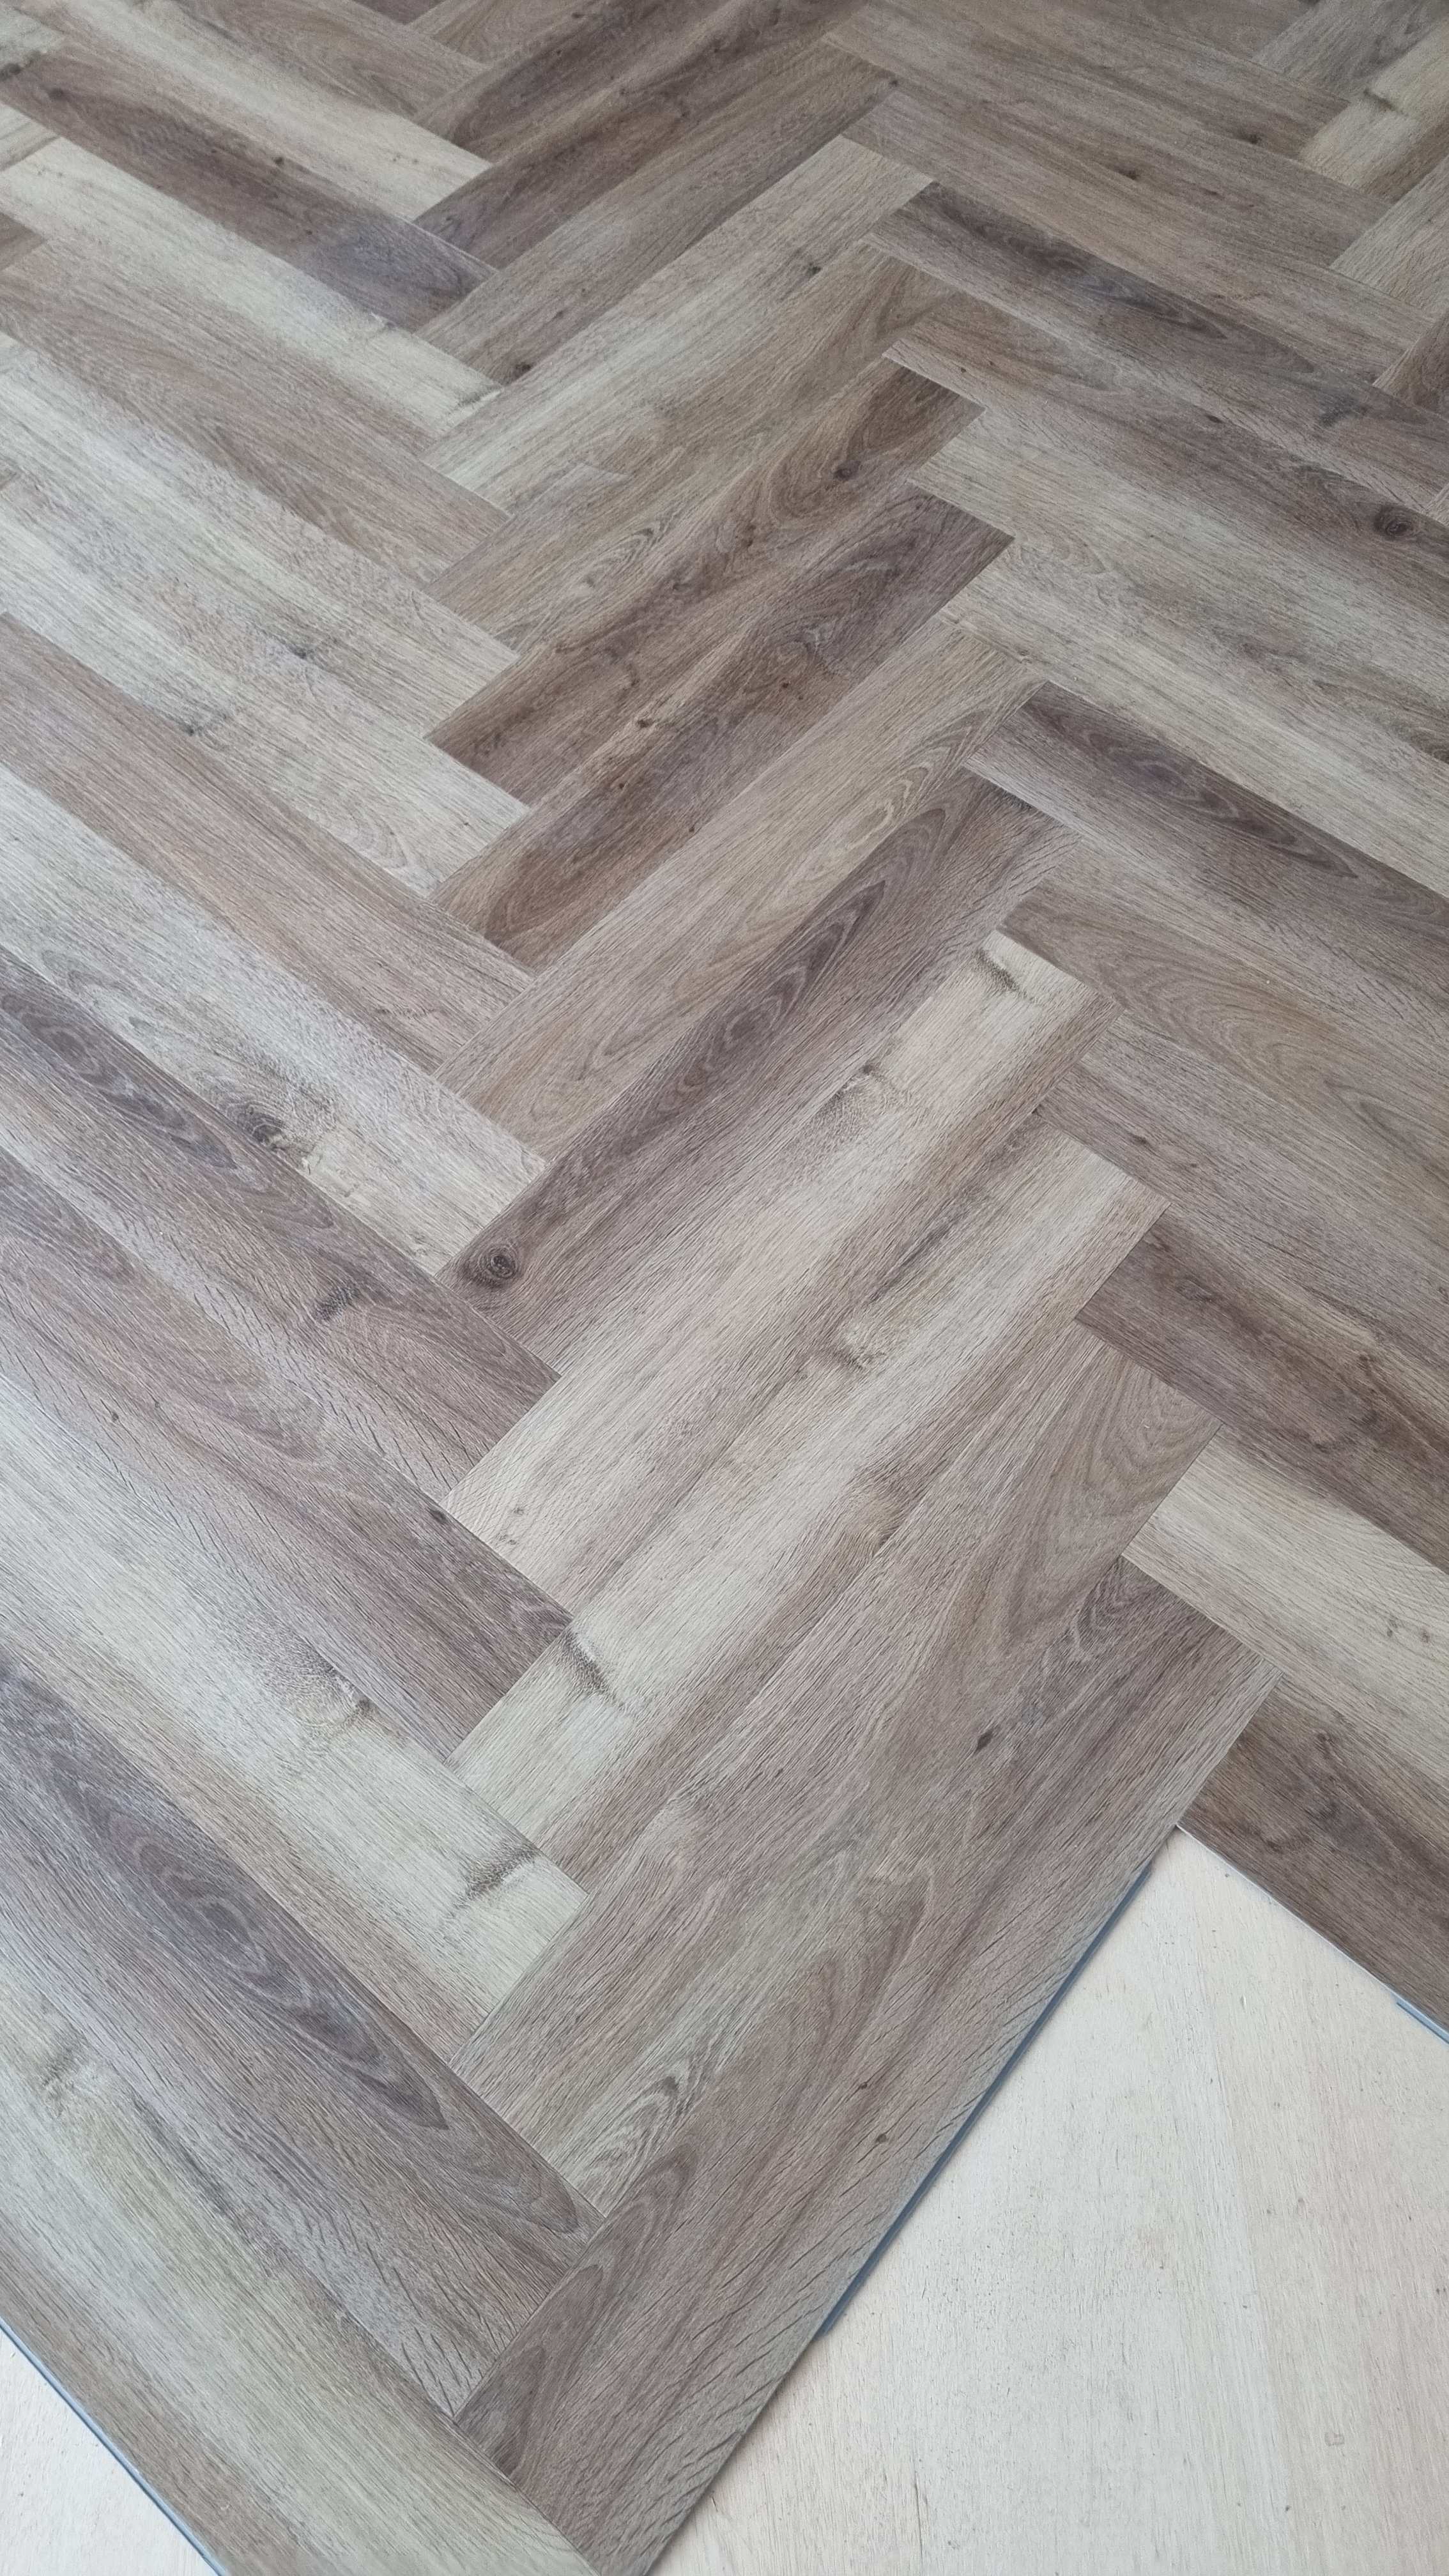
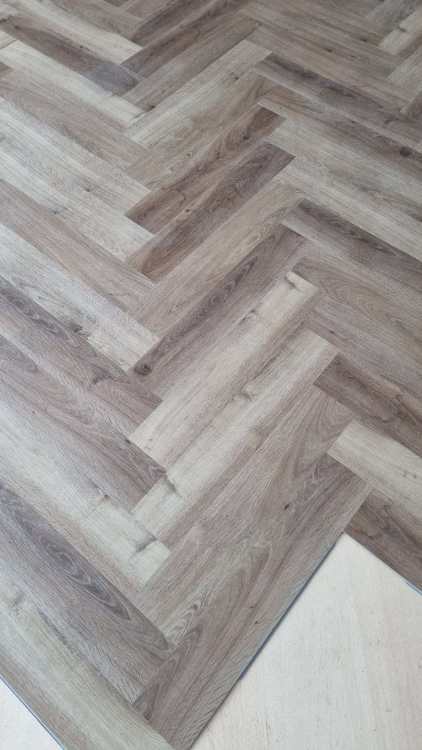
On our ground floor we have done as in Nod's picture above. The herringbone in my picture meets LVT tiles in the kitchen area, which orient across the arrows (L to R). There will be a brushed bronze 38mm "rail" where they meet
-
True
-
Herringbone 😁
-
Cladding Complete, drainage in and general update
BotusBuild commented on Susie's blog entry in The Old Cow Shed
Great progress Susie and David. Soakaway, cladding and ground works still on (one of) our lists 😁 -
Our waste pipes went vertically (as you'd expect) through the slab and the insulation below it and the went horizontal (with the needed drop of course) to the STP. Yes, we had to cut the mesh/chair/castle makeup to accommodate this. It is normal.
-
Timber ledger on the lintel area above patio doors
BotusBuild replied to OVIP's topic in RSJs, Lintels & Steelwork
Likely it is such a metal lintel behind those vertical laid bricks. Without removing one you'll never really know for sure, but safe to assume it is there. Will the weight of the pergola be taken by vertical posts and at four(?) corners of the pergola? If so, then the attachment to the wall is mainly to stop it moving vertically away from the wall. Still need to be strong fixings and as long as you drill carefully and jo bricks are broken in the process you should be OK. Fixings can go in the mortar. May be use threaded rod and resin to fix the ledger (or pergola directly) to the wall. -
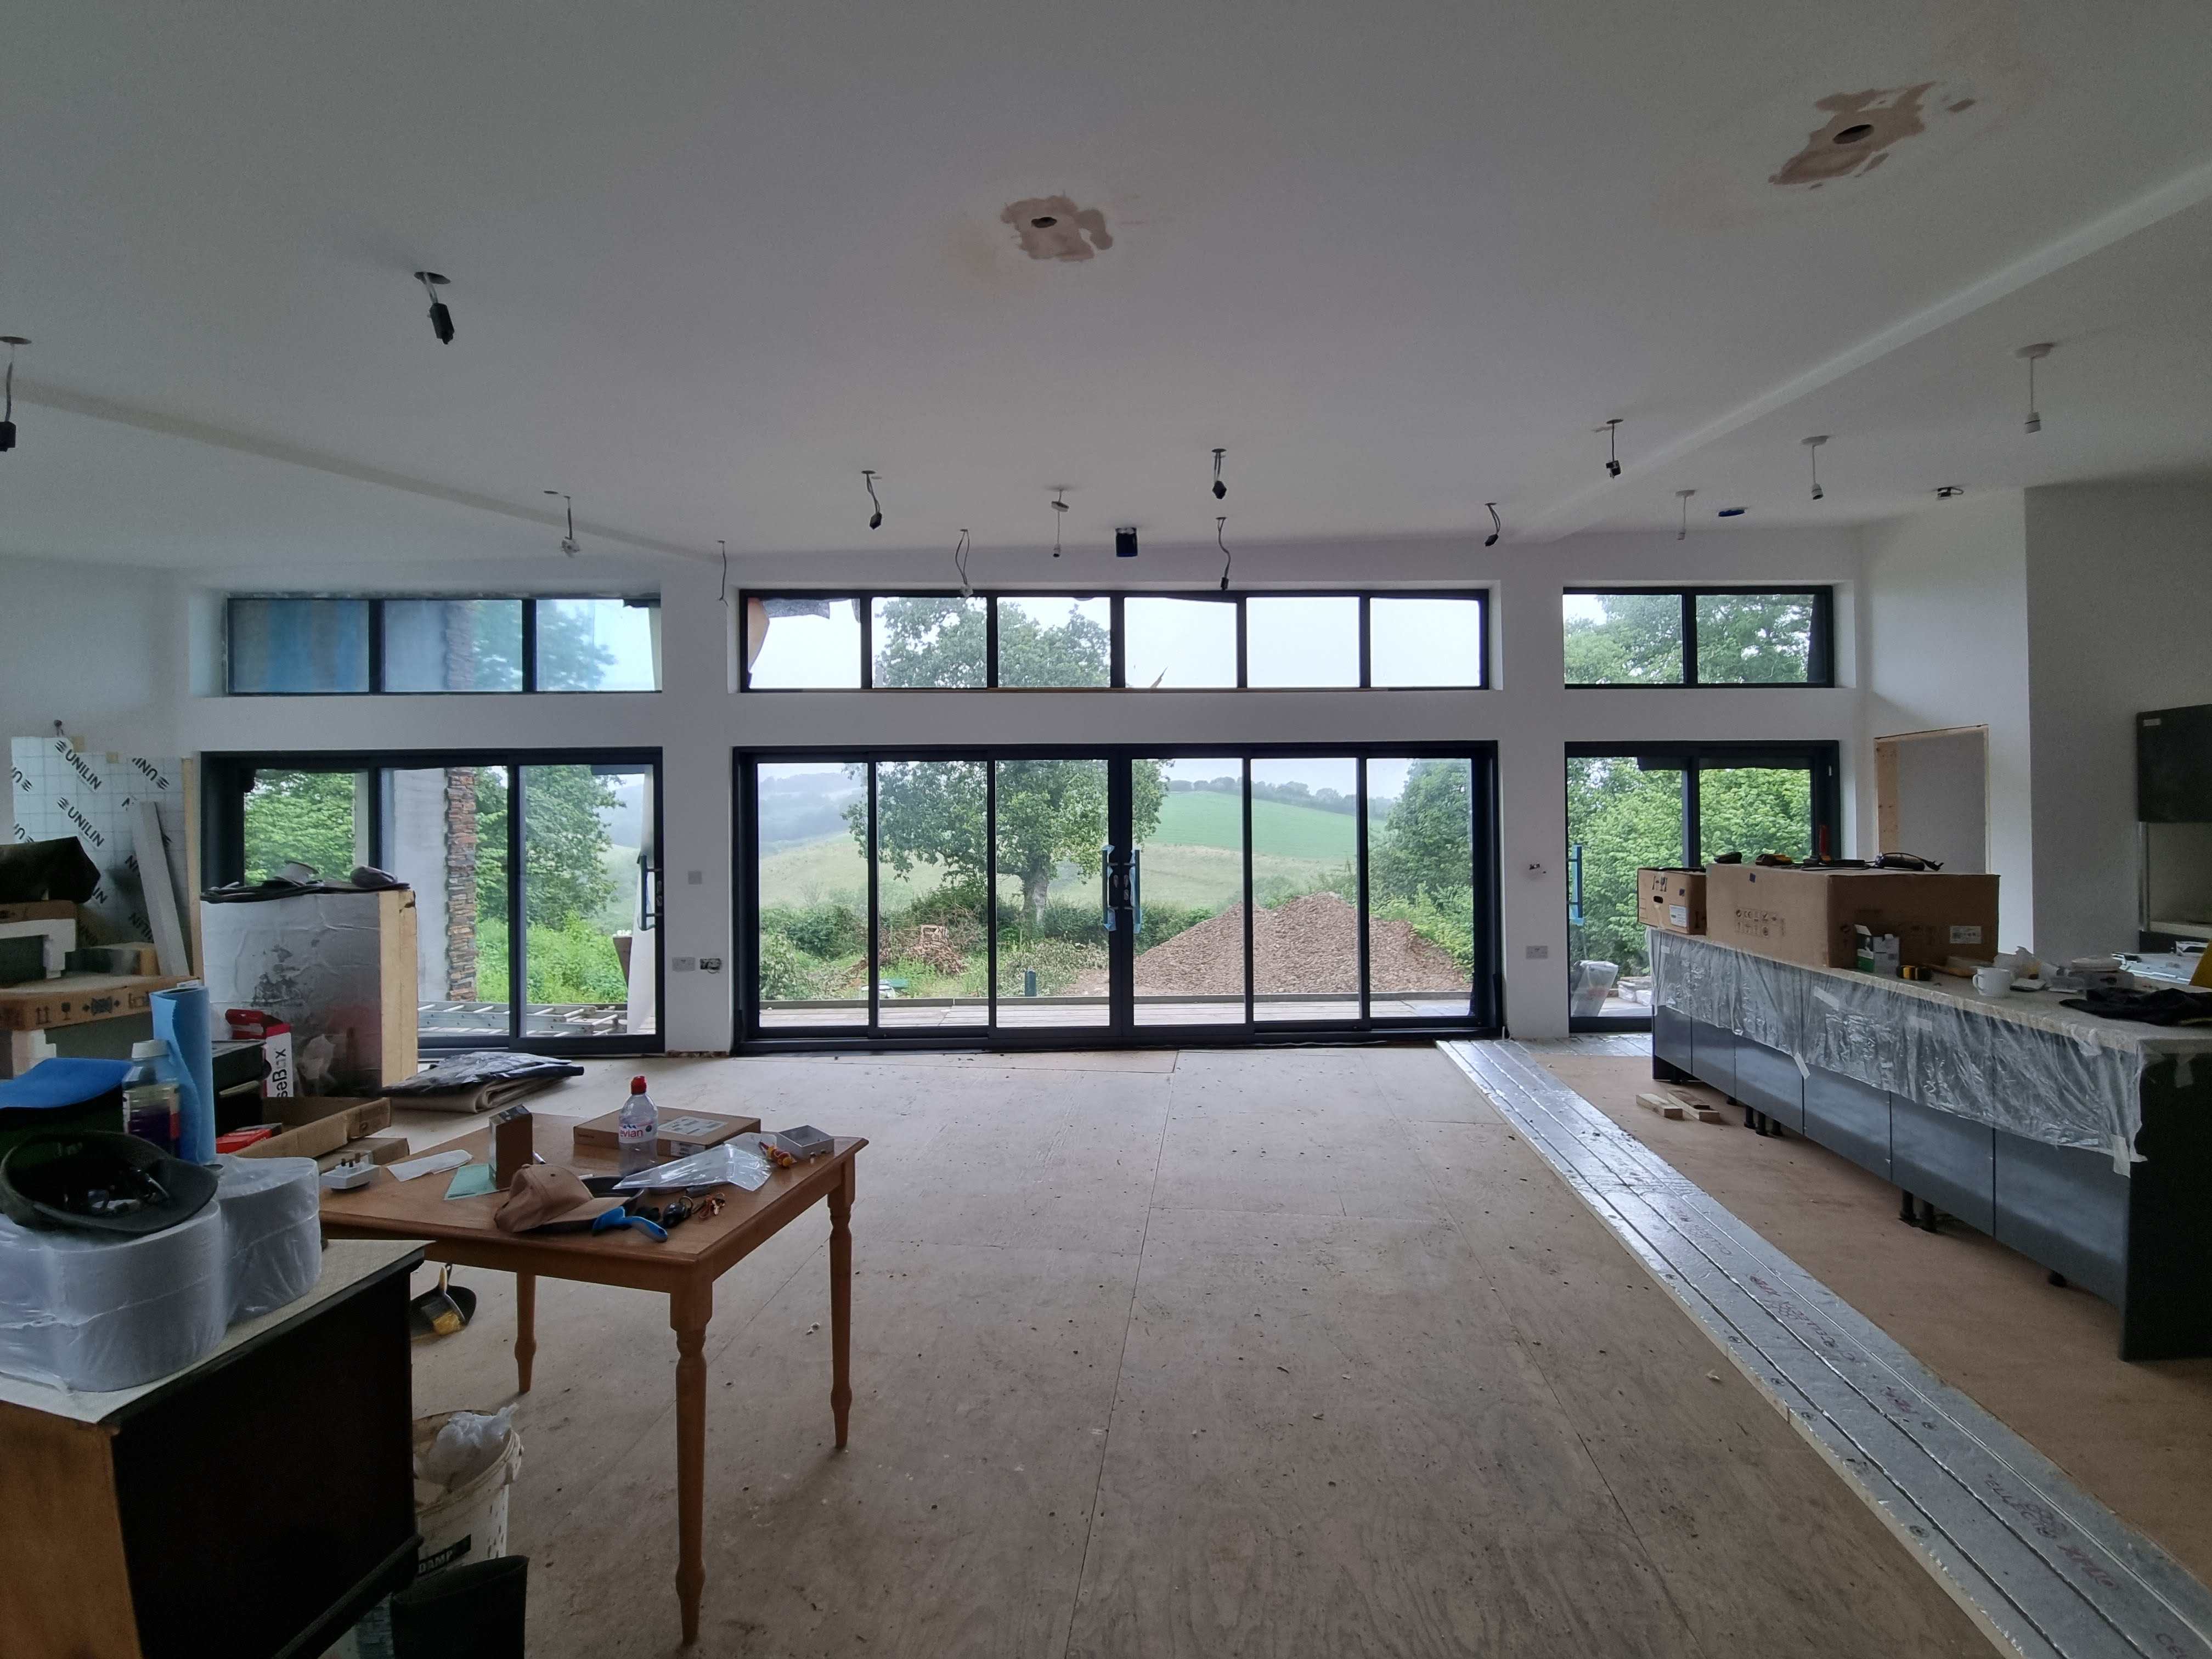
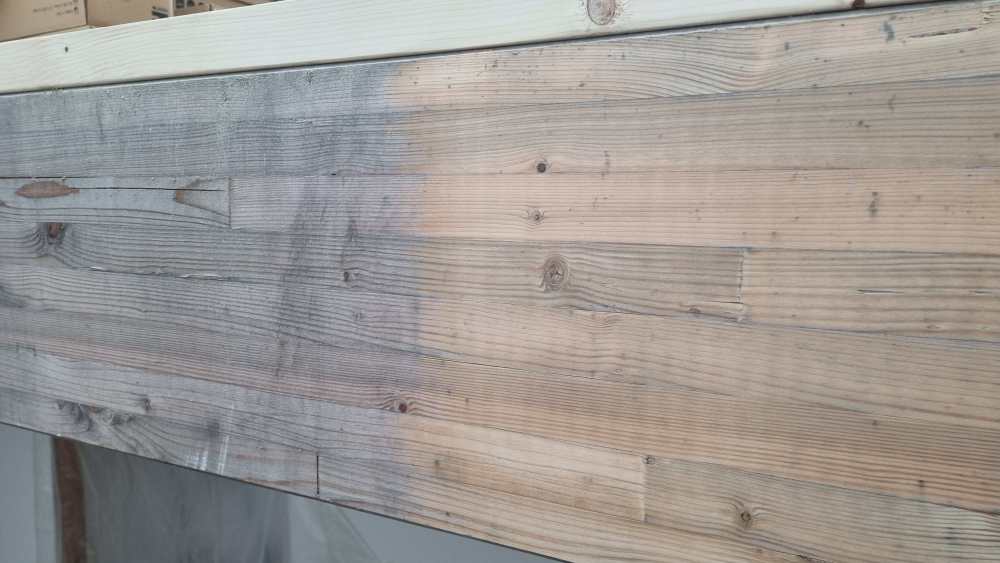
3 years after installing it, time to clean it. It spent about 1 year open to the elements before the roof went on.
-
- 1
-

-
Yes
-
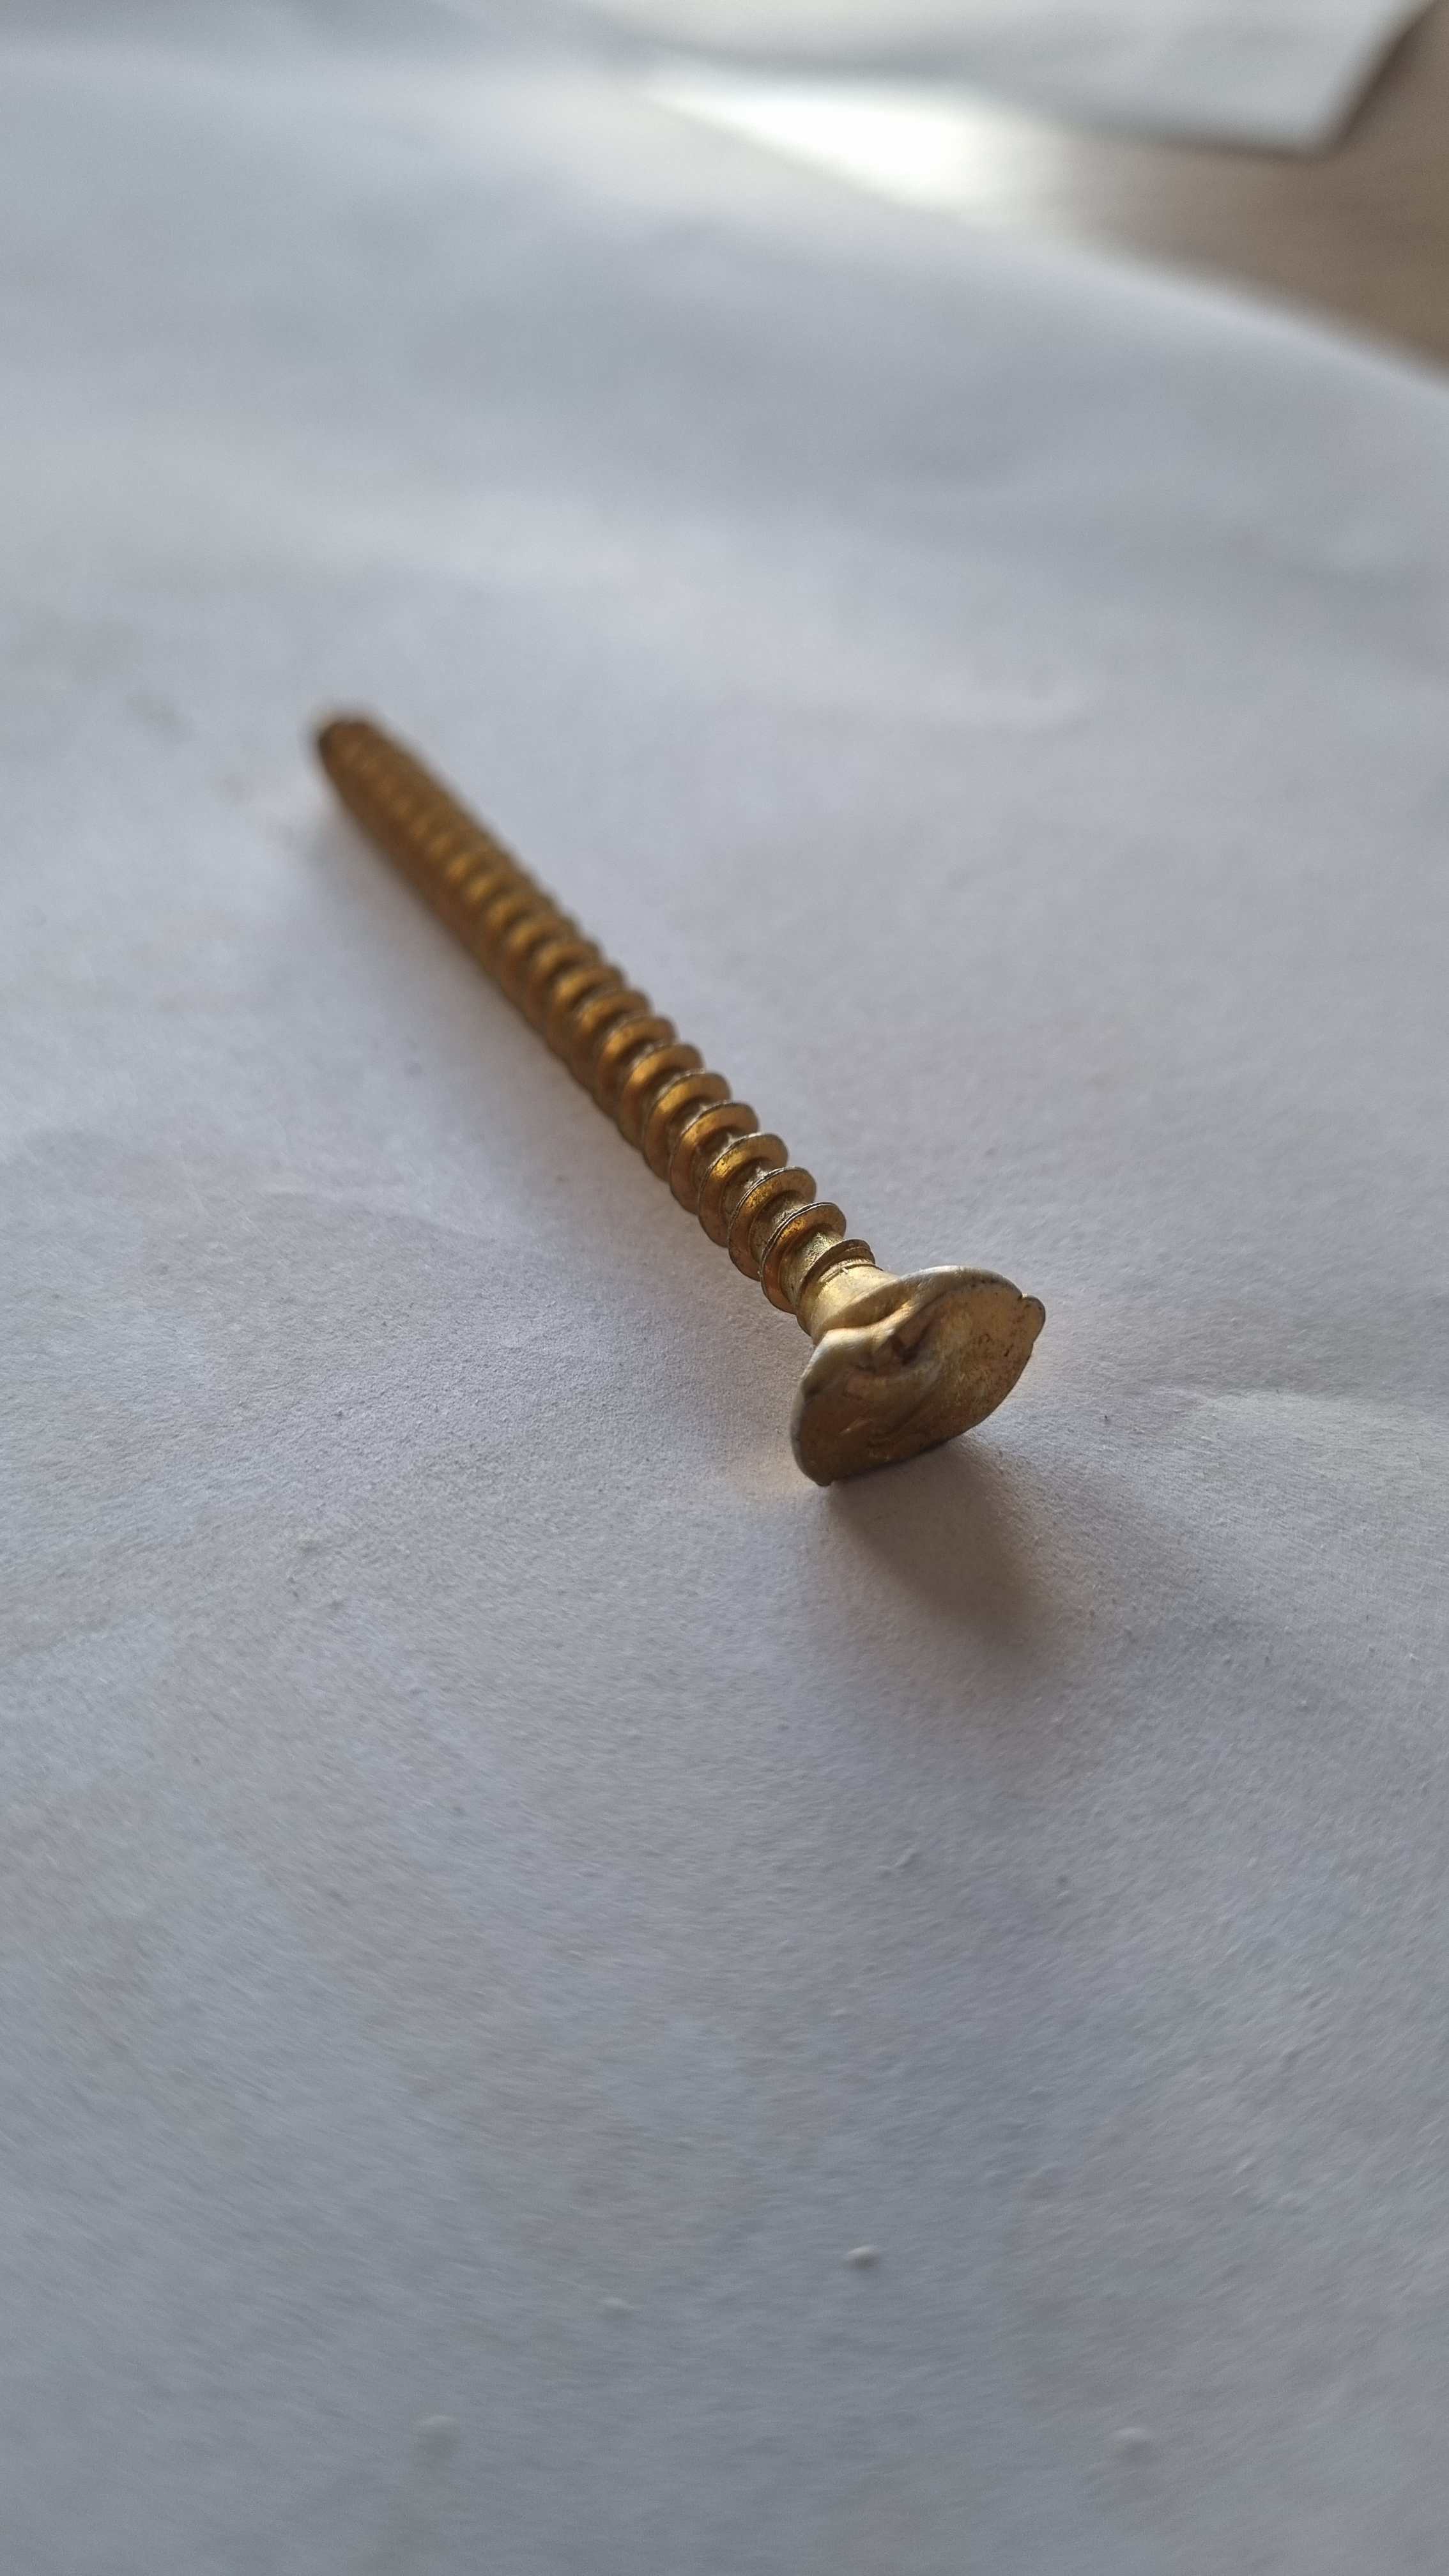
Just what I was thinking as well. A Birmingham screwdriver 😁
-
No Kelvin, it should have a PZ head. It's malformed 😁
-
I can recommend Screedmaster SW Ltd. We had the Cemfloor screed. I let them lay the necessary DPM and foam edging. Not as neat as I would have done it but I'm a neat freak. Clean and accurate (level) pour.
-
Badger, What depth and dimensions will the poured slab be? This may make a difference to what strength of EPS you require (hopefully one of the SE's will be along shortly, and they'll want to know anyway) For reference, we poured a 250mm deep, 137m2 foundation slab with UFH pipes tied to the mesh. Our insulation was the Jackodur Atlas system (240 or 260mm thick), compressive strength of 130kPa if I recall correctly.
-
@Onoff, think I'm giving that a miss. Can't imagine the smell, as @JohnMo mentions. Think it would need a test first. Each to their own.
-
Got a picture of what that looks like. All I can imagine is a black streaky mess
-
Nice job sir.
-
Leak, Leak, Leak!!!!!
-
I know of a house being built close by (8 miles up the road in Cornwall is close by 🙂 ) where the access is narrow and a fire engine would never get in. They have a sprinkler system fitted. So it can be mitigated against.
-
50mm pipe spacings in problem rooms - any bad effects?
BotusBuild replied to James of the North's topic in Underfloor Heating
James, John's suggestion to double/triple check your workings is a sound one. How big is this room? Do you know what the heat loss is for the room? What solar gain are you going to get if three sides are glazed floor to ceiling? -
Alterative option to 150mm celotex + 50mm celotex?
BotusBuild replied to flanagaj's topic in Heat Insulation
If that's not a vaulted ceiling, as you say you dont want one, then it doesn't make sense to me. I would "move" the insulation/PB/skim part to the ceiling of the room (the red horizontal line). This would probably also address the fire risk mentioned above by @-rick-. Might be worth a chat with the architect if you can -
Alterative option to 150mm celotex + 50mm celotex?
BotusBuild replied to flanagaj's topic in Heat Insulation
?? Seems strange wording Care to clarify or change this? 🙂