Canski
Members-
Posts
1034 -
Joined
-
Last visited
-
Days Won
3
Everything posted by Canski
-
Update. Just in case this is useful for others. I am able to remove the restriction for an extra £582.
-
After a long delay in getting mine I found the clause that I or one of my immediate family need to reside in the property for one year after the issue of the certificate. That’s my retirement plans out of the window for 2026.
-
Another thing that would have taken 5 minutes to do properly but added 2 hours to the overall task.
-
That is if the plasterer hasn’t managed to trap 4 out of 18 cables. 😡
-
Party wall insulation still in plastic bags?
Canski replied to Nosmo's topic in Building Regulations
Yes perfectly normal. That is a fire sock. The rest of the wall will be different. -
I work for a developer who has mastered the art and he uses the same SAP assessor as me. He spends most of his time on site taking photos that are for each plot. It is getting to be a nightmare these days from start to finish. I've had enough of it now and will be retiring next year (if I sell this house)
-
The location data on the photos is only visible to me. I can't embed it on the photos that I sent. I saw someone else here had just sent a PDF file with the photos and they got passed ok so that is what I did. The location data on my phone is fairly accurate but not to the extent that it can differentiate between the 2 plots that are built next to each other with a min 3m gap between them. I don't have a couple of photos that they require, one is of cavity wall insulation at the junction with the DPC. Anyone who knows me here knows how anal I am about correctly installed cavity wall insulation with no gaps. Maybe I was concentrating on conveying that message too much rather than taking photos. Some of the photos show the location of other buildings etc. in the background but not all of them. Such a simple but time consuming mistake. I wish that I had been better advised abut the photos at the beginning.
-
I thought that and then thought that they will still require the photographic evidence in the prescribed format. If it is of any use to others the SAP assessor (now) recommends using an app called My Site Witness https://www.mysitewitness.com/download. Unfortunately this wasn't suggested before we started building.
-
Hi all, I am in the process of trying to get completion on my house and have hit a brick wall. It's concerning the 100's of photos that I took during the build. I wrongly presumed that the geolocation on an Iphone would be sufficient for the SAP assessor. We built 2 plots next to each other and the location data has been deemed to be insufficient for sign off. The SAP assessor has suggested that I may be able to get an exemption from the LABC inspector in writing which they would accept. I emailed and asked him to call me this time last week and I am still waiting for a call back so made a call to them this afternoon and the lady who answers the phone said that this was probably not going to happen and that there was nothing they would do but she will pass my message on to him. Without the 'as built' sign off from the SAP assessor I can't get completion from Building Control and without that and the EPC I can't get the warranty put in place. Any suggestions.
-
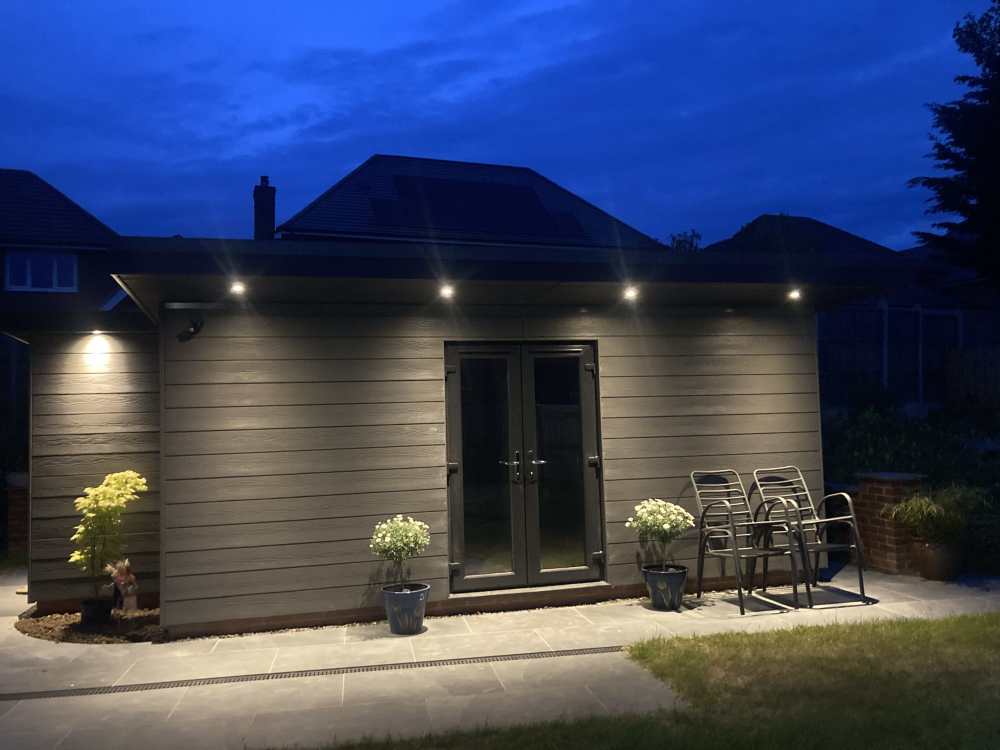
It was left in the old house prior to demolition and was getting in the way ever since. I just hung it there until I thought of a use for it. It’s round the back of the garden room now.
-
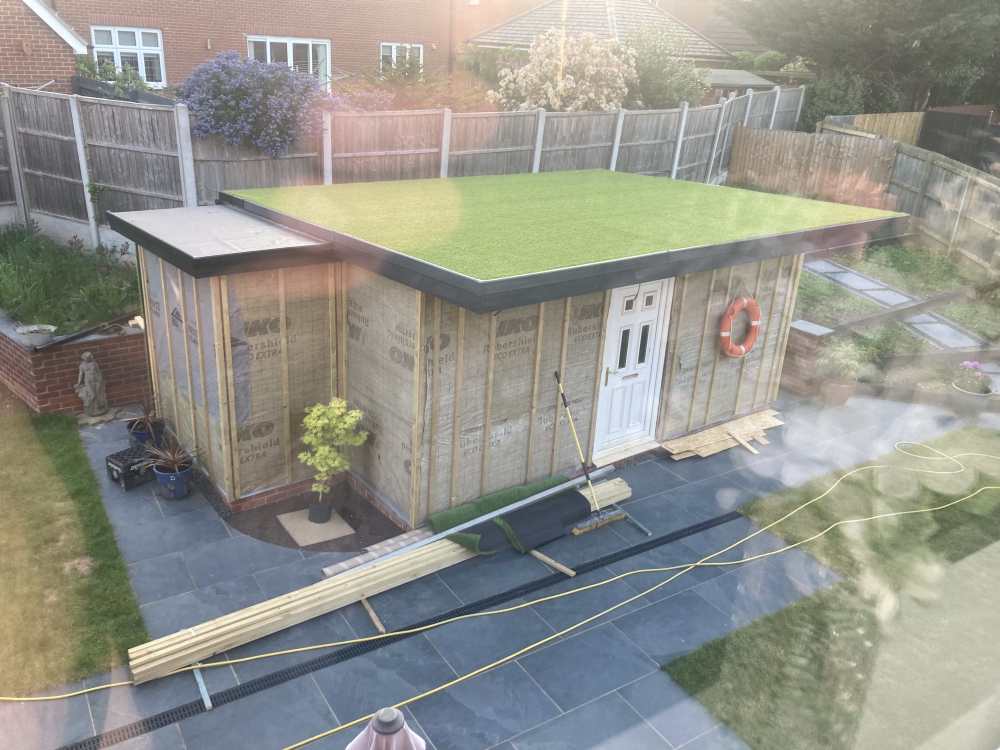
With the help of a digger driver site strip & foundations. I did 50% of the brickwork on 2 houses I used my lads to help me I had a team of chippies in for the first fix ( I wish I’d done it myself) We had a great team of plasterers. Electrics and plumbing from my mate who has the second house. Windows and doors supply and fit from a national supplier. Painting and decorating from another friend. I hate painting and he is 3 times quicker and the quality is outstanding. I fitted the kitchen and bathroom units. I did all of the floor tiling and wooden floors. I did all of the landscaping. (I really enjoyed that) GRP roof by a specialist Roof tiling by another mate. We are nearly finished now and getting ready for sign off. The garden office ( man cave) is being plastered at the end of this month This was originally the site office and has served us well.
-
C’mon the landscaping is the fun stuff.
-
I feel your pain. I now have some schweger temporary bat boxes if you need them. You may be lucky and get away with a bat box built into the gable end, this is not too intrusive but if they identify brown long eared bats you may need to provide a bat loft. I built our 2 houses at the edge of a 502 house new development and these are the only 2 houses with any bat mitigation provisions. I ended up paying over £9k to the ecologists but the hammer was the delays that led us into the 10% inflation era. That really hit the pocket.
-
Advantage of an induction hob.
Canski replied to SteamyTea's topic in Kitchen & Household Appliances
So does mine. Then it’s wipe down time switch the hob off then on again but any moisture left switches it off again then when switched back on we have no control over the temperatures etc. . Apart from that it’s brilliant. -
Advantage of an induction hob.
Canski replied to SteamyTea's topic in Kitchen & Household Appliances
I don’t like my Bosch one very much. If water spills over then it goes nuts. I’ll have to stick with it for now as I have no gas supply. -
You can’t do that these days. You have to call a spade a spade.
-
Rigid PIR boards in cavity Walls. DON'T DO IT.
Canski replied to Iceverge's topic in Heat Insulation
I’m sorry but that is the worst insulation system that I have ever used for so many reasons. Xtratherm used to have a similar product maybe they just changed the name. -
Rigid PIR boards in cavity Walls. DON'T DO IT.
Canski replied to Iceverge's topic in Heat Insulation
They may have stone cills to install afterwards and are using insulation as a prop for the blockwork. There will be a reason. -
10mm in the midlands


