markocosic
-
Posts
979 -
Joined
-
Last visited
-
Days Won
1
Everything posted by markocosic
-
My wife silly money for doing this. (the adding patina creatively and then varnishing it part) You supply the door with the metal attached at your own cost. That's the easy part. 😉 Or you buy the sheet then glue it to your own door. (and no she can't/won't post massive sheets or warrant the lacquer and it remaining as-patinated for outdoor use) https://www.etsy.com/shop/BalticMonkey - Buy timber door - Go to a place that does copper/brass in 0.5 to 1.0 mm thickness (0.6 and 0.7 mm pretty common) for about £60-80/m2 - the local metal roofing shop is a good bet - Glue it to a slightly oversize timber door - Trim it to finish size using a tracksaw with nice sharp blade - Add patina with "secret sauce" (various acids, alkalis, etc - if doing daft things with heat/oxygen* then you need to patina it before you glue it to the door) - Laquer it to all heck OR leave it as is and accept that it will change Probably buy yourself a few sheets before you start for practicing on. Getting your patina right is the bit that needs practice. Nothing that's out of the reach of DIY but you'll be corroding then washing / sanding and trying again with brass for a while before you get it right.
-
Just fix it. Shimming little double glazed units is easy. Buy yourself the plastic wedge/lever so you don't bugger the glass and get on with it as per below: I've just done my 2100 x 900 mm full glass / triple glazed units - heavy swines - much the same way. Used birch ply spacers (on top of the channel spacer) rather than plastic as the plastic has a tendency to deform over time where the birch does not. That, and I had the birch ply and a chopsaw to cut it to size, but no plastic. Timber cut end grain also works.
-
We did not @markharro - 50 x 50 mm battens on 600 centres - 50 mm mineral wool between battens - 120? mm tongue and groove over the top Because: - She who must be obeyed liked the look - It'll get handprints on it on the mezzanine that would be a pain with wood wool - Plasterboard painted would have showed every mark / cracked at every opportunity Acoustically the T&G over mineral wool is fine. Not as hard a reflection as plasterboard. The gaps and air movement to the mineral wool probably aid acoustics.
-
Dezincification?
-
Evacuation back into outdoor unit and nitrogen purge and vacuum out and refilling indoor unit required. A lot of faff to avoid an aerosol tin of propane leaking outdoors. And no filter drier to catch any ick if you do introduce this by brazing. I'd ignore it if you're trunking it anyway. Perhaps braze the next one end to end and clad over it though! Or say fuggit and flare indoors even though it's R290. (probably be legal by then - the EU is busy upping the allowance for how much R190 can be in splits etc at the moment)
-
What does self build mortgage conveyancing involve
markocosic replied to PSC88's topic in Party Wall & Property Legal Issues
The conveyancing involves sweet fanny adams if it's a registered freehold title. Worth not relying on the bank's own conveyancers; as they have, without fail, been woefully inept on every mortgage transaction I've ever been involved in. Do it yourself. If they won't deal with you then find somebody clueless but cheap who will do Simon says conveyancing. (doing it yourself and having them sign it afterwards) This may well be the bank's inept conveyancers - provided that they don't have room to screw up your plans by doing things wrong. -
Ah, propane! In which case braze the lot bar the joint at the outdoor unit 🙂
-
IMO don't install that way rather than trying to make midpipe joints serviceable: - Route pipework for indoor unit such that the flares are indoors behind the unit. (there's space for this designed in) - Buy longer linesets when installing or have the installer braze them. - Use a leak detector when installing (heated diode units are about £50-75 and sensitive down to 3grams/year)
-
Neatest? Hide them behind the cladding. Easiest after the fact? Black air conditioning trunking. Comes in to halves. Clips together. Ends and bends etc all available.
-
I set fire to a dark towel over the back of a chair placed over a metre from the fire when using it for the first time. Sub 200C double walled convection stove it might be. Doesn't prevent numpty from lighting it up, arranging their wedding shoes and towel a comfortable distance from it at startup temperatures, then coming back 15 minutes later to a secondary fire from the radiant heat!
-
Agree that it's upfront easy. It's just efficiency ugly is all.
-
You build traditional balkan houses. Ground floor? Where you overnight then pigs/cows/sheep in winter. First floor? Where you overnight then humans for most of the winter. The solution need not be sophisticated. You have more choices in the UK though. There isn't a real winter. There are plenty of economic opportunities should you choose to follow these rather than following passions.
-
Not buying it as the 'ultimate' option. Spark ignition CHP running on methane from the cow shed / naerobic digestion plant plus syngas from wood gasification. LPG as your easily stored "pilot light" fuel for starting it up. PV for offsetting demand for fuel entirely. Screw *buying* in diesel. Cheating; more reliant on others outside your borders; easier to pinch in bulk than slurry/wood/LPG?
-
But oh so easy and inefficient! 😉
-
Convert a Prius to LPG. Locate engine etc in the garage for waste heat capture from block. Plate heater exchanger into an LTHW buffer vessel for high grade heat to house/hot water. Electricity to keep the lights on/fridge on/internets happy. And run a heat pump if you need more heat than electricity. Offset your LPG using bucket loads of PV with an island capable inverter and battery combo. Gasify wood and blend that with the vapourised LPG for extra style points. Interlink the Prius battery/PV inverter battery for extra style points. How can we make this more complicated?
-
How to seal around the stove to insulation pass through?
markocosic replied to Andehh's topic in Stoves, Fires & Fireplaces
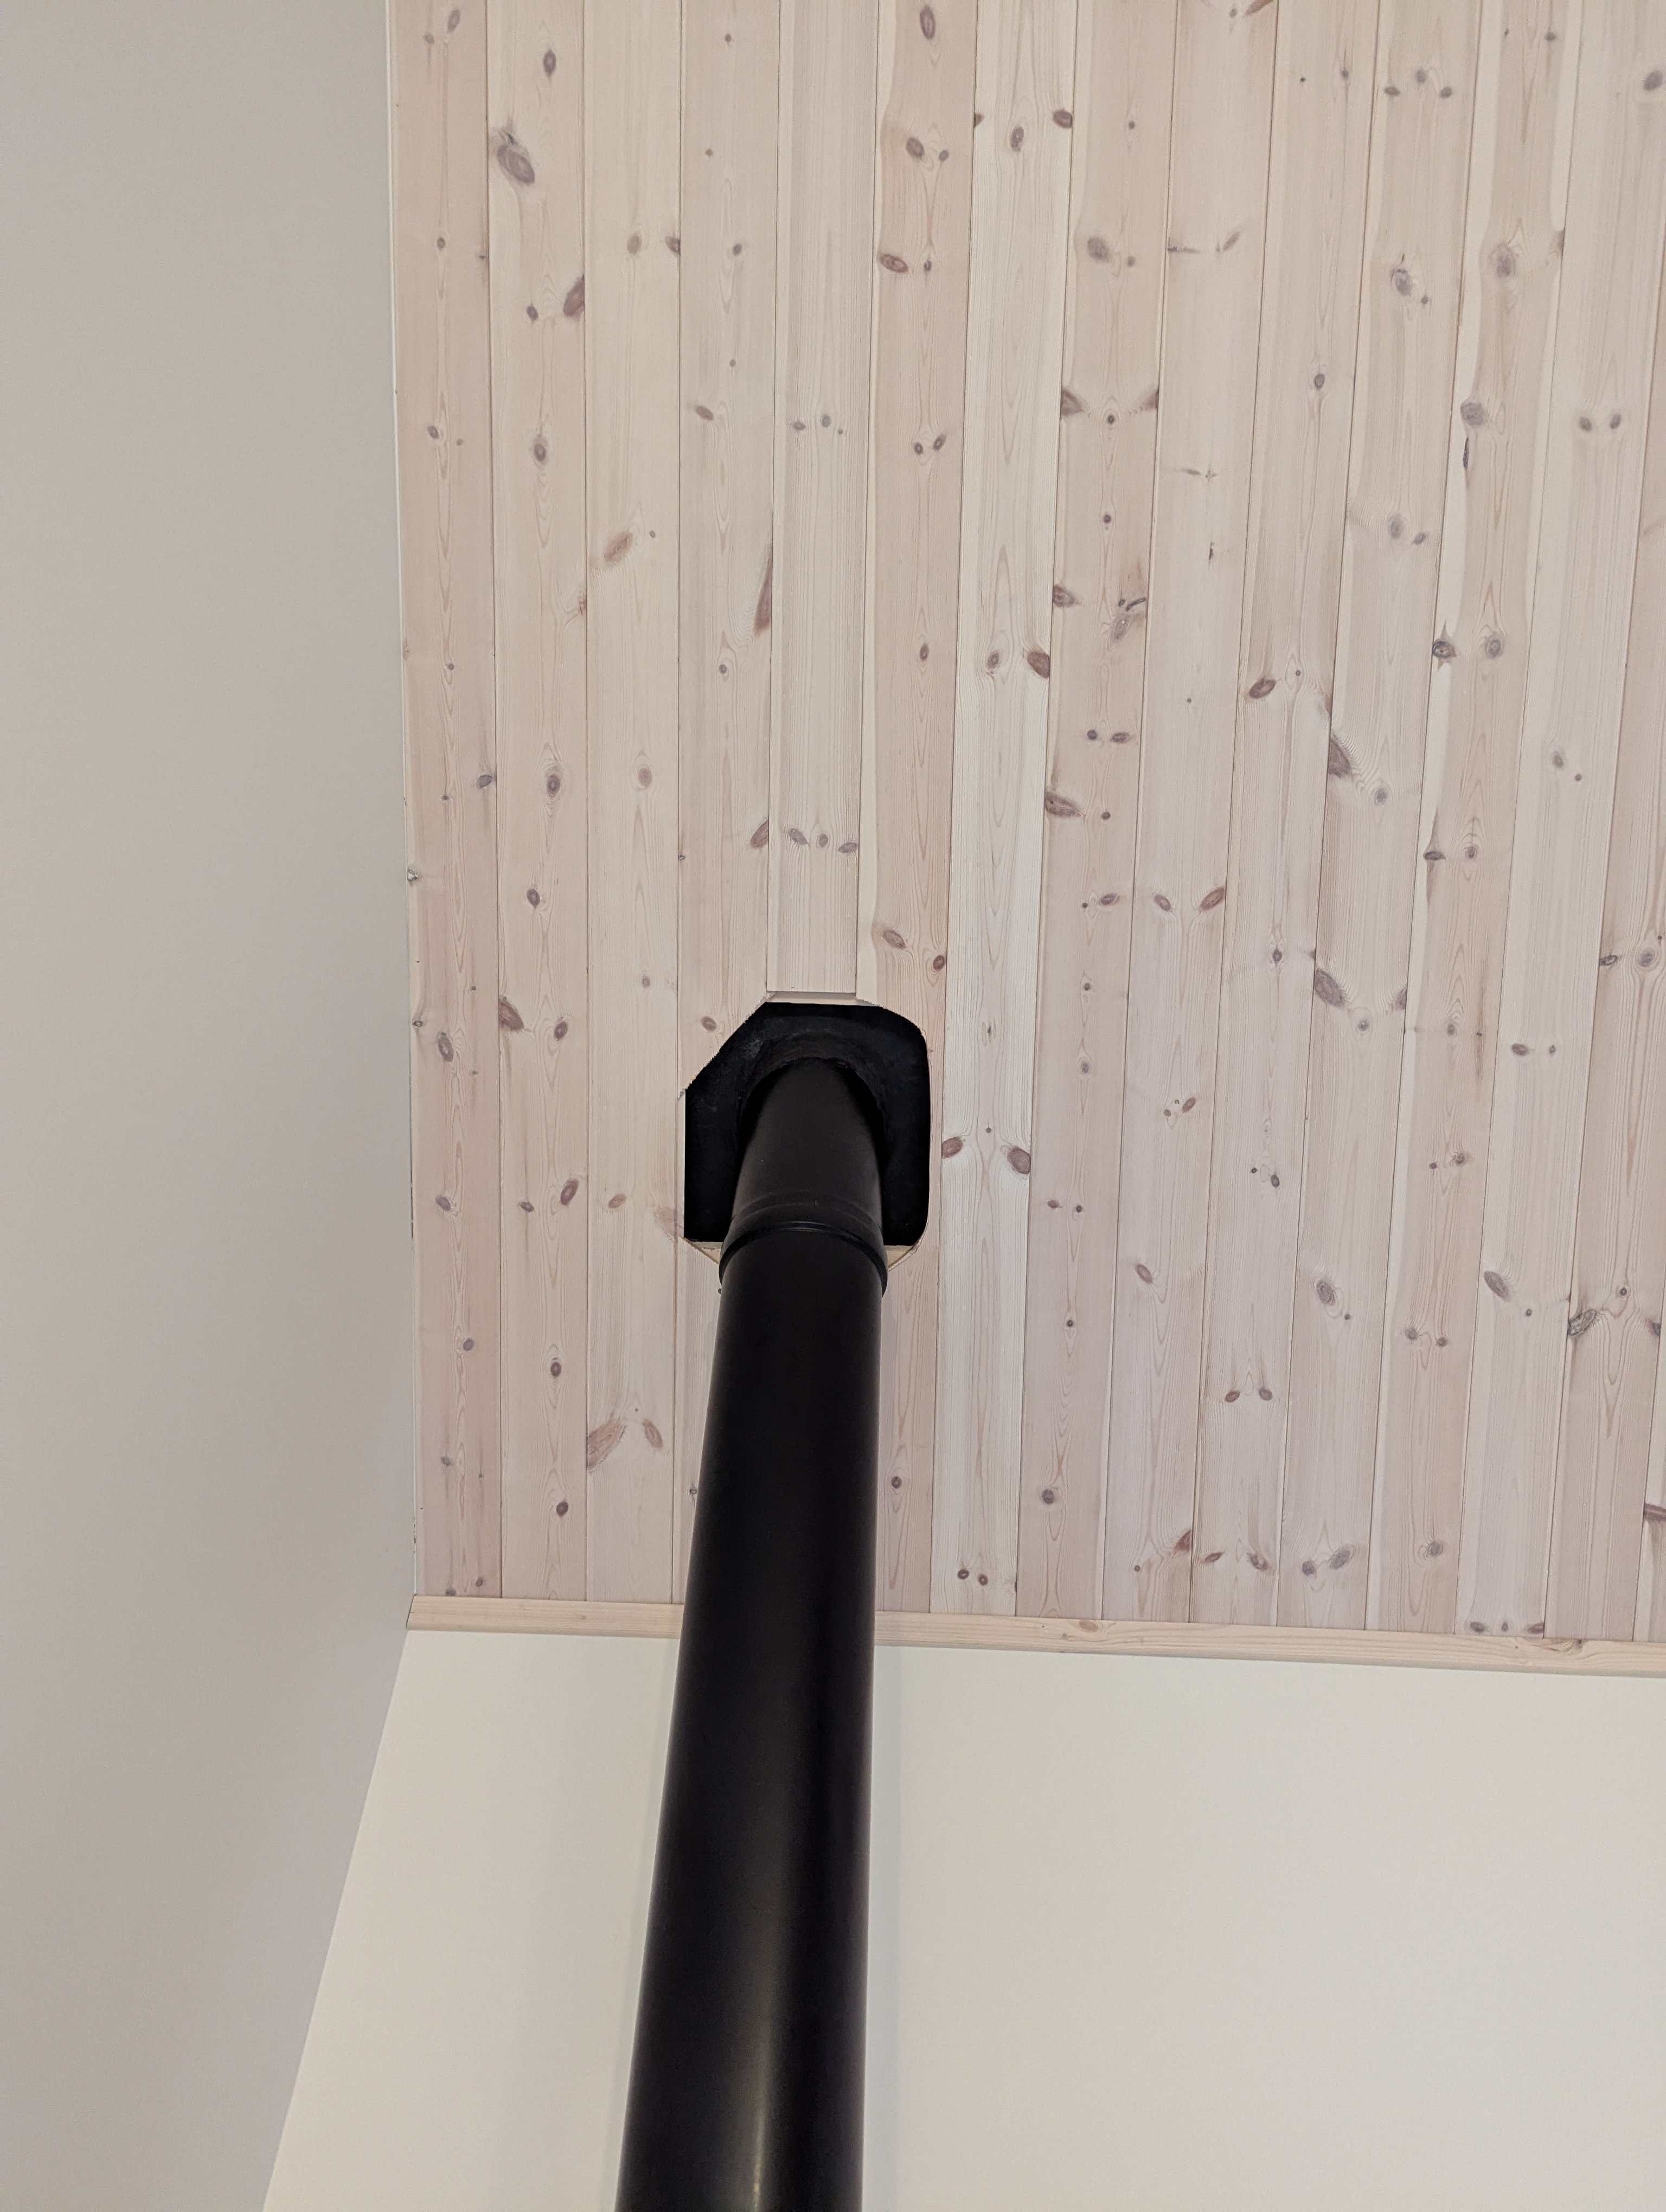
Stretchy flue rated silicone seals is what you're after. For roof membrane: https://dumtakis.lt/manzetai-membranos-dumtraukio-prasiskverbimui/947-dumtraukio-manzetas-rgd180.html#/394-stogo_kampas_laipsniais-diapazonas_0_45_ For inner airtightness membrane: https://dumtakis.lt/sandarinimo-detales/356-dumtraukio-prasiskverbimo-manzetas.html Cut your standard membrane back leaving e.g. 10 cm gap to flue. Slide the silicone job over. Tape the silicone job to your standard membrane. My 'membrane' is OSB. A section of this was replaced with cement board that stops 10 mm short of the flue. This 10 mm gap was flexible sealant-ed (1500C rated) in place. Purpose: no thank you to mice indoors. They apparently do like a cosy flue in winter. The silicone seal is then inboard of this and taped to the OSB at its edges. A belt and braces ring of 1500C sealant 'glues' the silicone to the flue so it's not just relying on stretching to seal. Cut the flammable cladding back 8 cm around the flue (or whatever the rating is) Theres then a split metal trim ring to bridge the hap/hide the mess. Windows leak more than the flue. (all the corner welds of the uPVC)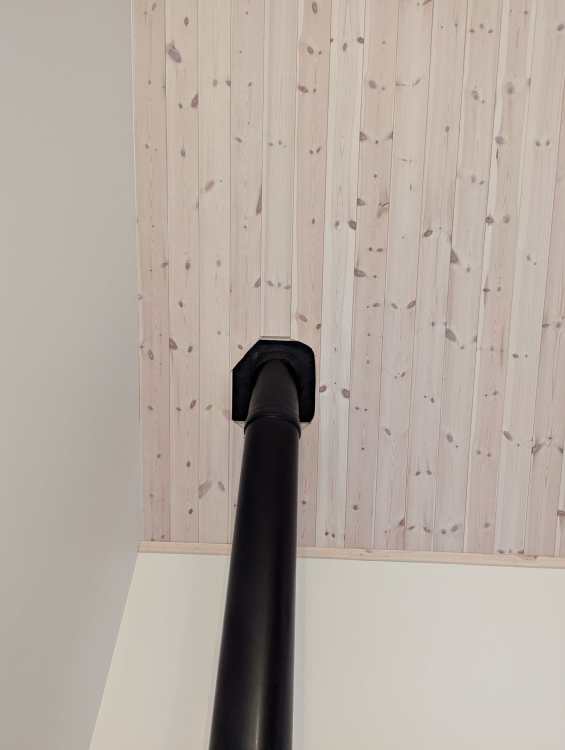
-
Screws for OSB IMO. Nails want 1/3rd and 2/3rd to stand a chance of pulling anything tight..1/3rd through the thing being fixed. 2/3rds into the thing that you're fixing to. You don't have that putting battens onto OSB. They won't be pulled tight to the OSB. They won't offer much uplift resistance. Screws on the other hand don't "waste" energy going through the thing you're attaching (they have a plain "neck" that slides loosely through the hole) and do all their fixing on the threads. Say 5*50 mm with 30 mm of thread and 20 mm of shank (neck) for a 38*19 batten to OSB. Perhaps 5*60 mm if the "drilling" tip is particularly long. Else tack the batten on with nails for speed, then screw through counter battens AND battens AND the OSB with something like 5*80mm screws. C3 rated for corrosion is ok. Stainless screws are not as strong as coated steel screws.
-
Attaching breather membrane?
markocosic replied to junglejim's topic in Structural Insulated Panels (SIPs)
Common in Lithuania for what it's worth. Not butyl tape, but a thin later of sticky back foam on the battens holding down membranes. Easier than aiming for a blob of sealant with the screw/nail. Airtightness testing of all new builds is a thing for building regs signoff though. It also helps mitigate roof rain noise when using (common here) metal roofing. -
I'd do both. Avoids air going through SIP joints if there a compromise in the VCL. It isn't that much tape in the grand scheme of things.
-
SIP wall thickness: diminishing returns?
markocosic replied to joshwk's topic in Structural Insulated Panels (SIPs)
They're saying that the entire inside of the house will be covered in foil faced insulation, and the joints of this will be taped, and that this forms your airtightness layer. (a vapour control layer is not so critical; but it also forms this) Airtightness is bloody difficult. Throw in windows, doors, internal partitions that need to hang off walls, cable and pipework penetrations, battening to hang stuff off walls etc and there's loads of detail to get right. I think they're not doing this; they're just offering to pop up the insulation and tape the seams. (the easy part of the job) Airtightness is essential with SIPs, as any air that does leave he building carries moisture with it that will then condense on the external OSB layer; turning it into wet Weetabix. Most common at the ridge of the roof. -
There should be a large pin through the centre of the beam plus an extra diagonal to stop the bench parallelogram-ing. Those fixings have taken all the strength from it for sure.
-
Absolutely.
-
Boards will for sure move across the grain. Putting two screws in too far apart can result in the board splitting as the screws stay still and the wood moves. Keep them reasonably close together. What is the profile/layout being used? Most have provision for expansion.
-
Nervous much? (airtightness testing...)
markocosic replied to markocosic's topic in General Self Build & DIY Discussion
This is the "paint poo on blanket" method for corners fwiw. This I'd repeat. Fugly but easy. You can also see those corner seams on the UPVC that love to leak in in this pic. Their premium profiles are better in this area.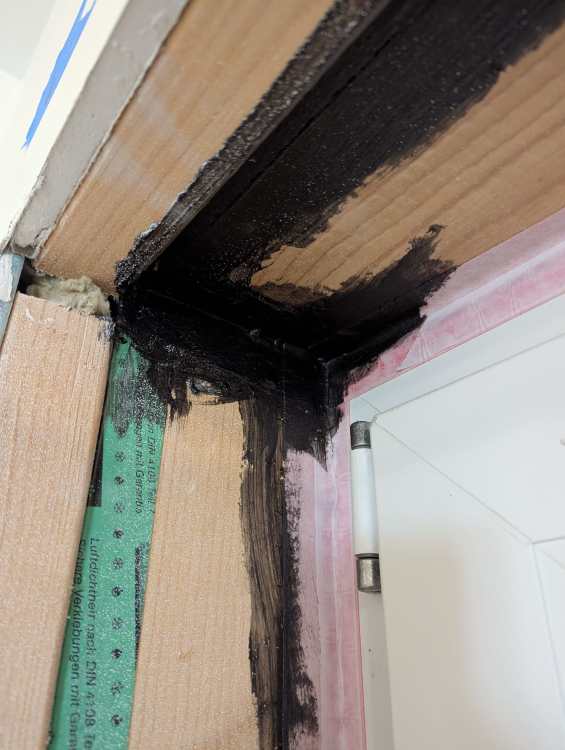
-
Nervous much? (airtightness testing...)
markocosic replied to markocosic's topic in General Self Build & DIY Discussion
Thanks! It's a proper bloody relief...