Thorfun
-
Posts
4891 -
Joined
-
Last visited
-
Days Won
36
Everything posted by Thorfun
-
I ran 15mm everywhere from my central manifolds. I was just a little worried about flow rate for the 10mm plastic pipe. Option 1 for me. Every tap/outlet has its own pipe. One major benefit is no pressure drop when other outlets are being used and you don’t get scalded or frozen when another tap is used or a toilet flushed!! plus it looks really cool in the plant room for showing off your plumbing prowess. 🤣
-
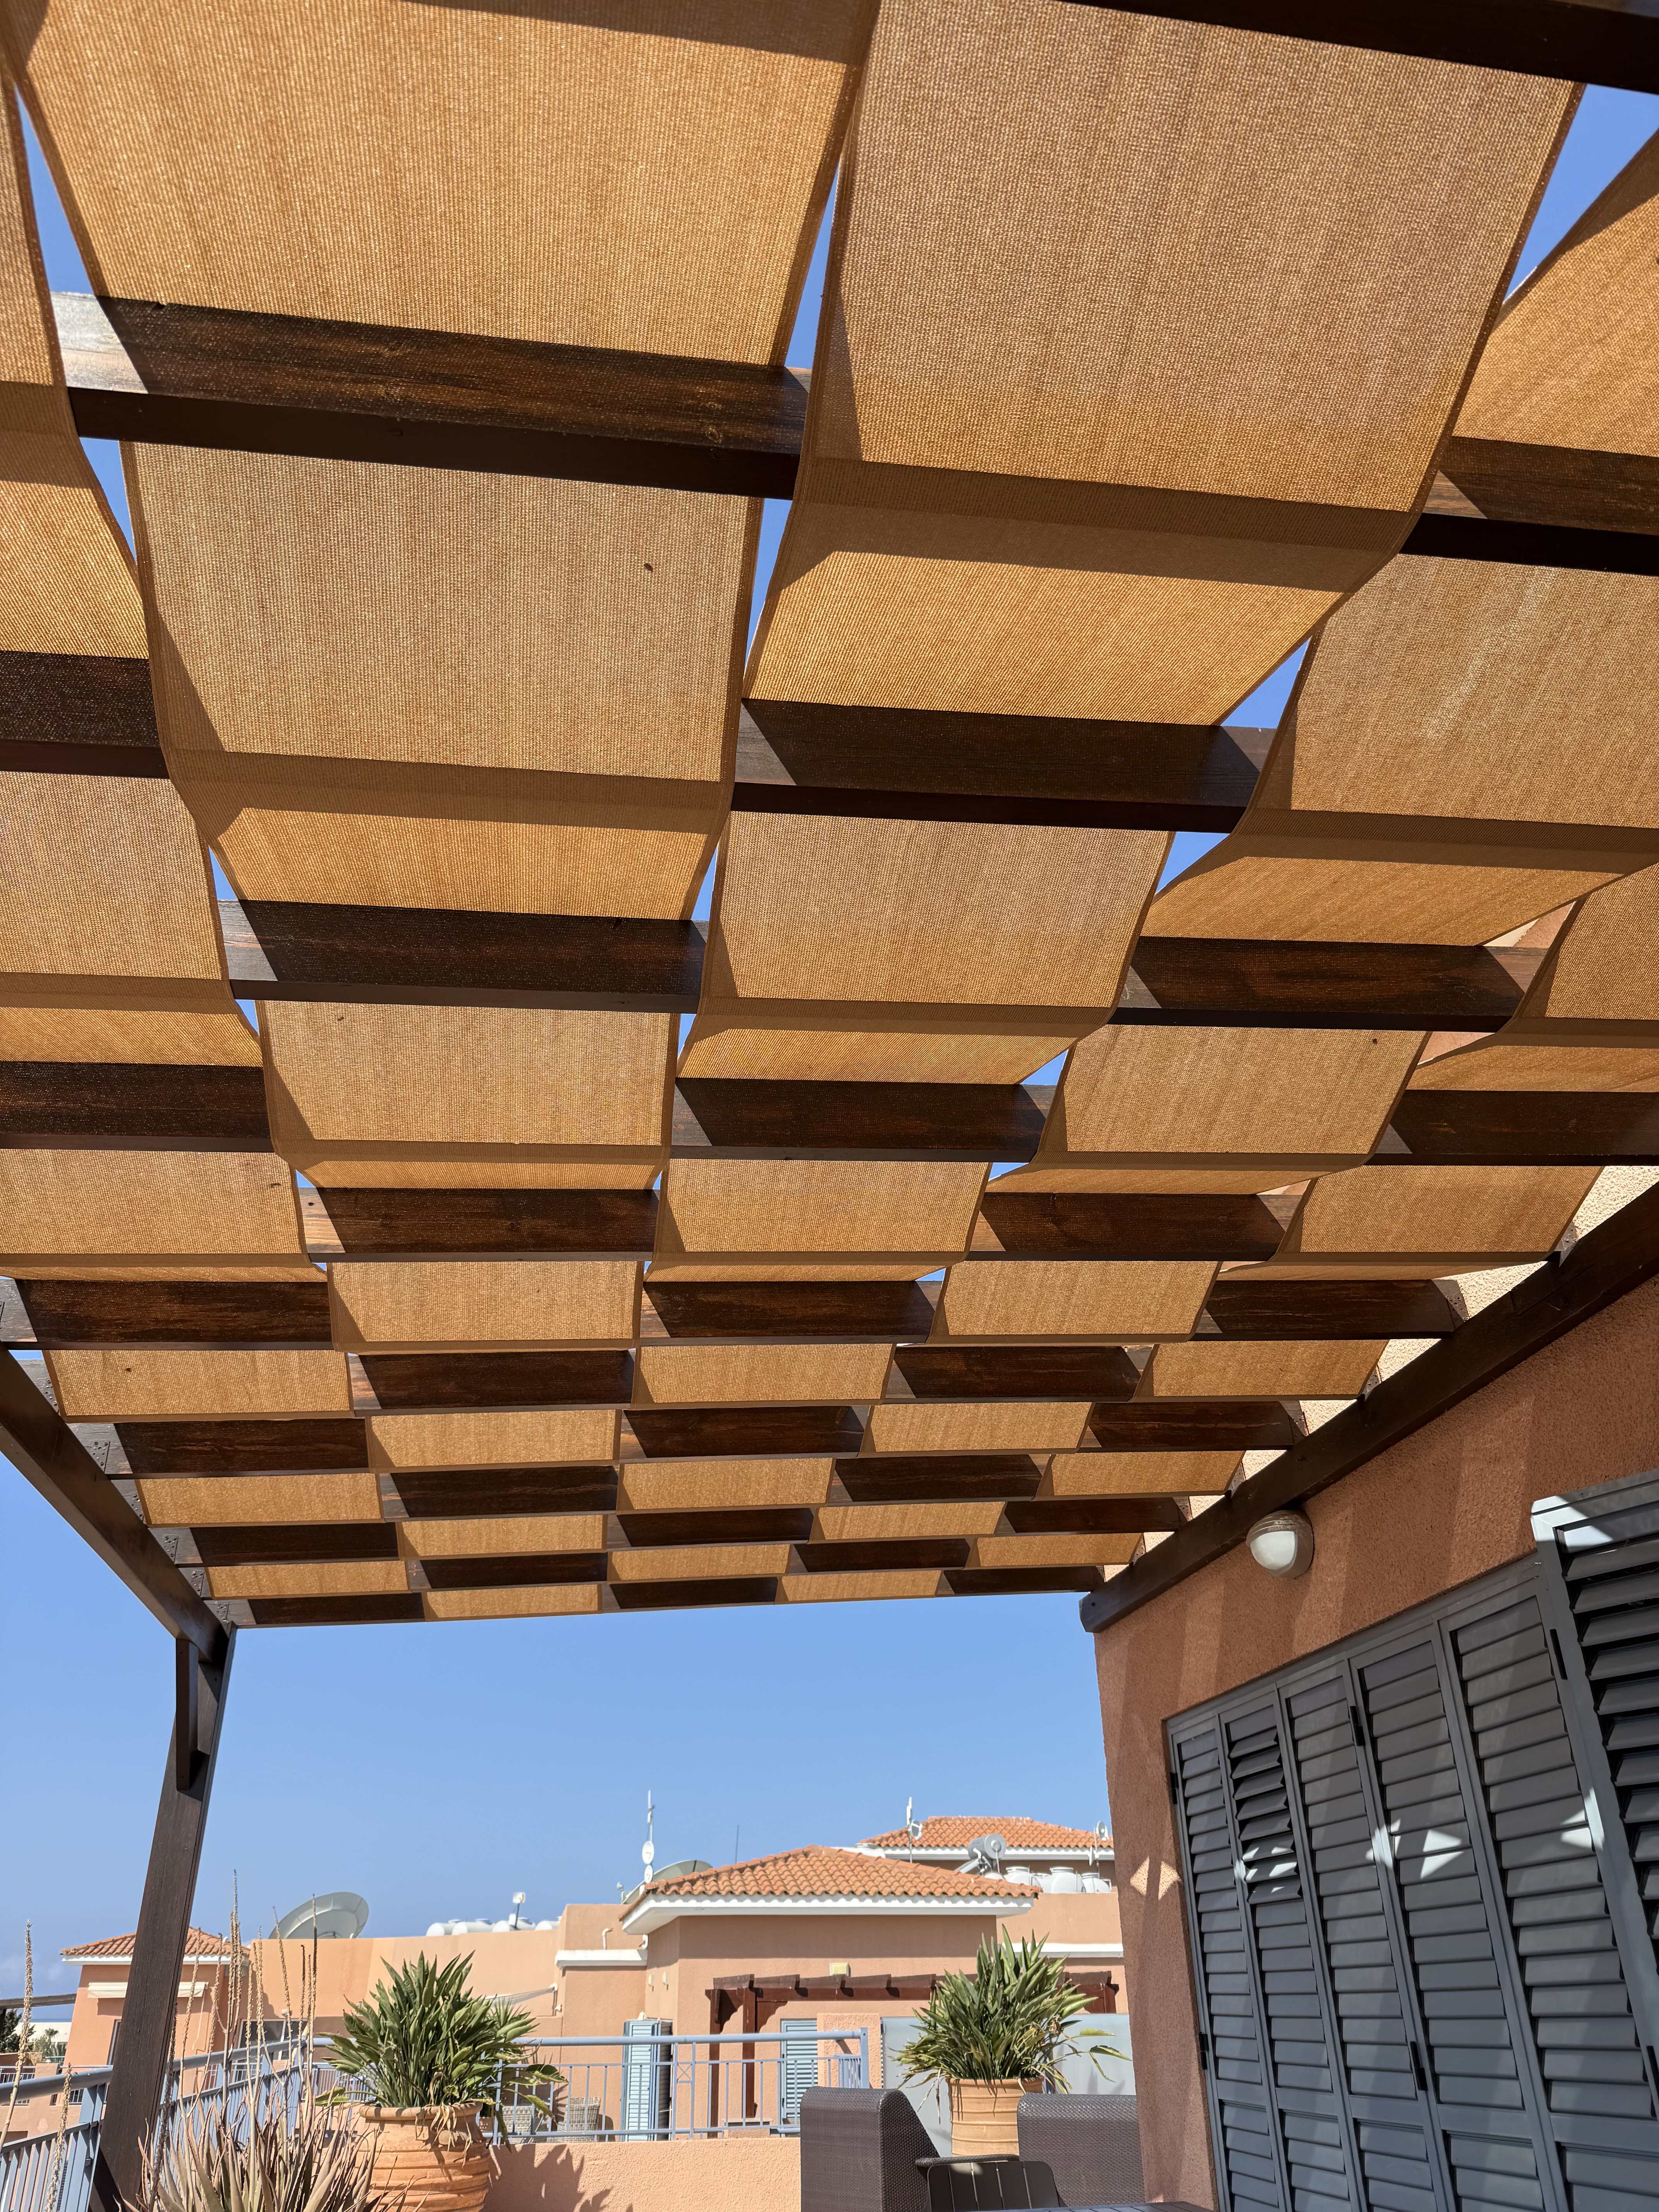
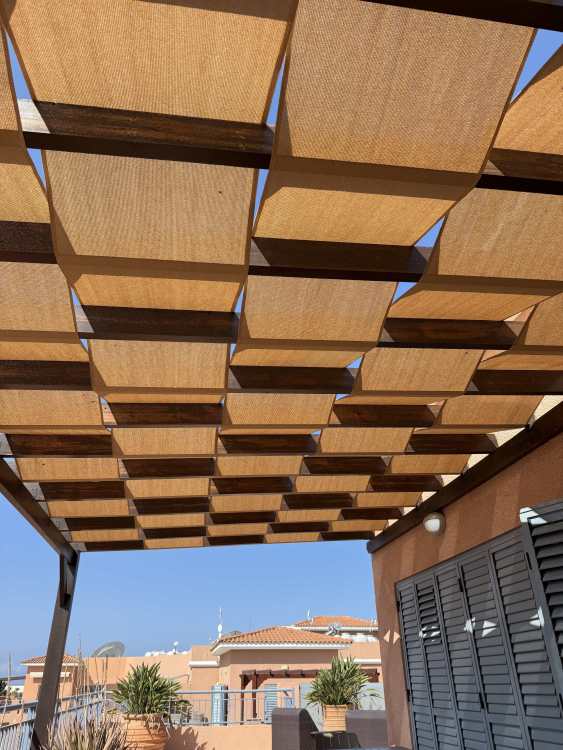
We just got back from a holiday and the apartment we stayed in had one of these. thought it was a great idea and something we’re thinking about building. The good thing is the wood beams are far apart so removing the fabric in the winter will still allow the solar gain whereas the tight spaced pergola fins would probably still reduce solar gain in the winter as well.
-
I fail to see how a drawer will fit. It would have to be a shallow drawer to allow the Pro3 to fit behind? And then accessing the unit could be a faff maybe? We just have a wide double door cupboard that has no shelves to give space for all the plumbing and Quooker units. It does all take up quite a lot of space. sadly I don’t have a photo to hand.
-
We had plenty of space under our sink to install it without cutting holes in the base! And we have the cube installed there as well. Have you got a particularly deep sink or something?
-
That’s why I use the loctite. Much easier for us amateurs.
-
Neighbours want to scaffold in my courtyard
Thorfun replied to DannyT's topic in General Self Build & DIY Discussion
Also check the planning permission as I had time limits on the period work was allowed. E.g. up to 12:30pm on a Saturday. -
Neighbours want to scaffold in my courtyard
Thorfun replied to DannyT's topic in General Self Build & DIY Discussion
Financial compensation should the time period overrun? Which it will. There is no penalty for overrunning stated currently. -
Neighbours want to scaffold in my courtyard
Thorfun replied to DannyT's topic in General Self Build & DIY Discussion
Just remember that everything takes longer than you think so take the builder’s time estimates with a pinch of salt and negotiate for the worst (and then add some extra time on!) -
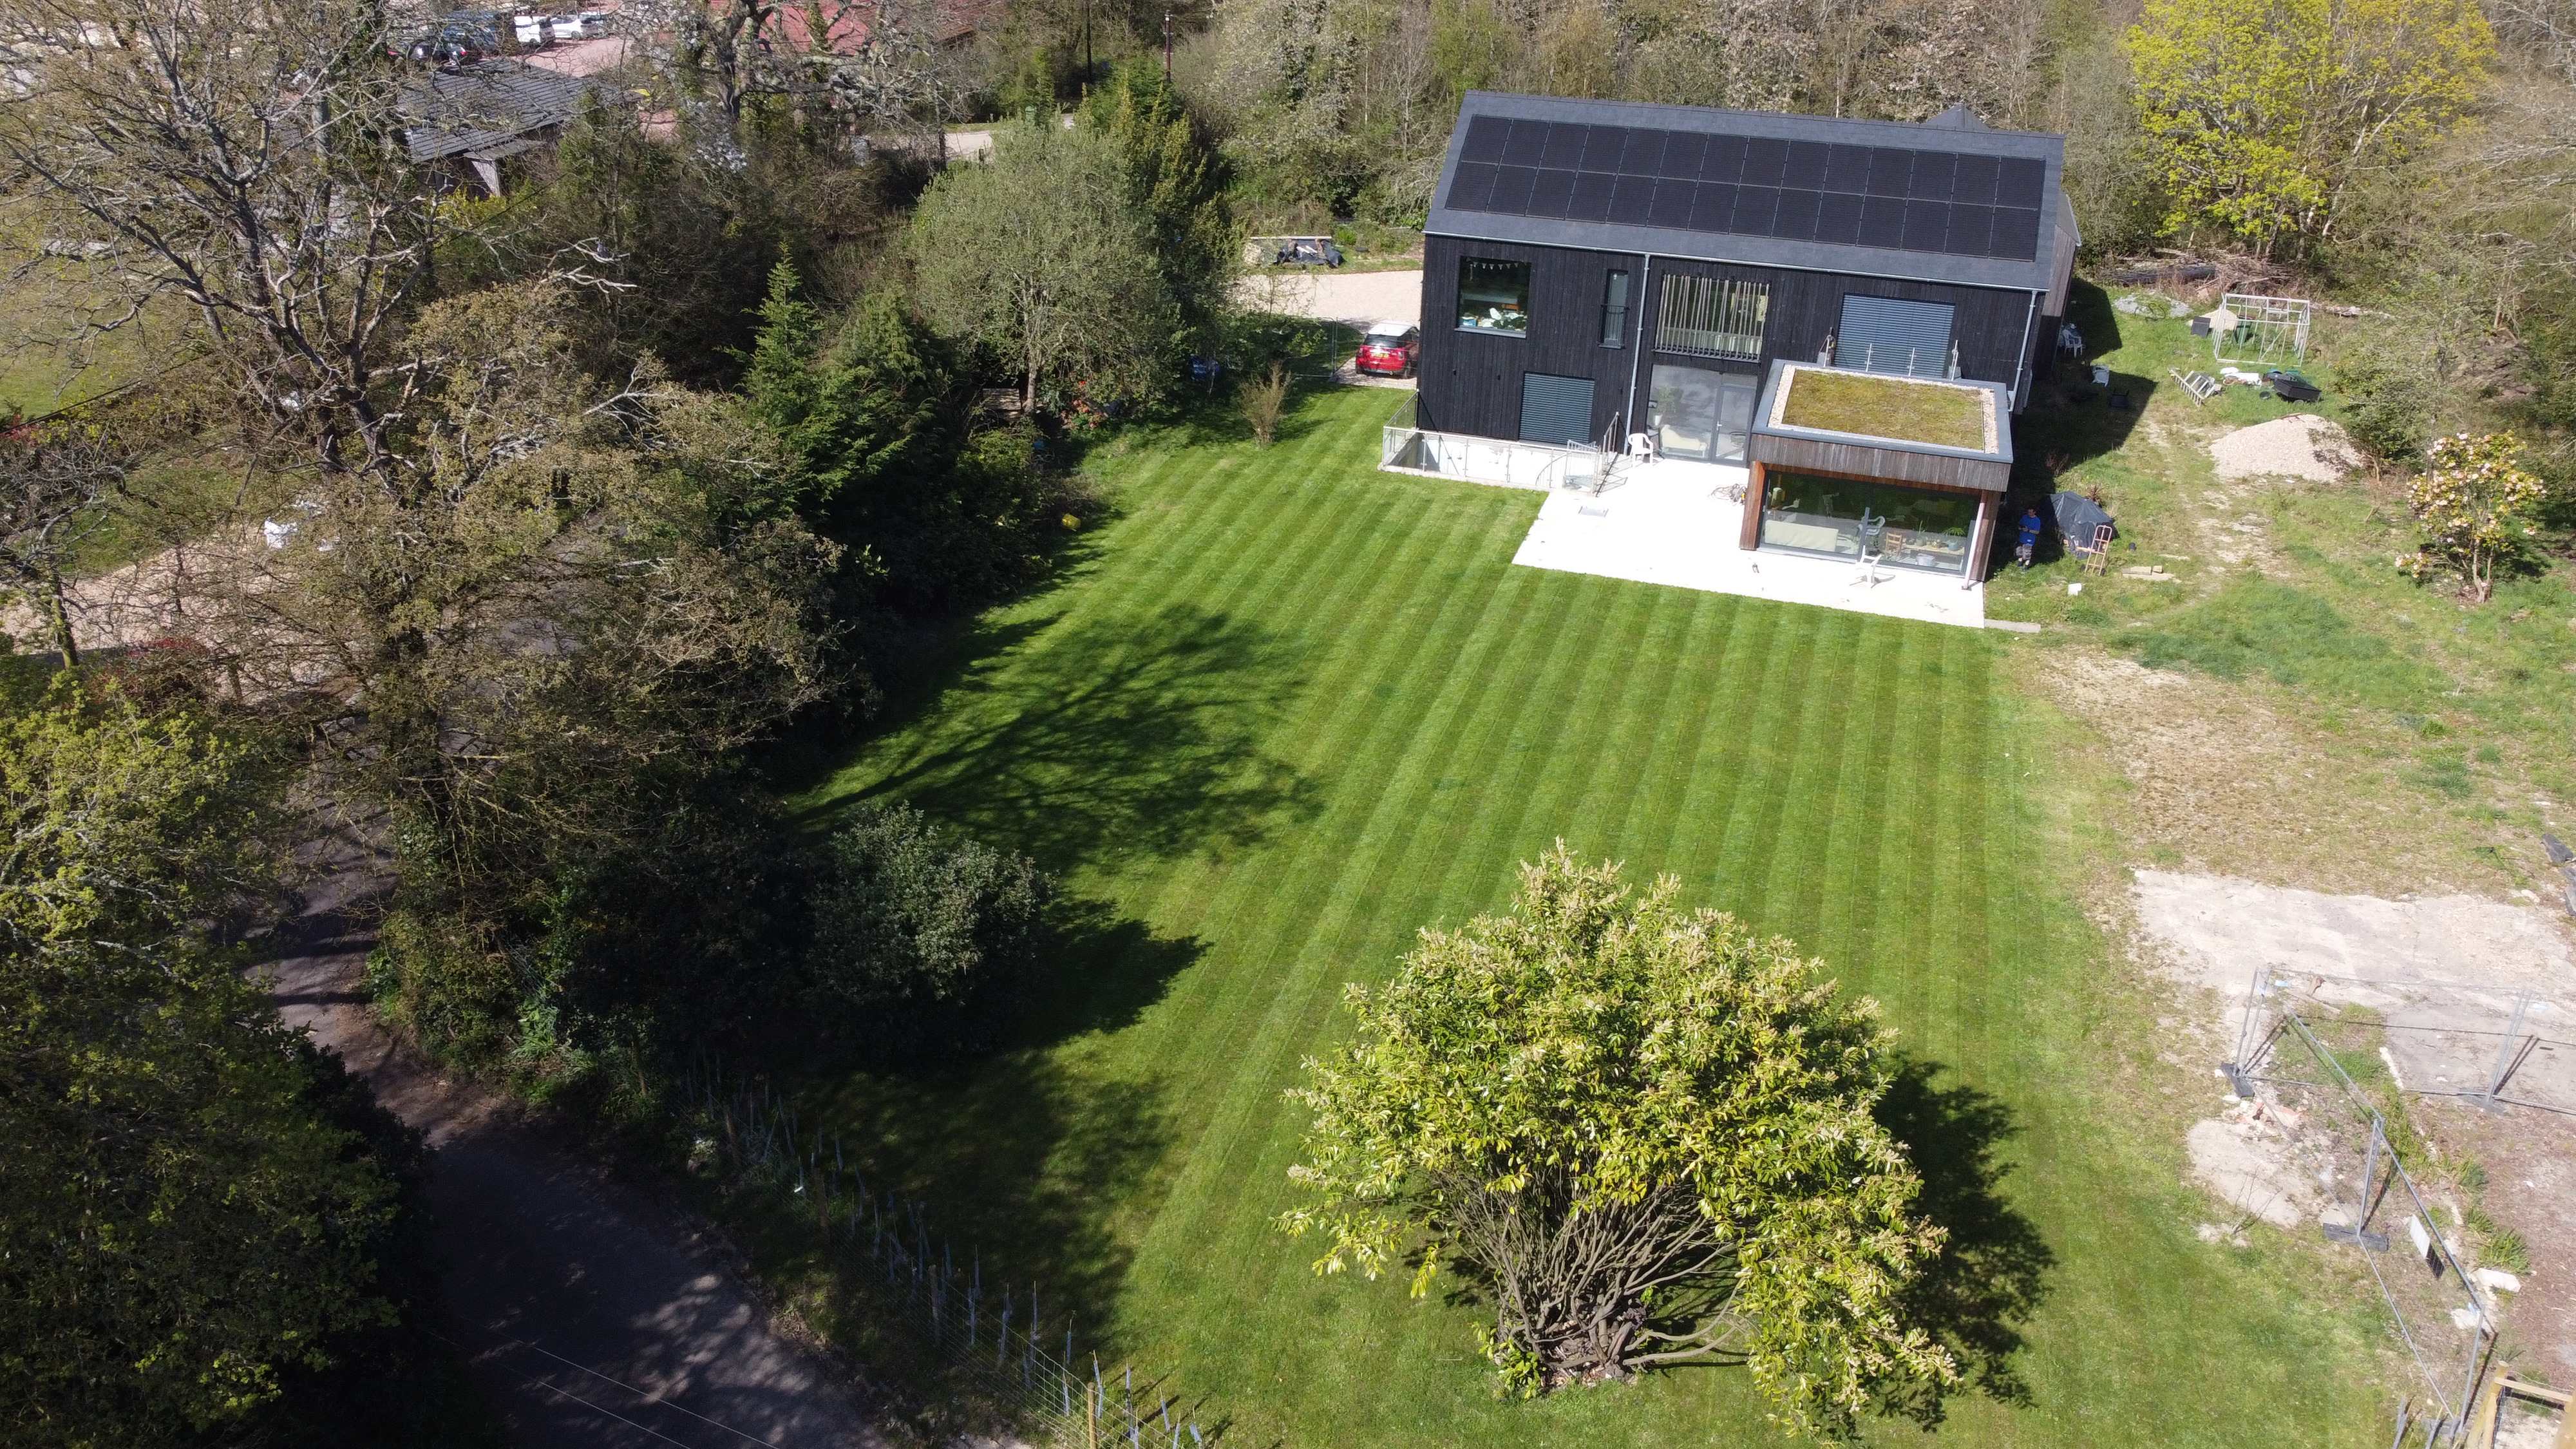
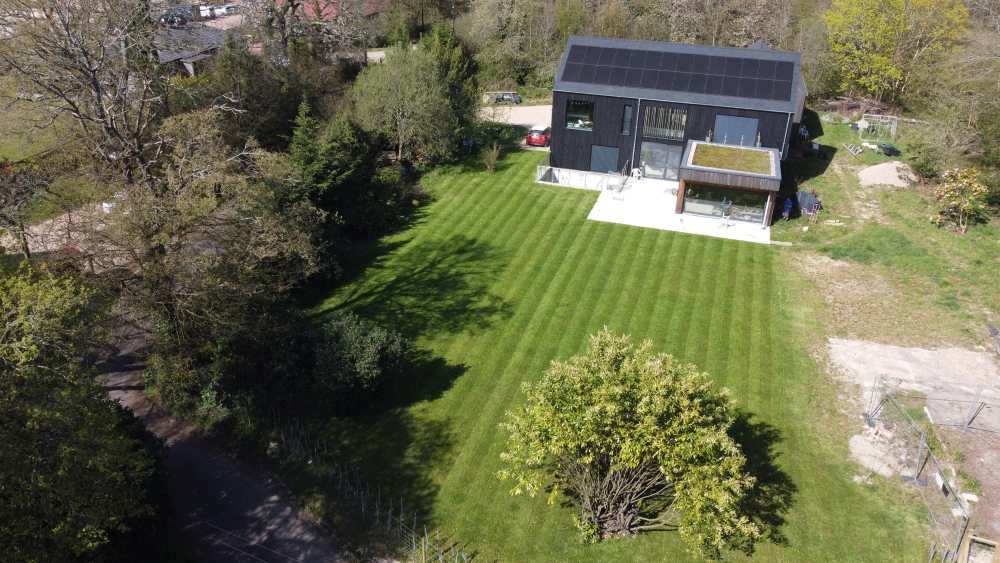
I’ve not read everything in this thread as I’m too lazy, but our back garden is now where the old bungalow used to be and after the demolition it all got filled in and levelled-ish with clay. Was a dried out baked slab of solid ground that pooled water. I rotavated the clay and added 20 tons of manure which got turned in as well. The covered the lot in 100mm-ish of grade B topsoil and seeded the lot. We now have a nice green lawn that wasn’t waterlogged at all this year during the constant rain so I’m happy! the bit to the right of the house will just have some topsoil put on it and then sown with wildflowers eventually.
-
1 or 2 mvhr units?
Thorfun replied to lizzieuk1's topic in Mechanical Ventilation with Heat Recovery (MVHR)
We were told we needed two units but I pushed back as I didn’t want to pay for two units and to pay to install two units and to maintain 2 units with filter changes etc. So the M&E company calculated that if we upped the duct size to 92mm we could use one Zehnder 600 which is what we did and I have no complaints at all. -
Not sure about anyone else but I built our house for us and couldn’t care less about any future buyers!
-
we have multiple 5A sockets controlled via Loxone for ambient lighting.
-
MVHR vs Air Con - if you had to pick one?
Thorfun replied to Indy's topic in Mechanical Ventilation with Heat Recovery (MVHR)
If only there was a way to nicely automate this I’d be on it as we currently use the cheap period on Cosy to heat the DHW for evening showers at 1pm (or PV if the sun is shining) using the ASHP. -
MVHR vs Air Con - if you had to pick one?
Thorfun replied to Indy's topic in Mechanical Ventilation with Heat Recovery (MVHR)
I didn’t install a solar diverter for our PV as I figured I’d get a better COP from the ASHP than a 1:1 using a diverter. The ASHP is also run from the PV anyway so, in theory, I believe I’m using less PV to get the tank heated. -
MVHR vs Air Con - if you had to pick one?
Thorfun replied to Indy's topic in Mechanical Ventilation with Heat Recovery (MVHR)
But can’t cool while the hot water tank is heating, right? I also considered fan coils and floor cooling but it was getting complicated and seemed like a lot of faff. having separate AC and ASHP just kept it simple for me. -
MVHR vs Air Con - if you had to pick one?
Thorfun replied to Indy's topic in Mechanical Ventilation with Heat Recovery (MVHR)
I like to look out at the blue sky so have AC to allow that if I wish to! We also have blinds to help with overheating but I don’t want to live in a house in permanent shade during the summer months. -
MVHR vs Air Con - if you had to pick one?
Thorfun replied to Indy's topic in Mechanical Ventilation with Heat Recovery (MVHR)
ps. have you considered external blinds on the windows that will have solar gain? our blinds keep those rooms cooler than the rest of the house but we also need AC as we've not got blinds everywhere and we like to actually look out the windows. 🤣 -
MVHR vs Air Con - if you had to pick one?
Thorfun replied to Indy's topic in Mechanical Ventilation with Heat Recovery (MVHR)
agree with @MikeGrahamT21 and sounds like your builder doesn't actually know the difference or what MVHR is for! if the house doesn't need MVHR then the airtightness isn't good enough and if the airtightness is good enough then MVHR isn't a choice it's a requirement! so sounds like your builder isn't aiming for a airtightness score of below 3ACH which i believe is the max for mechanical ventilation requirement. so, really your choice is an airtight house or not. if you want AC and don't want MVHR then you need to design for a poor airtightness build. if you want airtight then you need MVHR and then the decision is whether you want to spend on AC. in my opinion, you want both! it's not easy, in my opinion, to retrofit AC without a lot of hassle or having pipes up the side of the buildings from the unit. when it's an empty shell you can run them and cover them up. -
It’s been a few years since I bought anything from them but I don’t remember an issue with the in-browser translations even at payment screen. I think remember that the website language set to English was poor but it was quite a while ago and my memory is shit.
-
Do you really need it flush? Can’t you leave a 5mm gap and just silicone it with a similar colour? that’s what I’m planning to do
-
Pro Clima are the manufacturer. Tescon Vana is the product. there's other's in the line that deal with different things, like around windows we used the Tescon Profil. if you do a quick search on here you'll find a wealth of information!
-
Find metal studs behind metalised foil plasterboard?
Thorfun replied to agbp55's topic in General Self Build & DIY Discussion
+1 to this! It was a revelation when I was told about it. -
Tescon Vana tape bought from LATZEL Dämmstoffe. Was about €20 a roll when I last bought.
-
Did all the window and door taping myself. Norrsken didn’t offer it from what I recall. it’s not too bad once you get the hang of it.
-
Whistling through expensive Norrsken front door - Driving me crazy
Thorfun replied to boxrick's topic in Doors & Door Frames
Norrsken customer support has been excellent for us. Did you speak to them?