Onoff
-
Posts
21125 -
Joined
-
Last visited
-
Days Won
206
Everything posted by Onoff
-

How does your garden grow?
Onoff replied to recoveringbuilder's topic in Landscaping, Decking & Patios
No. Could have done without this earlier. Btw I'll be coming after you for maintenance!
-
Didn't you do a window previously in the house yourself?
-
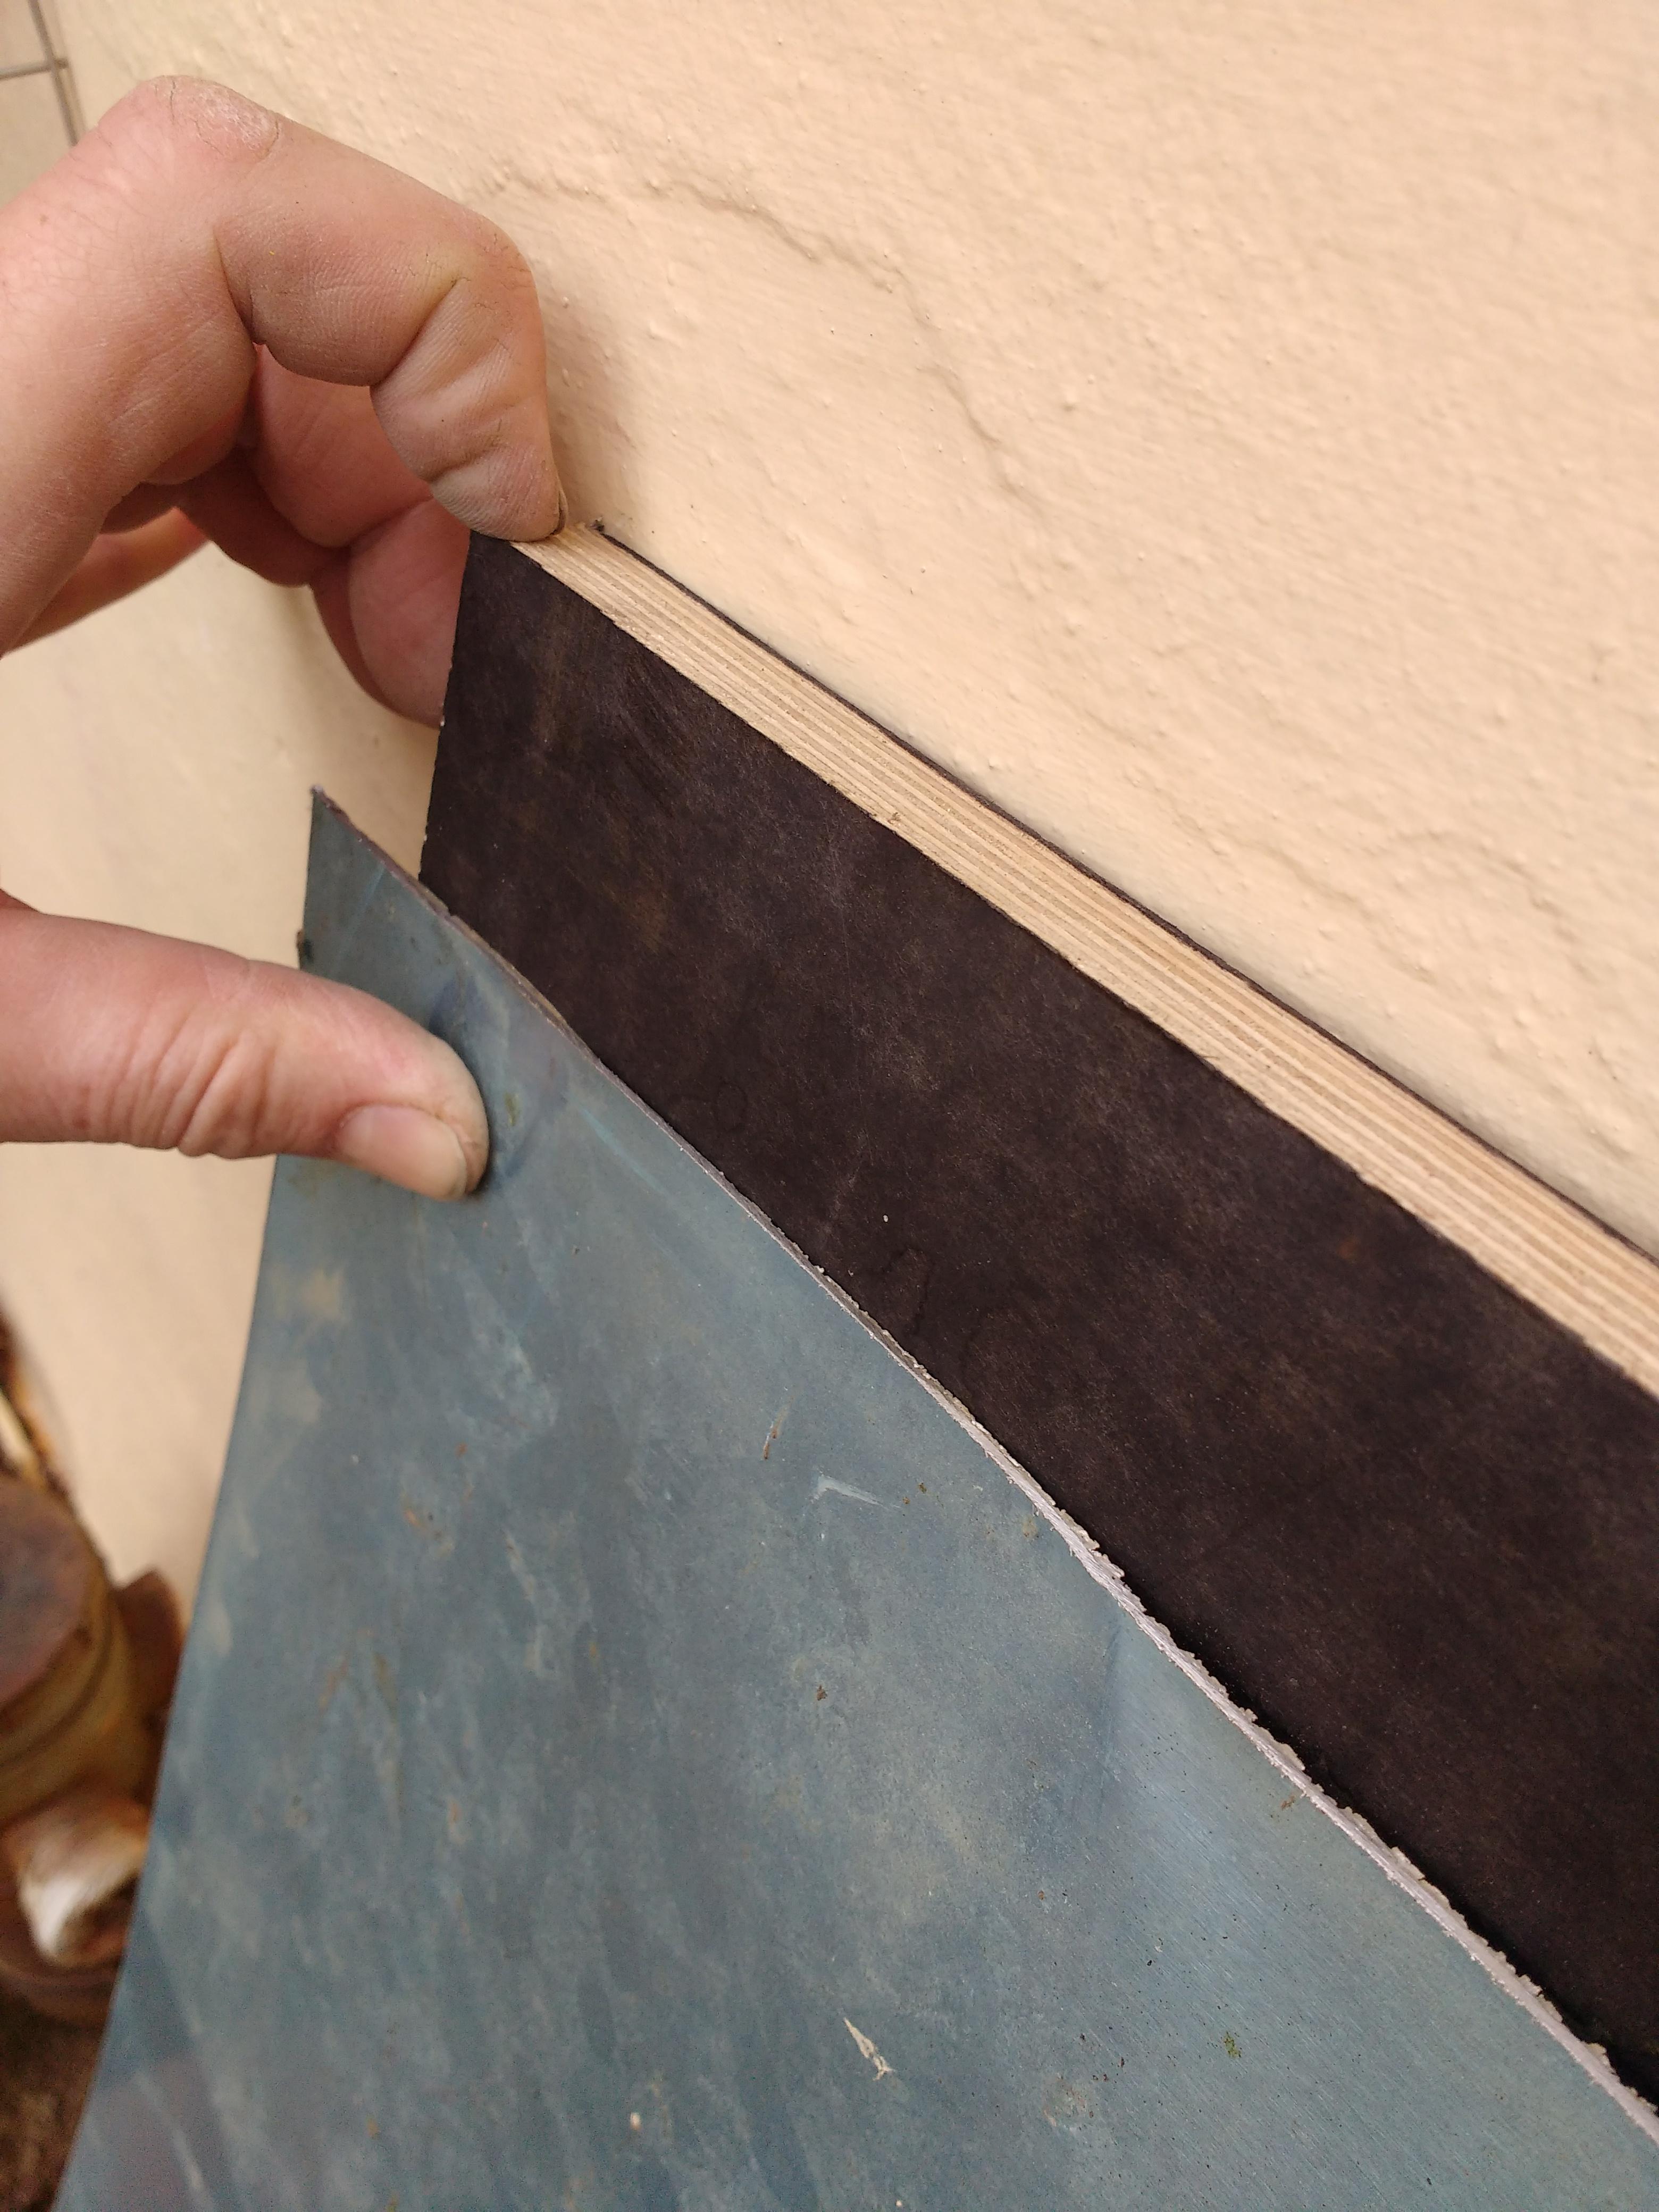
I didn't mean to hack off the render. Photos to show how I filled the cavity with a bit of EPS, levelled of the inner leaf with a mortar mix then foamed either side. My nod to minimising cold bridging. This place btw is 20 odd miles from you: https://plasticcentre.co.uk/store-locator/
-
How does your garden grow?
Onoff replied to recoveringbuilder's topic in Landscaping, Decking & Patios
Neem oil spray... Gave to my daughter to make up the potion figuring she's at least half witch from SWMBO. Well she was gagging at the smell, it really is quite offensive and then some! Went for the natural neem spray concoction. 2L of it applied by spray to the 50 bean plants. I was surprised how far it went. -
Chamberlain. Had it about 10 years...only just taken out of the box! 😂 Fired it up for the first time last night via a temporary lead. Double checked the wiring beforehand of course. Need to sleeve a grey core with some blue sometime but it's all got cable markers etc. Both CR2032 batteries in the remotes dead of course! Fitted a new one in one and it all works a treat so far, nice smooth running action. With a bit of lube it should be even better/quieter. Just got to set up the end of travel magnets tonight. Have "misplaced" one of the magnet mounting brackets like this. Tbh the space between lugs is too narrow to fit over the metal rack I have (like 20mm vs 22mm), designed I guess for the plastic rack: Gave to laddo and a few minutes later: He'll print a couple in black PETG and I'll affix with M5 stainless, countersunk screws drilled and tapped into the rack. Though I've buried ducted SWA from the garage to gate pillar it's justy coiled up inside the garage along with a couple of other comms cables for video entry, camera etc. That's the next mission, thread it round the garage but I need to move h.duty shelves and one car, possibly two! Then trench to the house... So another 10 years! 🤣
-
Solar power payback takes much longer than you think
Onoff replied to Radian's topic in Photovoltaics (PV)
EVs don't go VRUM, VRUM, VRUM and make your willy feel funny... -
Solar power payback takes much longer than you think
Onoff replied to Radian's topic in Photovoltaics (PV)
Maybe not Ukrainian sunflower oil... -
-
Where is the kWh price heading in 2022?
Onoff replied to epsilonGreedy's topic in General Self Build & DIY Discussion
Then painting our legs with gravy browning! -
Where is the kWh price heading in 2022?
Onoff replied to epsilonGreedy's topic in General Self Build & DIY Discussion
The pub is on a working farm. Run by the landlady, son and daughter but still hard times ahead I imagine. They don't do food bar nuts, crisps etc and oddly, homemade ice cream... Pumps are not in use since reopening after Covid. Beer is now just served from polypins/bottle/cans. -
Where is the kWh price heading in 2022?
Onoff replied to epsilonGreedy's topic in General Self Build & DIY Discussion
This winter I'll be feeling all smug but certainly not snug. The oil and leccy price increases along with job fears are a constant worry. We're going to freeze and live in semi darkness. The smugness comes from my repeated preaching, mainly to SWMBO, about the need to insulate. It falls on deaf ears tbh. Quite what she can't grasp is beyond me. Shows zero interest or support in improving the fabric of the building. At a conservative estimate we'll spend £250 a month on take aways. I'd really rather not and always think how much insulation that would have bought. It turns into a row and I'm accused of "moaning" and get "It's only once a week!" On the back of it all and other stuff I find myself in the pub once a week and now spend I reckon £20 on average. I see that as temporary, mental insulation against everything. At least in the winter they have an open fire and it's warmer than at home! 😂 As an aside I found this an interesting article though not sure if behind it is an ad for heat pumps: "Half of all heat pump ready homes interested in getting one – switch from gas boilers would wipe out gas imports from Russia two times over". https://eciu.net/media/press-releases/2022/third-of-brits-more-likely-to-get-electric-heat-pump-to-shun-russian-gas -
Solar power payback takes much longer than you think
Onoff replied to Radian's topic in Photovoltaics (PV)
Ours have a little open air "workshop" behind the big metal bin. All the good stuff, decent kids bikes, salvageable mowers, cable gets taken there for stripping or "further assessment" aka pricing up. Ask if you can take something though, no chance, rules mate, Health & Safety etc... 😂 -
Solar power payback takes much longer than you think
Onoff replied to Radian's topic in Photovoltaics (PV)
Since 2012 my tip has charged for taking old tyres. Think it's £2.50 a tyre. I've a few stacked up in the garden that I found clearing the place. I refuse to take them and pay on principle. It somewhat smacks that my road is full of tyre damaging potholes the council don't appear to want to fix. -
Did you measure wrong for the new window then?
-
Solar power payback takes much longer than you think
Onoff replied to Radian's topic in Photovoltaics (PV)
I saw a nice load of what looked liked timber trellis fly tipped the other day. I was thinking, they'll be wishing they'd kept that to burn soon! -
Solar power payback takes much longer than you think
Onoff replied to Radian's topic in Photovoltaics (PV)
Folk would just burn stuff in the garden. -
Getting rid of your static caravan? Any tips?
Onoff replied to DragsterDriver's topic in General Self Build & DIY Discussion
Do you have no concept of physics? It was static until it moved??? @SteamyTea will explain it later. -
Getting rid of your static caravan? Any tips?
Onoff replied to DragsterDriver's topic in General Self Build & DIY Discussion
Or a pub sign...tbf the original plan was solar thermal panels:
-
How does your garden grow?
Onoff replied to recoveringbuilder's topic in Landscaping, Decking & Patios
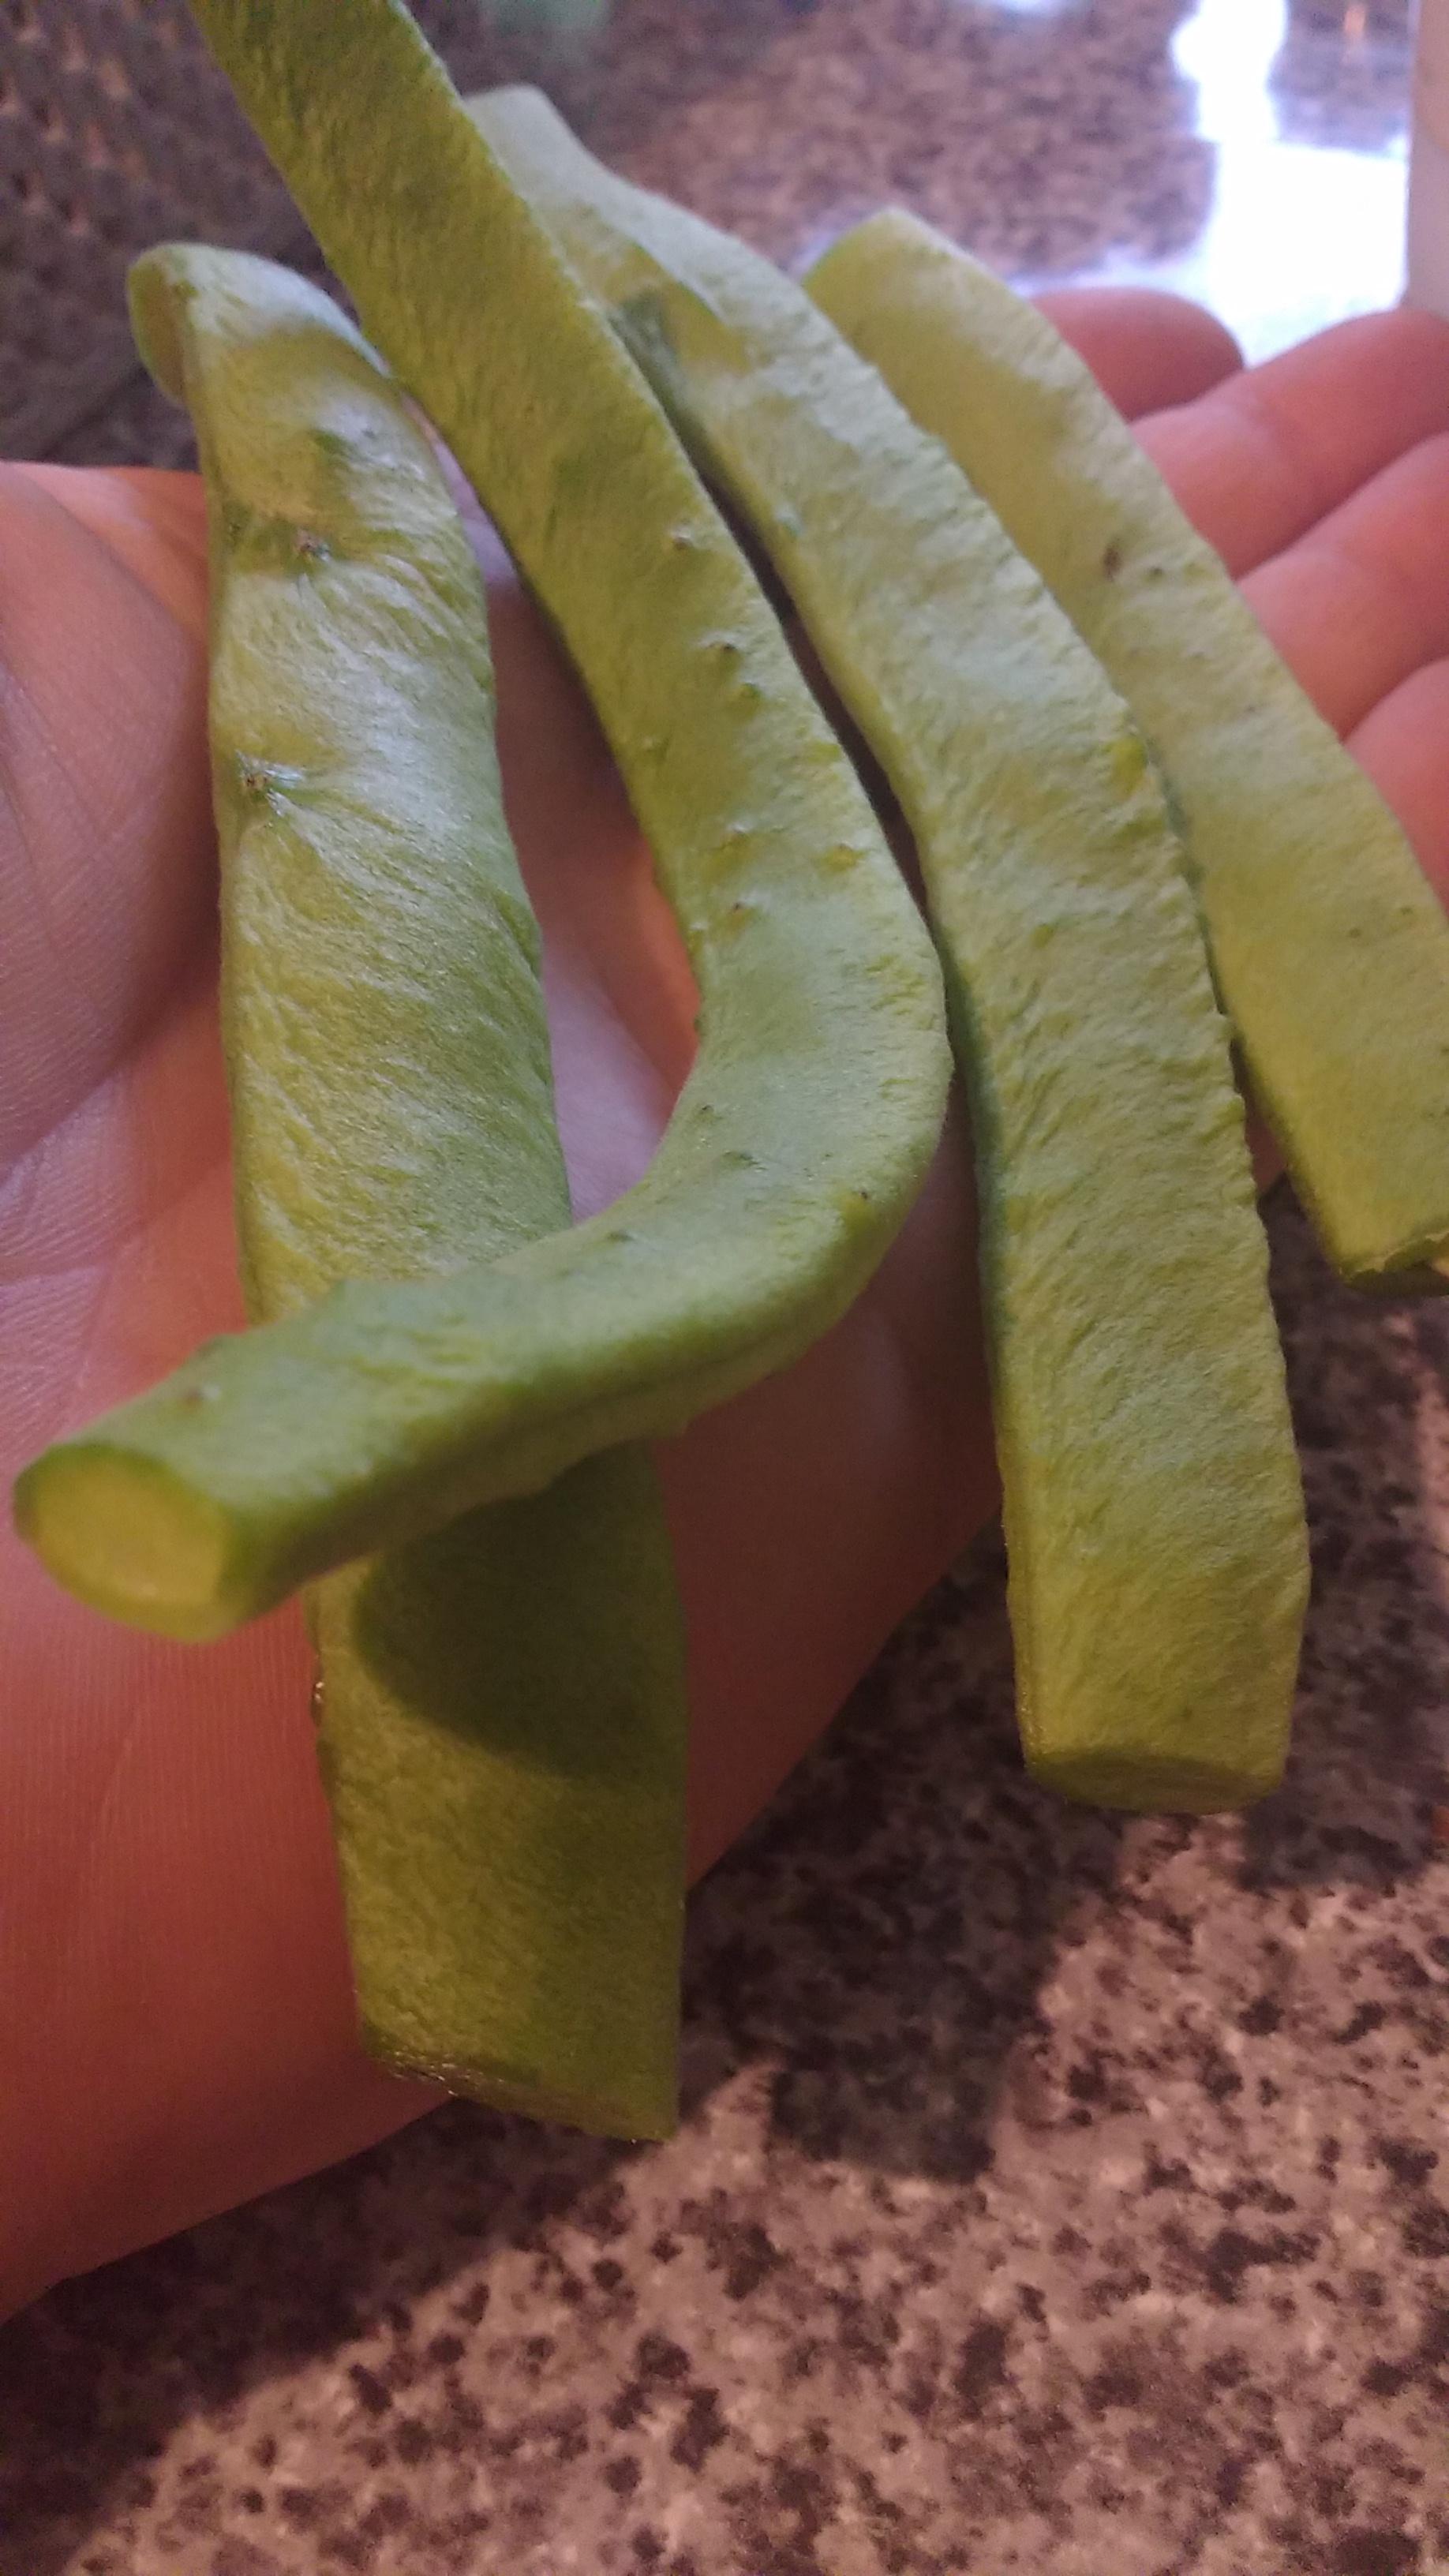
Yep, 6" long, green and spotty! -
How does your garden grow?
Onoff replied to recoveringbuilder's topic in Landscaping, Decking & Patios
Pretty certain I have a green shield bug issue. The pictures above seem to echo those I found here: https://notahorticulturist.com/2020/09/18/southern-green-shield-bug/ Neem oil with a "few drops of mild detergent" in a water spray I'm reading widely. The detergent to help as the oil won't readily mix with water. I don't want to use washing up liquid...need a "natural" soap of some sort. @SteamyTea any thoughts?
-
Get tinted contact lenses?
-
@zoothorn I'm putting you on ignore. Sick to the t!ts of the same repeat questions and you expecting everyone to repeat what they've already spent time going over, often more than once.
-
Like we haven't been through these questions before!
-
What a generous offer. Any chance of moving to Kent?
-
Wtf are you on / on about? Earlier you were on about whacking down clay and should you add hardcore as in you hadn't? Plus you've used Postcrete before. Go and look on YouTube like everyone else does.