


Onoff
-
Posts
21172 -
Joined
-
Last visited
-
Days Won
206
Everything posted by Onoff
-
Metal for a start to comply with Amendment 3. I'm NOT a Wylex fan tbh but this PDF gives a broad what's what and why. In my own (and many others) humble opinion the best way to fully comply with the regs and minimise inconvenience is to have the "all independent circuits" configuration i.e. every circuit on its own RCBO. Go even further and put the freezer on its own RCBO etc. On what circuit to put the smokes/CO2 can be controversial. Everyone will have their own interpretation. http://www.electrium.co.uk/media/20150624085516_0_WylexNMMetalConsumerUnits.pdf Gets more complicated with a TT earthing system when there is a very good argument for having Double Pole RCBOs. The big names tend not to do DP RCBOs in single module width so with them you'd end up with a massive board. There are compact, single module, true DP RCBOs but it means venturing away from the main brands. But on the basis they're all made in a factory in China and then look at the "issues" the big names have had over the years then why not! Personally I like Hager. They just look and feel like a quality item. I have heard of issues even with them. Second for me would be Schneider (as was Merlin Gerin).
-
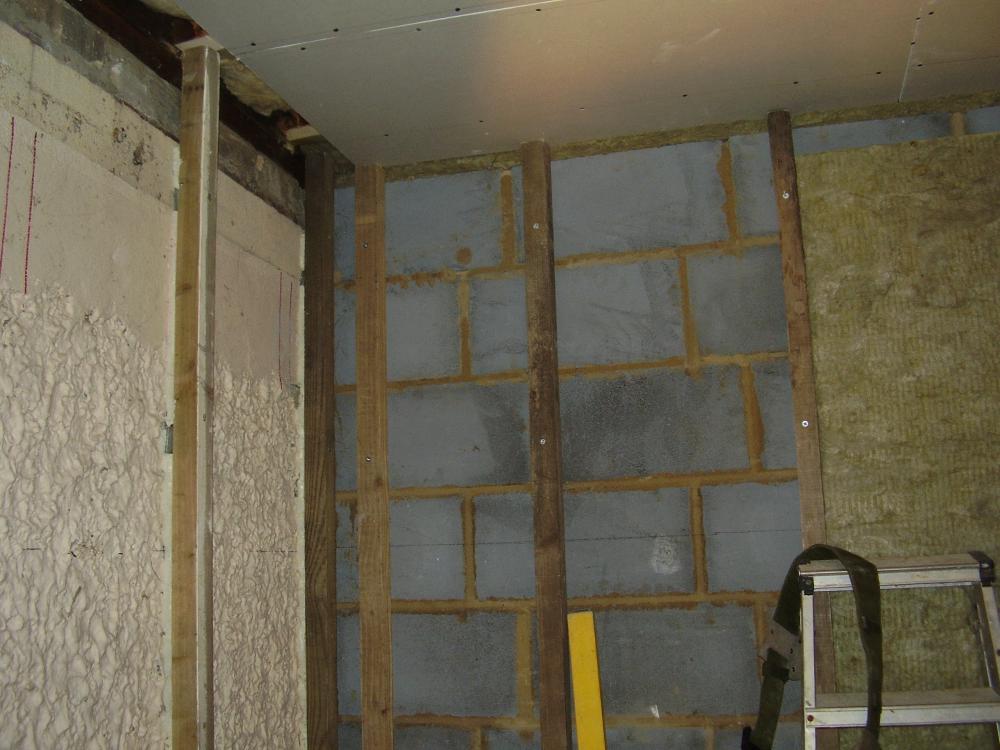
Not for a professional I'd agree but for the occasional user they're great. I've used one and IMHO they do what they say on the tin. The bed gets laid about 12mm thick then with a tamp ends up at 10mm. I wetted all my blocks first and got the mix just. It's a doddle tbh. Very little, if any waste so less to worry about muck falling down in say a cavity. Have lent out to a couple of mates who found it good too. The little clip on string line clips are inspired IMO. I do then faff about an point all the joints with a mortar gun.....then go over them with a paint brush to work it in, then over fill again and rub off the excess with a block when going off so all smooth. No gaps in my blockwork! This was a bit of a pig. I had a single skin, rickety out house. I put a second skin up on the inside using the Bricky with Easy-fix ties tied into the new skin as I went. 60mm gap with 50mm Rockwool batts. Then more batts on the inside and another 50mm of Rockwool. Got the idea from the Make It Up As You Go Along School of Building! If only I'd known about eBuild then. About the only good bit is I've got about 350mm of fluffy insulation in the roof.
-
Click Mode or Hager Sollysta for me. Volex are the spawn of the devil. Terminals too tight to get x2 2.5 including the insulation on some let alone spur off it.
-
£120 each here for a similar looking pan here. You can get it with either a Geberit or Bernstein frame so I reckon the fixings that come with the frames I've got may do: http://www.ebay.co.uk/itm/WALL-HUNG-TOILET-WALL-MOUNTED-SoftClose-GEBERIT-installation-system-Flush-Plate-/281393512309
-
About 2 mins in, the Pro Pointer: I think I've got a spare one somewhere. PM me your address if you want it.
-
Have a look at these 2 suppliers: http://www.ukelectricalsupplies.com/ http://www.fastlec.co.uk/
-
Similar look for a lot less money, Bernstein make, any good? http://www.ebay.co.uk/itm/RIMLESS-WALL-HUNG-WALL-MOUNTED-TOILET-NT2038-Ceramic-Soft-close-duroplast-seat/281855507922?_trksid=p2047675.c100005.m1851&_trkparms=aid%3D222007%26algo%3DSIC.MBE%26ao%3D1%26asc%3D36498%26meid%3De0091188b4fd4681bf518c2a314d4b10%26pid%3D100005%26rk%3D5%26rkt%3D6%26sd%3D331856429927
-
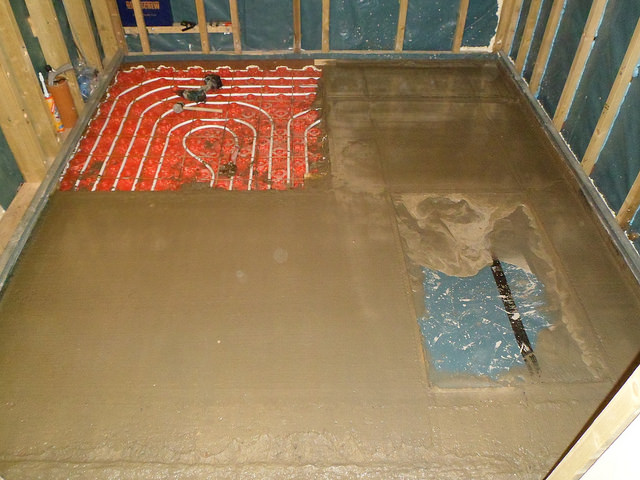
From what I can figure it's a couple of hundred quid for the "element" . Type "geberit shower wall drain" into eBay. You'll see various "elements" with the yellow plastic covers on. You can get short or tall frames which also take the shower mixer. I think on top it's about £80 for a stainless cover to finish everything off. Not sure on the exact part numbers yet. I've just left a big square out when I laid the floor slab (you might remember from eBuild) and will think about the wet room corner later. This gives a lot of info: http://www.plumbase.co.uk/link/1/b023799_29442_t.pdf
-
This is what I plan on using..... .....eventually
-
I did notice that but joe said he can get a decent signal sitting on his van roof. Figured stick the antennae up high. If in doubt I suppose spend the extra £10 and get the Yagi one.
-
How about this.....a bit cheaper: http://www.lightinthebox.com/lcd-display-mini-dcs-1800mhz-mobile-phone-signal-booster-signal-repeater-sucker-antenna-with-10m-cable_p2057085.html?currency=GBP&litb_from=paid_adwords_shopping&utm_source=google_shopping&utm_medium=cpc&adword_mt=&adword_ct=84187195634&adword_kw=&adword_pos=1o3&adword_pl=&adword_net=g&adword_tar=&adw_src_id=1810908567_301579154_21687113474_pla-78632005276&gclid=CIa_7Pj6ic0CFagy0wodul0AZA
-
Cheapest I could find: http://www.ebay.co.uk/itm/Wireless-GSM-LTE-1800MHz-4G-Mobile-Signal-Booster-Repeater-Amplifier-Yagi-kits-/181916509768?hash=item2a5b11a648:g:3jAAAOSwo0JWMca3
-
Think this was your booster Dave? http://www.ebay.co.uk/itm/GSM-900MHz-Mobile-Phone-Signal-Booster-Repeater-Amplifier-Yagi-Antenna-TW-/171848937902?_trksid=p2047675.l2557&ssPageName=STRK%3AMEBIDX%3AIT&nma=true&si=EwJeFW7VawcWj50n%2BoG%2BX%2FTkjBY%3D&orig_cvip=true&rt=nc 2G only? And the psu burnt out! Worth checking what the phone frequency is then trawling eBay for something compatible from China/HK: http://www.4g.co.uk/4g-frequencies-uk-need-know/
-
Any use? Anywhere between 750 and 2000 lux depending on the detail of the work you're doing: http://www.aceinnovation.co.uk/Downloads/LUX Fact Sheet.pdf
-
Thanks. Bit lost ref side caps. Thought I'd found the same model (220009) as on your eBay link for the Starck 3 but it shows very obvious side caps unless I'm missing something. http://www.bathroomsandshowersdirect.co.uk/duravit---wall-hung-toilets/starck-3-wall-hung-toilets/duravit-starck-3-220009-wall-hung-pan-white?gclid=CNKcqc7liM0CFQPgGwodVP0Htw How do you get to the bolts on the one in your eBay link - looks like there aren't any?
-
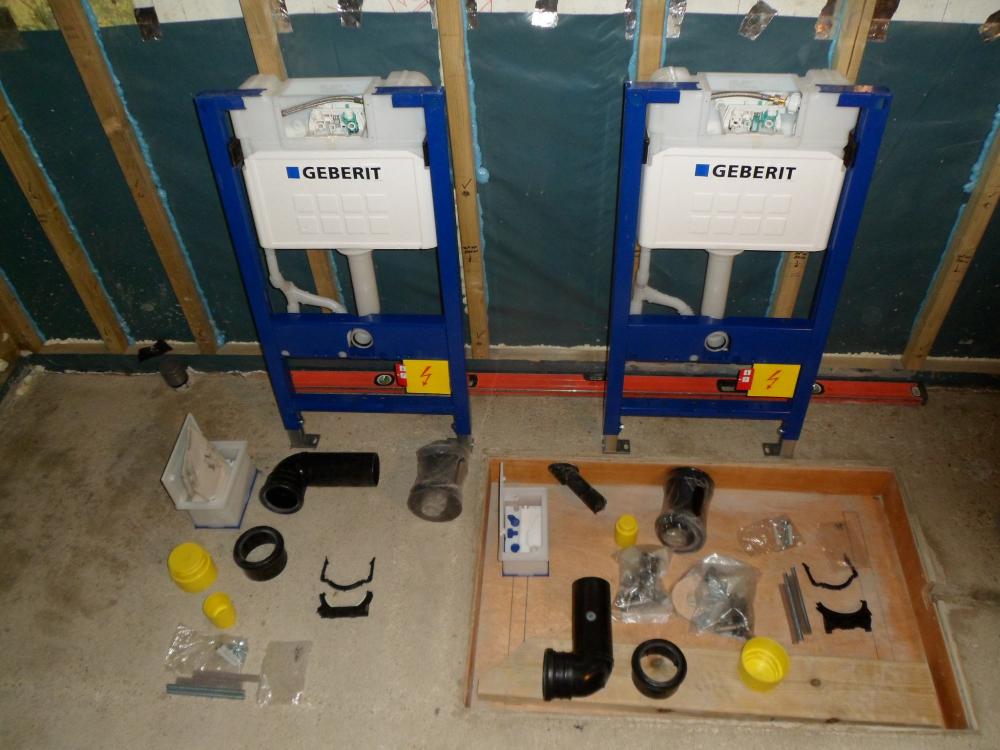
Found that photo of the Geberit components: What bit leaked on the earlier Geberit frames then? Vaguely remember something about this on the other forum. Just wondering as these are the UP200 cistern, 0.98m high, 150mm deep frame. (But then I do have the wall depth to cope). Nick, what wall hung wc is that in your post that I just liked?
-

Bath Surround / Boxing In, and concealed pipework
Onoff replied to Onoff's topic in Bathrooms, Ensuites & Wetrooms
Mulling over doing the boxing in two "horseshoe" shaped sections, bolted together..... -
The photo in post #26. Cheers.
-
I had, over on eBuild photos of a Geberit wc wall frame all un-boxed and laid out on the floor showing all the components. Just tried to retrieve it but "don't have permission" to download or even see the picture despite signing in.
-
So once you finish your build, what happens thereafter can the ecologists turn up for a visit to check you've not blocked up the holes and turfed out the bats? Same with newts etc?
-
Bath Surround / Boxing In, and concealed pipework
Onoff replied to Onoff's topic in Bathrooms, Ensuites & Wetrooms
Just edited my earlier post. I can't do the tiling first and drop the bath into the hole. The jet pipes along the side are the same width as the bath! EDIT: Seriously, ordinary silicon to fix the tiles then the grout? Reckon I could do the first half against the wall and tile it then the second half. A plan is forming..... -
Bath Surround / Boxing In, and concealed pipework
Onoff replied to Onoff's topic in Bathrooms, Ensuites & Wetrooms
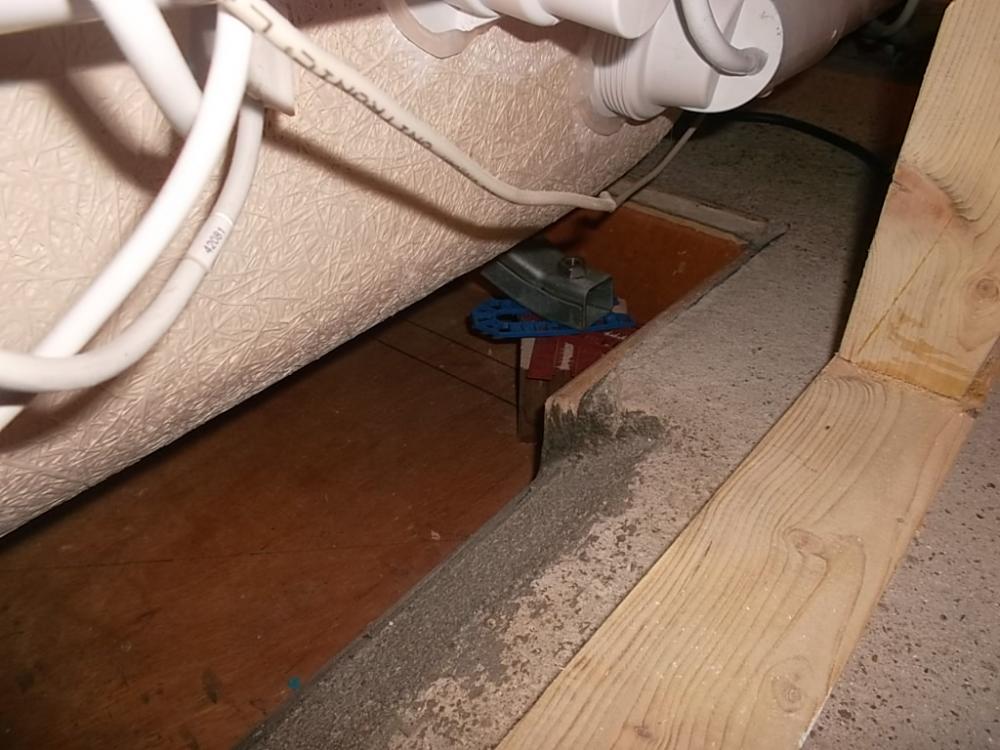
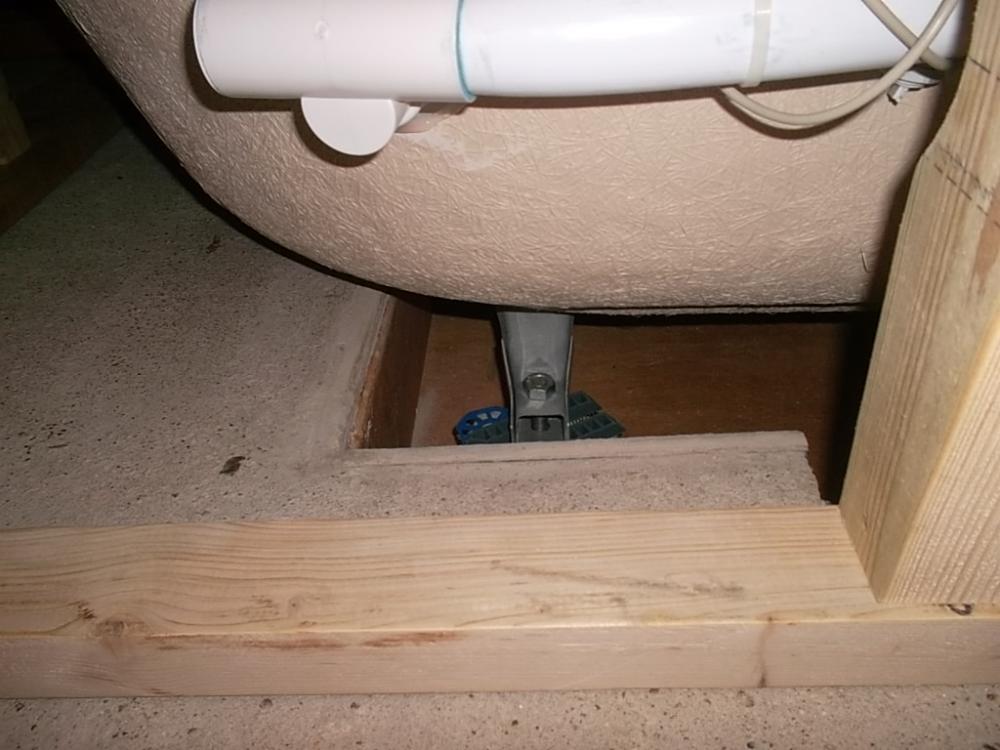
Cheers for the encouragement! I tend to use this waterproof glue now for everything, dirt cheap and seems to do the job, if anything better (for bathrooms) anyone then please shout. Every 50/60mm??? I've just been marking out at 200mm ctrs.....best get some more screws! http://www.toolstation.com/shop/p61864?table=no Once I'm happy with the fit of all the framework then I will indeed glue the granny out of it. Presumably using st/st screws would be going over the top? I'm going to have to have an unglued joint somewhere to enable removal of the bath if ever it leaks. IMHO there's too many lights, jet nozzles etc to think that at some point down the line in won't leak somewhere. Same goes for access to the tap connections (see other thread) if I put them "wall" side. To get the bath in I have to first screw the wall side ply on, manhandle the bath in sideways then drop it into the recess. Only then can the other half of the ply and frame be fitted. You can see the gap,pre pushing together between the two halves of the ply deck: I'm tempted to have a test fill of the bath (via a hose) in the very near future to see what happens "sinkage" wise. As the bath sits in a recessed 3/4" marine ply box with no tangs out into the slab, just a bit worried as to whether with the weight of all that water it'll push the ply box down into the PIR underneath. I had to knock out and add the chamfer (dark grey concrete) post paying the floor to give me any chance of getting my arm under to reach the trap. On temporary packs at the moment but nigh on there. Add 10mm I think: Before it all gets finally fixed the ply recess will get a sand and varnish and the concrete under the bath a coat of grey floor paint. Just like the idea of someone looking in there in years to come and saying "Proper job!".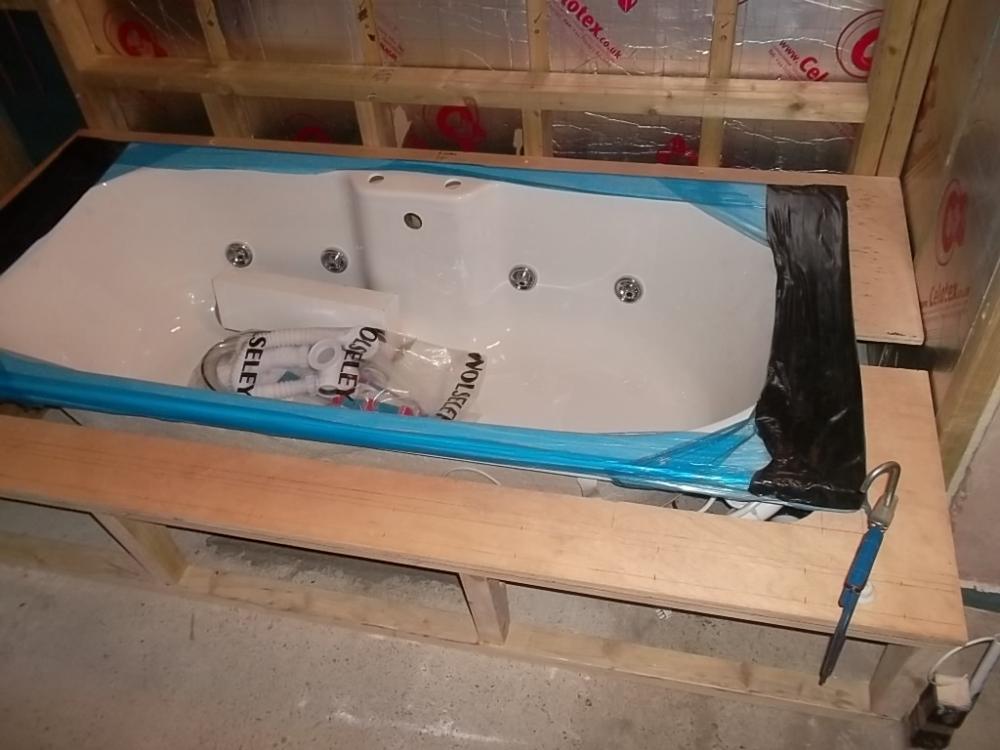
-
Geberit do a 90/110mm adapter I know.
-
Figured start a new thread on this as it's a bit removed from "flexible tap connectors" and can stand alone So I'm boxing the bath in. Just doing what I can until I decide what way around the bath is going etc. It's a timber frame all screwed together so easy enough to dismantle. Decided to taper the long bath side so when you stand close your toes will be sort of under and you'll be a couple of inches closer. It'll be tiles atop the 3/4" ply that the bath sits on. Up the side (tiled again) I was going to do 12mm ply - shown here with a bit of 12.5mm plasterboard. First time doing anything this complex so just seeing if I'm on the right track. Only ever fitted a ready made acrylic panel or a bit of painted ply: (Got to shim up the faces of the central two tapered pieces with some thin ply to bring them level). Presume I can just tile over this detail?
-
Stage 1 Is Very Nearly Complete :)
Onoff replied to Construction Channel's topic in General Self Build & DIY Discussion
Dare say you'll have the camera running. You & anything involving chocolate, ice or whipped cream all at 1080P....No ta! EDIT: Mind you I did film our second one being born.




