Can be done & cheaper than gym membership!
1) The bathroom had a concrete floor some 60mm higher than the adjacent rooms. It was in fact pretty much dead level with the DPC (damp proof course). That was slate on the two original solid brick walls and some sort of bitumen felt on the two cavity walls:
2) Not the only room in the house with level issues. So out with the BiL's vintage Kango:
3) I bagged it and hand balled it out the front door. About 80 bags from memory:
4) Got down to top soil:
5) And started to DIG! Someone worked out the tonnage that I shifted, again by hand. 7 tonnes? Can't remember though I did lose weight!
6) Hit our wonderful clay not too far down:
7) So then to build it back up. I didn't now how but knew I wanted UFH. Started the questions on eBuild!
So I banged a load of level pegs into the clay allowing 2 - 4". Tbh nearer to 2" in most areas. Sprayed the pegs so I could see them:
? First off I graded a load of the hard core that came out of the floor thru a 40mm mesh sieve. Basically I'm too tight to buy Type 2 etc. Laid it roughly level:
9) Somewhere around this point I shuttered off and squared up, with concrete, the ragged tops of the footings:
10) Any old bags of cement, plaster etc got thrown in to help get rid of it and fill voids in the hard core:
11) I then bought a second hand electric wacker plate and compacted it all down.
(Did take a slight diversion and started making an electric wacker plate. THAT story is to be continued! )
It WILL live one day!
12) Anyway.....back on thread. Wacking:
13) Sharp sand went down next to fill all the voids. Me being me it was all levelled off:
14) At this point I was feeling pretty happy, I mean it just looks FINISHED!
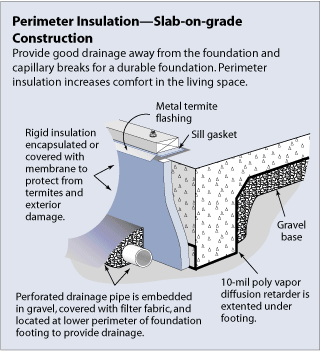
15) 25mm of EPS went down next. EPS doesn't suck up water like PIR can so can be in direct contact with damp "ground". It's why so many here put 300mm of EPS under their concrete slab under the whole house. The combo of the sharp sand and EPS is to ensure no sharp bits of hardcore poke up thru the DPM (damp proof membrane). Think the sand and deffo the 25mm EPS was @Nickfromwales idea.
16) I'll openly admit I went full @pocster and had a sneaky, naked lie down on it at this point. It felt SO WARM!
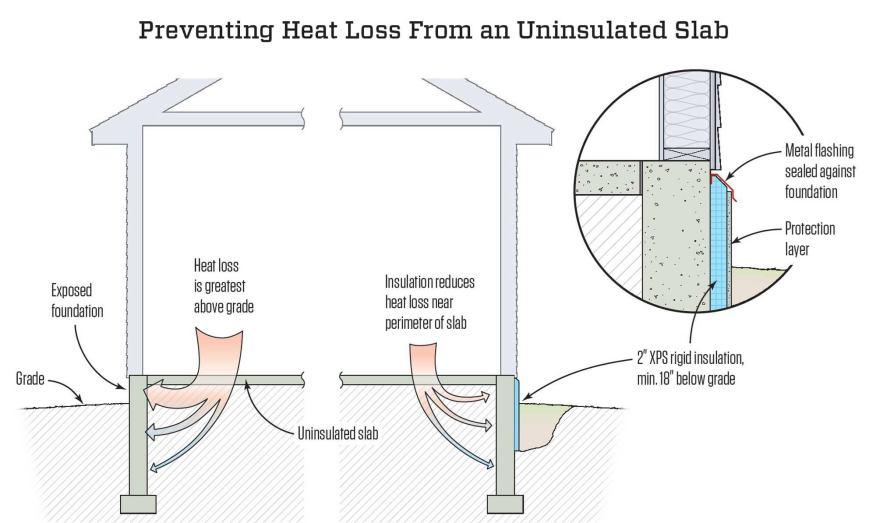
17) I continued the EPS over the squared off footings and up the walls a little as a nod to cold bridging. Glued on with Soudal Low Expansion Foam, thanks to @JSHarris for that tip. You can see where the damp is coming thru:
18) Probably OTT but I applied a liquid DPM up to the level of the DPC.
19) Whilst the second coat was wet I blinded it with sand to give something for the Soudal foam to key to and when dry foamed the EPS in place.
20) Thick, blue DPM next. From Screwfix, on a roll:
21) Bit of a pig folding it into the corners:
22) Next 150mm of PIR as a 50 and 100 layer. Better to put the 50 down first the the 100 - wish I had! I'd suggest 150mm as a minimum. With hindsight I'd have dug a bit deeper and gone 200mm:
23) The DPM carries on up the wall with the intent of sticking to / overlapping the vcl on the stud walls to come. It's why the room is so draught free.
24) Now at this point I could have laid a plastic membrane over the foil faced PIR and stapled my UFH pipes down.....I didn't. Instead I used Polypanels as I think suggested by @PeterW. They serve 2 purposes; to act as a separating membrane between foil face and screed or concrete (you can get a reaction) and also to aid laying the UFH pipe. They also save a bitbon concrete:
25) I used a self adhesive edging strip, basically a corrugated cardboard/EPS sandwich. This takes up any expansion of the slab as it heats up.....or it can push against your walls! Probably overkill as I've already the ESP upstand:
26) With my homemade pipe decoiler it makes laying it a breeze as the video shows:
27) A142 reinforcing mesh was laid next as per @JSHarris's build / suggestion. Probably the only thing the houses share in common!
I attached screeding rails (Unistrut) to the stud walls which were only affixed at this point to the walls and ceiling. A drag board went between. It's the reason my slab is so level:
27) A strong., wet concrete mix went down to give me a 100mm slab. Pockets left for the wet room tray which I cast later and one to "sink" the bath a bit:
Et voila:
From top of the original concrete I dug down a minimum of 385mm.
Final, conservative floor build up was:
- 50mm compacted Type 2 on clay
- Sharp sand blind
- 25mm EPS
- 1200 gauge DPM
- 150mm PIR (100 + 50)
- Polypipe panels
- A142 mesh
- 100mm concrete (though I forgot to add the fibres ).
- Ceramic tiles
@oranjeboom has done similar to his WHOLE HOUSE. Tbh that's my plan eventually.