Onoff
-
Posts
21052 -
Joined
-
Last visited
-
Days Won
206
Everything posted by Onoff
-
I'll see what they say and if need be add extra support. Hatch first.
-
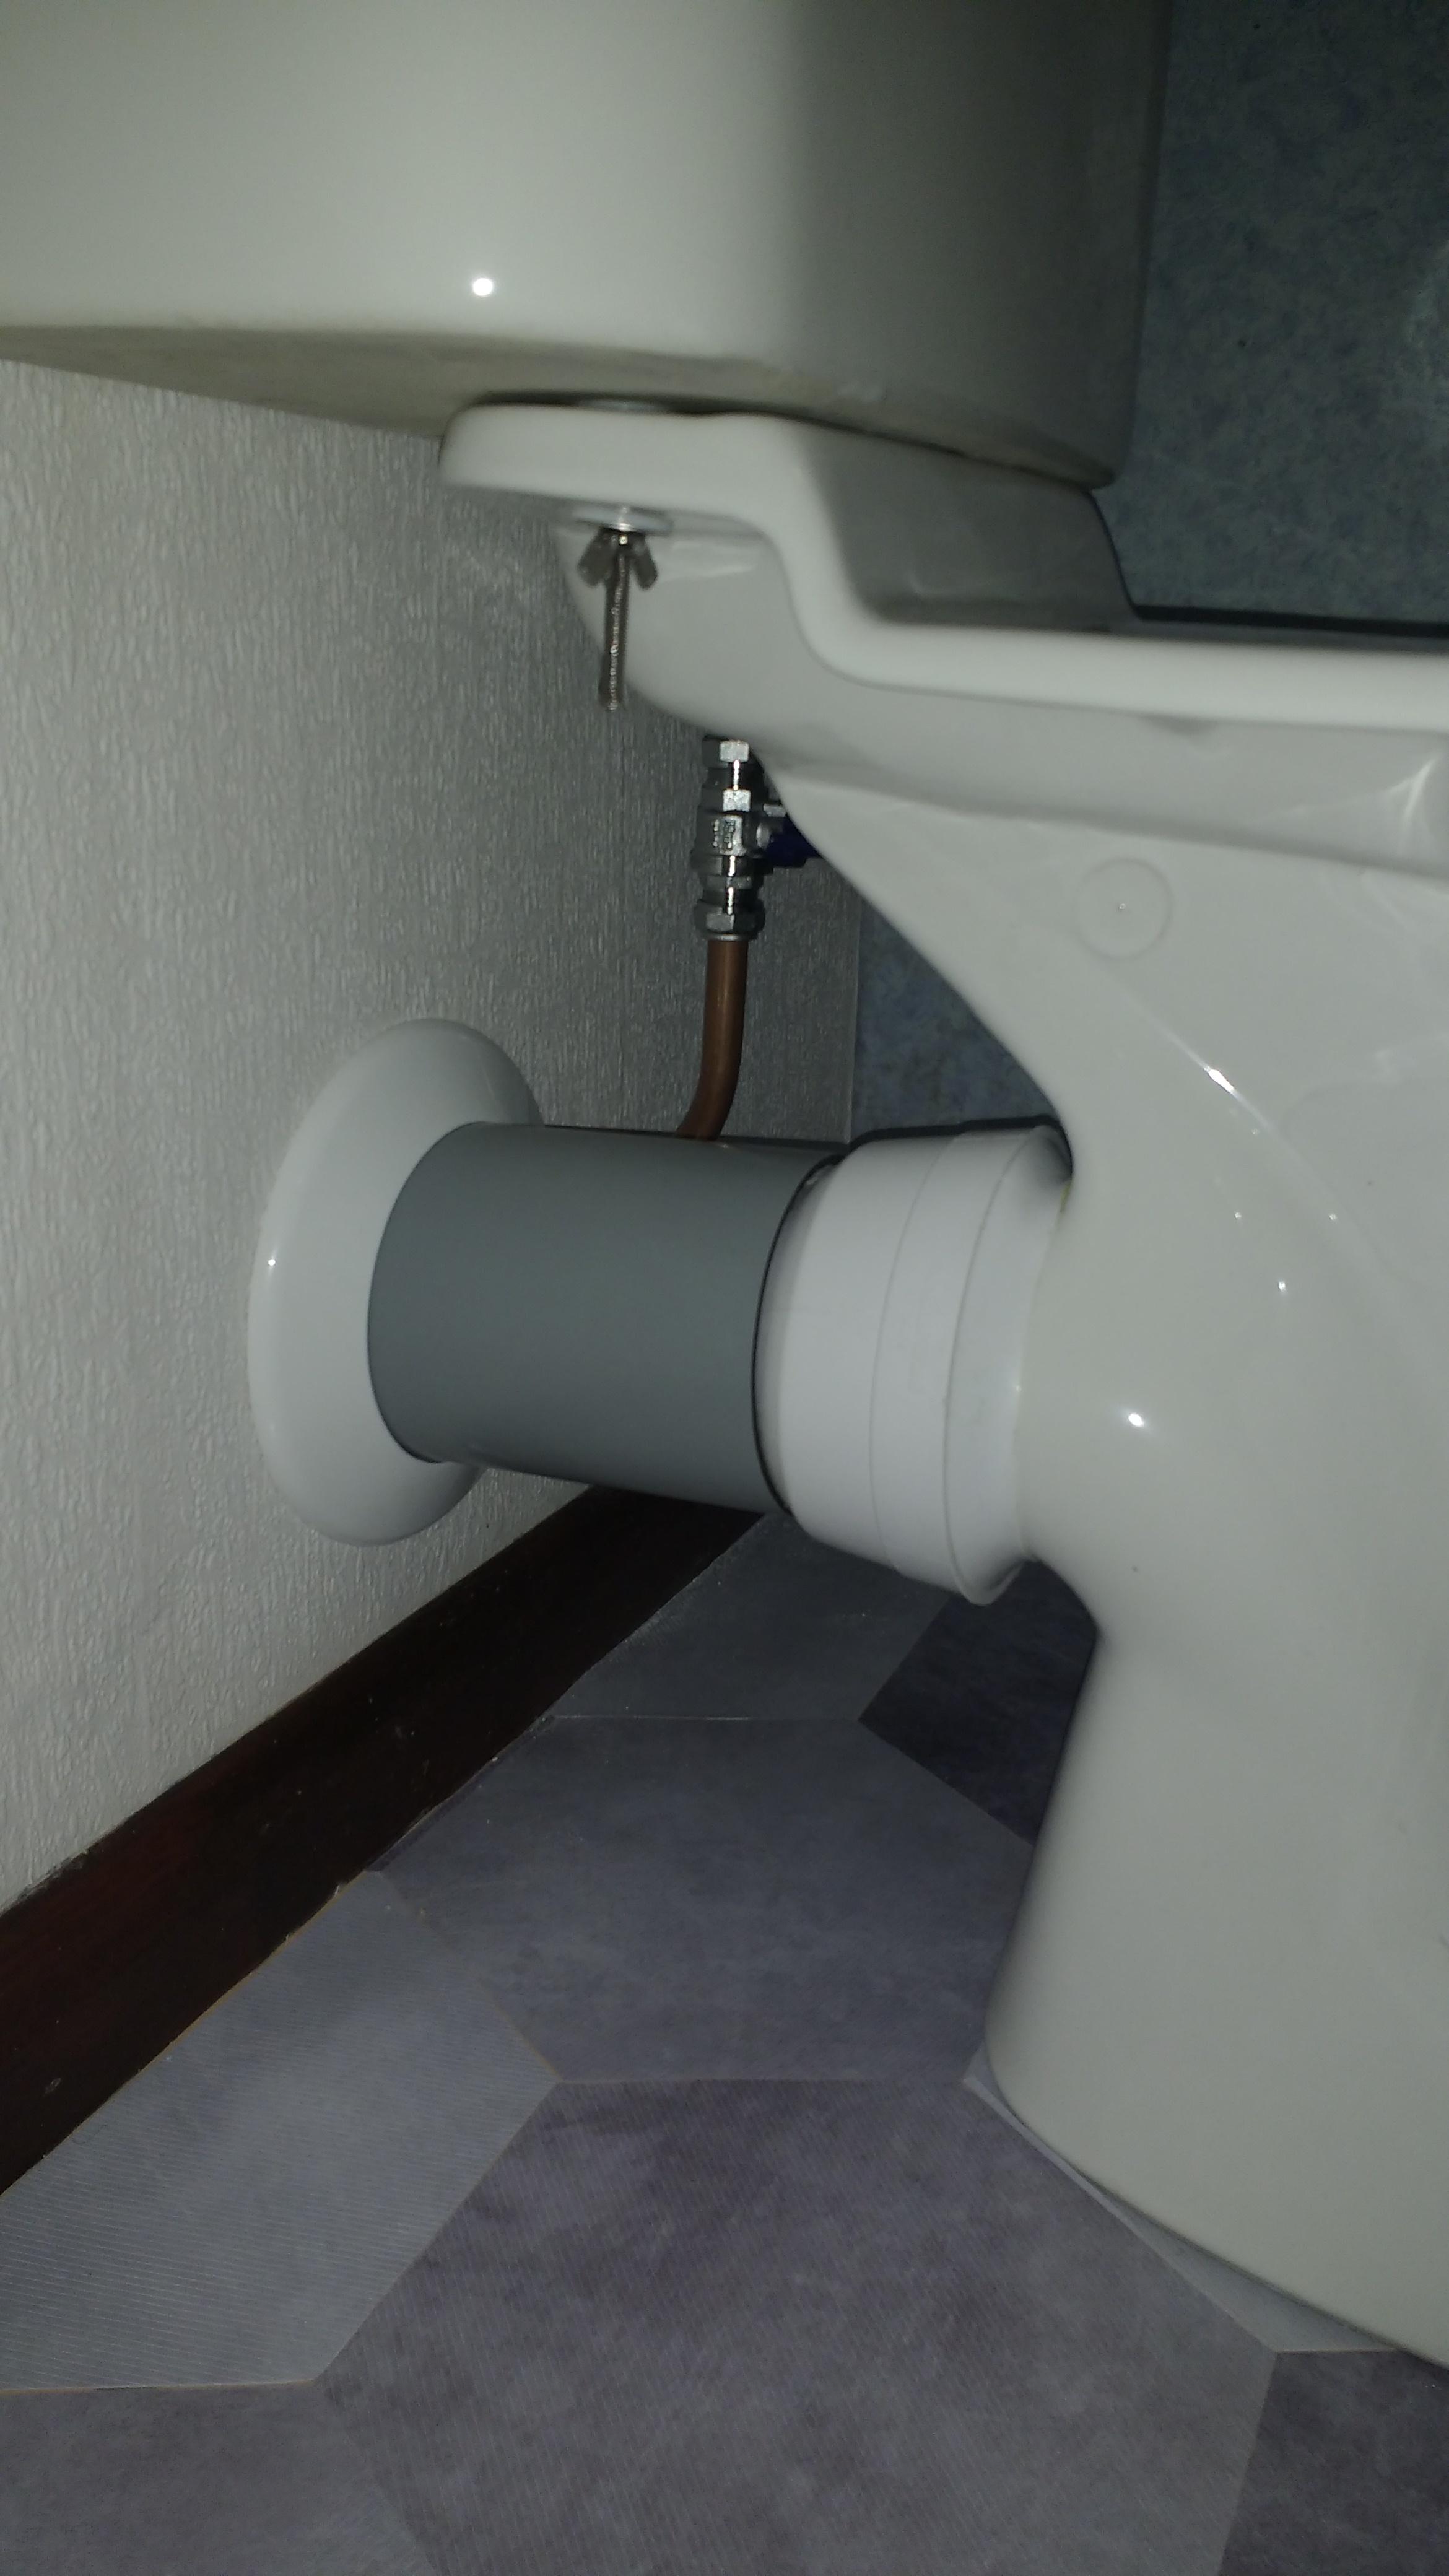
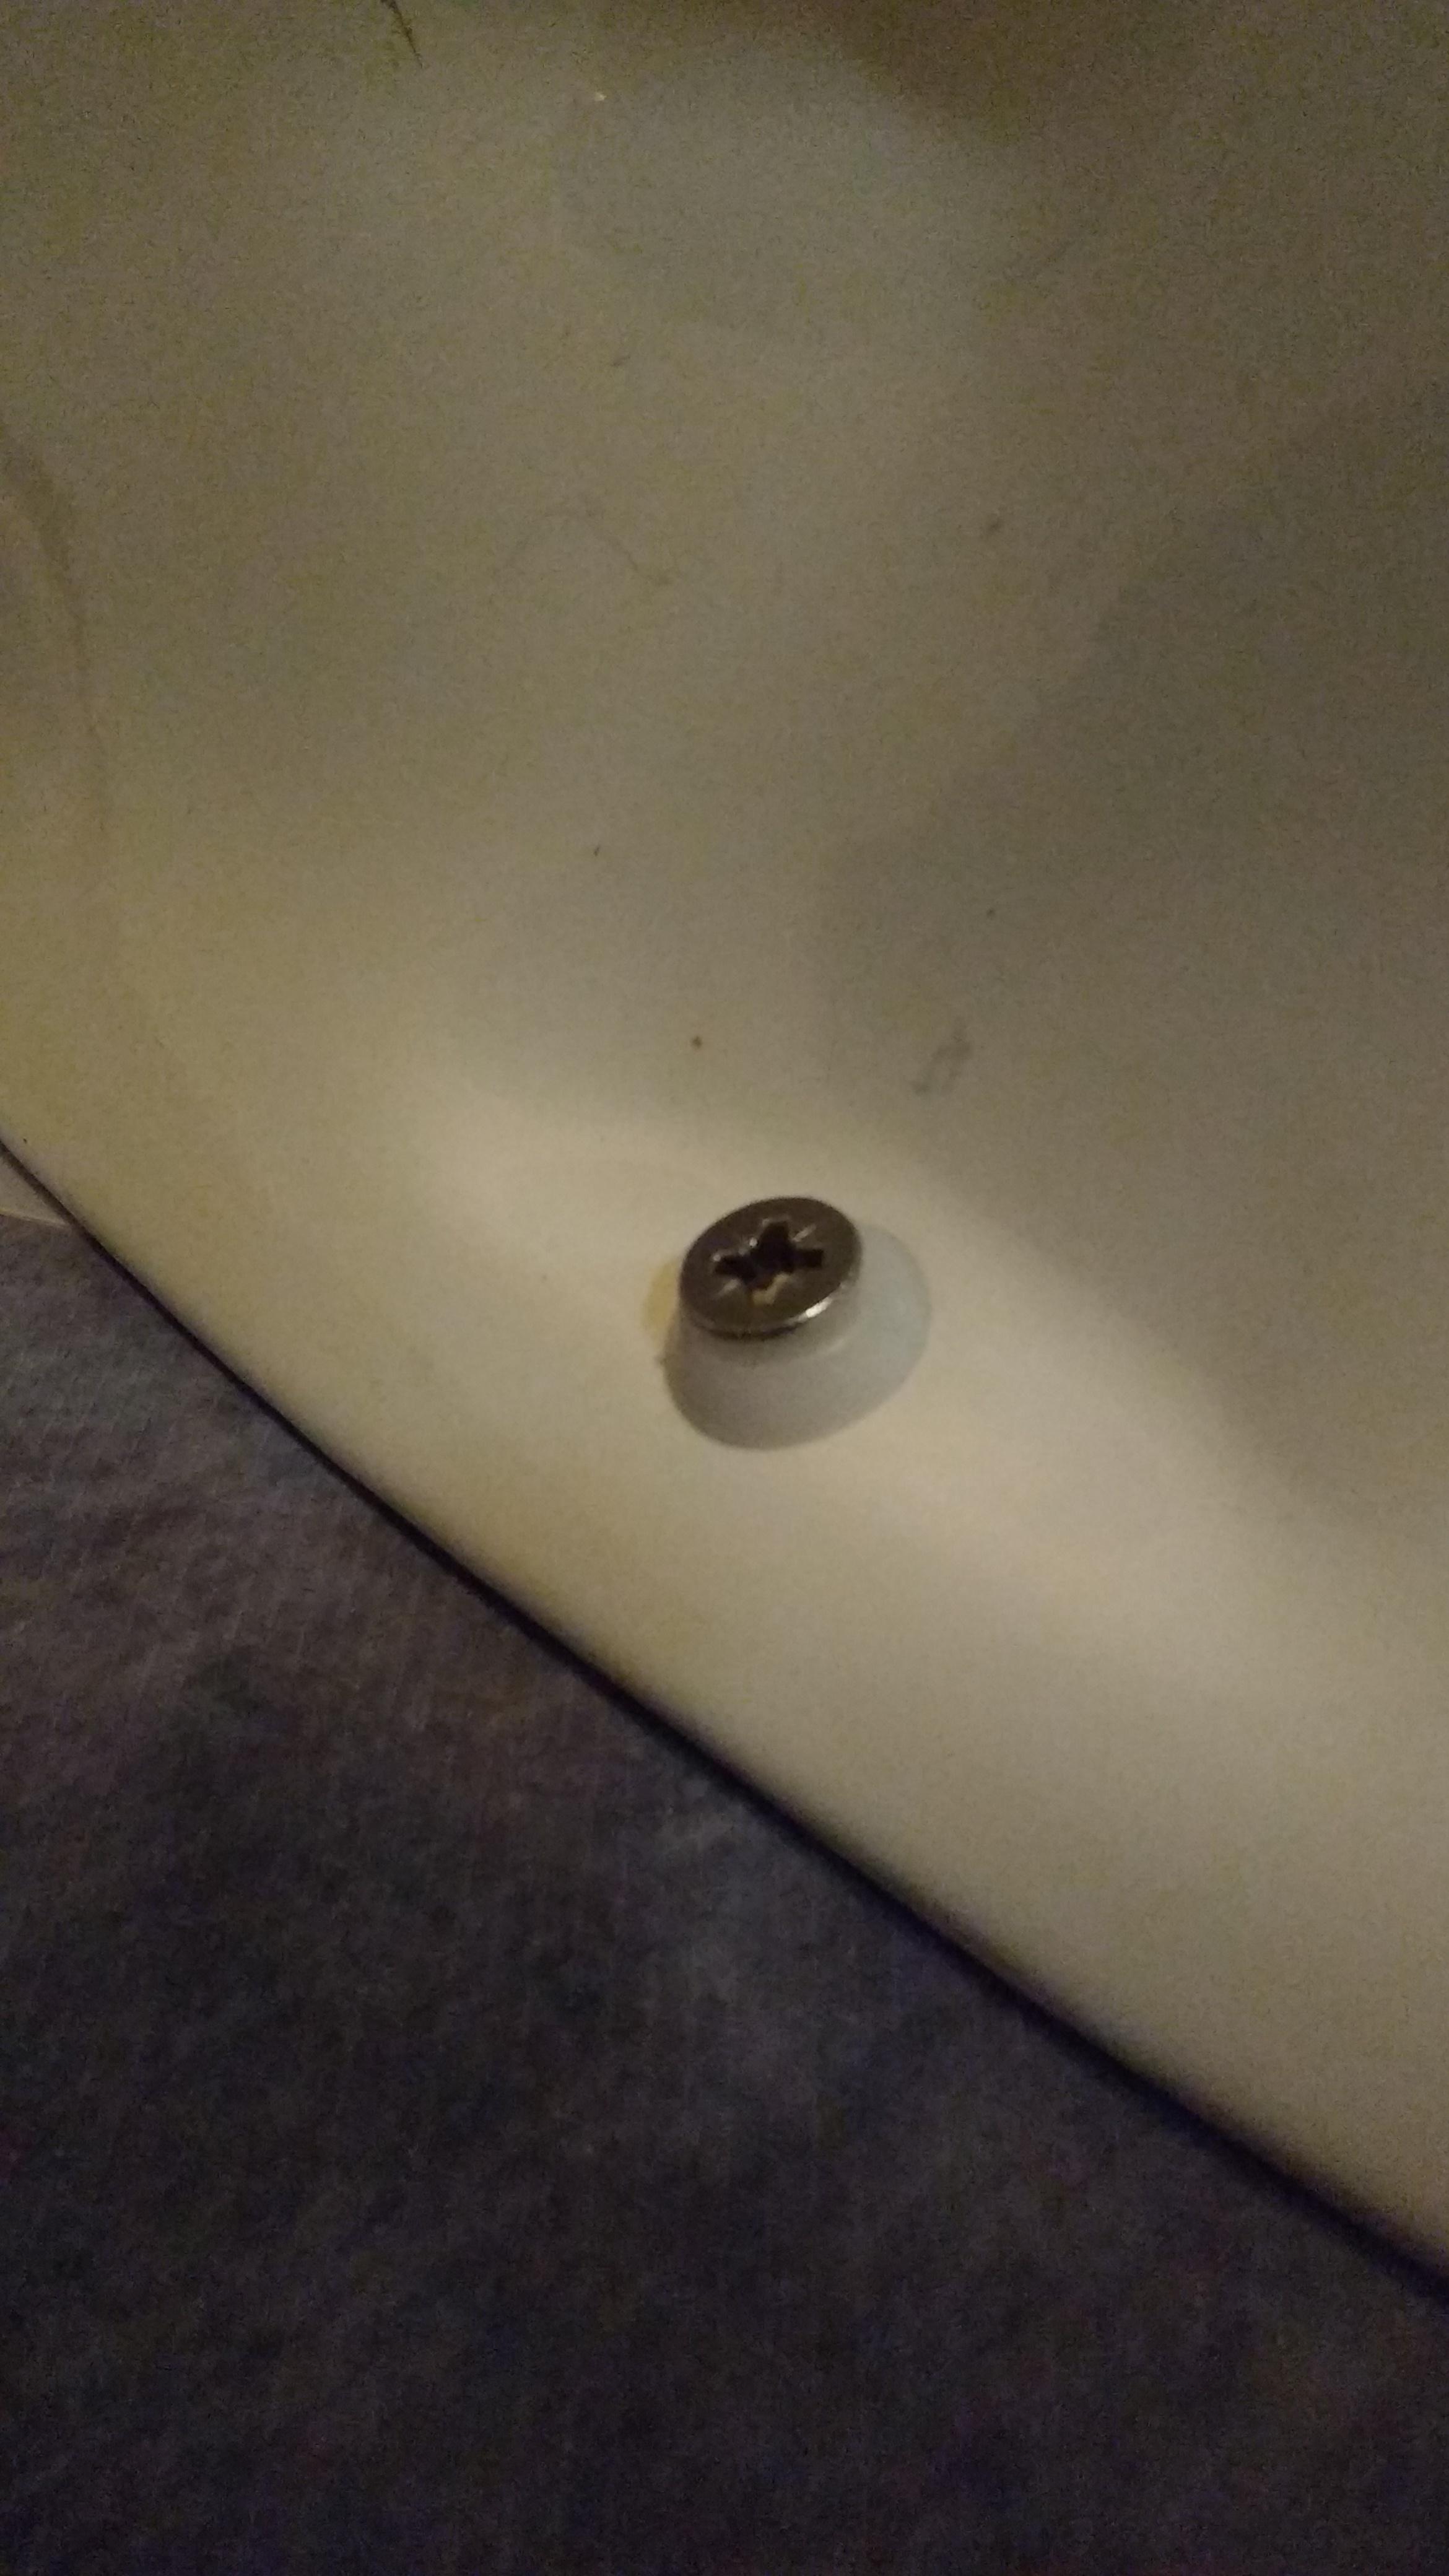
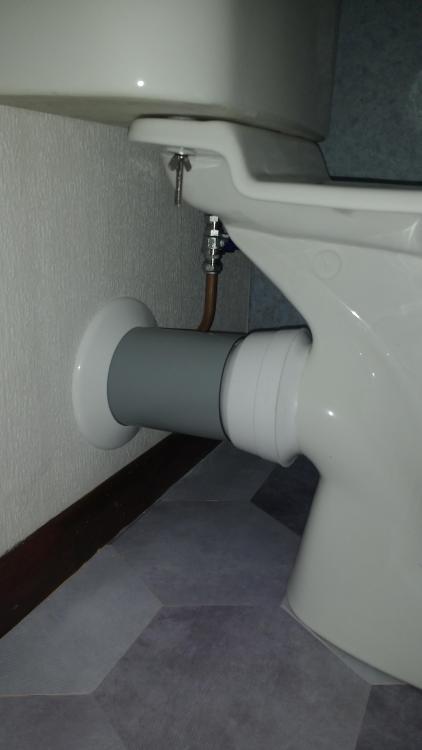
Yes. See the picture below, this bolt goes through a nut on the other side. Tightened equally. Hopefully it's not the big washer on the main flush mechanism. The studs go through the cistern. My money's on it being this: Could be anything, the pan/cistern has sat in the garage for years. (Given me loads more space now (in the garage). I now have room atop the freebie Bosch integrated fridge for even more cr@p! ?)
-
I'm presuming it was put in then boarded over. Owned the place 7 years and it was like it then. I always felt it was tarted up to sell (still a sore point between SWMBO & I). All had the wow factor on the face of it but talk about what lies beneath. Not the best video clip below but it gives an idea of what's up there. I meant but failed, to get a good view of the joists across the ceiling.
-
That's it, lower my thread to the level of yours! ?
-
? Don't know what happened there! Can't go back and add a comment via editing. Yes, email trail, tenants themselves asked if I could go over at 11 today when I requested access. All agreed Thursday I think.
-
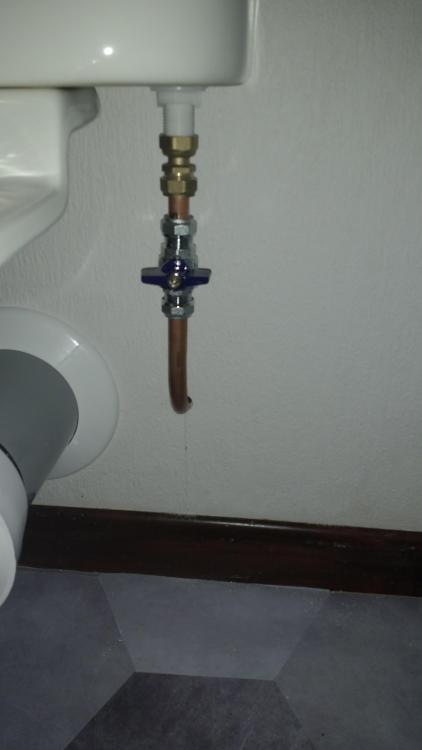
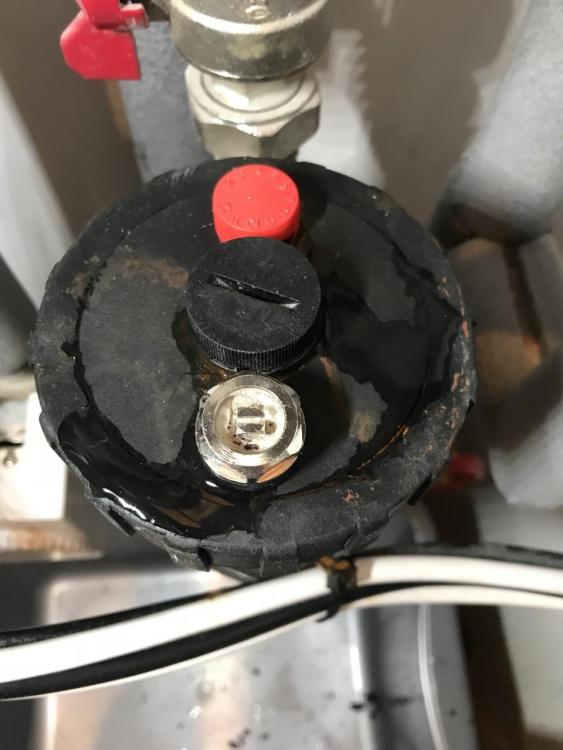
Typical! I have a leak. I think from around where the stud comes out the bottom of the cistern. Dripping down by that wing nut. Either that or the flush is getting by the big foam rubber washer that's compressed between pan and cistern. Pretty sure it's the stud. I'll back it off and reassemble with some CT1. Playing with some copper off cuts and going to do a one piece, multi bend feed pipe off the mains.

-
-
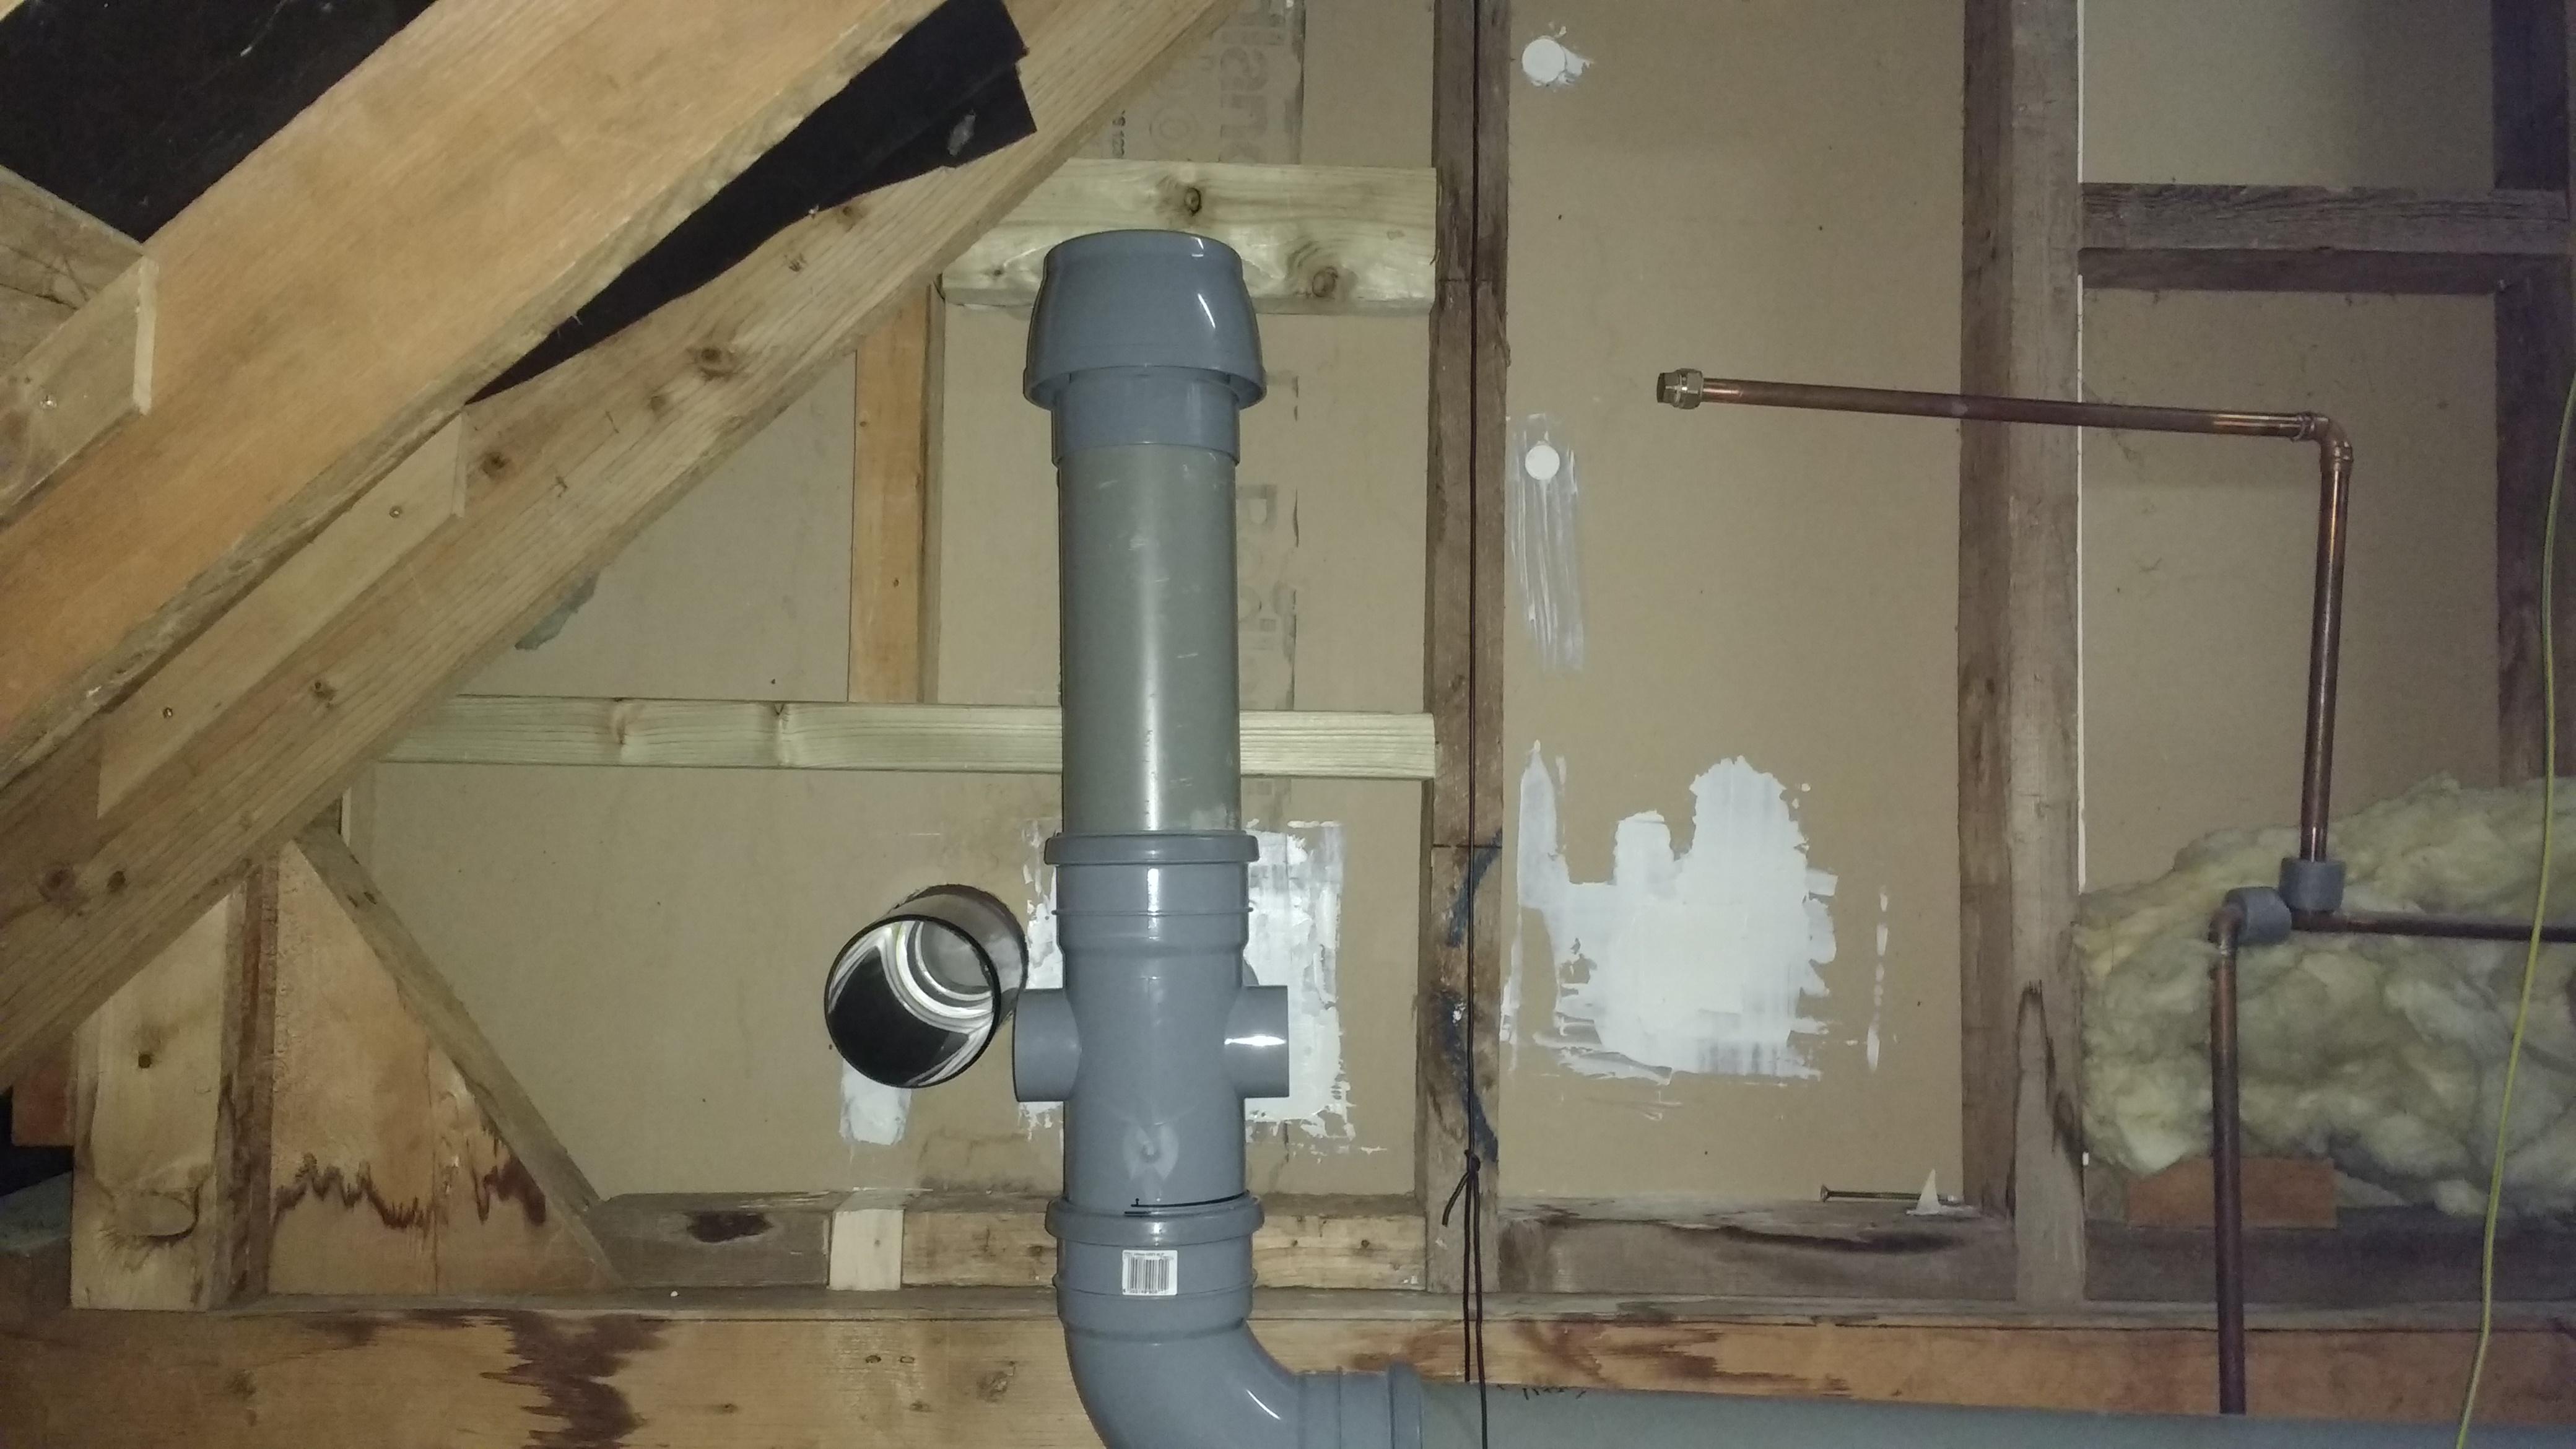
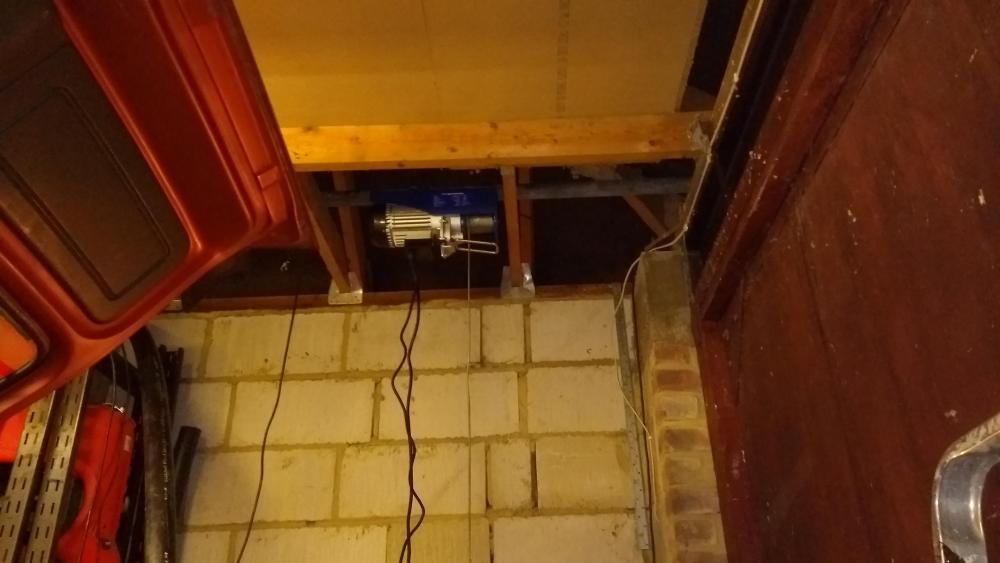
Popped over this morning. Cut an access hole and put the phone up there. Good news in that the flue looks at least in excellent order. Not so impressed the roofing felt has been cut and left like that! I've measured up for a hatch. Not so good there's a joist in the way. 1st bend: Second bend then up out the roof: I've taken a video but left it recording so need to edit out the tenant & I talking before posting. I cut a pit of pb before I went over and screwed a batten on. put that in and foil taped over for now. Will return to fit a hatch.
-
I can certainly squirt something in from the back. 110mm pipe in a bang on 114mm hole. Pipe sat on the bottom of the hole so 4mm at the top and less as you go round. It's just something to cover the "ooze" room side. It was insulated in there with old, fluffy roll stuff. It's in good nick and some can go back in. Just ordered one of those collars @PeterStarck linked. Tbh you said about them before when I had that soil pipe problem at the rental. Going over there now actually to see about this inspection hatch for BG.
-

New 1st floor extension - improving air tightness help?
Onoff replied to rh2205's topic in House Extensions & Conservatories
I've only refurbed one room here and even being on this forum I didn't quite grasp the importance of air tightness otherwise I'd have designed elements differently. It'll certainly influence what I do on future rooms. A refurb is always imo harder than starting with a clean slate of course as you have to constantly work around other people's screw ups! It also took a visit to a highly insulated, low energy house and an understanding of it's construction to make me see (as I now do), the light. Basically I renewed the ceiling joists: I infilled with pir: Foil taped the joints: The went over the lot with a membrane: That shows the membrane concept. At that point it was pretty toasty and airtight. (Still cold bridges at the joists). All this is a bit moot as I have bfo cutouts for downlights, speakers and a ginormous, ceiling mounted body dryer. I've always had a plan to reinstate the insulation and membrane at these points but it's more work, a lot of which could have been avoided (not so much the body dryer mind). I maybe SHOULD have counter battened and used low profile LEDs. Lowering the ceiling a tad with counter battens would too have helped with tiling and decreased the room volume a bit meaning less to heat. The walls followed with battens infilled with pir then a taped vcl. Ceiling vcl joins the wall vcl joins the floor vcl: The only saving grace to all this is I hope to eventually have a warm roof and ewi effectively wrapping all my mistakes in a thermal envelope. -
. I can't have put enough silicone grease on the lid threads on my IntaKlean2. Was easy to get on and off to start with but now not so much. Maybe easier when cool?
-
Thanks. I did just find that.
-
Anyone know of these? Asking for someone on another forum. Apparently leaking around the black cap on top which I take to be the magnet: Pretty sure on my IntaKlean2 you can remove the magnet without causing a leak like this. Maybe an O ring gone?
-
I'll get laddo to print a collar in two halves when he's back. Hole is dead neat and the edges of the pb sound but just for stopping the draught from the uninsulated eaves space.

-
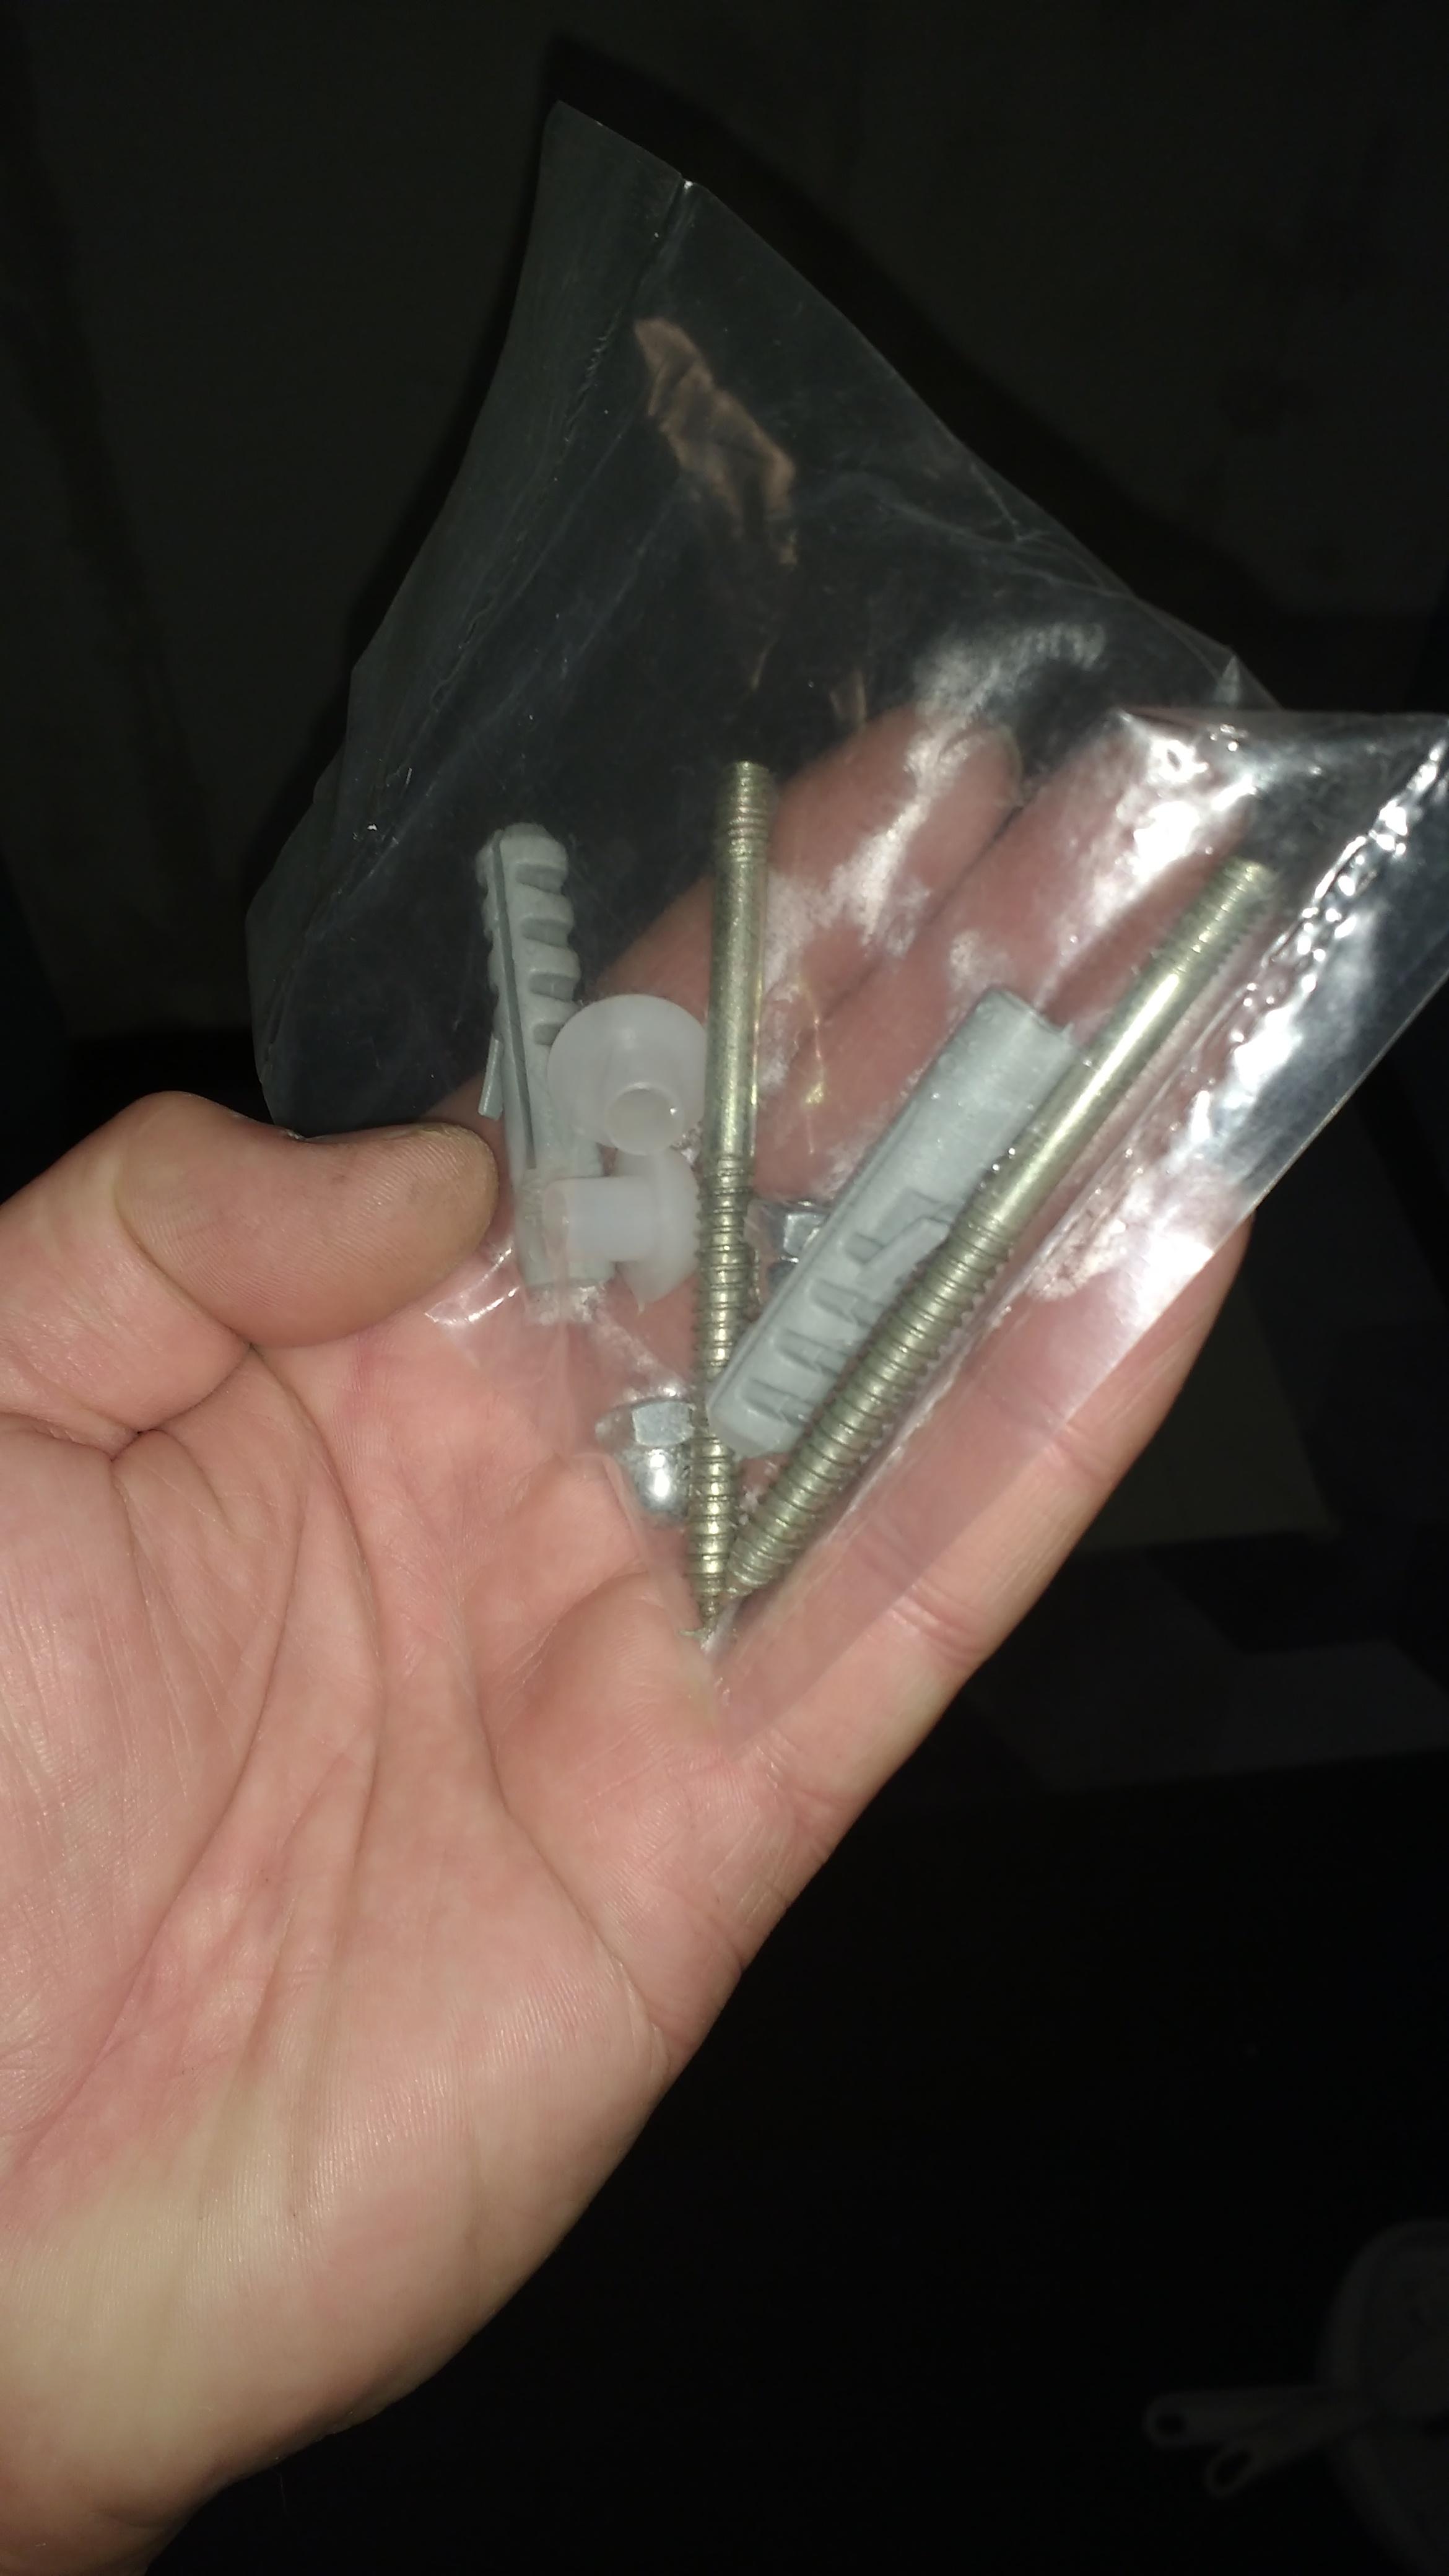
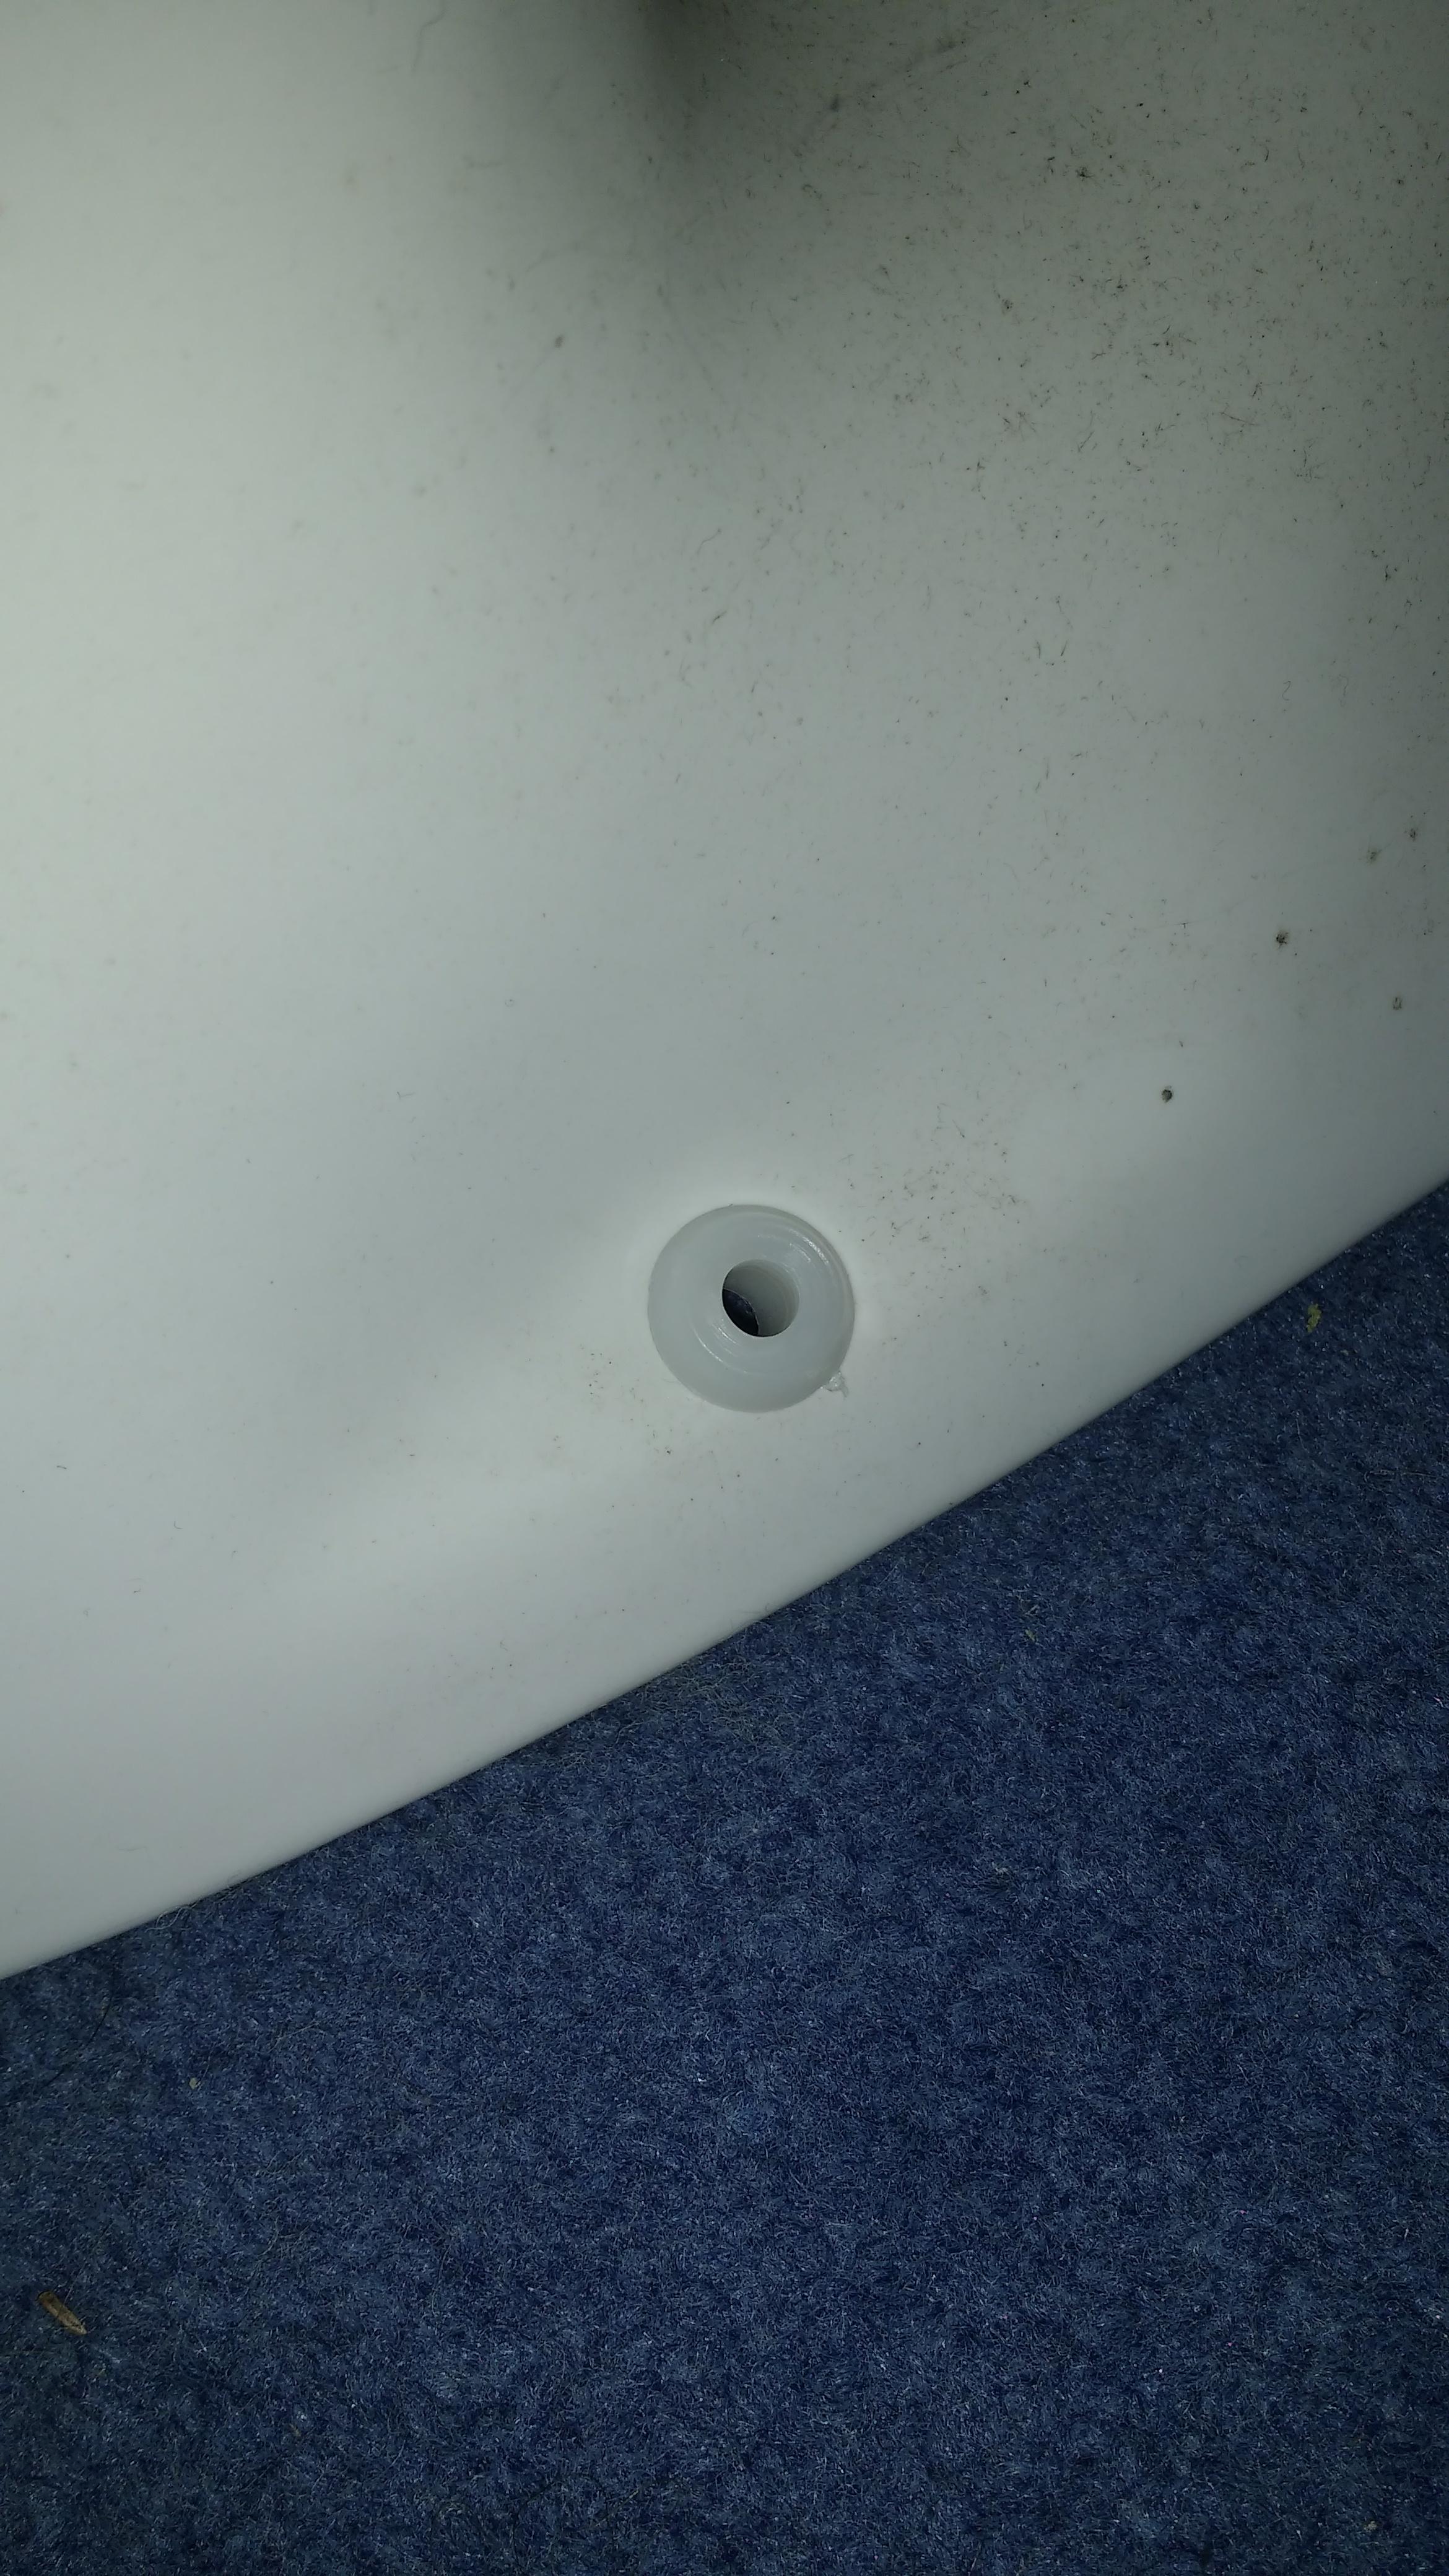
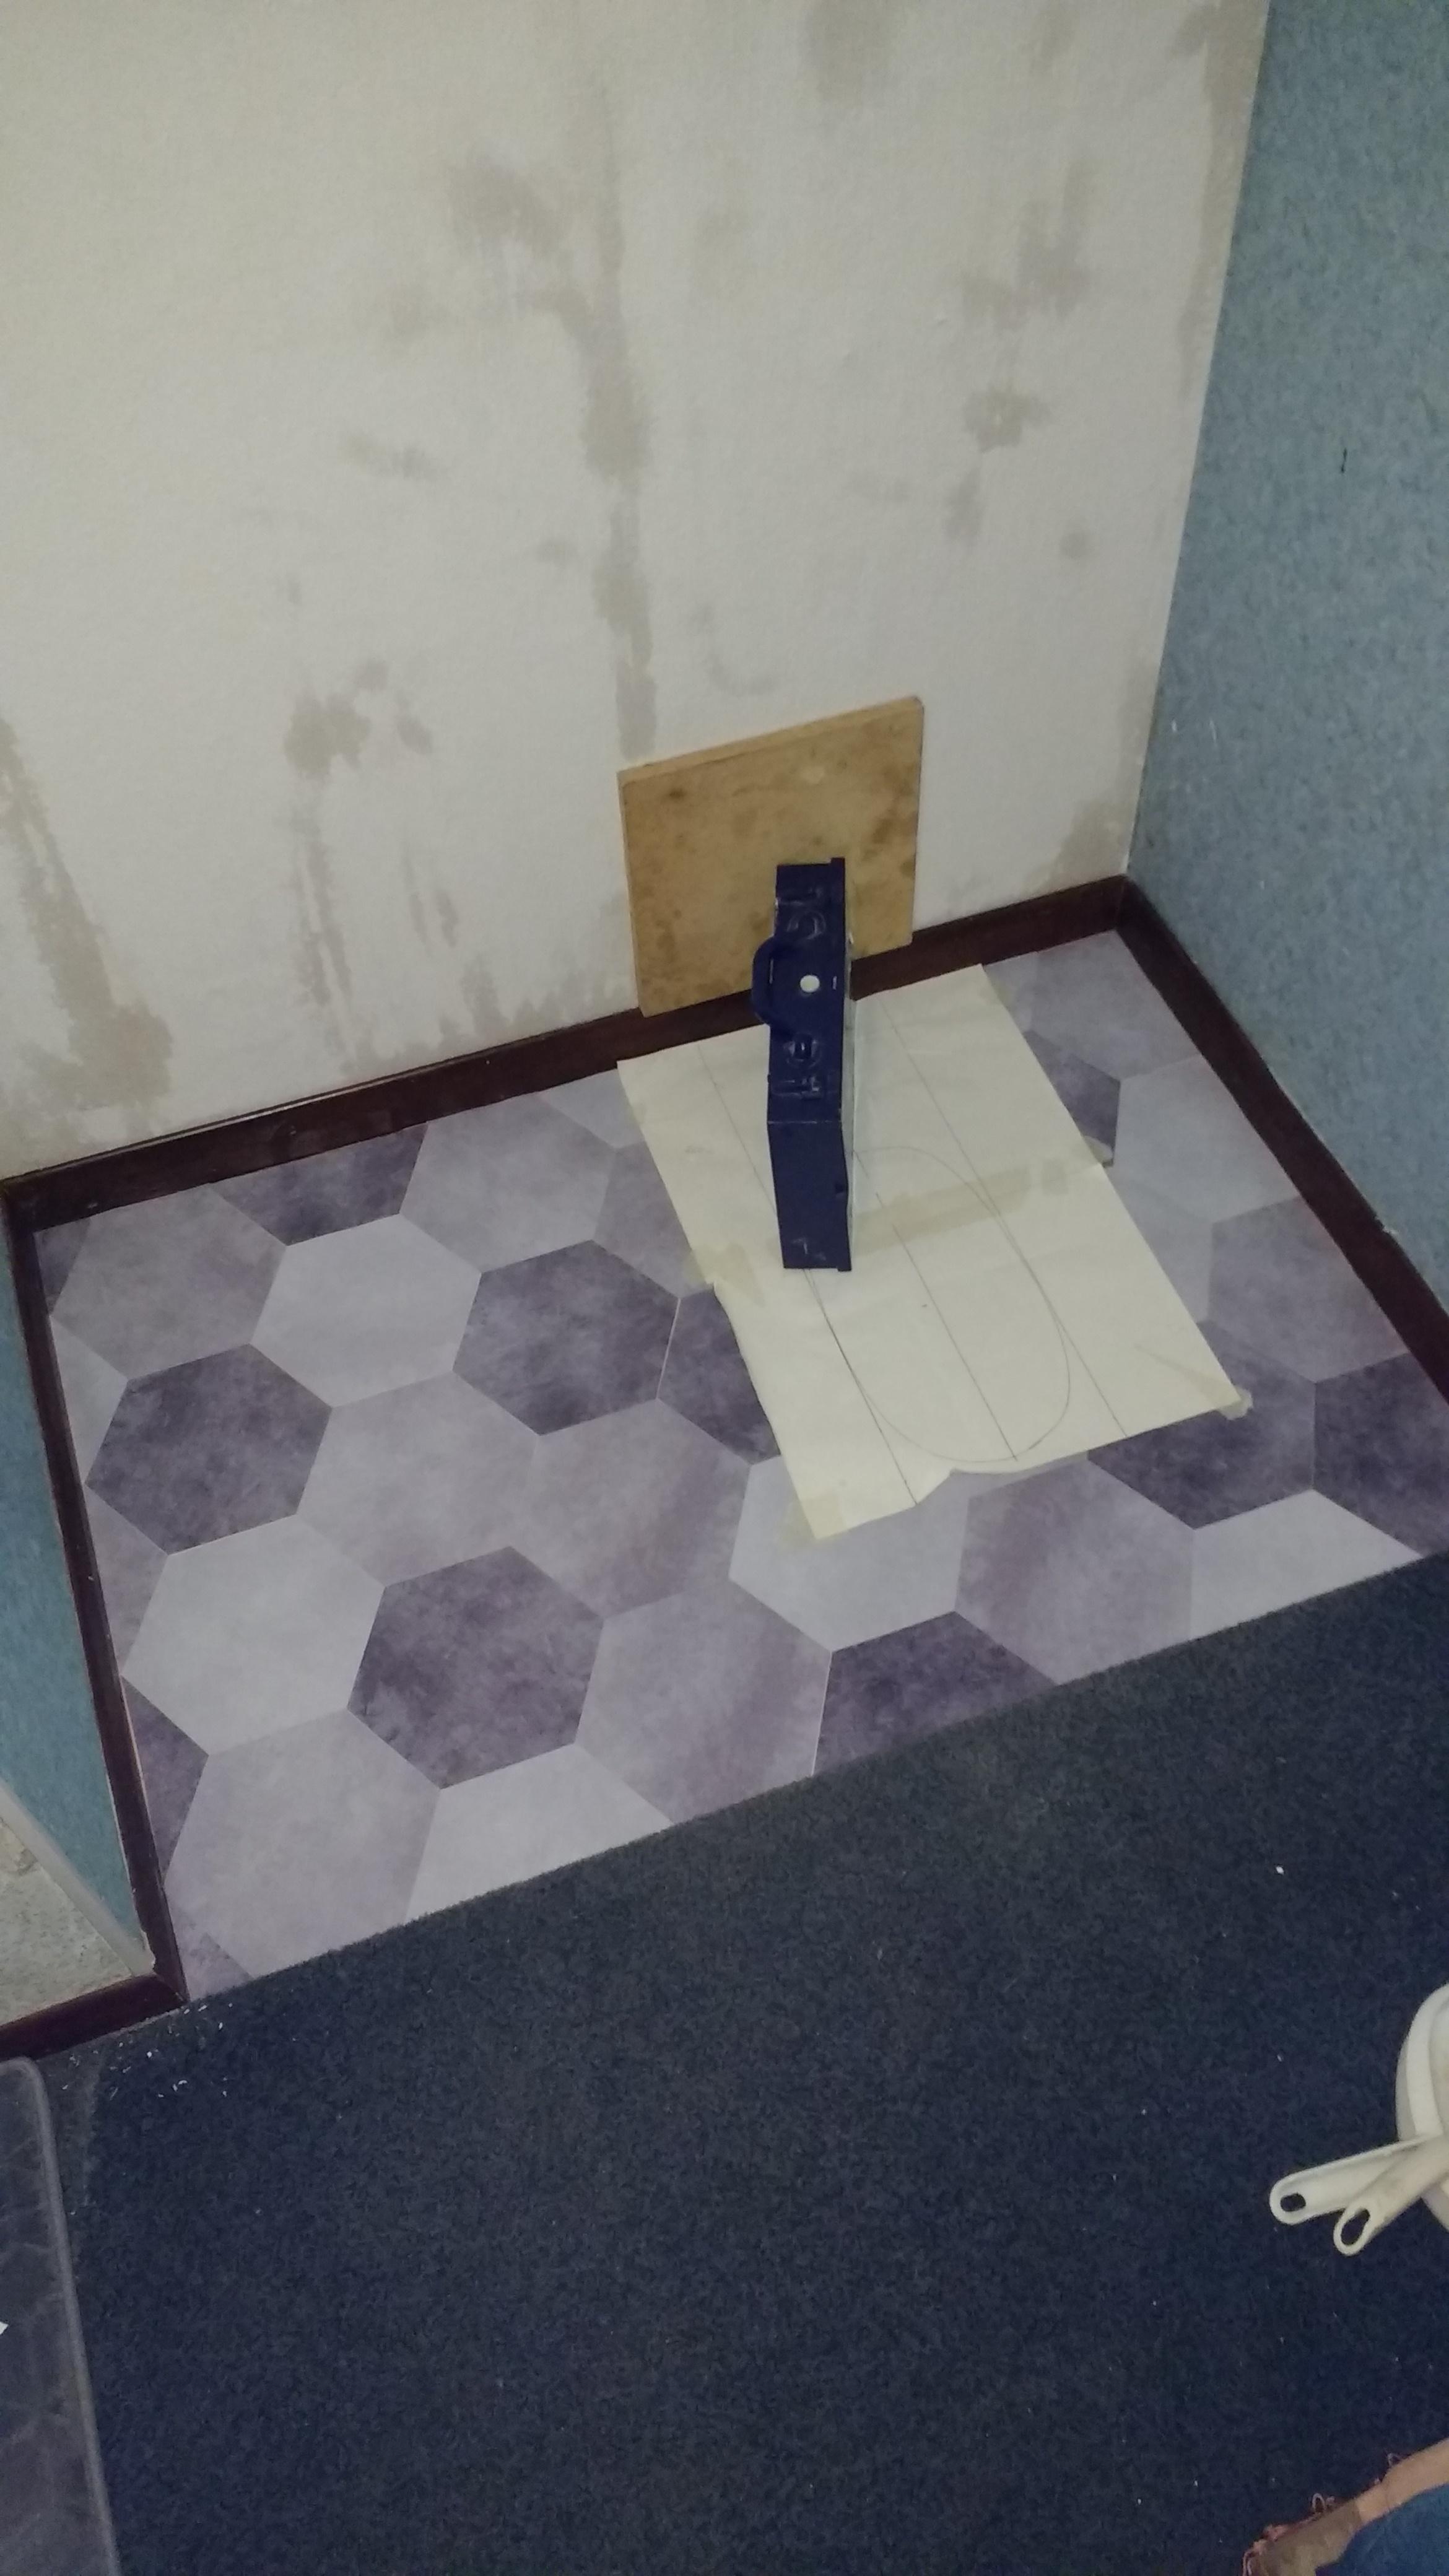
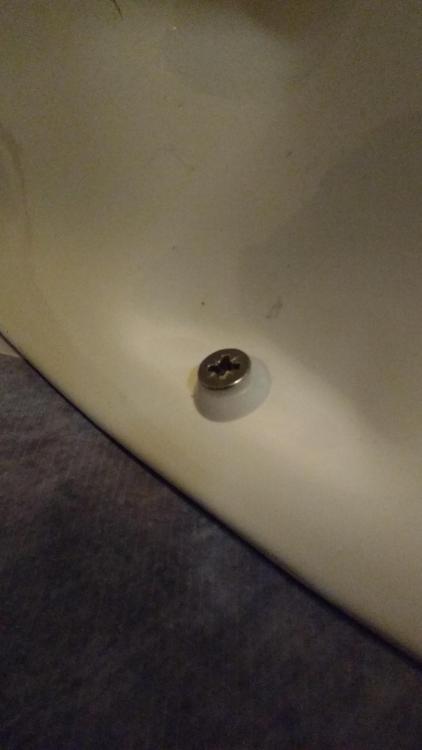
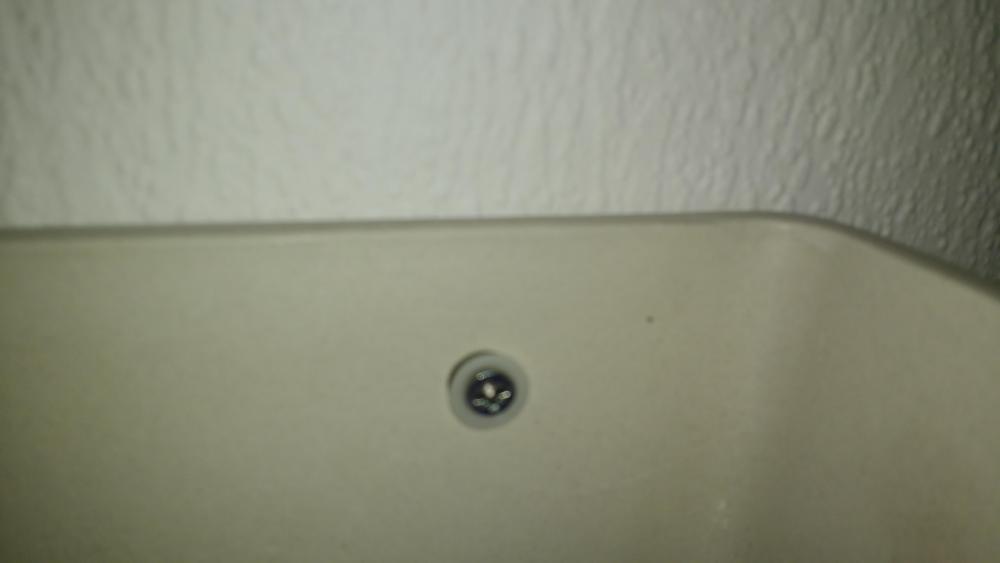
6x80 A4 stainless screws into the little plastic inserts to hold the pan down. For the cistern, 4.5x45 A4 stainless through some cut down Fischer fixing sleeves: The Cistern screws go through into some extra, 4x2 noggins I put in: Yet to connect the waste and mains water.

-
I'll give you her number, you ask. Seems irrational thought / insanity is all part of the menopause.
-
I can sense a lot of jealousy on BH tonight from folk viewing this. It's not often the after shot looks like the before one. Certainly has the wtf factor... Still, it's only temporary...
-
This is the expansion strip I used. Corrugated cardboard that comes flat and folds into an L shape. Self adhesive.
-
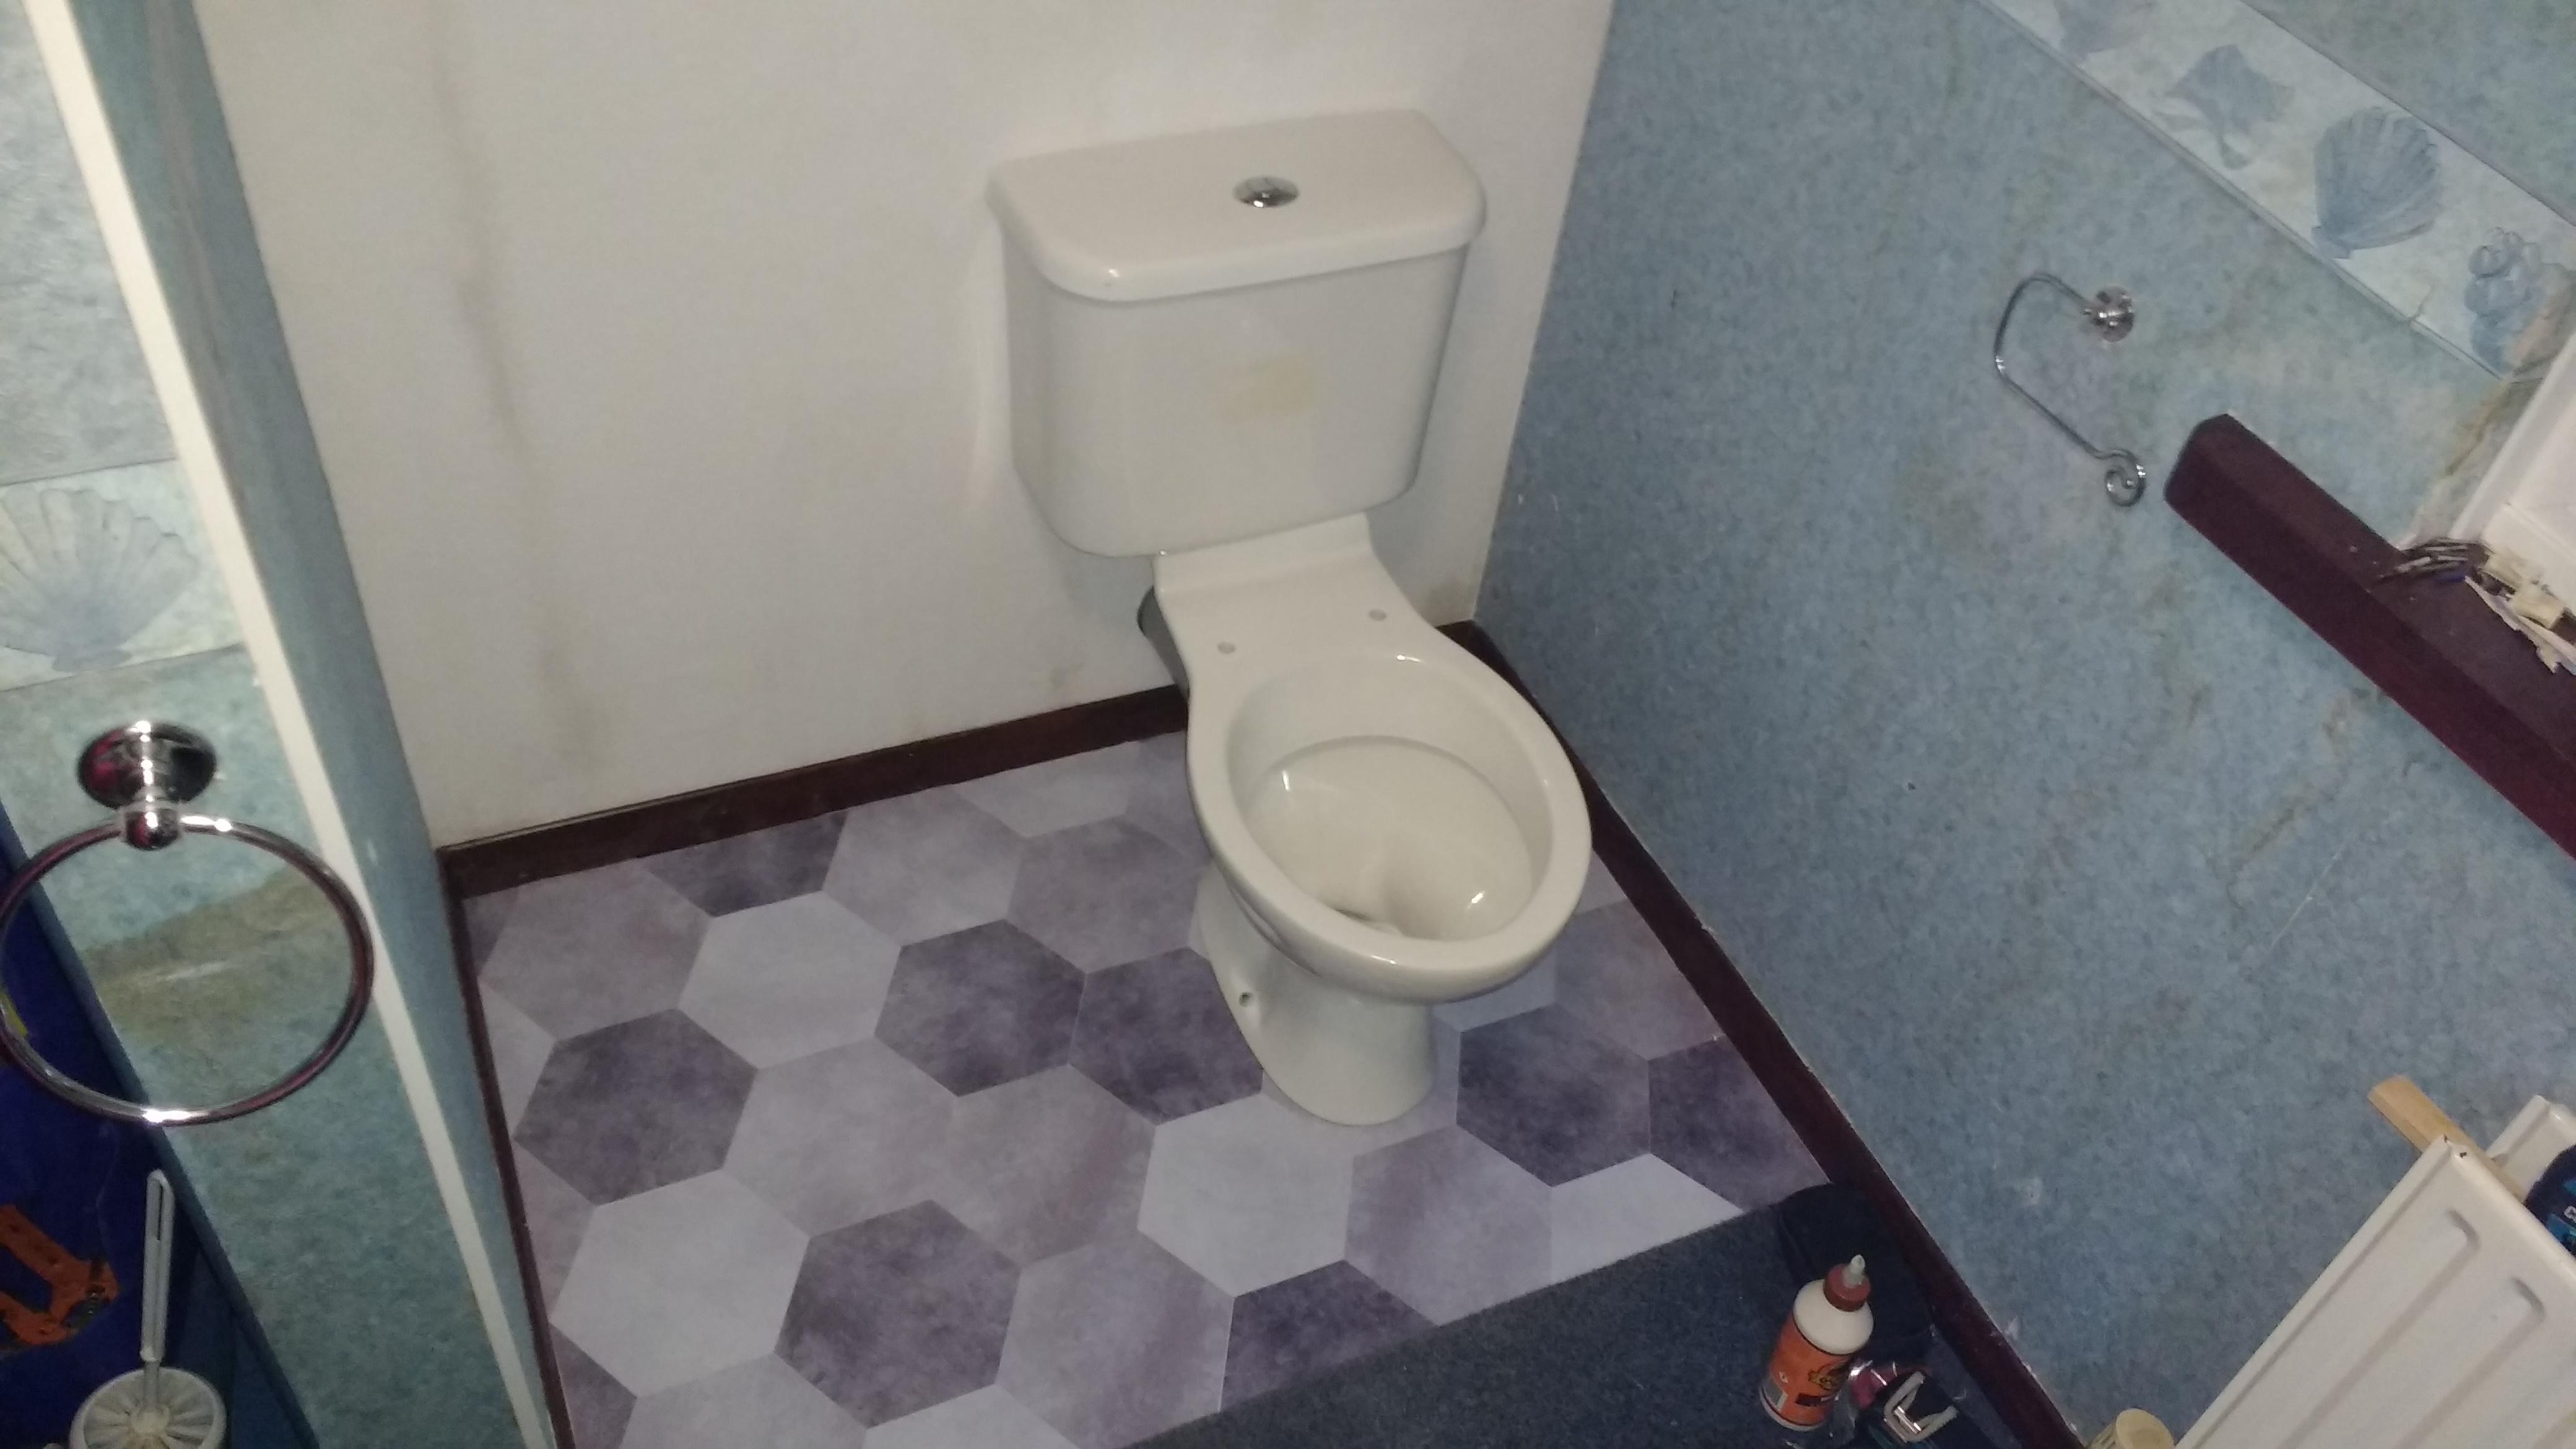
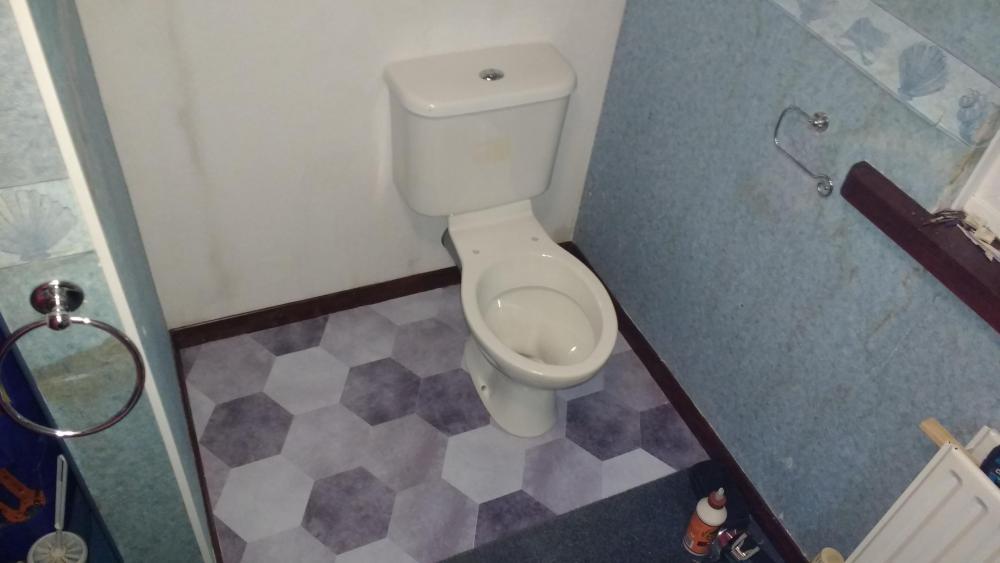
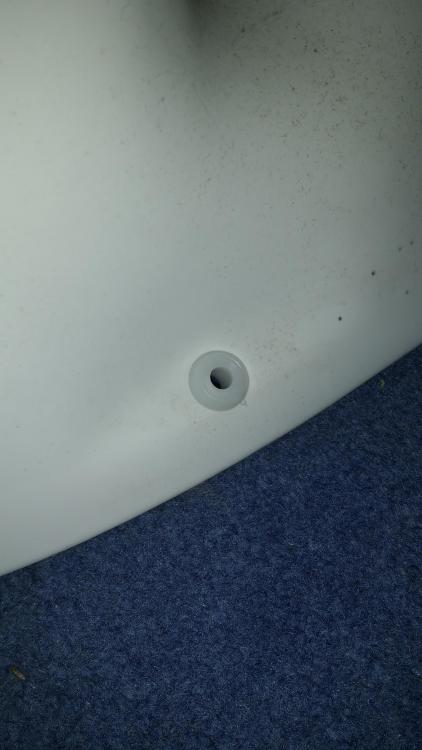
I have one packet of fixings came with the pan set: The little plastic inserts fit the pan but also the cistern (the holes that bolt it to the wall). Surely the fact these fixings come with little chrome dome nuts, means they're the ones meant to bolt the pan to the floor? I can't use them anyway as I'm going into an 18mm t&g chipboard floor aka Weetabix! This doesn't bode well. SWMBO has stuck the cheapest of cheap, I'll fitting, pi$$ trap self adhesive tiles over the old vinyl that was there. I can't therefore even bond the pan down ? The previous pan at least had 4 fixings. Just wait till it gets my fat ar$e on it!


-
I have an expansion strip and perimeter insulation.
-
Got one:
-
I'm lucky in that if the wind comes up the valley it hits the gate edge on. Pretty impossible for the wind to hit the gate face on from either side due to the valley walls.
-
I'm looking around for a 1200 x 800 shower tray. I'm thinking to go the tray route 45mm 'ish high. Thinking Stone resin ABS capped Non slip 90mm waste Anything else I should look for?
-
Crosswater shower tray installation in U shape space
Onoff replied to Ash Gall's topic in Bathrooms, Ensuites & Wetrooms
See this video. For a start the bloke has used the green moisture resistant plasterboard. People do use standard pb but then tanking is even more important: Then this one: Same kit as I used. I went mad and did a huge area, used 2 kits. -
Yep. I'll sort the access panel then take it up with BG direct. I've zero issue with what the last engineer said just appalled it's only just come up.