Onoff
-
Posts
21125 -
Joined
-
Last visited
-
Days Won
206
Everything posted by Onoff
-
We're going to get told off lads!
-
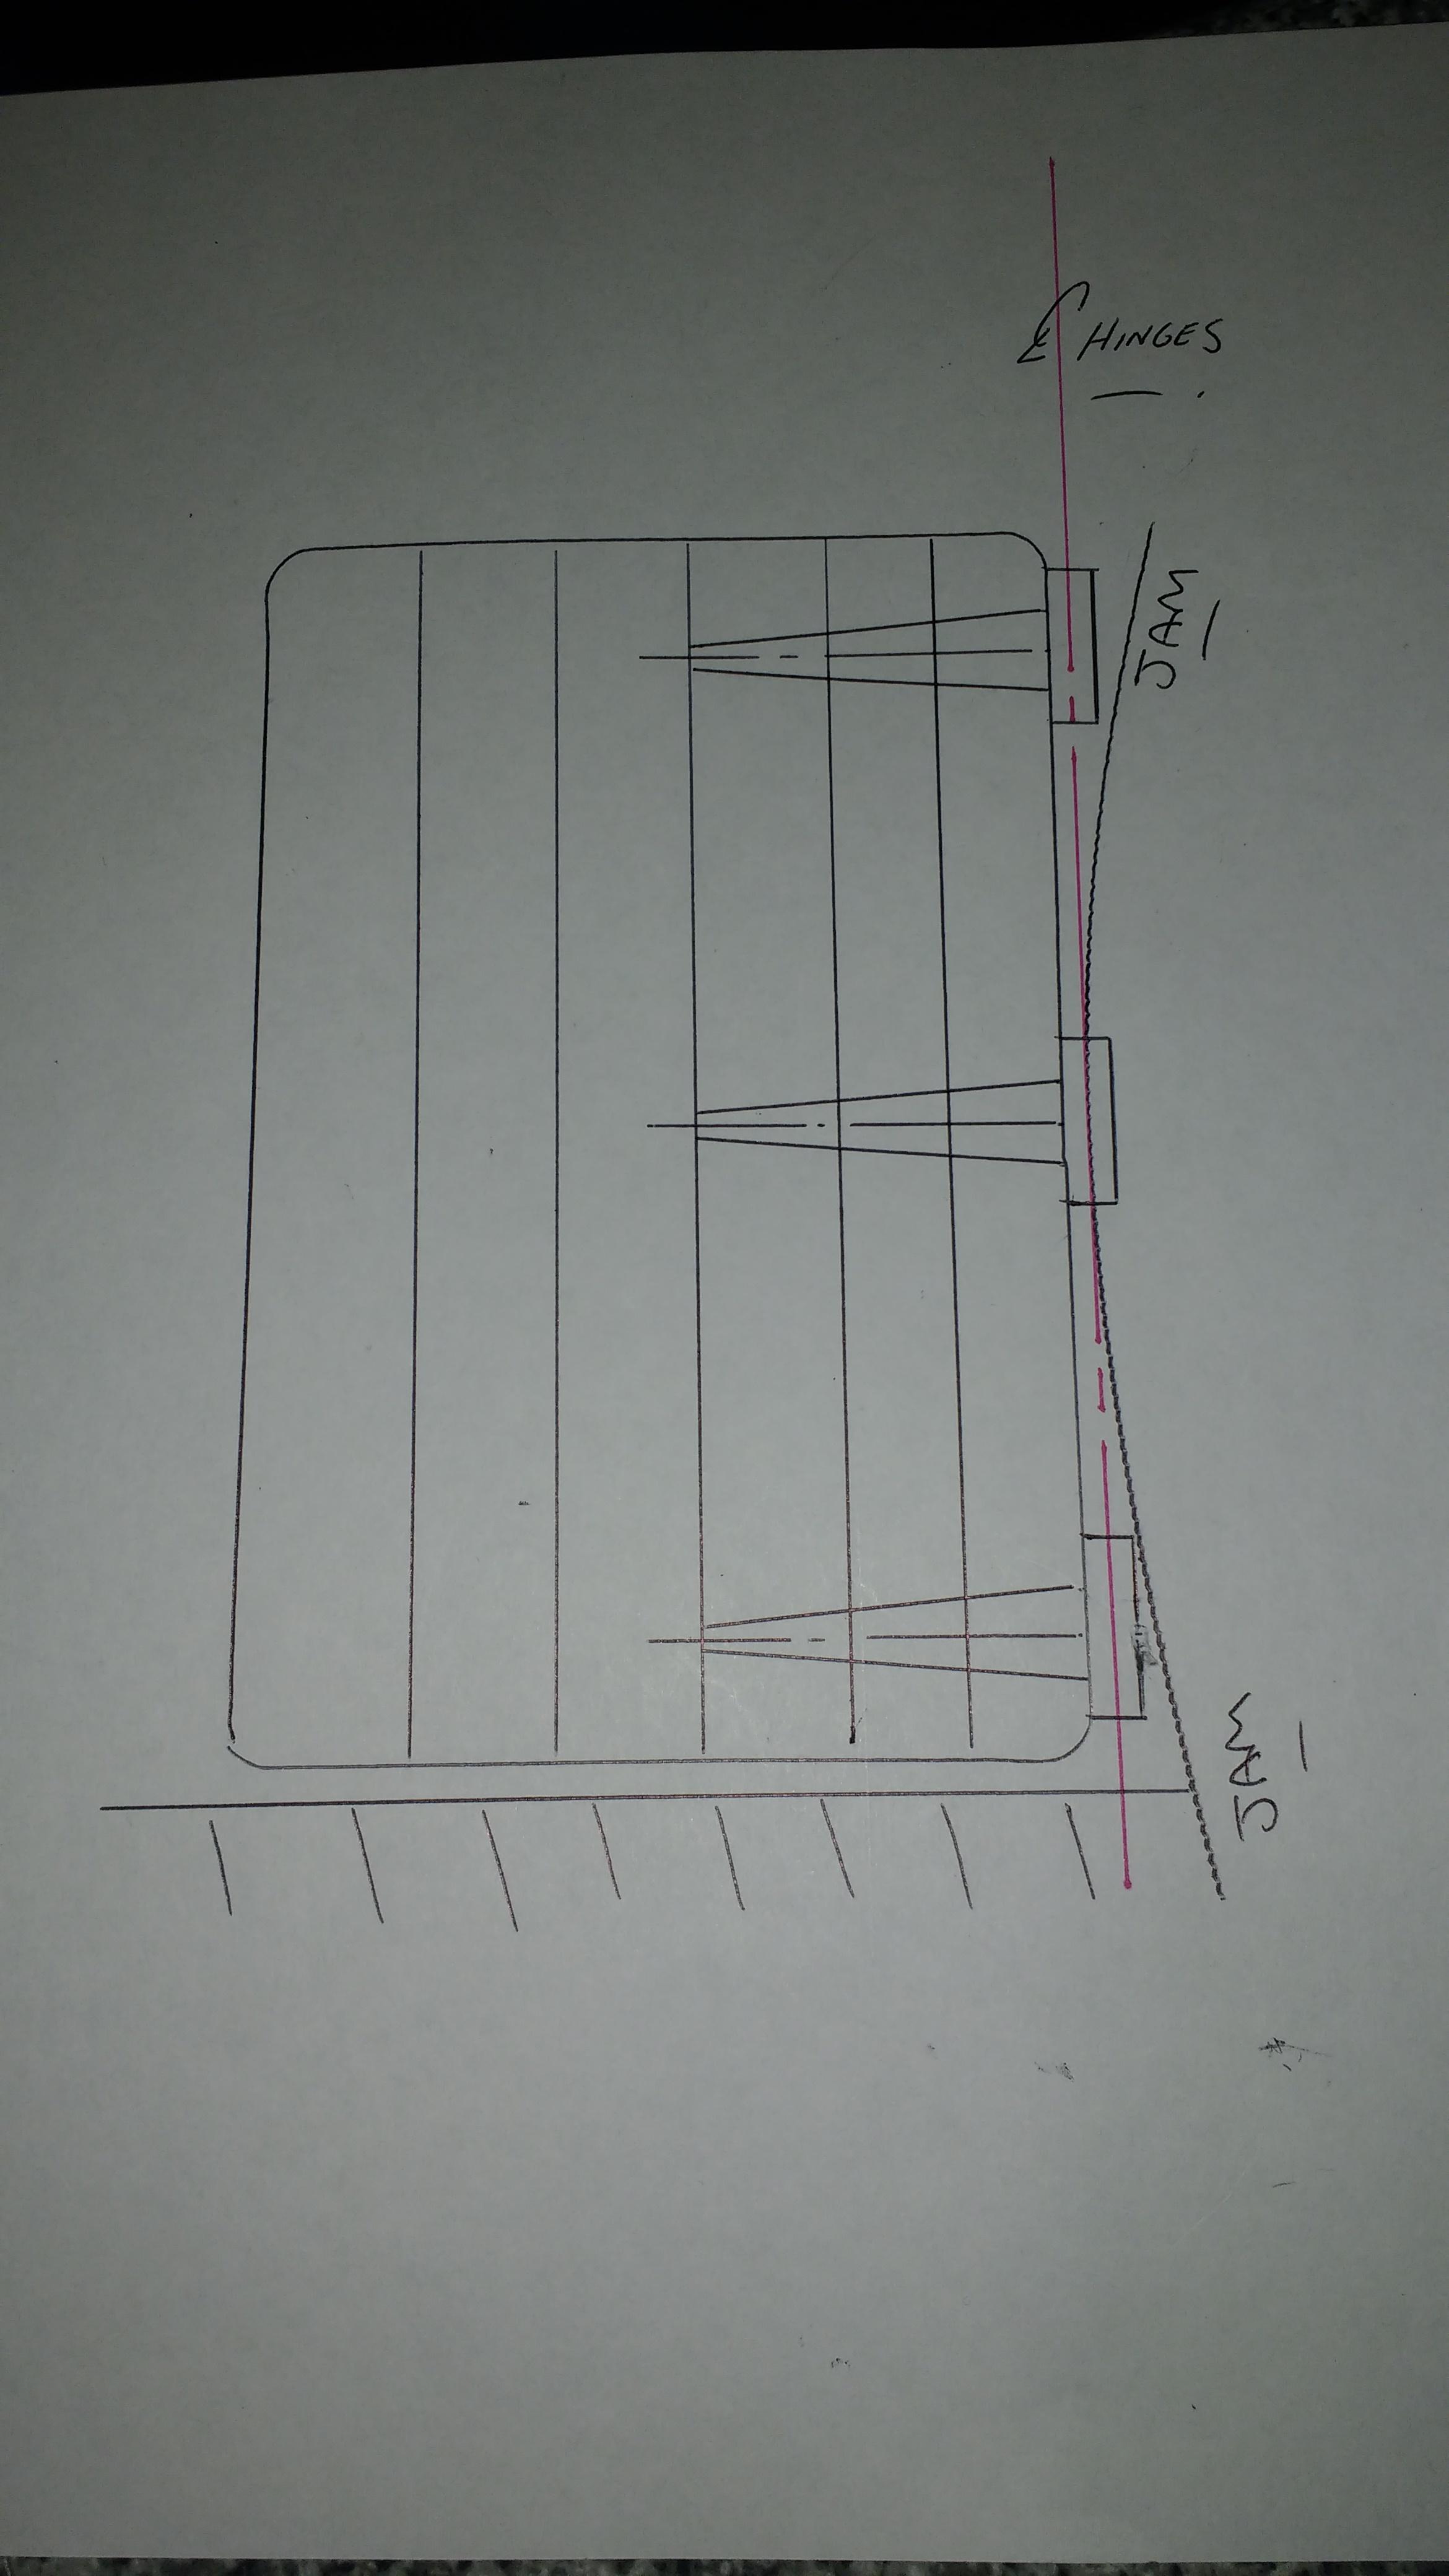
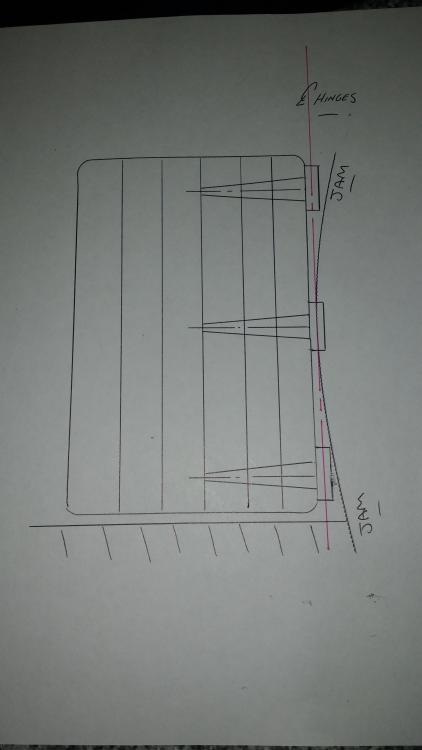
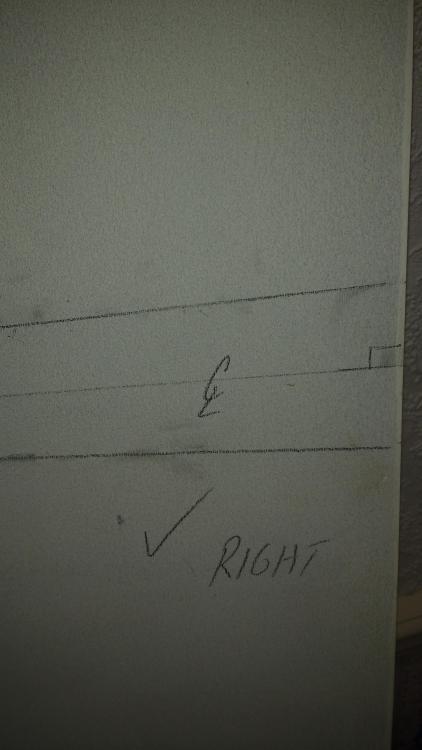
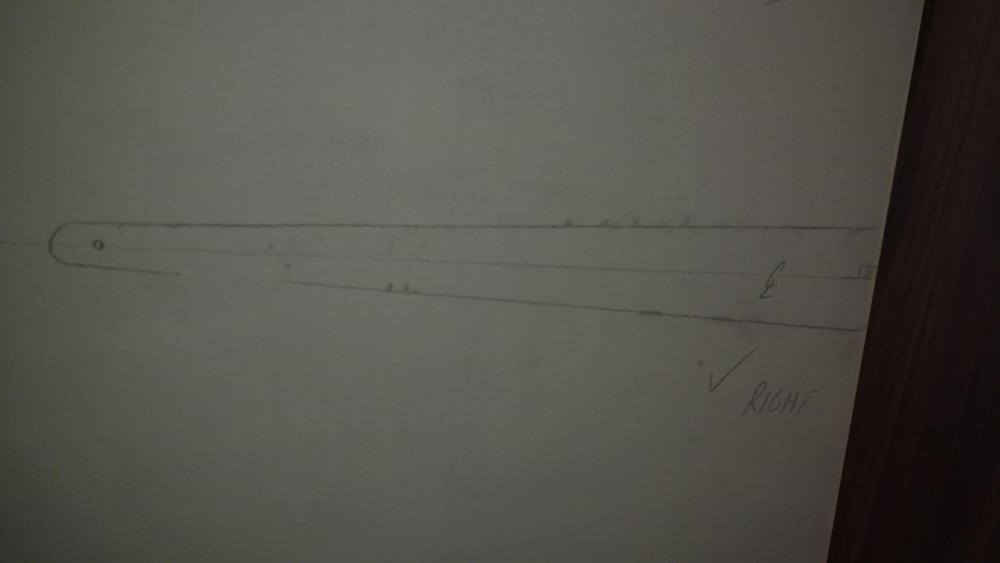
Your door is your straight edge hopefully. Certainly a darn sight straighter then your bowed jam. Your 3 hinges MUST all be in line! This gives you a constant to start with at least. If you're unable to straighten the jam you have to live with it. Pack as required. The only way you might get all 3 recessed into the jam is by first packing the hinges out a bit. Otherwise the edge of the door at the middle hinge (in my sketch above) will hit the jam. Hope that makes sense! Packing the hinges out a tad before screwing to the door gives you some wriggle room. The recesses would of course all be slightly different depths. It'd help if you knew how far out the top and bottom positions were. Out of interest did you ever buy a laser level (suggested I think during the kitchen build)? Dead easy to see how bowed your jam is then. You just line it up on the jam edge and measure to the laser line. Surprising too sometimes when you've always relied on a long level up until then.
-
He builds & restores stuff like this. Thus despite being a pita he has some serious skills! ?

-
No that was the one where they built on a car park previously used by doggers.
-
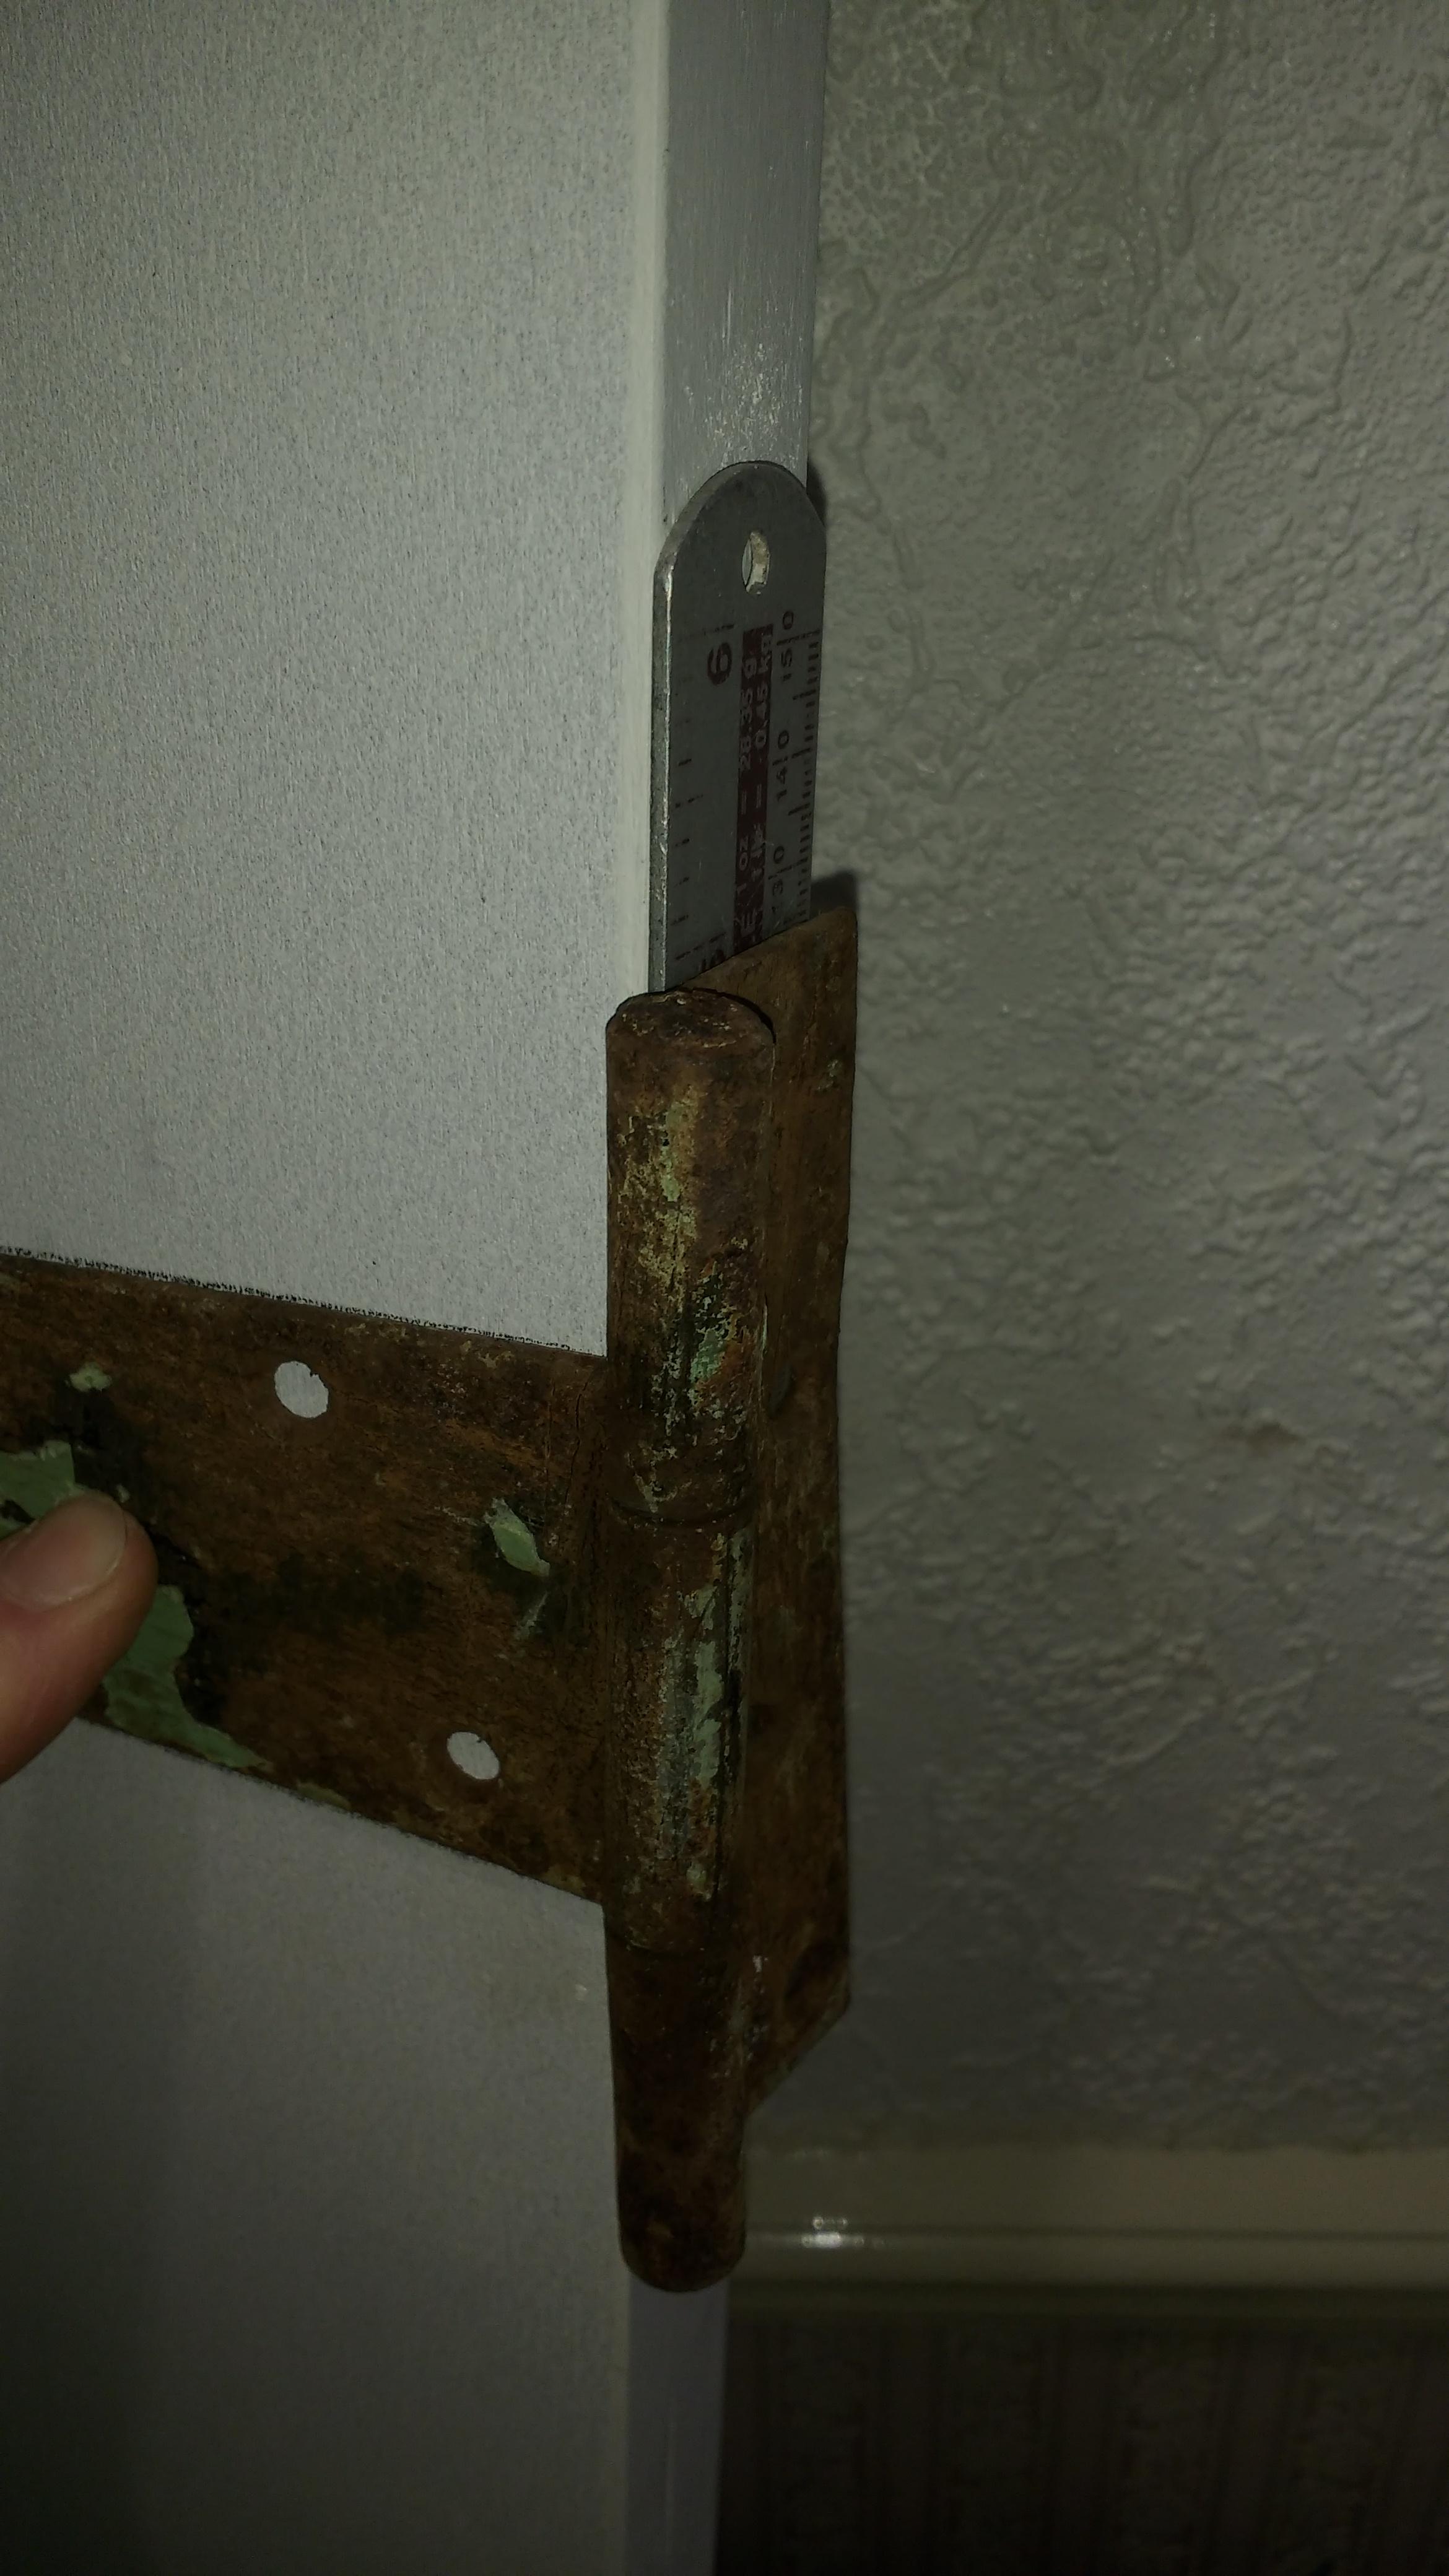
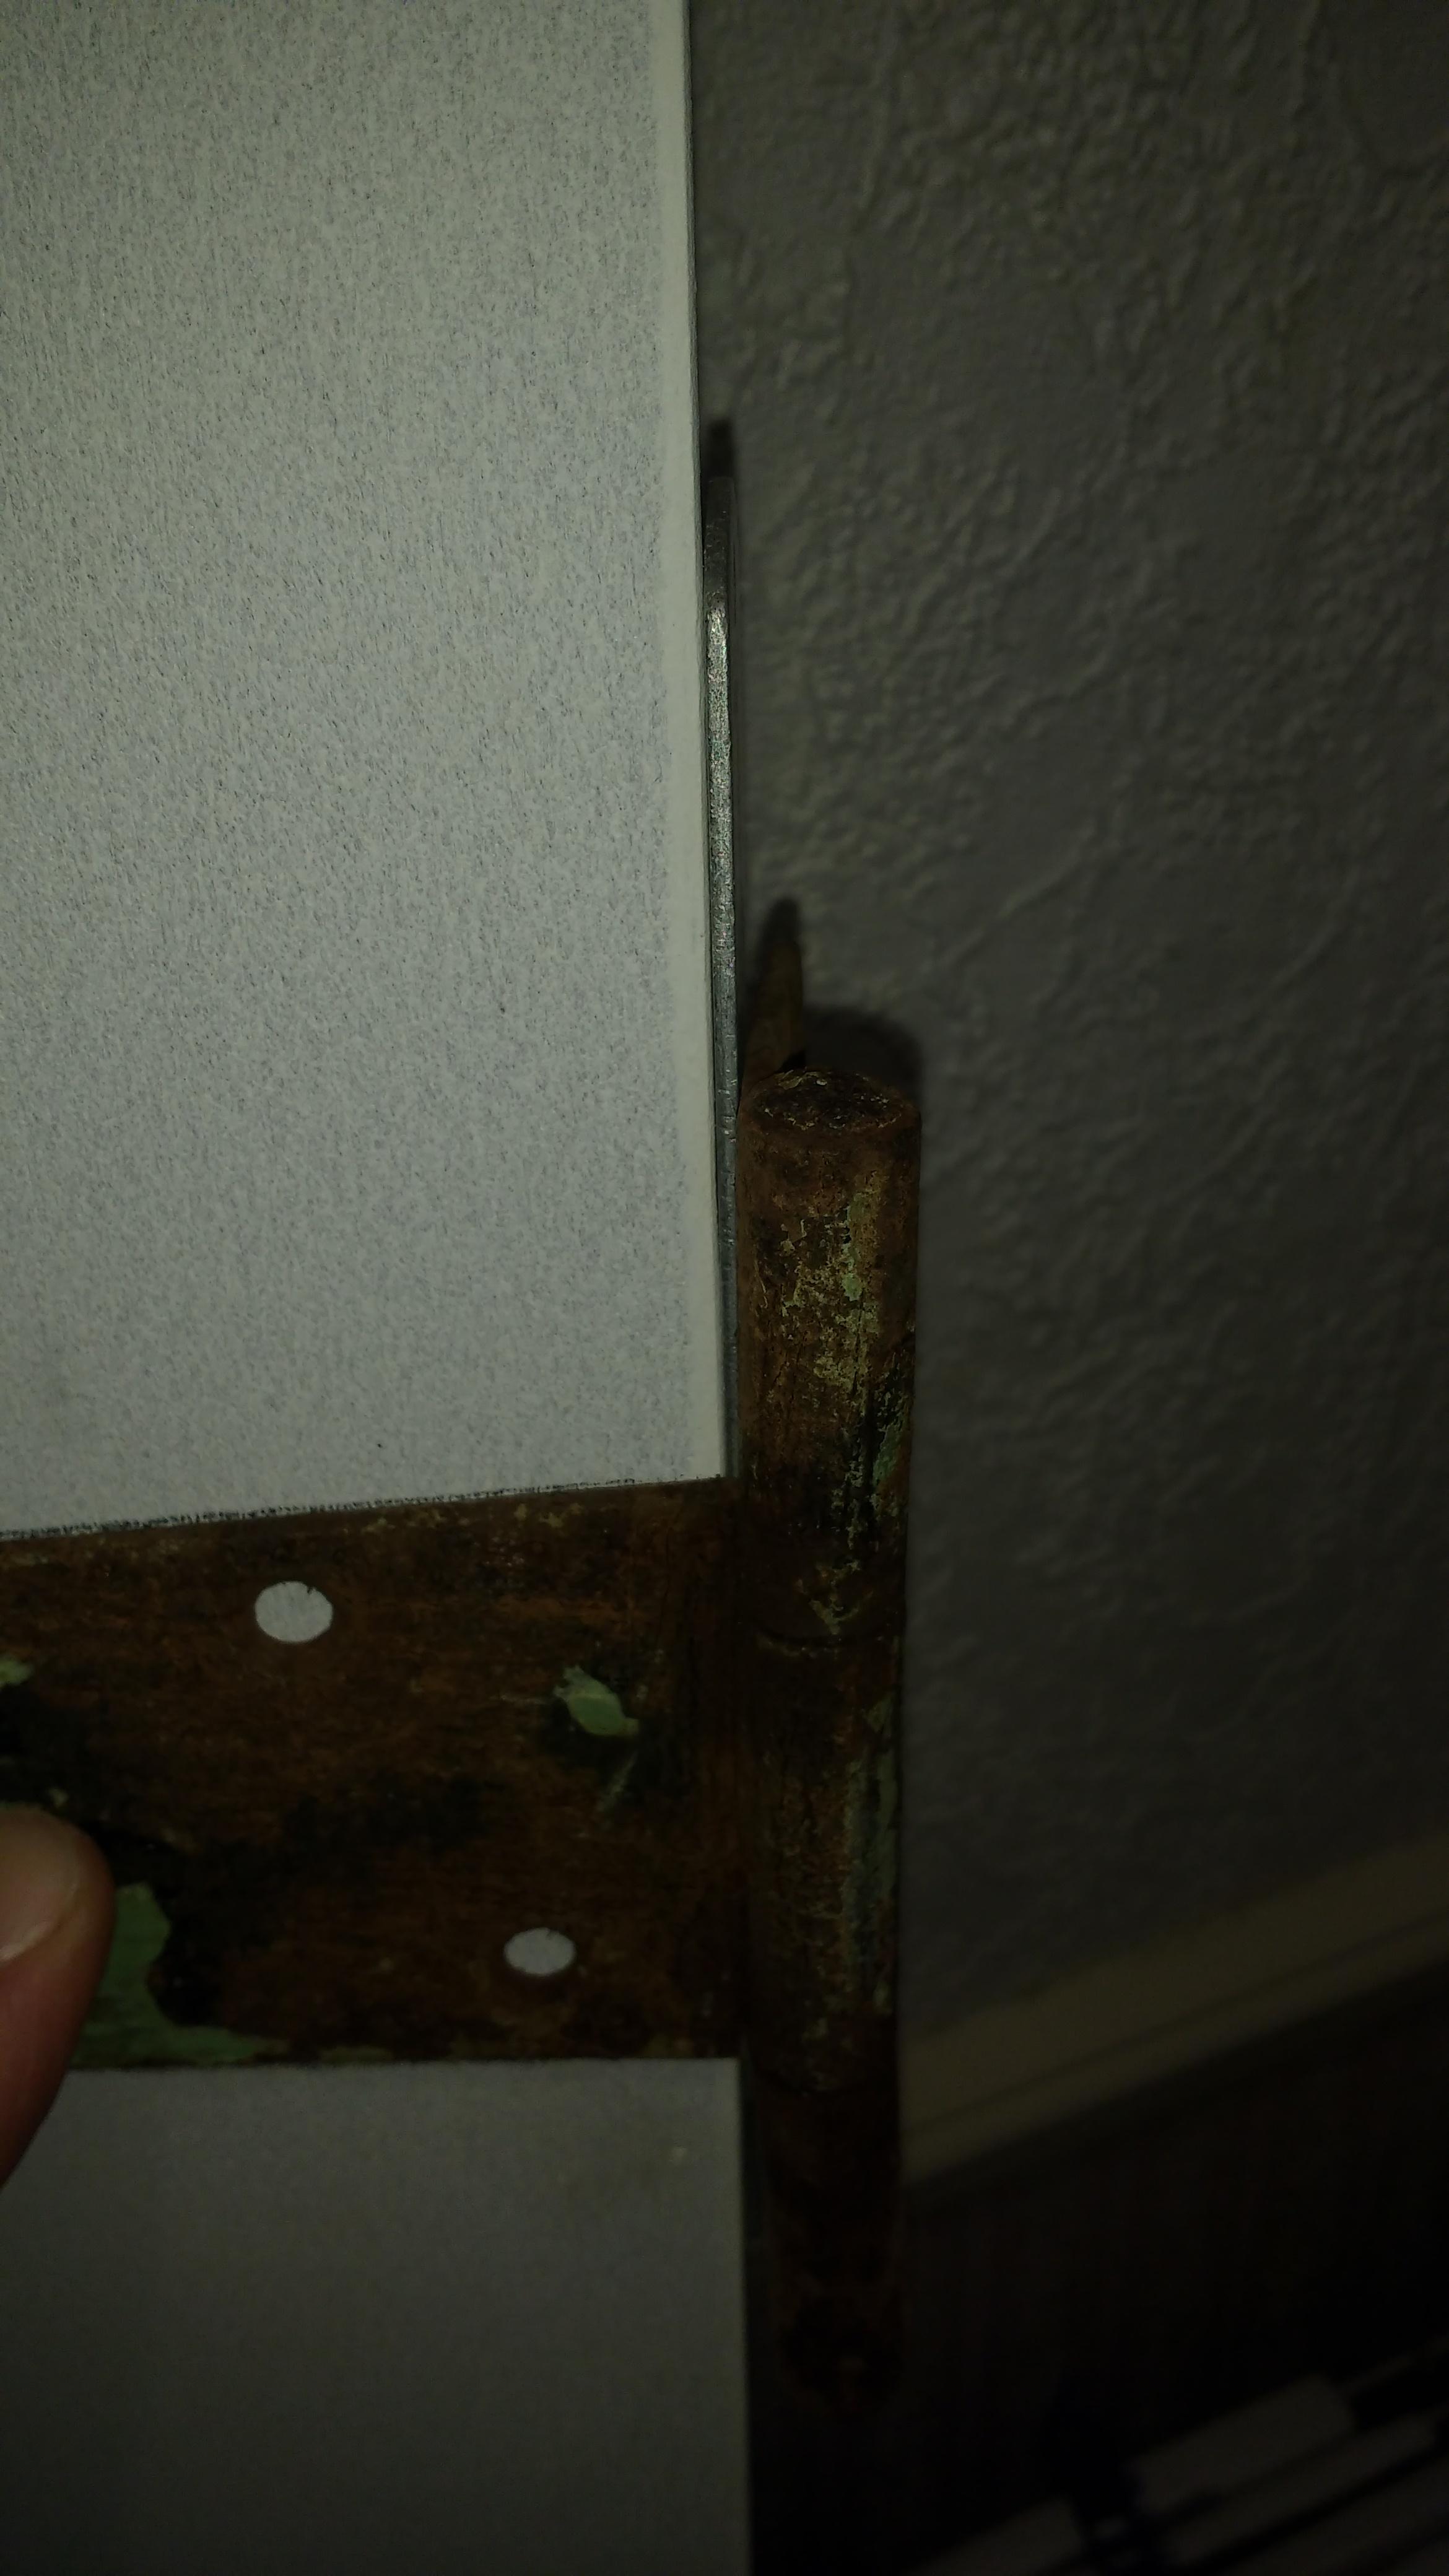
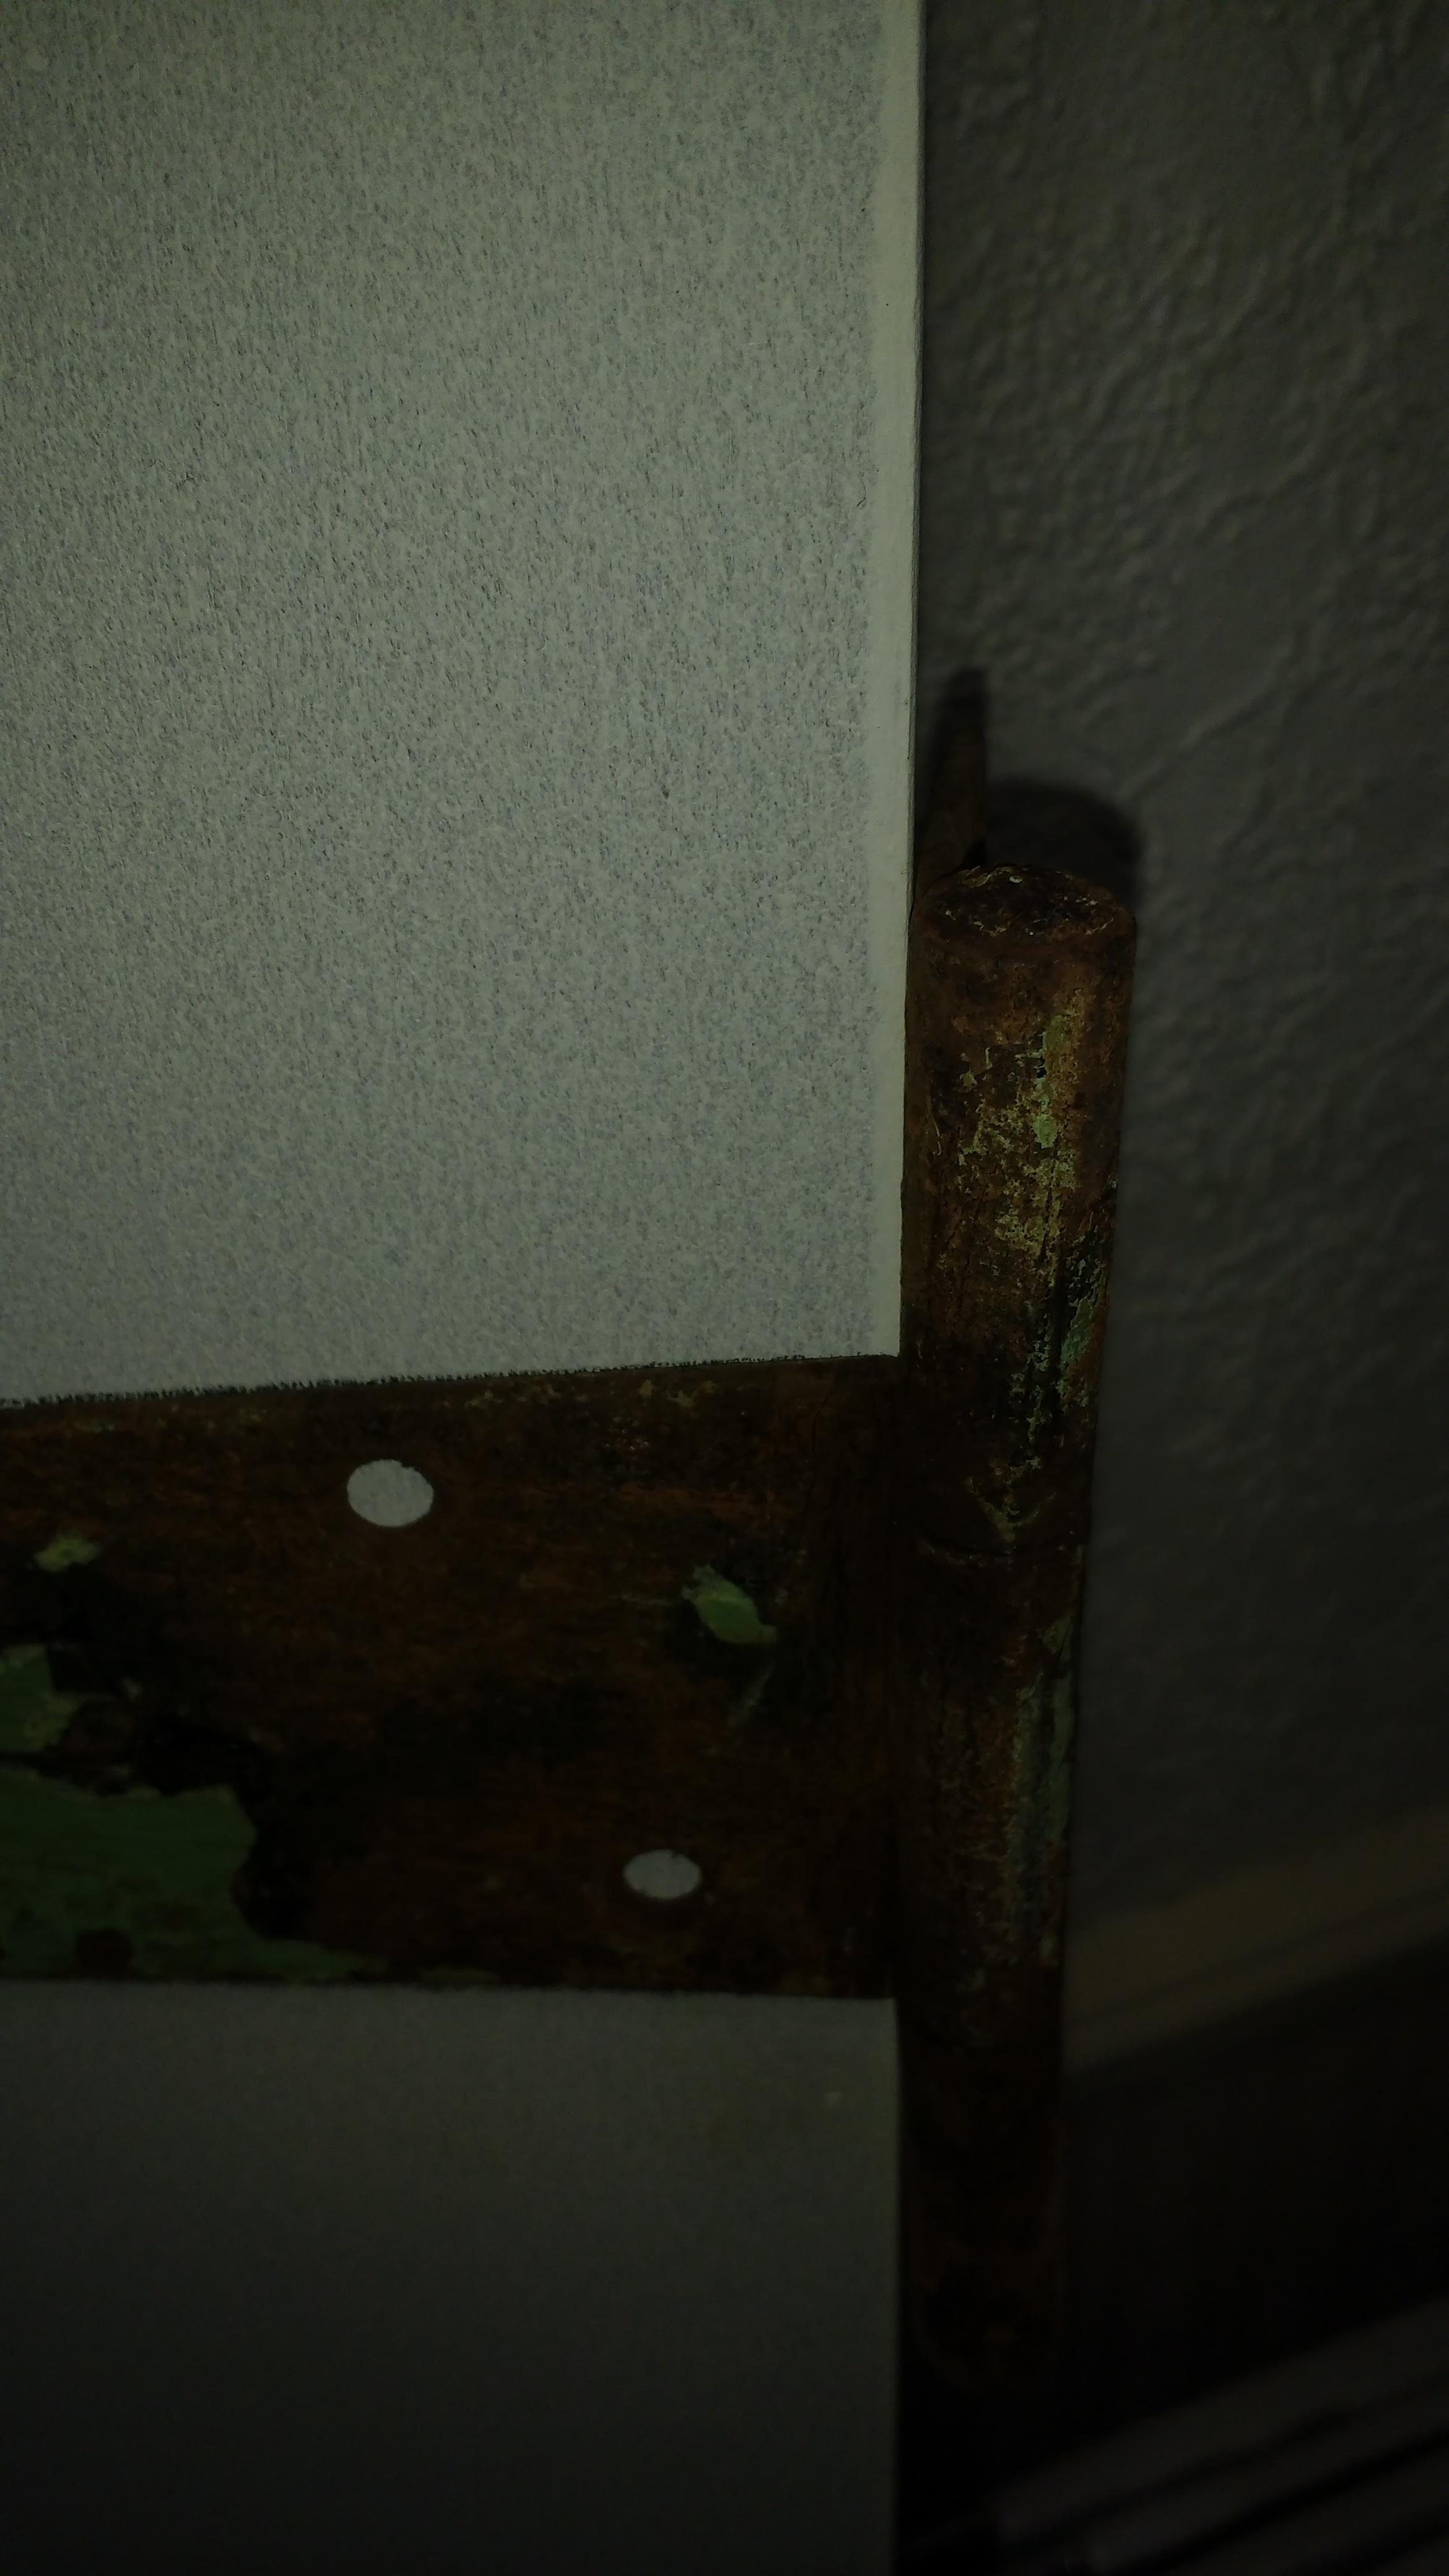
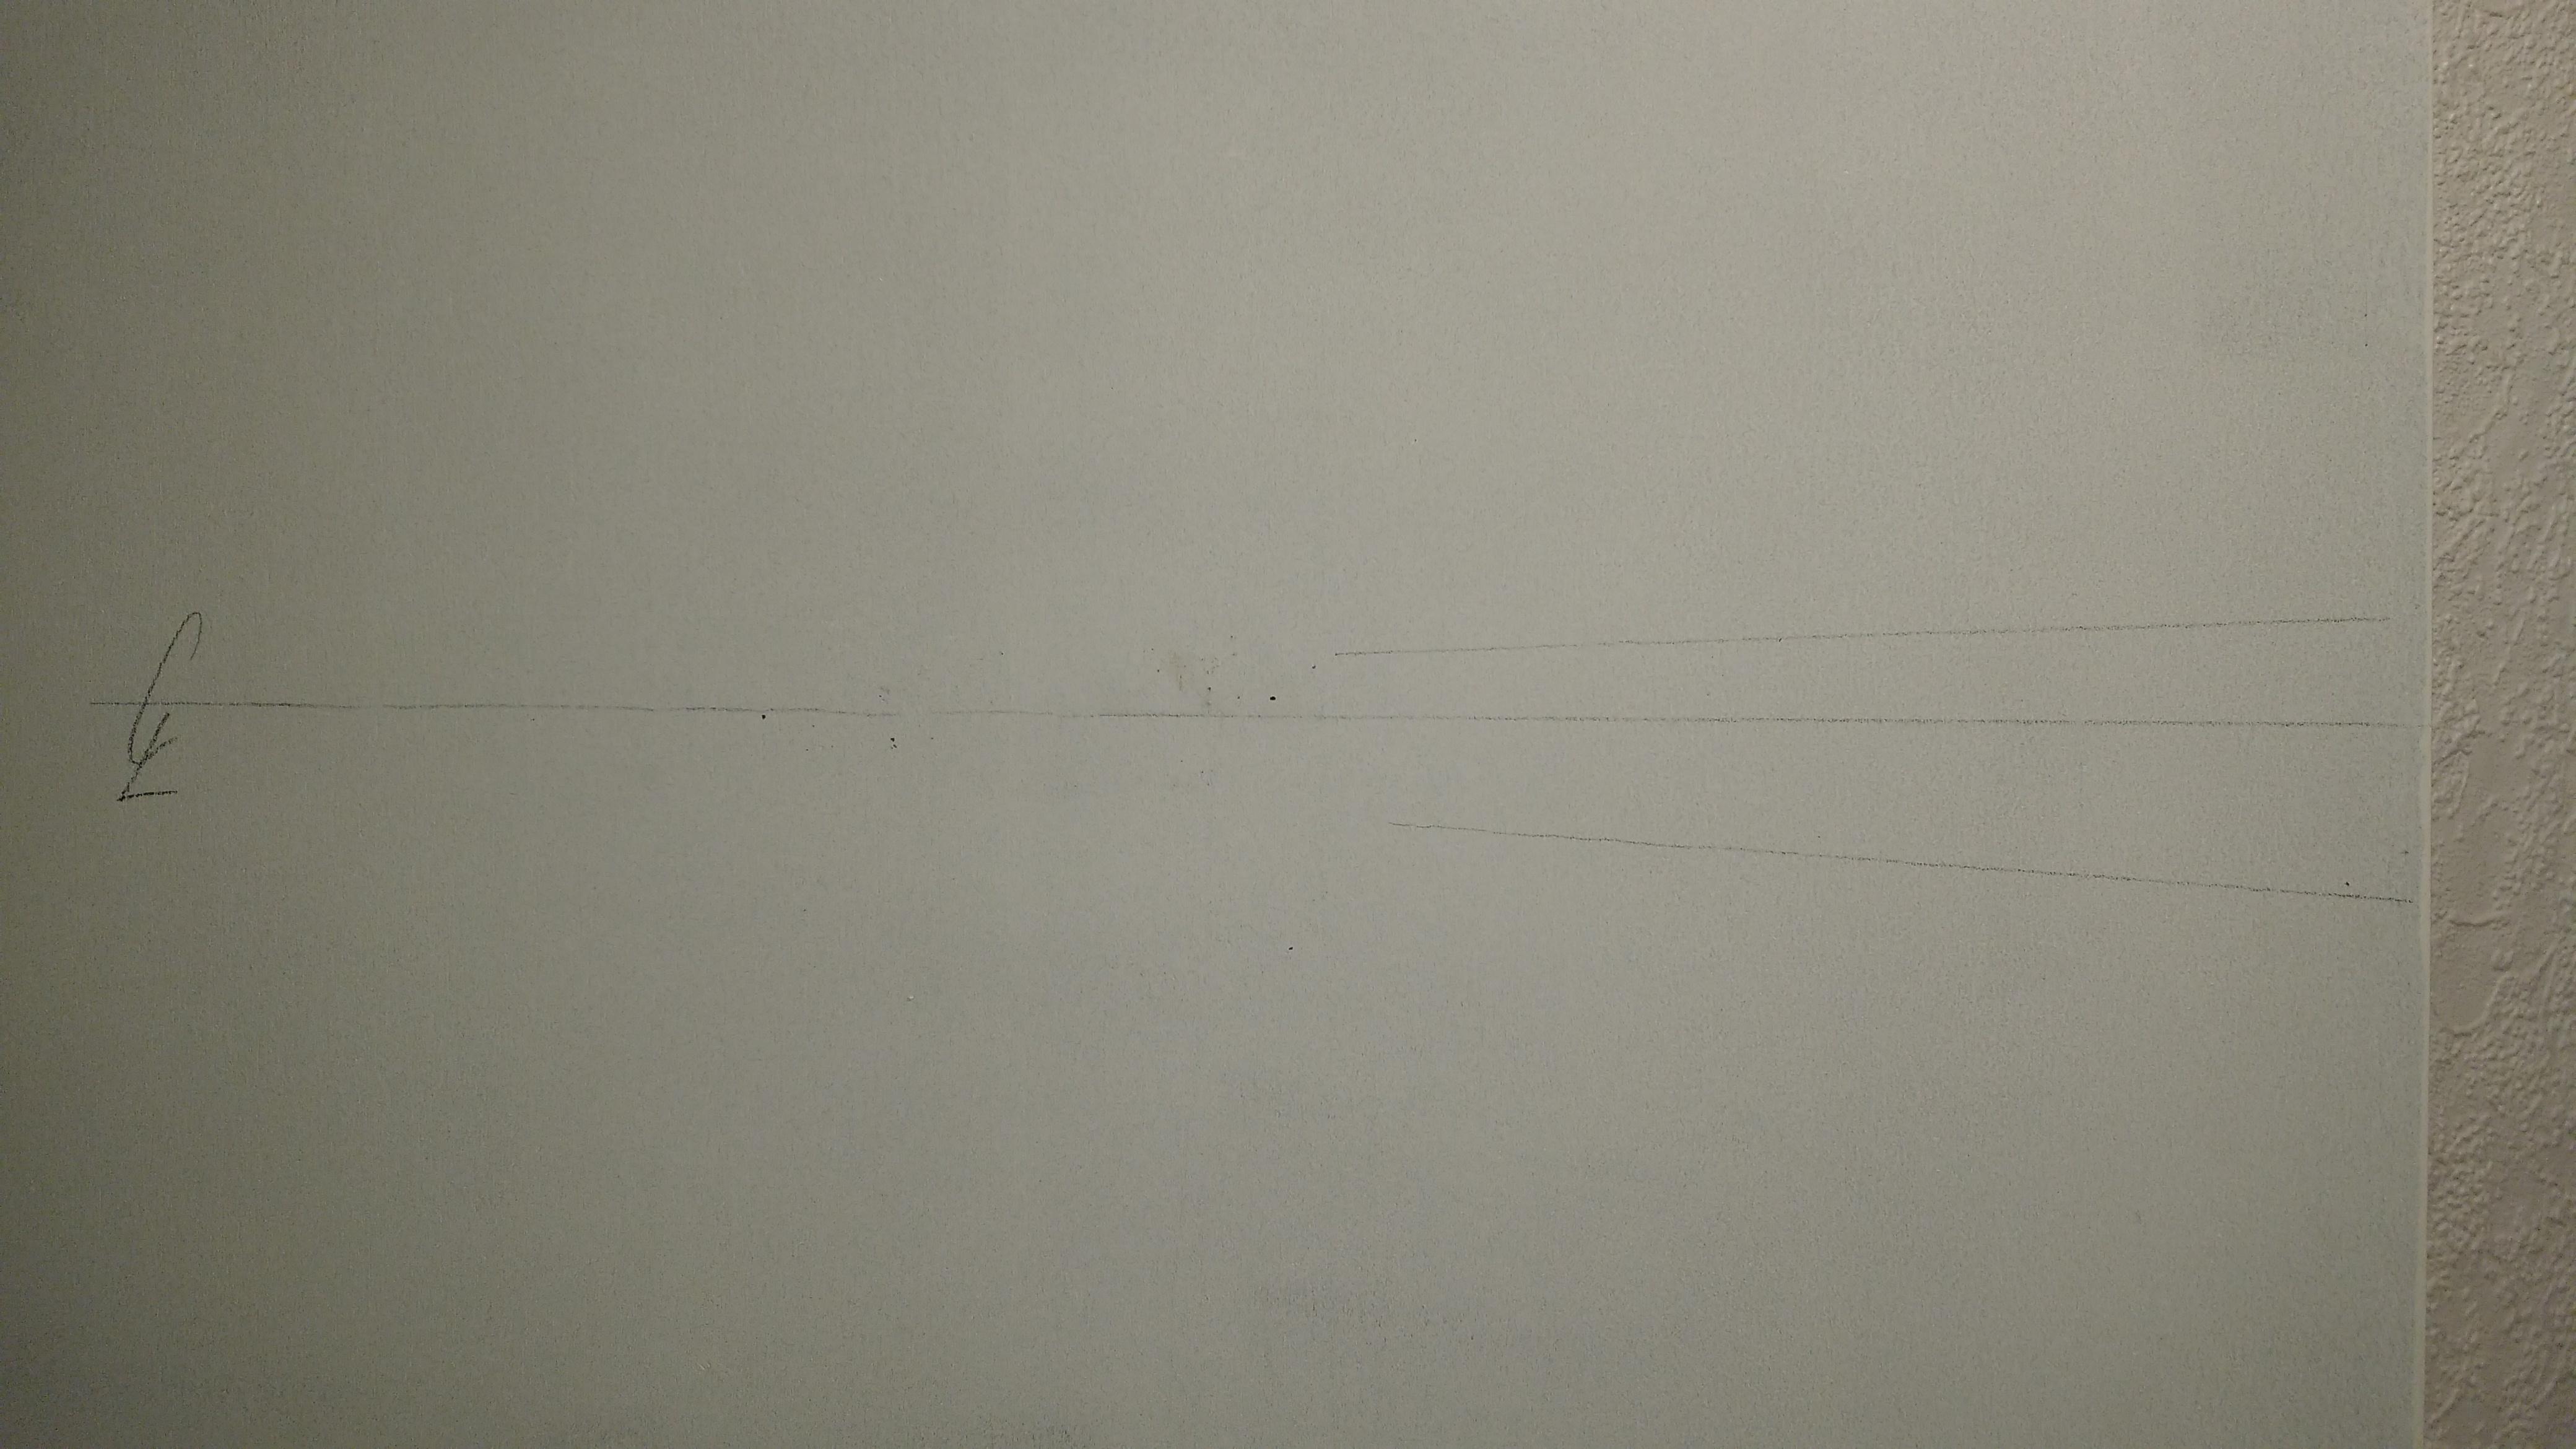
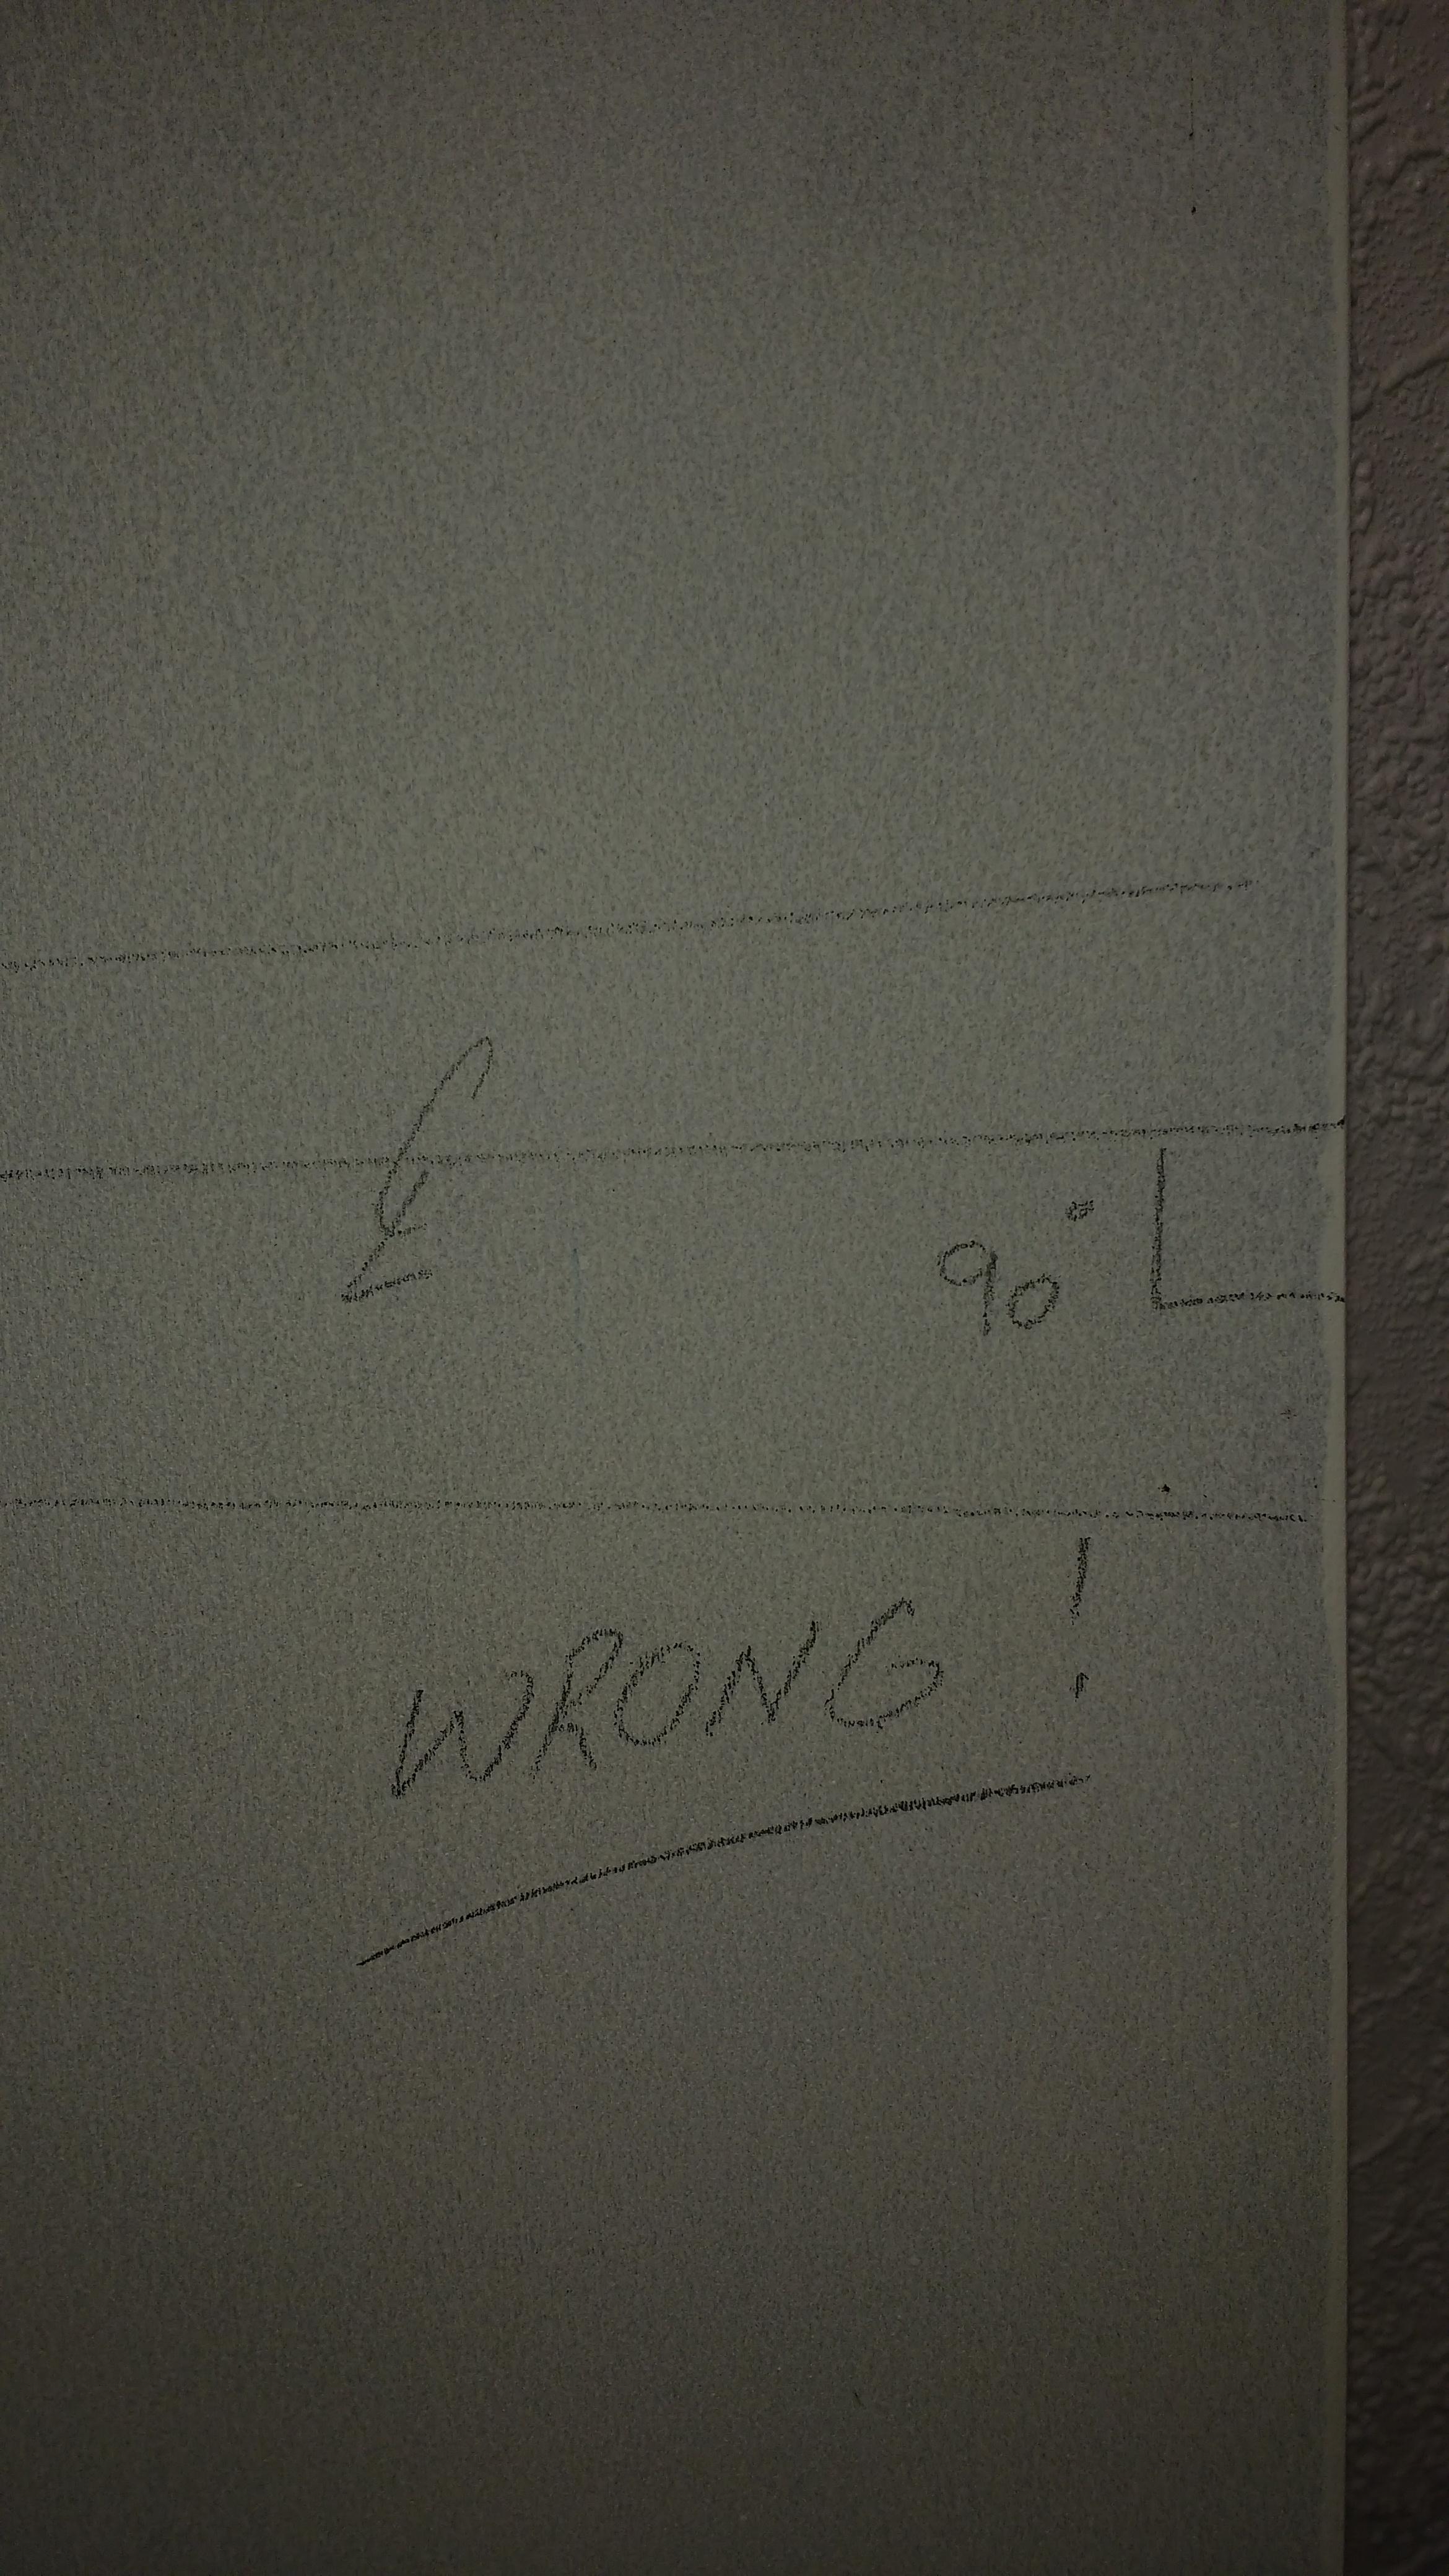
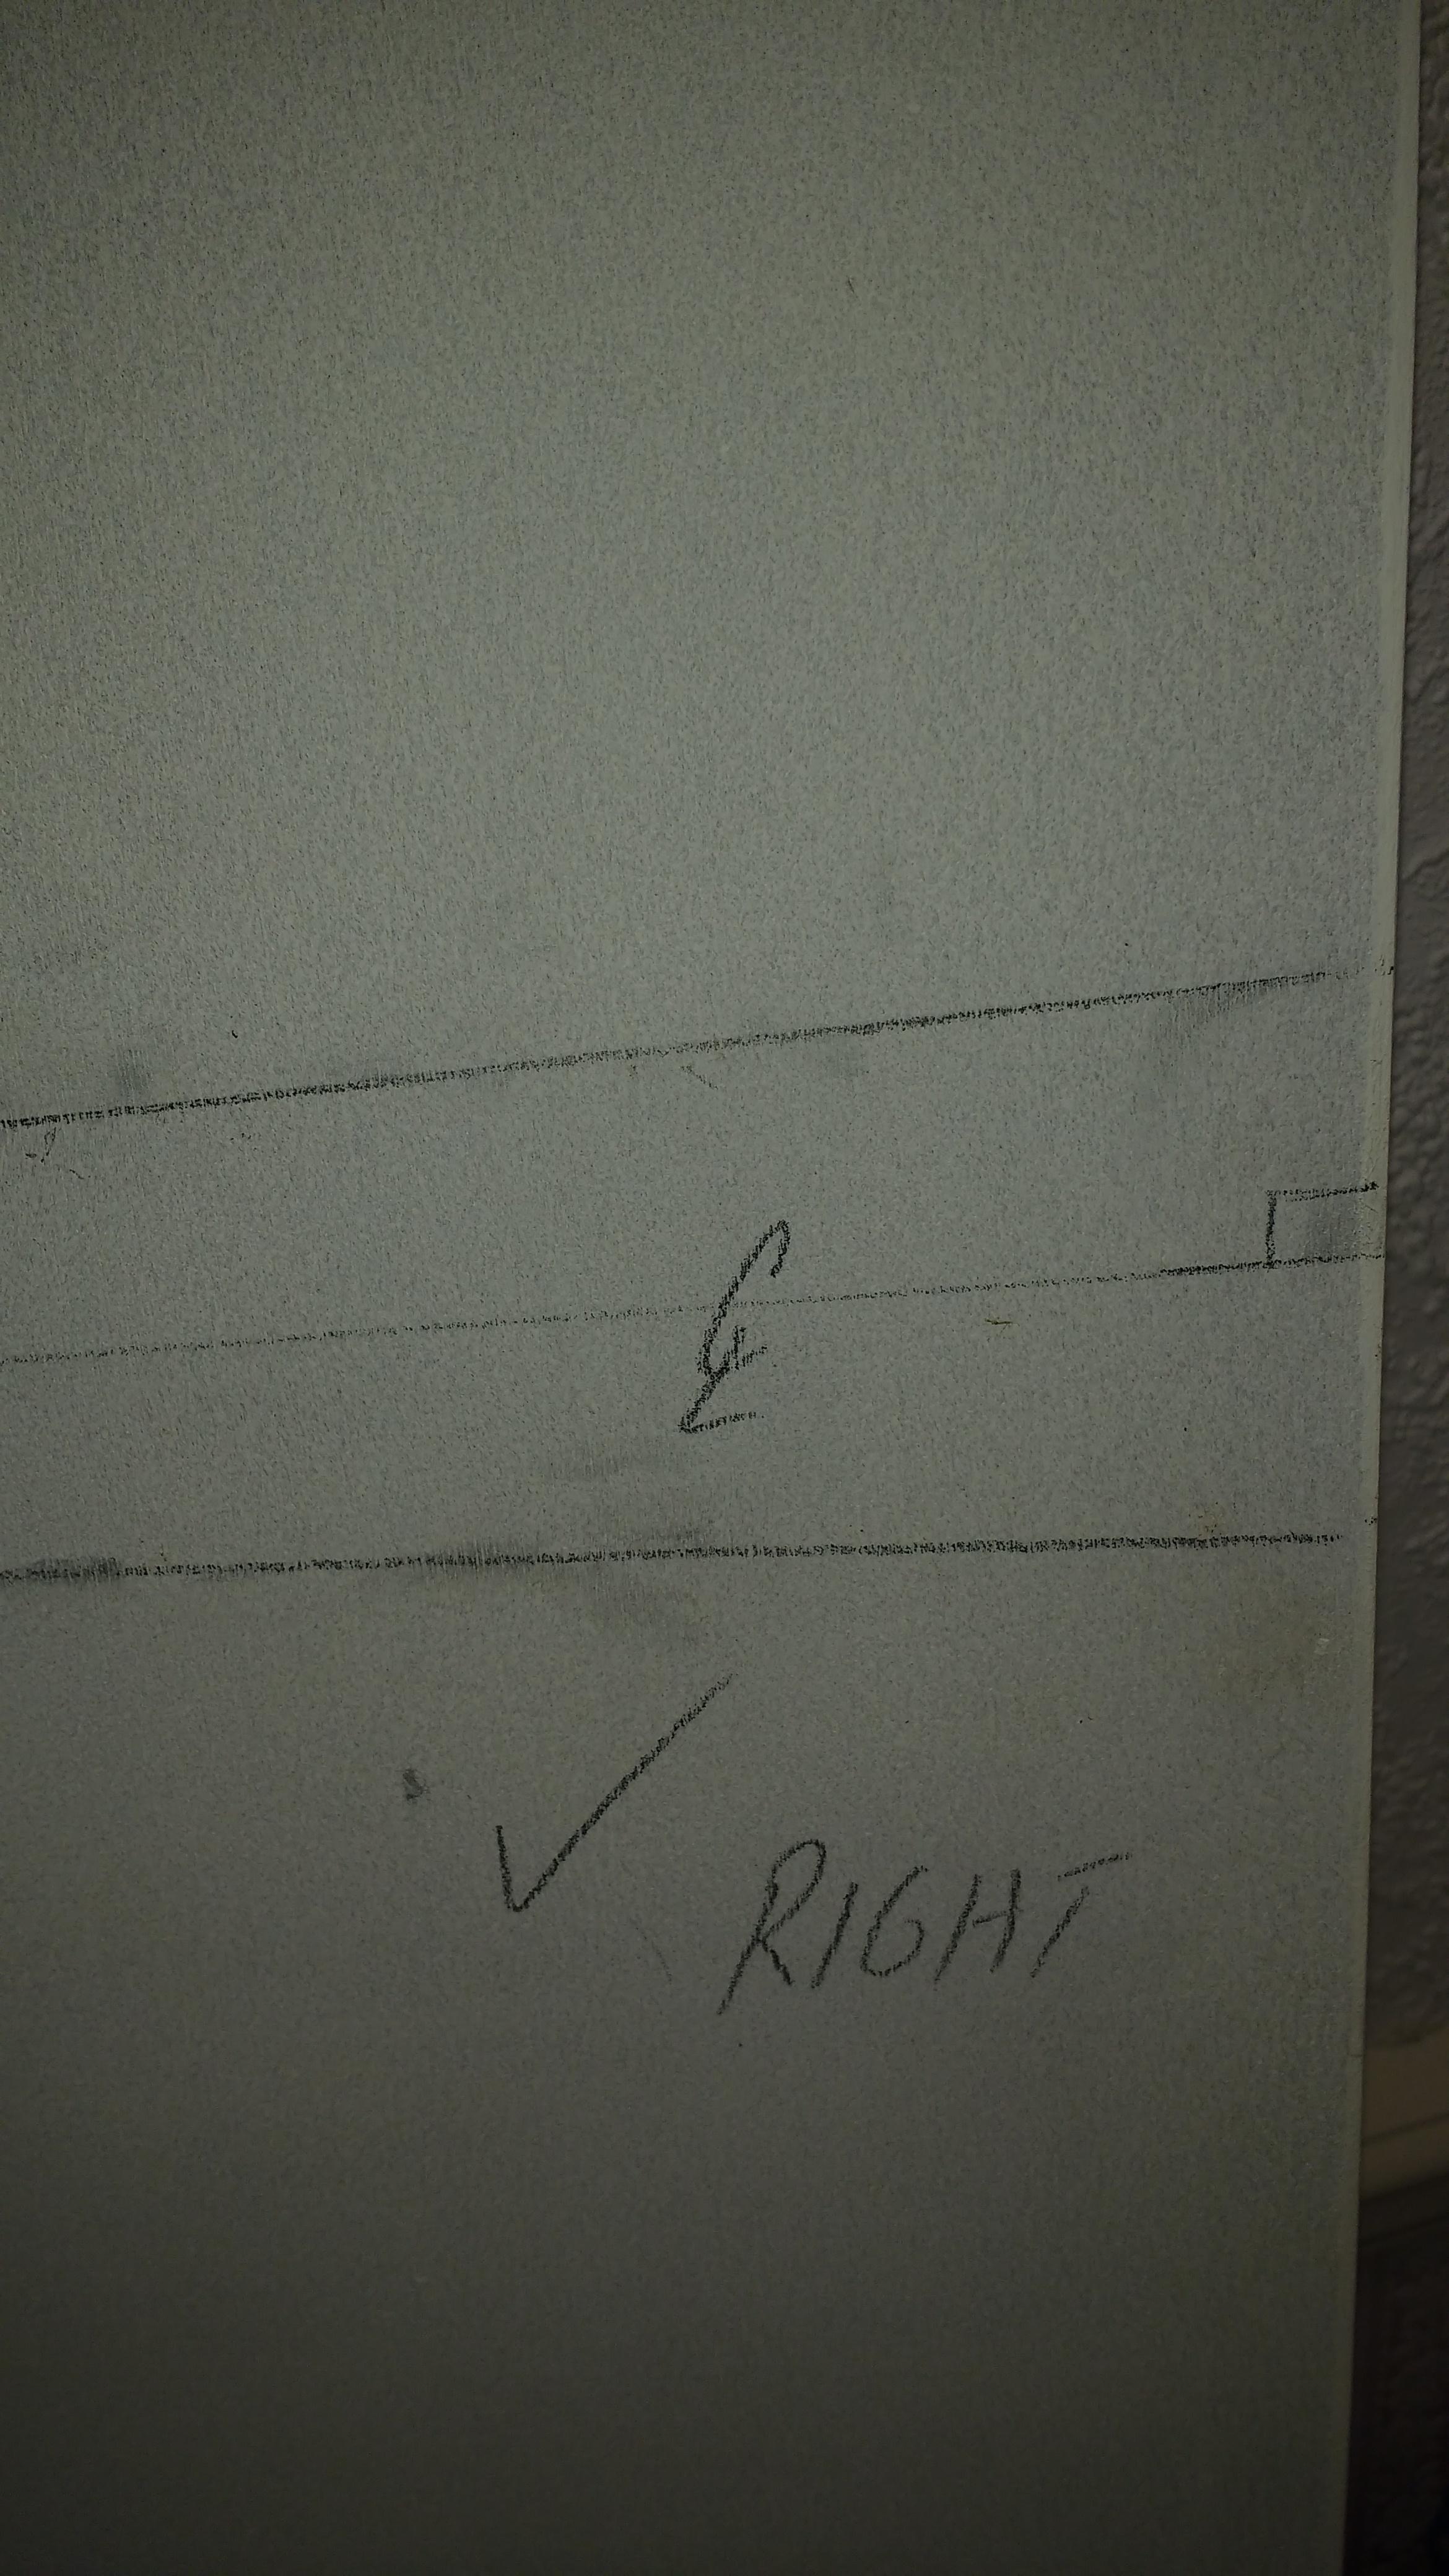
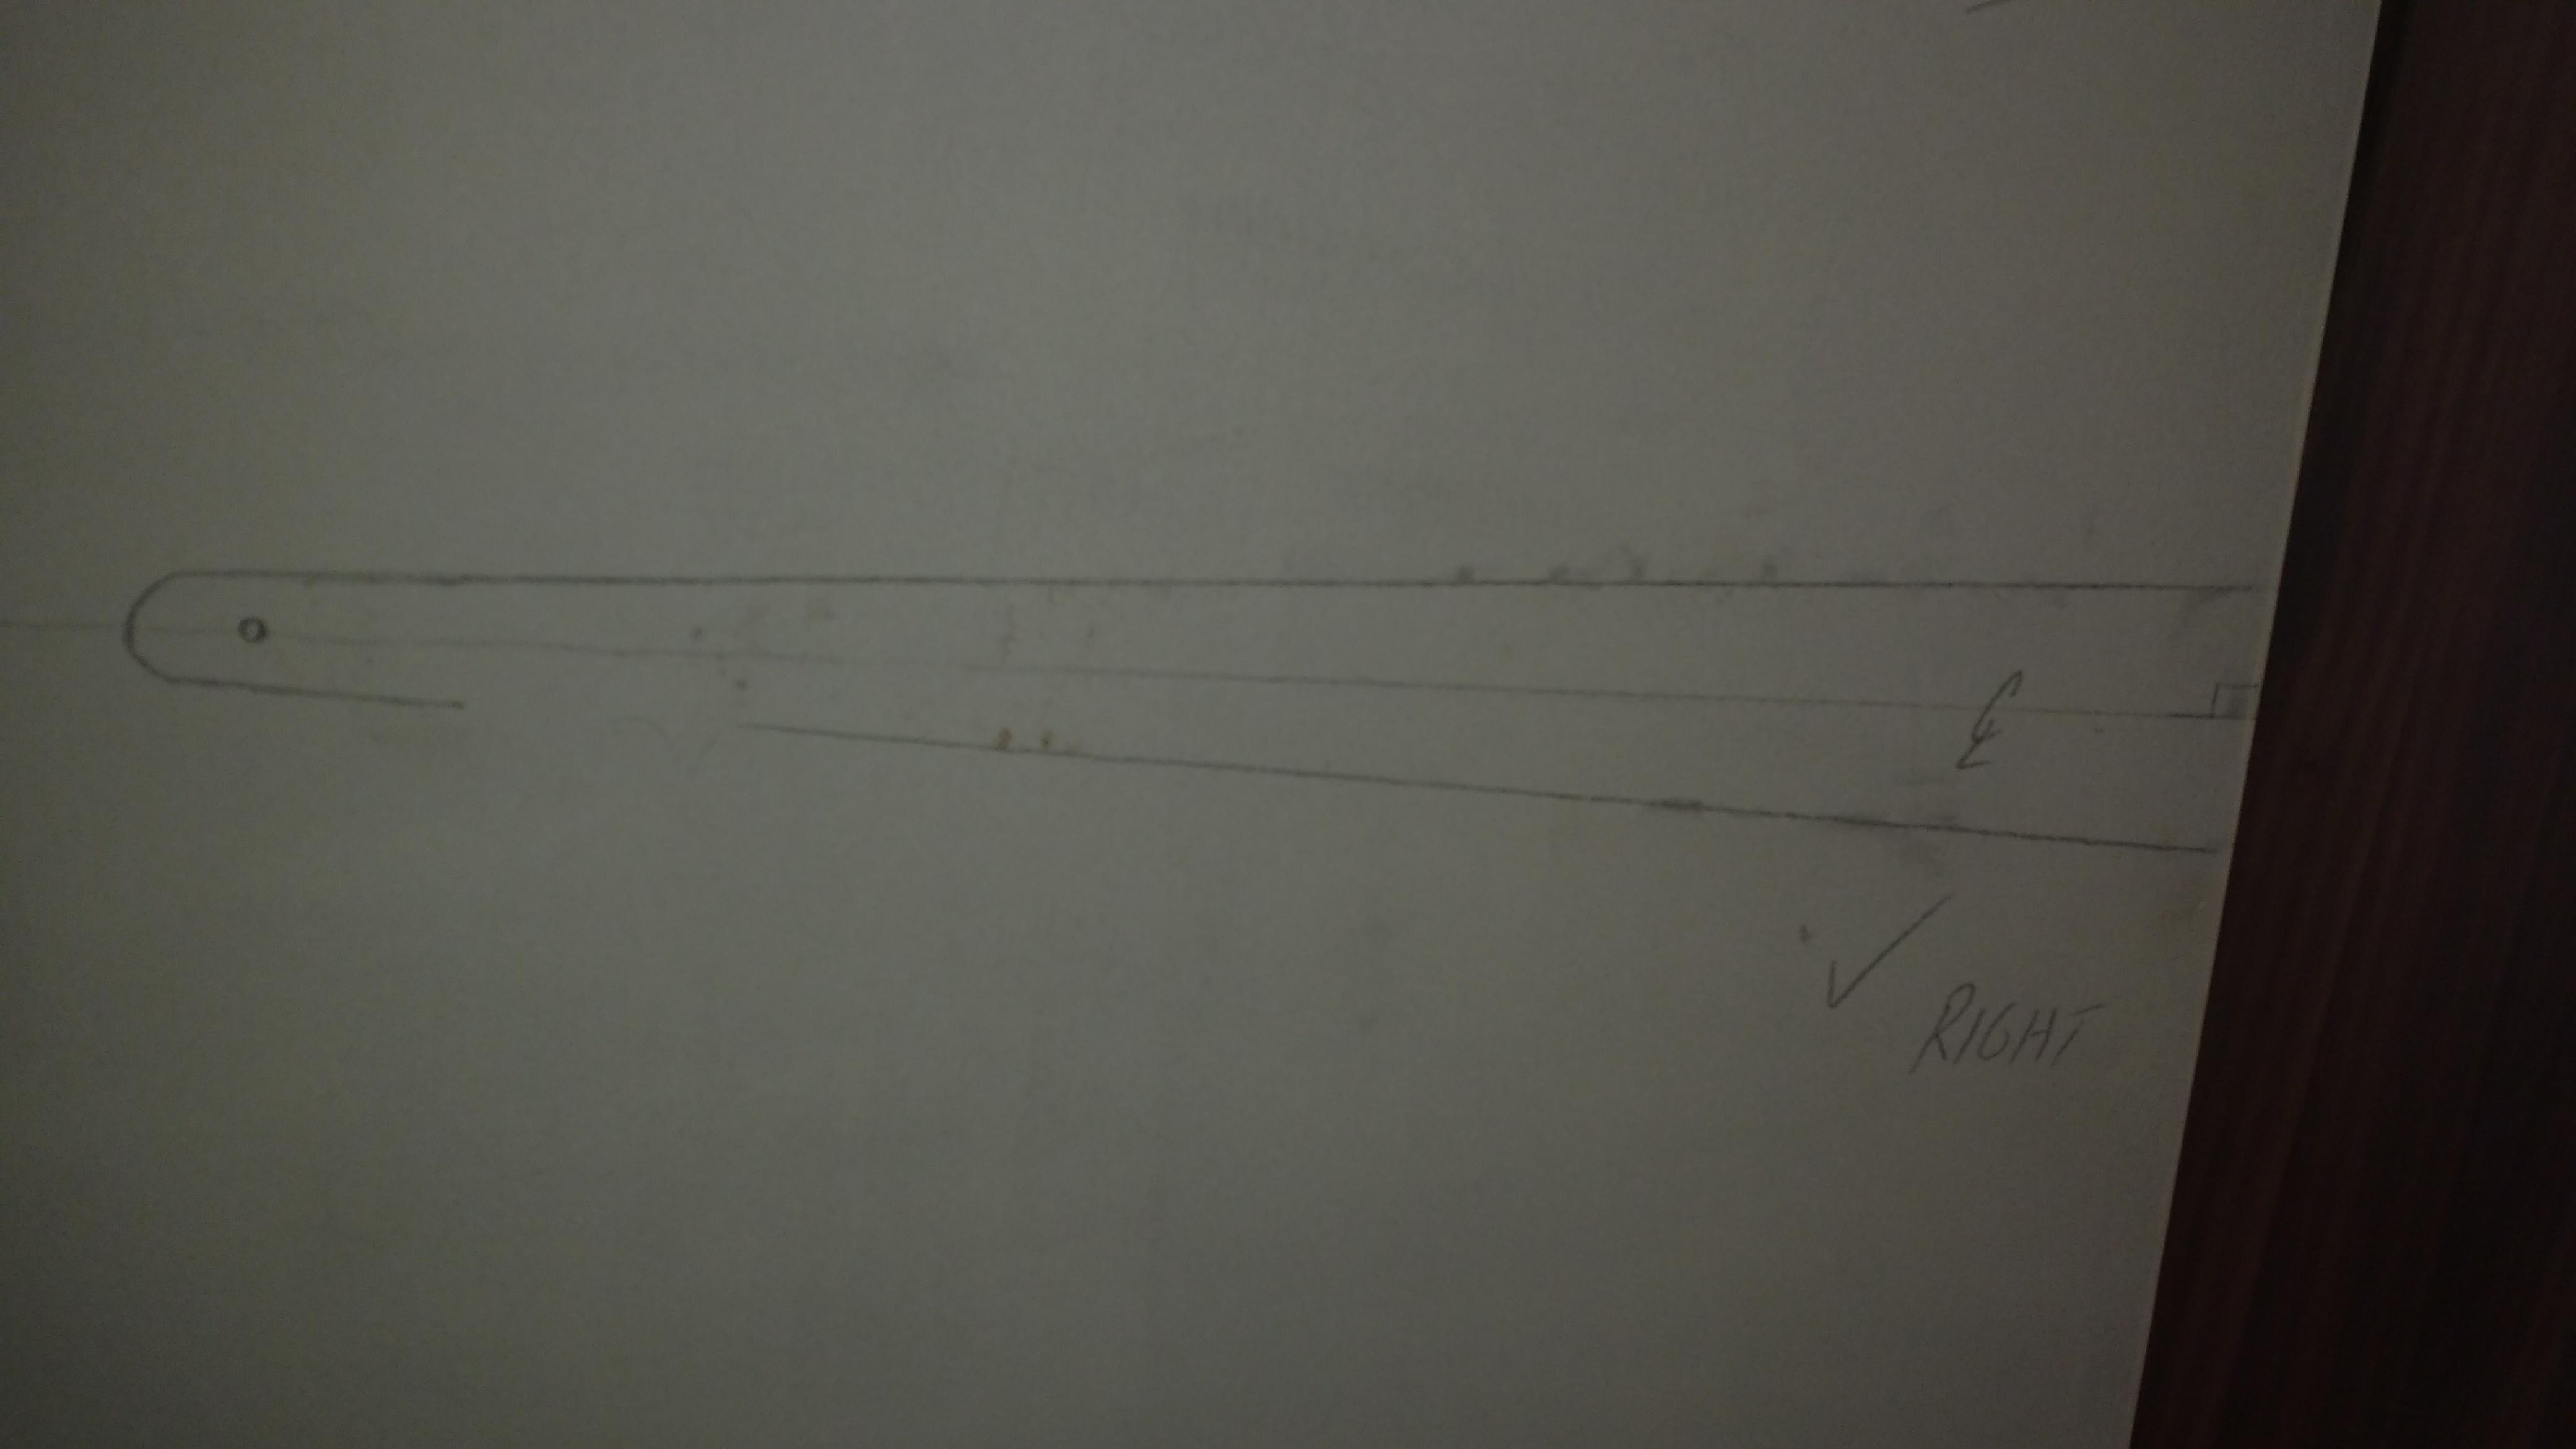
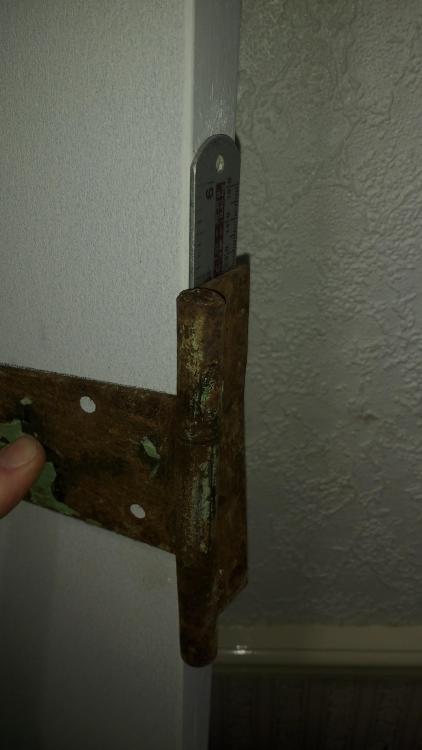
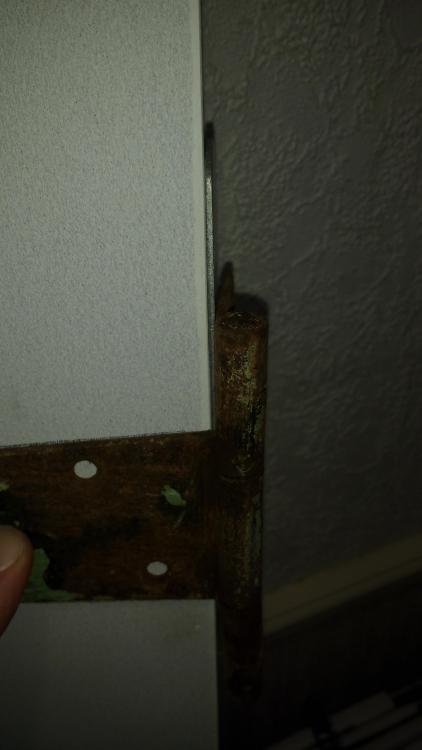
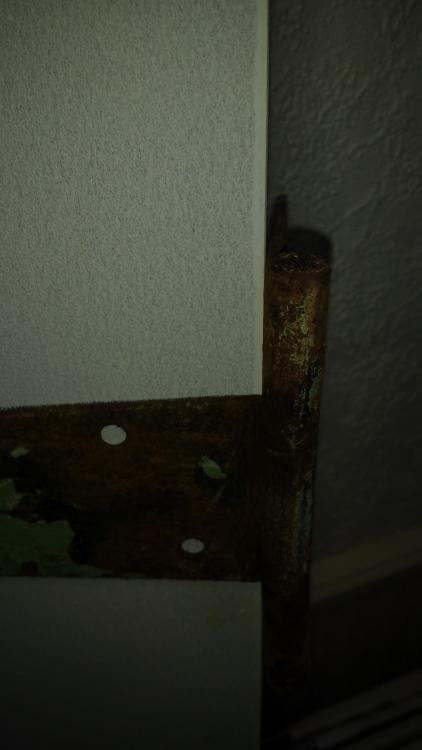
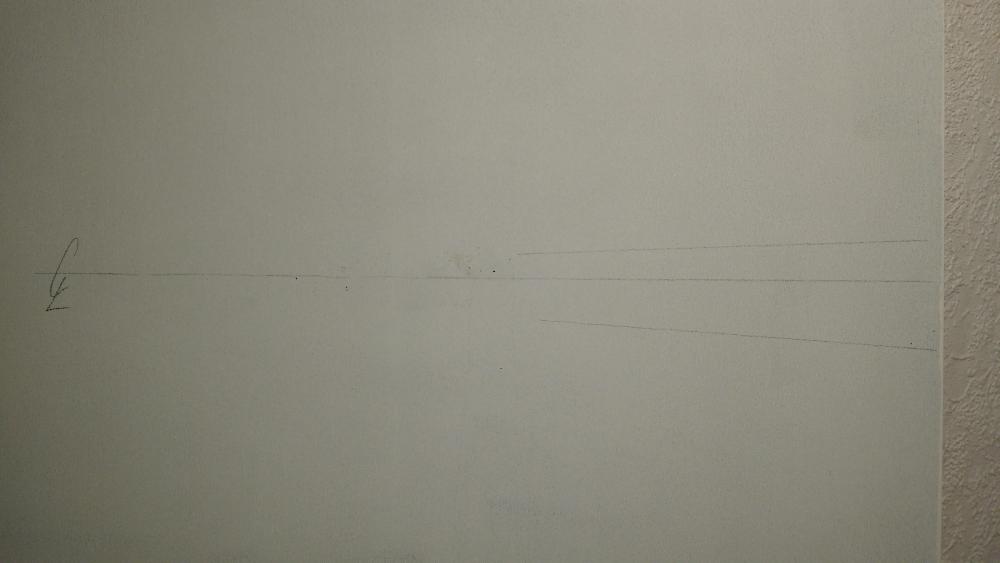
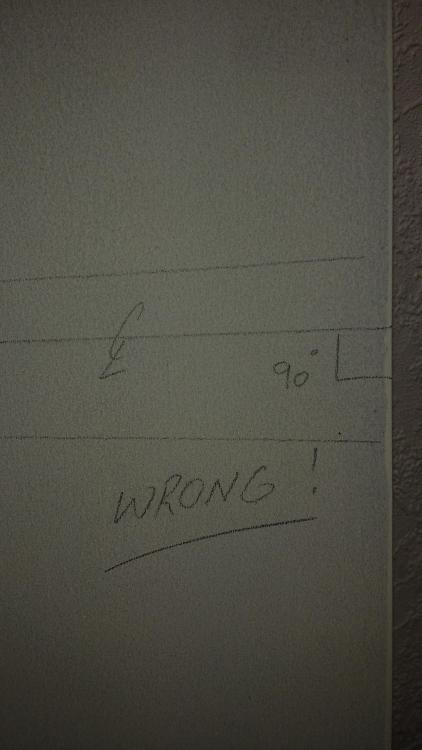
As you're in essence using your hinge "the wrong way", double check it opens to 90deg. Mine doesn't but then it is bent to buggery: Project the centrelines round from your ledges. Make sure they're perpendicular to the door edge where the hinge is going. The hinge wants to sit like this about the centerline, (ignore the camera angle, the centreline is at 90deg): Not like this, the hinge is too low to the centreline: Decide if you want a nominal gap between door and jam. If so slip in a strip club of something. If you do this to one do this to them all. Mark your hinge holes with the "pack" still in place: Fit your hinge.


-
Likewise it could be all the hot air.
-
Yep it just works. I must admit it took me a while to get into their instructions for the WC frame/flush plate and then wall drain but once you do it all makes sense. Don't like that they mix mm and cm on the same drawing though.
-
Nor can I.
-
I've no real answer. Get it right in the first place or compromise as you have with planted-on, rather than hinges let into the jam. You're compounding a f*** up rather than sorting the source of the issue. Why can't you put a straight edge against the door jam and determine where the bow is. I assume it bows out in the middle towards the room. Why? Can you not remove any packing behind the jam and get rid of the bow. Is there a "hollow" behind the jam?
-

-
Is "surrealer" a word? ?
-
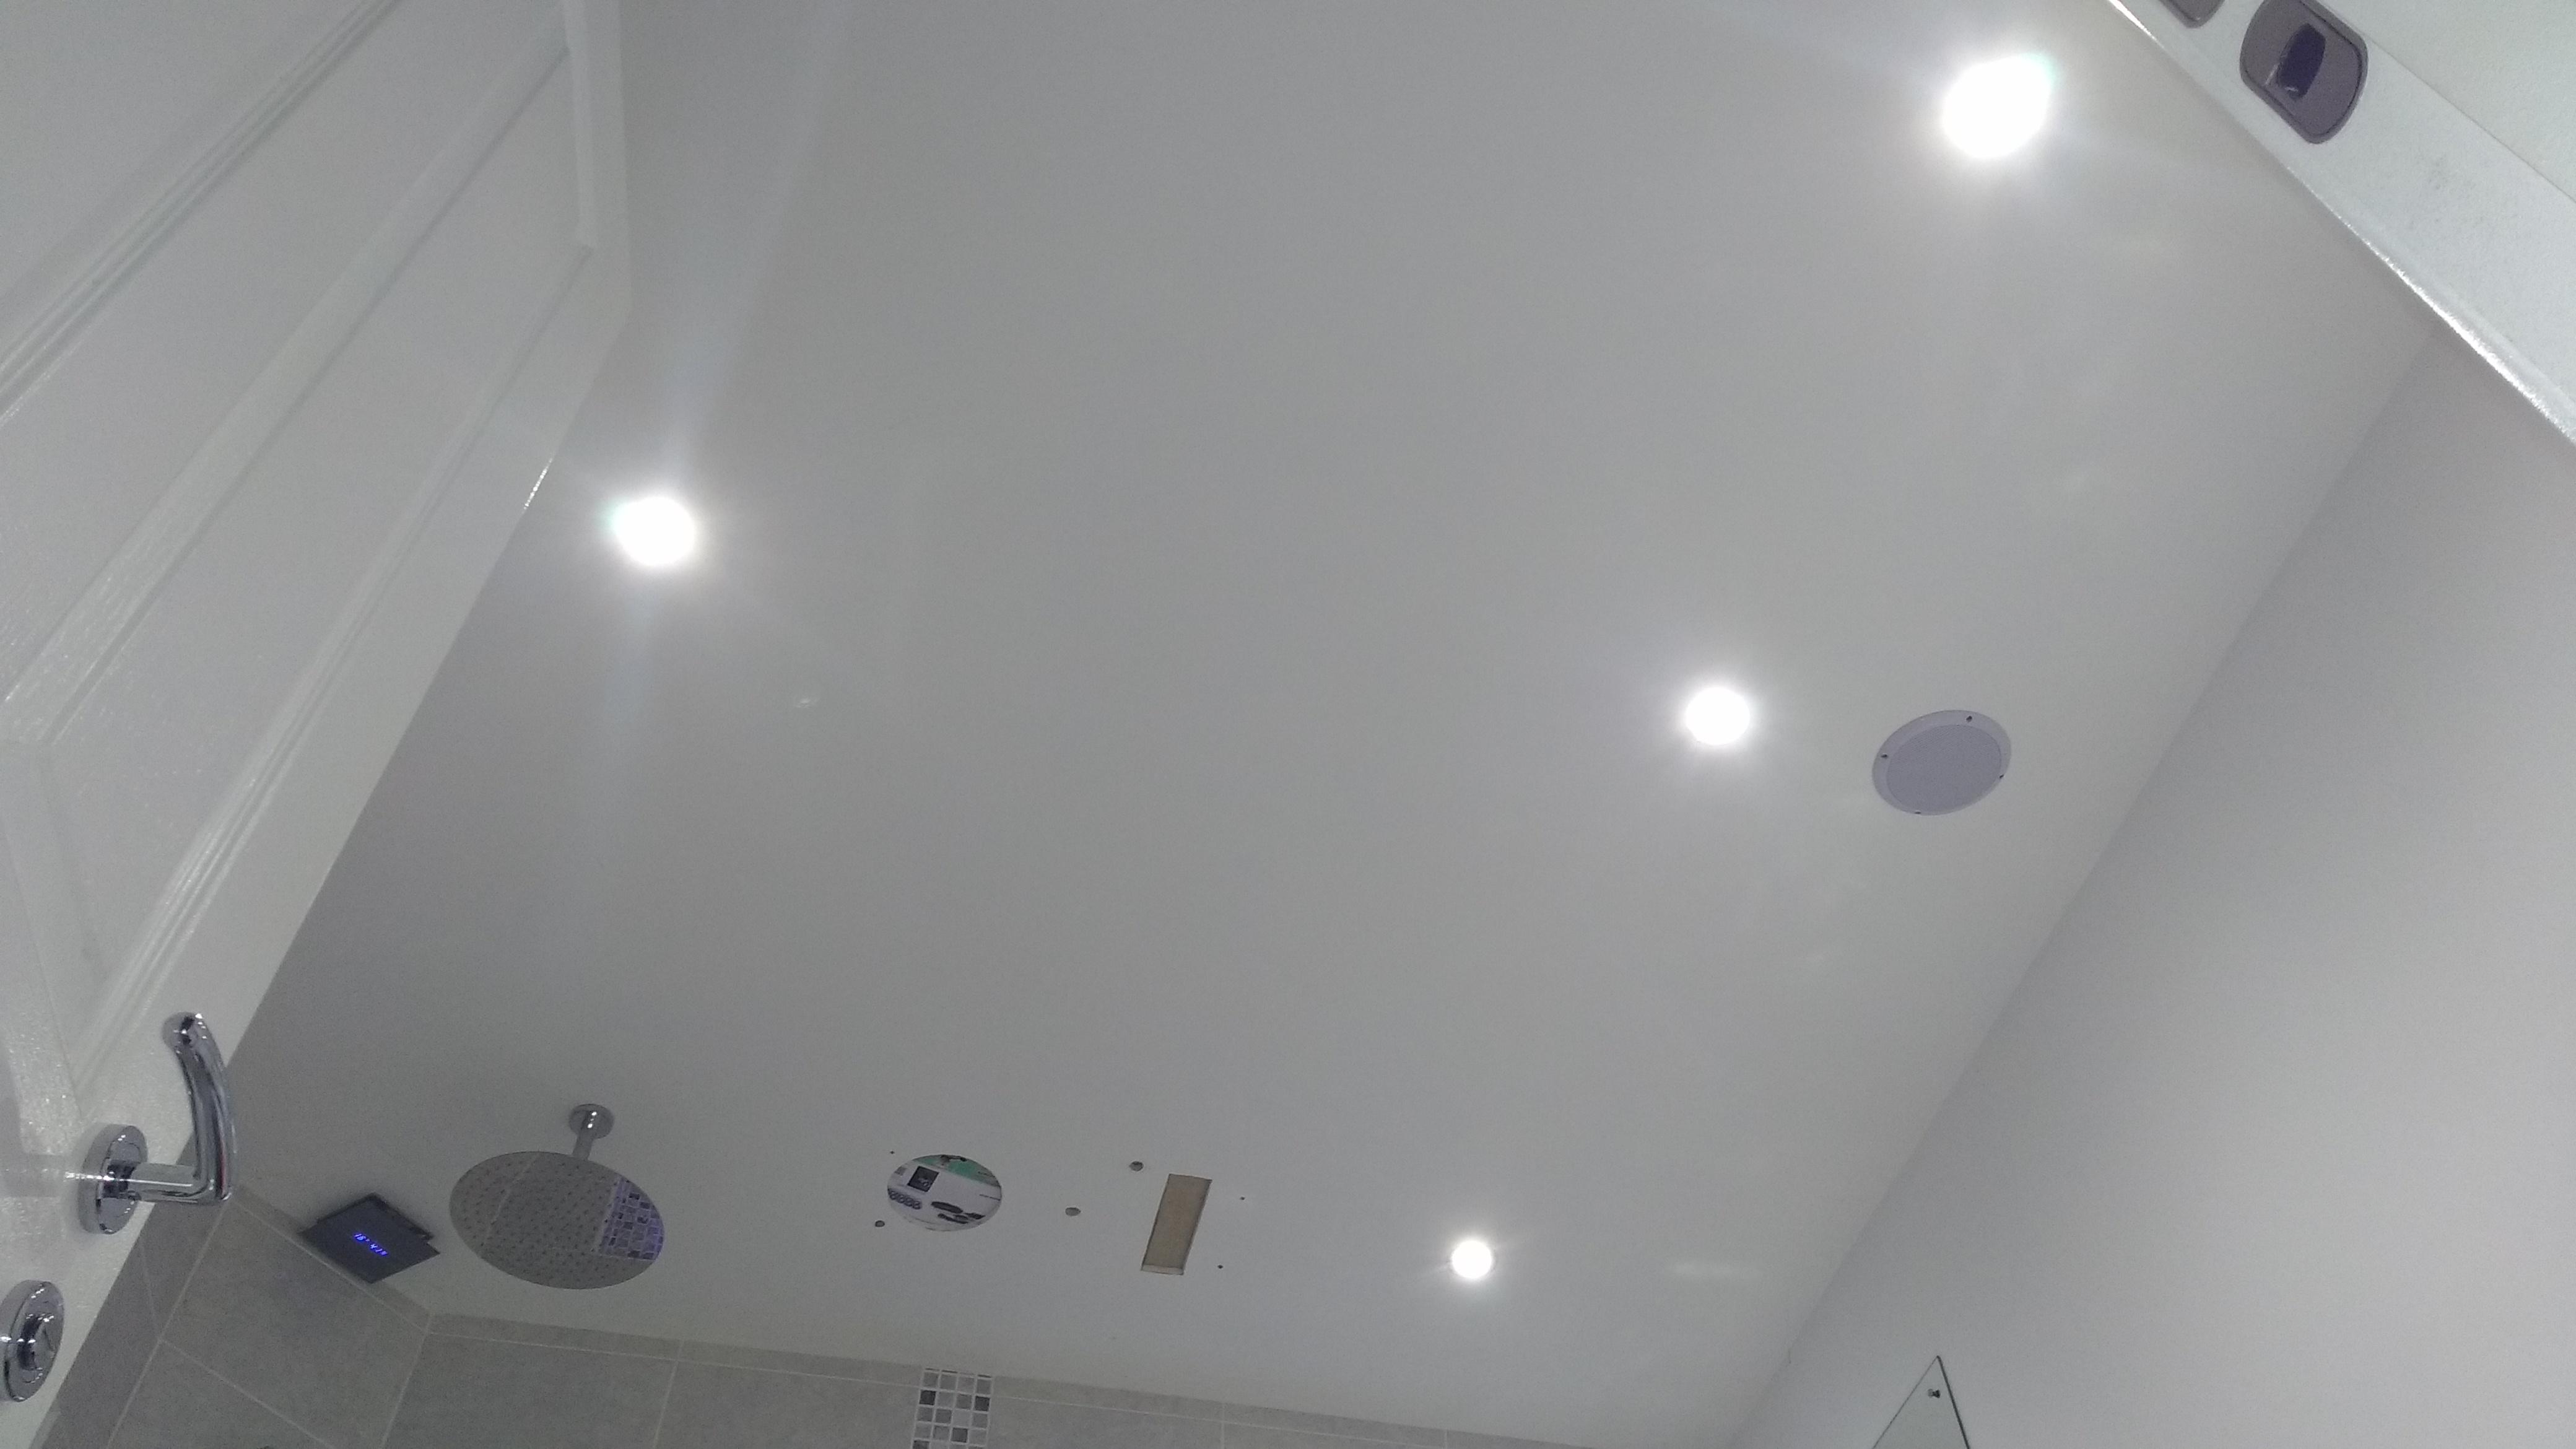
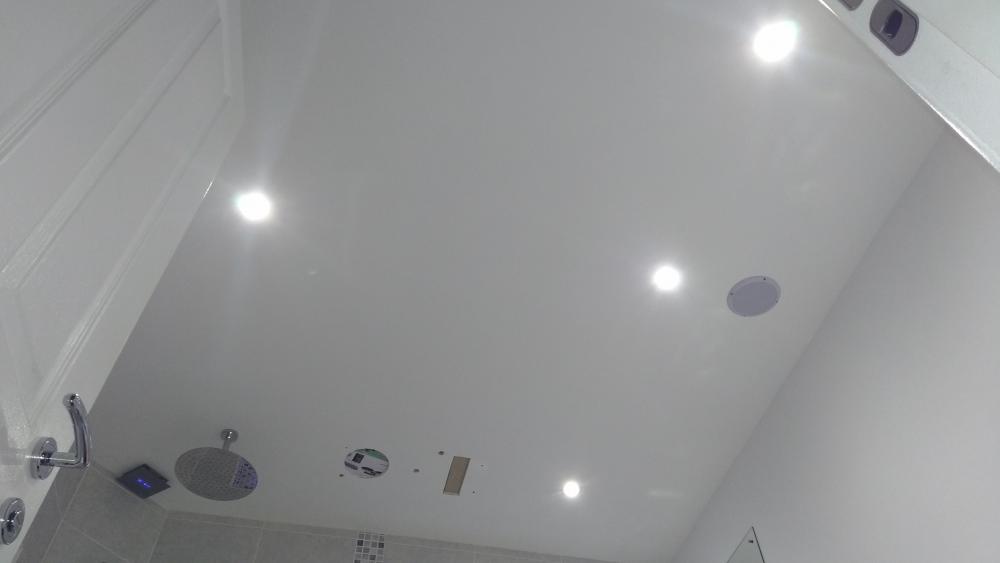
When I punctured my new bathroom ceiling that had a continuous, airtight vcl and 100mm of pir above, my heat losses went through the roof - pun intended. This aside from the draught issues created. The one that really brought home to me what this air tightness is all about was the old soil pipe hole through the wall. I cut a round of lightweight block and foamed it in. Even like that below I could still feel a draught coming in from the wall cavity! You think expanding foam is this magic, fix all, wonderful stuff but it needs to be done properly. You then still have the porosity of the surrounding brick / blockwork. I remember being amazed at the force of the draught on this North facing wall coming through the tiny holes. In the end I I had to dig the foam out a little and fill the recess with Fischer chemical resin. What I'm getting at is the hard learnt lesson of "fabric first". Insulate and draught proof to keep that precious heat from escaping and nasty cold from coming in!
-
Wtf does "udder" refer to?
-
Good luck!
-
I thought the IV stand was a nice touch!
-
Zoot, as @Declan52 said earlier there are online calculators. https://www.bestheating.com/btu-calculator? Write a list of your rooms. Use the calculator to determine the BTU required for each room and note it down. Then figure what BTU rad you actually have in each room and compare to what you should have.
-
'Normal" insulation... The surveyor one assumes was from the crowd who put the kit in? At best he'll have looked up in any loft you have, seen "insulation" and ticked "normal". It's a box ticking exercise. The fact it's not maybe tucked in properly at the eaves or a bit patchy won't matter a jot. Your sort of install for these firms is g'teed money in the bank, through the RHI they get. They should do it to a standard but I bet you'll be lucky if they do. The best job is often the one you do yourself as you found re-doing your loft supposedly built to regs. Surely you may think there's some official scrutiny of how these firms work? On paper maybe. For everyone who complains there's 100s who don't. The installer could fold only to spring up again when yet another Government grant scheme is rolled out. To think I turned down the 19 year old babysitter and her lesbian BFF last night, all to go into the shed and look for a radiator key for you! Do your bit and help everyone here diagnose what you have and if possible make it better.
-
No he didn't, it was me...twice now...3rd time pending! ?
-
Sorry, my mistake, I thought you were agreeing with me! ?
-
Yep.
-
To be fair it's not just Joe calling you one! ? I may have missed it but do you have say a single room thermostat mounted somewhere? On a wall? As a portable unit? I have no clue how an ASHP works but could see if the room where the stat is is below temperature it'd fire up the ASHP if it was within its time to come on. Nobody is suggesting you should have tried to specify your own rads prior to install. Checking that what you have now are suitable for the rooms is worthwhile all day long. You might just find they've taken the piss and put undersize ones in from the start.
-
Pollack!
-
Begins with C.
-
Going back over 20 years now and when we moved in there was no heating in our 4 upstairs dormer rooms. Downstairs was all rads on the old single pipe system. I went down to Wickes and picked up one of their "Good Idea" leaflets. The predecessor of this: https://www.yumpu.com/en/document/read/8269372/choosing-fitting-central-heating-radiators-wickes I MAY have the original leaflet somewhere at home. Anyway, it's a dead simple guide. 1) Work out your room's volume. 2) Calculate the nominal heat output in BTU/HR or Watts 3) There's then various factors to take into account for that nominal heat output; for ceilings over 3m height add 20% for a North facing aspect add 10% and so on. 4) You end up with a figure then select the nearest rad to your requirements from the table in the link. If a single's too wide to fit or you don't like the space it takes up, you go for a double with the required output etc. From memory I went one above the nearest. End result is my 4 upstairs rooms are toasty warm when the rads are on. Given that the losses through the fabric are a pain but they clearly give enough heat to heat the rooms. I'd suggest you do the same excercise with what you have fitted. First measure your rads with a tape and take a stab at what BTU it gives out by comparing a similar size rad on the chart. That's the real easy bit. Then, room by room do the calcs and see what BTU is required. See if the rad output is enough. You will at least have some idea then if the installer has been duly diligent in sizing the rads you've got.
-
One of these 3 then: https://catalog.international.geberit.com/en-ZA/products/CH3_100902/Systems/Installation-and-Flushing-Systems/Geberit-Duofix/Installation-elements/Elements-for-WCs?tab=products&name=&type=Sigma+12+cm&ppp=15