Onoff
-
Posts
21125 -
Joined
-
Last visited
-
Days Won
206
Everything posted by Onoff
-
Tbf to the installers, if you drove them as nuts as you do me they might well have missed some basic install checks such was their hurry to vacate the premises!
-
Seem to recall you paid £555. It's a UP320 Sigma. Was it 80 or 112cm (that's floor to top of frame height).
-
Same bits I had with my Geberit frame. You still got the box the frame came in? There'll be a long number on there like: 111.799.00.1
-
Masochist.
-
Those studs on mine are M12 not M10 btw.
-

Heatmiser Neostat v2 temperature sensor problem
Onoff replied to Ultima357's topic in Underfloor Heating
Sorry, missed you saying/sketching that. Could even put the slots on a slight slant... top, bottom, side, wherever. -
I just felt this might create a lull to give everyone a rest, gather their thoughts, seek therapy etc.
-
Are they, do we have that confirmed? Strap a sensor on the flow pipe and top of rad then post a pic for all to see would be good. Maybe not a bleed issue but for the SECONDS it takes to do, in light of the grief he's had/having, why wouldn't you try bleeding. It's central heating 101 tbh!
-
I'm already regretting popping that radiator key in the post to you this morning.
-
One of things I love about the IoW. Pitch black at night whilst driving for the most part.....not anymore!
-
Heatmiser Neostat v2 temperature sensor problem
Onoff replied to Ultima357's topic in Underfloor Heating
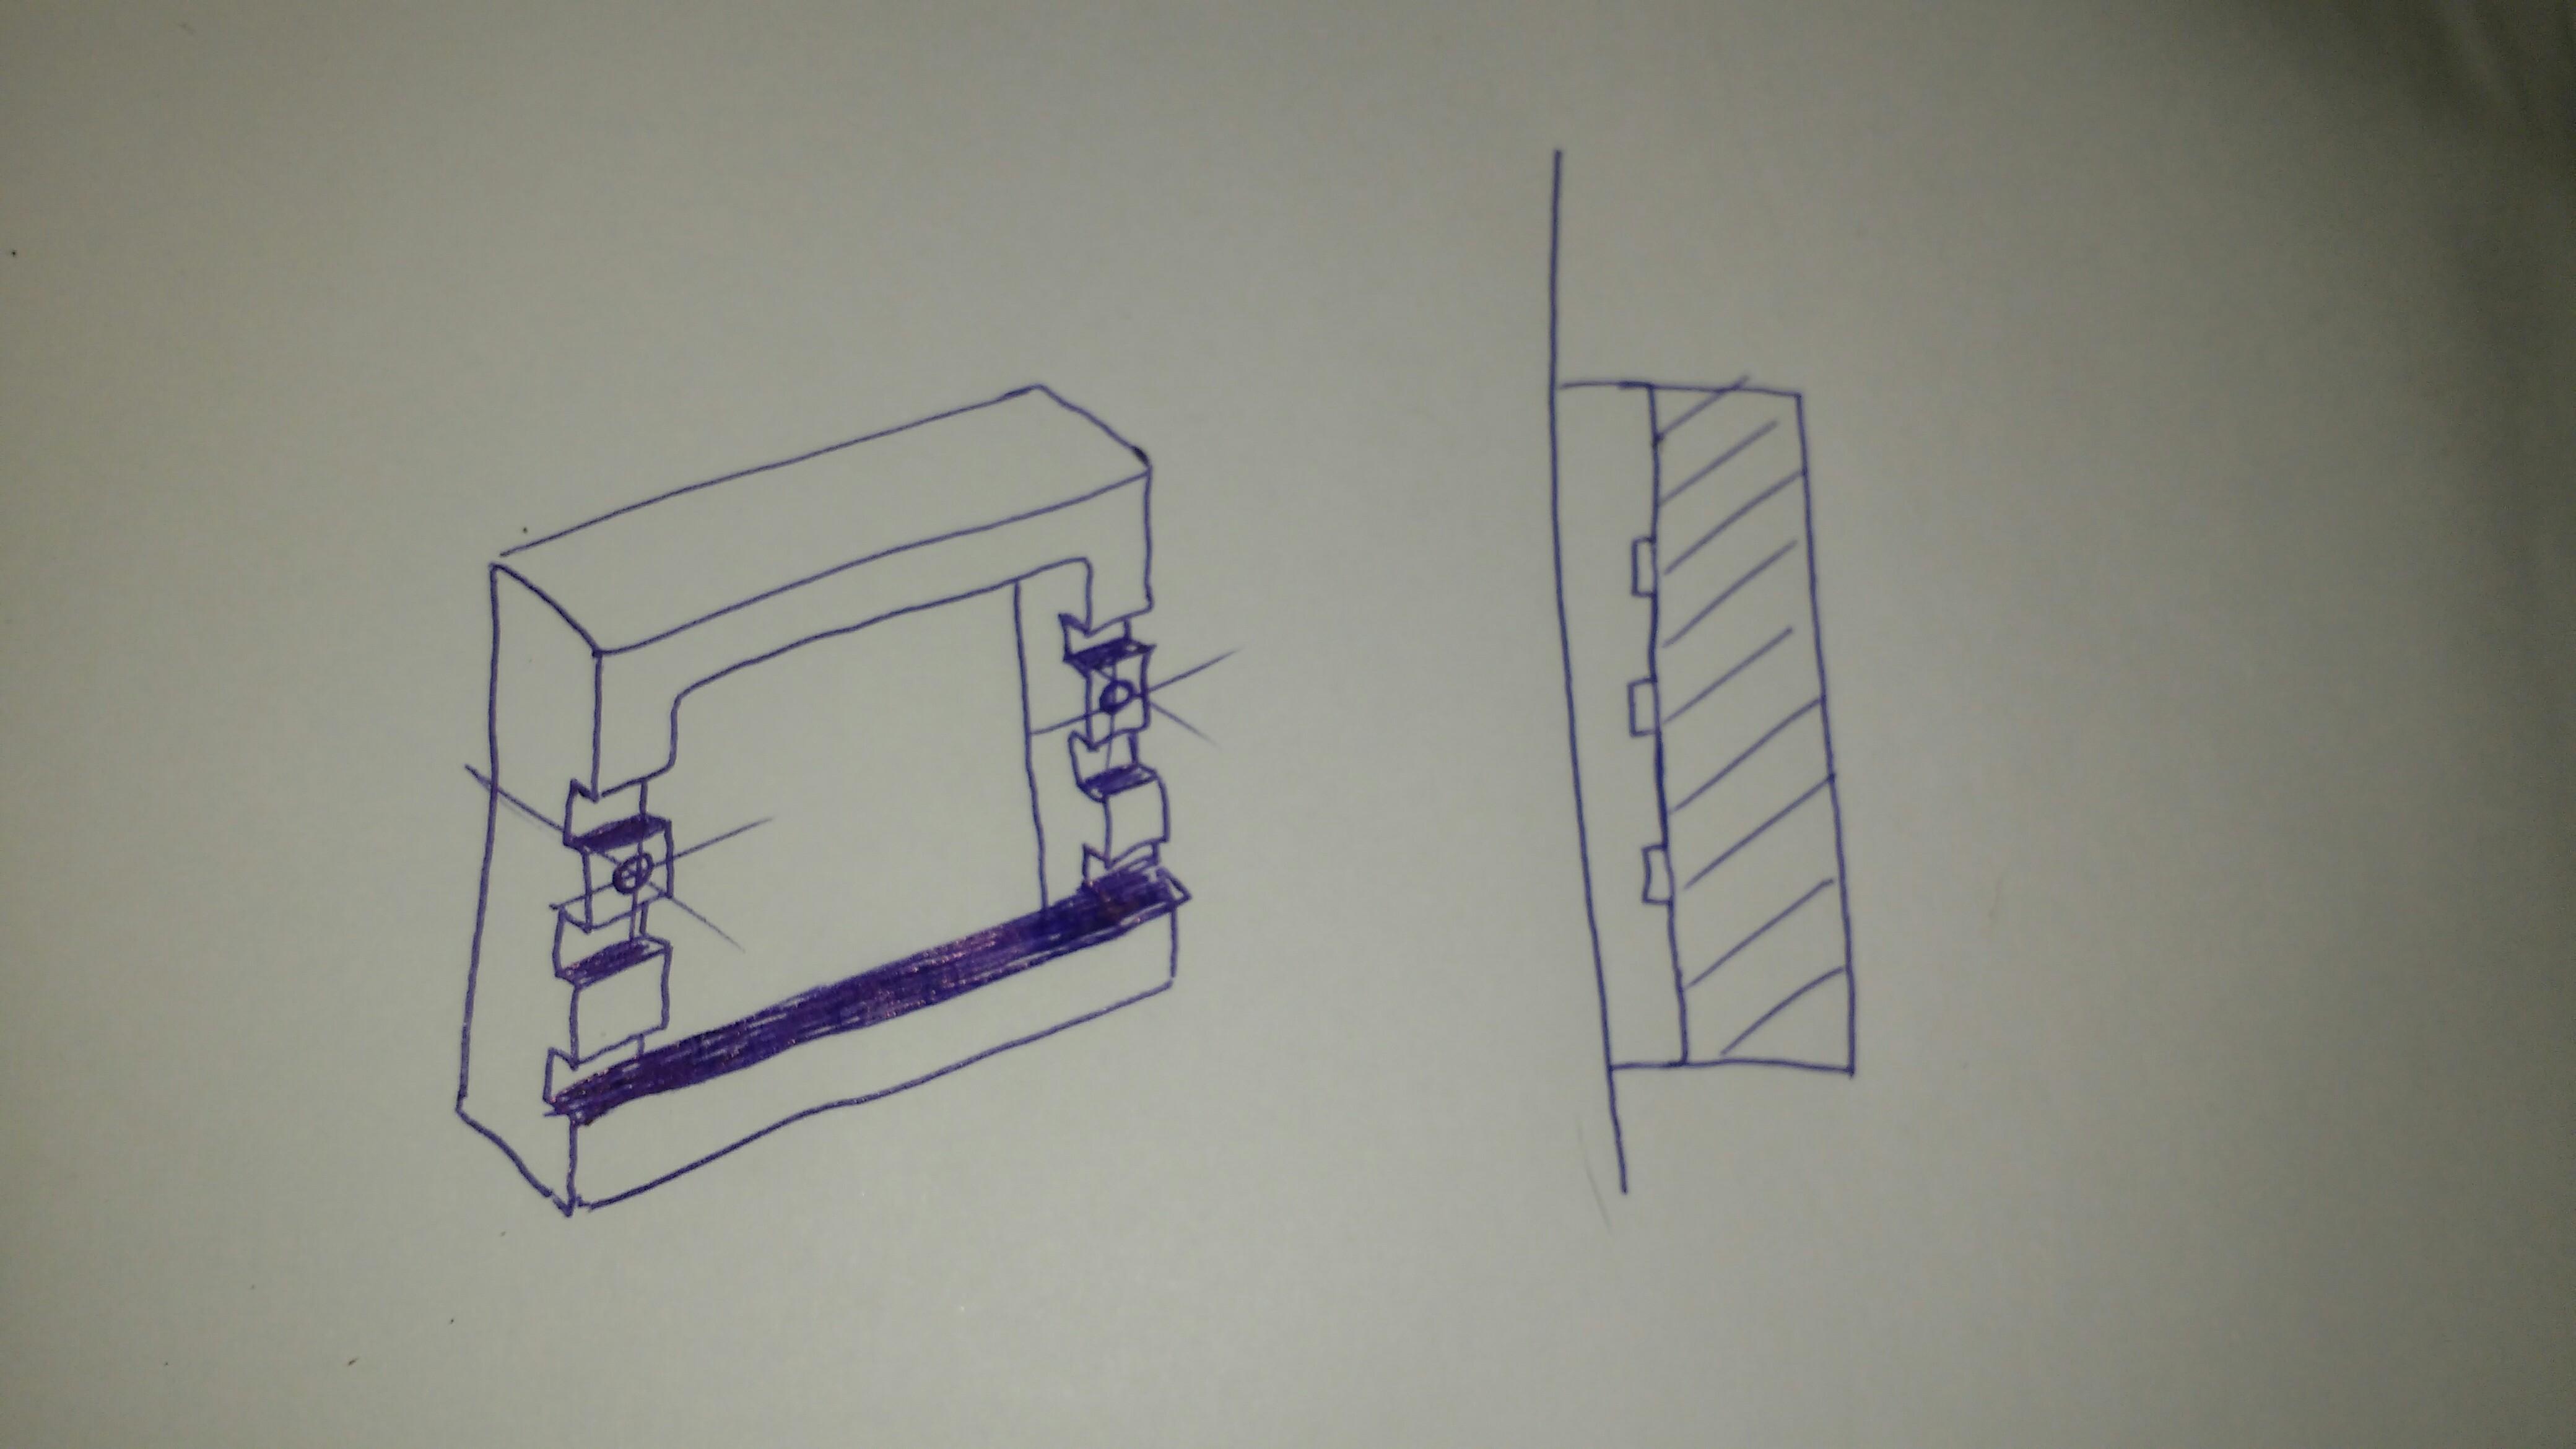
Fag packet sketch for a spacer, dead easy to draw / print:
-
Heatmiser Neostat v2 temperature sensor problem
Onoff replied to Ultima357's topic in Underfloor Heating
Might be some ideas on Thingiverse? https://www.thingiverse.com/thing:3914359 -
Heatmiser Neostat v2 temperature sensor problem
Onoff replied to Ultima357's topic in Underfloor Heating
Can't figure a female to male extender for the connector? -
Tbh you could likely ditch the studs once the CT1 has set!
-
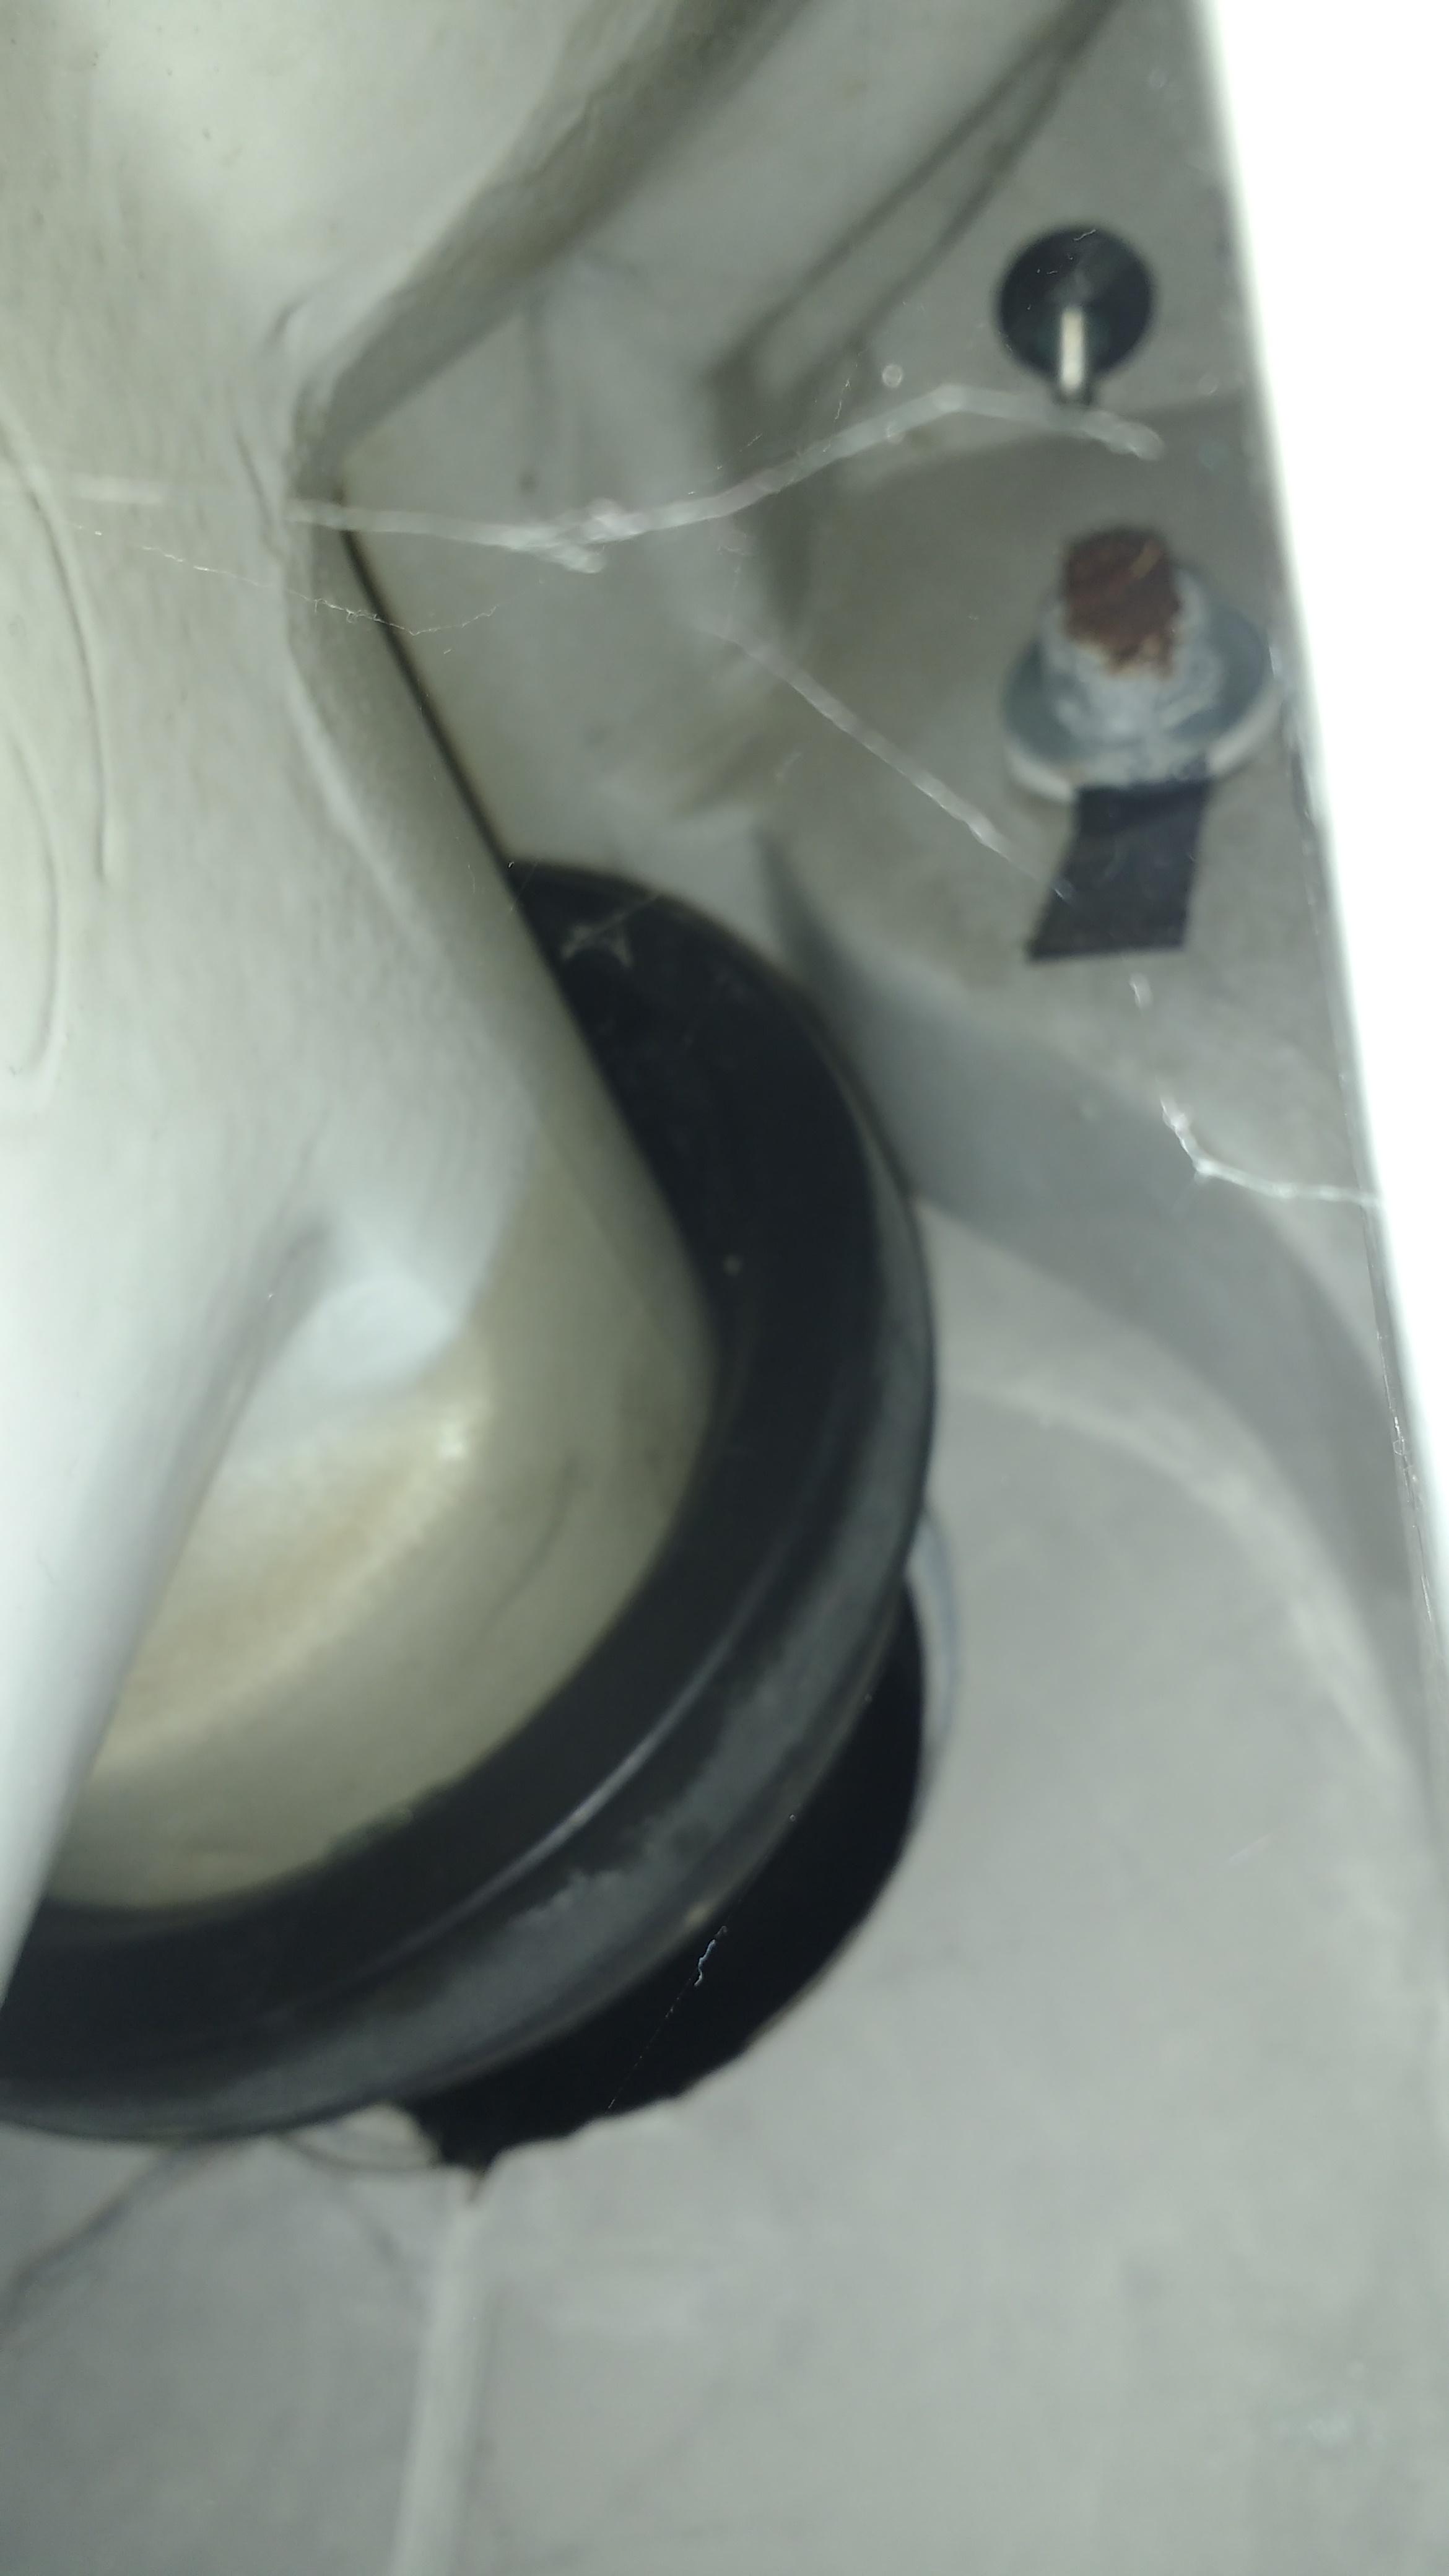
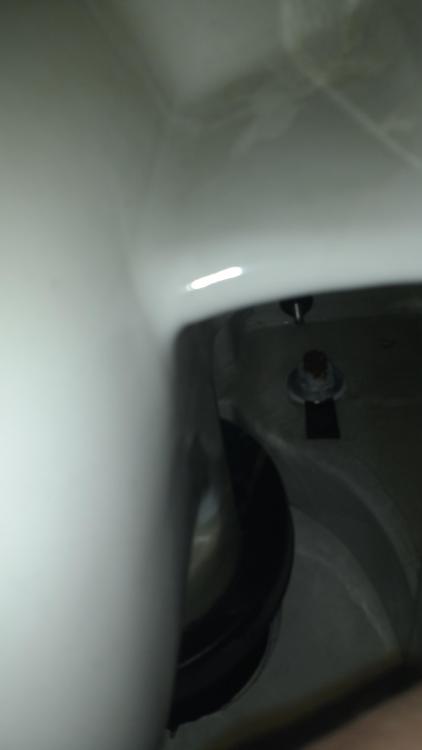
As aforementioned and repeated below I left mine on and slipped PVC conduit over my studs. The thickness of the sleeve plus the conduit brings it up level to the bfo plastic retaining washer that came with the Geberit kit. Mind I had big holes in my pan to "fill": Interesting to see under the pan how the end of the zinc plated studs have rusted (couldn't get it to focus):

-
Not on my Geberit Kappa UP200 frame:

-

-
You did indeed, page 22 of 53, November 29th 2020! ? Tbh I must have subconsciously missed that, any sentence you write containing the word "bleeding" brings back painful memories...
-
You should really tbh go round once a year at least and bleed your rads as a matter of course. The new rads might have come with keys, often little plastic ones. Any left over bits anywhere?
-
Seriously did none of the visiting "engineers" bleed the radiators at any time? What about at the time of install?
-
Reminds me of an old Kentish proverb "Man who no spend 69p at Screwfix, right c**t!"
-
So the rads haven't been bled? You could humour me for the seconds it would involve to take a radiator key to them and see if any air comes out.
-
@zoothorn, might sound like a daft question but have you or anyone else bled (the air out of) the radiators?
-
Heatmiser Neostat v2 temperature sensor problem
Onoff replied to Ultima357's topic in Underfloor Heating
Printing 11 isn't a massive deal tbh and wouldn't use much material. What I find for things like this is (to my mind anyway) the quality is lacking. The models I create look a million bucks: The reality can be a bit "grainy". One of my models brought to life by my lad: Saying that, what some people will print and be happy with is dog rough appalling imo! NOT one of mine btw: Have had some success plastic priming and spray painting parts. -
You are correct in that the hinge being set in does serve a purpose to transfer the door weight onto the "shelf" created by the hinge recess. I think it just looks naff planted on the jam as an aside. If it works for you though go for it. More important if you do so to then use decent, chunky screws, as they'll be more in shear if not supported.