Onoff
-
Posts
21052 -
Joined
-
Last visited
-
Days Won
206
Everything posted by Onoff
-
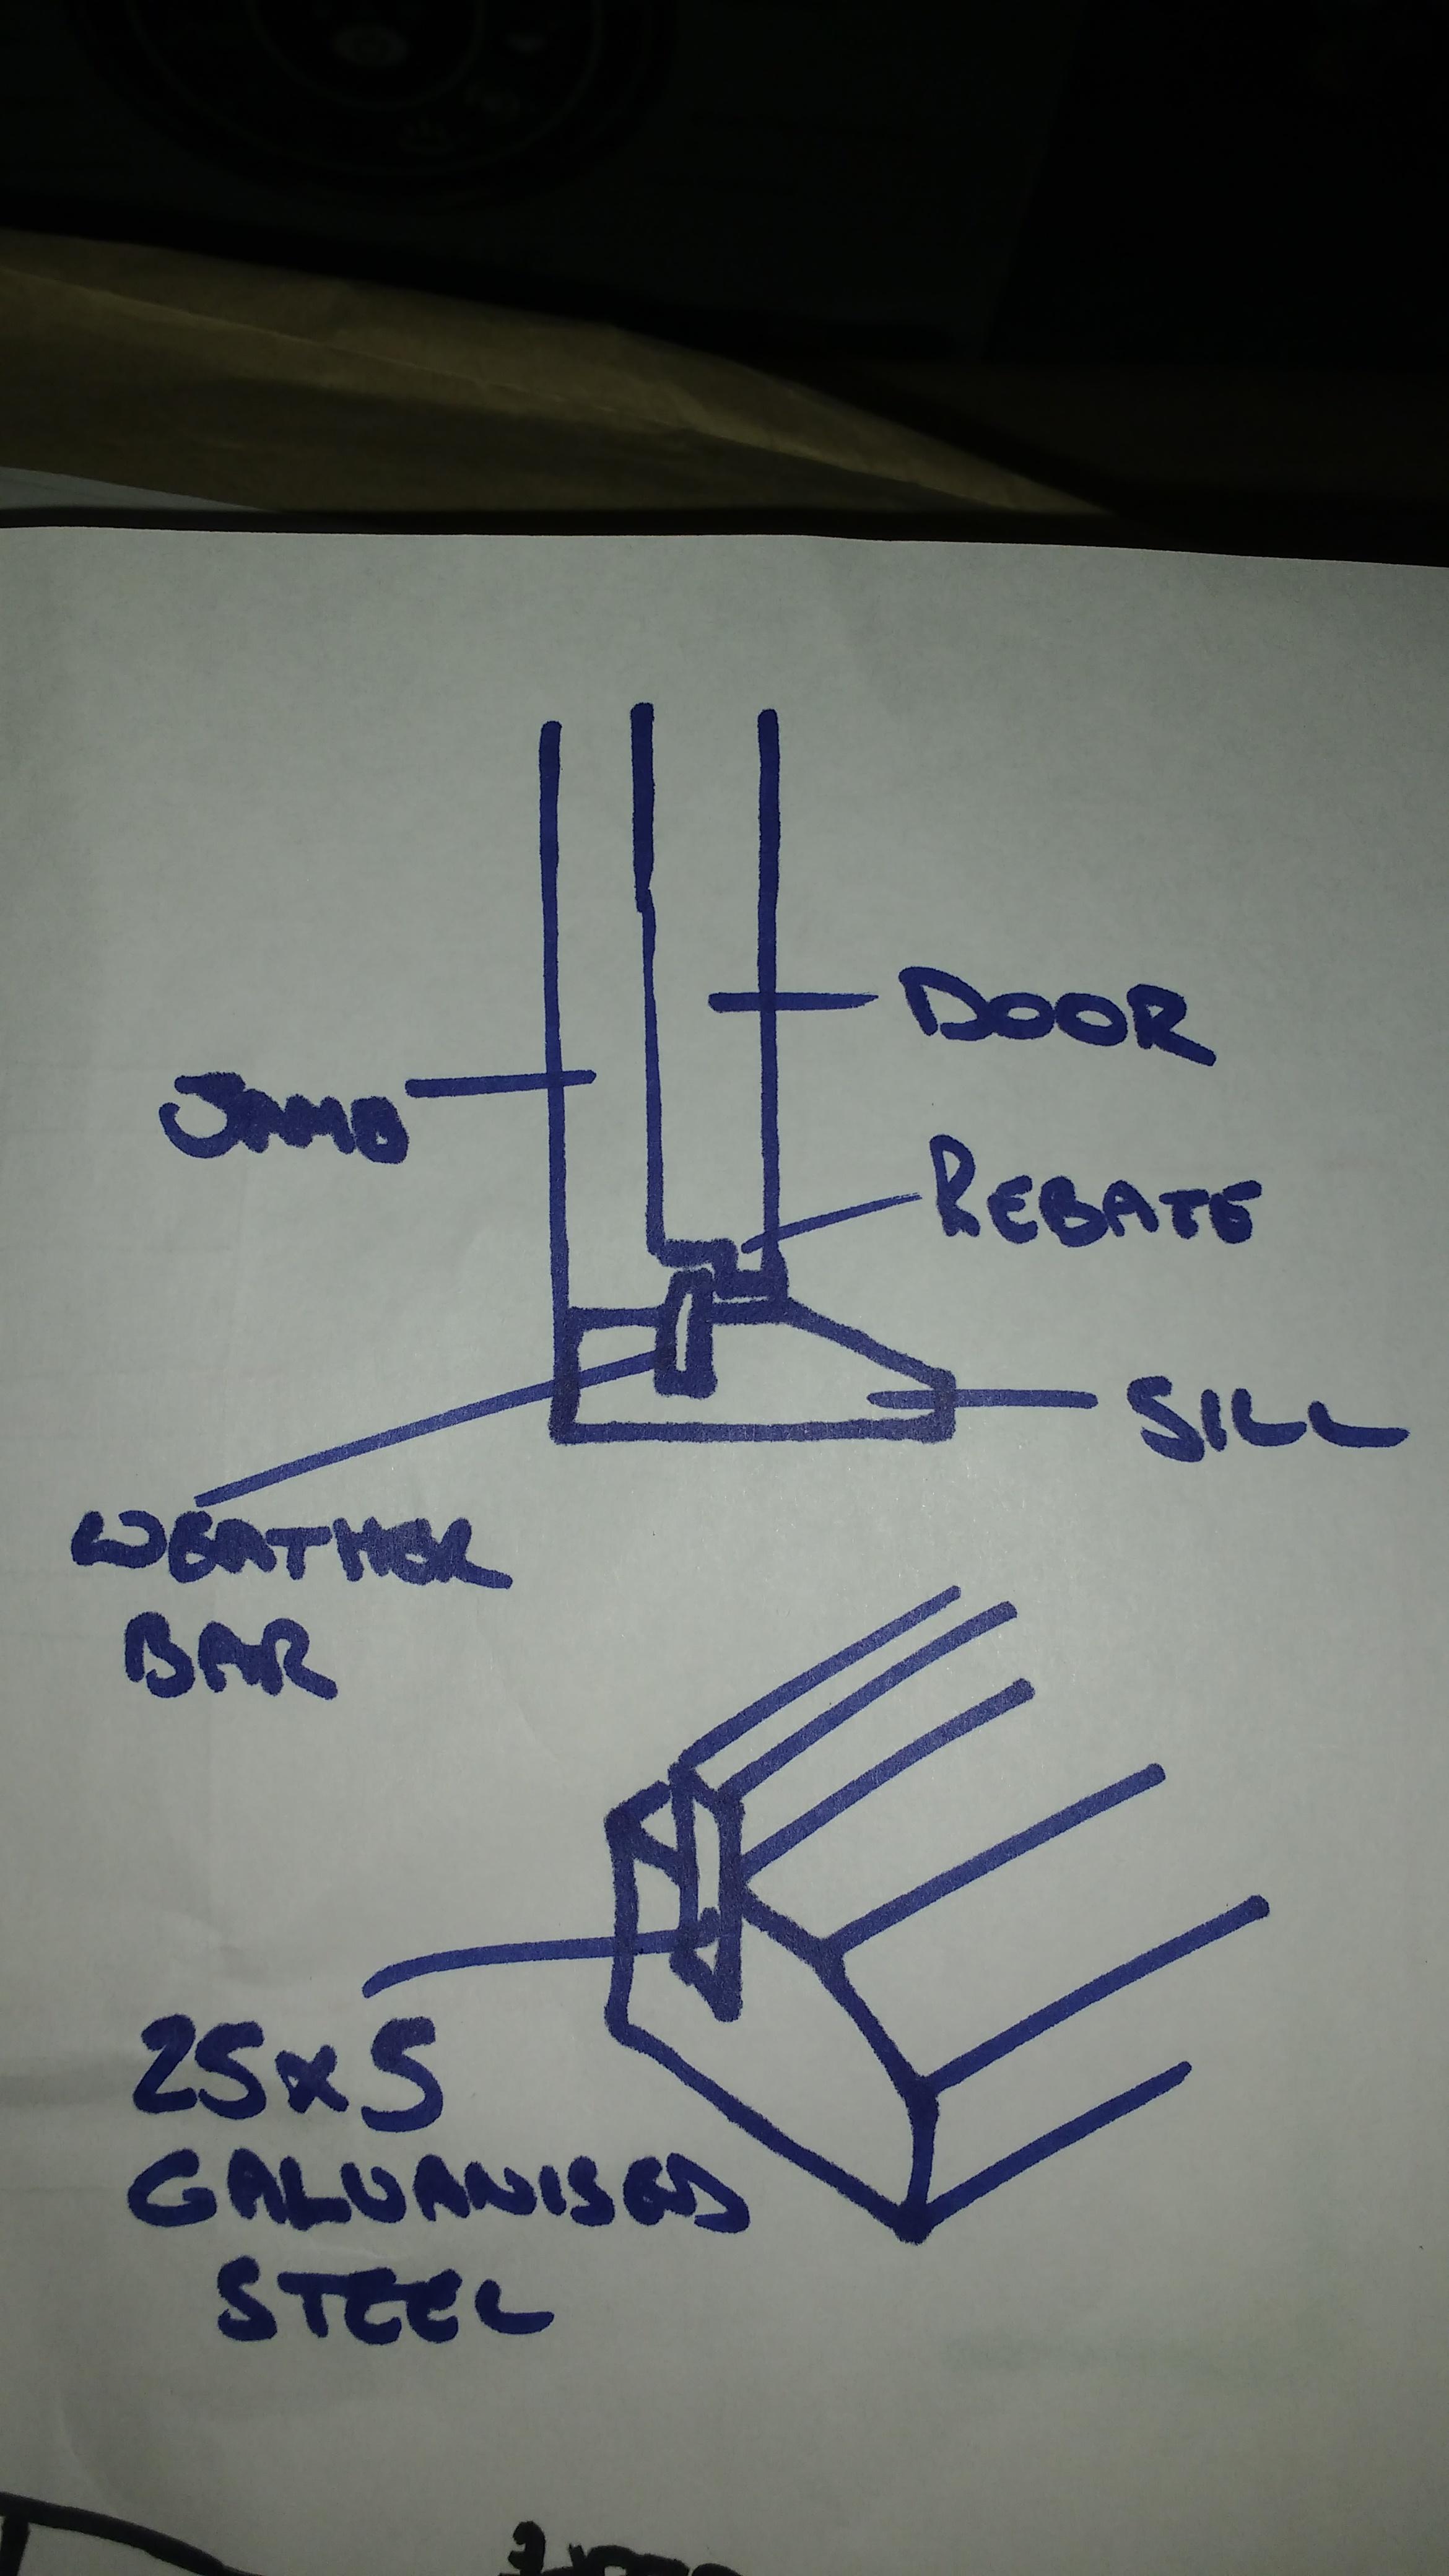
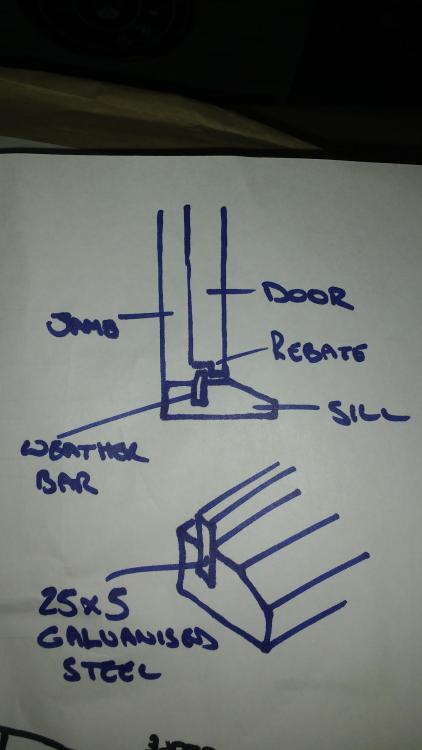
Something like this: You can use softwood, treat it really well then bend/notch a sheet of aluminium to go over it as a protective cover. Done it a few times. I'll see if I kept the last one.
-
Ideally you want a lump of hardwood door sill with a galvanised weather bar set in a slot. Your door closes against this. Not the best pic of mine. I made everything from scrap. The bottom of the door has a rebate cut in it. Are they your doors in the picture?
-
Leave it there. It could come in bloody handy if someone needs to self isolate. Ask me how I know! ?
-

Sealant and Toilet Holes
Onoff replied to canalsiderenovation's topic in Bathrooms, Ensuites & Wetrooms
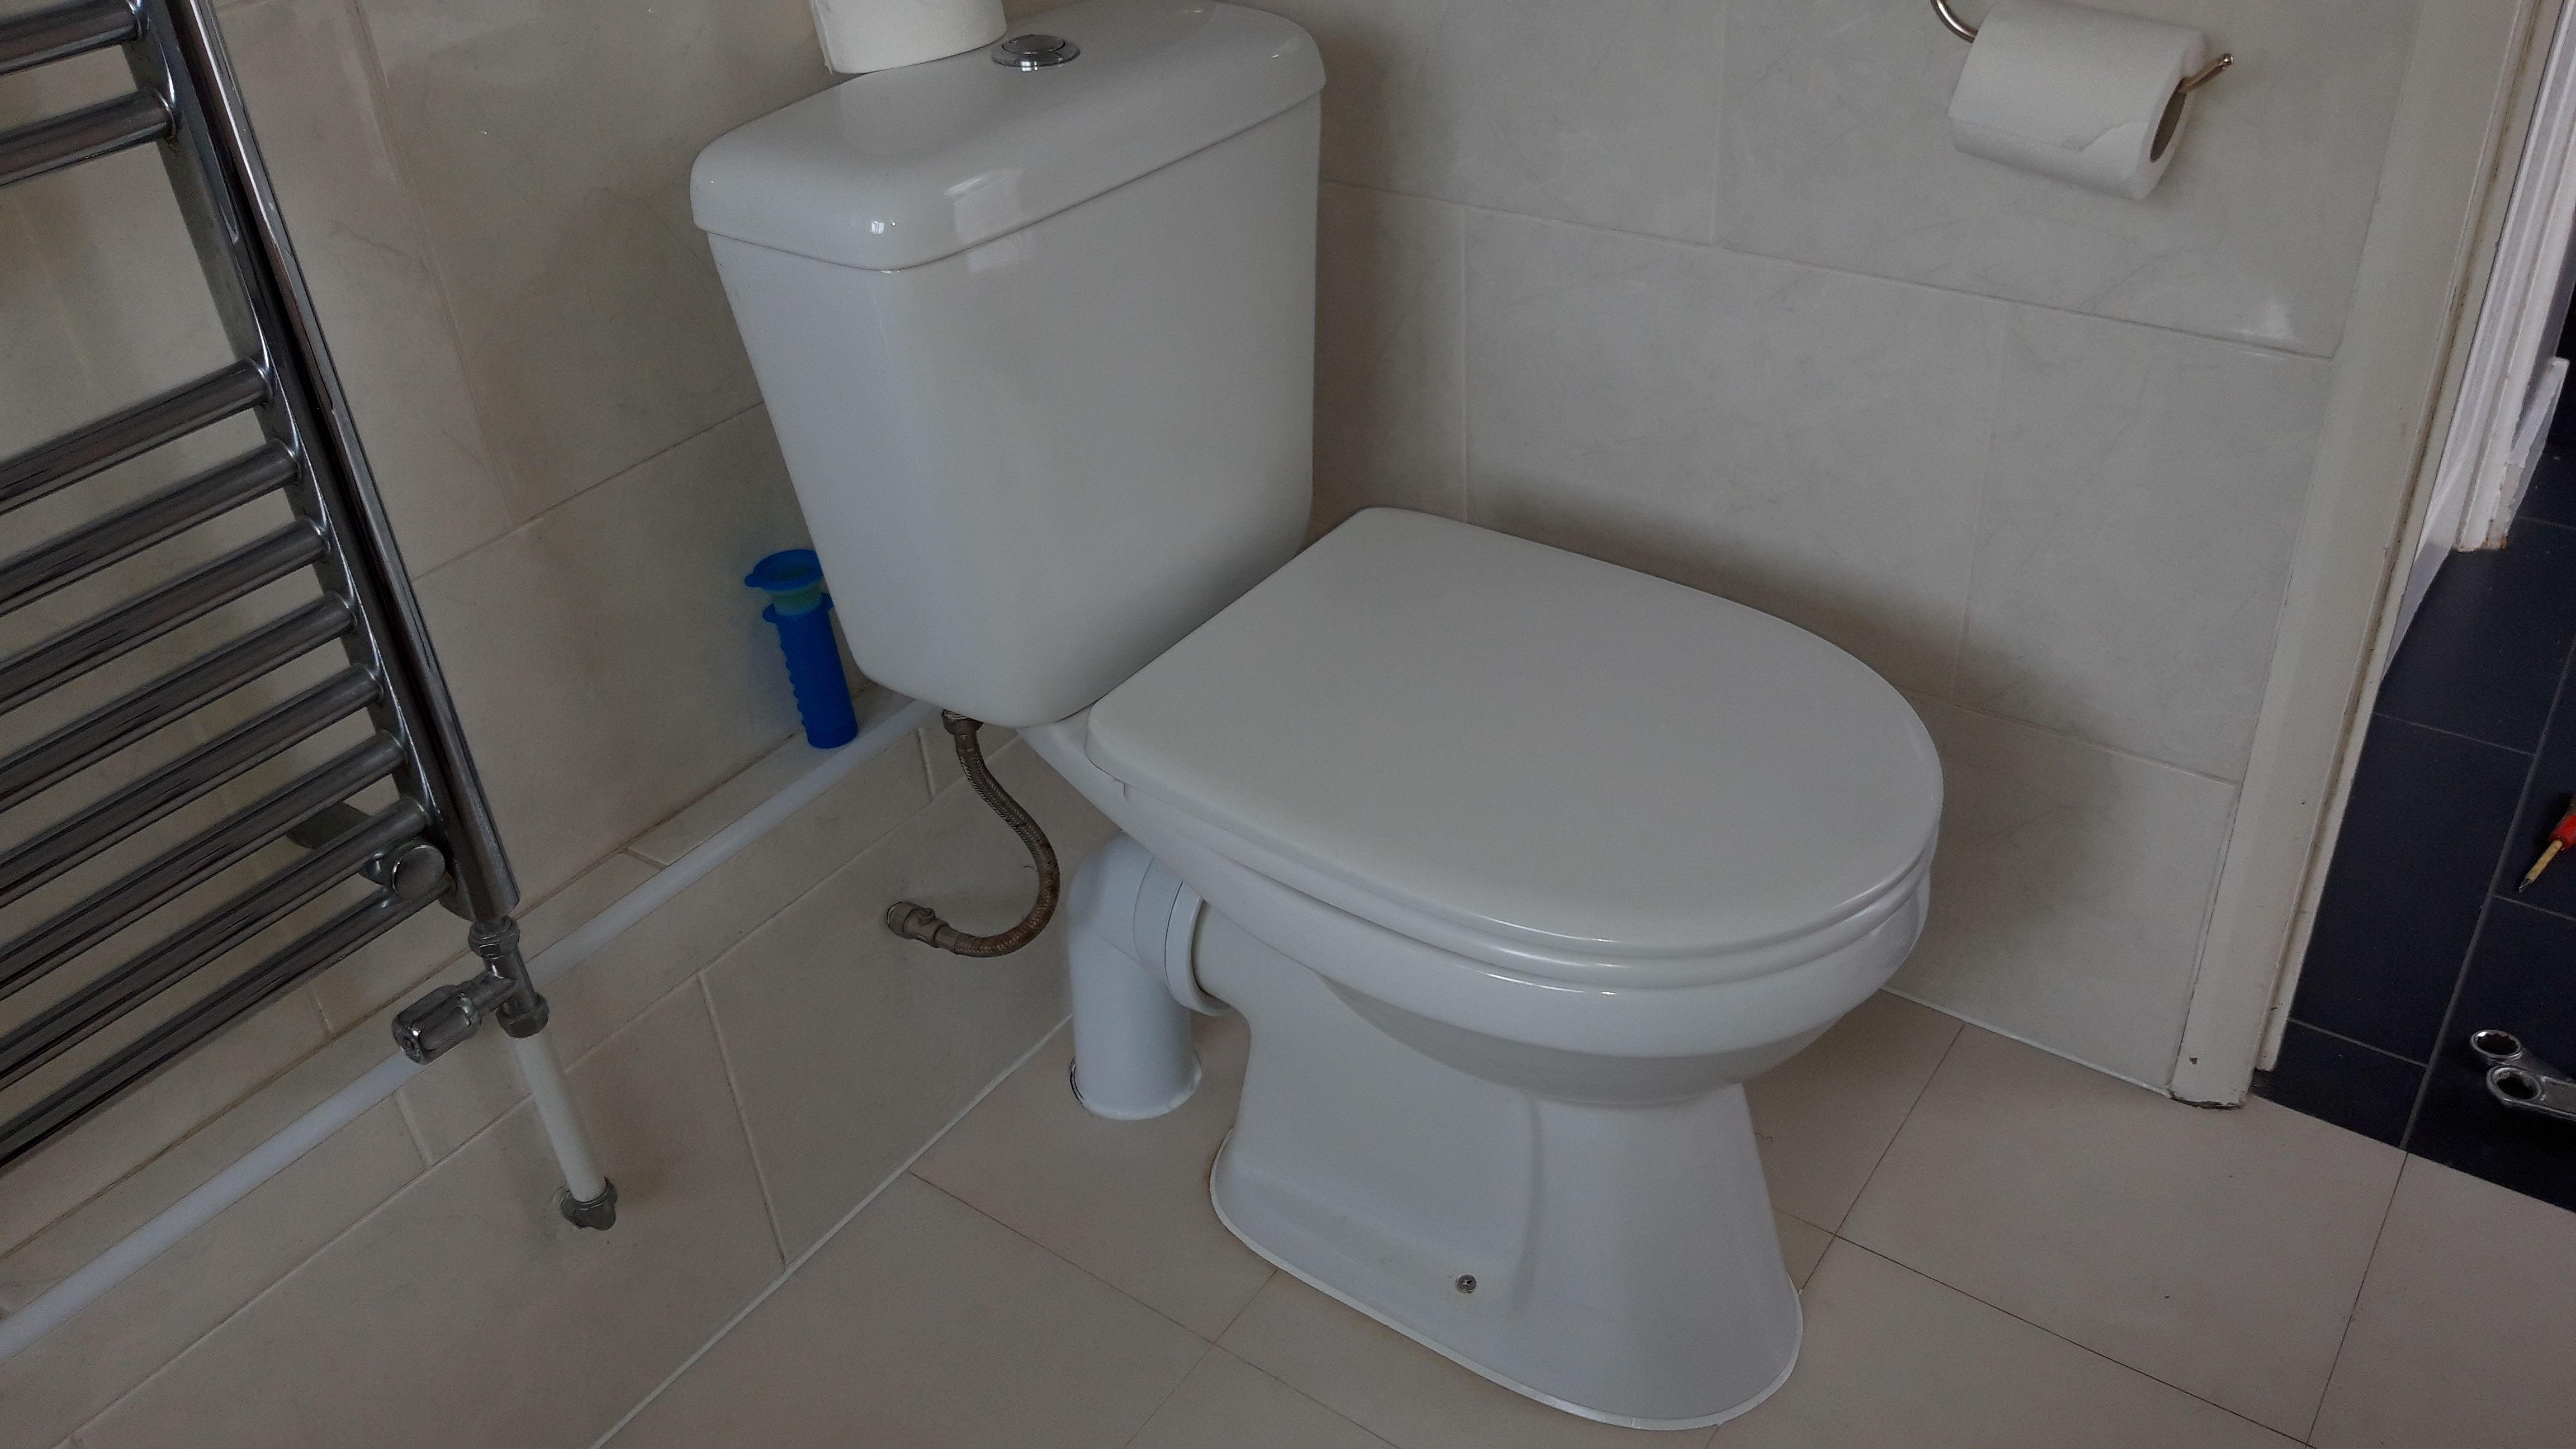
I routed my UFH deliberately to miss where the pan was going to screw down to. Then decided to go for a wall hung WC which made it a bit of a moot point. -
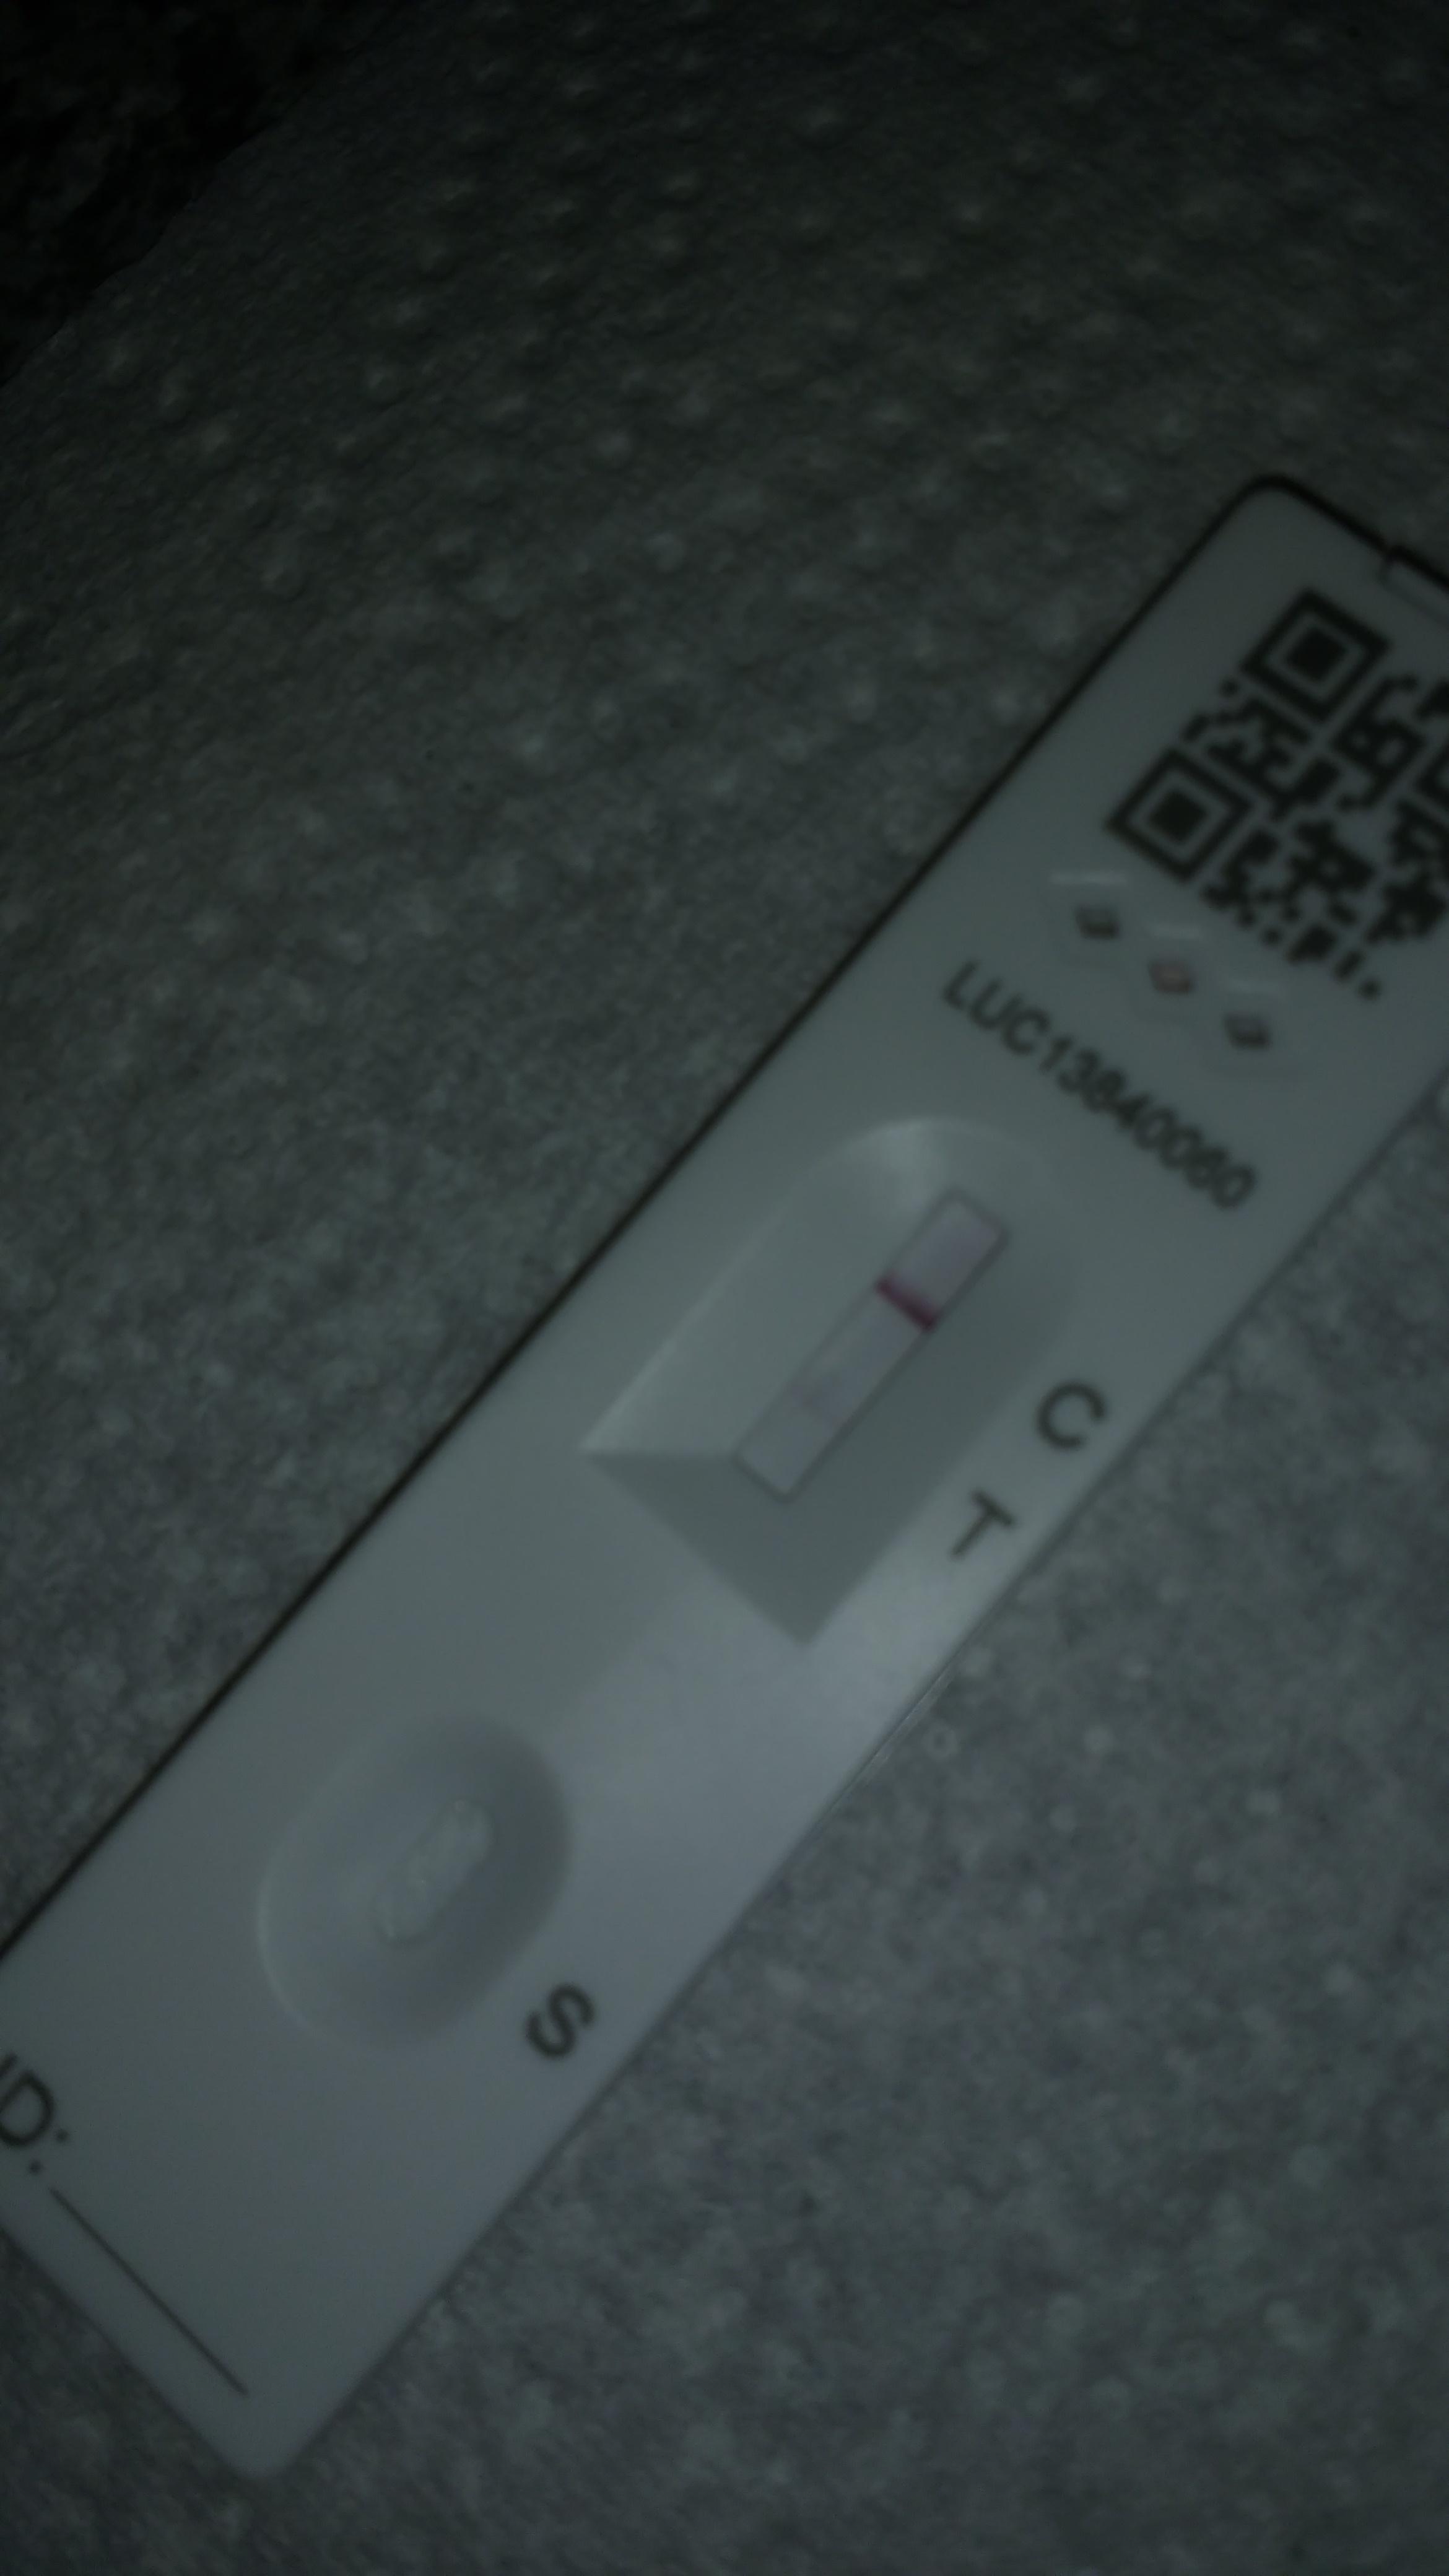
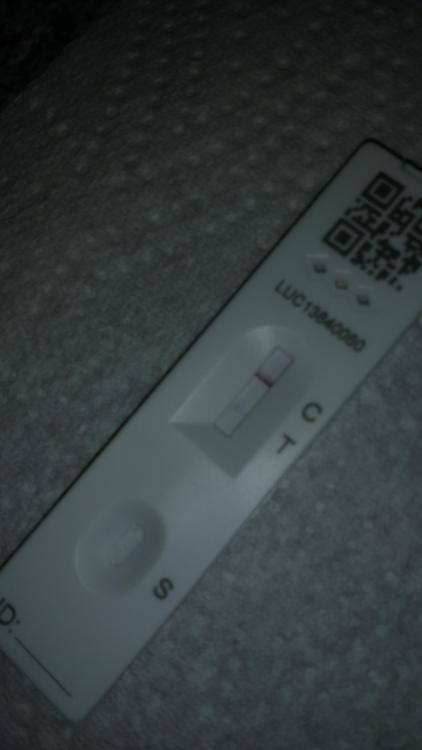
B@ll@cks! I spoke too soon. Looks like I looked at my test stick too soon earlier today. Faint second line but it's there: I was surprised as still a little chesty.
-
I recall some sooper dooper Hilti ones I think, used with a special drill bit that cut their own, conical dovetail in the hole.
-
"Cough!" Resin is more forgiving.
-
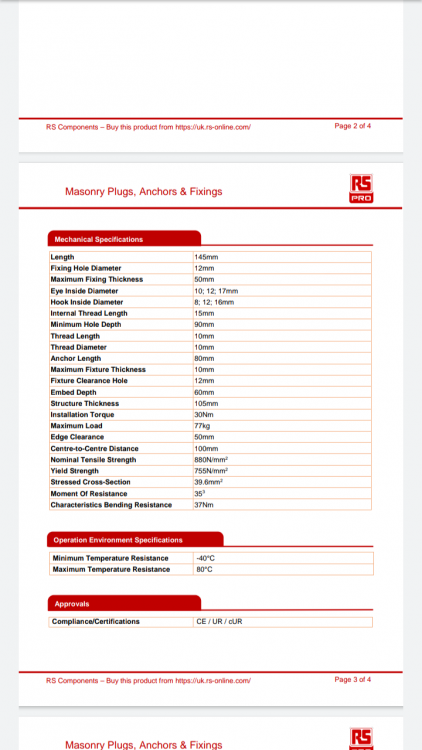
You need 105mm min structure thickness (your wall). Drill a 90mm deep hole etc: Structure thickness is a critical factor. If you ever look at a load diagram for expanding anchors there's like a conical shaped zone radiating from where the anchor is "gripping" Says circa 80kg tensile strength, in shear good for X10 that and more. Go for it. You just cut the excess stud off with a slitting disc and pop some pretty plastic bolt caps over the nut.
-
They are M16, how big is your hole etc?
-
? Just a residual cough really now, worse at night.
-
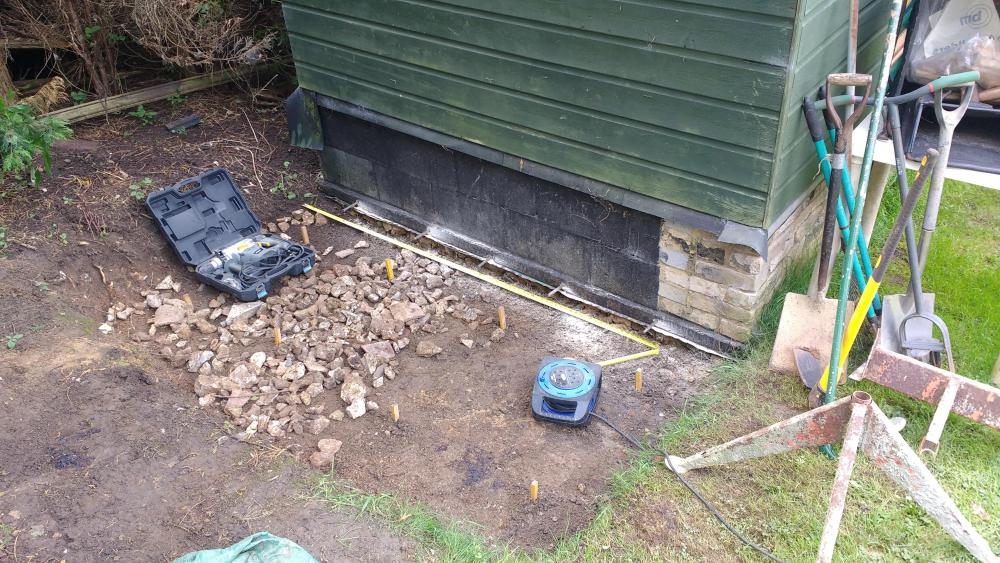
Holes drilled and ready for resin. Quite impressed with my cheapo Hammer drill, bought when other drills had died drilling through the garage slab. Was a time you'd be looked down on for having a Titan, don't you have one @pocster?
-
Sealant and Toilet Holes
Onoff replied to canalsiderenovation's topic in Bathrooms, Ensuites & Wetrooms
This bead around the wc in a rental was done in BT1:
-
Sealant and Toilet Holes
Onoff replied to canalsiderenovation's topic in Bathrooms, Ensuites & Wetrooms
Don't know how clear this is but this is my sink pedestal. I had to use like a 10/12mm Fugi tool. The pedestal casting was so badly made there was a 1/4" gap one side. Done in Forever White from memory: -
Sealant and Toilet Holes
Onoff replied to canalsiderenovation's topic in Bathrooms, Ensuites & Wetrooms
Exactly that. Clean everything. I assume the pan is having to stay in place? Lever it up a bit and sit on some say 10mm if possible, packs, mind fingers! Clean under the pan edge as best with Multisolve and the tiles. Gun in the CT1. Remove packs and let the pan sit down into the CT1. Don't move it anymore. Baby wipe off the excess from pan and tiles, use a bit of Multisolve to help. Walk away, don't touch, don't FFS sit! A day and half later come back. Clean again with Multisolve and run a nice white bead of your chosen cosmetic silicone around where the pan meets the floor and tool off with the appropriate Fugi tool. Have your open bin bag and bits of big roll at the ready. -
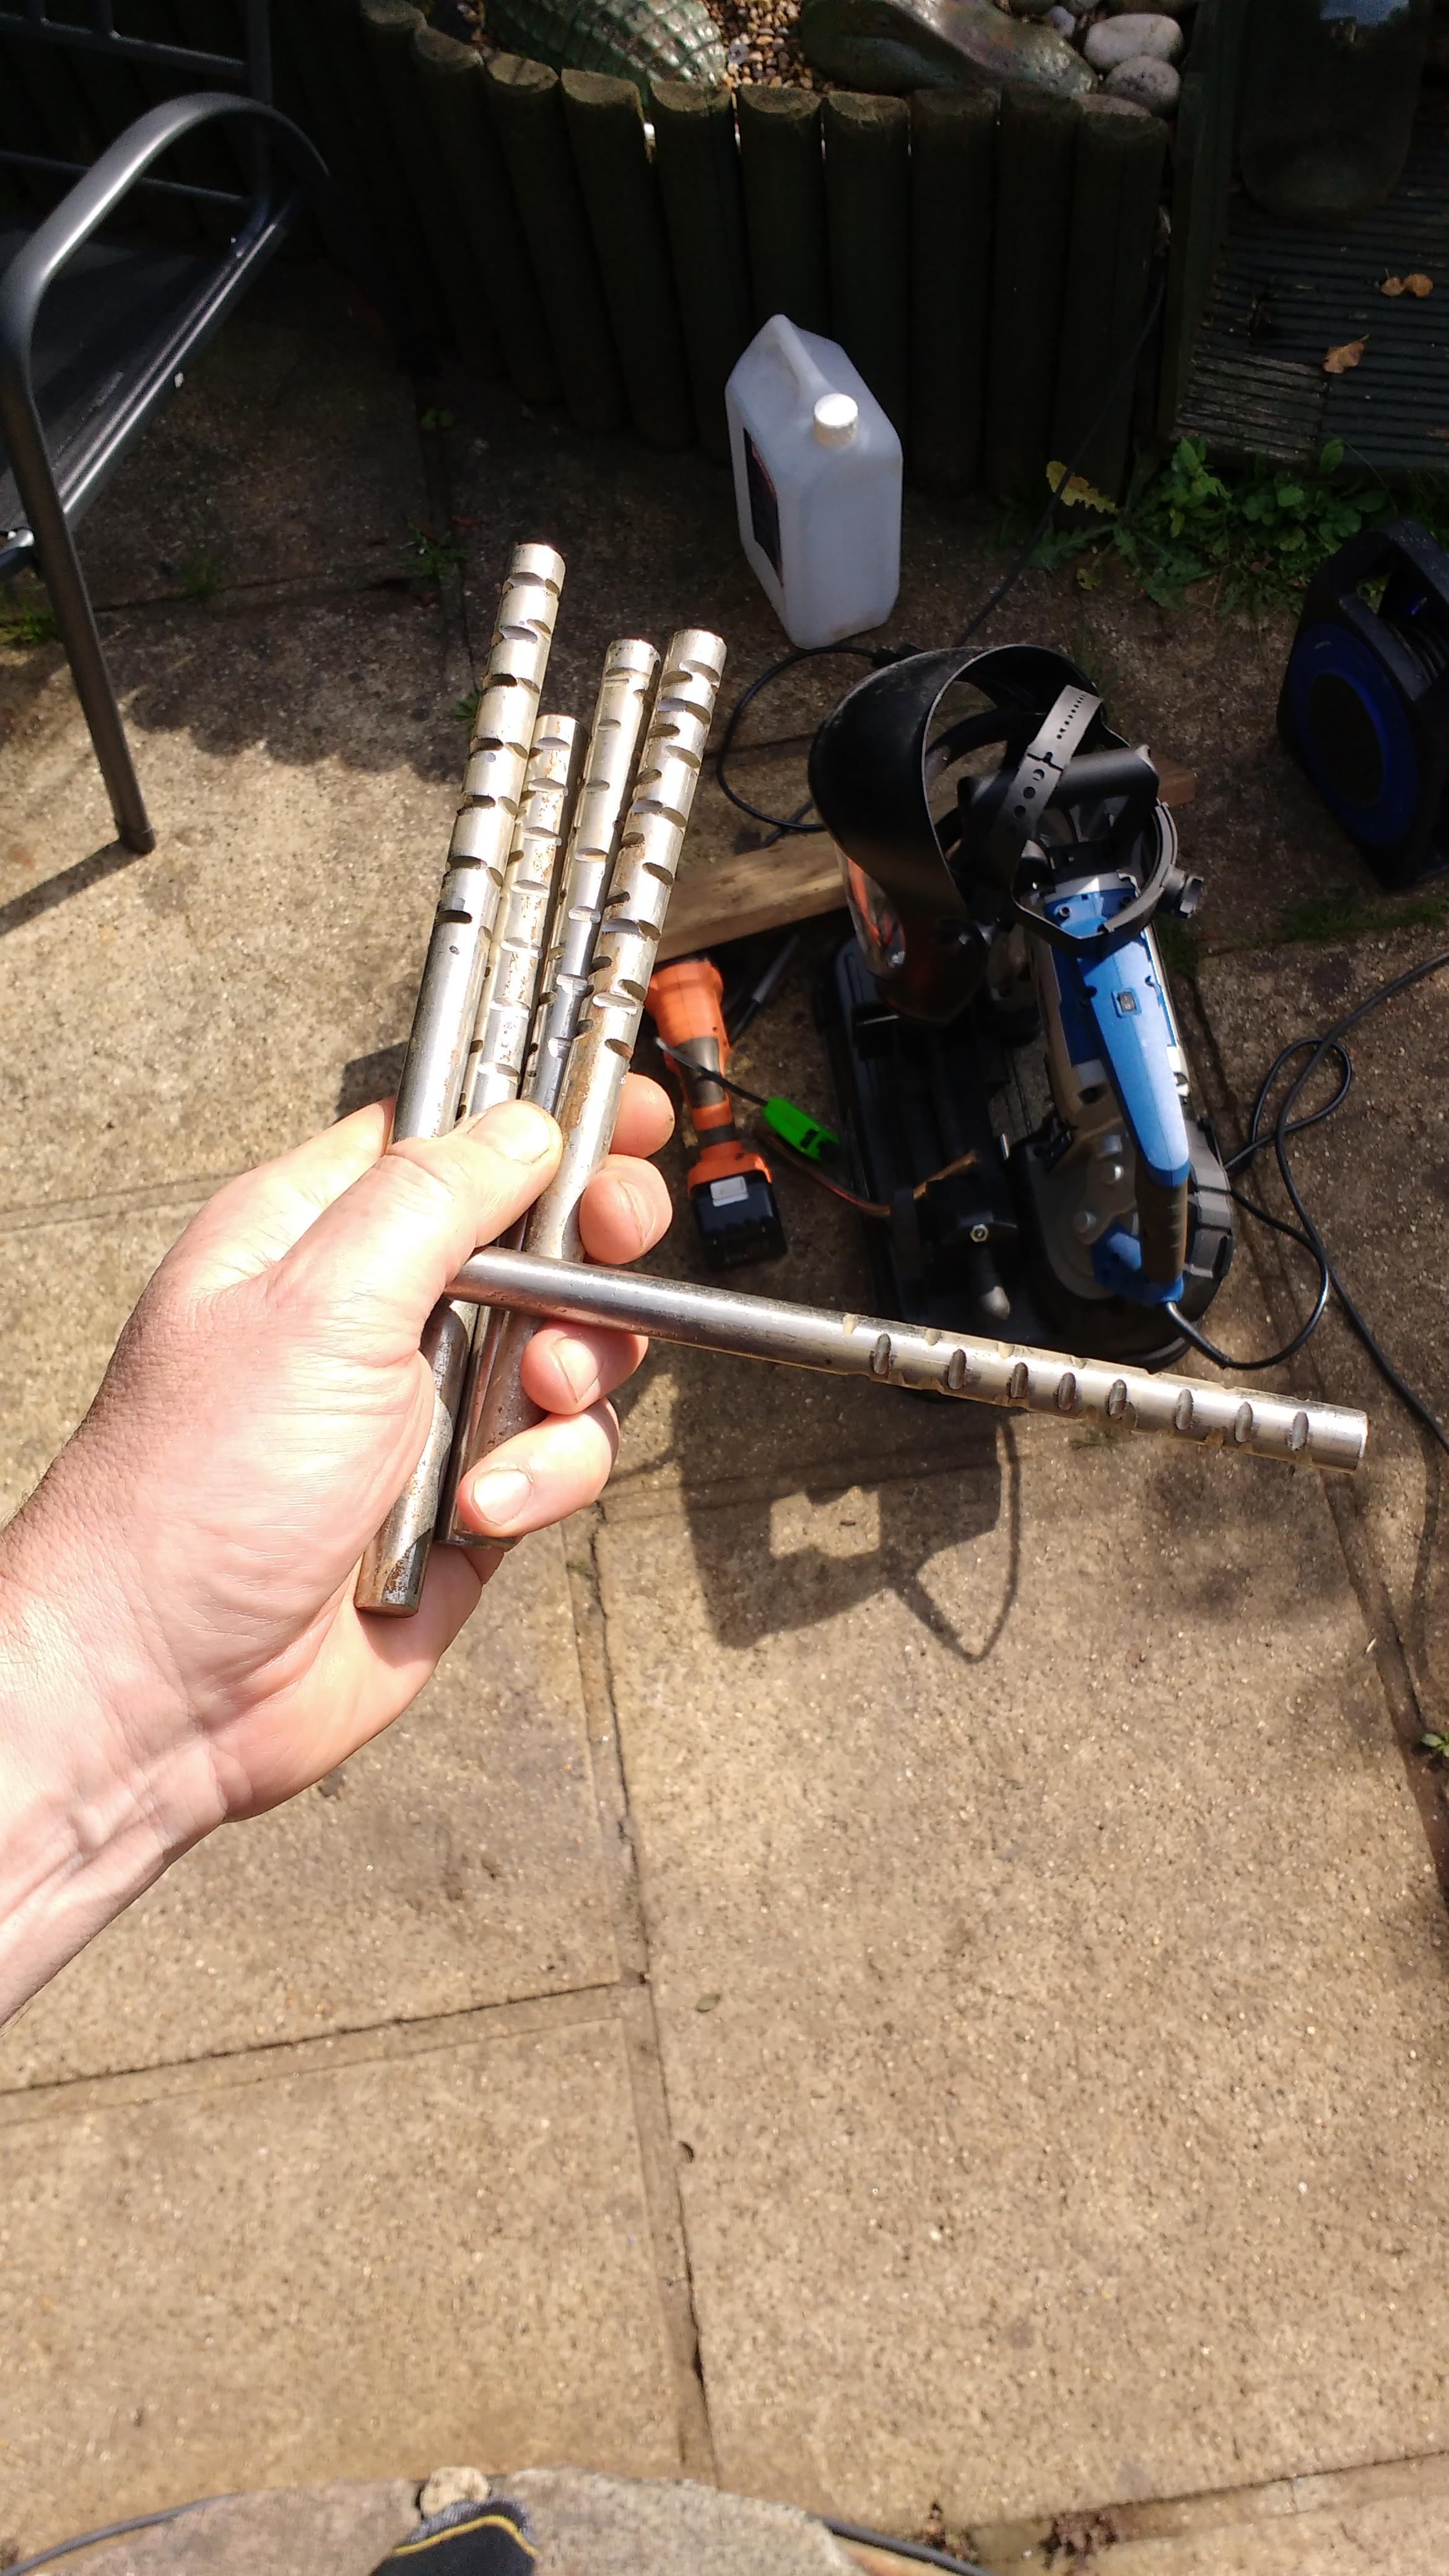
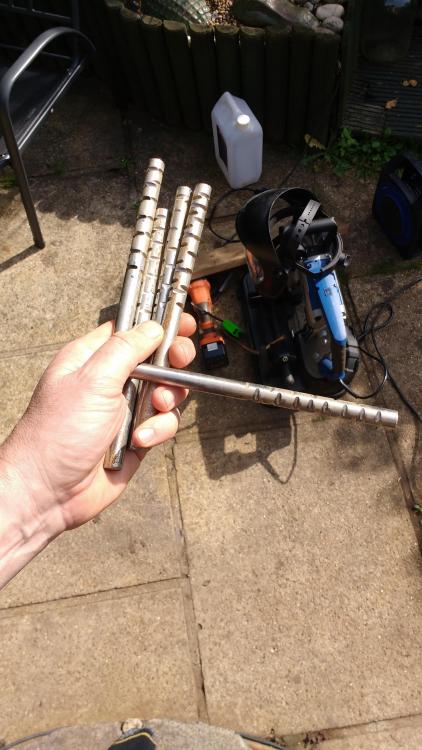
Want to put some slip pins in between old and new slabs. Cut some 200mm long st/st rod and made some indents over half the length with a 3mm disc to key the resin. Other, smooth half will get a wrap of Denso tape to protect from the concrete.
-
Well I've just tested negative! ?
-
Sealant and Toilet Holes
Onoff replied to canalsiderenovation's topic in Bathrooms, Ensuites & Wetrooms
Aim for nothing bigger than a 5mm silicone bead if you can. Not always possible. The Fugi tools have it stamped on them. Do some practice runs on an internal corner made from scrap etc: In all honesty I did mine with a generic, looks like a Fugi tool but wasn't and ripped it all out when the good folk here pointed me at the Fugi kit. A revelation! -
Sealant and Toilet Holes
Onoff replied to canalsiderenovation's topic in Bathrooms, Ensuites & Wetrooms
Honestly it's amazing. What I found was to have a black sack folded back on itself and open, like half height. Grab a bog roll and have a pile of torn off 2 sheets. As you take off the excess with your Fugi tool, grab a bit of roll, wipe the tool and drop the messy bit straight in the bin. Good luck with 3 way corners, they're a bitch! ? No I'm saying don't use BT1 for a start as it's an all in one and won't be so easy to periodically refresh. Use clear CT1 to seal between pan and floor not around the pan. Let it set, i.e to glue the pan down then seal around the pan with Forever White or the Dow if you prefer as the cosmetic. In this case the CT1 is acting as a bloody good adhesive. With the shower, and it depends on your detail, I'm saying use the CT1 as a waterproof sealer in gaps where you think water is getting. Go over the top with Forever / Dow as the "cosmetic" finish. I learnt a lot from this: -
Sealant and Toilet Holes
Onoff replied to canalsiderenovation's topic in Bathrooms, Ensuites & Wetrooms
Do not use white CT1 anywhere on show. Has a bit of a thing for going cloudy / yellow. Use clear CT1. There is a new ish "BT1" from C-Tec, the makers of CT1. Meant for bathrooms etc and supposedly mould resistant. I did use it once recently on a rental pan and in all honesty it's been spot on. I Iike however, the idea of separate adhesive and periodically renewable over silicone. -
Sealant and Toilet Holes
Onoff replied to canalsiderenovation's topic in Bathrooms, Ensuites & Wetrooms
It's a pig getting silicone off to redo, proper hard graft imho. I have a Vitrex, plastic tool, silicone removal kit from SF. Not wonderful but I got there. I coupled it with one of these scrapers, the type that takes non Stanley blades. "Siegen" brand. Used this sparingly and lightly on tiles. Watch the glaze! Got mine from the local motor factors. It's razor sharp and be bloody careful. Tbh I wouldn't go near plastic with it and whatever, be oh so gentle. I also used the silicone removal gel from SF, not bad tbh. When I'd gotten as much off as I could I used CT1 Multisolve, let it work in as per the instructions, repeat. The cleaner you get it the less little bits will show in your eventual silicone. With the shower I'd get all the old off. Multisolve again, then pump clear CT1 into the gap and baby wipe flush. Once dry go over with a white silicone of your choice that can be periodically renewed. Be careful where you silicone. There's a good few threads on here about sealing shower screens and instead blocking drainage channels that are meant to be kept open. With the pan then clear CT1 would, 100%, stuck it down to the tiles with no screws. Multisolve bottom of the pan and tiles. A good bead of clear CT1 between the two and lower the pan onto it, don't smear! Again wipe the excess off with baby wipes. Walk away and sh!t somewhere else for 36hrs whilst it goes off. For the white silicone thereafter I've been really impressed with Forever White by Everbuild. Does what it says and hasn't gone mouldy anywhere in my wetroom corner / around the bath. Seal the pan holes with it and a bead around where the pan sits on the tiles. +1 on the Fugi Cramer tool kit, it's mustard.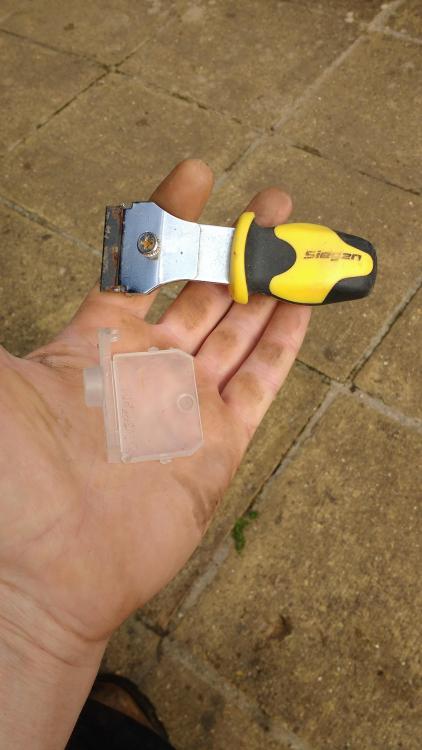
-
Hmmm...bit of a night cough thing going on here. I don't like it . No joke this... An Amazon driver rocks up today. I've a long drive so called out to him "I've got Covid mate!" He stopped in his tracks and in his I'm guessing eastern European accent said "I don't believe this!" I asked what he didn't believe and yes it was "Covid" he didn't believe in. "Erm, my Mum died of this mate and I've not been well with it!" That made him think I thought. "It something else, last year I chef and test positive for Covid, I have no symptoms though!" "Sorry for your Mum!" He said as he walked off. Gobsmacked I think is the word.
-
It's a date once I'm better! Maybe we could go onto Thorpe Park afterwards?
-
Really? Is there not a single thread where you've not brought it down to your level? On a more serious note how come this fitting only just came off? Did the previous owners not have an issue? No evidence of stains etc?
-
I can TASTE! Beetroot with vinegar, like the best thing ever! ?
-
Um...this barrow was free, as was the new wheel and bit of steel. I've never taken as little as an hour on anything!