zoothorn
-
Posts
4752 -
Joined
-
Last visited
-
Days Won
3
Everything posted by zoothorn
-

Help with kitchen renovation/ 1st house.
zoothorn replied to zoothorn's topic in Bathrooms, Ensuites & Wetrooms
Hey thanks- actually altho I took fkn'ages with the prep, I just couldn't be arsed to jump in & do it.. for a week or 2.. until I forced meself then went crazy-bonkers-tile-blitz each section, way too fast, with an enormous break of X days between sections saying 'I can't be arsed' alot = lord knows how many wrong cuts/ fouled tiles, bits galore, swearing/ shouting, cockups et al! Oh & biggest mistake.. bought wrong grout colour, muppet. I thought I was certain my bathroom tile job (big tiles > fast job in comparison) I used 'jasmine' mapei grout. Nope. I used white. Godammit.. but once started & next day hadn't cured to 'offwhite' as I expected.. I'm stuck doing rest of tiles the same. Its growing on me tho; its a deep cream coloured grout (I didnt want grey- too "industrial" for here with the wood), & once the cab doors all painted cream -which I'll try & match to- should all fall into place ~ok. -
Help with kitchen renovation/ 1st house.
zoothorn replied to zoothorn's topic in Bathrooms, Ensuites & Wetrooms
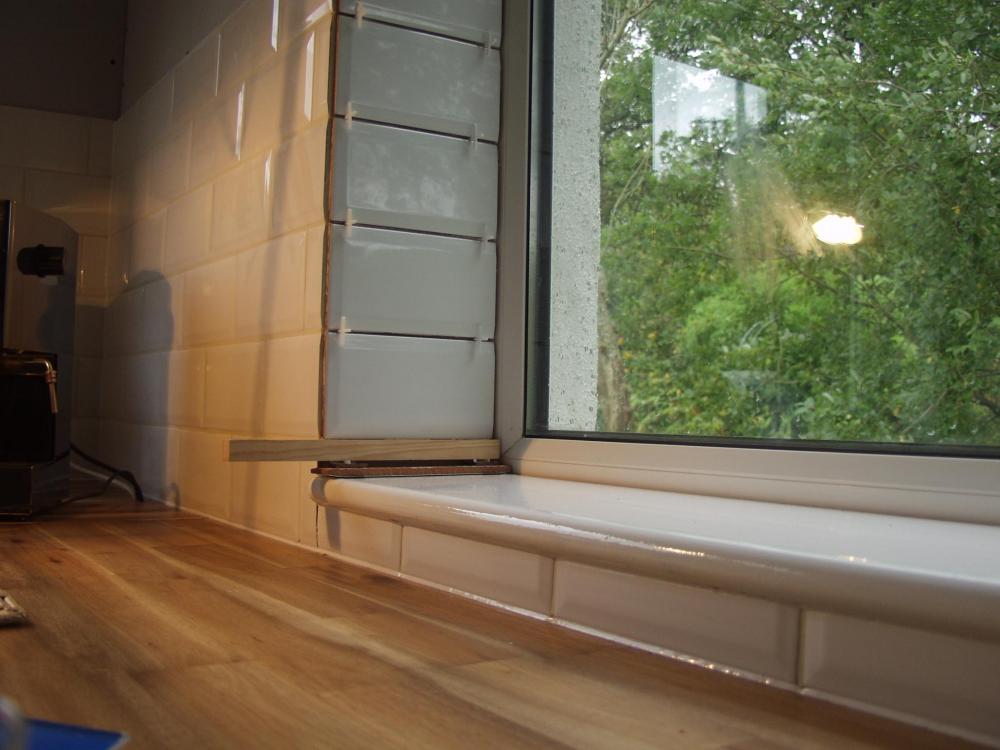
Update (paid work sudden influx/ hence delay to posts apologies.. not done a huge lot since either!) Good suggestions chaps- went with the board idea up quick after tiles whacked on underside.. seemed the way: so tiled the trickier kitchen side.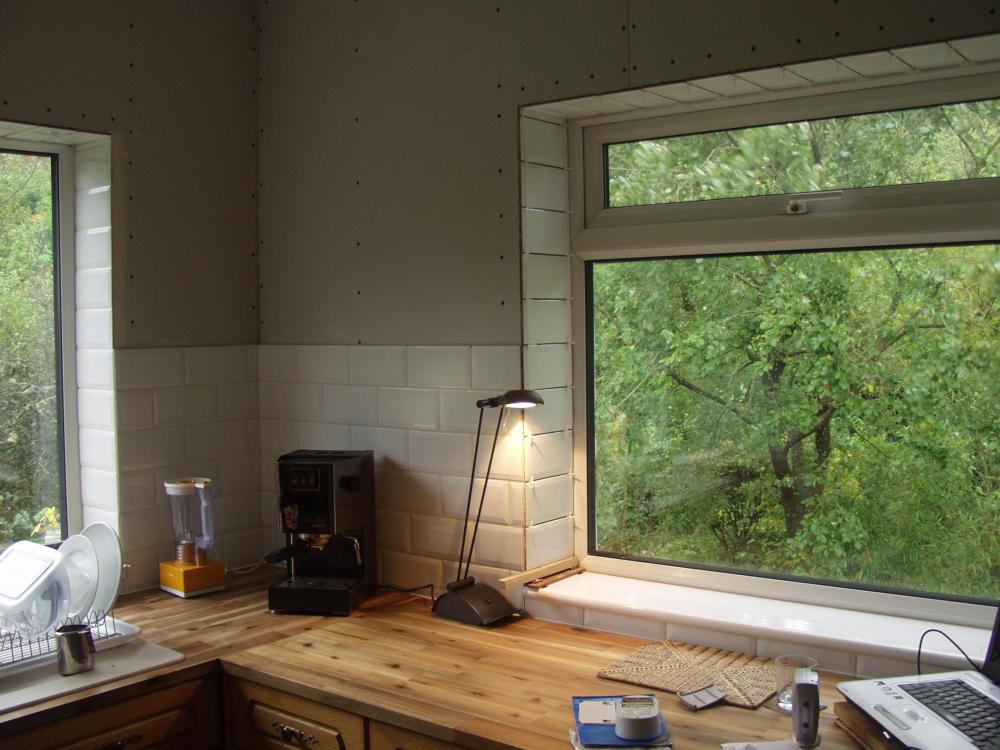


-
Help with kitchen renovation/ 1st house.
zoothorn replied to zoothorn's topic in Bathrooms, Ensuites & Wetrooms
Hi Newhome.. I did but that was one piece of stuff stiff enough held by 2 major pressure points, & was a pig of a job to get up as its a looong above sill bit- this needs the same plus a plank on top. It'll be a disaster if I even try it. I'm crossing that bridge last anyway/ tile everything else 1st. -
Help with kitchen renovation/ 1st house.
zoothorn replied to zoothorn's topic in Bathrooms, Ensuites & Wetrooms
Shoot.. was hoping I wasn't going to need to prop xyz tiles up, this will be a major logistical job. I do have small brick 20x10 cm tiles.. so maybe, just maybe might be small enough to behave themselves up there w'out muggins interferring with any battens. Will do a test. Yes I'm going to have to be confident & do tile edges like so Onoff (now you've said its NOT such a daft idea): even if not perfect it'll be fine for me, here, if I put the effort in to get tile edges as best I can prior to finishing off. fingers x'd a bit tho.. but beats putting that edging on. I was dreading doing this & feathering out with plaster/ a job too far for me. Ok tiling bonanza afternoon commences. lordy.. Ive been making every excuse not to do this for 2 weeks!! -
Help with kitchen renovation/ 1st house.
zoothorn replied to zoothorn's topic in Bathrooms, Ensuites & Wetrooms
If anyone's still actually alive reading this, ie not committed hari-kari.. Can the inside top of the reveal be tiled-? can tiles hold on upside down? I've thought of a way to reduce the faff of adding the upright corner pB metal strips (which in turn rules out the 'step' on the main pB wall face).. by tiling -all- the reveal 2 sides, plus above bit, right up to the main wall edge. If I use the grey adhesive right up to edge, adding it to the cut pB edges. Then I can just neatly fill/ finish off with grout. Then the main pB face can be painted right up to this edge. Is this a feasable idea? or do these cut pB edges need more 'suring up' than my tile adhesive + grout idea? -
Help with kitchen renovation/ 1st house.
zoothorn replied to zoothorn's topic in Bathrooms, Ensuites & Wetrooms
Great help thanks! I do like an onoff sketch in the morning.. Ok the thing I don't have, are both pB tapers @ the corner areas, where the reveal meets wall pB's. Both window reveals similar. So adding the plaster bead will cause a nasty step. I recall you saying I could feather-in this, back to the pB face (assuming I'm only filling the screw holes/ sanding flush/ = pB's done & prepped for painting: is that the grand-plan idea?**) I think I might do away with the tiling corner trims: although neater, I think a -major- faff for me to get right 1st time (especially the corner pieces). I used grout carefully moulded (& a quick job) to finish off edges of my bathroom tiles fine, in a 45* slope.. so could do same across the corner junction of the tiles (leaving a gap > fill with grout into a neat 45* angle).. & on the tops like my bathroom tiles. Maybe preferable to placcy too-? Can you just remind me though what the bigger picture is, re. **finishing off the pB itself? the last upper 3rd of reveals will still be bare pB.. & top too: I think its sensible to finish off these bits before tiling maybe, as you alluded to? -
Help with kitchen renovation/ 1st house.
zoothorn replied to zoothorn's topic in Bathrooms, Ensuites & Wetrooms
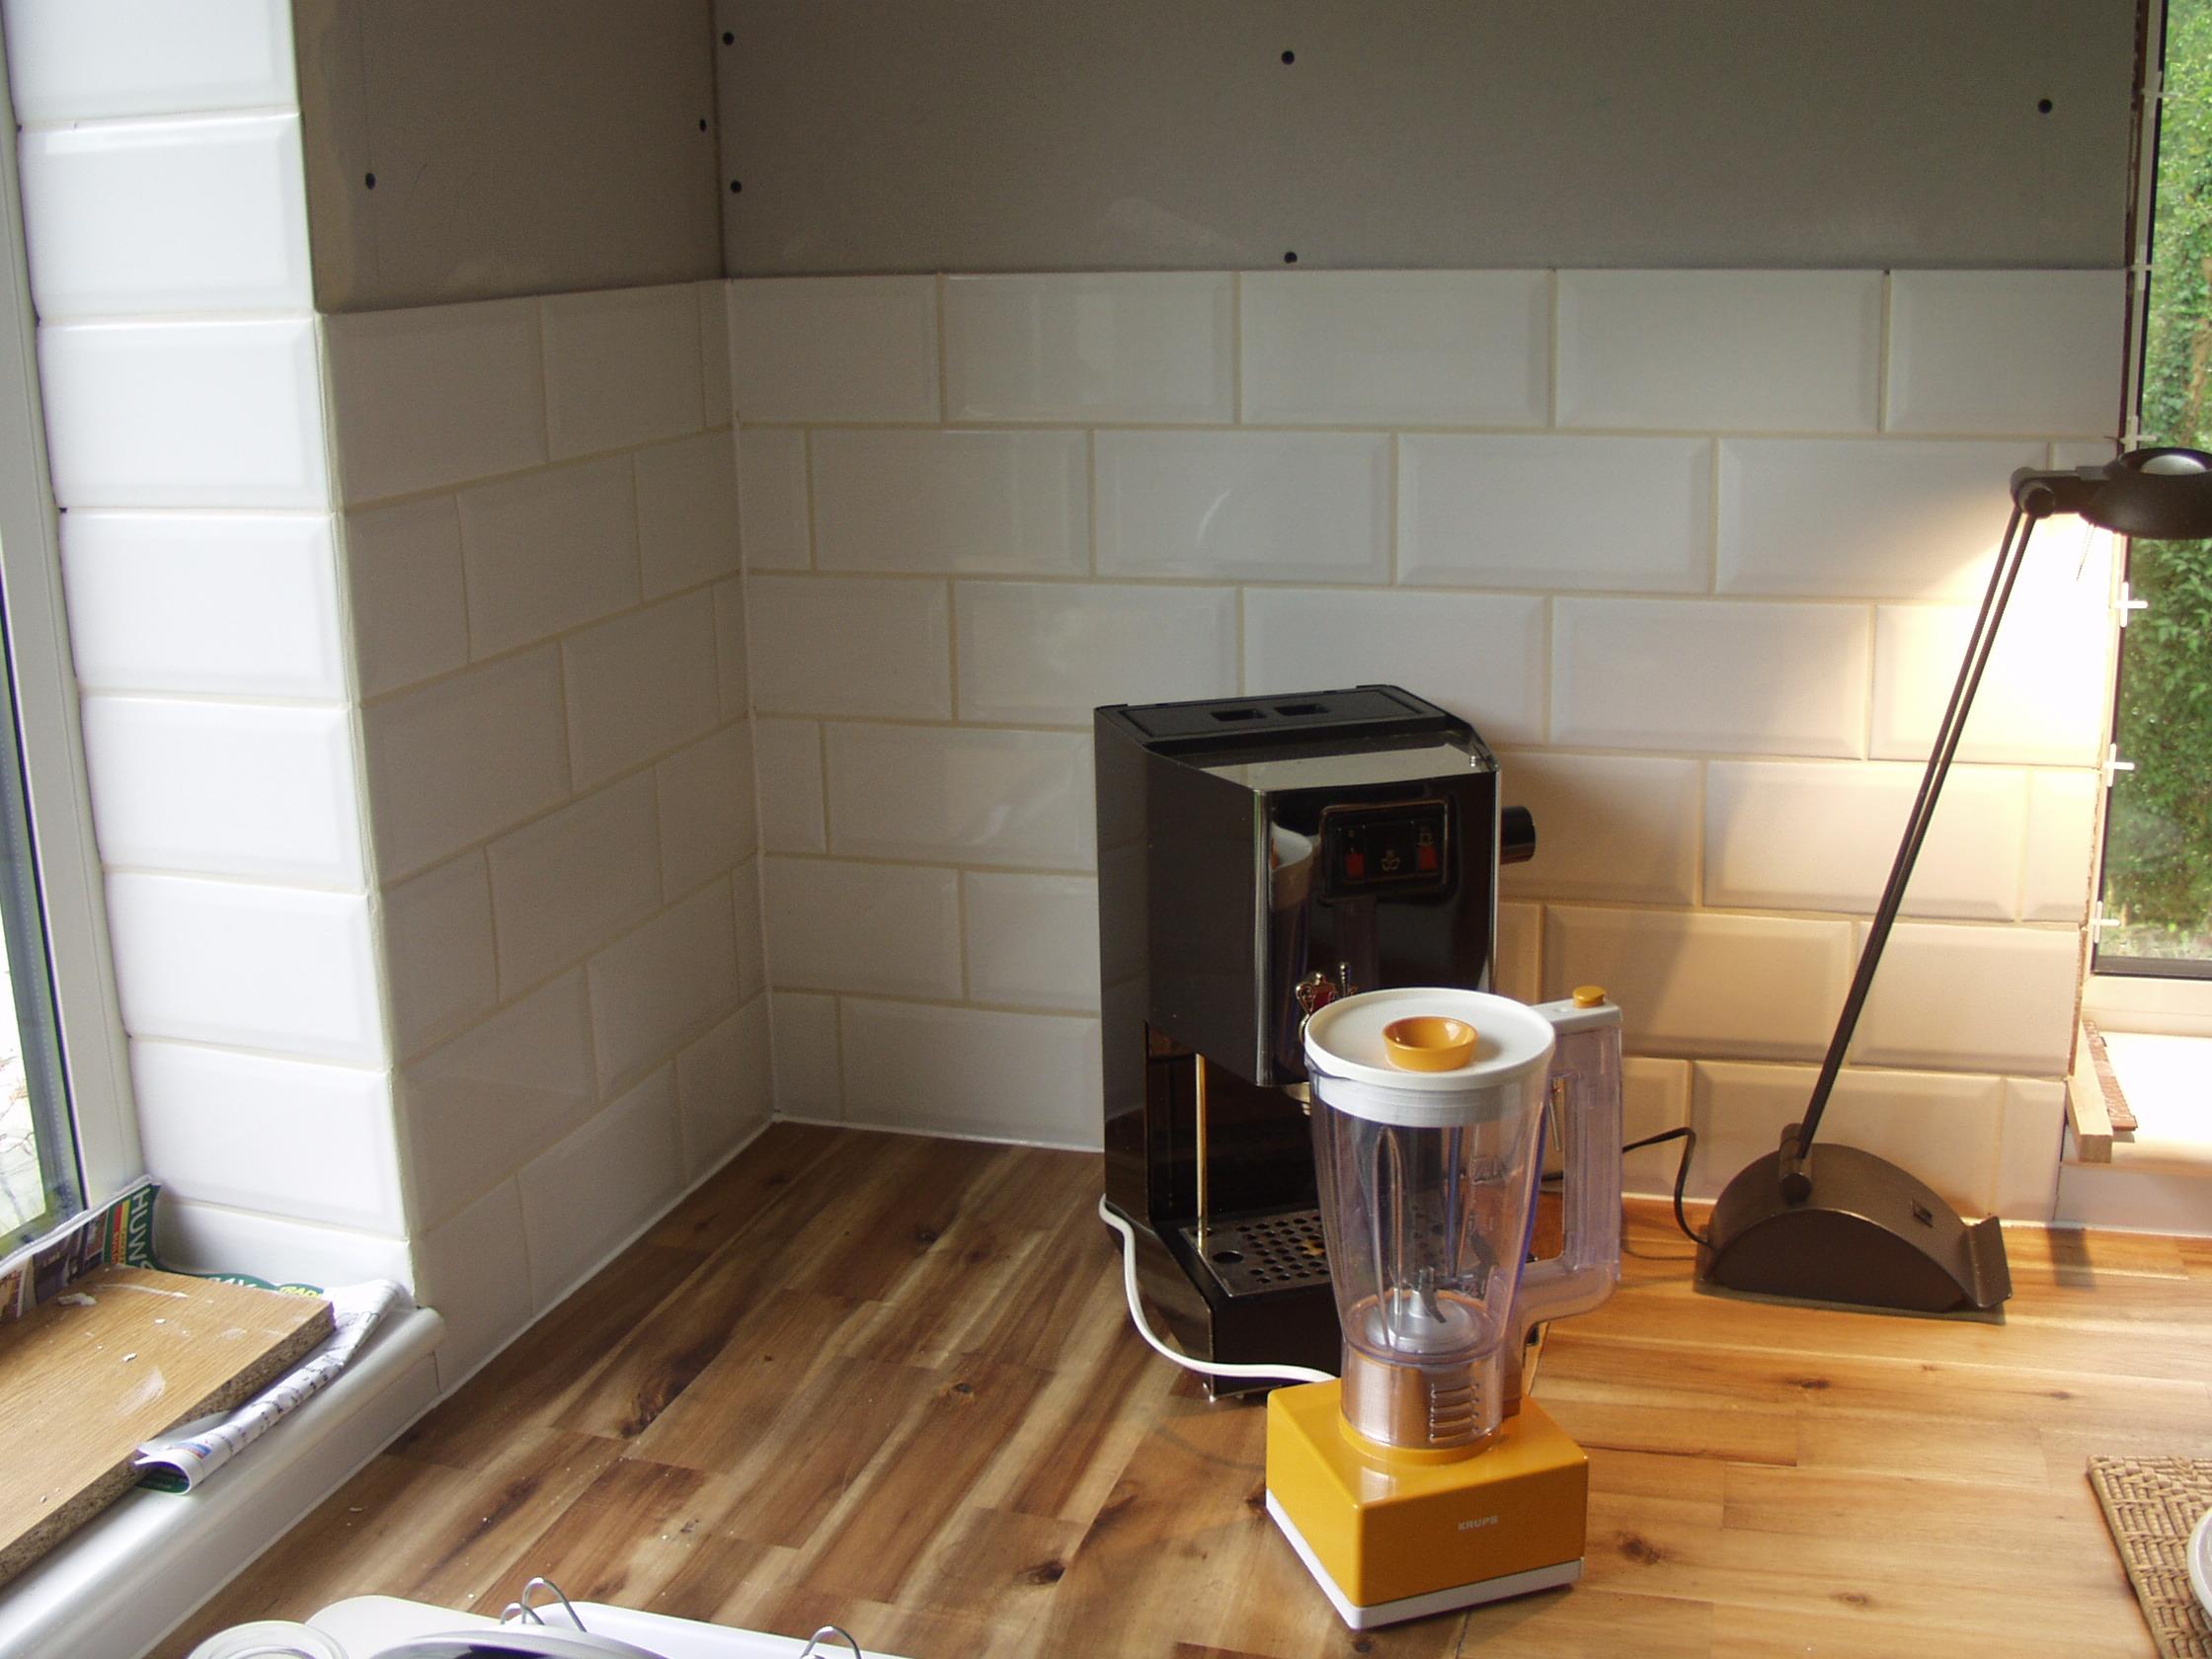
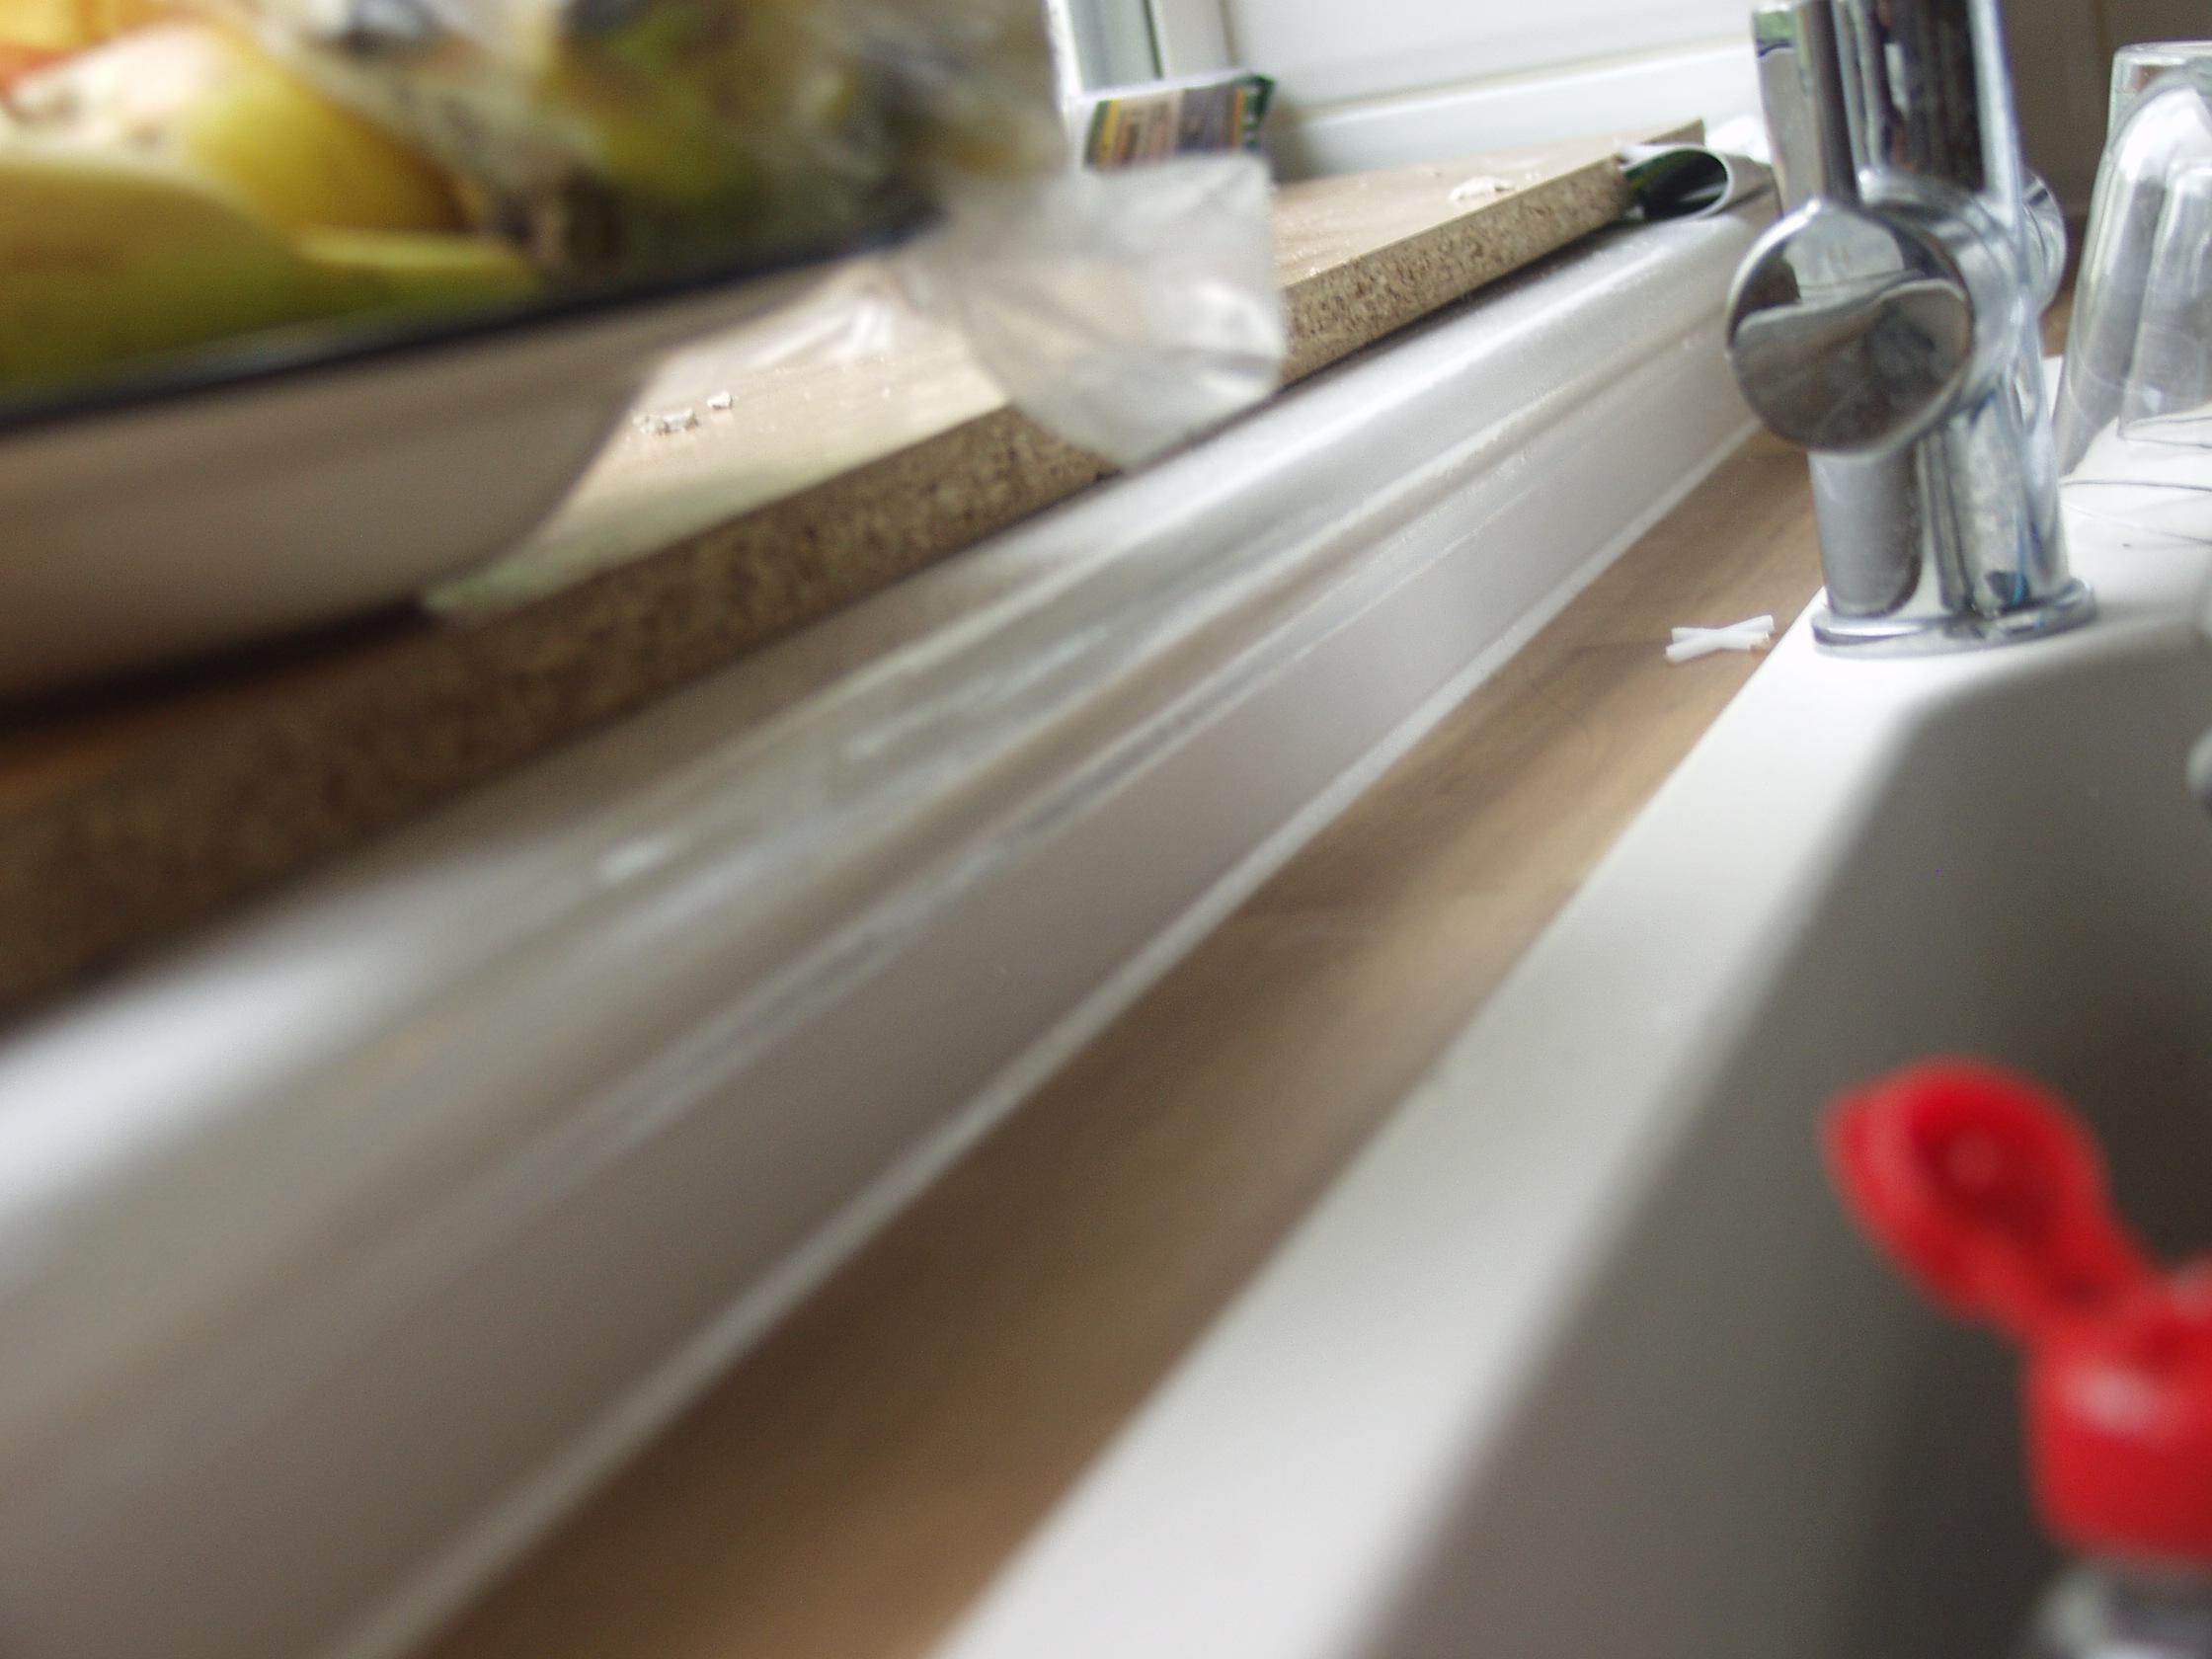
@Onoff can you give me an idea how I finish the 3 sides of the reveal area: do these need finishing before the tiling of the corner area (simply the 2 big pB face areas above blender & gaggia)? I was thinking of tiling today, from the LHS vertical edge @ reveal here >> end on RHS vertical edge of the other sill, as I thought this simplest. But exactly where to start the very 1st tile (relative to the reveal edge, at Left, this -is- where I will start from).. I don't know. Set across the reveal edge 1cm? or flush with reveal edge? if flush then how the bare pB ends will be finished/ how much thickness this will add etc etc. I could tile the reveal.. but, I 'm only going up to 60cm of corner, which equates to 2/3rds way up reveal (if I follow this tile top line around).. so what happens to this last 1/3rd of bare pB reveal sides, & upper reveal section.. also as you can see the sink reveal side has a bad convex 'bow' half way up, so I think tiling this out might be tricky.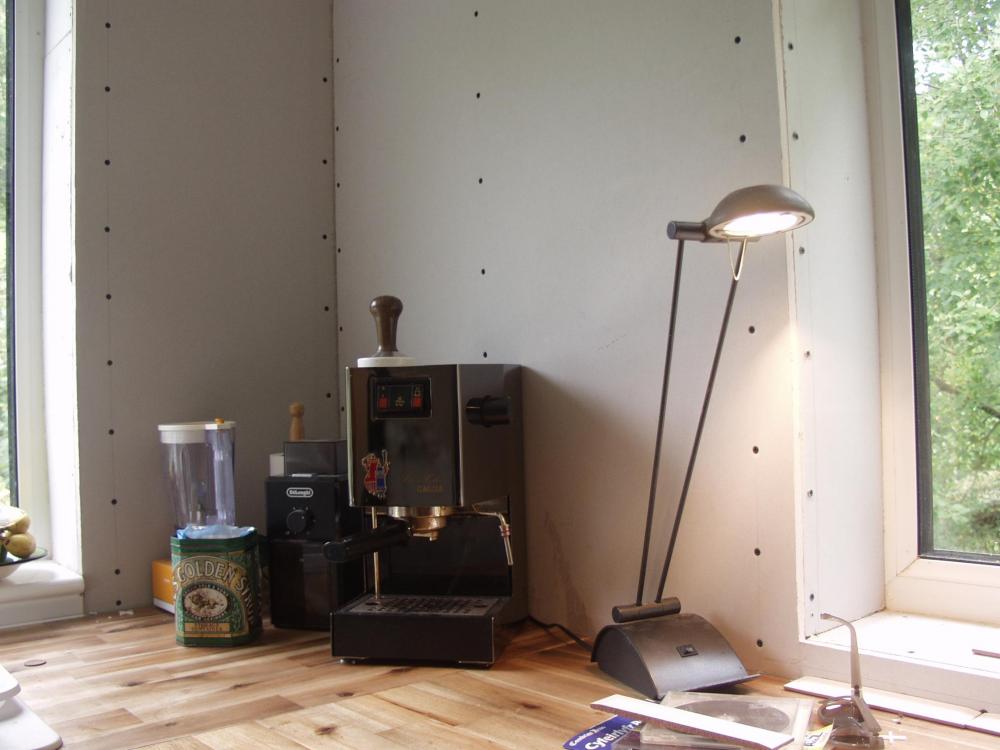
-
Help with kitchen renovation/ 1st house.
zoothorn replied to zoothorn's topic in Bathrooms, Ensuites & Wetrooms
Now which publication is that from? looks like your gonna tile all over her back.... -
Help with kitchen renovation/ 1st house.
zoothorn replied to zoothorn's topic in Bathrooms, Ensuites & Wetrooms
I can't believe you did a model of your khazi! it looks like the gents on the millenium falcon. -
Help with kitchen renovation/ 1st house.
zoothorn replied to zoothorn's topic in Bathrooms, Ensuites & Wetrooms
Anyone know how to plan the tiling for this corner area with 2 windows either side? I'm using 20x10cm tiles in brick pattern. thanks, zoot -
I just don't have room for an register plate, there's only 1" around the 5" flue joining the start of the old chimney which has wadding, then light grey I assume heatproof mortar over it (as its still in place). I've done a smoke test on this joint area.. its fine/ no leaks. Im not going to have any hetas inspector here. If it passes as safe, & my builder installed it with all his decades of experience, then that's fine with me whether or not I have a piece of paper to tell me so. If I get a fitter to come in & fashion a register plate, take out the flue, refit the whole lot yes I'll have a piece of paper maybe.. but a £750 bill & still a smoking stove/ it won't solve the issue. I can pretty much conclude, I think with the help on here, that it -is- a cold/warm chimney issue. That makes most sense esp if the colder it is the worse the smoke-out is (I think that nails it for proof right there). If though I can somehow catagorically proove this is true then that would be great.. as I won't be spending £alot on any 'hunch'. But as to a fix assuming it is unoquivocally a cold chimney: would putting a steel liner down.. mean a warmer chimney? if so, how so?
-
Understood Peter, & I'll try & get my builder to have a check.. but wouldn't I see evidence of smoke leaking at this point if this was some, or all of the cause-? I'm going to try your paper idea to warm up the base of chimney 1st. If I can only establish -for definite- what the cause is > I can progress to try & address it.
-
Ah.. mine's actually top-out Triassic- Id thought maybe back-out might be an avenue before! I think from the consensus of a few replies, the cold chimney might be the cause: maybe then, if I'm seeing this issue moreso at the start of stove-use period, this concurrs with this train of thinking. But its only conjecture that I'm seeing this prob more now, than say march.. IE its a hunch but not a certainty this is what Ive seen.
-
I'm not sure it has a register plate, more alot of heatproof wadding secured around the flue > the start of the chimney. But it is pummice-lined though Peter, aparantly according to my builder whose poked his nose down many a chimney, this pummice type is VG if not 'the best' I think I heard him even say.. he was quite adamant I just didn't need to go a steel liner/ heatproof chips affair. But if my builder hadn't taken into account the temp of it when cold/ mine possibly excessively cold to start off with in comparison to a modern liner.. & I can be certain this temp is the cause of my issue, then a liner is possibly the way to go. I need to rule out the other possibles first tho. Am I barking up the wrong tree re. my big 10" diameter chimney (double the diameter of a 5" steel modern liner chimney) as possible cause?
-
yes will do.. but hang on I can just walk into the forest & retrieve free fuel yes-? if so, yes sure.. will do.
-
Ok will try this.. neat suggestion. So you & as ProDave seems to suggest too, seem fairly certain on the cold chimney as cause? IE I should be looking at this rather than cursing the stove itself? Is the larger (say twice vs a steel liner affair) diameter of my chimney any issue? I'm doing complex thought experiments sucking on straws into my milkshake, & different diameters of straws. Rather like Einstein used to do, just on a bit smaller scale.
-
Hi PeterW- there's a door thing (another daft design faux pas IME.. the lever to slide in/out tucks away in the 'in' position around the back/ you have to reach right around the stove, all your body practically ontop of the stove, to get at it.. I want to rip the head off whoever designed it).. but I use to aid draw for refueling, & it does, I think. The baffle looks in good shape, correctly in place & not heat-damaged/ warped at all.. thank gawd. The cowl is a standard terracotta coloured affair I bought on my builders' advice from builders merchants. @dpmiller The whole set-up isn't Hetas or BC signed off, nope, this is wales- you just get things done here (my 40 yr experienced builder, & known as the best around here, as I said installed stove, flue, checked chimney, rebuilt chimney even, put cowl on). It shouldn't affect my solving the problem though. thanks alot for replies/ help chaps.
-
@ProDave Hi there- its a 5" flue, 3/4 metre or so in length, with a dog leg 45* elbow just above stove going up & back, 2nd 45* elbow > connecting to > a 10" dia circular pummice-lined chimney all the way up straight 7m, new pot & cowell atop. Pummice-liner was checked as good by my very experienced builder, who installed the stove & flue connecting to it. I think he put a camera/ light down. He also rebuilt my chimney top section/ pot/ cowell/ bird guard atop.
-
Hi Cpd- it is strange. One thing is definite: the colder the temp is.. the worse the smoke is. 1) when you say internal flue, do you mean the width of the ~1m section between the chimney & the stove? 2) 7m. so a good height plus Im the end of a small valley whereby the end of the house with chimney on, gets whacked by wind/ weather: usually I get a vg draw due to this. 3) as the pot is before the ridge relative to the weather coming in, always, due to a west-facing small valley. 4) I do get occasional downdraught, quite considerable, due to probably yes a microclimate in this wee valley.. 98% of the time not. If only I could rule the stove in or out by trying another.. but this is just not possible/ I barely know anyone here/ I'm fairly new, let alone anyone having a spare to lend me. I'm rural you see- plus the only stove fitter not happy with me as my builder chose to install my stove, over ruling him/ not best pleased after his visit aftershave & fancy new stove van et al.
-
Help with kitchen renovation/ 1st house.
zoothorn replied to zoothorn's topic in Bathrooms, Ensuites & Wetrooms
Ok thanks alot Ed- seems like some various terminology which could fool a good few; once I 'd established the likelihood of the red up in the loft could only likely be doing the 'loop' terminal duties I could proceed/ as said I like to understand xyz in principle before I jump in. Great- progress then. Its copper btw! & cheap as chips in B&M for £10 (same as Next ones fwiw). Ok onto the tiling. If anyone can help me on where my tile reference point/ vertical line should be, with respect to my corner area to tile.. I'd appreciate it & can get cracking on this (the corner itself-?) cheers chaps- zoot -
Well, I guess it could be distorted.. but how on earth I would be able to establish this I've no idea. It is the original baffle, & I did buy the stove with some prior user OTT heat issues*.. or.. the parts are just terrible quality & not up to par: I say this because I bought a replacement iron front section (with two upright 'prongs' to stop logs hitting glass- another appalling design as you keep nudging it out of place loading in logs as the 2 prongs are so stupidly big & intrusive) which has bowed out of shape like the prior one, within 18 months of normal use. For eg I had to replace the grate, front bit mentioned above, & pan is distorted (but useable). Anyone else have this Harmony 1 multifuel stove? I just cannot believe how many huge design faults I find with it, considering its meant to be a very costly belgian made all solid iron stove, with VG reviews. Its an absolute joke, aside from the current smoke issue (which may well not be its fault).. but replacing it/ an extra £1k I cannot afford, &, may well not be any different re. this smoke issue until I can establish the cause.
-
Help with kitchen renovation/ 1st house.
zoothorn replied to zoothorn's topic in Bathrooms, Ensuites & Wetrooms
(Ran Ed's likely logical way.. red just had to go to my Live, or the Switched terminal or there'd always be an open circuit! so all termin-ology aside):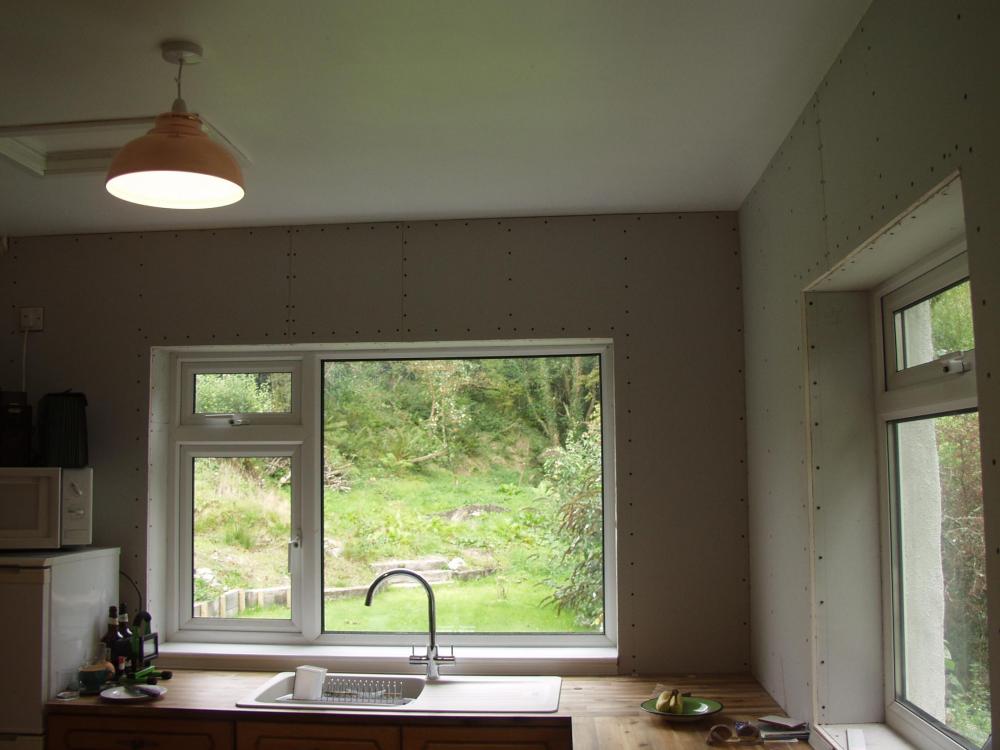
-
Help with kitchen renovation/ 1st house.
zoothorn replied to zoothorn's topic in Bathrooms, Ensuites & Wetrooms
It would indeed. But for what reason I have no idea, especially as its so physically big as to make squeezing it in would be extremely tricky (IE in case you meant something else.. or.. there's a reason to which I'm missing/ just cannot understand). -
Help with kitchen renovation/ 1st house.
zoothorn replied to zoothorn's topic in Bathrooms, Ensuites & Wetrooms
Ok I see where the discrepency is. You refer to " Switched terminal (“live” in that diagram or “line” in more modern terminology): your red wire. " Now, on the diagram there are -two- terminals labelled with the word "Live" (Plus, to p*ss me off even more.. on my diagram.. the middle teriminal is labelled "Loop" & the RHS terminal is labelled "Live"). Ok to clarify/ condense to one Q. The middle terminal of three-in-a-row (Loop on mine): Are you saying leave this one with no wires connected-? -
To be honest jfb its probably got 2x air vents' worth of venting.. as its an older cottage with a few gaps here n there. But nothing excessive, or nothing 'sealed room' to think this makes any difference. If the front door's open for eg, while I start the fire up, its exactly the same as if I close up the vent entirely. No difference whatsoever.