zoothorn
-
Posts
4752 -
Joined
-
Last visited
-
Days Won
3
Everything posted by zoothorn
-

Help with kitchen renovation/ 1st house.
zoothorn replied to zoothorn's topic in Bathrooms, Ensuites & Wetrooms
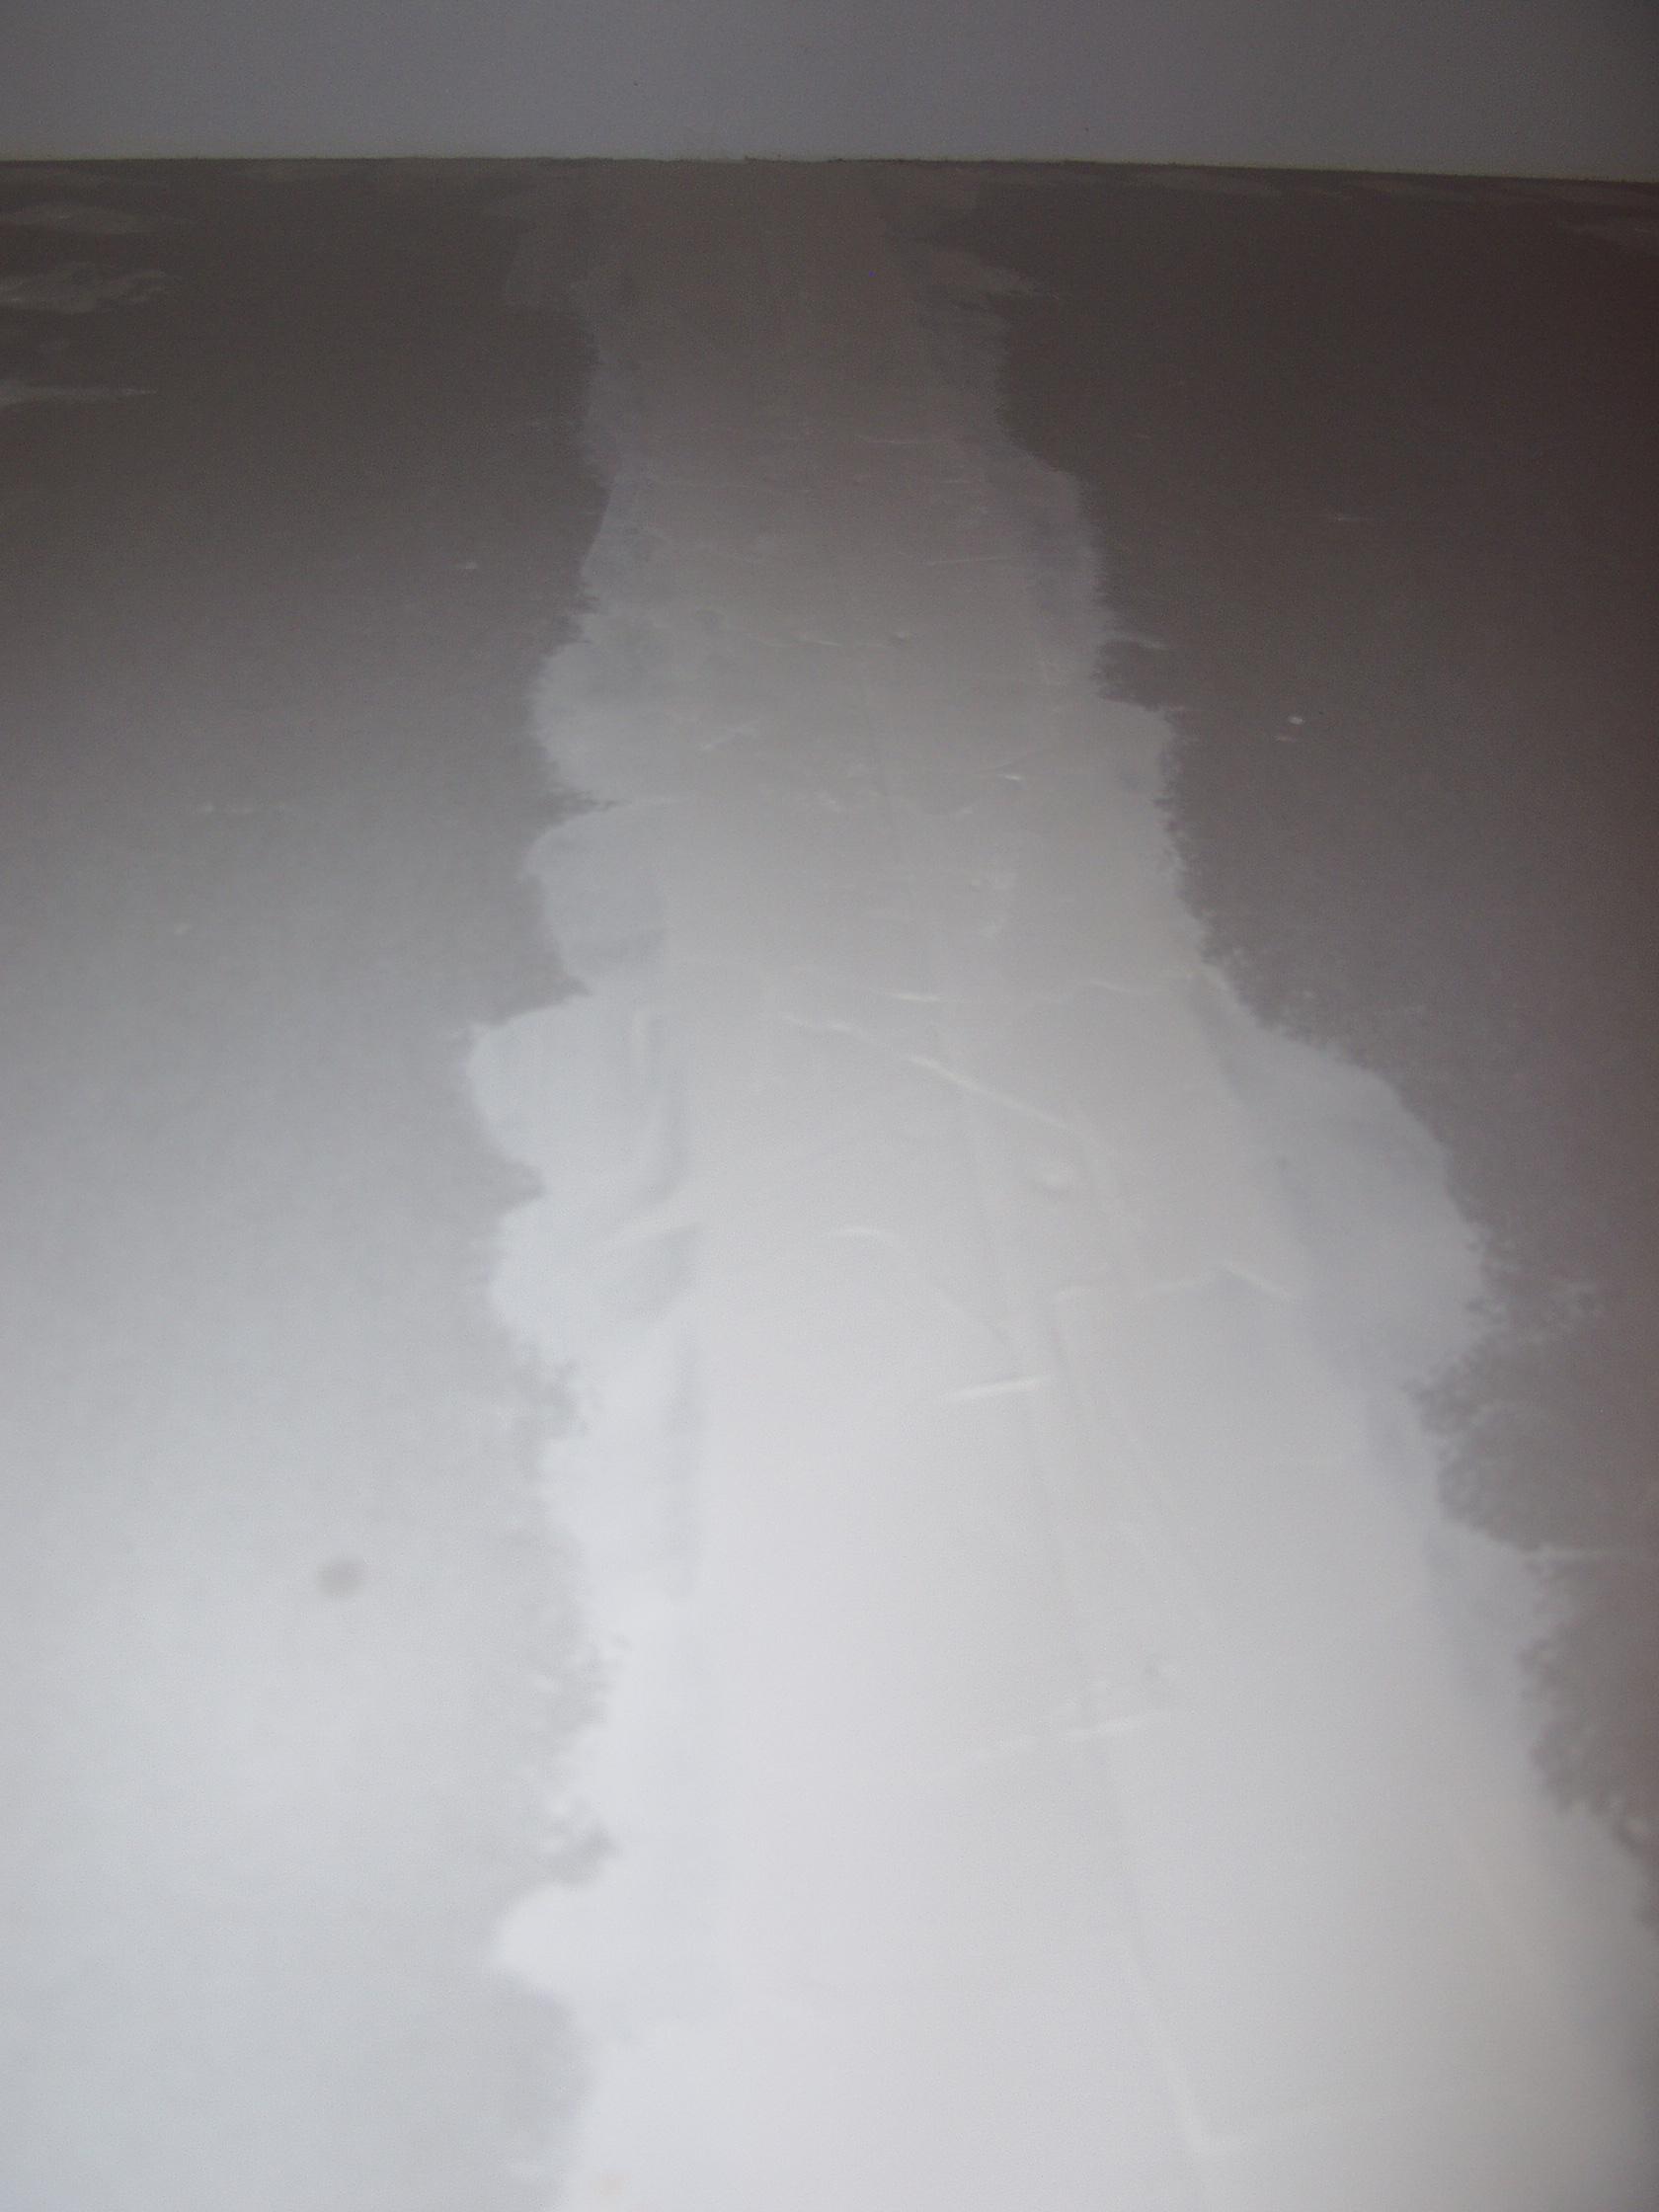
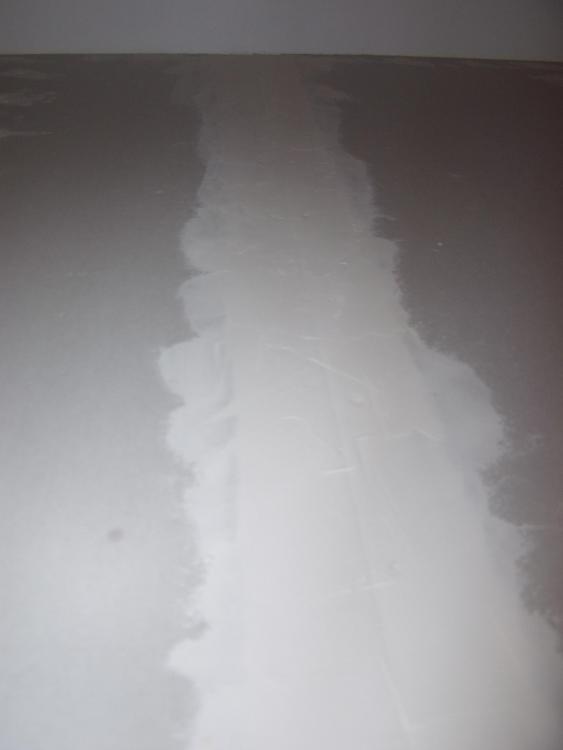
Great no more black screw heads! 2nd pic: as you can see not the smoothest surface to put the tape on.. but I do have 2mm taper-edge dip still to 'fill' ( & 2mm filled after this 1st layer more or less). The bartoline plaster is a total bargain btw.. perfectly decent quality, so far as I can tell, maybe even very good. £4.49 for 6kg tub.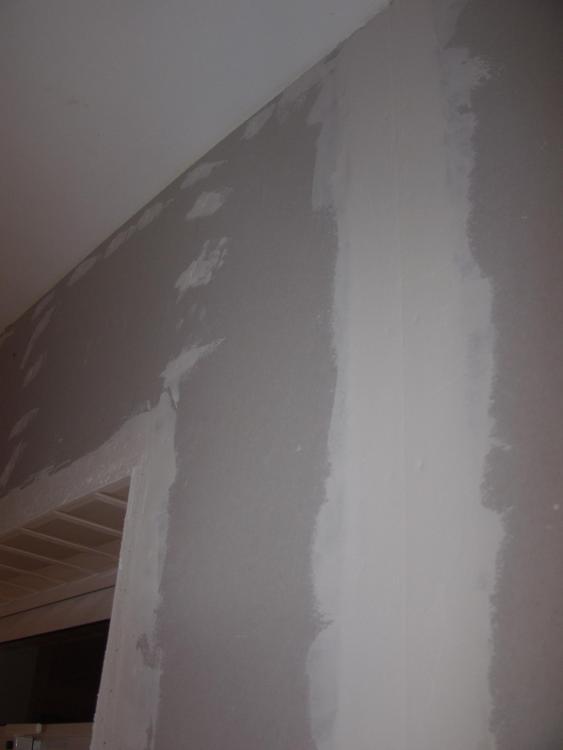
-
Help with kitchen renovation/ 1st house.
zoothorn replied to zoothorn's topic in Bathrooms, Ensuites & Wetrooms
Update- will be putting on a 2nd plaster layer over the seams on saturday, & the window edge areas (these are tricky). One thing I forgot.. the paper-taper-tape! dammit. What do you think; Ive got about 2mm of concave/ dip to level out with the 2nd layer & the large 10" spatula thingy (FishFlipper I call it).. should I put onto this dried 1st layer, or forget it now? its not very smooth tho as as best I could get it so far isn't smooth.. I used the flat side of the smaller 5" end of my tile adhesive trowel thing (the 10" FF too impractical for 1st layer). Not an easy job this plastering job for a newbie.. I'm dreading sanding afterwards, both for dust & catching the pB paper face with the sander pad.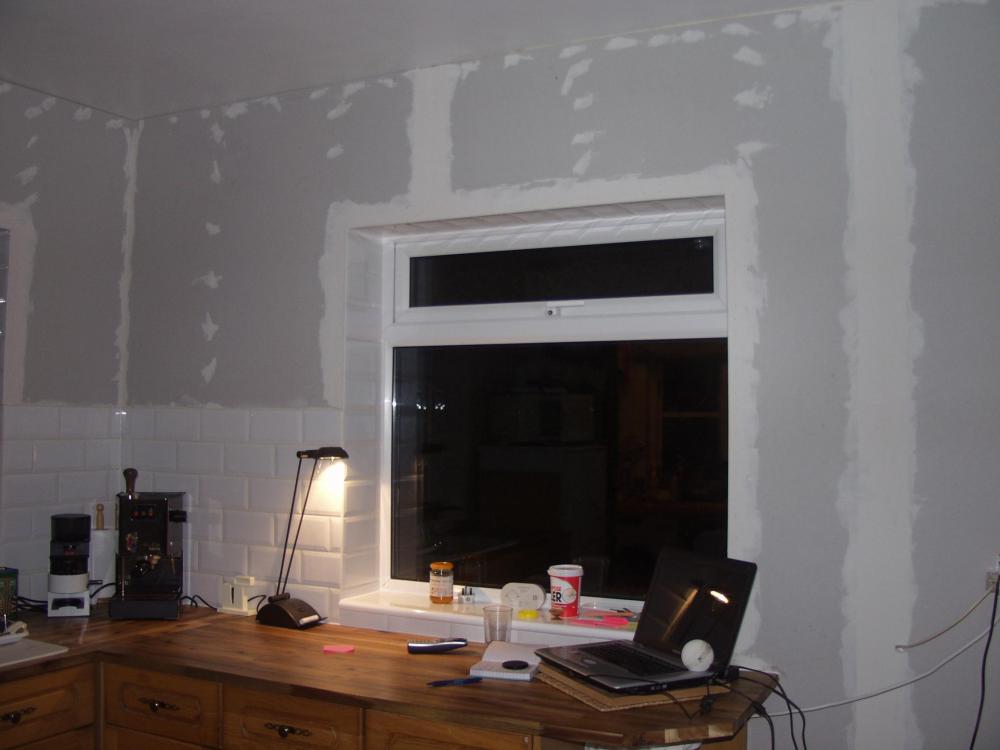
-
Help with kitchen renovation/ 1st house.
zoothorn replied to zoothorn's topic in Bathrooms, Ensuites & Wetrooms
Ok gonna go for my 2nd then- cos its £4.50 a 6kg tub! (one might do me, & its got 'plaster' in its spiel too) 1st no-nonsense gubbins £14.. & your posh stuff.. £32!! -
Help with kitchen renovation/ 1st house.
zoothorn replied to zoothorn's topic in Bathrooms, Ensuites & Wetrooms
So should I be looking for 'jointing compound' then instead of 'plaster' maybe? there must be a similarity tho surely. -
Help with kitchen renovation/ 1st house.
zoothorn replied to zoothorn's topic in Bathrooms, Ensuites & Wetrooms
Onoff- you're opinion on these 2 plasters please.. Ive taken the huage 20kg knauff bag back/ just too wasteful to use only 1/5th & bin. These two are the only stuff available, to me here. Do you think one ok for using with tape for my taper edge filling & placcy tile edge feathering? https://www.screwfix.com/p/no-nonsense-ready-mixed-plaster-white-10kg/23226 This one says max 3mm deep.. https://www.homebase.co.uk/bartoline-plaster-skim-2-5l_p427758 -
Help with kitchen renovation/ 1st house.
zoothorn replied to zoothorn's topic in Bathrooms, Ensuites & Wetrooms
Is the knauff stuff the same 'finishing' grade as this tub stuff? the powder all seems fine/ malleable as it was inside.. I hate to waste the vast majority & I can only chuck it afterwards Ive no room to keep it, & it'll not keep in my moist atmos here anyway once opened. -
Help with kitchen renovation/ 1st house.
zoothorn replied to zoothorn's topic in Bathrooms, Ensuites & Wetrooms
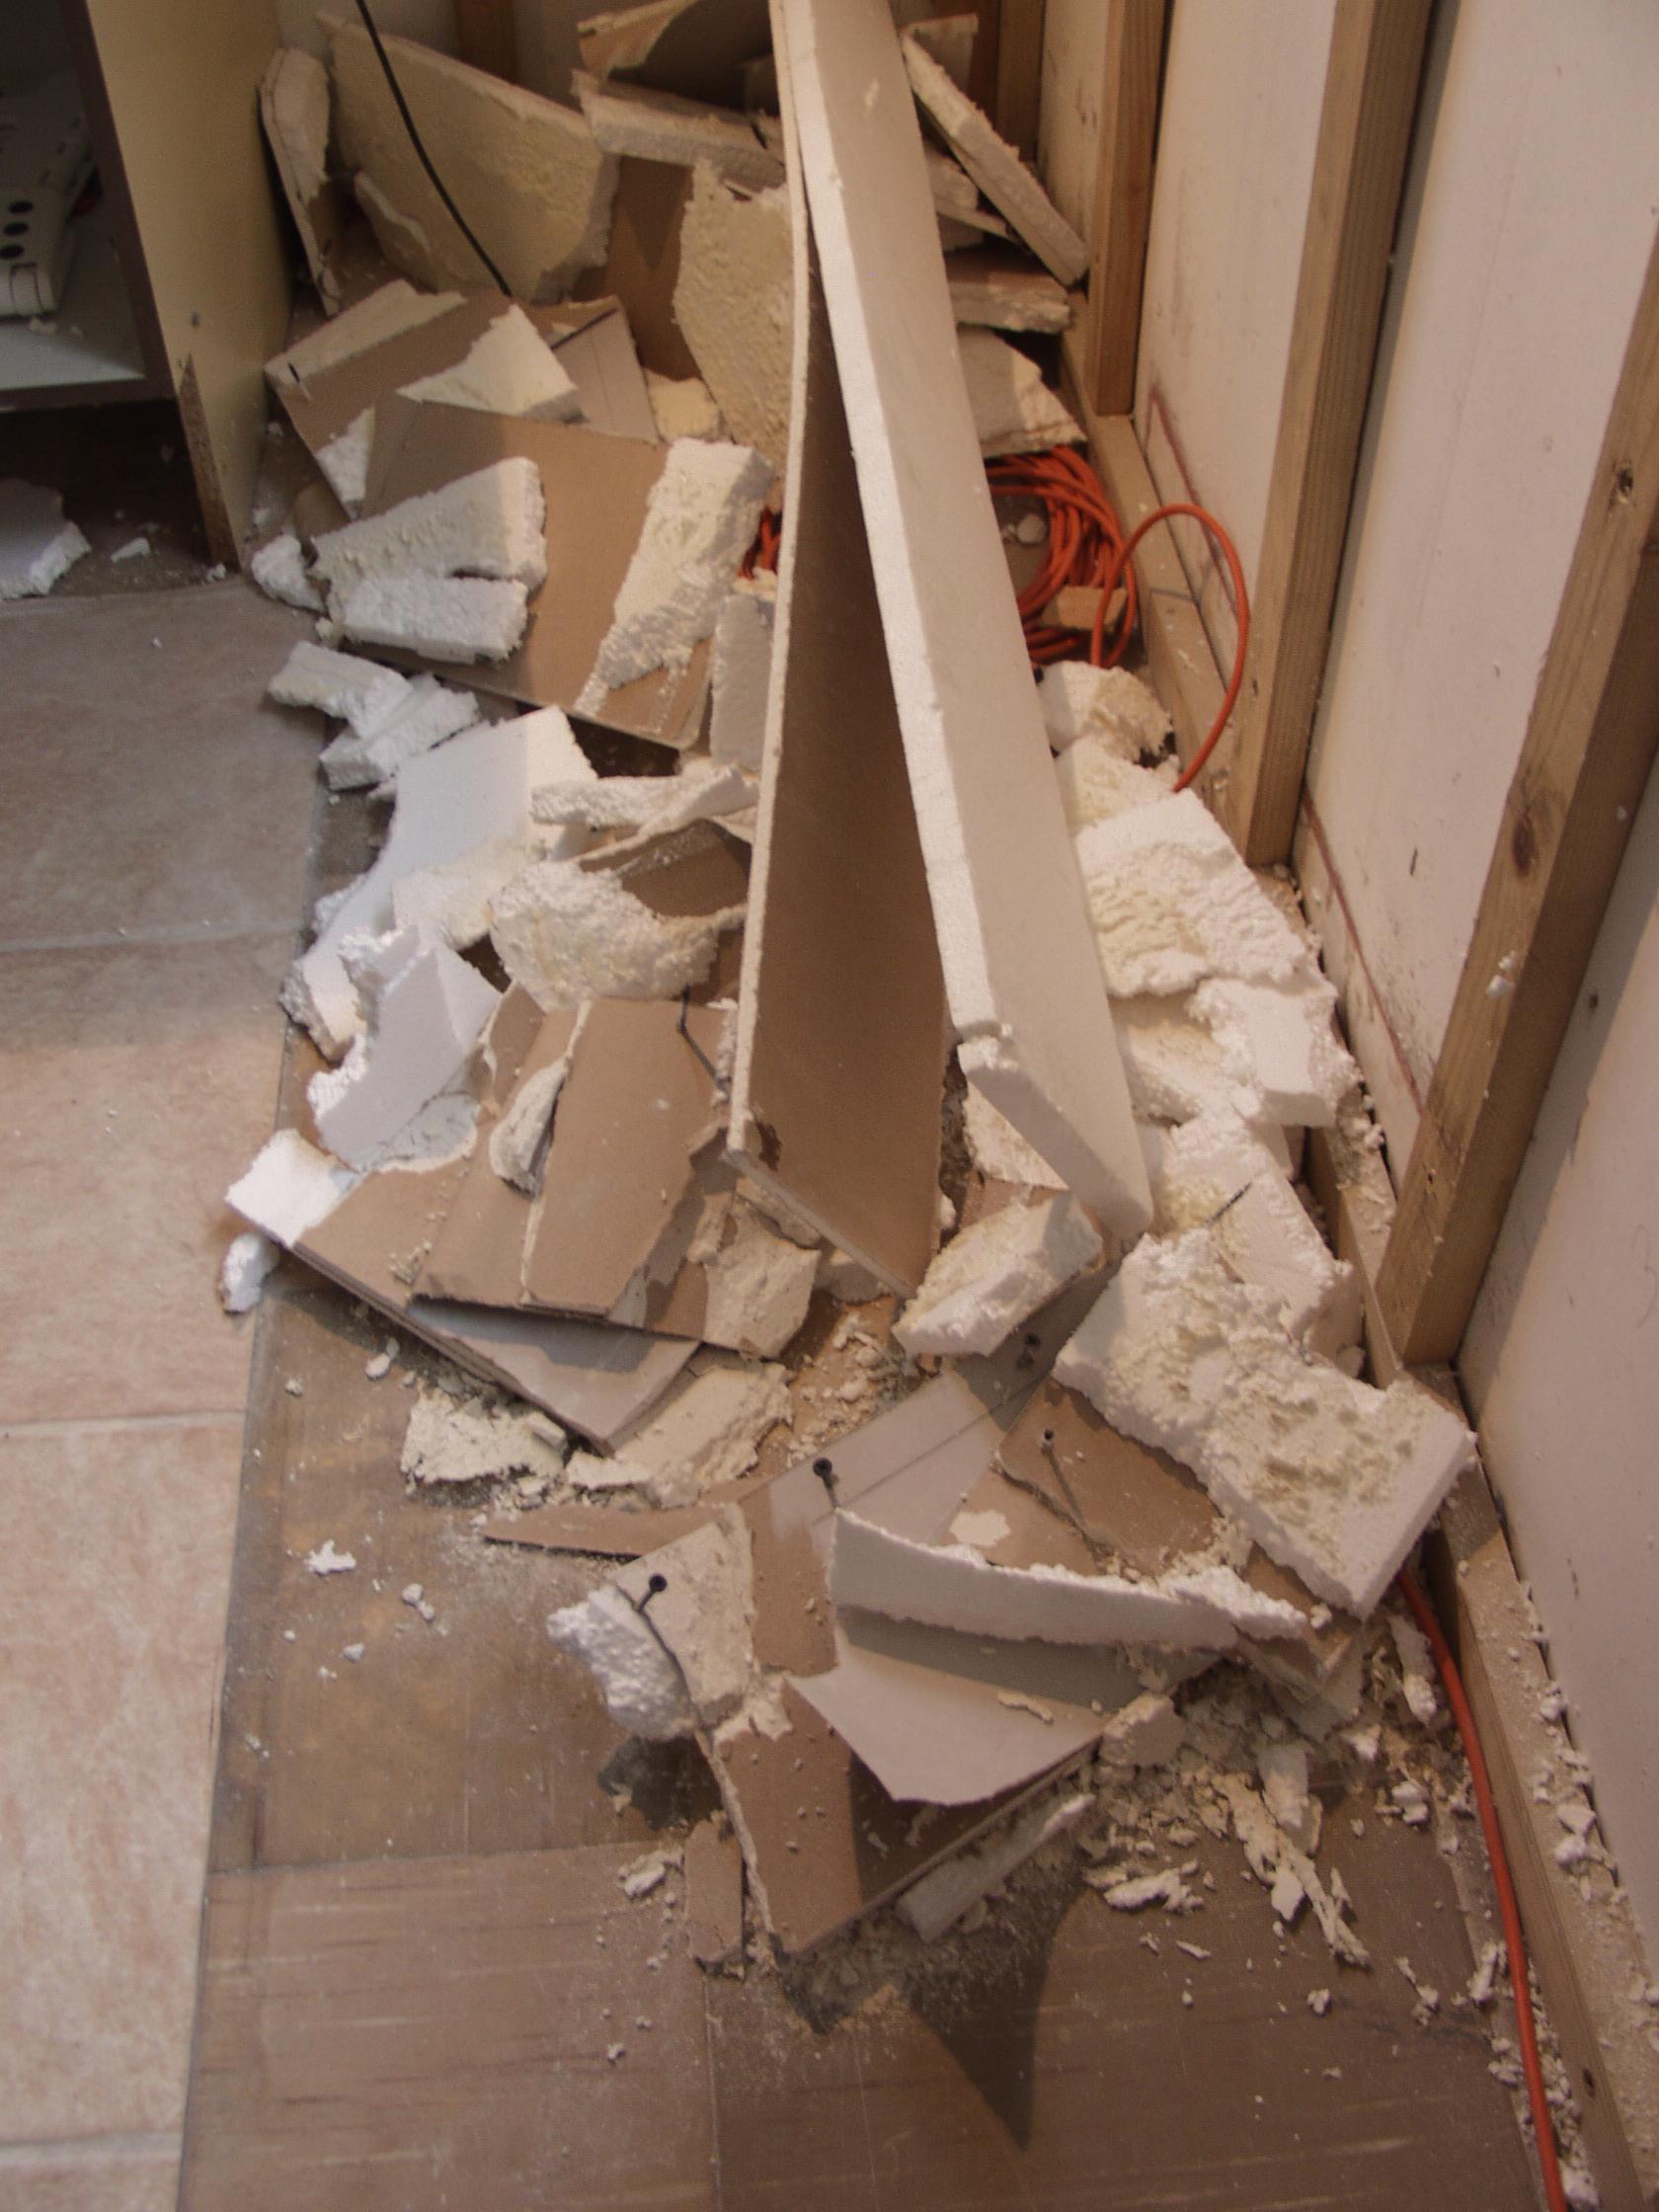
I bought the 20kg bag months ago with the pB etc.. its not been opened. you think its n/g, now ?? the edges were a royal faff.. I was covered in sticky jizz all over my hands & trousers, but I eventually got it up.. then forced some filler in its gap at the end to finish off. -
Help with kitchen renovation/ 1st house.
zoothorn replied to zoothorn's topic in Bathrooms, Ensuites & Wetrooms
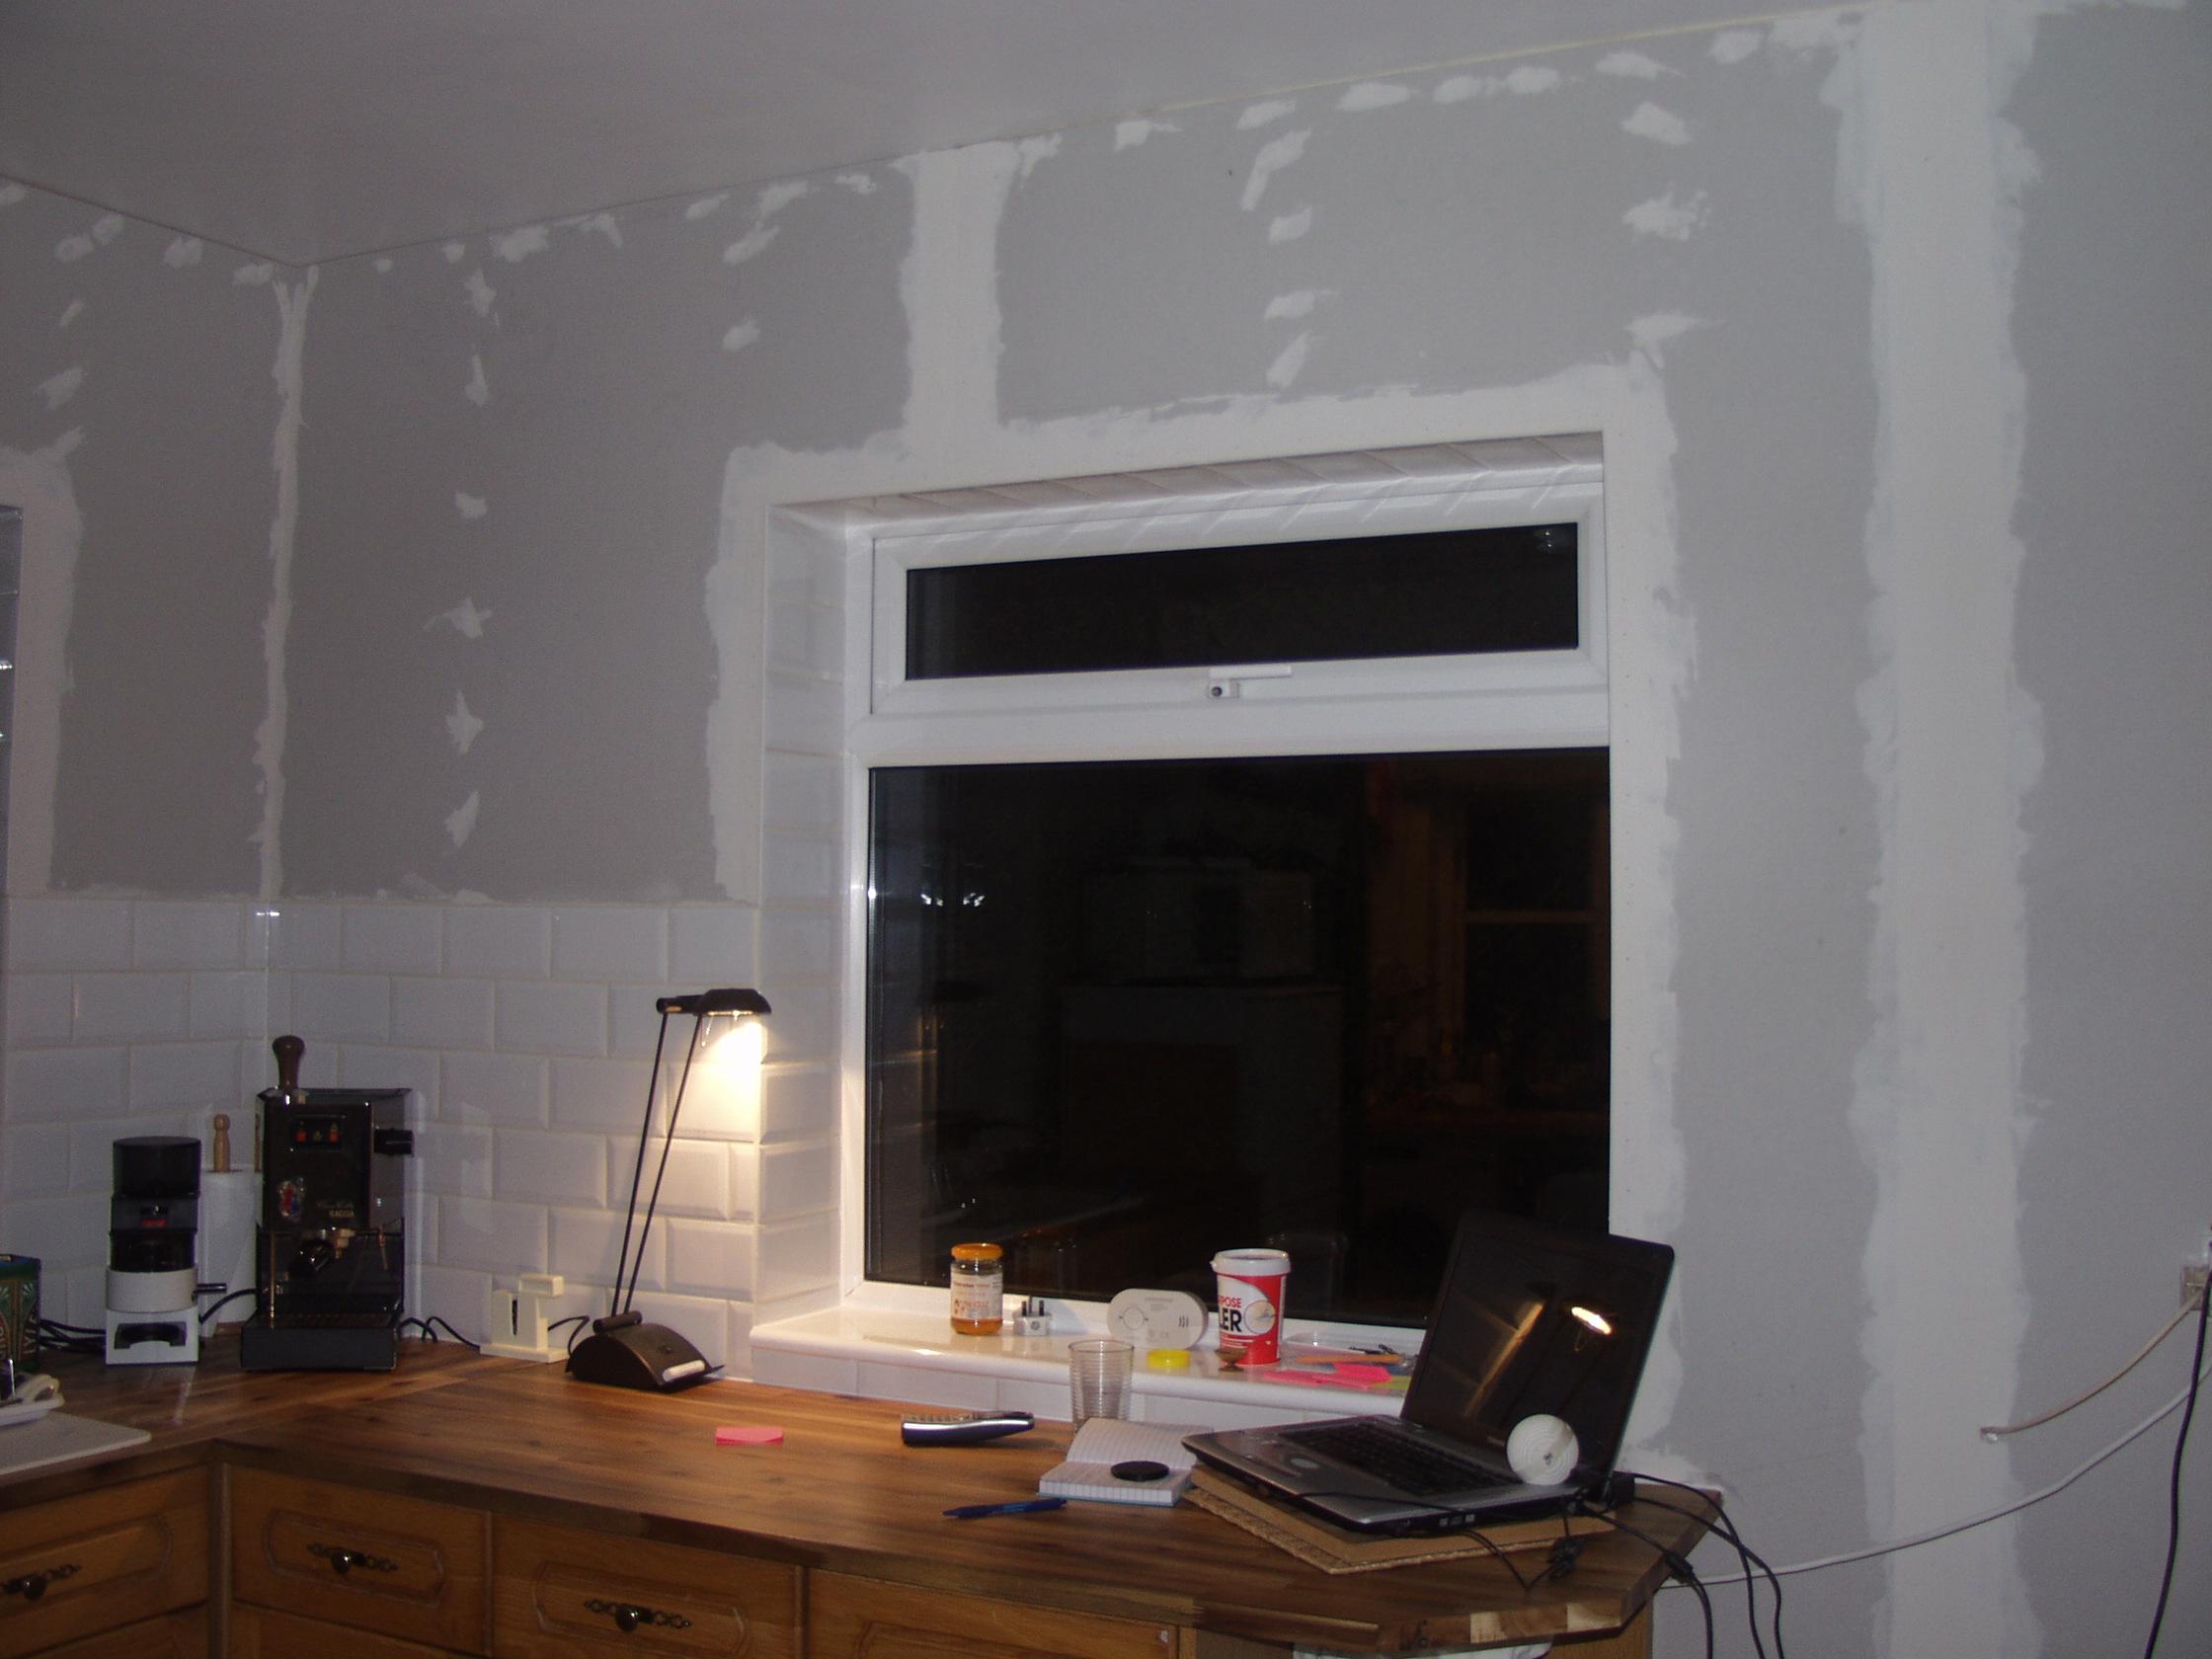
Onoff, think I should go for a 5kg tub of 'finishing plaster' rather than my HUGE 20kg bag of knauff powder Im only gonna use 1/6th of? this ~sort of tub I mean, £5 in town (but 'finishing plaster' its called). I have only one full 2.4m height pB taper join.. two 0.5m taper joins.. these edges around 2 windows (pink jizzed + pins).. plus all the piddly screws to fill. https://www.wickes.co.uk/Wickes-Ready-Mixed-Plaster-Skim---White-5kg/p/607027#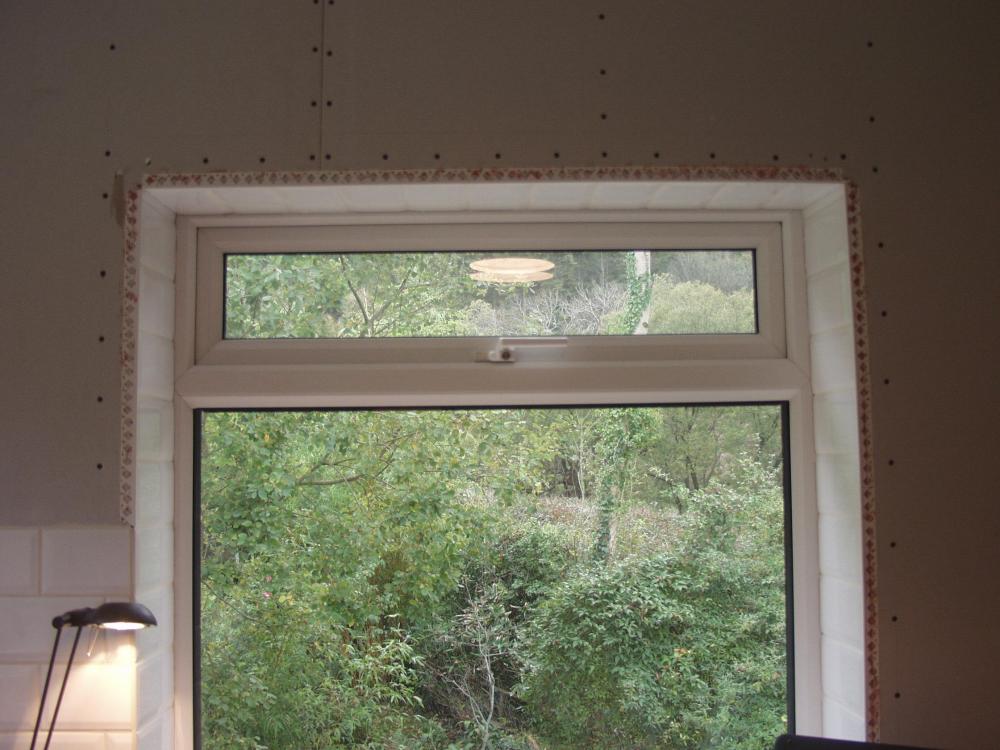
-
Help with kitchen renovation/ 1st house.
zoothorn replied to zoothorn's topic in Bathrooms, Ensuites & Wetrooms
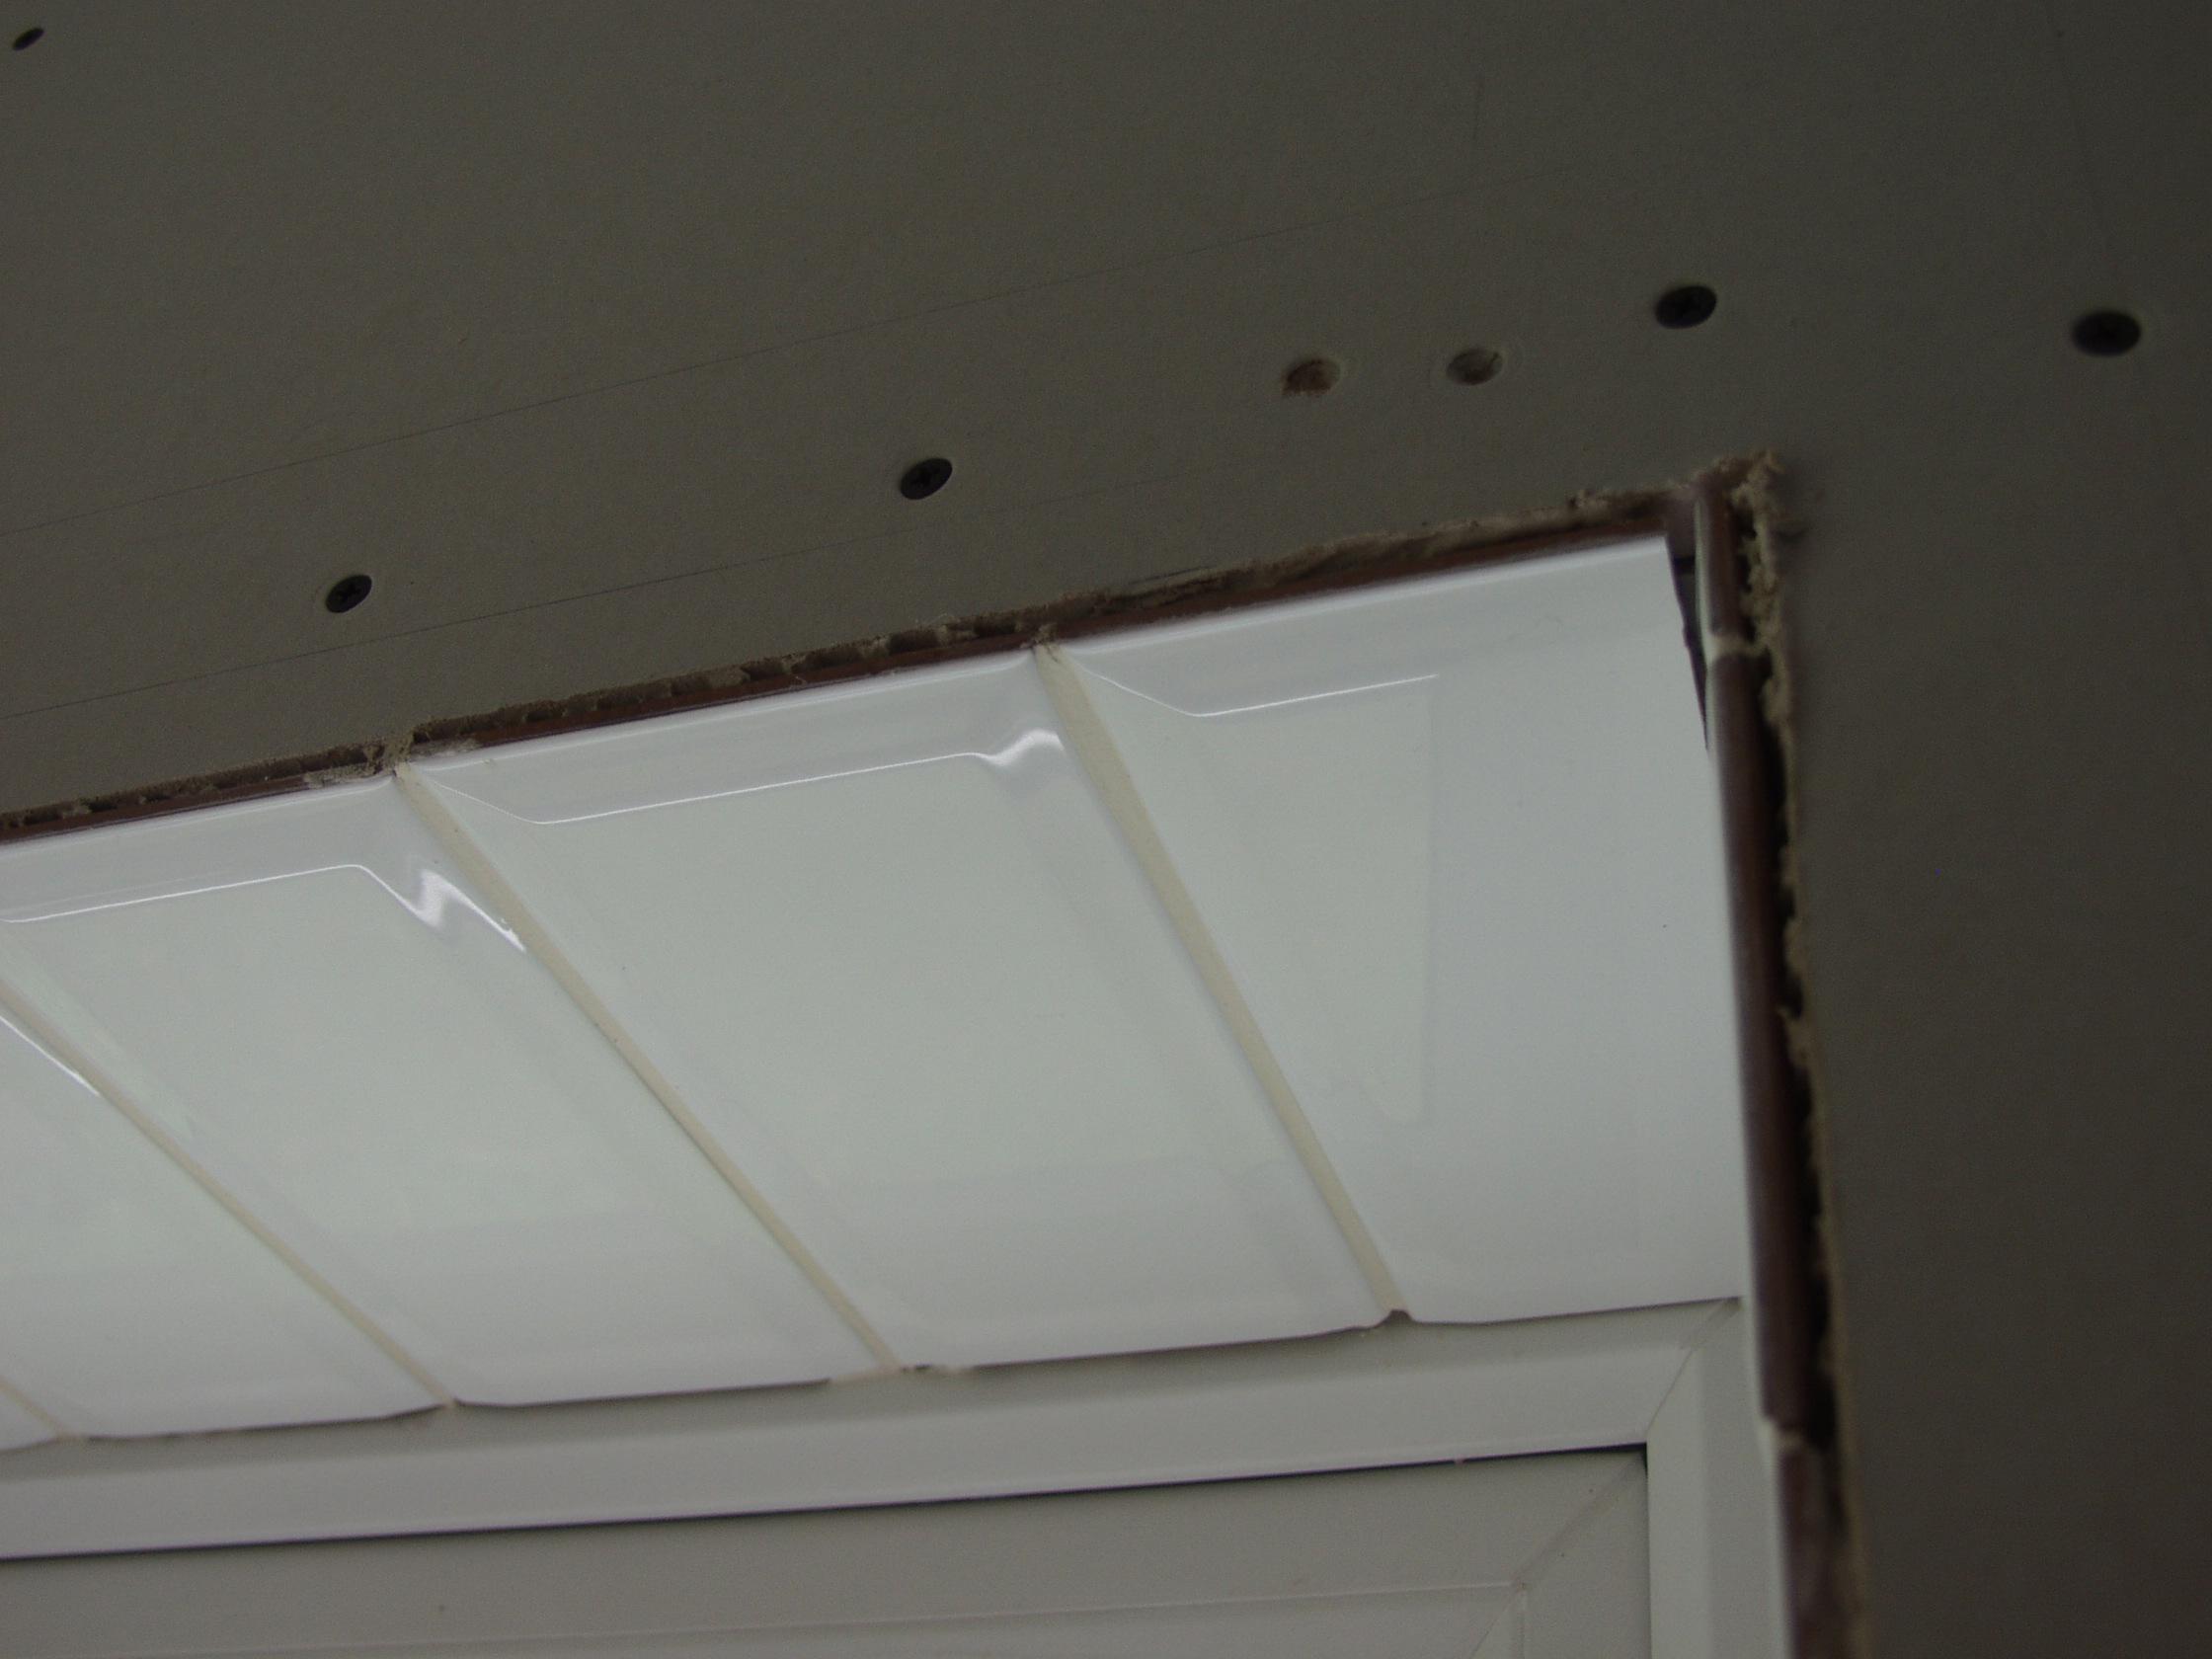
I think I'm with you.. so pop the nib/ beady bit down, just over the edge of the tile (down ~5mm~ in your sketch)? -
Help with kitchen renovation/ 1st house.
zoothorn replied to zoothorn's topic in Bathrooms, Ensuites & Wetrooms
Aha gotcha- the pic tells me alot. ok all set to do this wknd. Thanks Onoff -
Help with kitchen renovation/ 1st house.
zoothorn replied to zoothorn's topic in Bathrooms, Ensuites & Wetrooms
Kapisch all the way up to.. " Fill over a fair distance to loose the "kick". Wet finger along the nib of the plastic so you get a nice straight edge. " Mmm.. sorry don't understand the kick or the wet finger = straight edge already. So fill the gap between nib & tile edge.. with grout? -
Help with kitchen renovation/ 1st house.
zoothorn replied to zoothorn's topic in Bathrooms, Ensuites & Wetrooms
Ok I just needed confirmation that my basic idea -was- feasable ie cutting half of the eg pic above.. totally off (so the pic isn't representative of what I'm doing? this is why I'm confused here, these "L" shaped solid jobs it seems are exactly what I'm -not- doing.. unless I'm missing something still). Right so no nails? I thought this stuff was attatched with specific pB pin/ nails. Then I'm (eventually) filling over this half placcy side, with the pink knauff stuff-? -
Help with kitchen renovation/ 1st house.
zoothorn replied to zoothorn's topic in Bathrooms, Ensuites & Wetrooms
Sorry Peter I'm not on board here. What does bond over tile edge mean? but bond what to the tile edge? I can't add any of the "L" shaped corner suggestions I don't think, as the tiles are set in place, if that's what you mean.. I'm only going to progress with.. a sketch (or a bodge job me guessing- I don't want to mess this up). Onoff can you come up trumps here-? -
Help with kitchen renovation/ 1st house.
zoothorn replied to zoothorn's topic in Bathrooms, Ensuites & Wetrooms
Alas I just can't see how any of these suggestions I could actually do. The tile pic above is n/a as the tiles are set.. there's nothing I could 'tuck' this "U" shaped piece of metal into surely so I don't understand this suggestion or the 'L' shaped metal corner (but where would this go- under tiles somehow??). Stained timber- but how would this be attatched? I have bought the screwfix 9.99 plastic corners, but again I just can't see how I can use it (or how to attatch it, nails just into the pB? surely not). The reason I didn't use the corners before the tiling job, as would now seen to be perfectly simple, is I had no idea of the process/ never used before, had no idea they attatched to the pB face prior to tiling so would stay put.. I thought they'd just fall down/ a nightmare to use without any experience of fitting them before. With any of these 'L' shaped corners I cannot understand why the suggestions of these type, such as PeterW's below are being made (to go -over- the tiles??)- I must be missing something glaringly obvious. again. -
Help with kitchen renovation/ 1st house.
zoothorn replied to zoothorn's topic in Bathrooms, Ensuites & Wetrooms
Both good ideas I think, but with the white trim (that I just binned 3.5m of!!) I'm just not sure about such a 'cheapy' finish, being so visible- this stuff I used ass the splashback ok as its tucked away. The rim around, of 1" maybe white to blend with tiles is defo a good suggestion. If I used the timber.. what would I attatch it with? If the tiles weren't 'Contoured, Insane Asylum Reclaimed' as I went for.. I could just use a series of cut 1" wide tile sections. Hmmm. My OCD is kicking in. -
Help with kitchen renovation/ 1st house.
zoothorn replied to zoothorn's topic in Bathrooms, Ensuites & Wetrooms
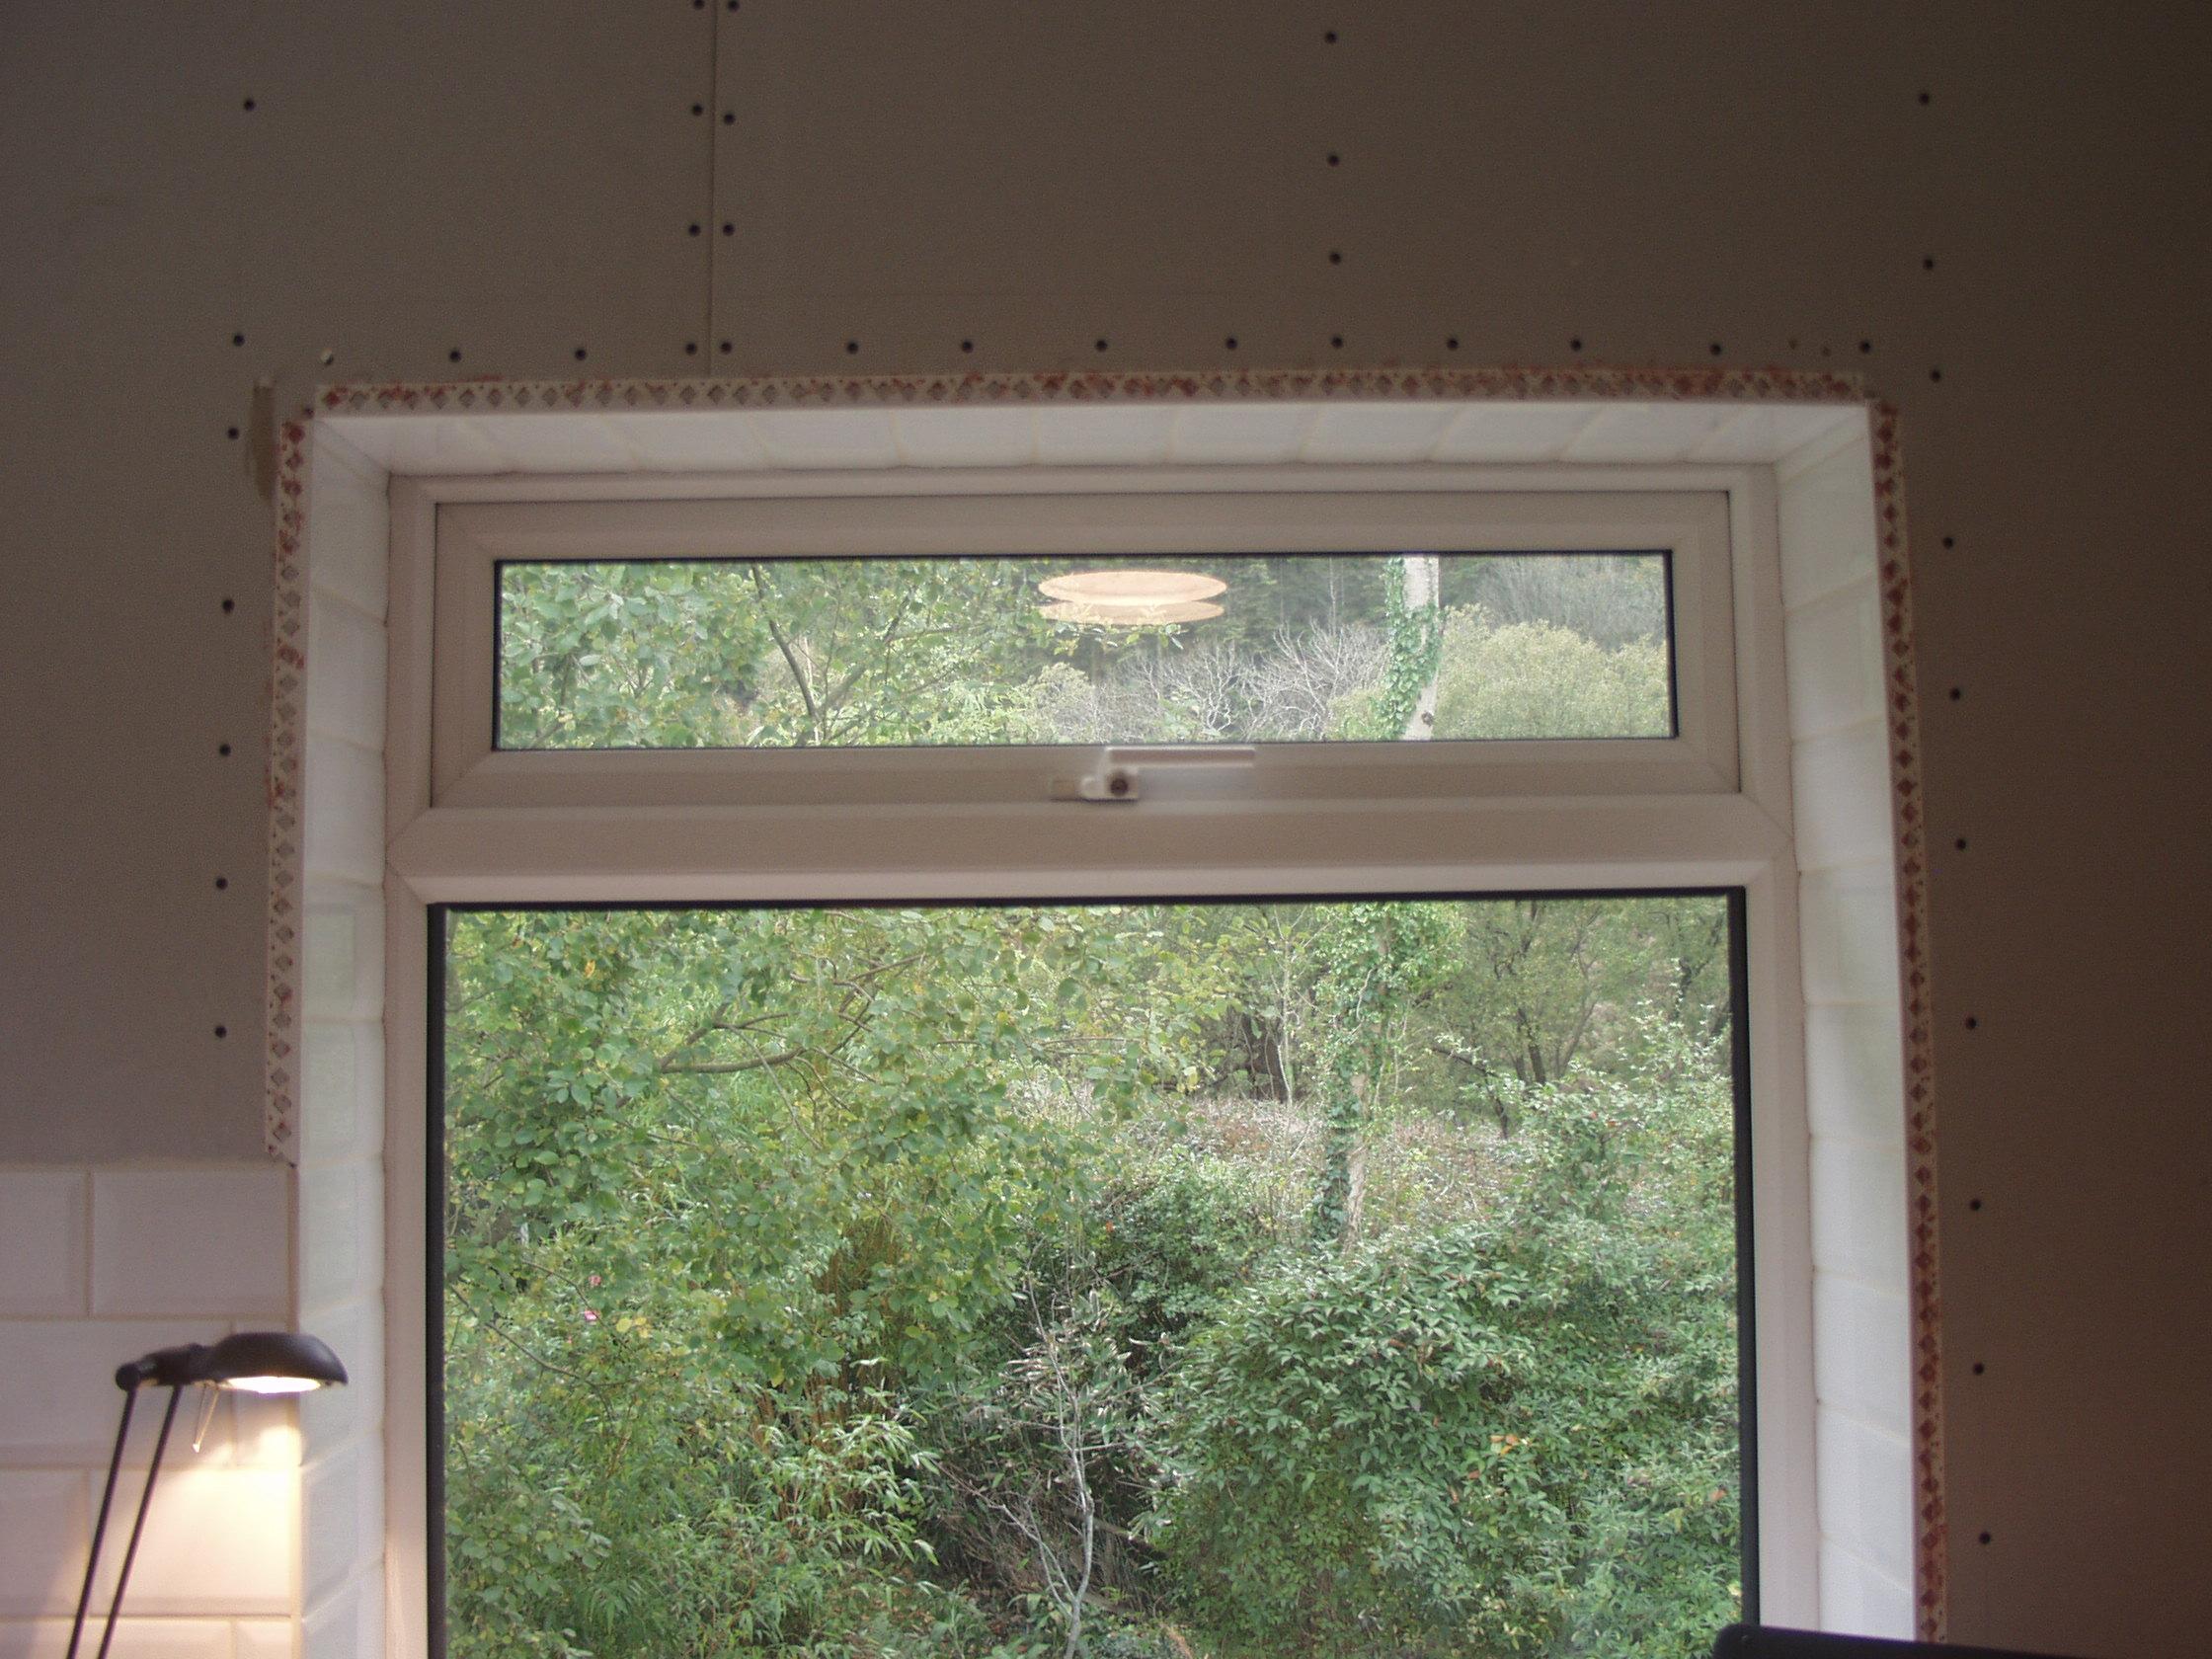
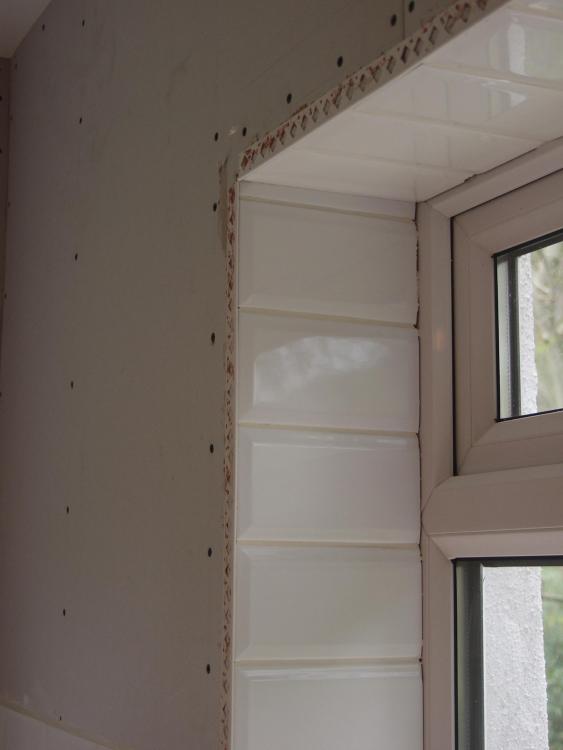
Onoff do I nail this stuff to the pB? I guess whta type of nails is important as to adding height/ then all needing plastering over. Just to reiterrate: I -only- have 6 reveal edges like this to finish, all tiles-meeting-pB (so knocks n/a as tiles will provide a hard edge)..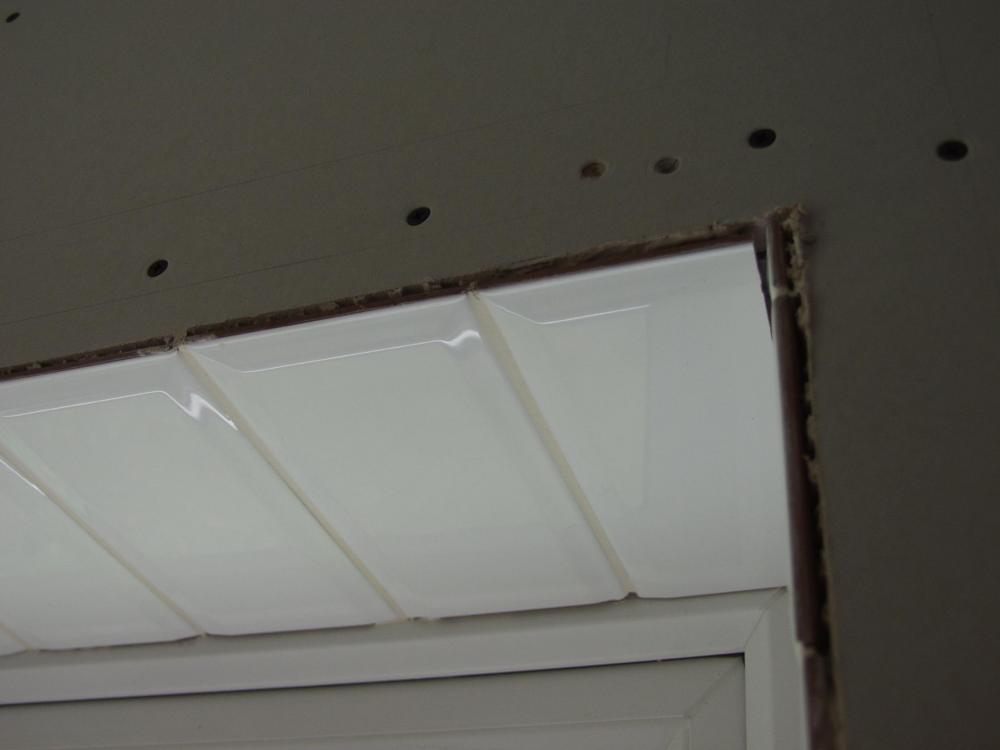
-
Help with kitchen renovation/ 1st house.
zoothorn replied to zoothorn's topic in Bathrooms, Ensuites & Wetrooms
@PeterW the prob I have though Peter, is although I've no pB-meeting-pB corners (just pB meeting tiles) I have rough edges of the pB & some paper edges jutting up along here/ fallible. I can't use a upvc or metal corner, I don't think, as there is no room on the tile edge to fit it now I've tiled flush to the pB edge. I realise now this is a mistake, & I should've fitted the corners > tiled.. but my daft plan thinking I could get away as I've done (& just fill the edge gaps/ that'll do) has shown me up as an eejet here admittedly. So its a rescue job now the tiles are on. The only thing I can think is to get the upvc corners, cut half off (would have gone under tile edge) & fit solely to the pB edge.. if brave I could stanley knife a slim trench under tile edge, leave a few mm's of upvc on this side & tuck in.. hmm. -
Help with kitchen renovation/ 1st house.
zoothorn replied to zoothorn's topic in Bathrooms, Ensuites & Wetrooms
Great help there Onoff.. yes the knauff stuff is 'joint filler' simple as, no 'premium' or anything.. a huge bag I'll have 4/5ths of it left. Isn't it too late to think of the corner strips now I've tiled up to them? I didn't realise they were so quick/ simple to fit or I'd have probably have done that before tiling (maybe I missed a link before- did you add the 'how to' link above, before?). I only have tiled corner > meets pB corners to consider.. no pB > pB (tho great info for future ref). cheers, zootH -
Help with kitchen renovation/ 1st house.
zoothorn replied to zoothorn's topic in Bathrooms, Ensuites & Wetrooms
Another classic muppets.. they just never age! had to look up 1953 Melodija Menges .. very cool indeed- spanish made, I assume? The amp behind the tasty gretsch is a 1948 fender V-front spot-on replica.. Rift got 9/10 review (with "outstanding cabinet")- a trickybitch to make. Anyway back on board. Onoff re. pB finishing: is the idea effectively to fill each black screw indent flush to the pB, & fill the taper dips with the huge pink knauff bag (got my huge screwfix spatula primed) & get flush to pB.. then its all ready to paint-? -
Help with kitchen renovation/ 1st house.
zoothorn replied to zoothorn's topic in Bathrooms, Ensuites & Wetrooms
Ah thanks guys.. I recently had two cover shots too for Guitarist (I make for the best ampmaker, may well be in Europe- Rift, as well as other makers): 2 more Mods then I'll whip 'em off.. back to proper building-!

-
Help with kitchen renovation/ 1st house.
zoothorn replied to zoothorn's topic in Bathrooms, Ensuites & Wetrooms
@newhome The tap seemed enormous without any stuff near it!! just hated it. Now I love it! haha. Mods- I'll pop a few pics up quick [these] then delete..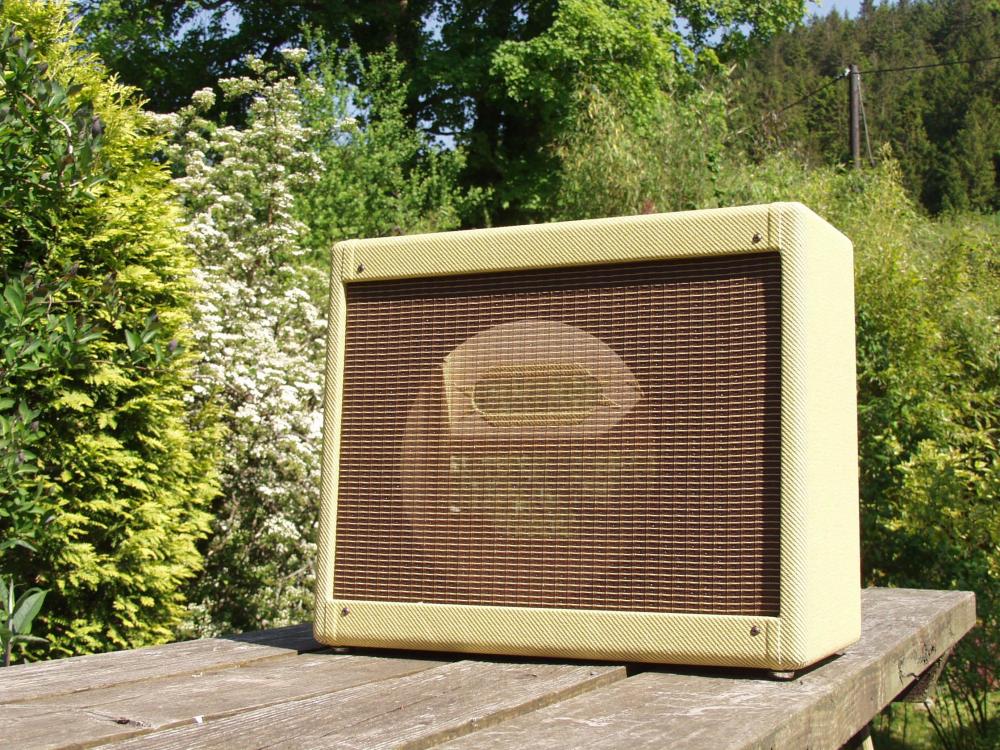
-
Help with kitchen renovation/ 1st house.
zoothorn replied to zoothorn's topic in Bathrooms, Ensuites & Wetrooms
Ah nuts.. I think this one corner I grouted around edge of, onto the p/b, is 1st major mistake now you've said this. How I'm gonna sand this down as you say w'out ripping into the pB paper. Shoot. Other tile edges I'll polyfill I think Peter as its to hand now -that's good enough for me- as I made sure the tile adhesive went onto/ 'sealed' the exposed pB edges under the outer tile places. These edges were always going to be a compromise w'out going the mesh strip edge route/ too much for me tbh. I do have paper jutting up here & there so may have to feather some filler to prep these. Not ideal I must admit. But it'll pan out ok. -
Help with kitchen renovation/ 1st house.
zoothorn replied to zoothorn's topic in Bathrooms, Ensuites & Wetrooms
The offwhite grout idea was meant to be a match for the cream sink.. but falls between white & jasmine anyway/ that's getting too OCD anyway! Result on the sink. I moaned like abitch to Franke, & they kindly agreed & gave me £50 back. Franke sinks are ace. My tap's ace too (!). Its a major transformation even at 1/2 stage- so much more pleasant to be in here & use my new bits! Thanks alot chaps- zootH -
Help with kitchen renovation/ 1st house.
zoothorn replied to zoothorn's topic in Bathrooms, Ensuites & Wetrooms
I am a bit of an annoying perfectionist, I annoy myself often, but useful for my paid work (guitar cabinetry) & for the finish touches to this job: I must say the worktops have a lovely 'pro-silky-smooth' finish with that 400 grit/ Osmo oil ontop.. that's gone great, tho it is trying its best to bow up, but hopefully will behave enough over time. My filling of the join with titebond & sanded dust was a bit of a dog's dinner in comparison, but a minor issue overall, & the join itself tho not perfect, is pretty good I'd say. Next to consider is the prep of the pB for painting. I have a paint in mind, so plan is to complete these 2 walls, even last step of fitting a corner cupboard above tile corner. Then.. onto other less complex, smaller side/ half of kitchen. -
Help with kitchen renovation/ 1st house.
zoothorn replied to zoothorn's topic in Bathrooms, Ensuites & Wetrooms
Yes indeed, I dare not go back & look now I'm on the downslope! cheers Declan.