zoothorn
-
Posts
4749 -
Joined
-
Last visited
-
Days Won
3
Everything posted by zoothorn
-
Ok I'm trying to get the gist of this. I thought I had a method ready but now I'm confused again. I know why maybe: one element's possibly been forgotten in the suggestions, I think: that is I have to go with the determined RHS edge already set (bc its a taper-edge board).. IE I cannot get a profile on > cut this wiggly line. then cut to width on its RHS edge to fit my other board already in place RHS. That's why maybe you are saying I'm thinking it backwards-?
-
Ok understand that too- cheers. I can't seem to get going on this tho. @PeterW I like this idea but for making the hardwood wheel thing! ok so a 50mm wheel across, a hole in middle for pencil @ 25mm then? or put pencil on outer side of wheel 50mm away from wall.. I guess either in principle. So say I have pencil in middle @25mm from wall. Do I sit the board, before scribing, 25mm away from wall? or push board up to wall > scribe > then somehow re-scribe it (I guess by eye?) back 25mm.
-
Wow.. I can understand all of that! that must be a 1st. Thanks. Searching for card box. But idea of just scribing "back" again with the block, with board laying on ground.. & 3x checking at intervals along before cutting, seems like as flloproof a method as I can get. 15mm. Yes I've had to contend with a few single studs to meet two boards. But worst at the junction of the ceiling line at the one "collared" angled ceiling side area (my builder has pB'd the ceiling), & my wall pB: here Ive got no viable stud at all (bar 2mm) for my wall pB along top, so you can press pB in here.. innevitably cracks, but at least will be hidden by a bookshelf all over this wall. Ive tried to push my pB hard up to press the builders' ceiling angle pB section 'bows' up.. but nigh on impossible for me & many gaps (ceiling line not perfectly level not helping). More builder shortfalls/ job done badly I'm sure of it. Many goldcscrews used (clearly ran out of drywalls), protruding heads, & big spaces between screws all over ceiling, & gaps the wind gets thru. I can't redo it tho.
-
Ok thanks dpm. So I can scribe with a block the wall profile contour, at the blocks' width out from the wall > onto my pB edge. So then, in my case, is it then just (by eye) transferring that wiggly line back -the blocks' width- & redrawing? You see I have a designated pB width to hit, precisely. Its the LHS edge to scribe. On the straight RH edge, I have a full board already in place next to it. Also I only have only 15mm of stud left to attatch to (a single stud serving as junction of 2x boards.. not easy to get the full board next to it to land ~bang on midway the whole way up: I had to trim 1cm off & more off btm than top/ a pig of a job: I do not want to have to trim -anything- off my scribed board on its other RH 'straight' edge too). Thanks, zoot
-
Hi Onoff.. actually I didn't do so in kitchen (not very in-out compared to this) but I recall your same suggestion. Ok I can get the approximate gist of it, but the 'disc' (& how exactly I can obtain the correct boards' width) I'm not following. Is there a term for this I can google-?
-
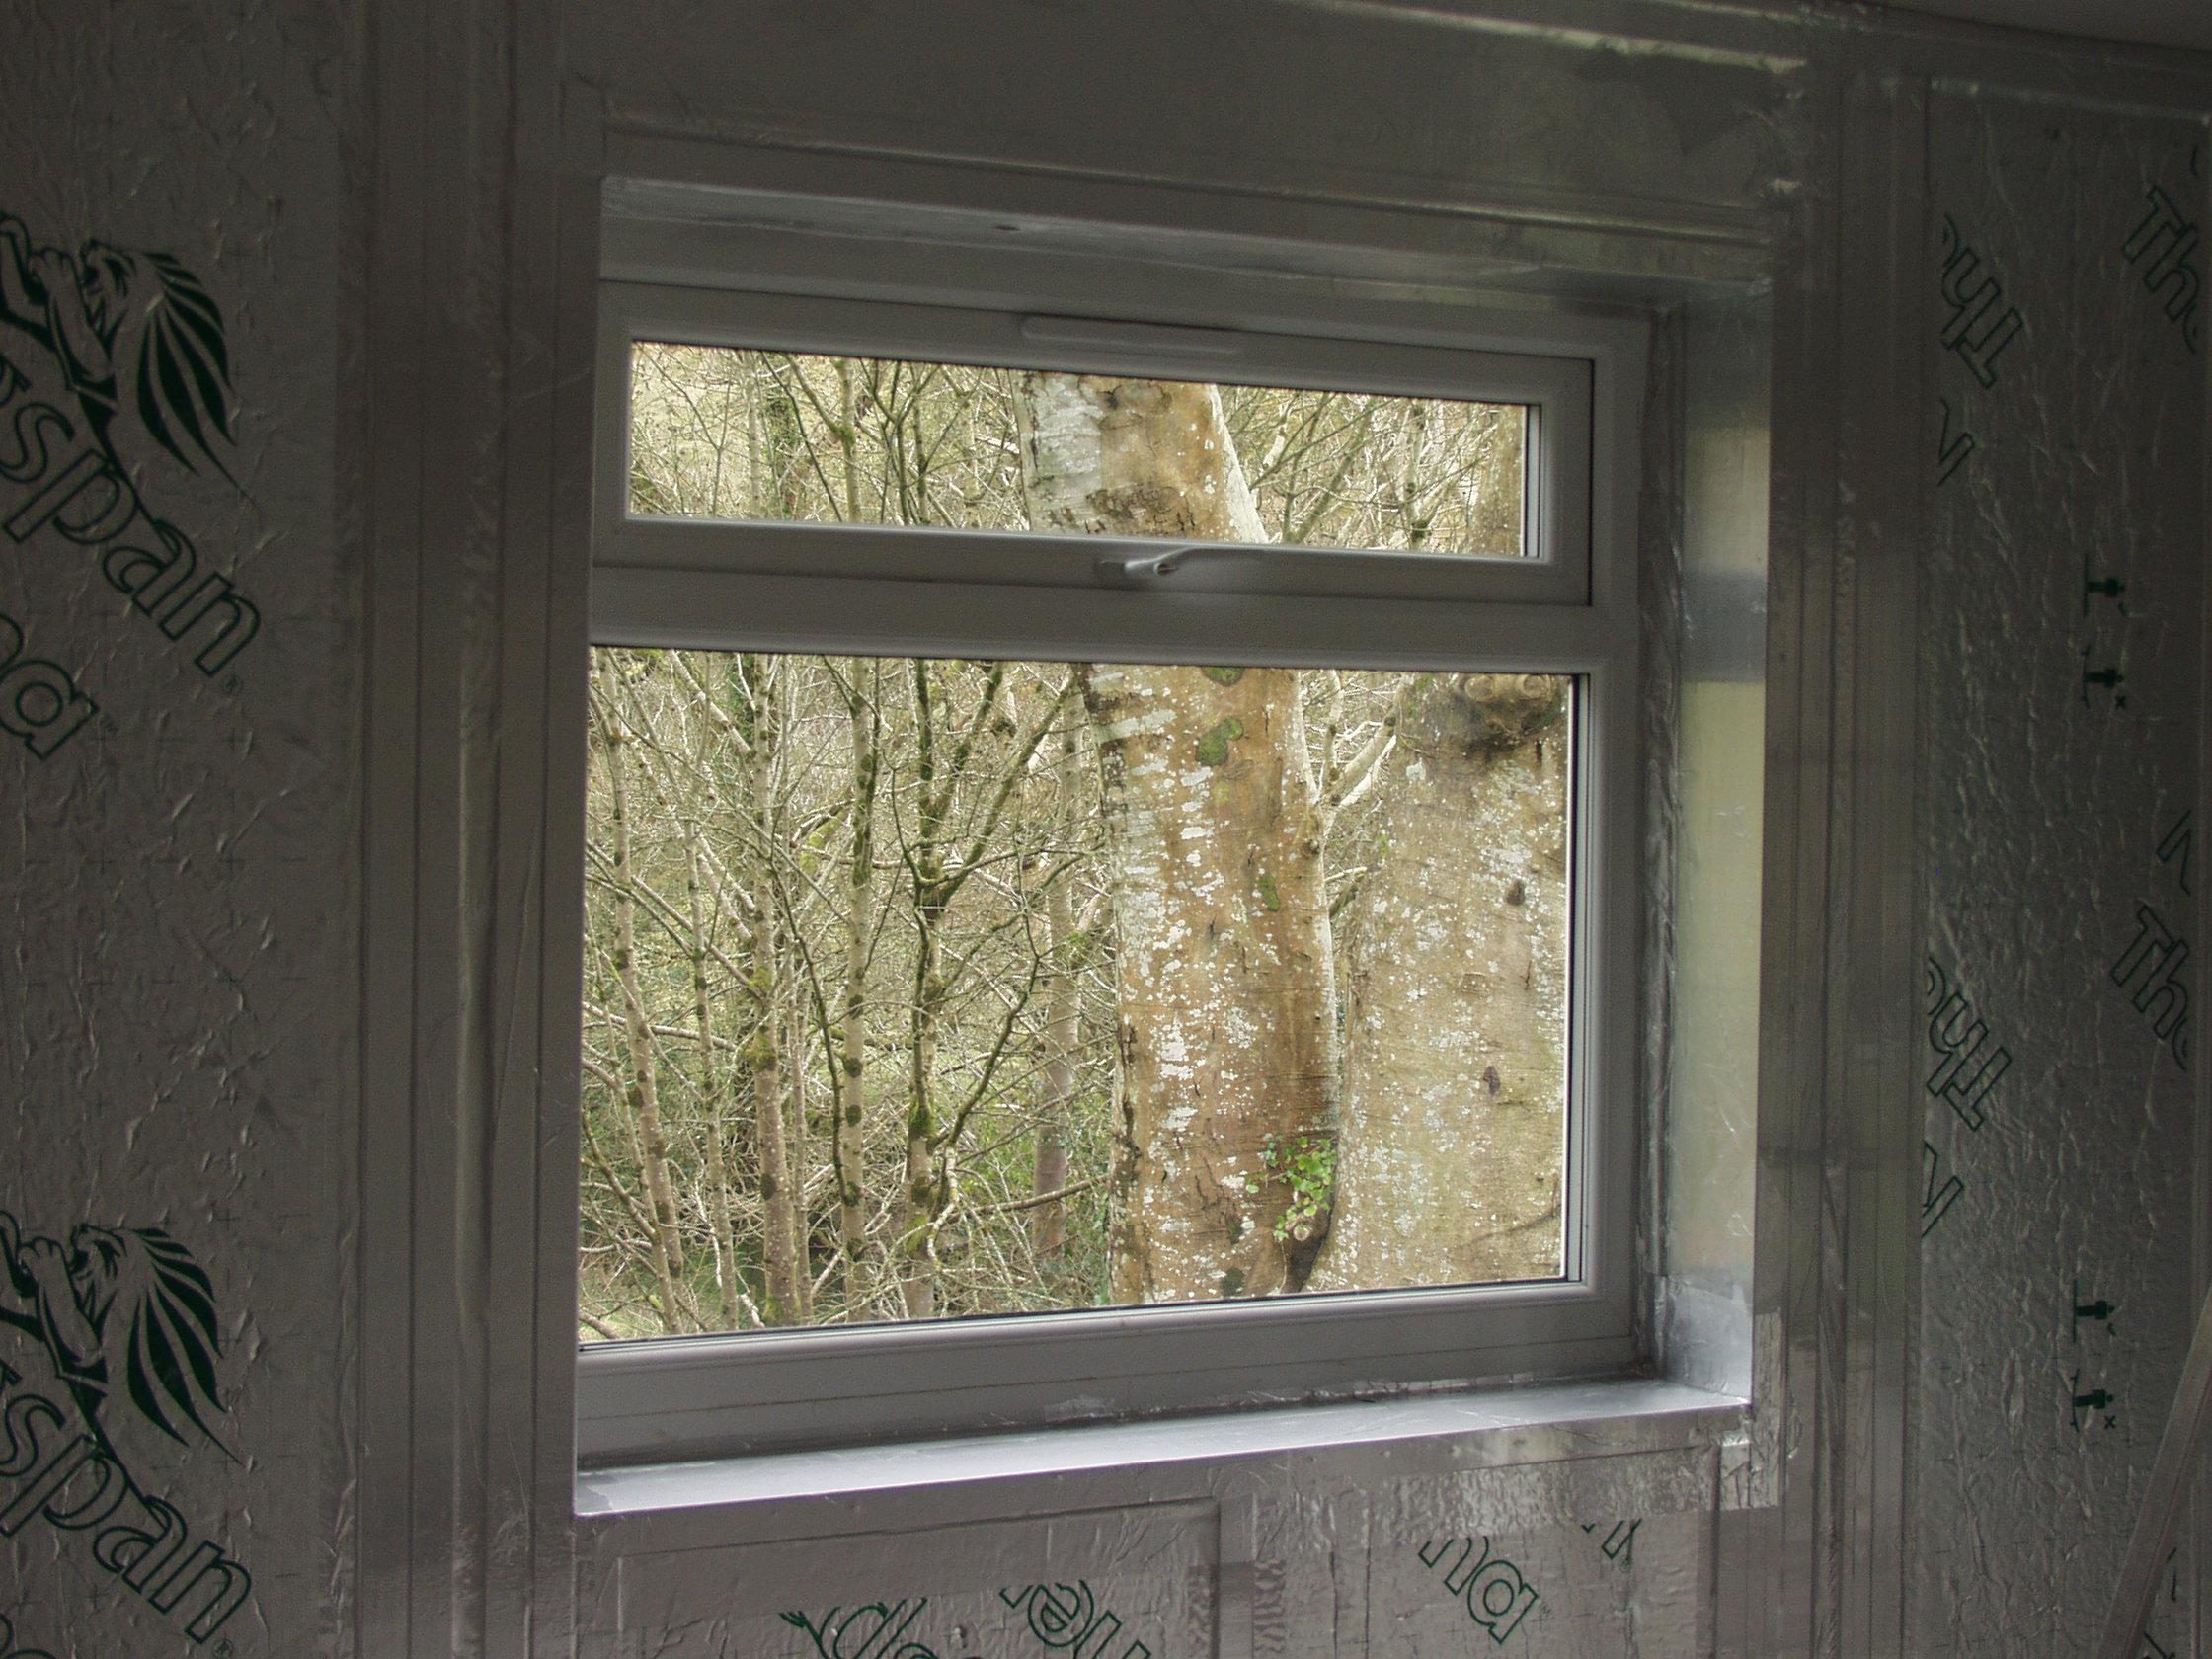
Yes this seems to be best way. Got most of top room done/ just tricky areas to do. The pB wall with the window pic above, on its LHS meets the original very in-out wall (IE old stone). I'd like to keep this wall, not dot & dab & pB it.. maybe even sand-blast render off to expose stonework, very last job. How can I copy the profile/ relief onto the pB edge for a neat 'meeting' to the wall?
-
Ok I can cross bridge later. ------------------------------------------- In the meantime: What to do with socket cables protruding into room in the PIR? surely not by pushing them back into the PIR hole I made/ impossible/ too thick - stiff/ not enough room to do. So do I just mark the pB, put it up by forcing the cables into the PIR (to find/ chase out after). Or do I make a 4cm hole in pb, lift near then somehow thread cables thru whilst holding pB > lift pB into position? thanks, zoot.
-
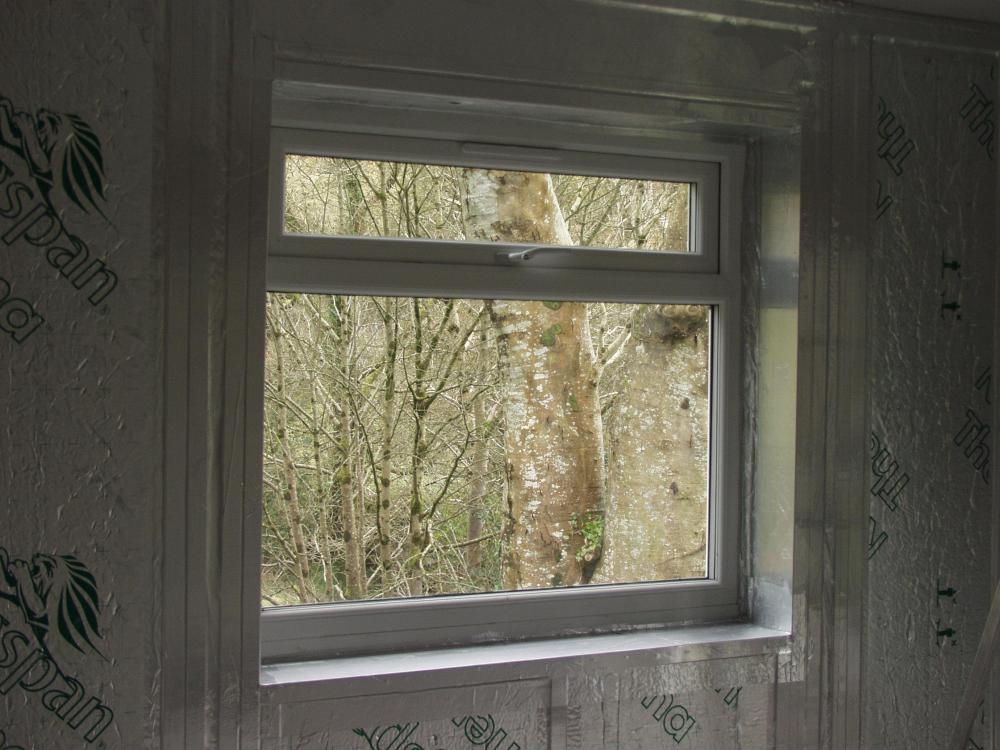
@PeterW ok pic from before here. Window not yet lined. The W of the reveal, is a very convenient 1200mm. So here I could have happily cracked on, pB'ing above & below the reveal with a full-width board (cutting across/ sticking another section above window).. & the adjacent board L& R will meet at the reveal corner point. Perfect. But onwards from this pic, I lined the reveal with 27mm ins-pB (top one irrelevant because there's no taper on this lower edge/ my pB comes down & hides the 27mm lining edge). So the addition of 27mm ins-pB to the L & R reveals, due to the placement of the join-point of the pB -exactly on the timber cornerpoint seen in this pic- means I cannot hide these two added 27mm edges with pB.
-
Ok let me try & simplify. Imagine that I haven't lined my window reveals. I pB up to the window reveal edges. This is a hyperthetical situation. Then, I add the 27mm ins-pB lining to window reveals. So you can see all of the 27mm ins-pB edges. Ok: can the finishing filling work be carried out ok now, or, is the fact that the 27mm ins-pB edges are visible (& not covered over) mean the finishing work cannot be carried out?
-
Too dark for flash/ too much power to take a flash pic. (But even with a pic, without an explanation.. its just a silver insulated wall with a window: it wouldn't be of any additional help, would it?).
-
Ok thanks Peter- makes sense/ did think likely. One other thing I'm not sure on is the tricky bits, IE window areas, using T-Edge boards. Ok I have one window's reveal area conveniently exactly 1200mm. But, Ive lined reveal with 27mm insulated pB.. so the adjacent boards will stop short of this added 27mm each side. Can they be covered over ok with a corner-frame thing & filled? Also the area to the L of this window up to a stud to fix to, is just short of 1200mm (by 30mm) so I can just have a bit of useable taper/ fine: but trouble is once Ive nipped this 30mm off, I only have a single (38mm) stud for this pB edge to join -plus- the adjacent 260mm W offcut to join too.
-
Hi chaps. Can anyone lend a hand.. Now weather's broken its last prep for this job. I need to establish where I start boarding from, which board to place 1st. Walls. I find 1200mm width's between studs, only twds the middle of my walls. Do I start with these (2 in my case) full boards.. & fill in the remaining offcut/ smaller area (farthest L, & farthest R) afterwards? Or, should I start at the corner with the offcut, then the two full boards, then the other smaller W offcut? thanks- zoot.
-
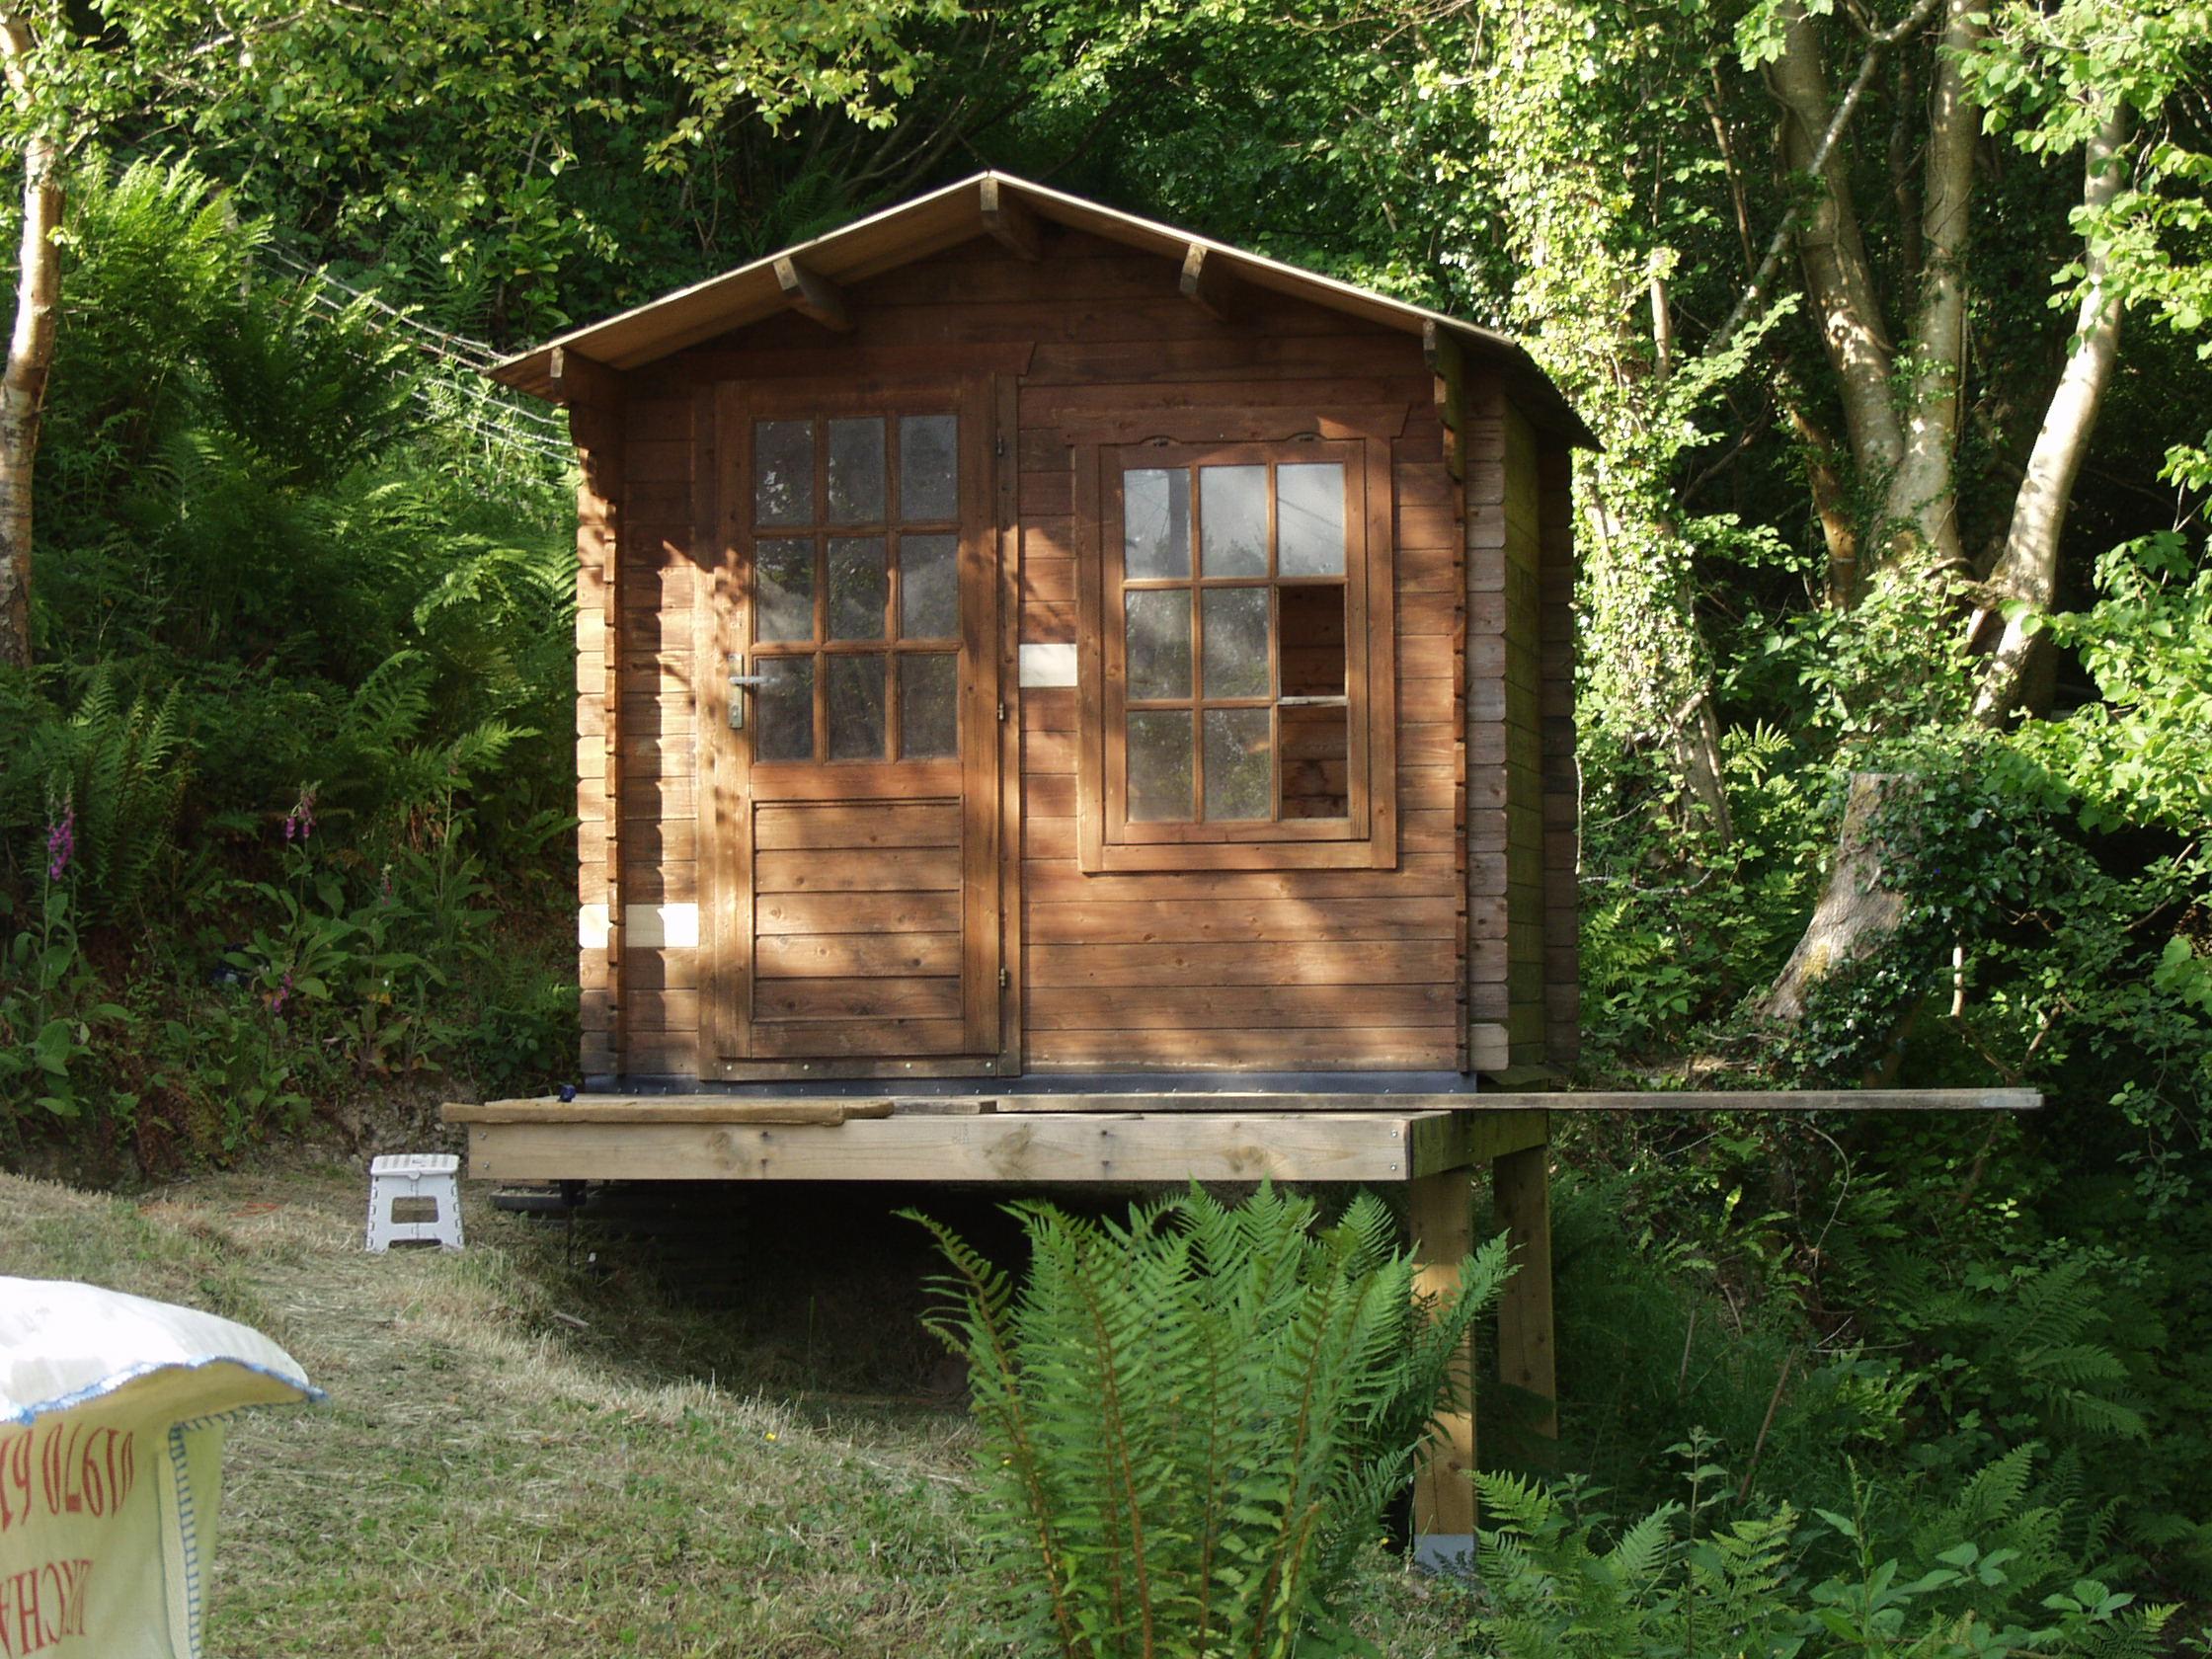
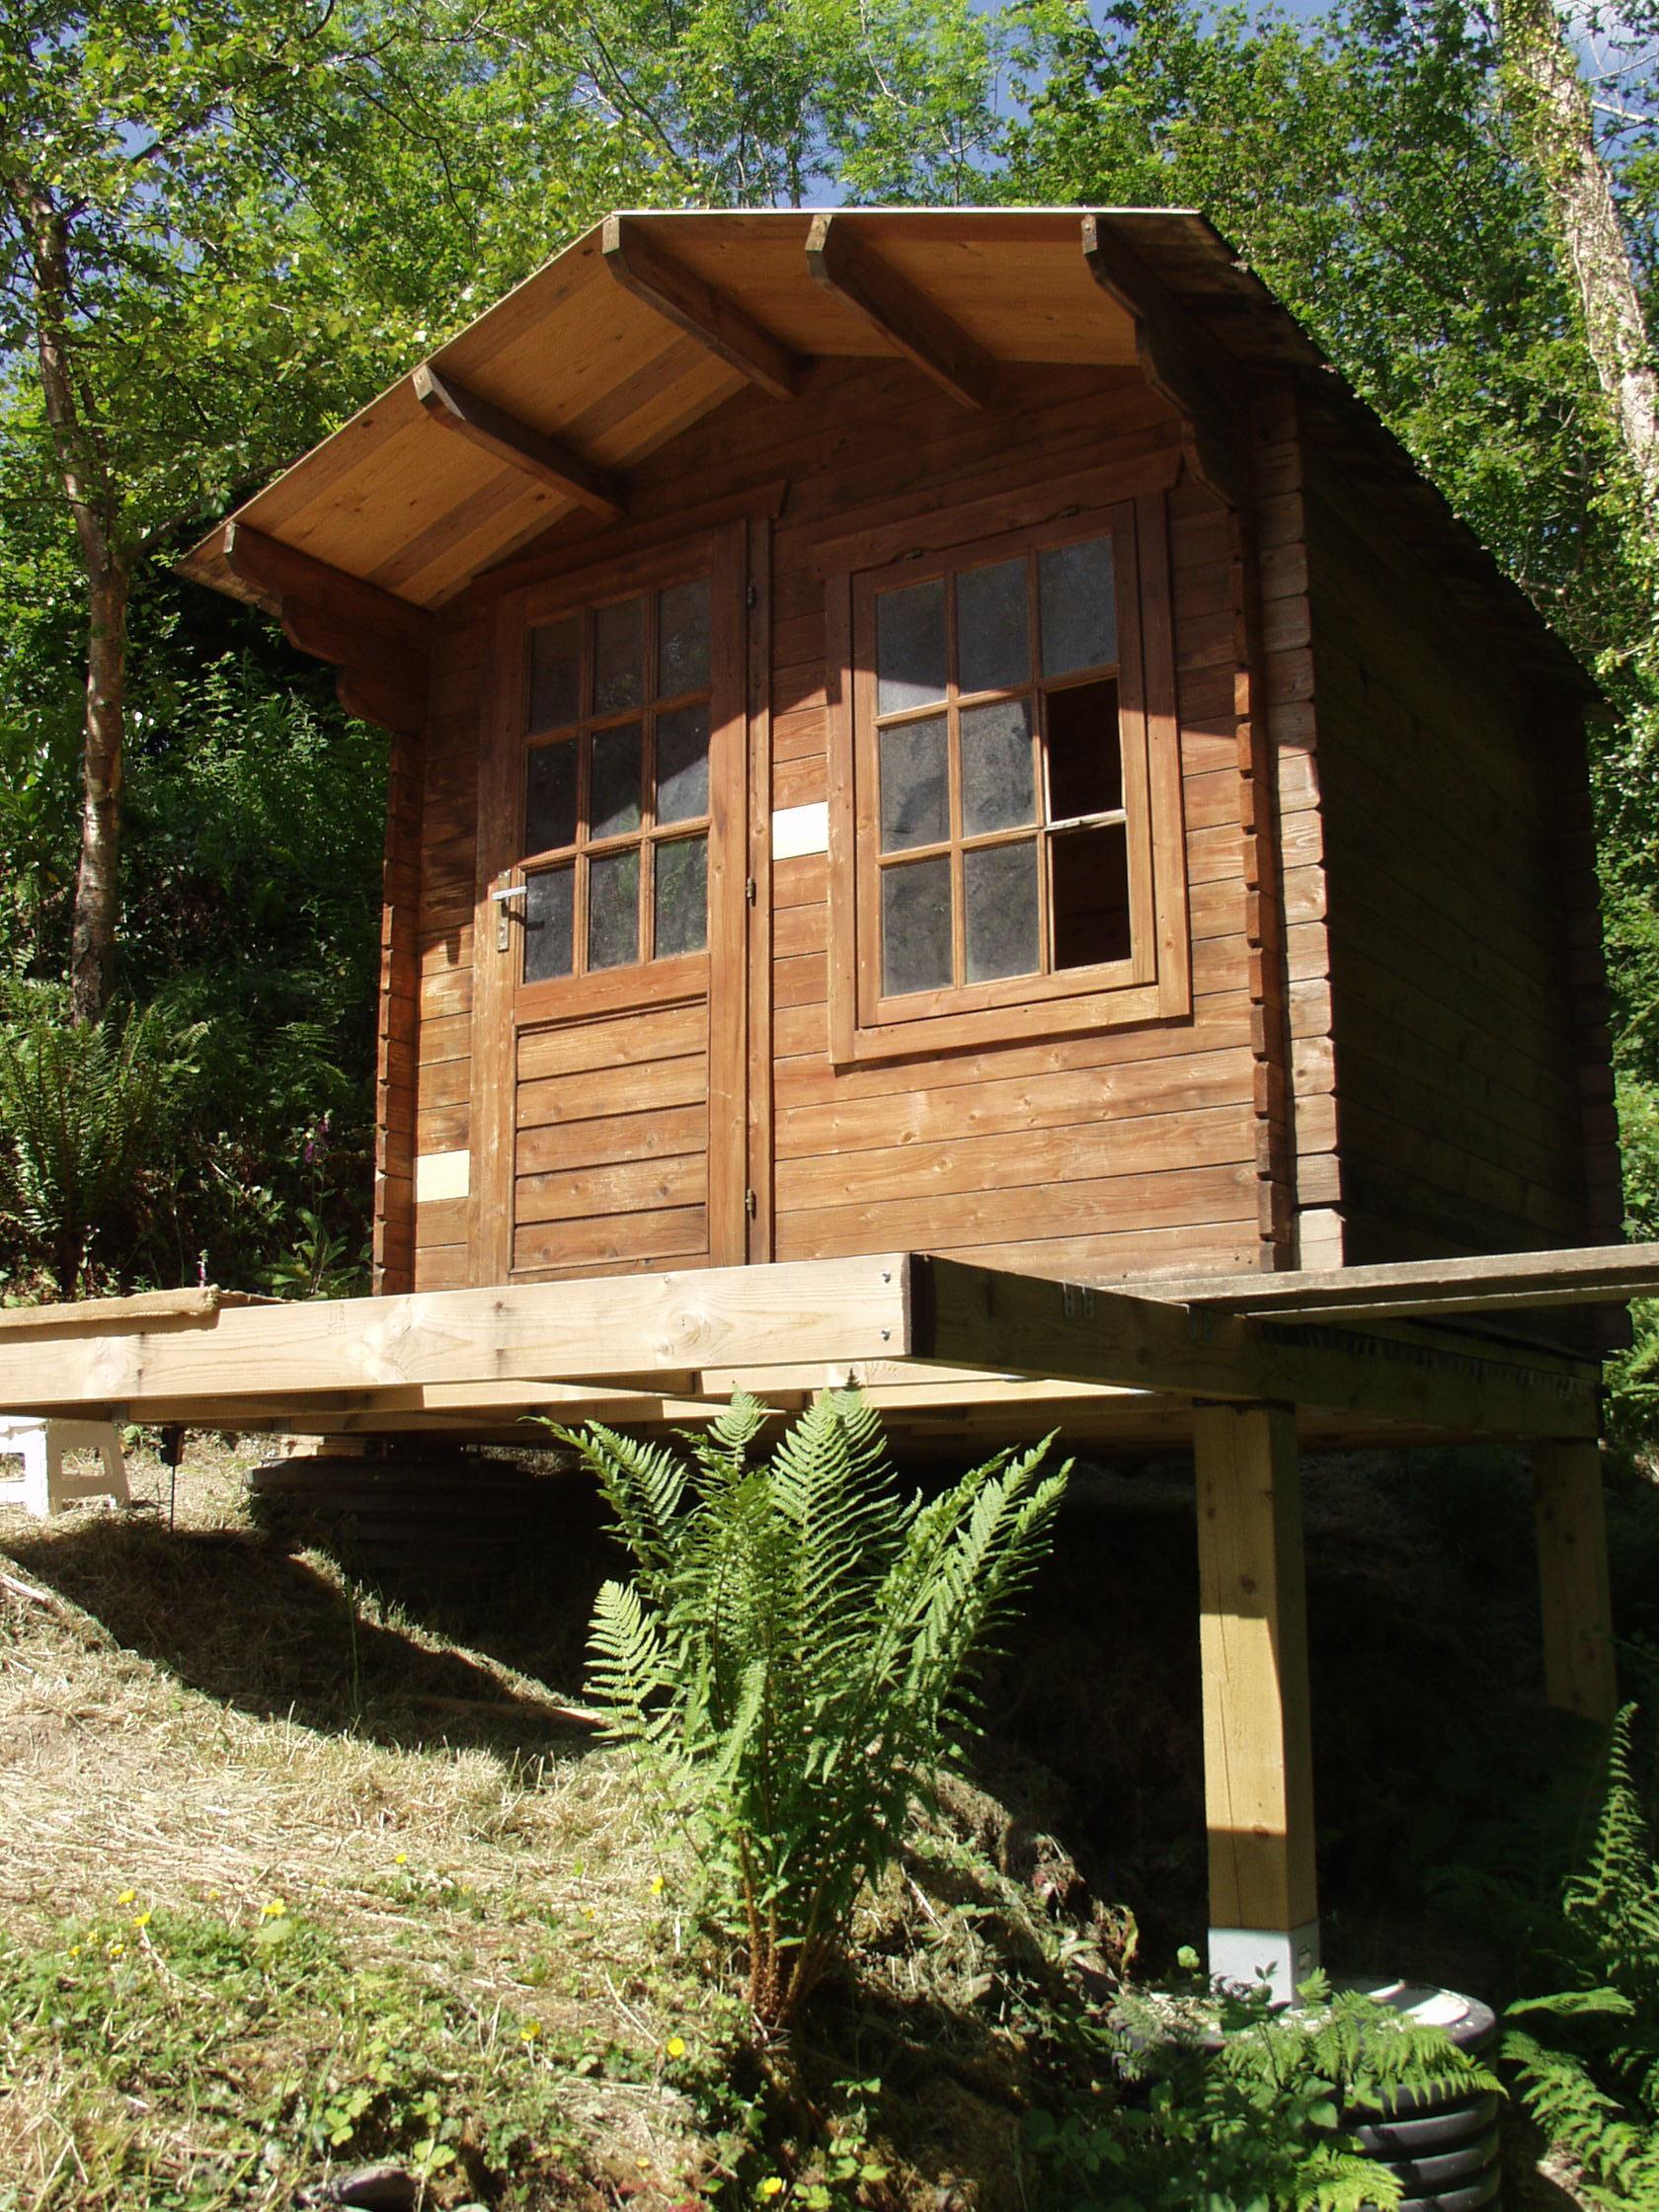
Got my pinko rails on all around both roof sides (& my rotter sandwich went great/ pinkos under lip L & R/ solid).. & both PIR's on.. & 1 osb on too, on the easy side. Flat out all day to do this. Looking murky overhead tho so tarped it.. dammit. Not easy on the stream-side: its 2-stage ladder max extended, & sitting on osb roof is pretty slidy! jeepers almost slid off into the rocky piddle. One last step I'd like to do as a belt & braces peace-of-mind addition, is fix a metal (ideally) vertical rail on the outside L & R, twds front near the LIFT-OFF roof bit, to tie all the logs to down to the base (& up to the roof too if I could as its only nailed to the joists, & the joists are only gravity-set in too). Any ideas?
-
Ah yes your right. ok thanks! I over-prep I admit just in case I daft it up.
-
Actually into 11mm osb of course not 18mm t&g.. so surely 20mm is way OTT, no?
-
Trouble is with this idea I haven't got any edge structure to screw into (rotten).. so needs to be a screw thru rot > into other pinko I think Peter. What length felt screws? might seem a trivial Q, but Ive bought 20mm but maybe 13mm diddy ones better? worried about any more splitting of the 18mm t&g's.. they're peppered with splits from pervious (sharp) nails, but not enough to be n/g: its a solid roof as it having repositioned nail fixings via pilot holes.
-
Only 2 goddamit. I thought that would be more than enough until starting the t&g roof/ all been on a pallet under a tarp, roof at btm you see. I can think the osb is best attatched ontop, to -two- rails of pink batten for each roof side: one ontop @ rotter edges as said & another twds if not at the ridge. Or would it be sufficient do you think to just do one ontop @ the rotter edge.. & everywhere else just whack in 50mm screws from osb thru PIR into the t&g. Idf so, I might be able to patchwork-up the remaining vacant osb area with offcuts.. like I did on the ground PIR.
-
Yup I'm with you.. was thinking the same an hour ago too. The PIR only needs to fill the actual area above the inside, doesn't it? I mean extending it over the forward porch roof area is effectively wasted, & both ~15cm side overhangs-? Reason I ask is I'm not gonna fill entire roof with my 2x PIR, & my 2x osb's. Osb the bigger problem obviously.
-
Hi Peter- 25mm.. so same idea but a pink roof batten then? So I'm not quite on board with the purpose: is your idea a ledge to sit the PIR onto, just to make the job easier/ to get it up & stay up there? or a structural addition? ------ To answer your Q before.. the ends are bad: many rotten some very rotten, only few have solidity you see. N/g to fix to tho. So my idea was get PIR on & osb on (screwed from osb down thru PIR into t&g roof).. then on the problem ends: instead of fixing down to them, sandwich them between a pink batten rail underneath, 2 of both sides, then long screws down from surface, From osb > via PIR > via rotters > into batten. So rotters squished between, not fixed-to. Ive spaced enough good ends t&g's -just enough- equally along to provide some solid wood so the sandwich won't squish the rotter ends flat. But this idea might be utter balls.

-
Old roof on.. now the tricky bit/ PIR & osb (felt last). I mean I don't know how I can even haul up 1 osb, so I might tarp it until I've a clear method sorted out.. but would be nice to get it completed before weather breaks. I do have a load of gap front-side to sort out too.


-
The roof is gonna be a sod.. 60 t&g's to de-nail, pilot holes redone (so 120 holes) most ends rotten too, so thinking squeeze a pink roof batten on, all along under roof lip L & R > screw down from osb edge into it. There's -just- enough structure in some t&g section ends to be solid enough. I had thought of swixzzking round so rotters at the ridge.. but my joist fix point is very edge, so idea no can do. Any other ideas here chaps/ this is my most fallible bit. Ideally bin the lot/ redo.. but it'll add £80 min. Pic 4 shows the grey rotten ends..


-
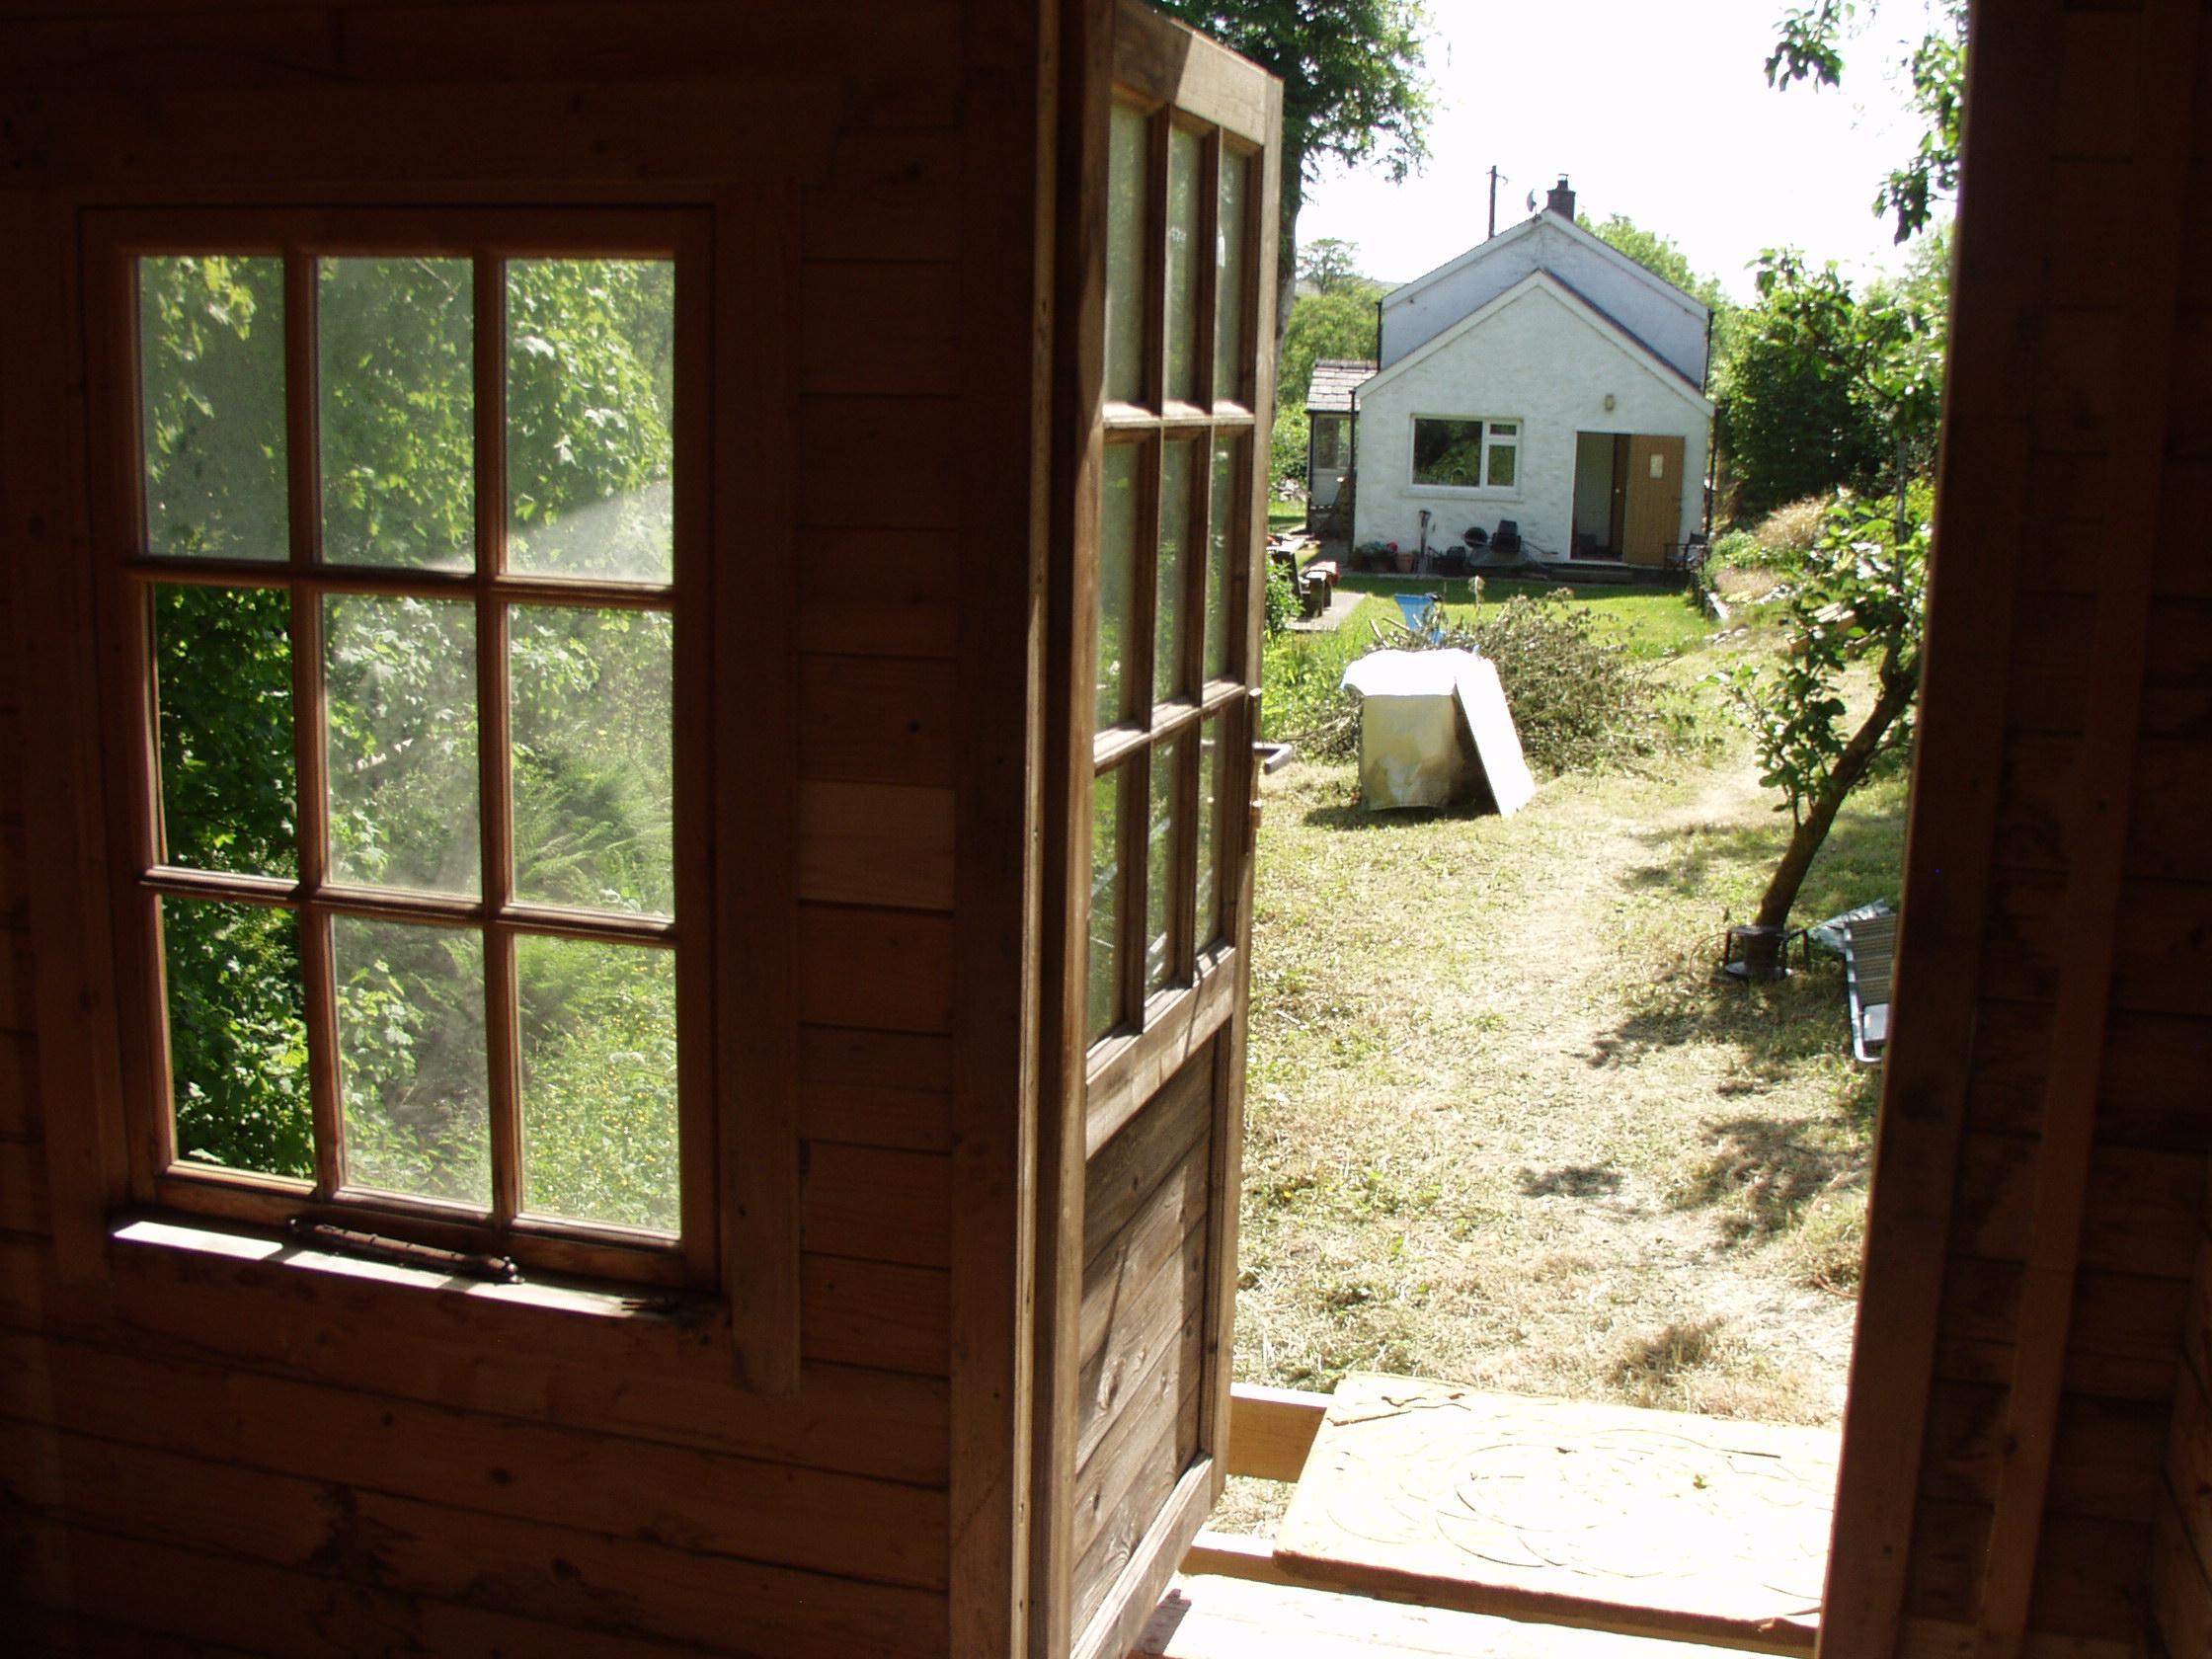
All day fitting the door! was warped, opening too wide/ frame sections a n'mare.. but all sorted/ & fits great after much patience & determination.. & hugely better than it was before. Will attempt a pic tmrw.
-
Well isn't the best way to fix the osb to the t&g (PIR between).. just all 'over the shop' with screws? so 11mm (osb) + 25mm + 18mm (t&g).. 54mm screws. Call that 50mm & countersink/ press them 2mm's into osb.. presto. No?
-
Hi Andy- thanks.. very satisfying day that. Yes exactly- PIR sandwich. Right now I've majorly undersestimated the ammount of osb for top layer.. & weeks before I can get delivery of another. So big scratching of head later/ measure up etc. So I just aim to get t&g original roof on now & asses/ maybe tarp & wait for osb.. unless.. I can do the last area with bits: I guess if I work from the front > back (cabin front faces W, & 95% of wind) for better strength, the back 'top layer' isn't I'd have thought structural, & with a PIR bed beneath & t&g both uniformly beneath (& felt finally above too), I could just screw offcuts in "patchwork" fashion. If I can source any 11mm stuff.
-
Well I think that's quite clever actually. Cheers- blitzed in 7 hrs & 3x roof joists on.. just the roof & door area to do. Plan is: re-use the roof t&g's putting them opposite way.. IE alot of lower ends were rotten at ends, so swizzle round these meeting twds ridge & I have good ends to fix edge strip to. I wonder too if my 8x4 osb sheets will be enough, lengthwise mainly, but width too. Then I'm onto the PIR & osb layers.. later today at this rate. Is it best fixing down PIR 25mm? or just 'tape it' / temp fix, then osb screws (presumably best) thru both into the t&g inner layer as main fix, as many as I can into the 3x big roof joists too.. not so easy as t&g nail fix points too, so not much room to squeeze a screw in.