Leaderboard


Popular Content
Showing content with the highest reputation on 06/06/16 in all areas
-
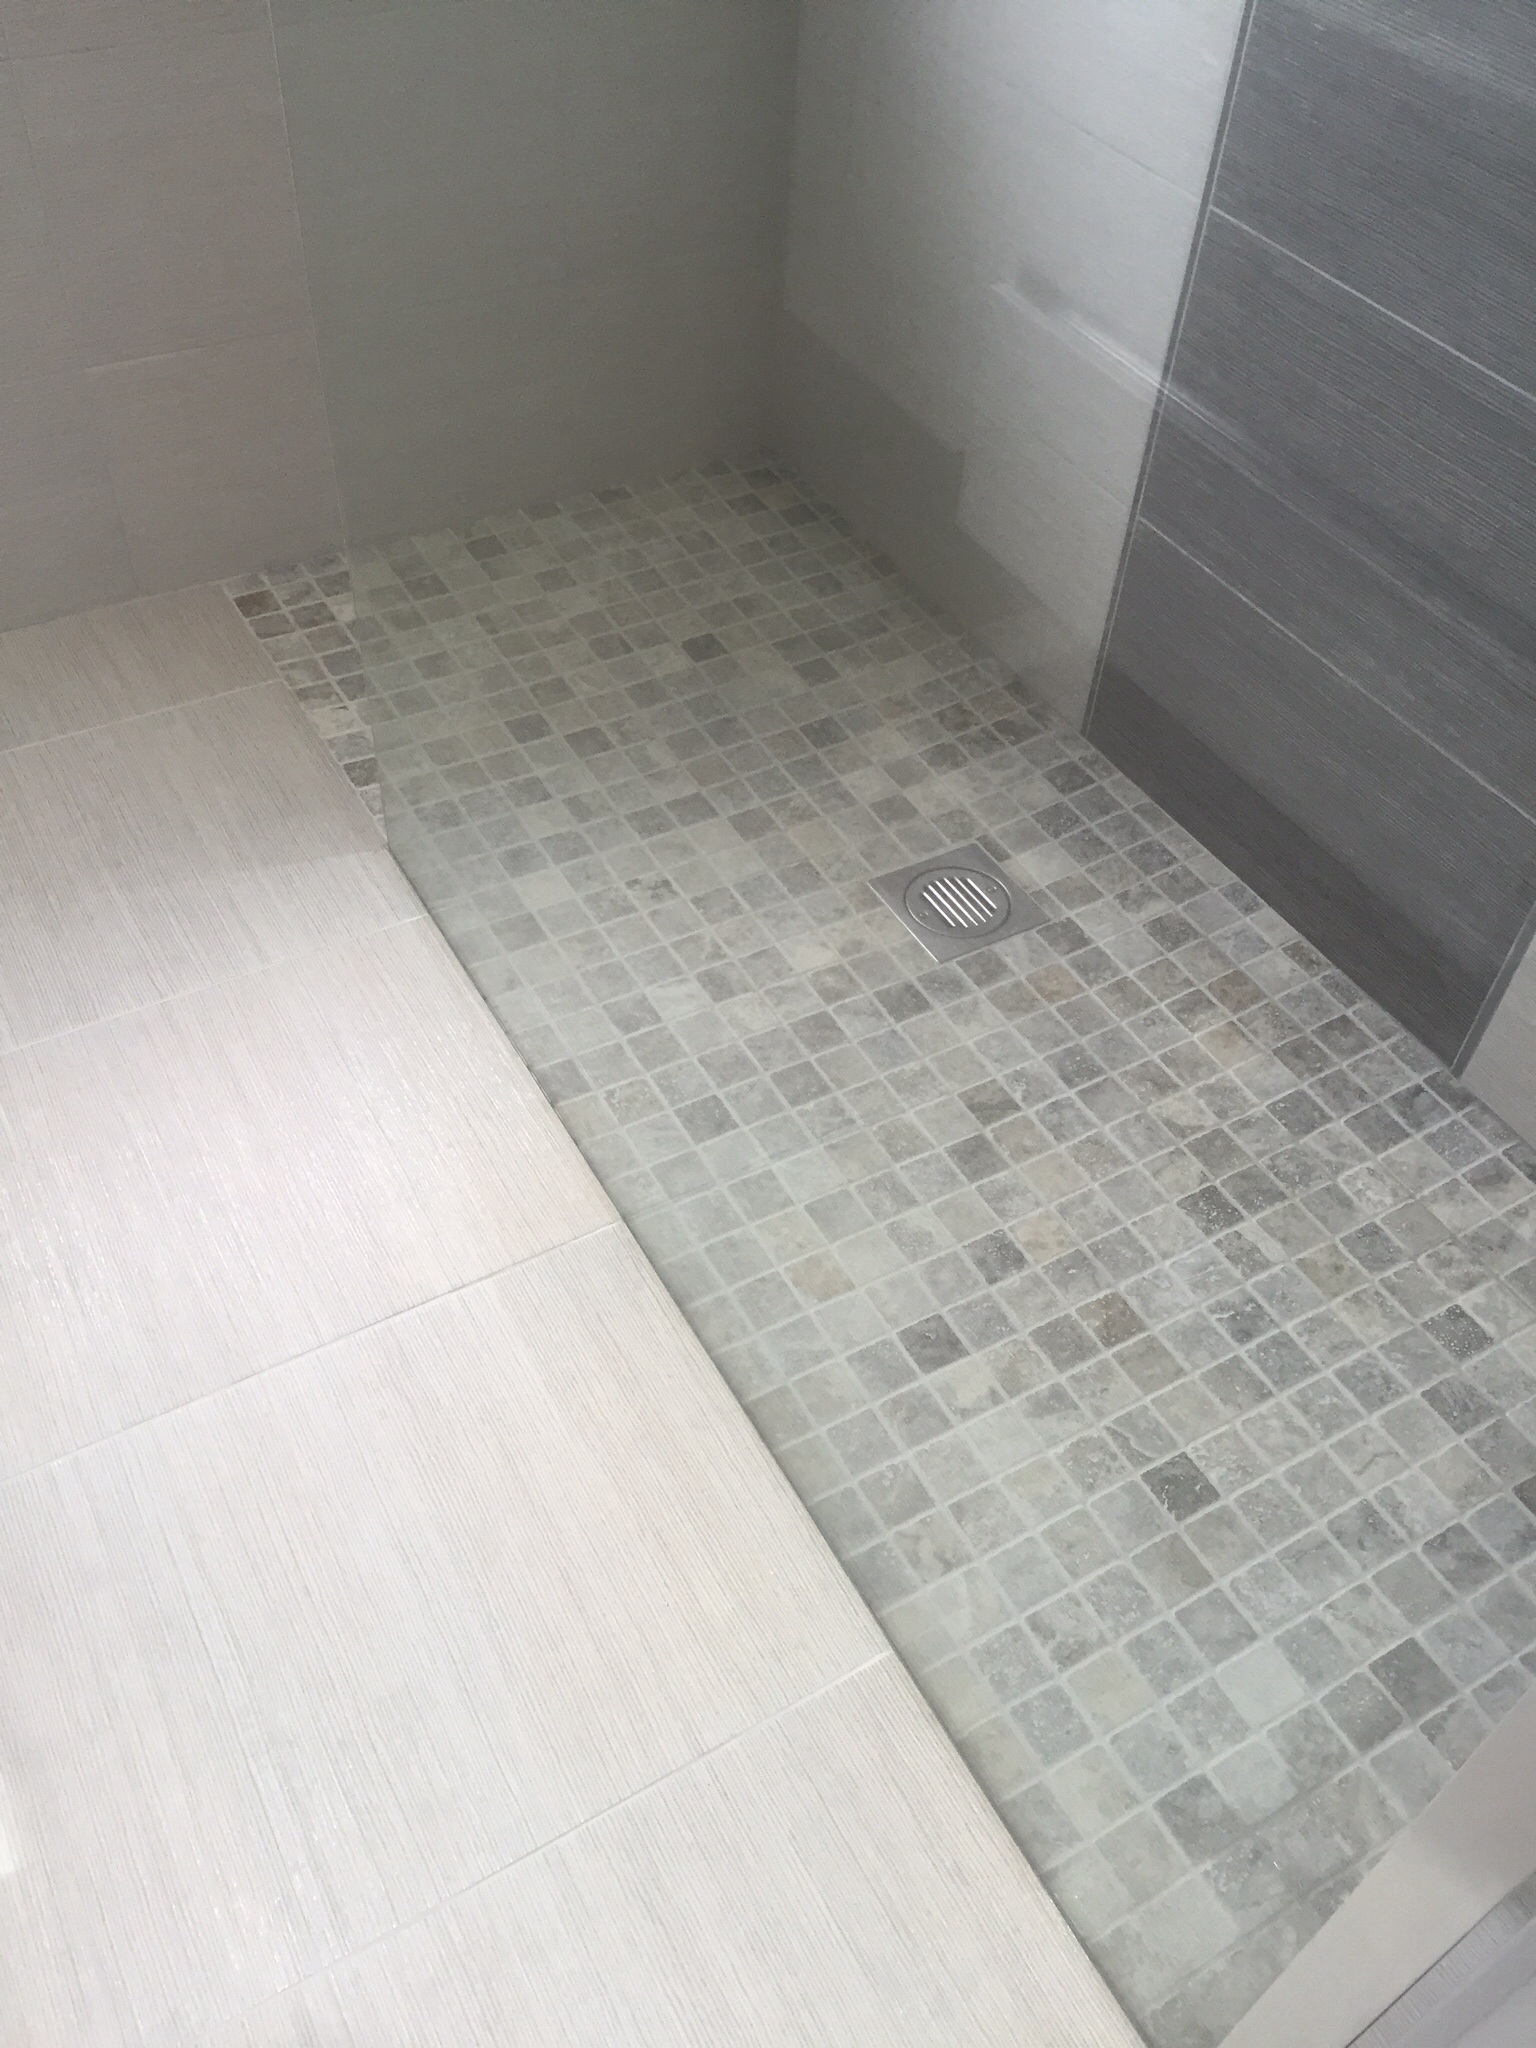
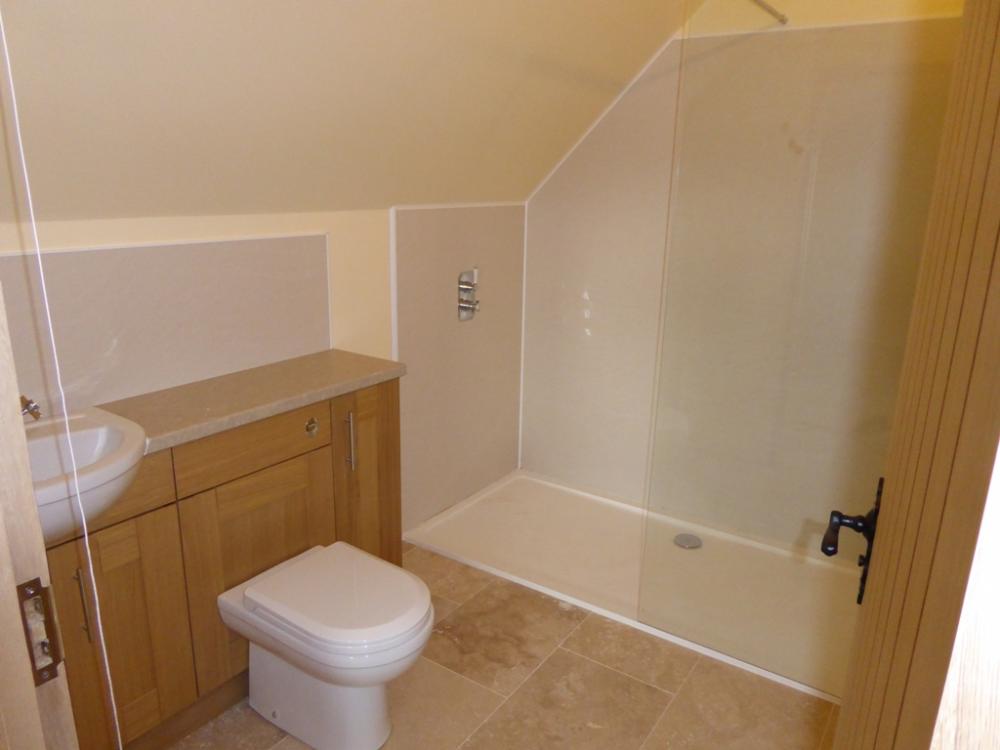
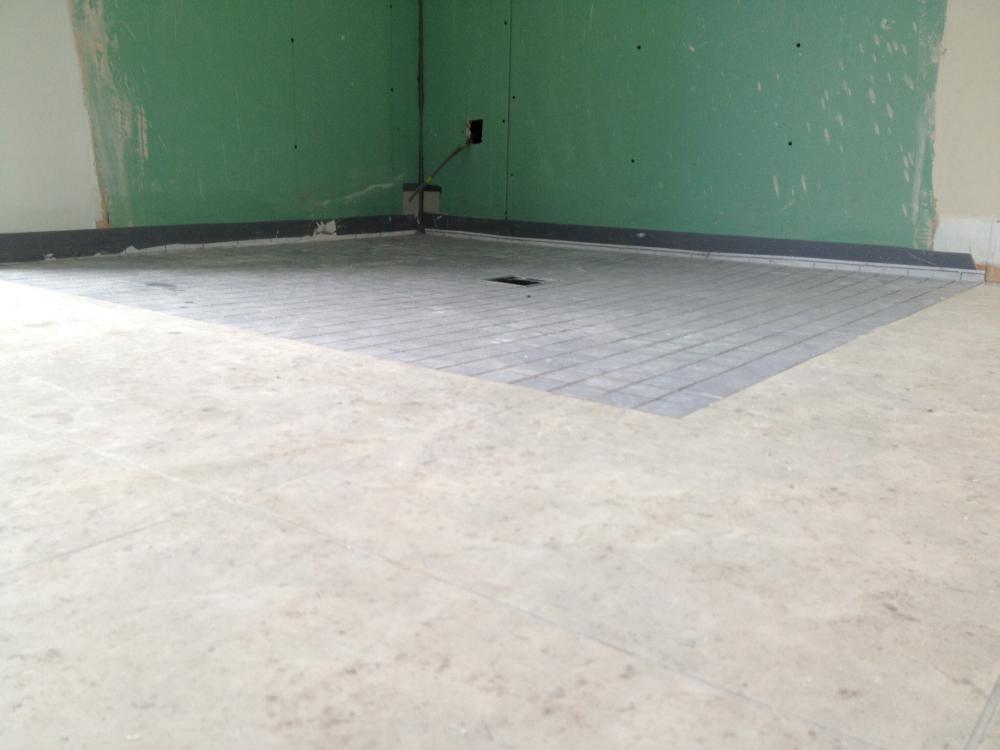
I laid large format travertine stone (600 x 300) 12mm thick on our bathroom and the 18mm OSB flooring (on top of Posijoists on 400mm centres) was already down. I fitted a relatively low profile, very large (2000 x 900) shower tray cemented directly to the sealed OSB. I then screwed and glued 9mm marine play over the remainder of the floor, up to the edge of the shower tray (which fills the whole width of the bathroom). I sealed the edge of the marine play to the edge of the shower tray (just belt and braces) then laid the travertine on that. The travertine has ended up around 10mm below the shower tray upper surface, so it was nice and easy to run yet another bead of sealant to seal that to the tray. We ended up with a shower room that is close to being a wet room, but without me having to take the risk of getting a wet room former right etc, something I'd not done before and didn't have the confidence to do well in a first floor shower room (had it been on the ground floor I'd have gone for a wet room, I'm sure). The downsides were the high cost of the large shower tray and the size and weight of the thing, which made fitting it on my own more than a little bit interesting. It looks OK though, in my view:
 2 points
 -
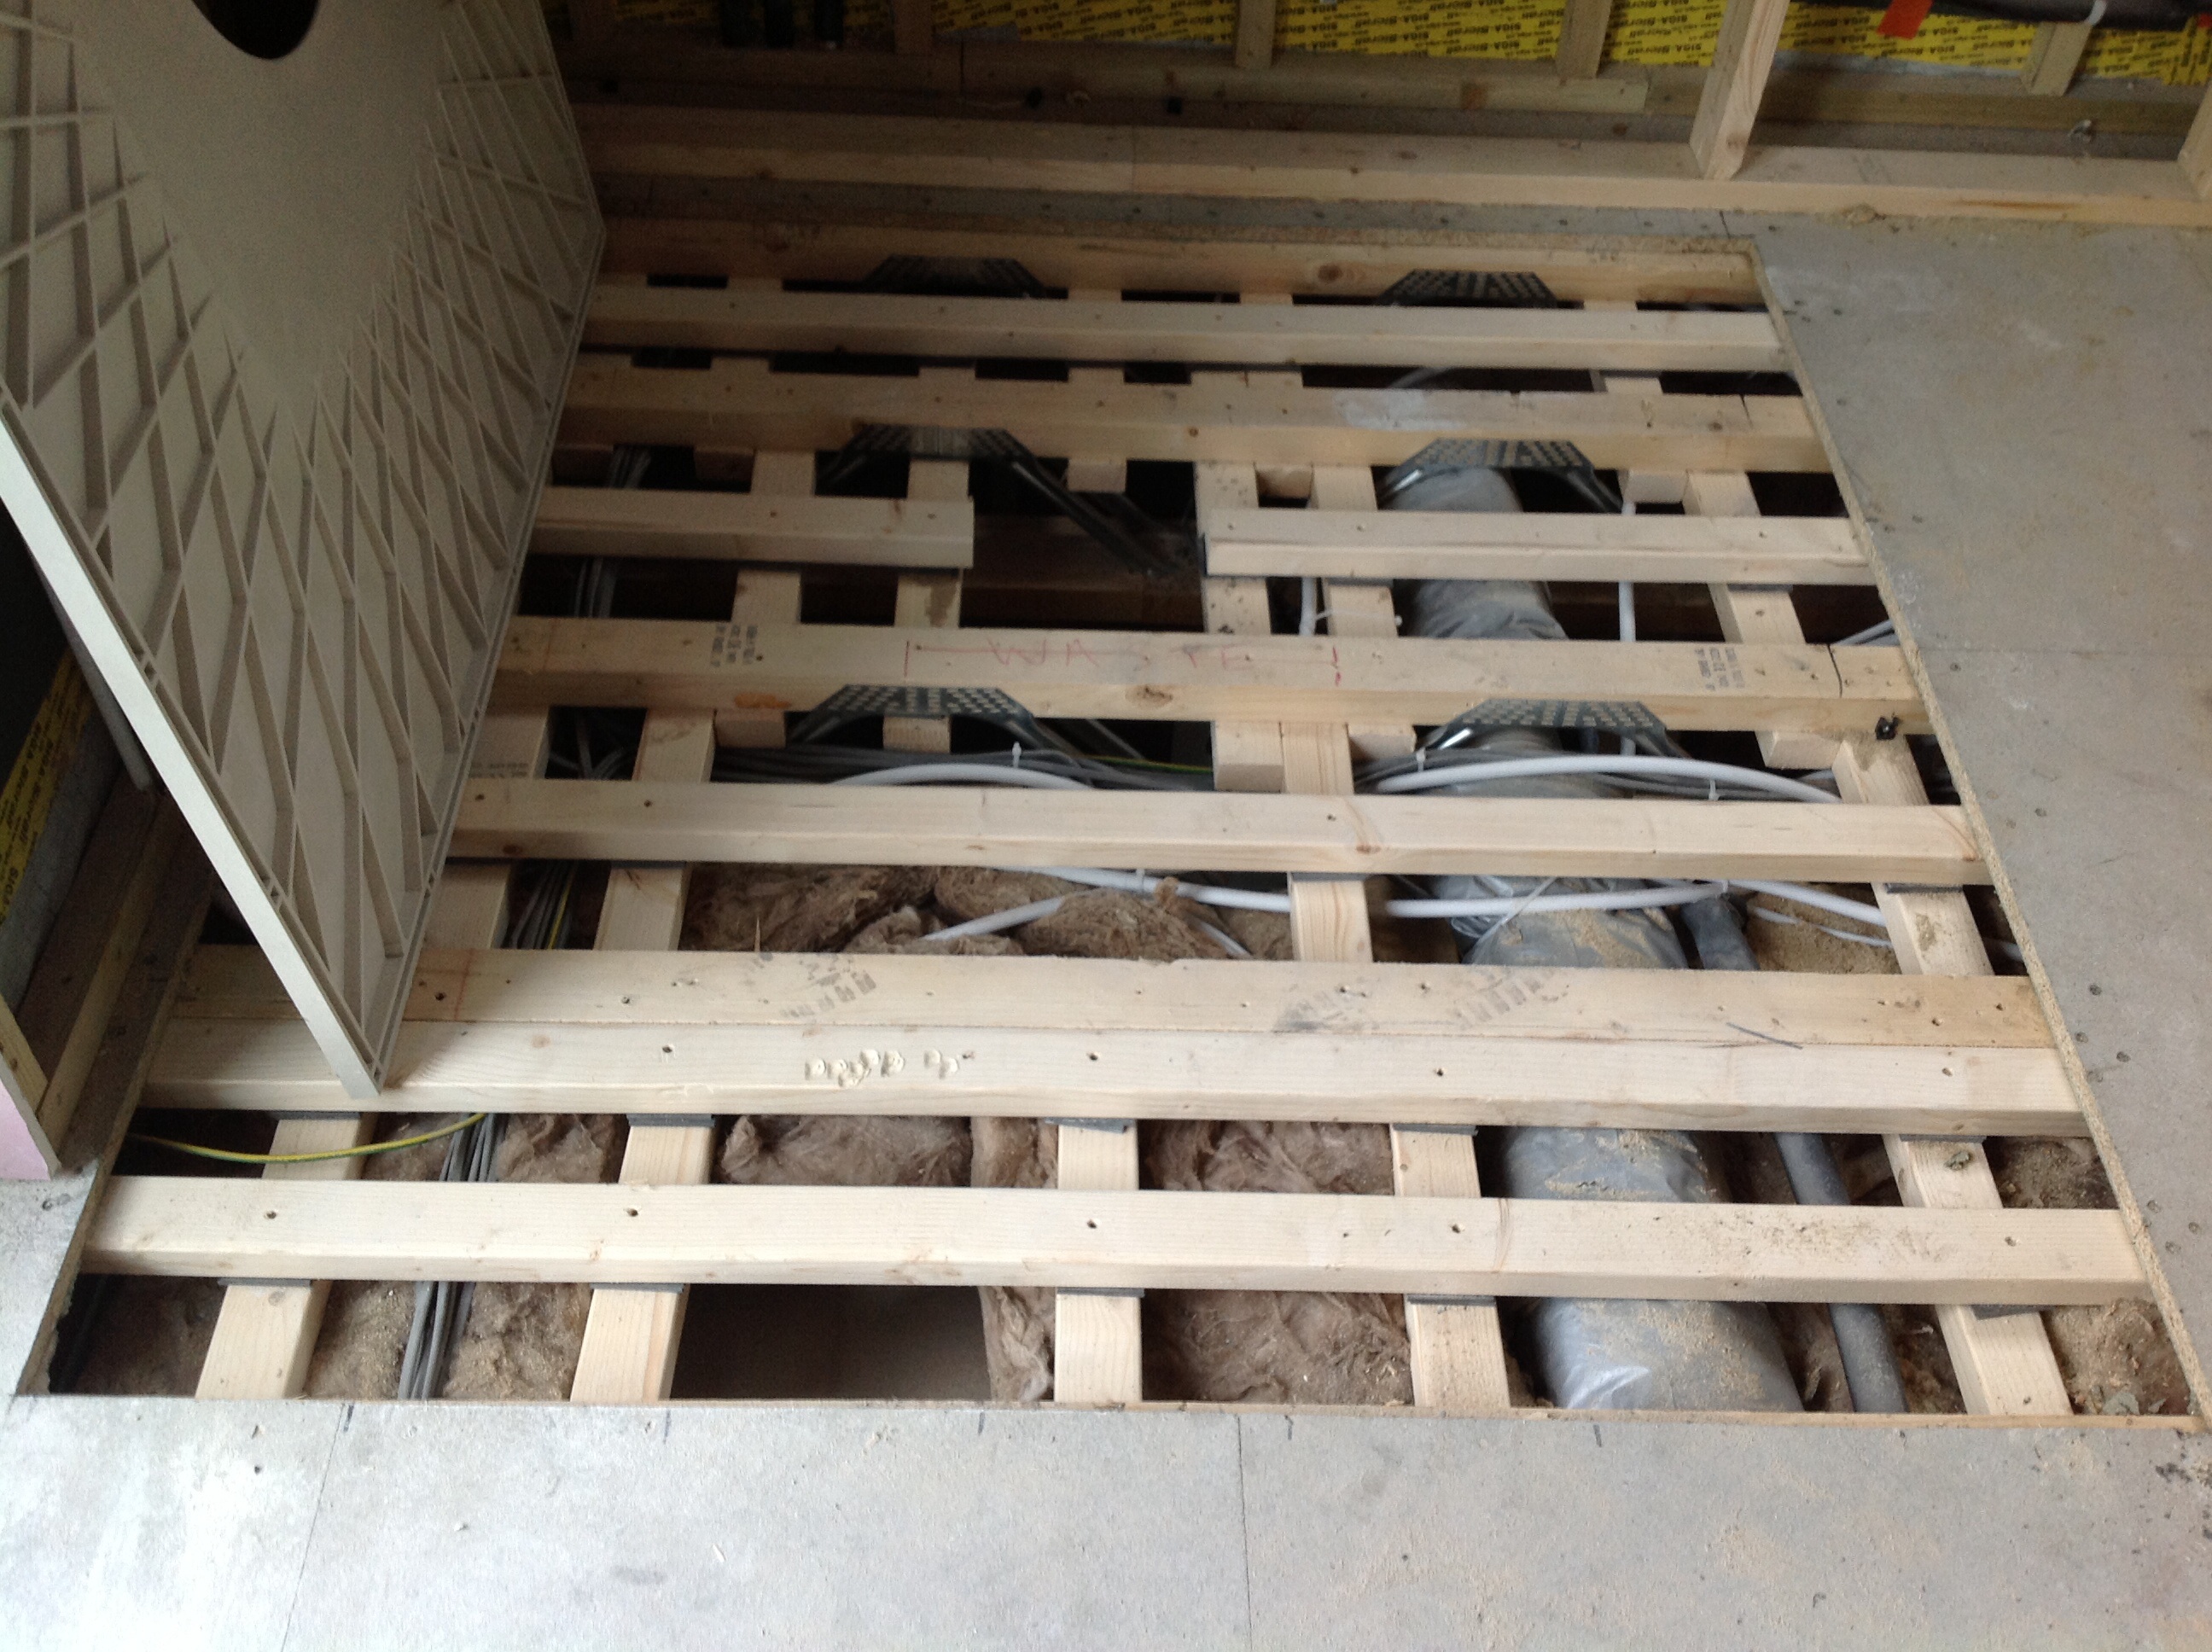
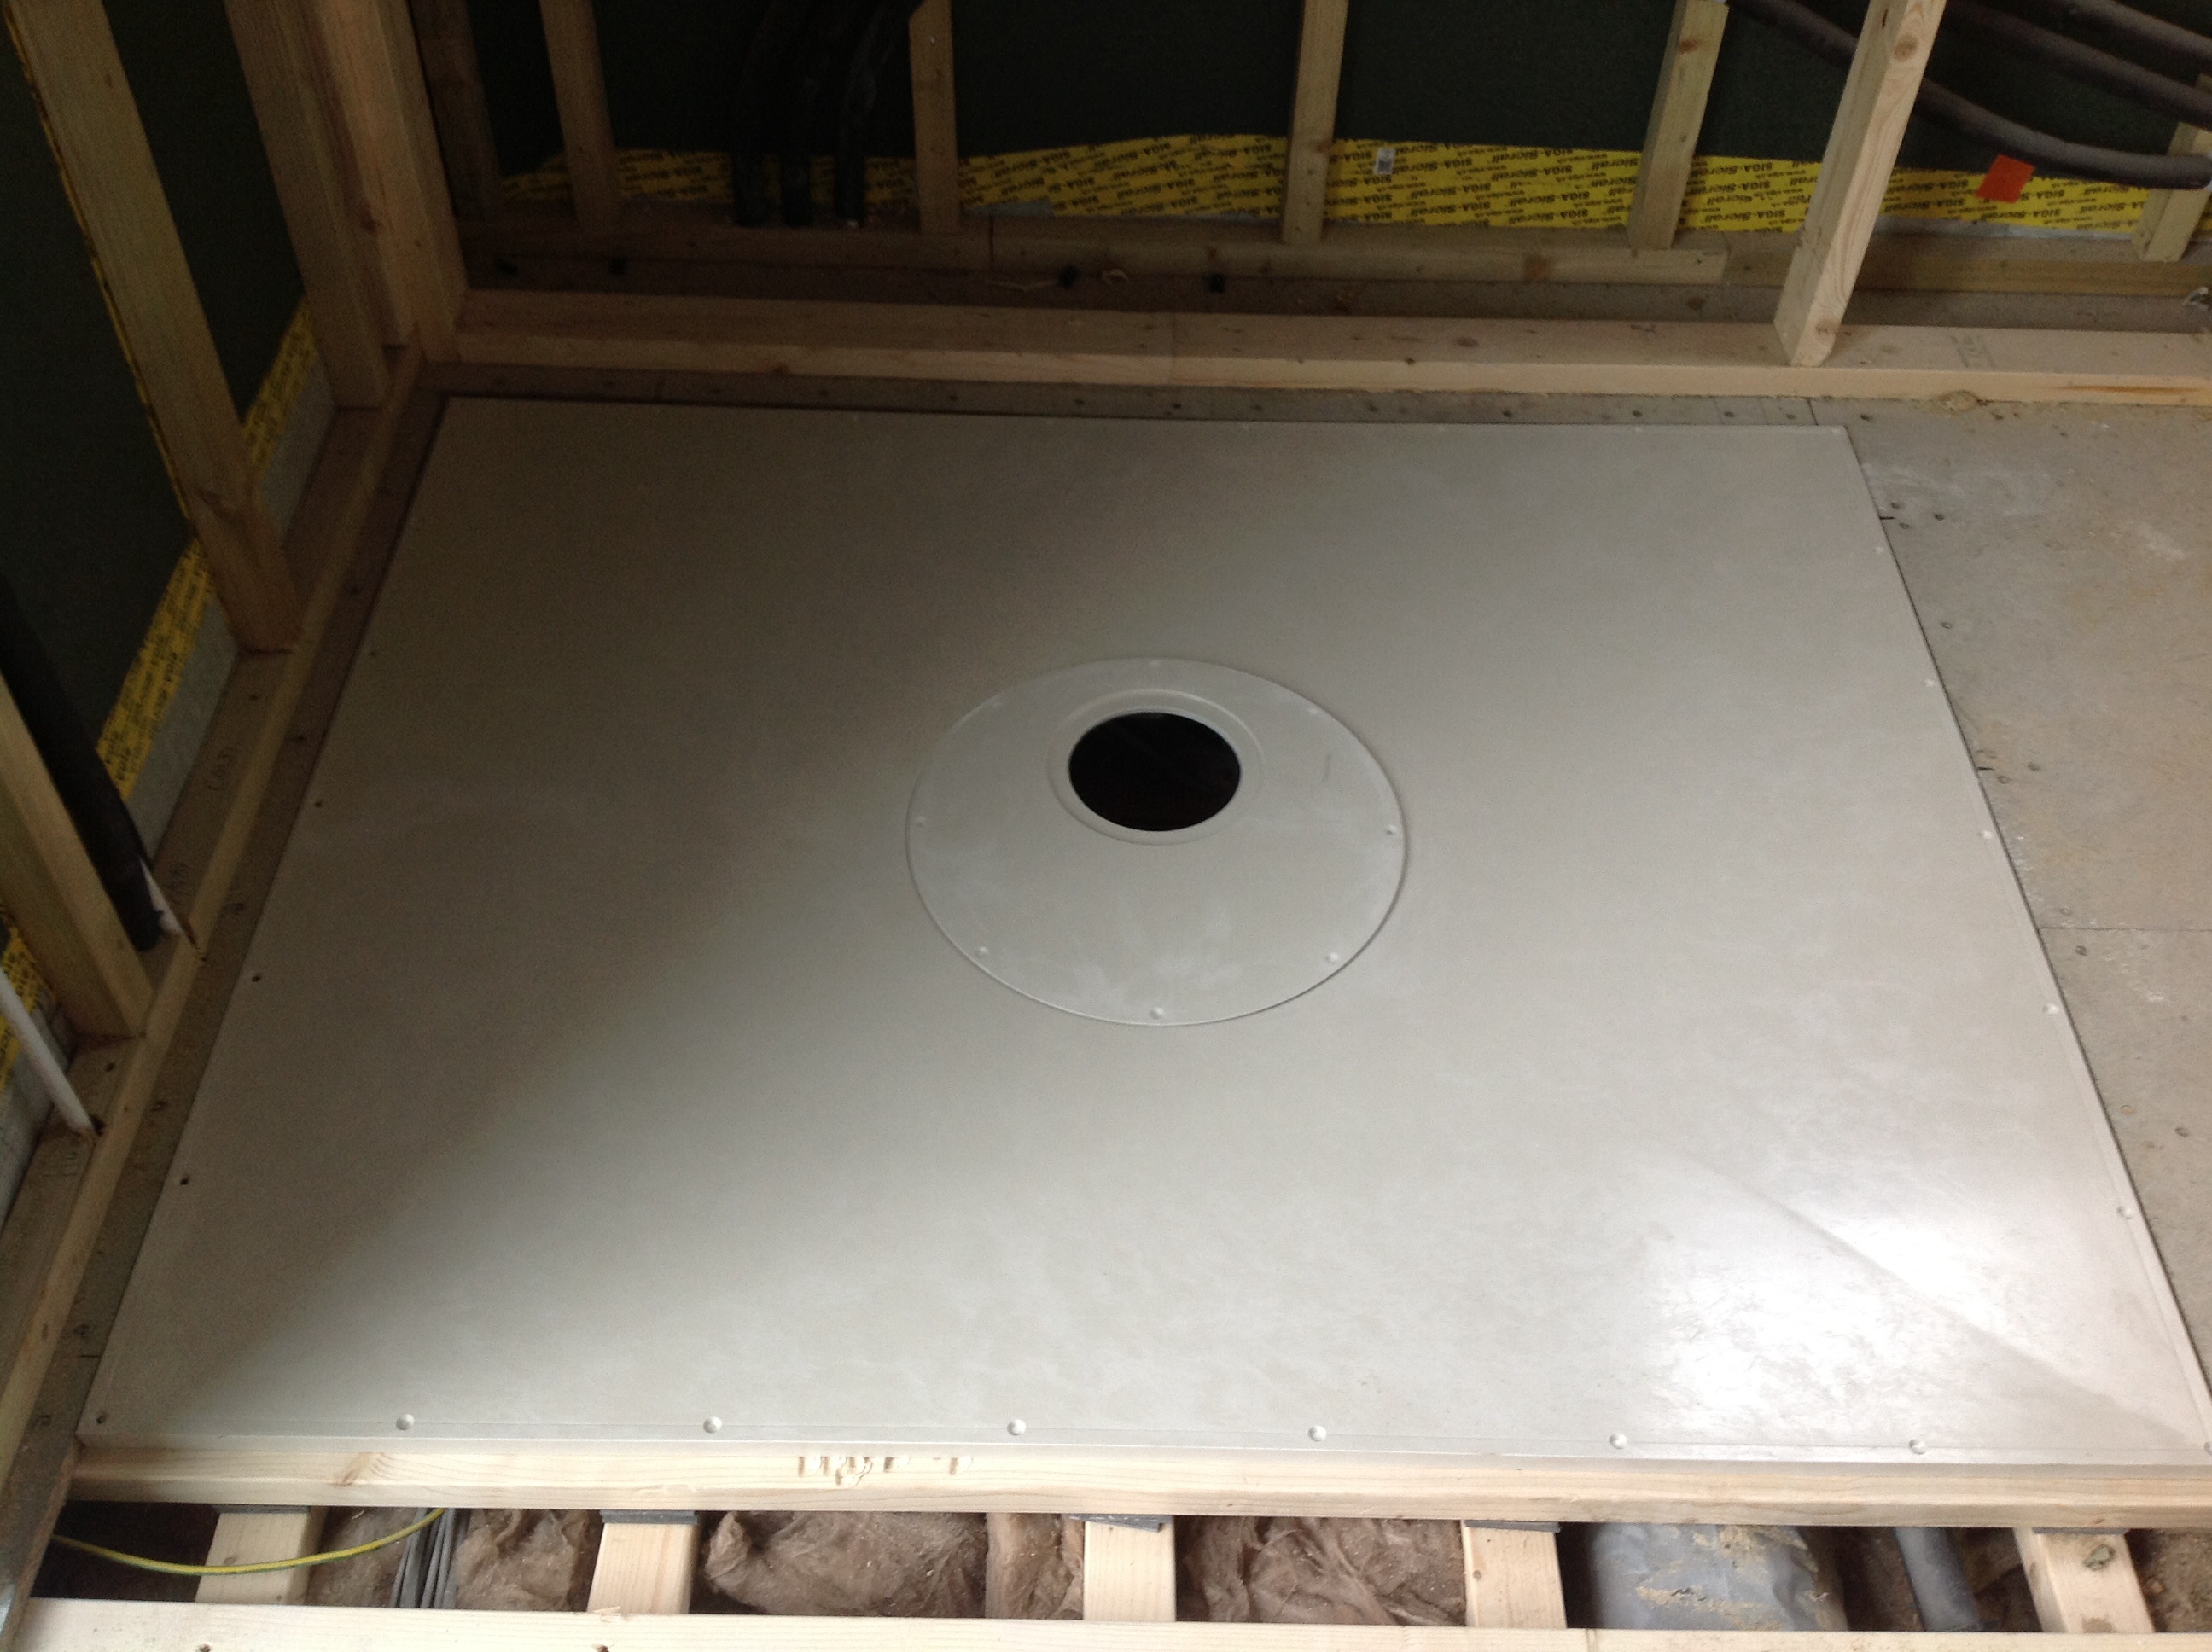
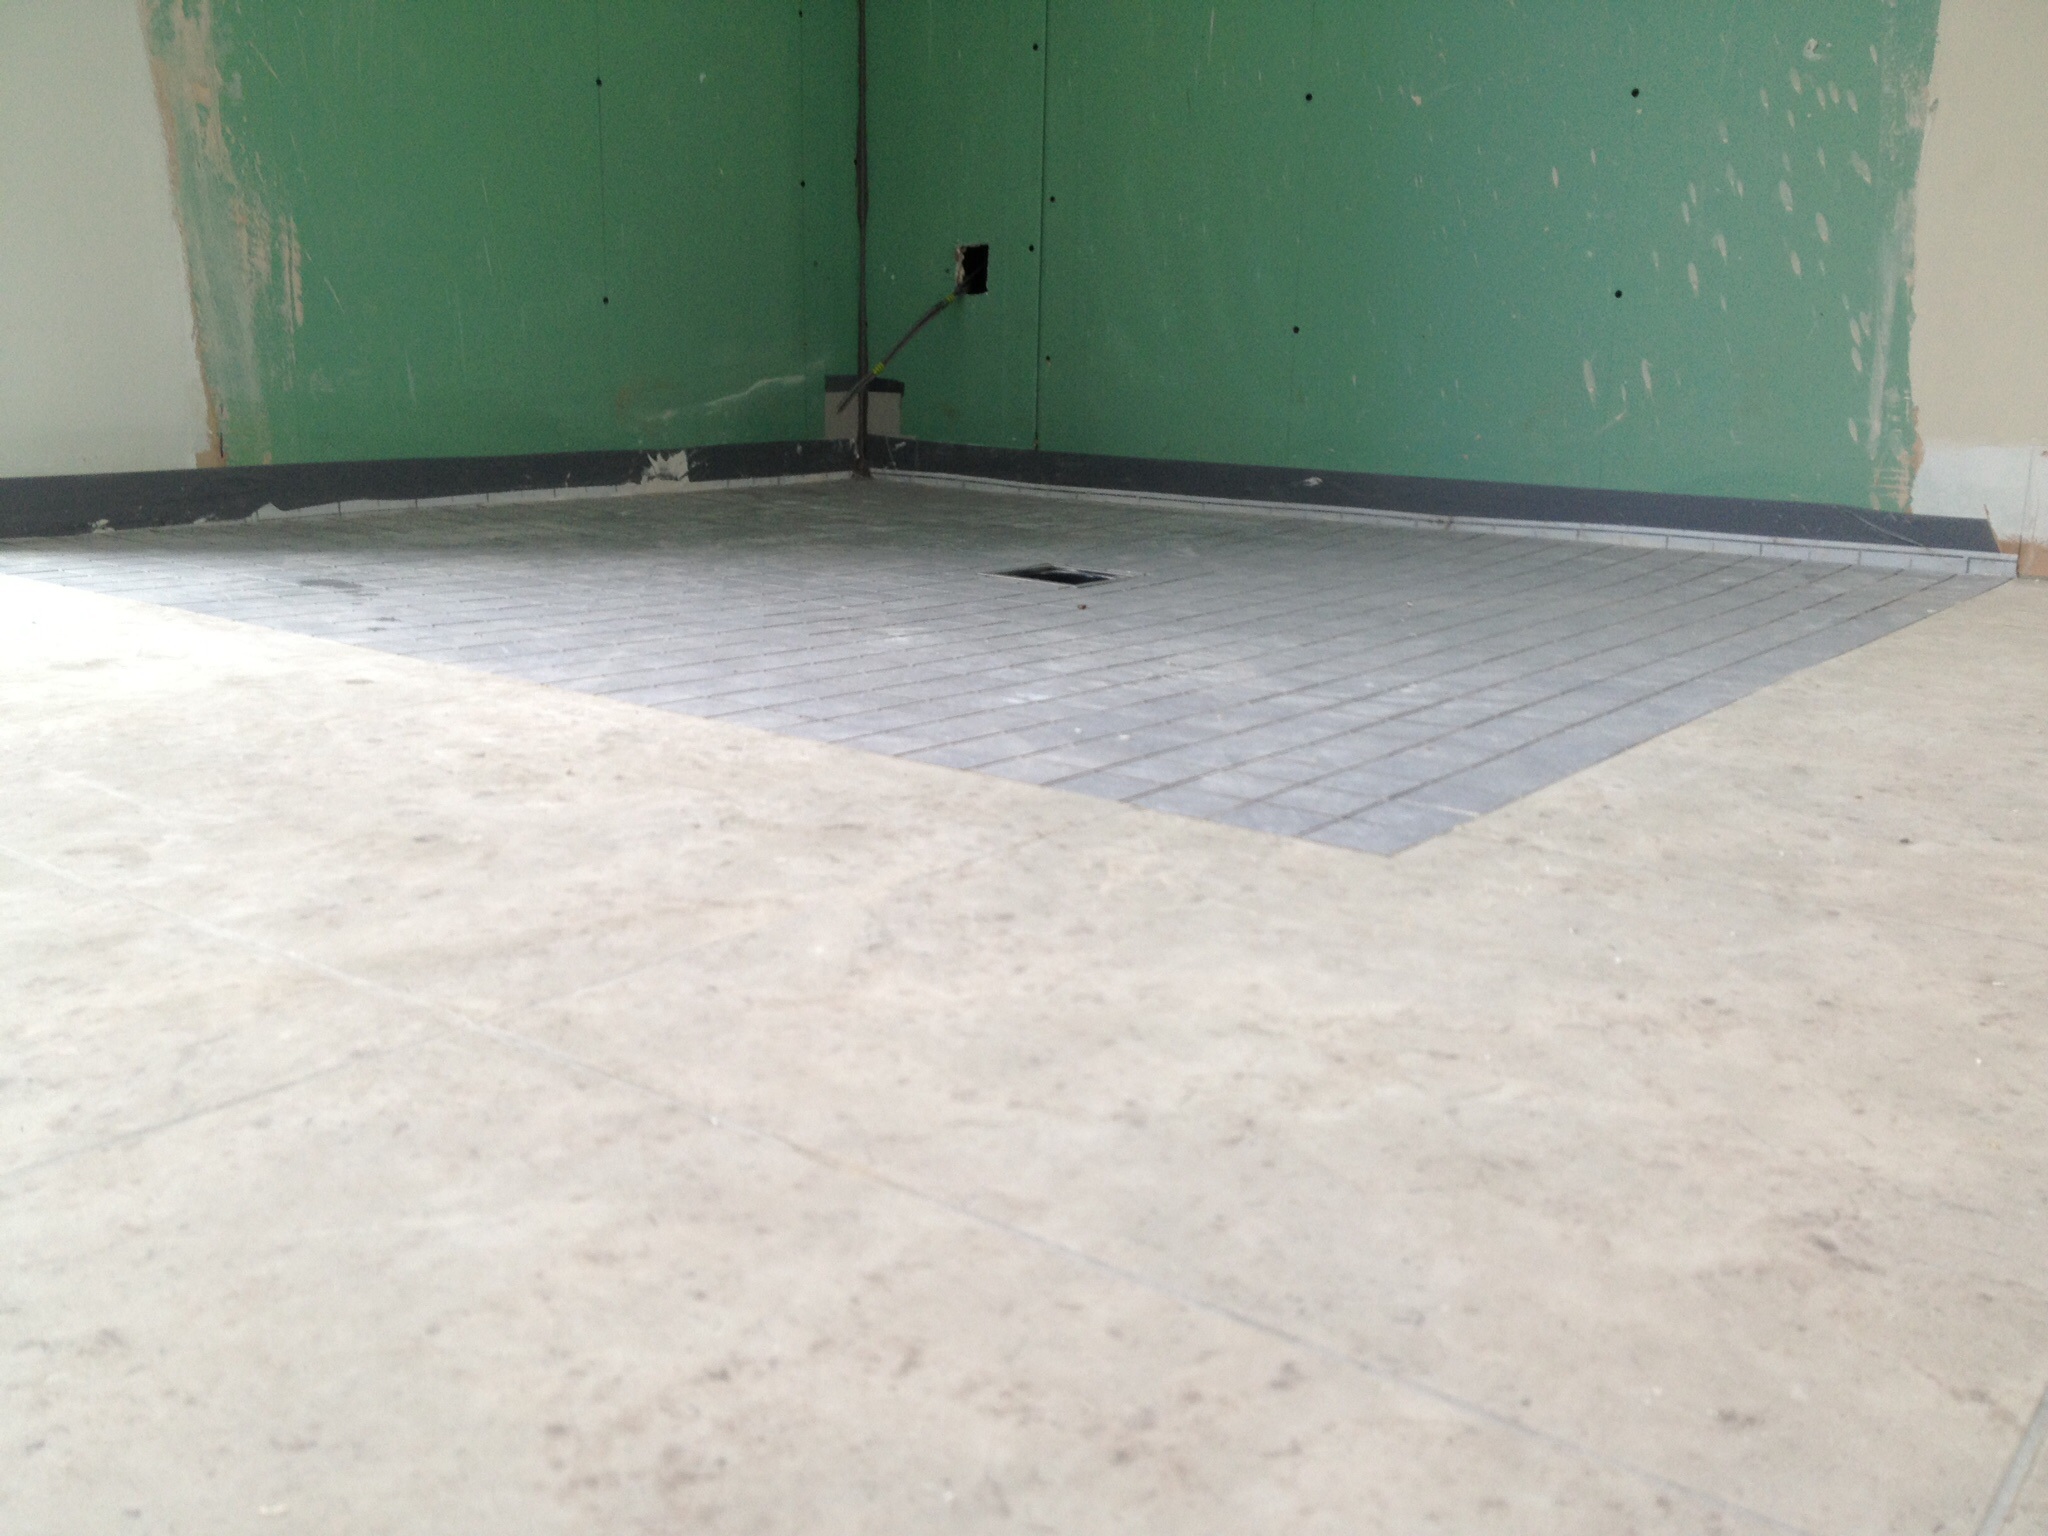
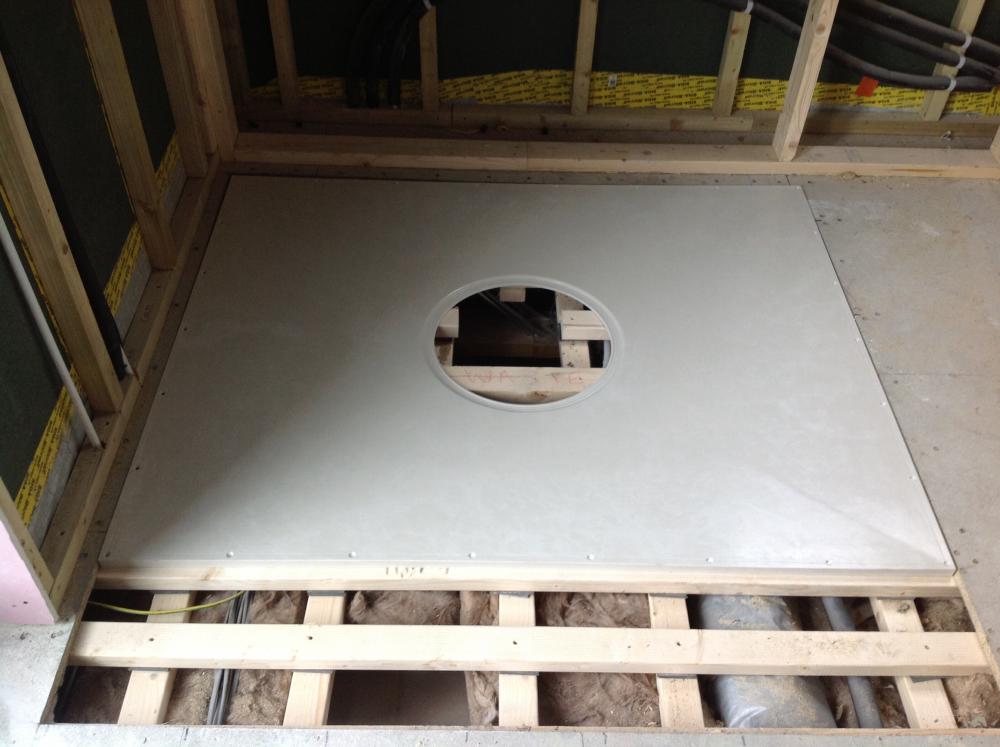
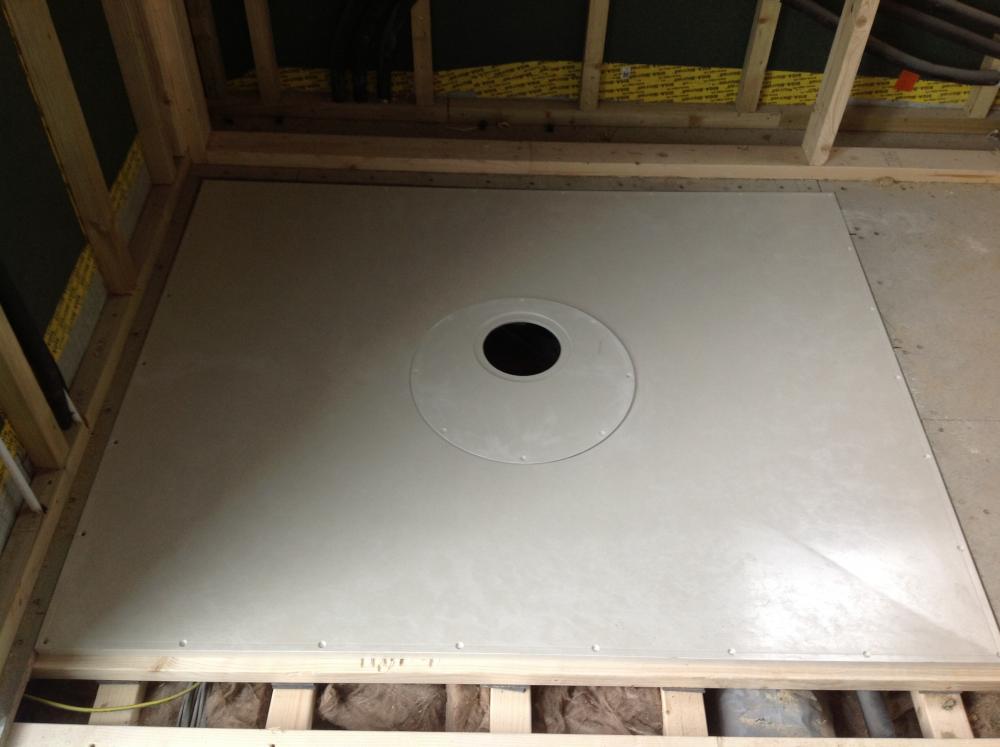
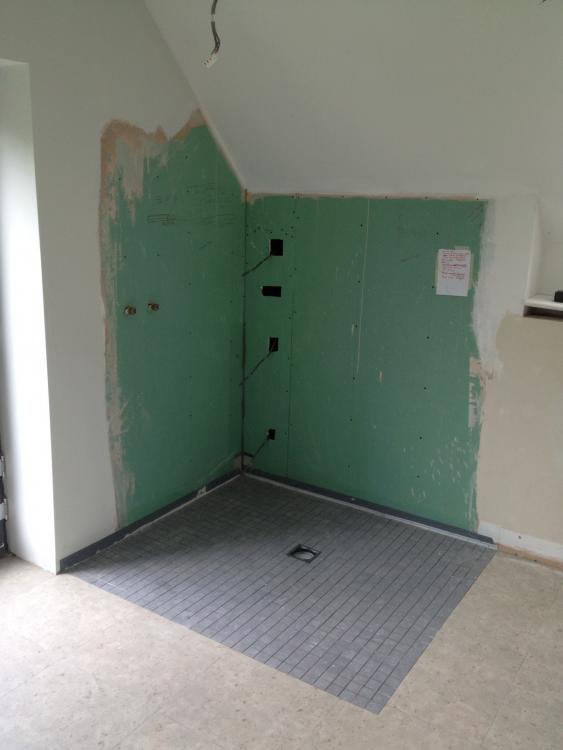
JG would be my last choice. Sorry. Hepworth push fit is the best I've come across to date, and even with its higher price tag I'd still think twice about going for JG SpeedFit. The inserts for JG are very thick walled, especially their 'super seal' ones, whereas Hep ones are slim stainless sleeves which don't infringe on the internal bore diameter anywhere near as much. Quite important when you're designing for 10mm runs to basins / other outlets and you don't want a trade off between delivery losses and flow rates. The diamond tray I fitted was a one piece jobbie that had the waste outlet offset with a simple / clever design that meant to miss a joist you just rotated the tray by 180 degrees. It's currently and happily nestling away under those mosaics as we speak. . Been in for 6 - 8 months or more now and zero complaints. I'm in regular contact with my customers so I get real life feedback which is helpful. That pic shows the 300/500mm offset, and the joists ran parallel with the length of the tray, so an 800mm wide tray with a centre outlet would have landed 3/4 onto the second joist. Impey are the innovators though as they do a rotatable 'double off-settable' outlet which is second to none. This pic shows ( look carefully ) the MBC pozi joists ( with the metal webs ) and then the ~15 lengths of graded CLS timber ( 3x2 ) that I retrospectively added to provide support for the Impey former shown. Impey say that they're happy with less, my OCD says otherwise ( and CLS is pennies in the grand scheme so I choose belt and Bracey-McBrace ). The mosaics got grouted with an anthracite grout and looked great alongside the Amtico. Word of warning, the bars in the Amtico ( where the joins are ) want to suck the grout wash-up residue in with capillary action. Mask the edges well as it's a right pita to be cleaning that until 3am, ask me how I know . Solvent weld waste of any decent make will be fine. Most important discipline is cleaning the swarf / burr from inside the pipe after each cut. Failure to observe that will leave a rough 'crown' inside each joint where hair will snag and cause issues later down the line. From an ongoing self-maintenance POV I always run 50mm waste to any shower / tray / former etc and always make sure the pipework can be got to for rodding later down the line. Always try to avoid 90o bends, and use 2 x 45o bends instead, slightly separated, which will make rodding / clearing much easier and make the run 'further penetrable' during such action.


 2 points
 -
Another week of hard work by the builders and the foundations are complete. Type 1 up-fill (only 100mm or so required) was spread then compacted down with a vibrating roller. A final layer of quarry dust was added to finish the blinding. In keeping with previous comments about a clean and tidy site, you can also see the digger spreading type 1 around the foundations. Internal drains and ducts are added, DPC / Radon barrier laid and 150mm PU insulation fitted. Whilst doing all this, the concrete wagon stopped by and the strip founds for our garage were put in. The plumber subsequently put in the UFH pipework, over 1 KM of it! A track system was stuck down (black lines you can see) onto the face of the insulation and pipework clipped in. Individual clips direct into the insulation were used where required. The following day, an hour of light drizzle forecast, the main concrete slab was poured. Two wagons and just under 14 m3 of concrete with glass fibre mixed through. Again, a concrete skip and crane were used to move the concrete from wagon to foundation. You'll notice the twin (scaffolding pole) rails running the length of the foundation. They had simply been set as guide rails for the vibrating leveler to run on and were removed once the main vibration runs had been completed. The next shot shows the slab ready for power floating later in the day. Unfortunately, it kept on raining which meant a 0430 start the following day for my builder. He did a cracking job power floating the slab, which is now beautifully smooth and level. The final stage before building the walls can start, is painting a radon barrier ( the green paint you can see ) on the concrete core of the ICF block. Apart from a bit of unwanted news - 3 week delay for our windows due to a summer factory close down - things are moving in the right direction. The walls should go up this week so we are going to see big changes over the next few days.1 point
-
It was a black 1293cc very tweaked Mini Cooper S, 1965 IIRC, although I didn't acquire it until around 1974.1 point
-
The dark strip you see returned up the walls is the Impey tanking strip, not a row of mosaics . The tray to floor junctions were all tank stripped too prior to the Amtico going down. That job had mermaid panels fitted so no need to tank any further up the wall than the remainder of the width of the tanking strip, eg 120mm ( or so ) wide strip = 60mm flat and 60mm vertical.1 point
-
Hep2O is much better than speed fit ..! There are manifolds - Nick posted a link to them last week but I will find it. Waste is waste - usual rules of no joints where you can't see or work on them, and use solvent weld where possible as seals leak1 point
-
To answer some basics, the Sunamp is fine with pre-heated water. It delivers water at around 75 deg C when charged, and the amount of hot water you get out depends on the temperature that the Sunamp has to raise the water by. If you feed it with water at 30 deg C, say, and you set the Sunamp TMV to 45 deg C (the delivered DHW temperature) then it only has to raise the water from 30 deg C to 45 deg C, in effect, so will deliver twice as much hot water on a charge than if it was fed with water at 15 deg C. Our cold water comes in at around 8 deg C, all year around, but mains can vary from around 4 deg C to 8 deg C with the season, I believe, The thermal store thing is only a problem in this application because thermal stores are intended to operate at high temperatures, much higher than an ASHP could deliver. The design temperature for most is around 75 deg C, so with hot water coming out of the thermal store TMV at 45 deg C, and a 5 deg C temperature loss across the coil in the thermal store (perhaps a bit on the high side) then the thermal store can deliver hot water at a constant temperature to the DHW system until it cools down to below about 50 deg C, and then the temperature will start to drop. For pre-heat, then the thermal store temperature will start to drop immediately, as it's already below the DHW temperature, which is why a UVC would be a better bet. If I get time later I'll do some example calculations and perhaps a graph that illustrates how a low temperature UVC compares to a low temperature thermal store when used as a pre-heat system. Right now I keep popping in here as a break from sorting out hundreds of receipts and filling in our VAT reclaim...............................1 point
-
I share your pain!1 point
-
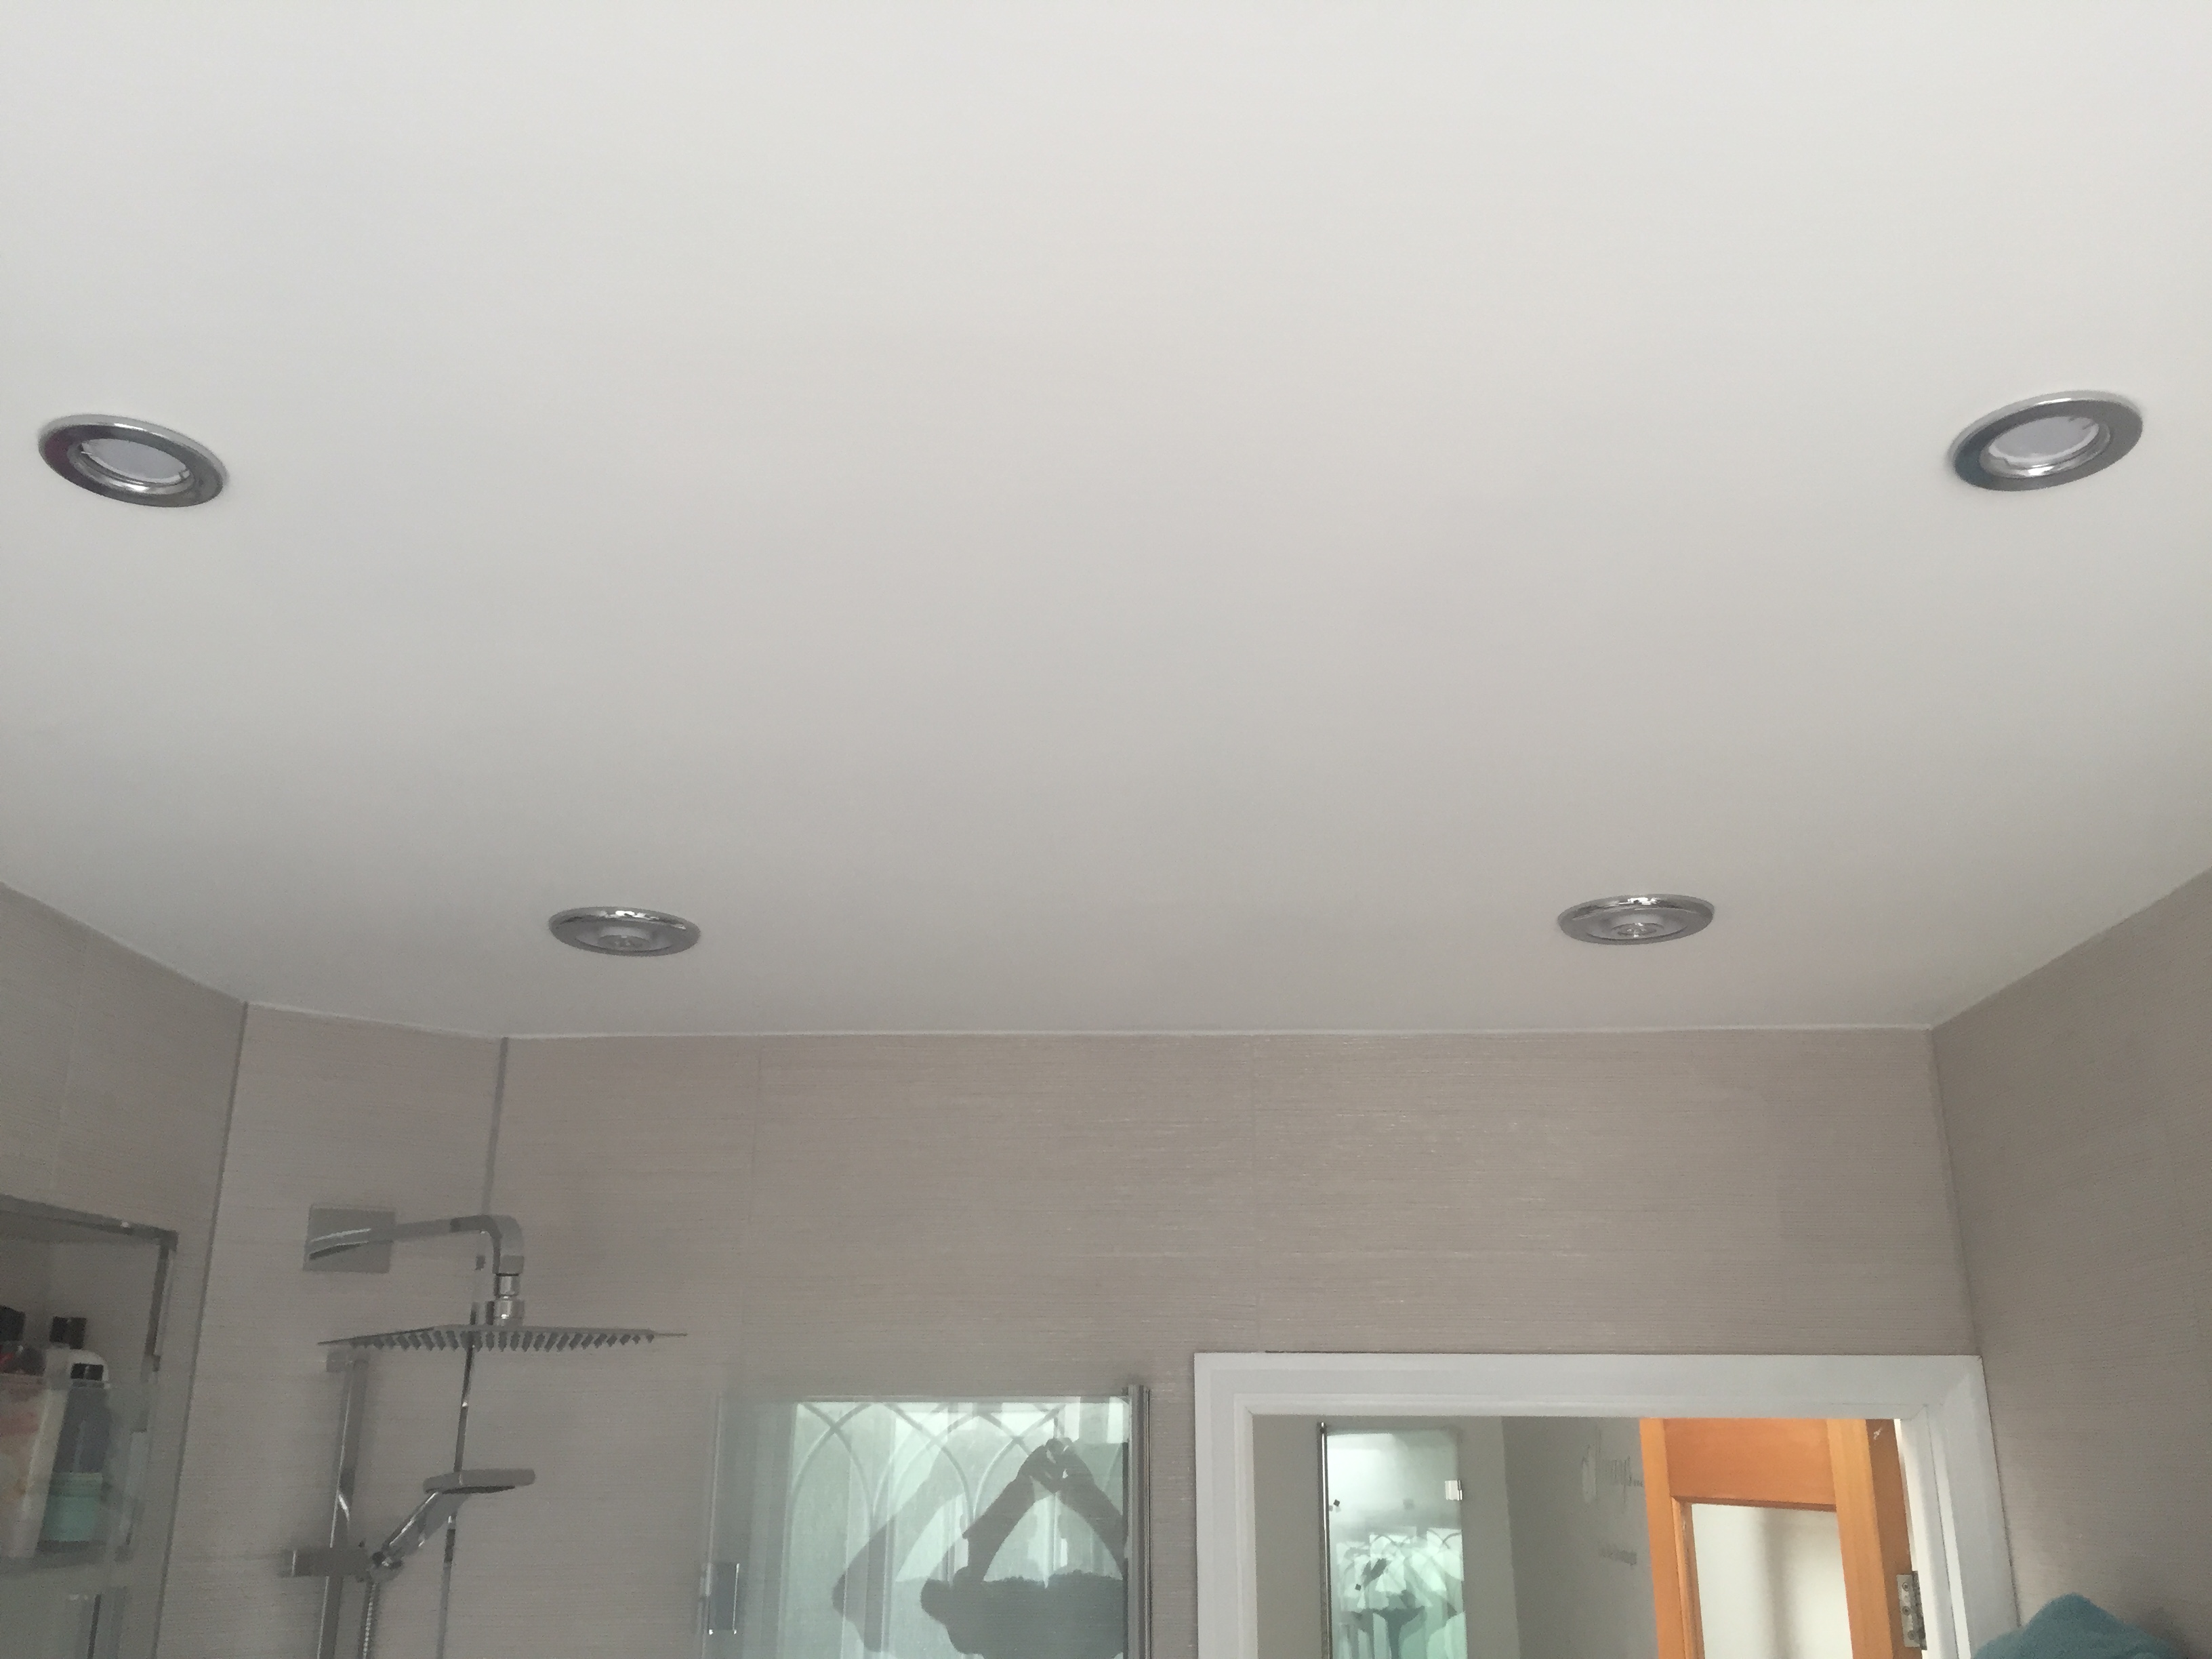
These combined extractor / lights are what I use in every job. Maybe you could connect the mvhr to them and have one less item in the ceiling ? They come with an led lamp and driver for change of £25 each. Chrome or white bezel ( comes with both ).

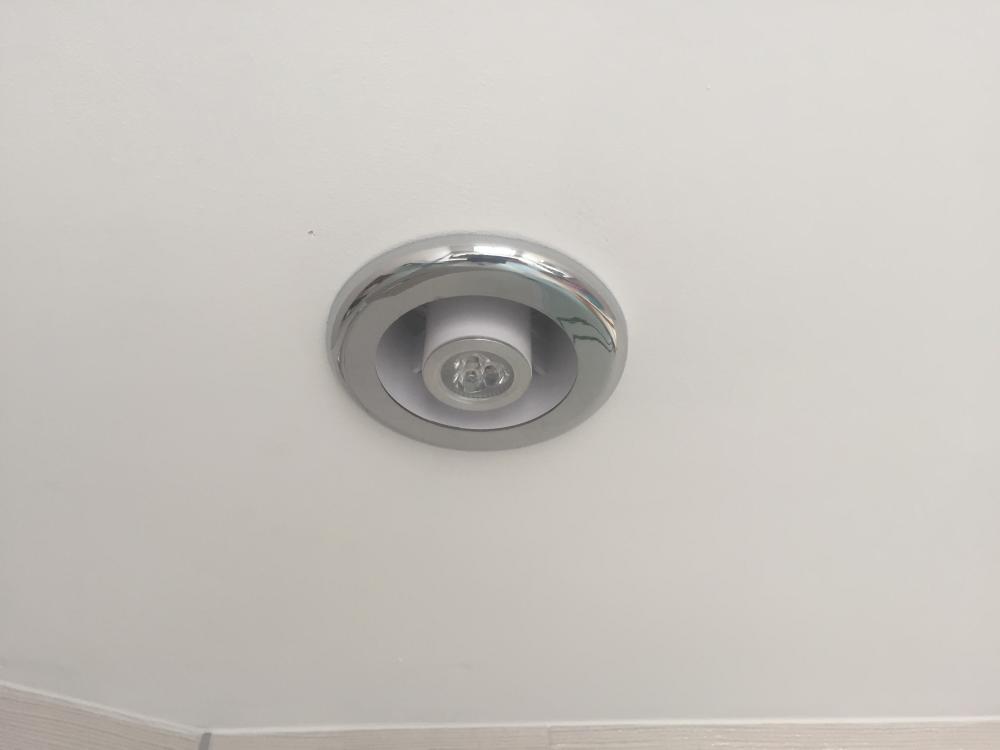 1 point