syne
-
Posts
58 -
Joined
-
Last visited
Everything posted by syne
-
Not sure if this is the best place,but.. I need to take down my gable end and rebuild it. It has wall tie failure and it will, when rebuilt -higher on one side- form a cheek of a new dormer. My question is really abut the process and support for the roof during. It's a purlin/ cut rafter type roof and there is a loft conversion already which has steel running directly under the purlin at floor level with uprights that support the purlin every 100cm or so. I'm thinking that the purlin isn't going to be much of an issue... And the ridge is a board so the rafters are likely going to hold that up. With all the above considered any suggestions precautions do I need when taking the gable down?
-
Anyone done their own building regs plans
syne replied to Professionally nosey's topic in Building Regulations
I found the planning portal invaluable for this, searching local builds/extensions on the map meant I could see what was being built and you can down load the documents for any particular application. Got lots of ideas and tips just from looking at what had passed planning. There's the whole range from biro on lined paper to full architectural designs. Doing it on building notice means i never submitted any thing to building control past drainage layout and a shed load of money. -
pige -cat- ons.. I'm definitely going to be putting a self leveller down, Knauf N430 to be precise. looking at 20mm worth. That would make the max depth of any pipe 60mm and the minimum depth of some pipes 20, I was planning on a floating bamboo floor with an expansion gap on the perimeter and the 20mm thick skirting above the floor. I've used cork edge on a laminate floor before and it worked well, would bamboo be likely to contract more than 20mm from each edge...?
-
Thanks gus, good points reassuringly made. Your right the sun on the floor through the patio doors does produce a really warm spot. Did you use a Cork fillet on the perimeter edge?
-
Well, after much rushing about and what I thought was enough preparations a few unexpected things have happened . Primarily the ufh pipe in a few locations have appeared just under the surface of the concrete floor slab. I initially planned on having them 40mm below the surface then using a thin self levelling with a bamboo floor on top to meet my existing floor levels but in a couple of places I can now see the pipe runs or 'shadows' of pipes so Im going to have to assume the lot is somewhere close under the surface of the concrete now. raising the ffl a bit isn't a problem as the rest of the house can be raised to suit but I'd like to keep it to a minimum amount. What is the thinnest thickness of screed/self leveller amount I can feasibly get a way with?
-
1920s brick cavity wall - dot and dab plasterboard
syne replied to johnhenstock83's topic in Plastering & Rendering
Knauf have a bunch of technical documents on fixing and adhesive pattern, it was recommended to do a continuous border around the perimeter of each board and 9 dabs inside iirc. this was for insulated board, but would imagine something similar applies to normal pb. -
That was also my thought, why are you not suspending the ufh pipes closer to the surface I'm doing this almost identically on Friday but have the ufh at about 40mm below the surface on (an otherwise pointless) mesh sat on 90mm chairs.
-
What to put where & what to allocate for the future ? UFH
syne replied to syne's topic in Underfloor Heating
OK thanks for the replies, in answer to some of the questions.. Im building an extension, the green loops are very rough examples of what/where i need to put ufh in the slab. The extension is to be quite well insulated;200mm under floor, 150 in walls and 200+ in roof. Similar levels of insulation in exsiting house, no ufh in the existing house currently and I can't rip the floor out till much later. The manifold is in the garage,as that's where the ashp/cylinder "plant room" will be. Garage is also insulated to 100mm. W/m2 I need to generate ? No idea yet. Also no heat loss calcs, yet. No reinforcement in slab specified, but can still be added should it be needed, so I can set height of ufh to whatever is most appropriate. Looks like I need to have a more definate plan before I can proceed.. -
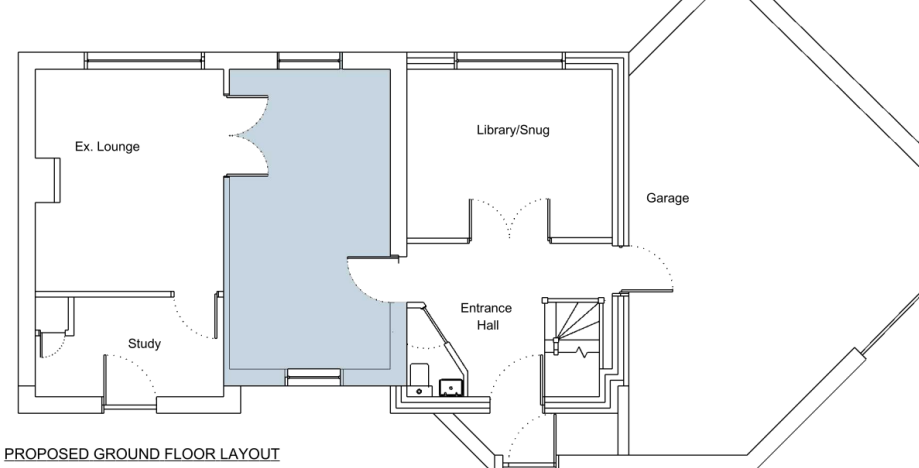
In my eagerness to get to dpc/slab level I've neglected to increase my knowledge of how heat pumps work with UFH and what exactly I'll need to do to accommodate these in the future. I'm meant to be pouring the slab next week! Apologies for the spoon-feeding request, obviously I'm off on a mad google search shortly. / The library/Entrance -4mx6m- is going to have 200mm insulation with a 150mm concrete slab. The existing lounge and kitchen (shaded blue) will be dug out and UFH put in later, so I want to prepare for that now. 1. How deep into the concrete below ffl should the ufh be set? I was thinking 50mm 2. What pipe should I use? 3. Do I need a manifold now, 5 zones. any recommendations? 3. How much pipe should I leave proud of the concrete? 60cm? (internal garage door is not being built in, internal wc not being built either) 5. Will it be okay run 6 pipes for the future existing house ufh and just cap them off in the kitchen like red/blue lines below? even though it's going to be approx. 15mths before the rest of the ufh is built in. 6. what method should I use when passing ufh pipe under walls? 7. What don't I know that I really need to know before I cock it up?

-
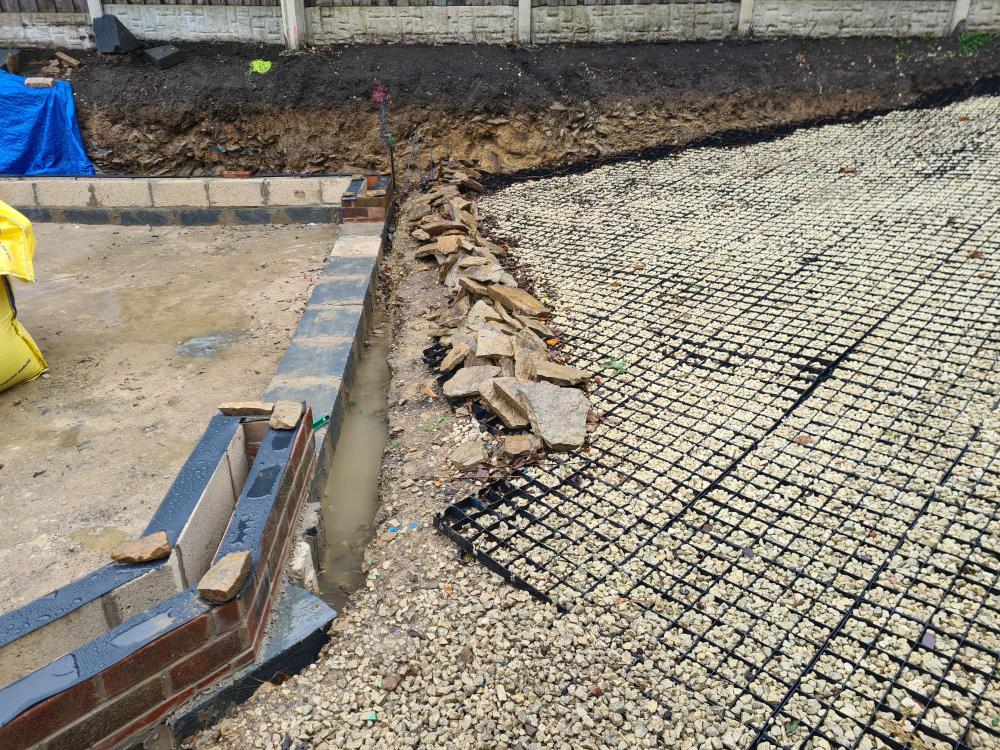
The grids are getting taken up, and put down again once the conc slab is poured and the blocks have been dropped off. Bit in a years time (hopefully just a year) when the driveway is all landscaped I want something more permanent and decorative. Not sure what yet there's a thousand other design decisions in front of the drive. 🤔
-
It was lovely and smooth and neat when they went in, took the weight of cars and vans fine. Then the grab lorries and the concrete mixer have made it look like an old mattress.
-
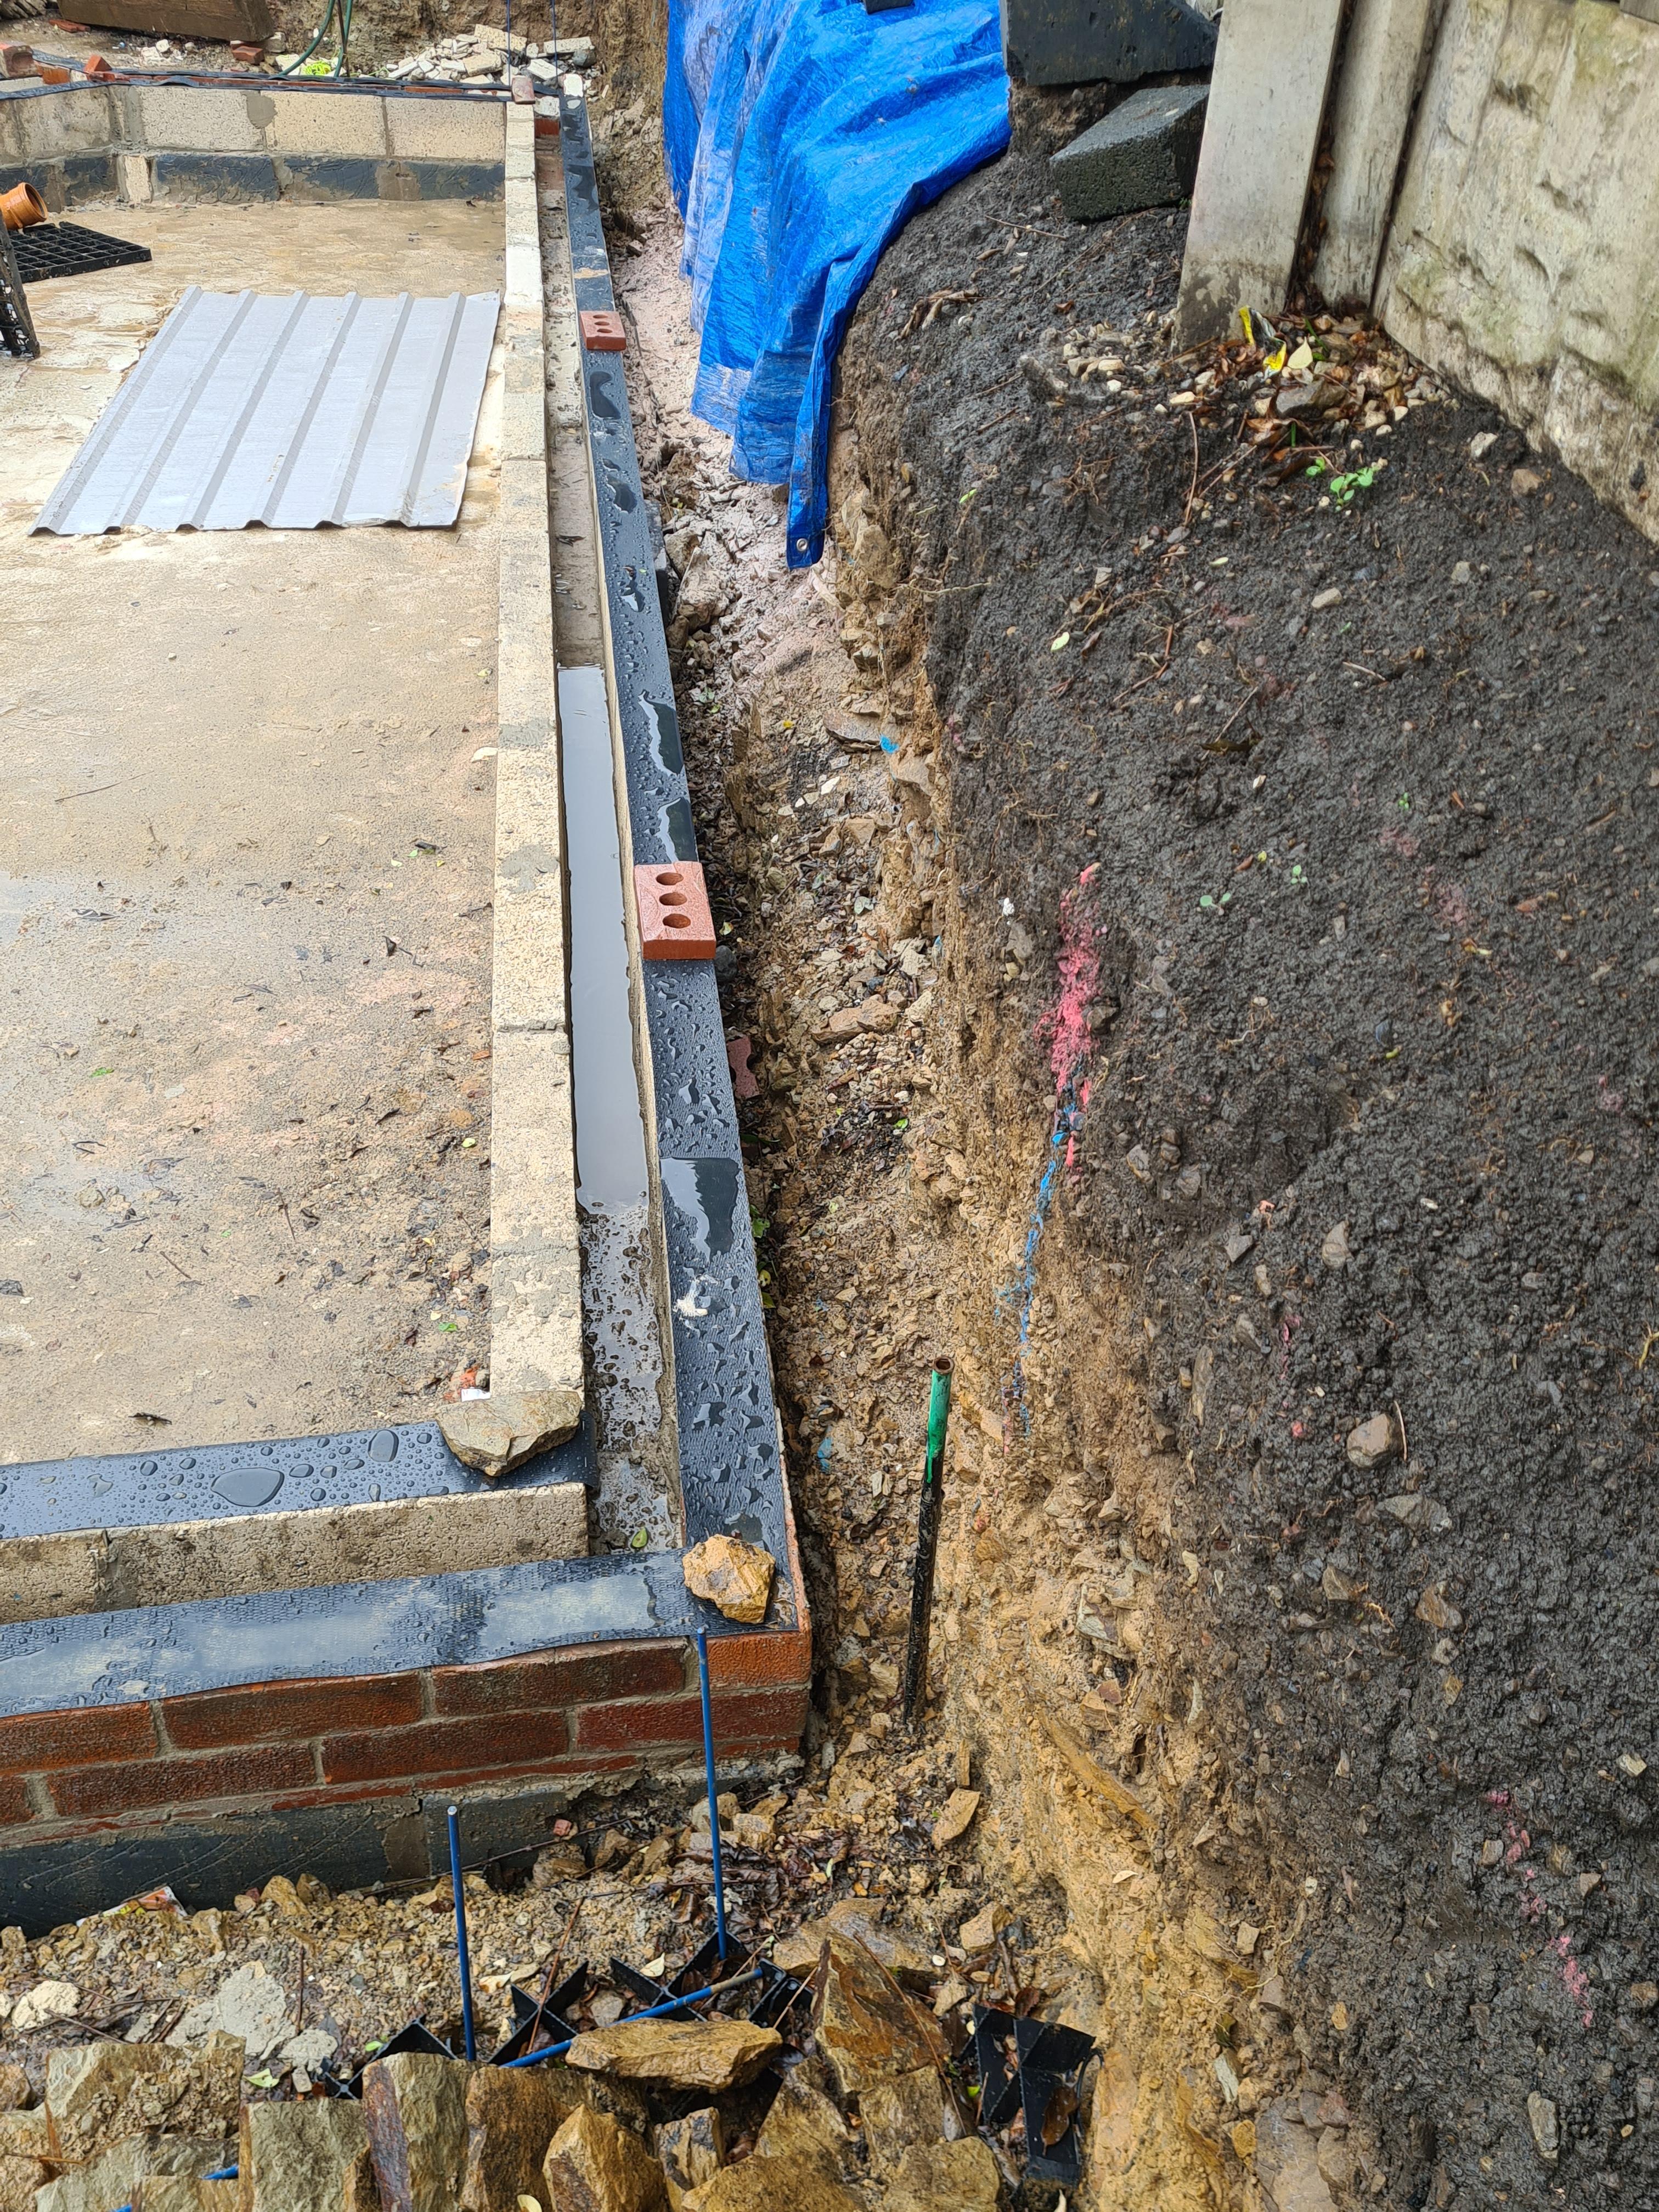
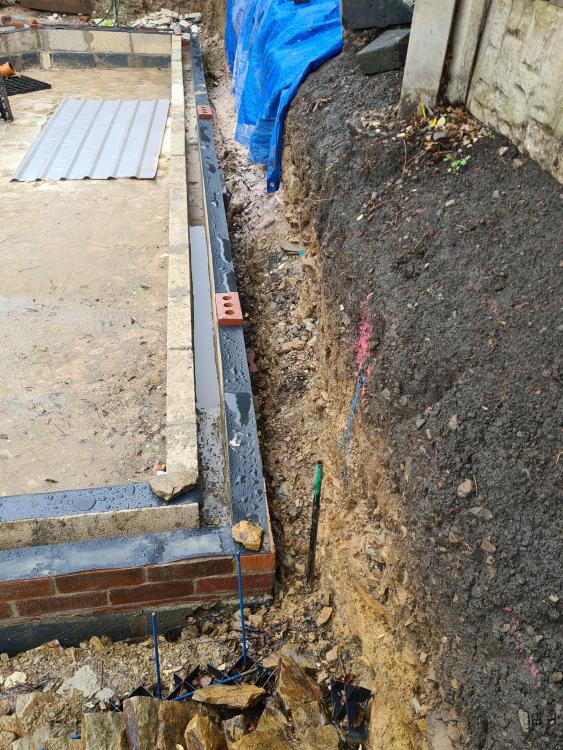
So originally a retaing wall was going to be built 1400 high on the boundary line and the garage wall was going to be independent. The se however suggested that if the ground could be sloped the garage wall could be full filled with concrete and build regs would satisfied, structural calculations unneeded and thousands saved. All good, but leaves the perennial question of damp proofing.. Insulation is going on the inside face of the wall. My last retaining wall had bitchumin coated on the back, fabric wrapped perforated drain and gravel fill. But that was a patio wall in a garden, it's performed well and the render hasn't blown 3 years later What would you do here? I can't dig any further down as its solid rock and a soak crate is going to be a right pain to do as It'd have to go 20m away in the garden to get it away from boundaries and buildings.. But I am going to put a roof/shed along the gap between the garage and the fence. It'd very well protected from the weather. Should i tank it it?
-
The grids are temporary, how permeable is resin bound? It used to be concrete and angled toward the street. But it's now 1200mm lower and directly under the blockwork is a single sheet of rock that spans the whole site. The trench blocks were put in just in case some future person wants a strange diamond shaped garage conversion. Not me ill hasten to add!
-
This is how it is at the moment Please forgive the brickwork.
-
Thanks all. Water ingress is likely to be a pita, the door sits at the bottom of a steep drive that opens onto a wind tunnel of a park and for my sins im looking at a sliding door. I'm thinking that a reasonably sharp incline on the threshold with an wide acro drain at the lowest point of the drive should be sufficient. But after seeing the many inches of water dropped by storm babbet I'm tempted to put a second acro drain on the inside of the door for extra redundancy.
-
I'm just about at dpc level on an extension and am finding the garage opening to be perplexing. At the moment there is a row of trench blocks across the opening, house dpc/ffl being one block/225mm higher than the trench blocks. The ffl Of the garage Is going to be 100mm less with a makeup of. Blinding/ dpm/ 100mm insulation/ 150mm concrete. Is there a standard way to detail the opening threshold? I was thinking along the lines of insulation stops 150mm short of perimeter and the concrete is formed in front of it? With a taper away from garage? But i feel I'm missing something.
-
Changing stud spacing on internal wall in loft conversion
syne replied to Del-inquent's topic in General Structural Issues
I had exactly this on my loft. Steels directly below purlin timber upright every x apart, boarded front and back with osb. When widening the distance between the uprights the timbers were to be doubled either side with a caveat of no opening to be larger than x times 2. As for insulating I did it the hard way; the void was formed using the triangulation timbers at the eaves as the back wall- just enough vertical after insulation to put a skirting on- Stapled breathable membrane on the timbers fully filled gaps with wool, encased in pb and plastered insides. It's awfully awfull to do Plastering laid on your side in a trangular coffin. If your going to do it this way, do the awkward work in the eaves before before you make the purlin wall up. If you want to leave the void as a Cold space then just insulate the walls and any doors and use a good seal on the opening edges.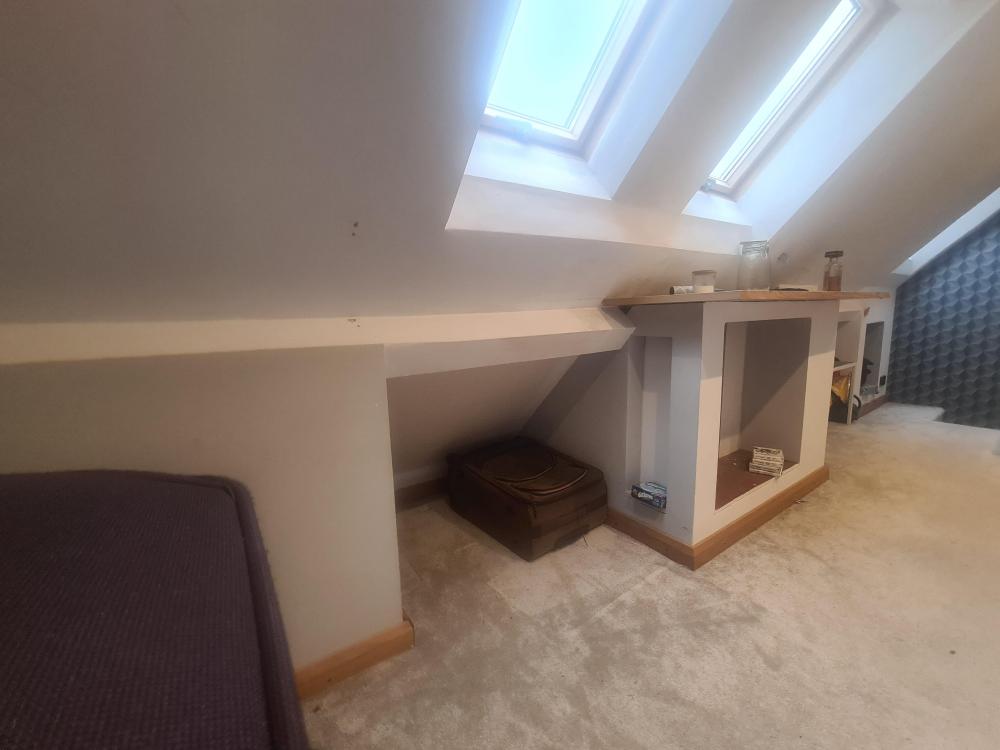
-
For what it's worth octopus are quoting prices ranging from £500 -£2k for an install. My quote was £1450 for a five bed house 72sm gf footprint it includes: 6kw daikin pump,cylinder,pipework also any radiator and plumbing changes with a five year warranty. So if you add the government's £7500 .. £8-10k.
-
I'm literally taking down a sleeper retaining wall now (on a t break, don't shoot me) it's been just under seven years since it was built. Needless to say if your going with sleepers pay for the propper ones and get some drainage behind them. The other sleeper wall was built out of decent tanalised timber and isnt showing any problems at all yet.
-
I'm not sure if it matters but that 3d image doesn't match the plan, Its got your big fridge set into a wall. I'd have the door open the otherway into the utility, in that corner a tall glass fronted fridge or a cupboard. Or a vertical fishtank with some little jellyfish??
-
Does anyone have any sugestions on how to emulate a 'Greek' rendered wall the type you'd see around Greek churches and gardens. I was thinking just get drunk and persist until the wall is covered in white gloop. ... but is there anything that sets there render apart from the stuff you'd find on a house here? I've got a smallish wall, made out of blocks. I don't want a smooth flat finish but I don't want it to look to contrived or like artex either. How should I proceed?
-
What was the outcome of this? Looking at the pic there's two distinct. Diagonal lines that have been pointed up separately, even going into the soldier arch on the left. Did you buy it?
-
Could you afford the space to budge the stairs over above the wall below to keep it looking 'traditional' and then bulk the wall out on the stairs themselves?
-
Where to put insulation in the loft?
syne replied to Ed21's topic in Lofts, Dormers & Loft Conversions
It's been awhile since I converted my loft, but Im sure a portion behind the walls remains relatively un-insulated; So the floor was insulated all the way to the eaves tray vents,(the rafters had an un insulated portion of about a foot - where the timbers that bolted rafters to ceiling joists are) Then the dwarf wall was insulated vertically and between/below the rafters upwards untill the rafter tie above the ceiling. So there's a triangle at the top uninsulated and a triangle at bottom. They 're connected by a 50mm airgap, with lap vents inside and a ridge vent at the top. It's essentially an insulated cube inside a tringle. My felt was non permeable and there is a continuous airtight layer on the inner face of the insulation. You could insulate the entire triangle of the roof and not bother with the walls at all as long as its ventilation is sufficient.