MikeGrahamT21
-
Posts
1897 -
Joined
-
Last visited
-
Days Won
1
Everything posted by MikeGrahamT21
-
Yes I spent a lot of time taping the cavity closers to the block work, and also taping all of the holes in the lintels, so that is covered. Also had a lot of fun filling a box lintel with expanding foam. I really think we are going to be many years before we actually get to the MVHR stage, i've 1 newly built room which needs everything taking off and starting again, and another 2 existing rooms, one of which needs taking back to brick, the other which just needs the floor doing (which i'm doing next year). I've placed an order for some Tado radiator thermostats, which individually graph temperature gain and loss per thermostat, i'm hoping to see in plain view, which rooms are done and which aren't. I do sometimes question why i'm going to all this effort when our gas bills are £20 a month, and we are in the house almost constantly. The rooms i have done, do have an unmistakable 'comfortable' feeling about them though, so I still think its worth the effort. I'm really looking forward to MVHR, and i'm certain it will be worth all this effort.
-
I've found a lot which has the ridging on both the outside and inside, which I'll definitely be staying away from, don't mind paying a little more for a smooth internal bore, and then a couple of manifolds.
-
Planning on using the 75mm flexible ducting, but trying to find some with a smooth internal bore to reduce noise and any dust collecting. Will plan where the outlets will be, but they are all accessible from the loft space, and will be completed when we decide what we are doing dormer wise, i've a feeling we probably won't do a dormer, in which case everything is getting lifted in the loft, cleaned, re-wired and loft legs putting in to get 300mm insulation in, and the ducting will go in at that point and be buried in the insulation.
-
We have a couple of hairline cracks in the living room ceiling plaster, not sure how we will tackle those without some form of messy filler which will then need sanding, I have seen a couple of paint products which claim to fill hairline cracks, maybe they would be better as an undercoat layer. Definitely plan on sealing the switch and socket outlets, i can see those as a major air leak source too, since no rubber seals existed in the 1960s.
-
Yeah I asked him about that a while ago, i've got all the parts on my watch list on ebay ?
-
These are all foamed up, but the AVCL sits above this anyway, directly under the floorboards, so shouldn't affect airflow into the room. I was going to go down the route of plastering round them, and then taping, but didn't have the time in the end.
-
Yeah the loft is prime candidate for all of the pipe work and the unit for sure, though we are toying with the idea of a single dormer, so we won't be doing anything like this until we've made a decision on that, but there will still be room either way. All of the windows i'm ordering have no built in ventilation, and I'm trying to get products which have zero or little leakage, using seals like QLon which are far better than their EPDM counter parts. I think I may rig up a blower door once we have as much done as possible, just to catch anything i've overlooked. Our main issue at the moment is the new kitchen which we had built 6 years ago, the plasterer dotted and dabbed, no parge coat and no adhesive round the edges, plus its still not signed off with BC as the electrician did a runner before doing the certs, so I've a feeling i'm going to have to remove everything and start again, and since i'm happy with plastering myself these days, i'll do it the proper way and get bonding coat and a skim on there, which will resolve that. Well as long as i'm on the right tracks, i'm happy with that, just didn't want to do all of this, and then someone say, you should have done x y and z whilst you were at it lol
-
Well that is my intention, just dont want to miss any tricks thats all whilst floors are up and work is being done. I would hate to spend thousands on an MVHR system to find its making matters worse.
-
Hi, I'm planning on having an MVHR system at some point in the future, and the bungalow we live in we are renovating room by room. I've seen for MVHR to be really effective anything below 3ACH is required, which seems reasonable, but how achievable is this? Our bungalow has suspended timber floor which I am fully insulating, and then laying an AVCL above the joists, under the floorboards which laps up onto the walls and is getting taped on. The walls are wet plastered without cracks, thickness approx an inch in total. Ceilings are double boarded, both layers plastered. I've sealed up ceiling light wire holes, and intend on doing the same inside the electrical sockets. Paying close attention to the windows and doors in terms of airtightness levels too, getting the best ones i can and the frames are getting taped onto the walls, with foam around the frame as normal. With this approach, what sort of airtightness level would I likely achieve? And if its above 3ACH, what additional measures would I need to take? I appreciate its difficult to guess with all this stuff, and I suppose an air test with smoke pen (or a self air test using a fan in a piece of ply) would be a good way to find anything i've missed.
-
Central Heating Manifold system
MikeGrahamT21 replied to MikeGrahamT21's topic in Central Heating (Radiators)
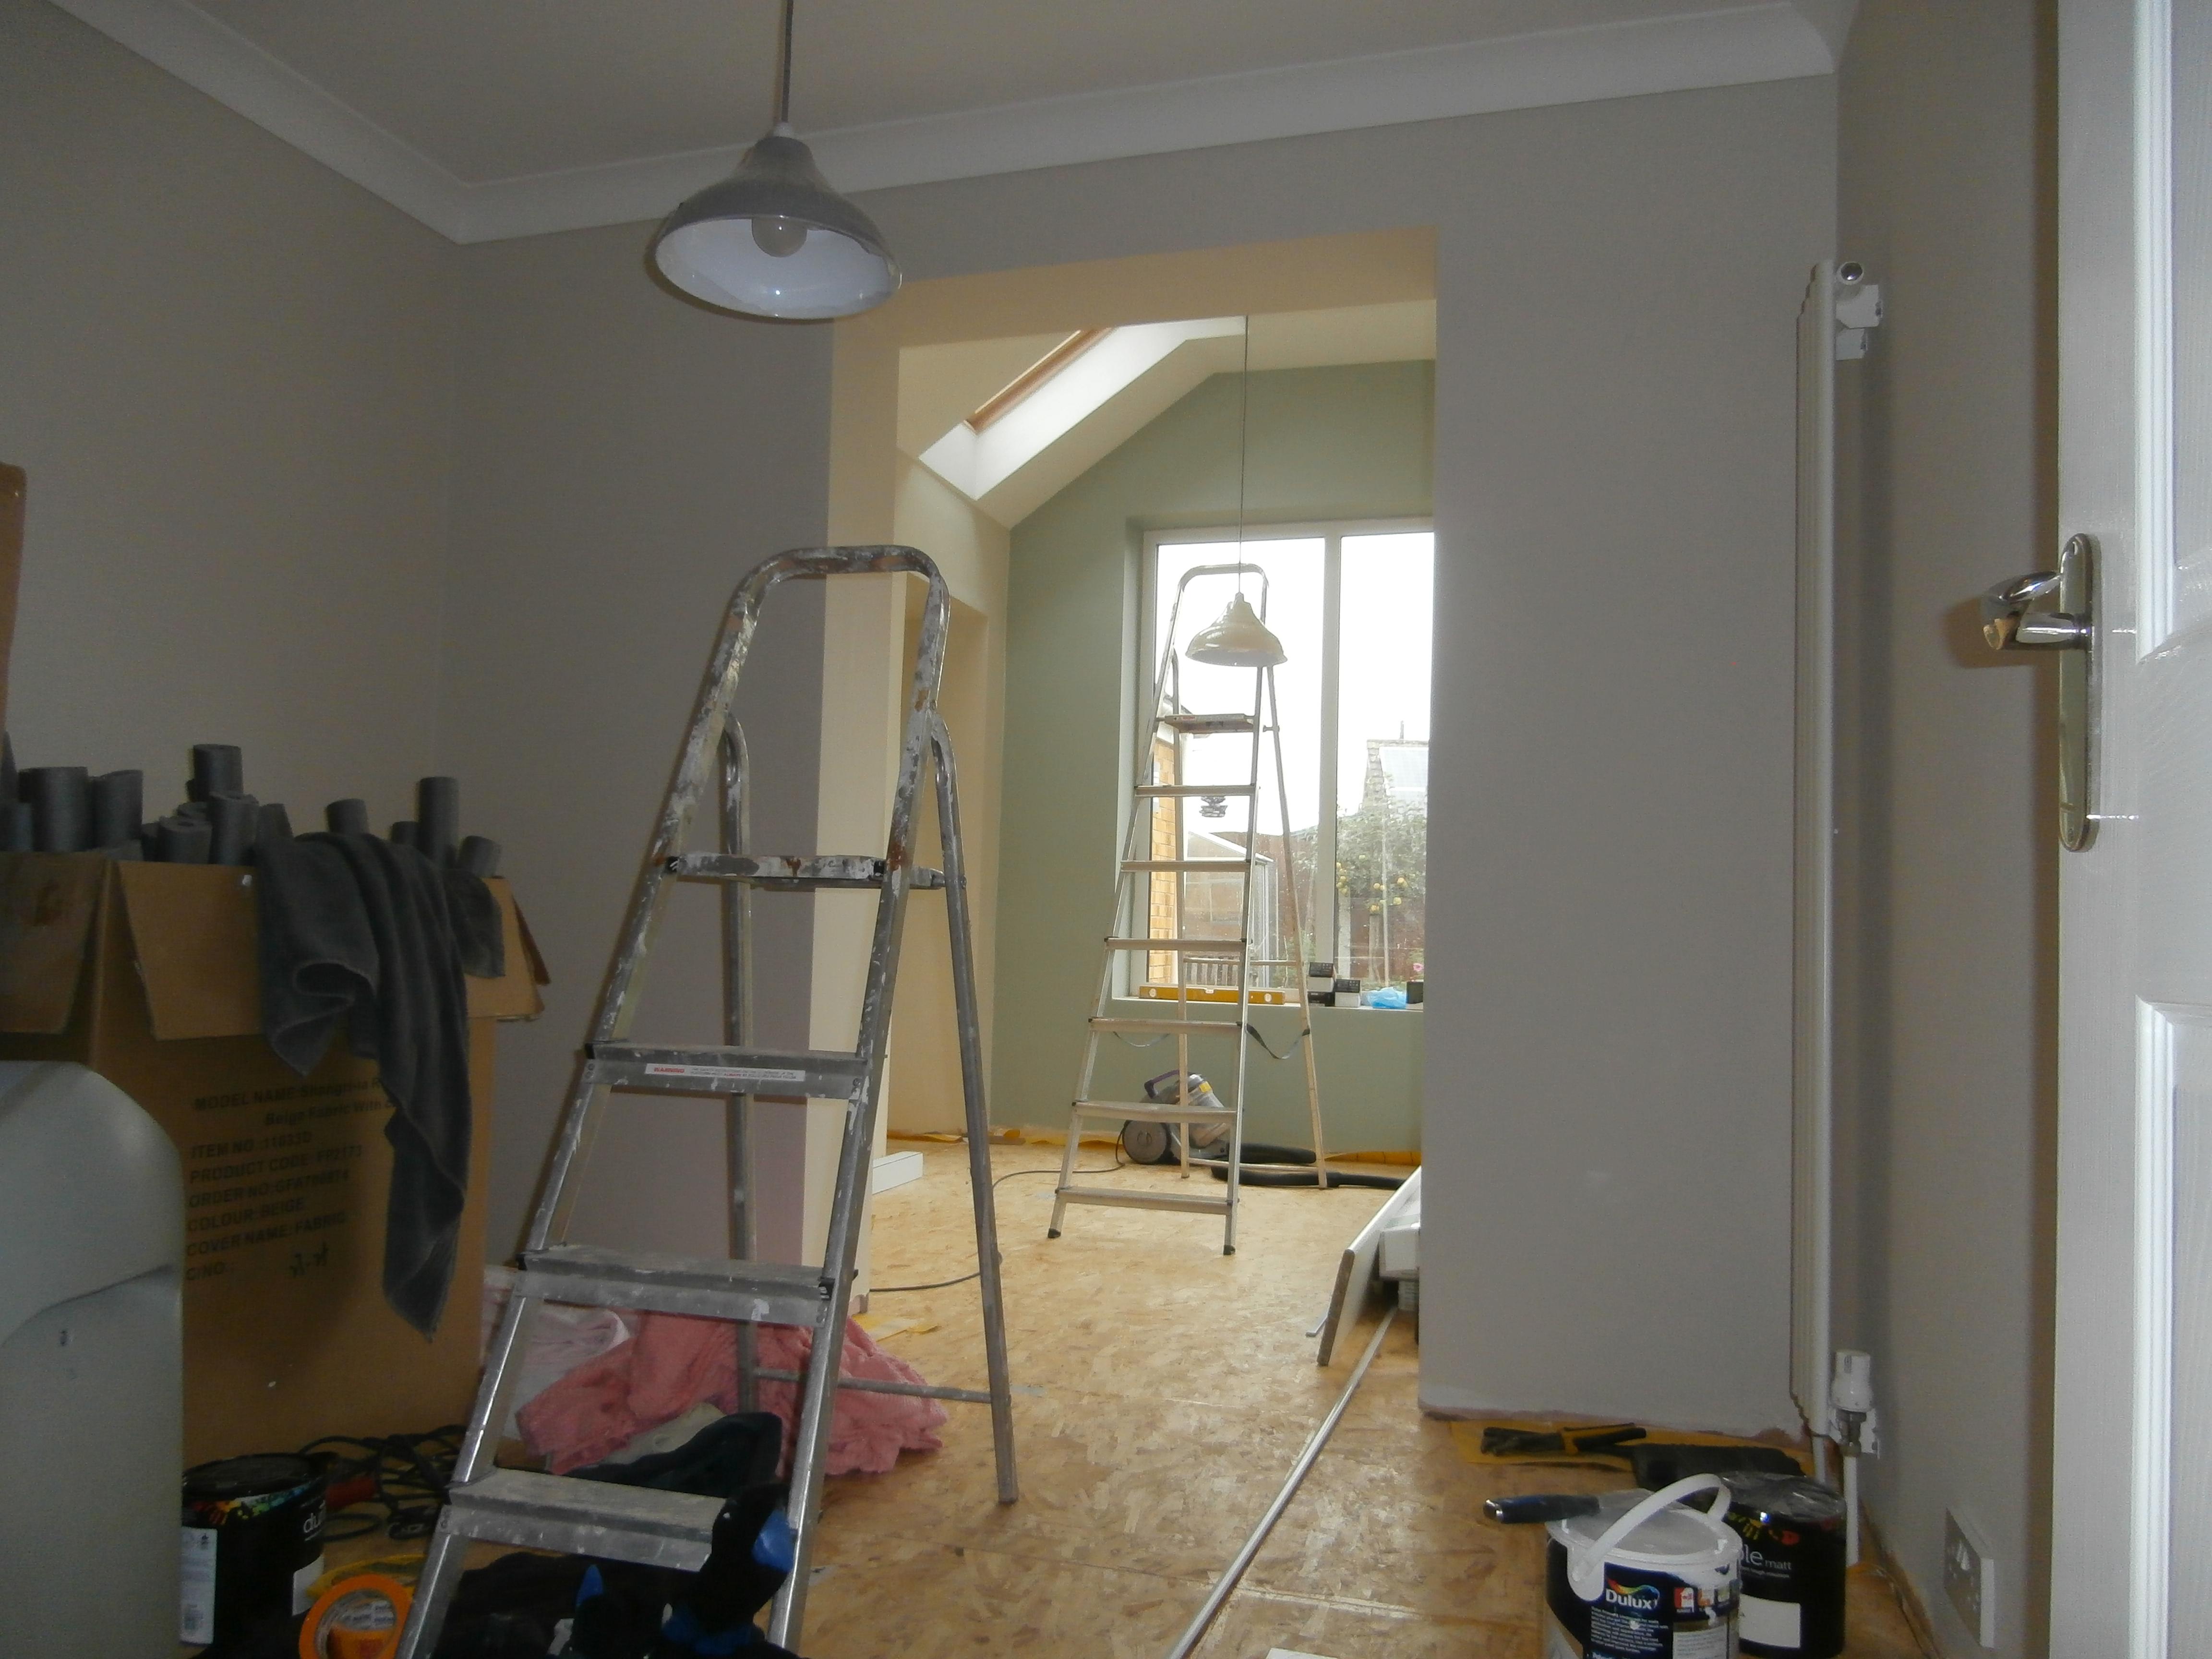
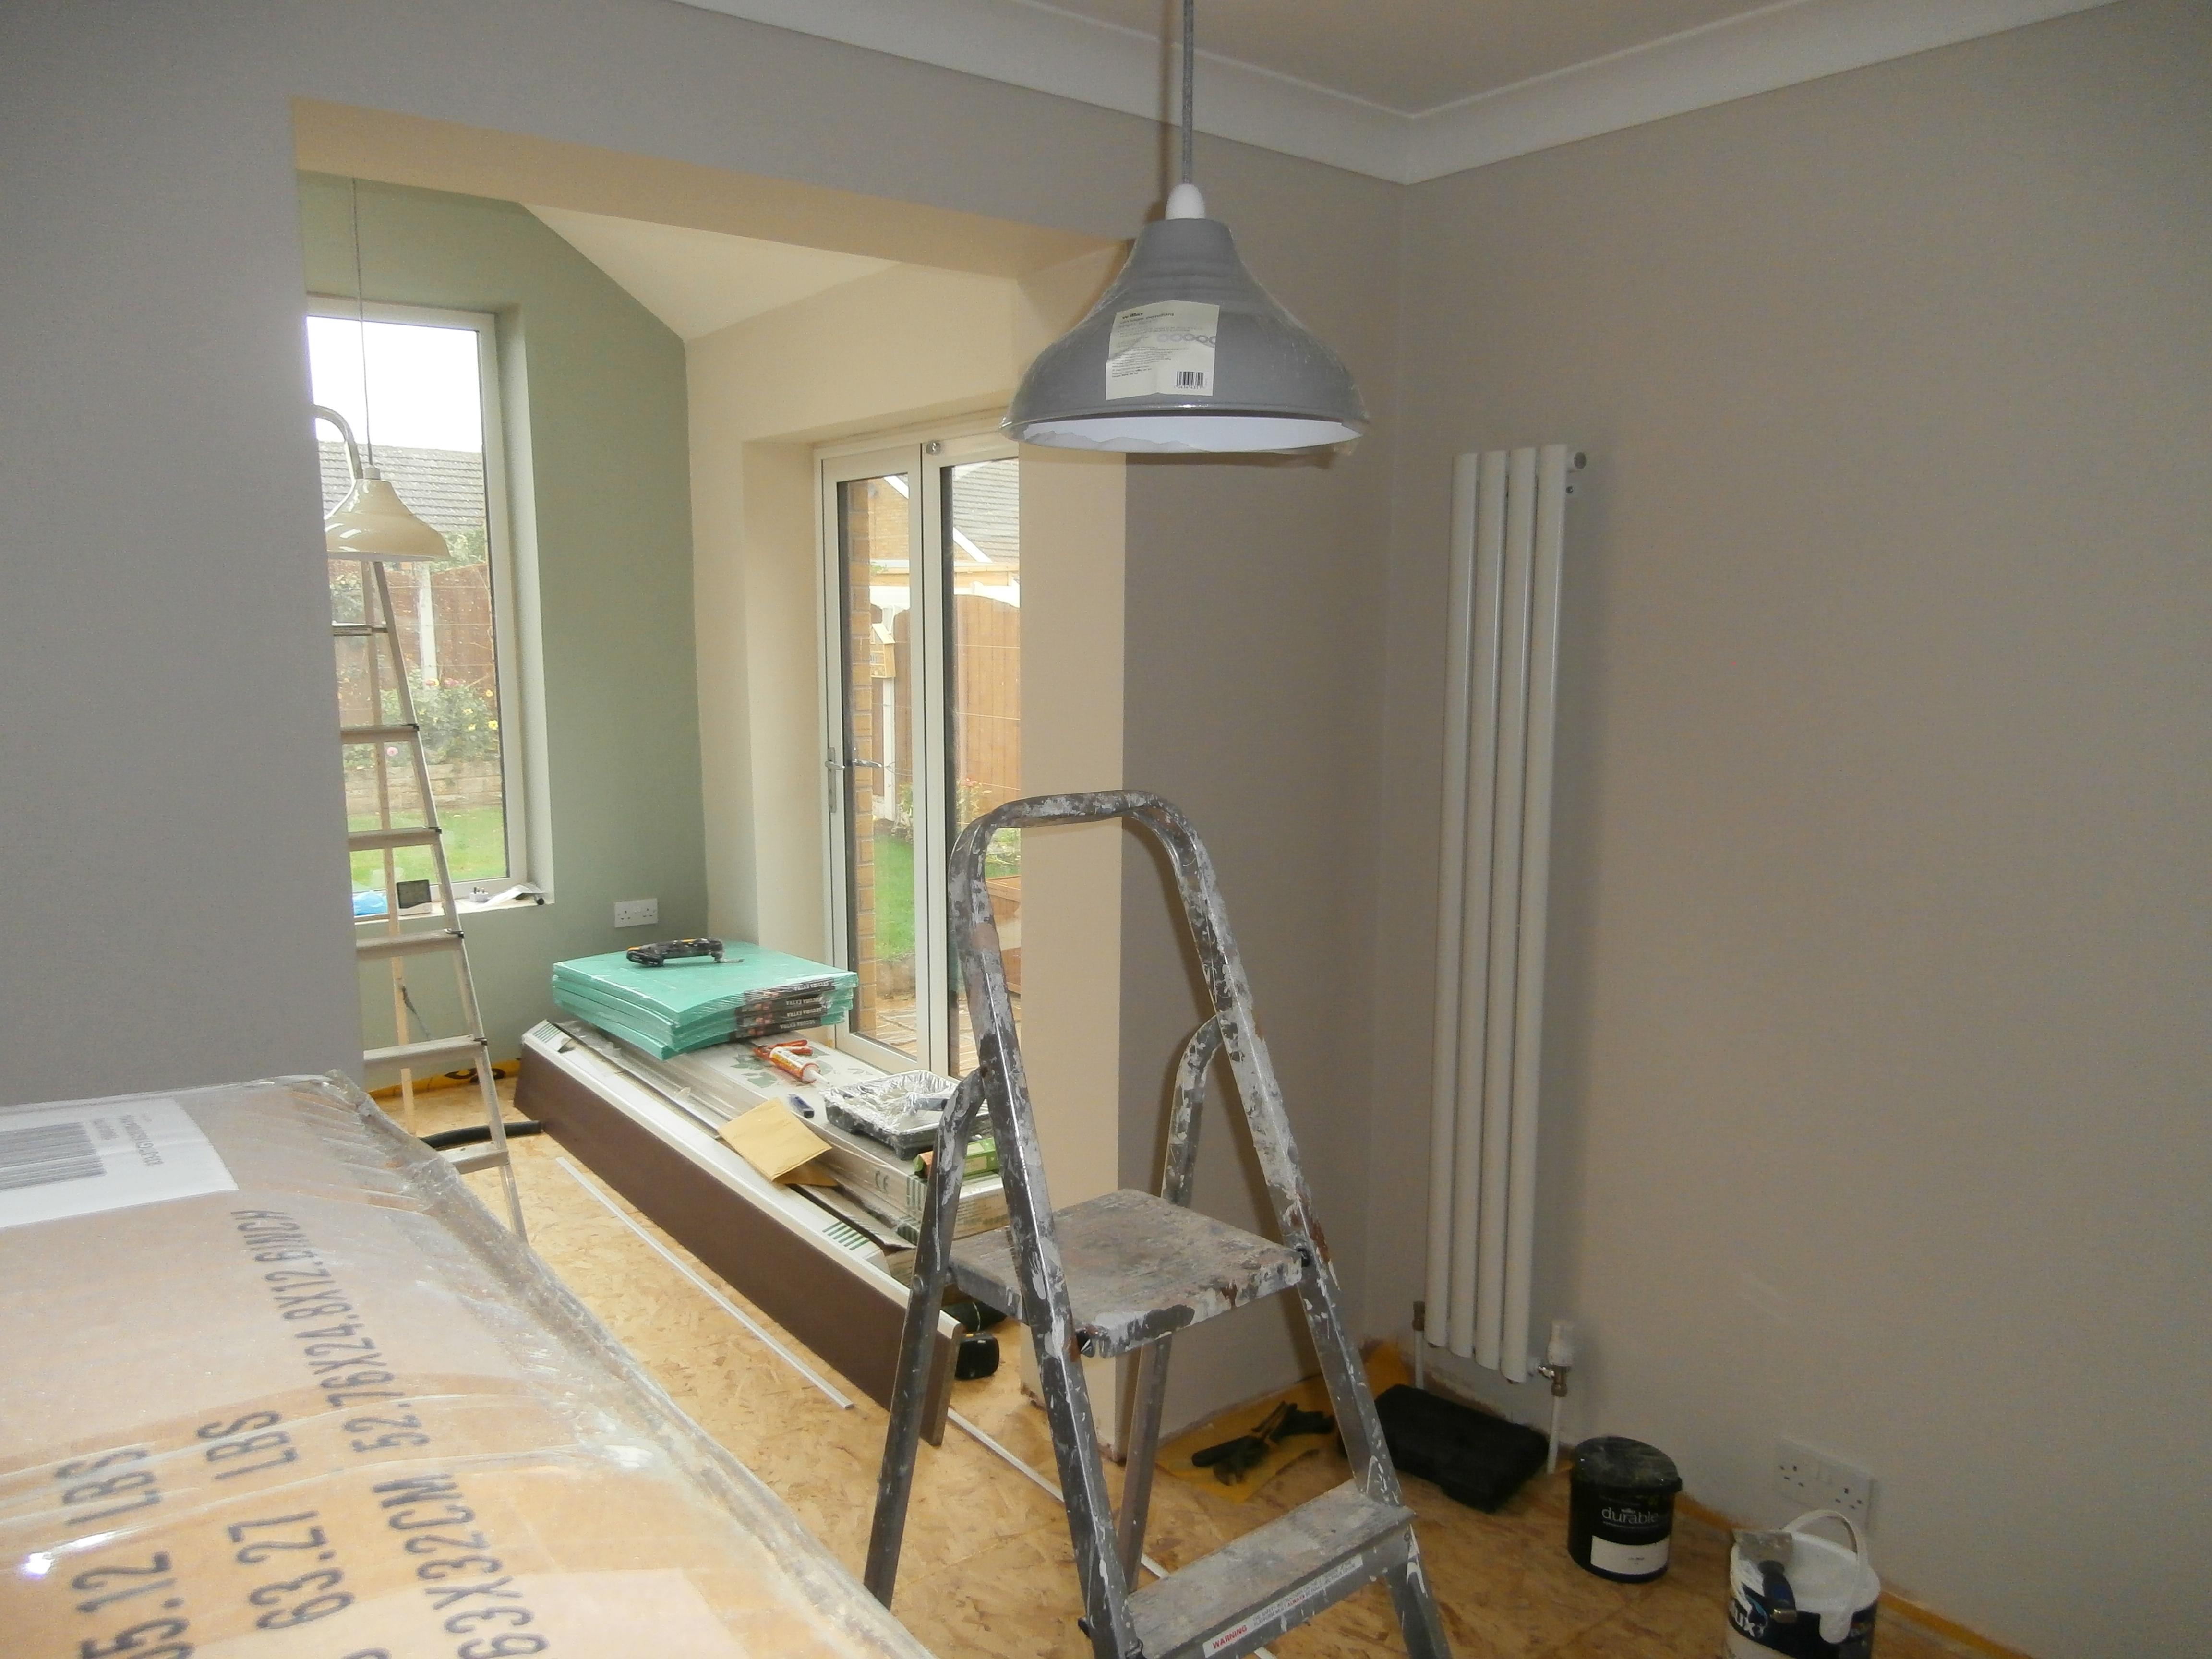
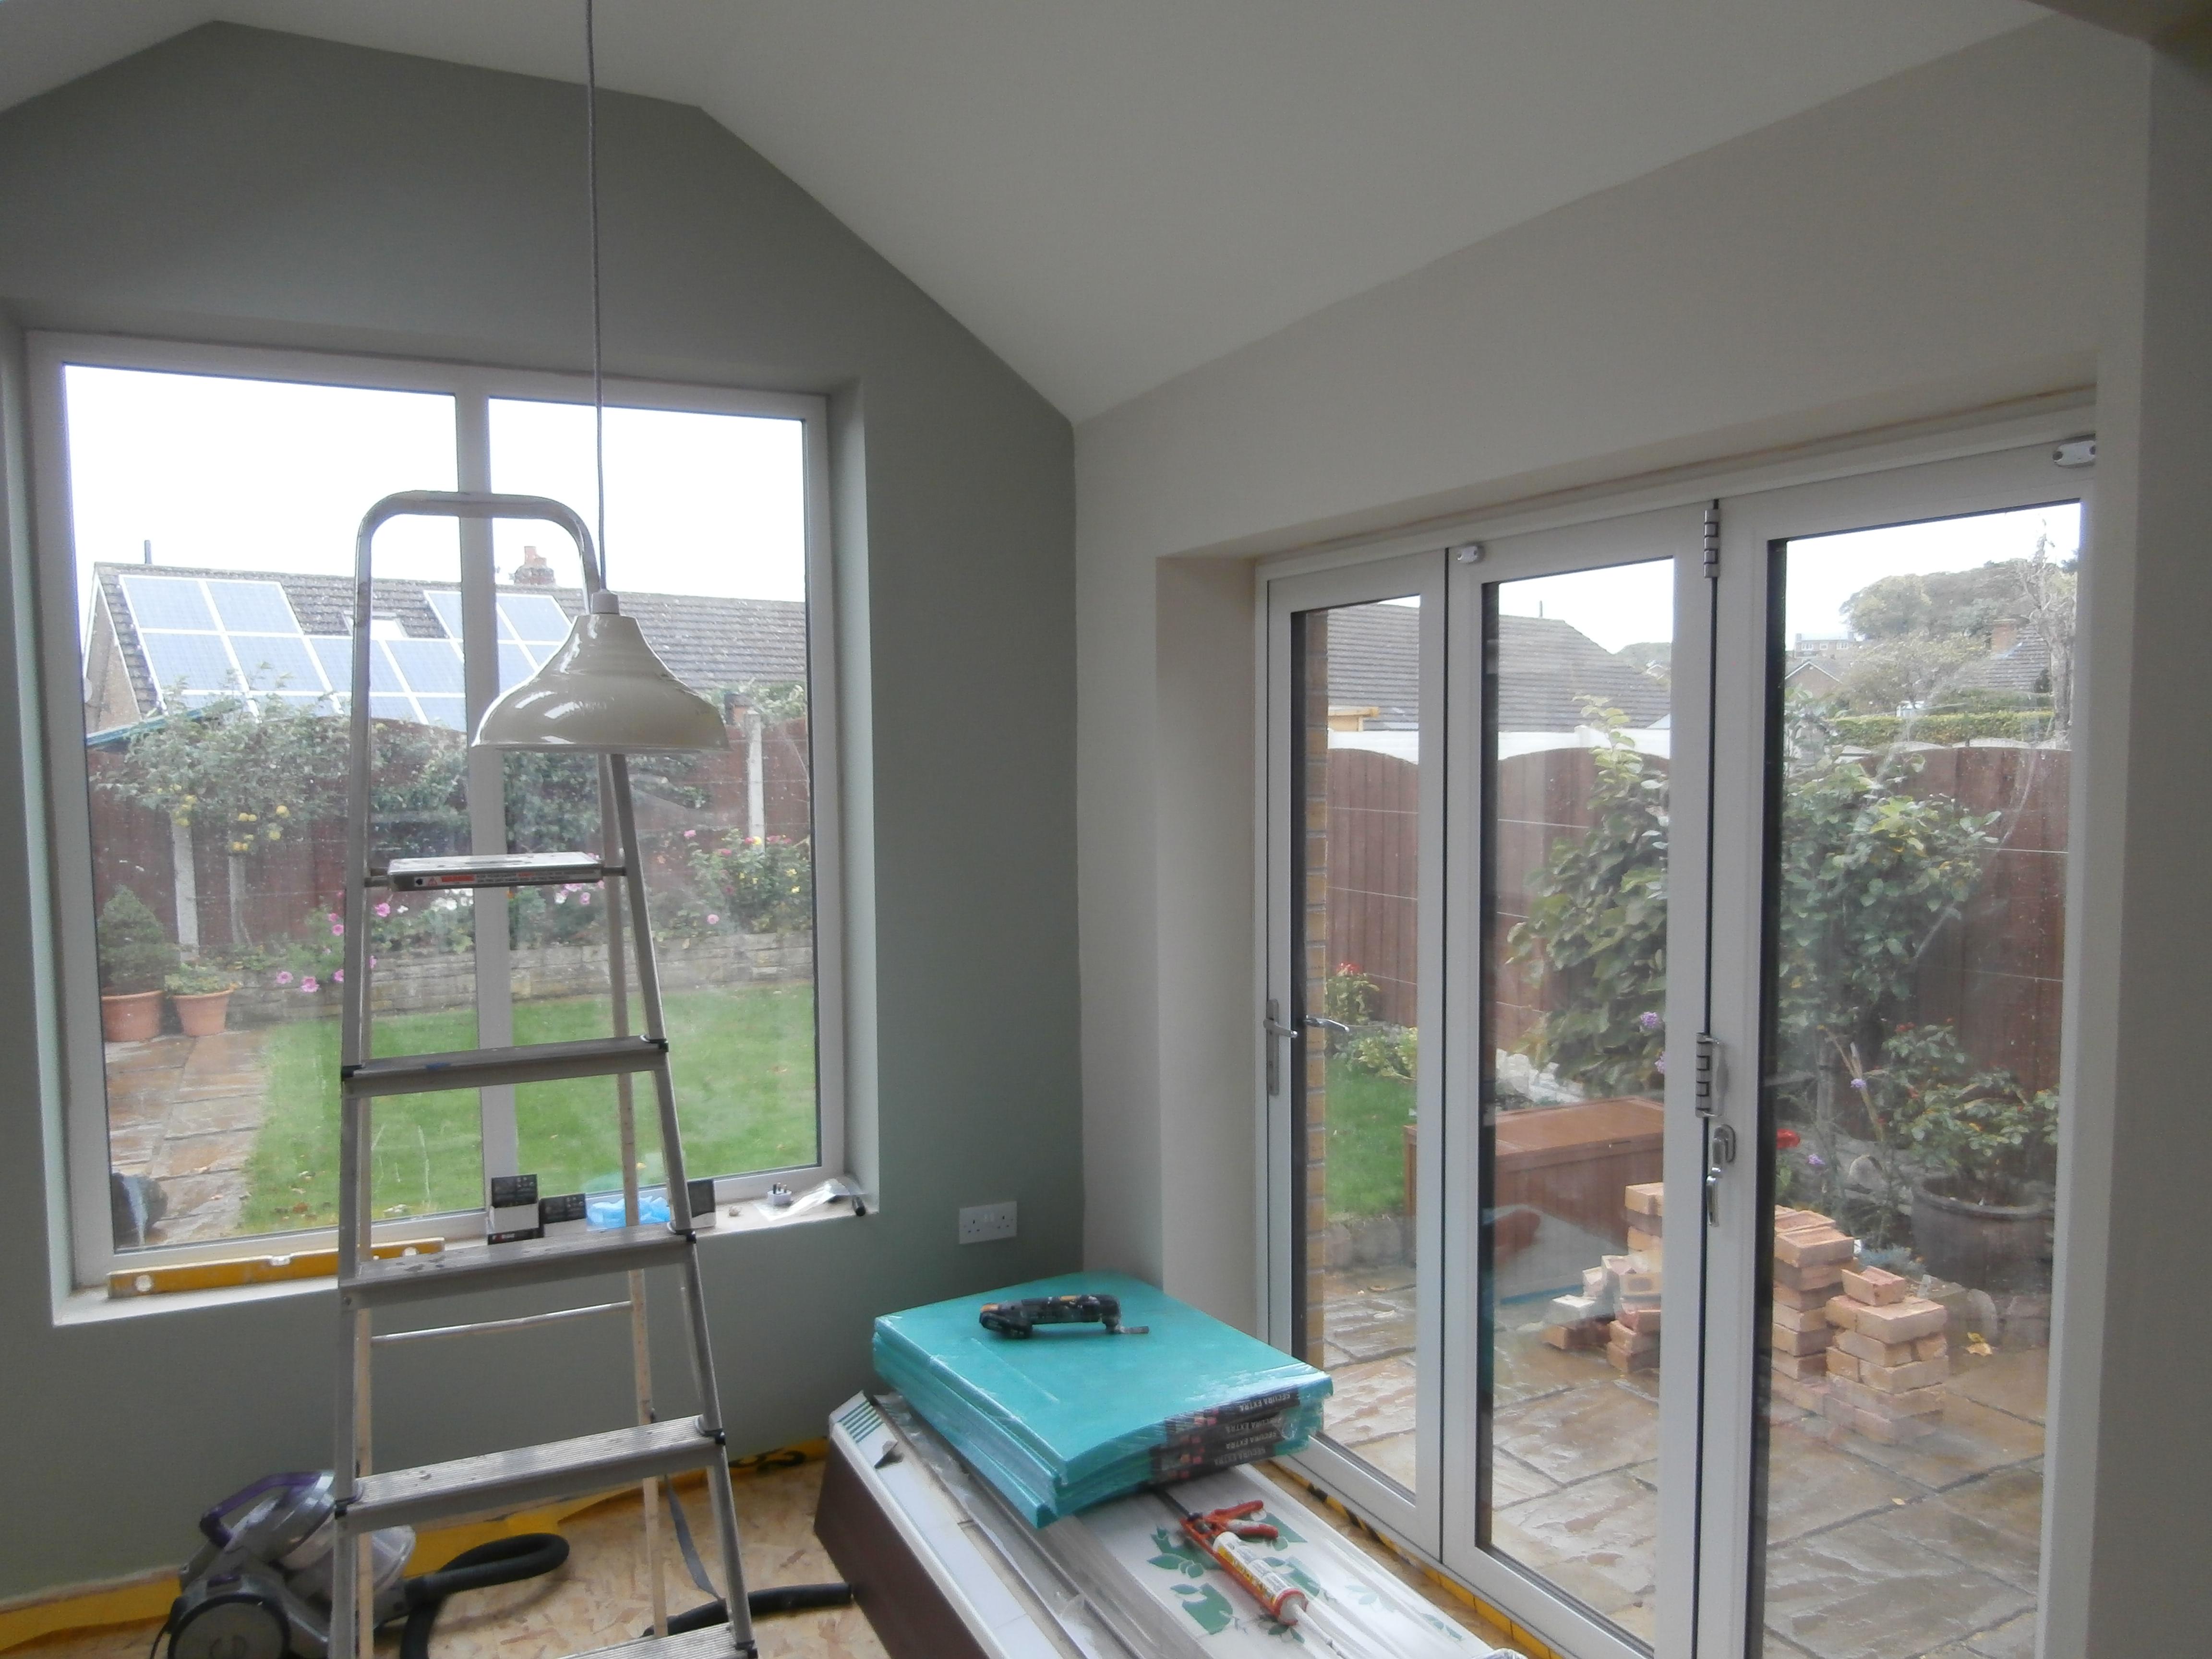
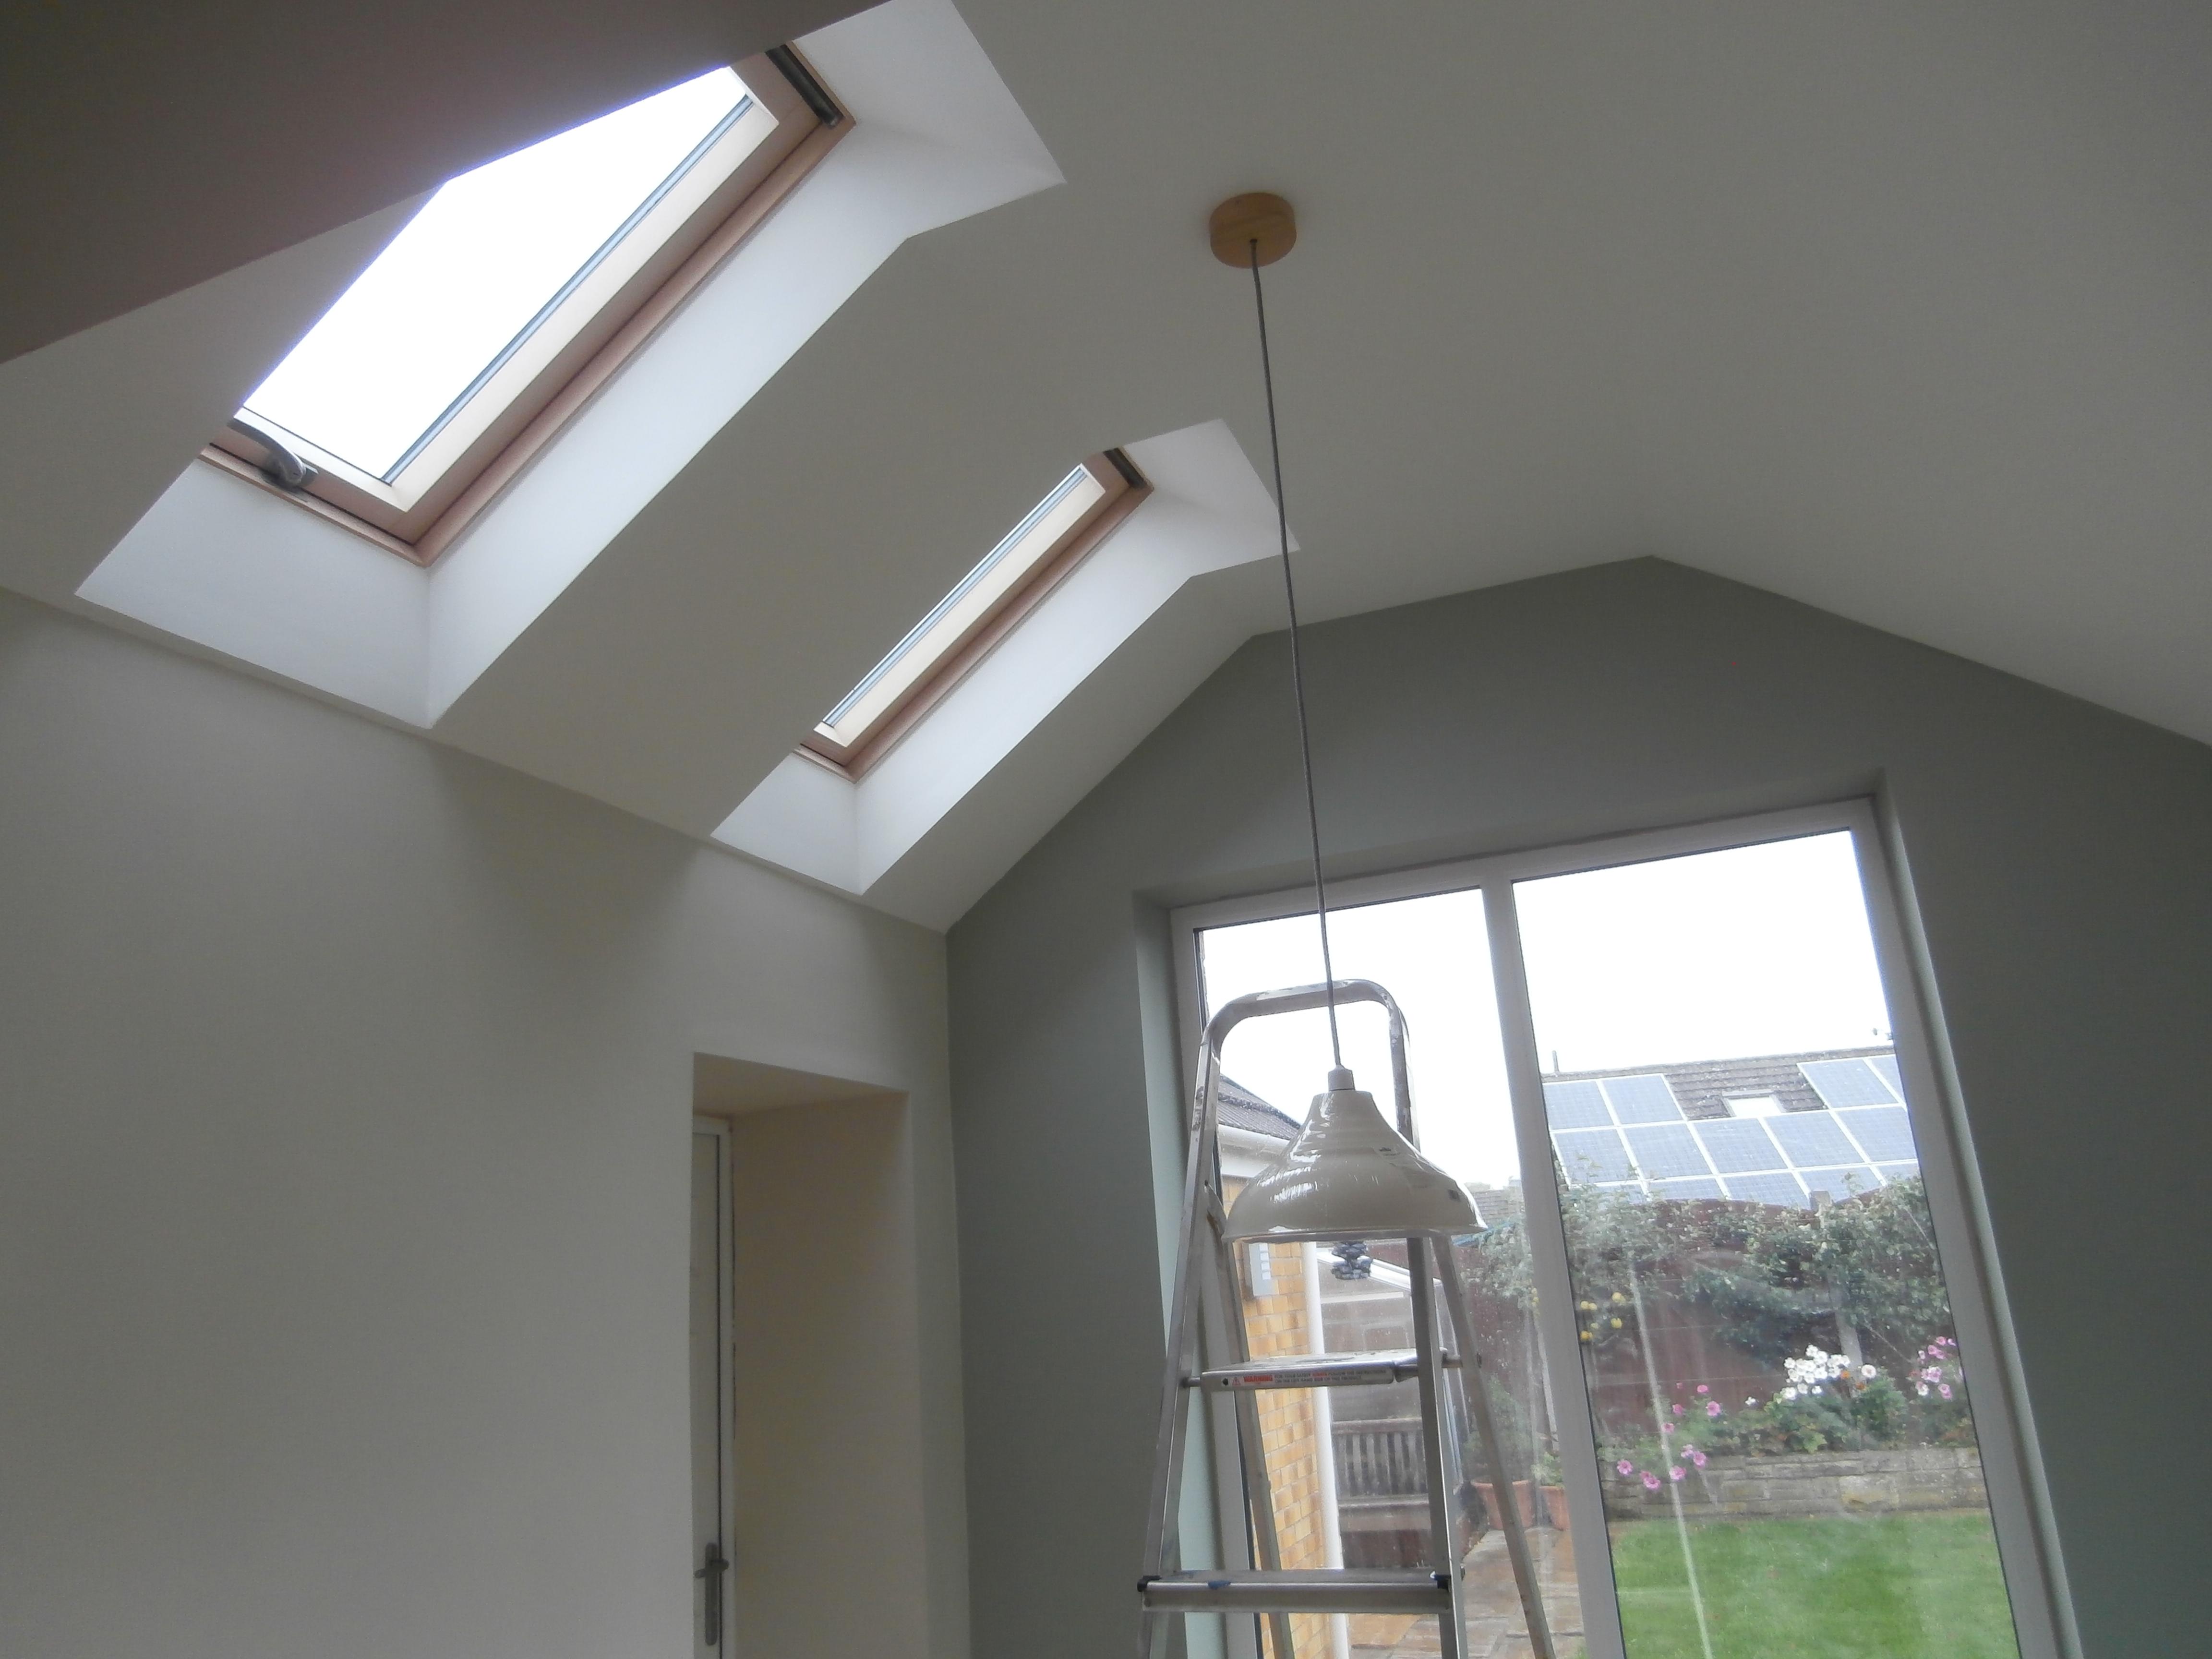
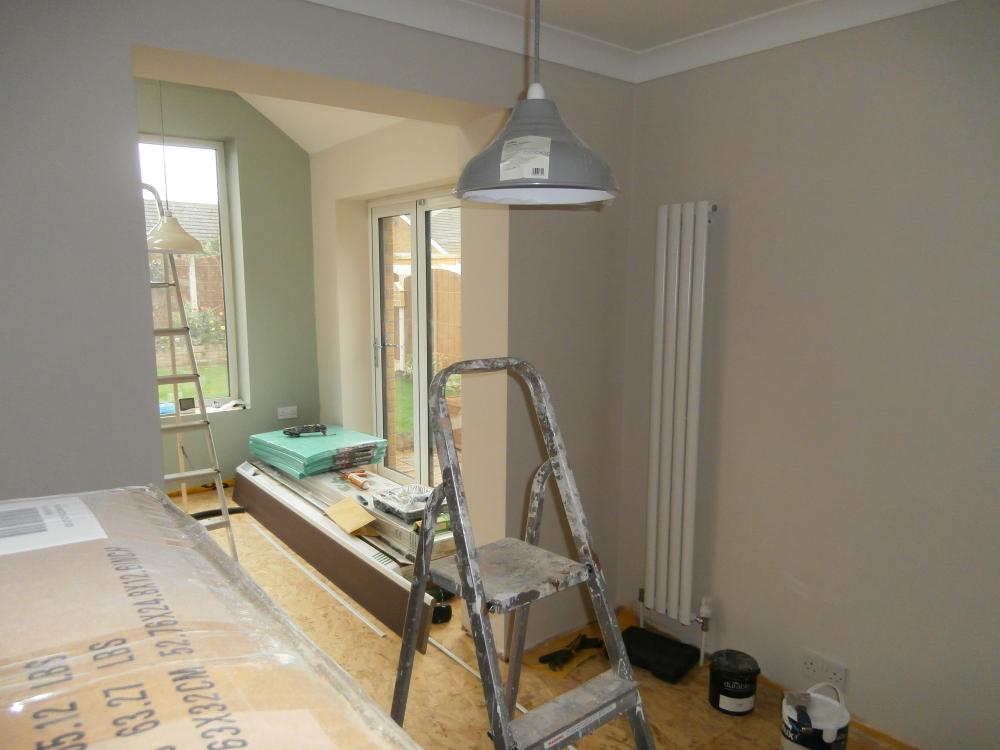
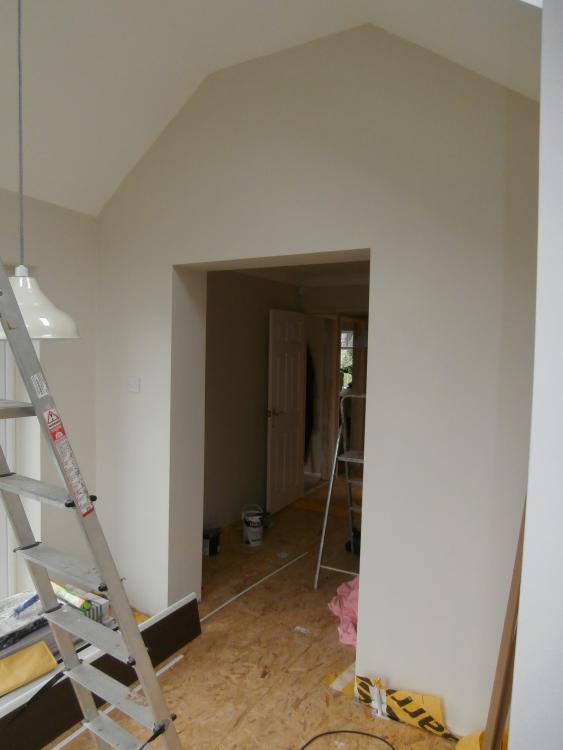
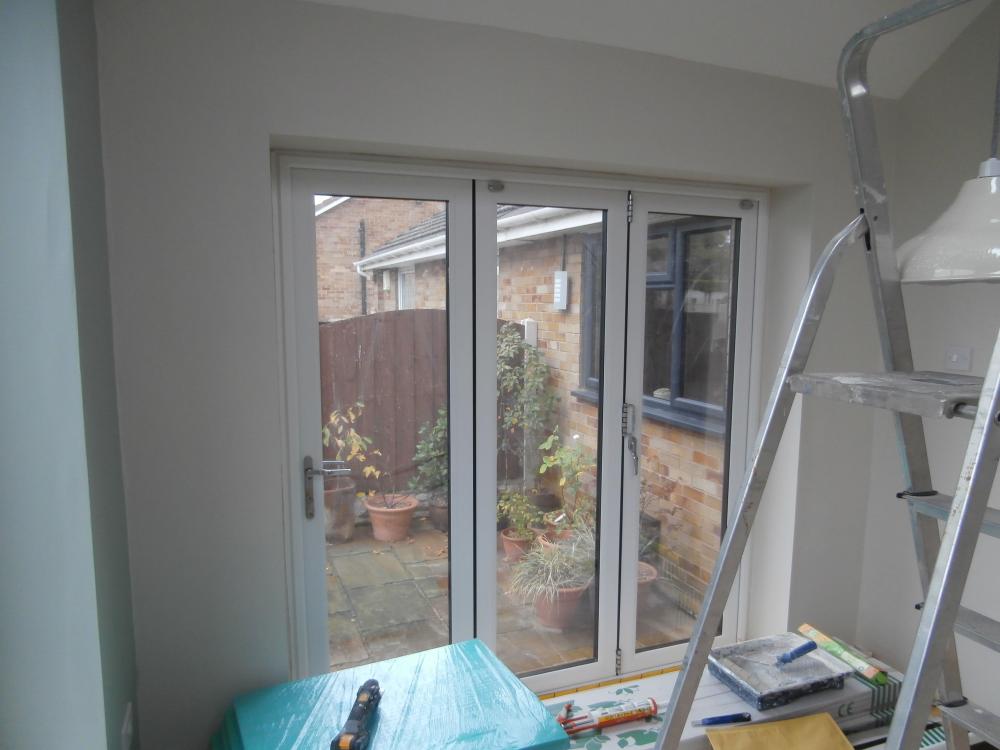
Updated photos as promised. The light fittings are lower than their final position, i've had to put the step ladders underneath them as I keep banging my head! lol Grey one is going to get put on a hook to move it nearer the radiator wall, and the other just needs shortening, i made it longer so that my wife couldn't say can you make it a bit longer, covering all bases and all. Big pile of wood flooring will hopefully be down very soon!


-
Internal wall make up - what’s best?
MikeGrahamT21 replied to Weebles's topic in General Construction Issues
I've never had any trouble fixing to OSB, maybe not as good as ply, but certainly not a problem -
Central Heating Manifold system
MikeGrahamT21 replied to MikeGrahamT21's topic in Central Heating (Radiators)
Ok will do, Im liking the ability to zone off everything, individual rads and even the manifold as an entity, I’ll make sure it fits first though, 28mm sounds right doesn’t it? That was what I bought, only size they had after 22mm and it sounded reasonable. yeah need to take some up to date photos, will try and get some, just absolutely flat out with trying to get stuff done, amazing how much time it takes to decorate properly. Plastering went well well for a first time, yeah it’s not perfect, but even for me a perfectionist I’m really pleased with it and all for £25 and a good amount of effort! Needed the exercise anyway lol -
Central Heating Manifold system
MikeGrahamT21 replied to MikeGrahamT21's topic in Central Heating (Radiators)
Yeah i've bought some caps for the end if it becomes an issue, i had thought that myself, but it seems fine at present, it is angled upwards, so isn't totally flat. Cheers for the heads up. Will get some more photos of progress up soon, taken delivery of our engineered wood flooring today, hoping to start laying that this weekend ? Oh and we've had building control sign off too which is always nice. -
Central Heating Manifold system
MikeGrahamT21 replied to MikeGrahamT21's topic in Central Heating (Radiators)
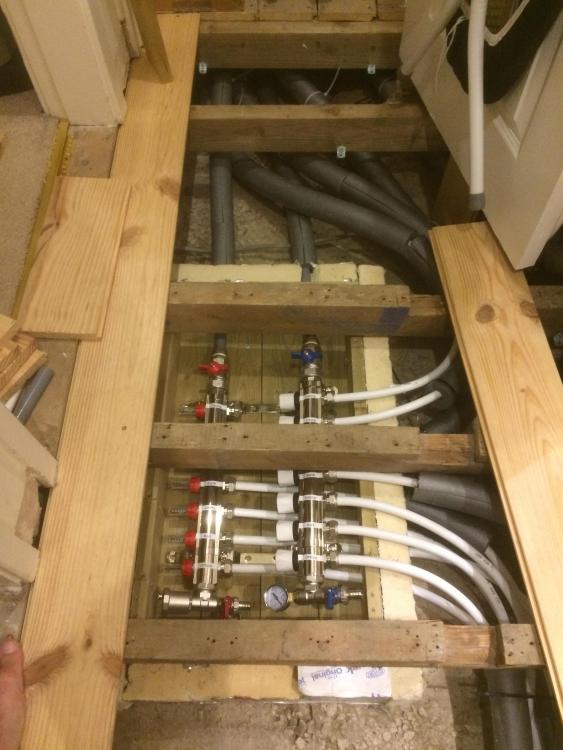
Exactly so, yes I used MLCP 16mm pipe, and it worked brilliantly. So the only joints in the system are the manifold, the radiator valves, and the 22mm copper to plastic connection to adhere to the boiler guidelines of using plastic pipe (first bit has to be copper). Really impressed with the 16mm pipe, would definitely use it again, as you say its so easy to shape, and with a pipe bending spring, you can get almost any angle you want, and it stays put. Funnily enough the few odd leaks I had were on the traditional 15mm connections, all of the 16mm eurocone connections were spot on. -
Central Heating Manifold system
MikeGrahamT21 replied to MikeGrahamT21's topic in Central Heating (Radiators)
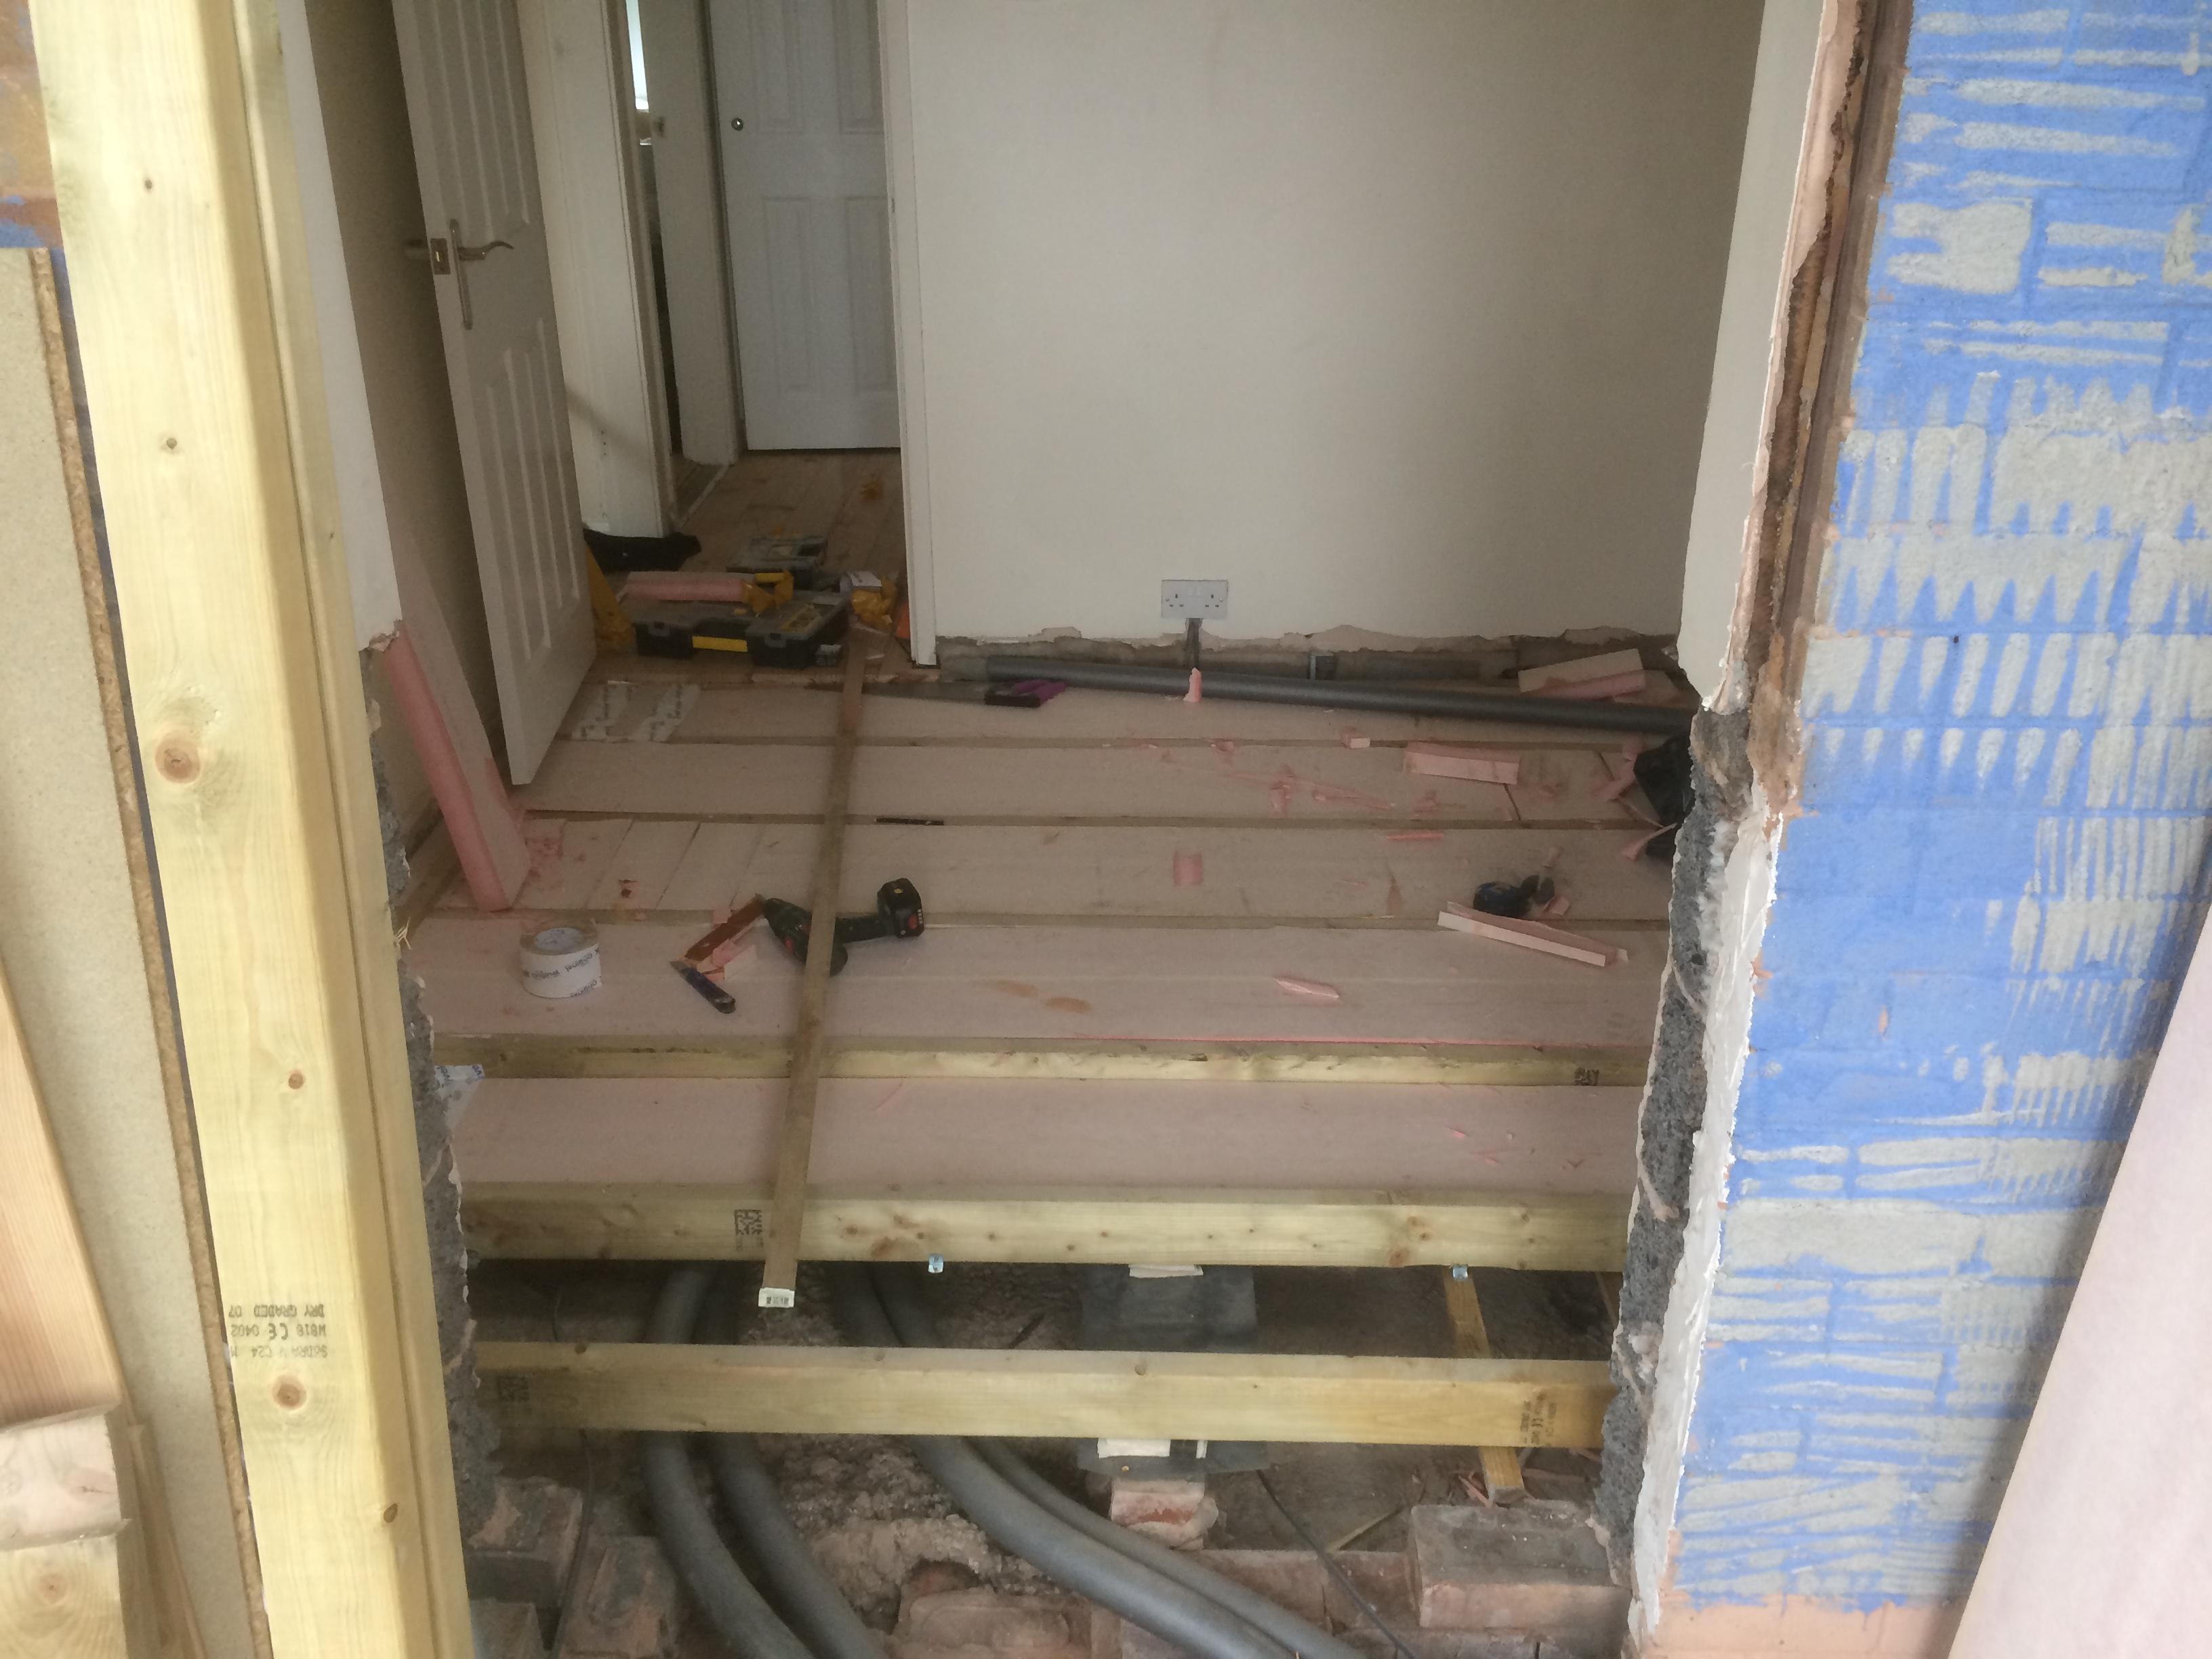
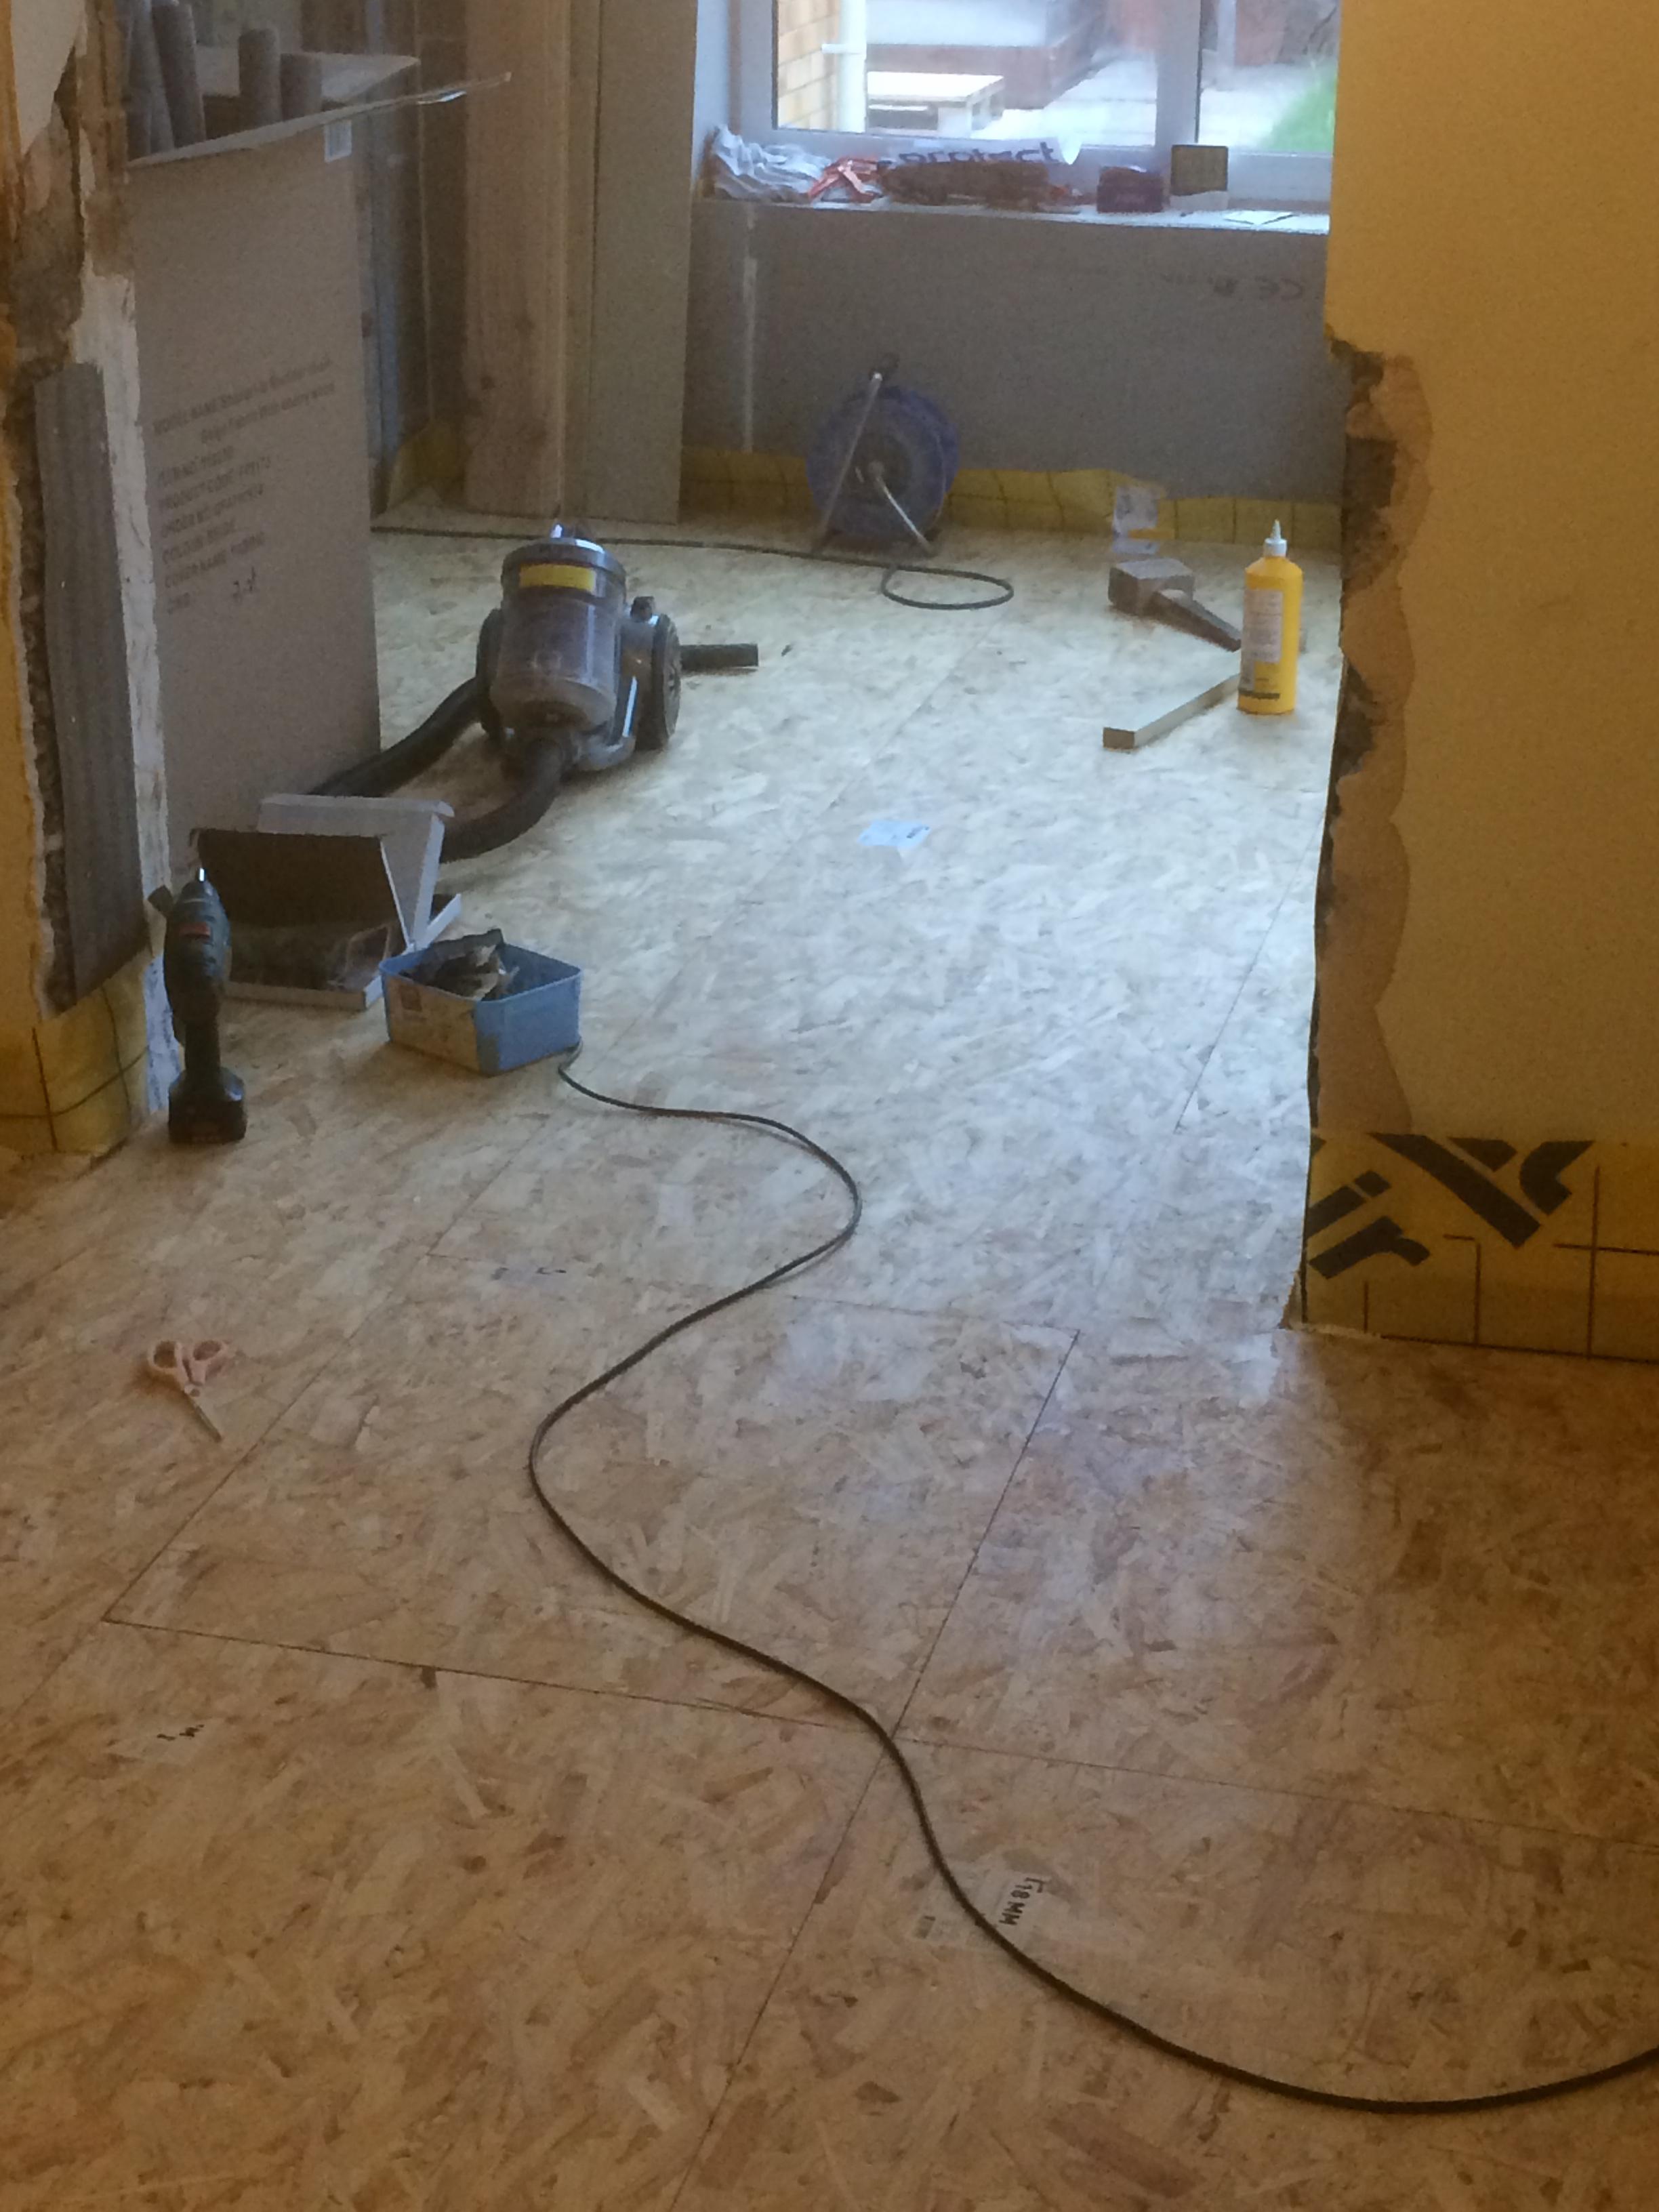
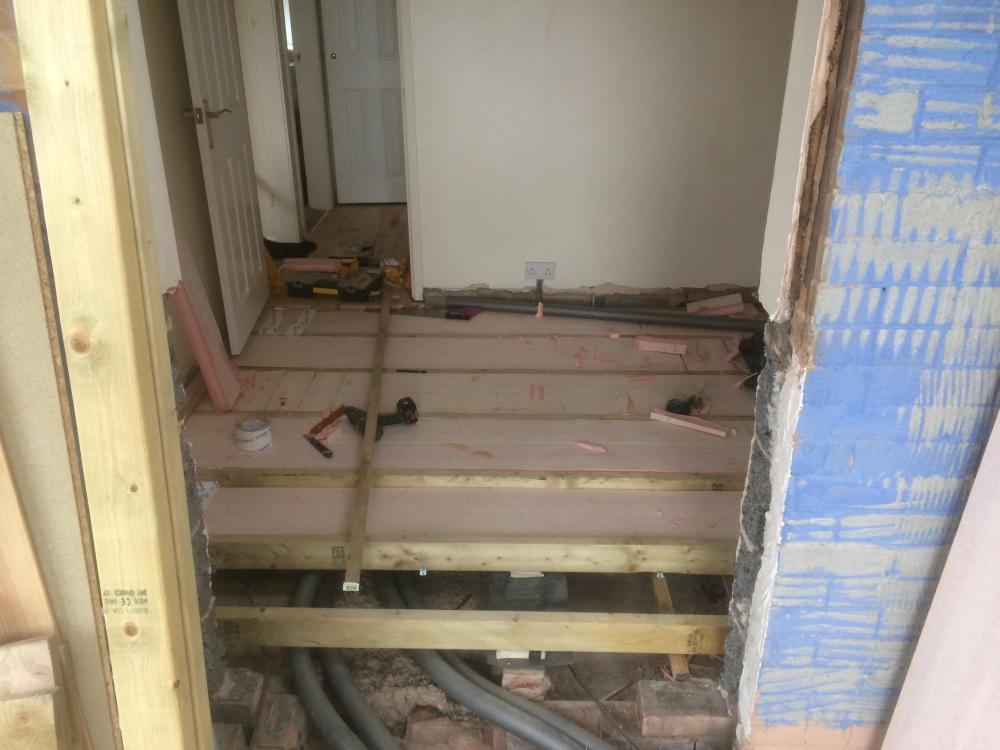
Just thought i'd give a quick update to this post, since I connected this all up yesterday, despite still not having all the radiators in situ! My wifes health is still not great, so i've just been doing stuff where I can, she is at home now and due to the early autumn weather we seem to be getting, she promptly requested the heating to be able to work. So after months of work which involved cutting out all of the existing woodwormed timber, underpinning a 60mm masonry wall, cleaning out under the floor of crap (6 rubble sacks full from the hallway and little room!), installing the manifold and all new pipework, knocking through and laying the insulation and new timber floor, here is where we have arrived: And yes that is a straight joint on the wood floor above, by the time i noticed it (was running on empty), the glue had already dried, its sat on a joist anyway, and seems absolutely fine. For the benefit of others, I've also picked up a few tips doing all this, from jobs which i'd done previously and thought were done. Turns out friction fit of PIR insulation even when done really well, isn't that good, in the rooms which I have already insulated I found many examples of insulation which had dropped through and was no longer doing its job, clearly i couldn't sort that out as part of this work, and will have to lift the floors to fix at a later date, but from now on I've been using some little L shaped brackets which protrude the bottom of the joists, to hold the insulation in place. I've also found that rather than using 1 layer of 100mm, which will obviously have joins in it, was to use 50mm (this was by total accident, supplier had ran out of 100mm phenolic, so ended up with 50mm), and to put the larger pieces with less joins in at the bottom, and then use up all of the offcuts on the top, along with a good helping of expanding foam to hold everything in place. I can now stop rushing quite as much, fearing the cold weather coming, and complete the rest in a reasonable pace. I've pretty much just got to plaster the new room now, and then put the final finish flooring down, we've decided on bamboo for this, looks really nice, extremely hard, and also sustainable which is quite important to me.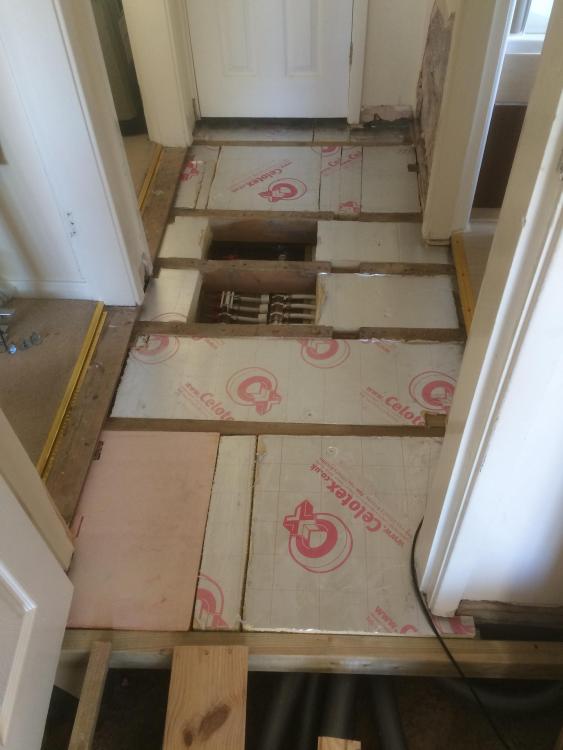

-
I totally agree, this is a building regs only exercise, it was a silent fan anyway so not a problem, in the future we are considering an airer in there for drying so I guess it would be useful. I can always tell when it breaks as the air doesn’t smell as fresh, think the garage floor paint I used was a bit chemical heavy, and still not 100% cured. I’ll consider buying something less complex, got this as we have one in the bathroom and was really impressed with it, maybe just bad luck, toolstation it is!
-
The only other thing I can think, is the room is quite airtight, and when you open/close the external doors, air gets sucked in the fan vent at a fair velocity, could this be the reason?
-
I thought it should have been fine, as you say a supply is a supply. Yeah, its never had any condensation through it at all, vented out through a tile vent via cold loft, with the pipe insulated. I'll take a closer look at the PCB, maybe ive just got unlucky, just not that fussed for spending another £50 on a replacement, again.
-
Got an extractor fan in the utility, its in the ceiling, and for some odd reason it keeps breaking. First one broke early part of year, was one i bought off ebay (Vent Axia Centra dMEV), and I just thought, ah well, clearly was something wrong with it, so bought another of the same model, again off ebay, lasted 2 months, and that one has stopped too, so i'm thinking there must be something more to it that this. I've connected the fan via a plug head in a 13a socket, think I used a 3A fuse (whatever the lowest rating was which would fit the plug). There is absolutely no action what-so-ever from the fan, when you power them on they are supposed to put a blue LED on and do several tests, but nothing at all, so I'm hazarding a guess the computer board is fried. Would the fact its connected to plug head be the reason for this? I've still got the old one too, can't see anything obvious on the boards for damage.
-
Variable Solar Storage with Batteries
MikeGrahamT21 replied to MikeGrahamT21's topic in Energy Storage
Yeah thats not too bad, wheres that from? Trouble i'm having is the G59 form which needs to be filled out for the grid supplier. I'm going to email a DIY shop and see if they would be able to help at all. I've taken a look at the form but wouldn't know the answer to most of the questions on there. -
Use some marmox on it: http://www.marmox.co.uk/marmox-dry-lining You can also get curved boards too: http://www.marmox.co.uk/products/curved-board Treat them exactly as a plasterboard when plastering.
-
Extension was built where we had paving flags before hand, and basically all you can see is the cement which was under the flags which is pretty decent, but has holes in places. Yeah we've got plenty of air bricks and cross ventilation, including in the sleeper wall, which has DPC on top of it before the joists, so no damp will rise from there into the timbers. I stuck a soil probe into the bits i could get to, and it actually registers as dry, so it perhaps is just dark soil which 'looks' damp. Attached to this extension is a utility, and when they were building that, we had a huge downpour which filled the cavity between this extension and the utility, the concrete foundations are also higher on the utility, and I've a feeling its just the damp from that still percolating its way through which will evaporate in time. Because there is no floor down at present in extension, the airflow is going to be massively hampered, as its just coming straight into the room, once the floor is airtight, the under floor ventilation will improve massively.
-
Hi, We had someone in to do the foundations for an extension i built three years ago, and they forgot to put any DPC down under the oversite, now i've swept and hoovered the base, i can see areas of soil which are damp (no idea how with how dry its been). I know older houses have this style oversite anyway, so would you do anything? And if so what? Thanks for any input. Regards Mike
-
Vent-axia broken extractor-fan
MikeGrahamT21 replied to Cpd's topic in Electrics - Kitchen & Bathroom
https://www.ebay.co.uk/itm/Powerful-Inline-Loft-Extractor-Fan-4-100mm-made-by-Vent-Axia-Black/401391020024?hash=item5d74c4e7f8%3Ag%3AKOEAAOSwwE5WUxle&_sacat=0&_nkw=vent+axia+in-line&_from=R40&rt=nc Thats the cheapest 100mm in-line fan by vent axia i can find on ebay. My be worth changing for a centra though if you can change the ducting pipe for a longer one, should be a better overall experience. -
Vent-axia broken extractor-fan
MikeGrahamT21 replied to Cpd's topic in Electrics - Kitchen & Bathroom
Is this just a standard 100mm fan? Why not replace it with a brand new one, Vent Axia Centra Lo-Carbon is the one i've used, you can pick them up on ebay for around £50, will be a lot quieter than that old one, and use less power, plus its also a dMEV so will give continuous trickle extract ventilation.