
Pocster
-
Posts
14421 -
Joined
-
Last visited
-
Days Won
29
Everything posted by Pocster
-
Yeah I know. I'm sure it's not that bad - just don't like it; when there's little you can do. Tomorrow will tell!!!
-
Is it possible to be a double bitch?
-
No,I should be ok. Their eye will be drawn away from the ceiling towards the dodgy tiling.
-
You bitch ! . ??
-
No , it’s lump free and very liquid . With colour I mean not like cheap watery paint . Glad that’s done though
-
Wait until tomorrow and ‘proper’ lighting
-
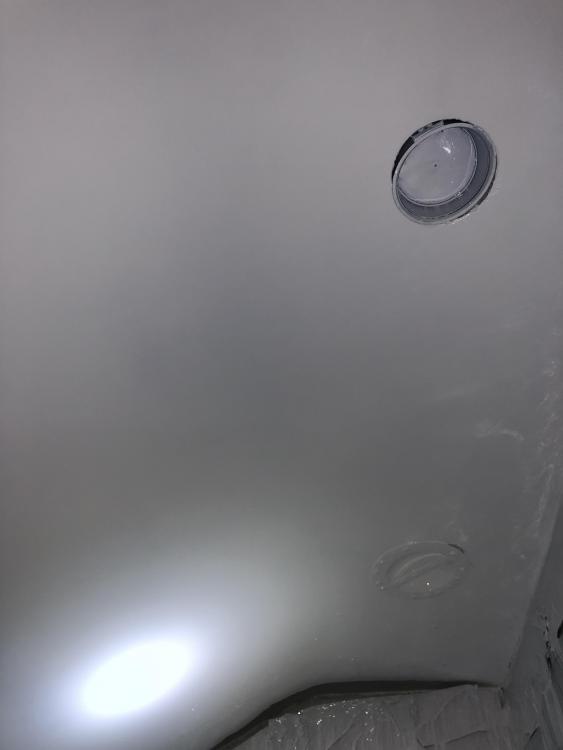
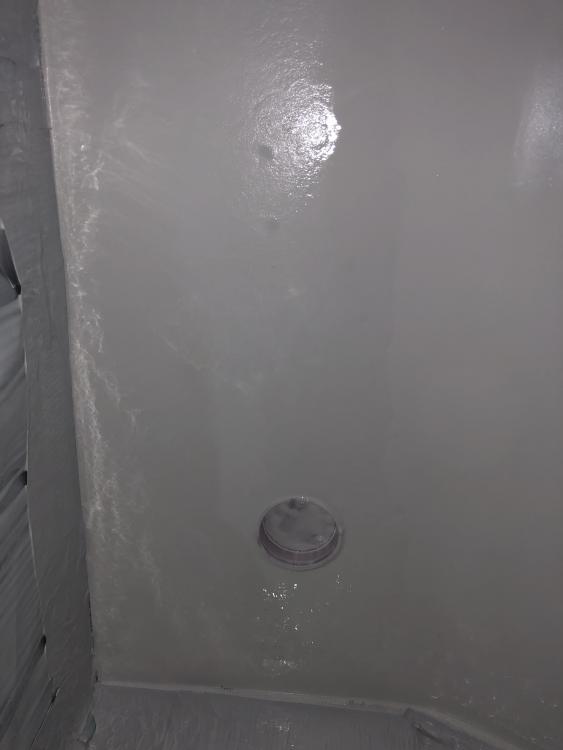
Hard to tell from photos . If I use the tip of my finger to touch the bubble paint comes off and bubble does ‘shrink ‘ . Problem is I’m inspecting it now close up and with a torch . So runs and plasterer imperfections even more obvious !
-
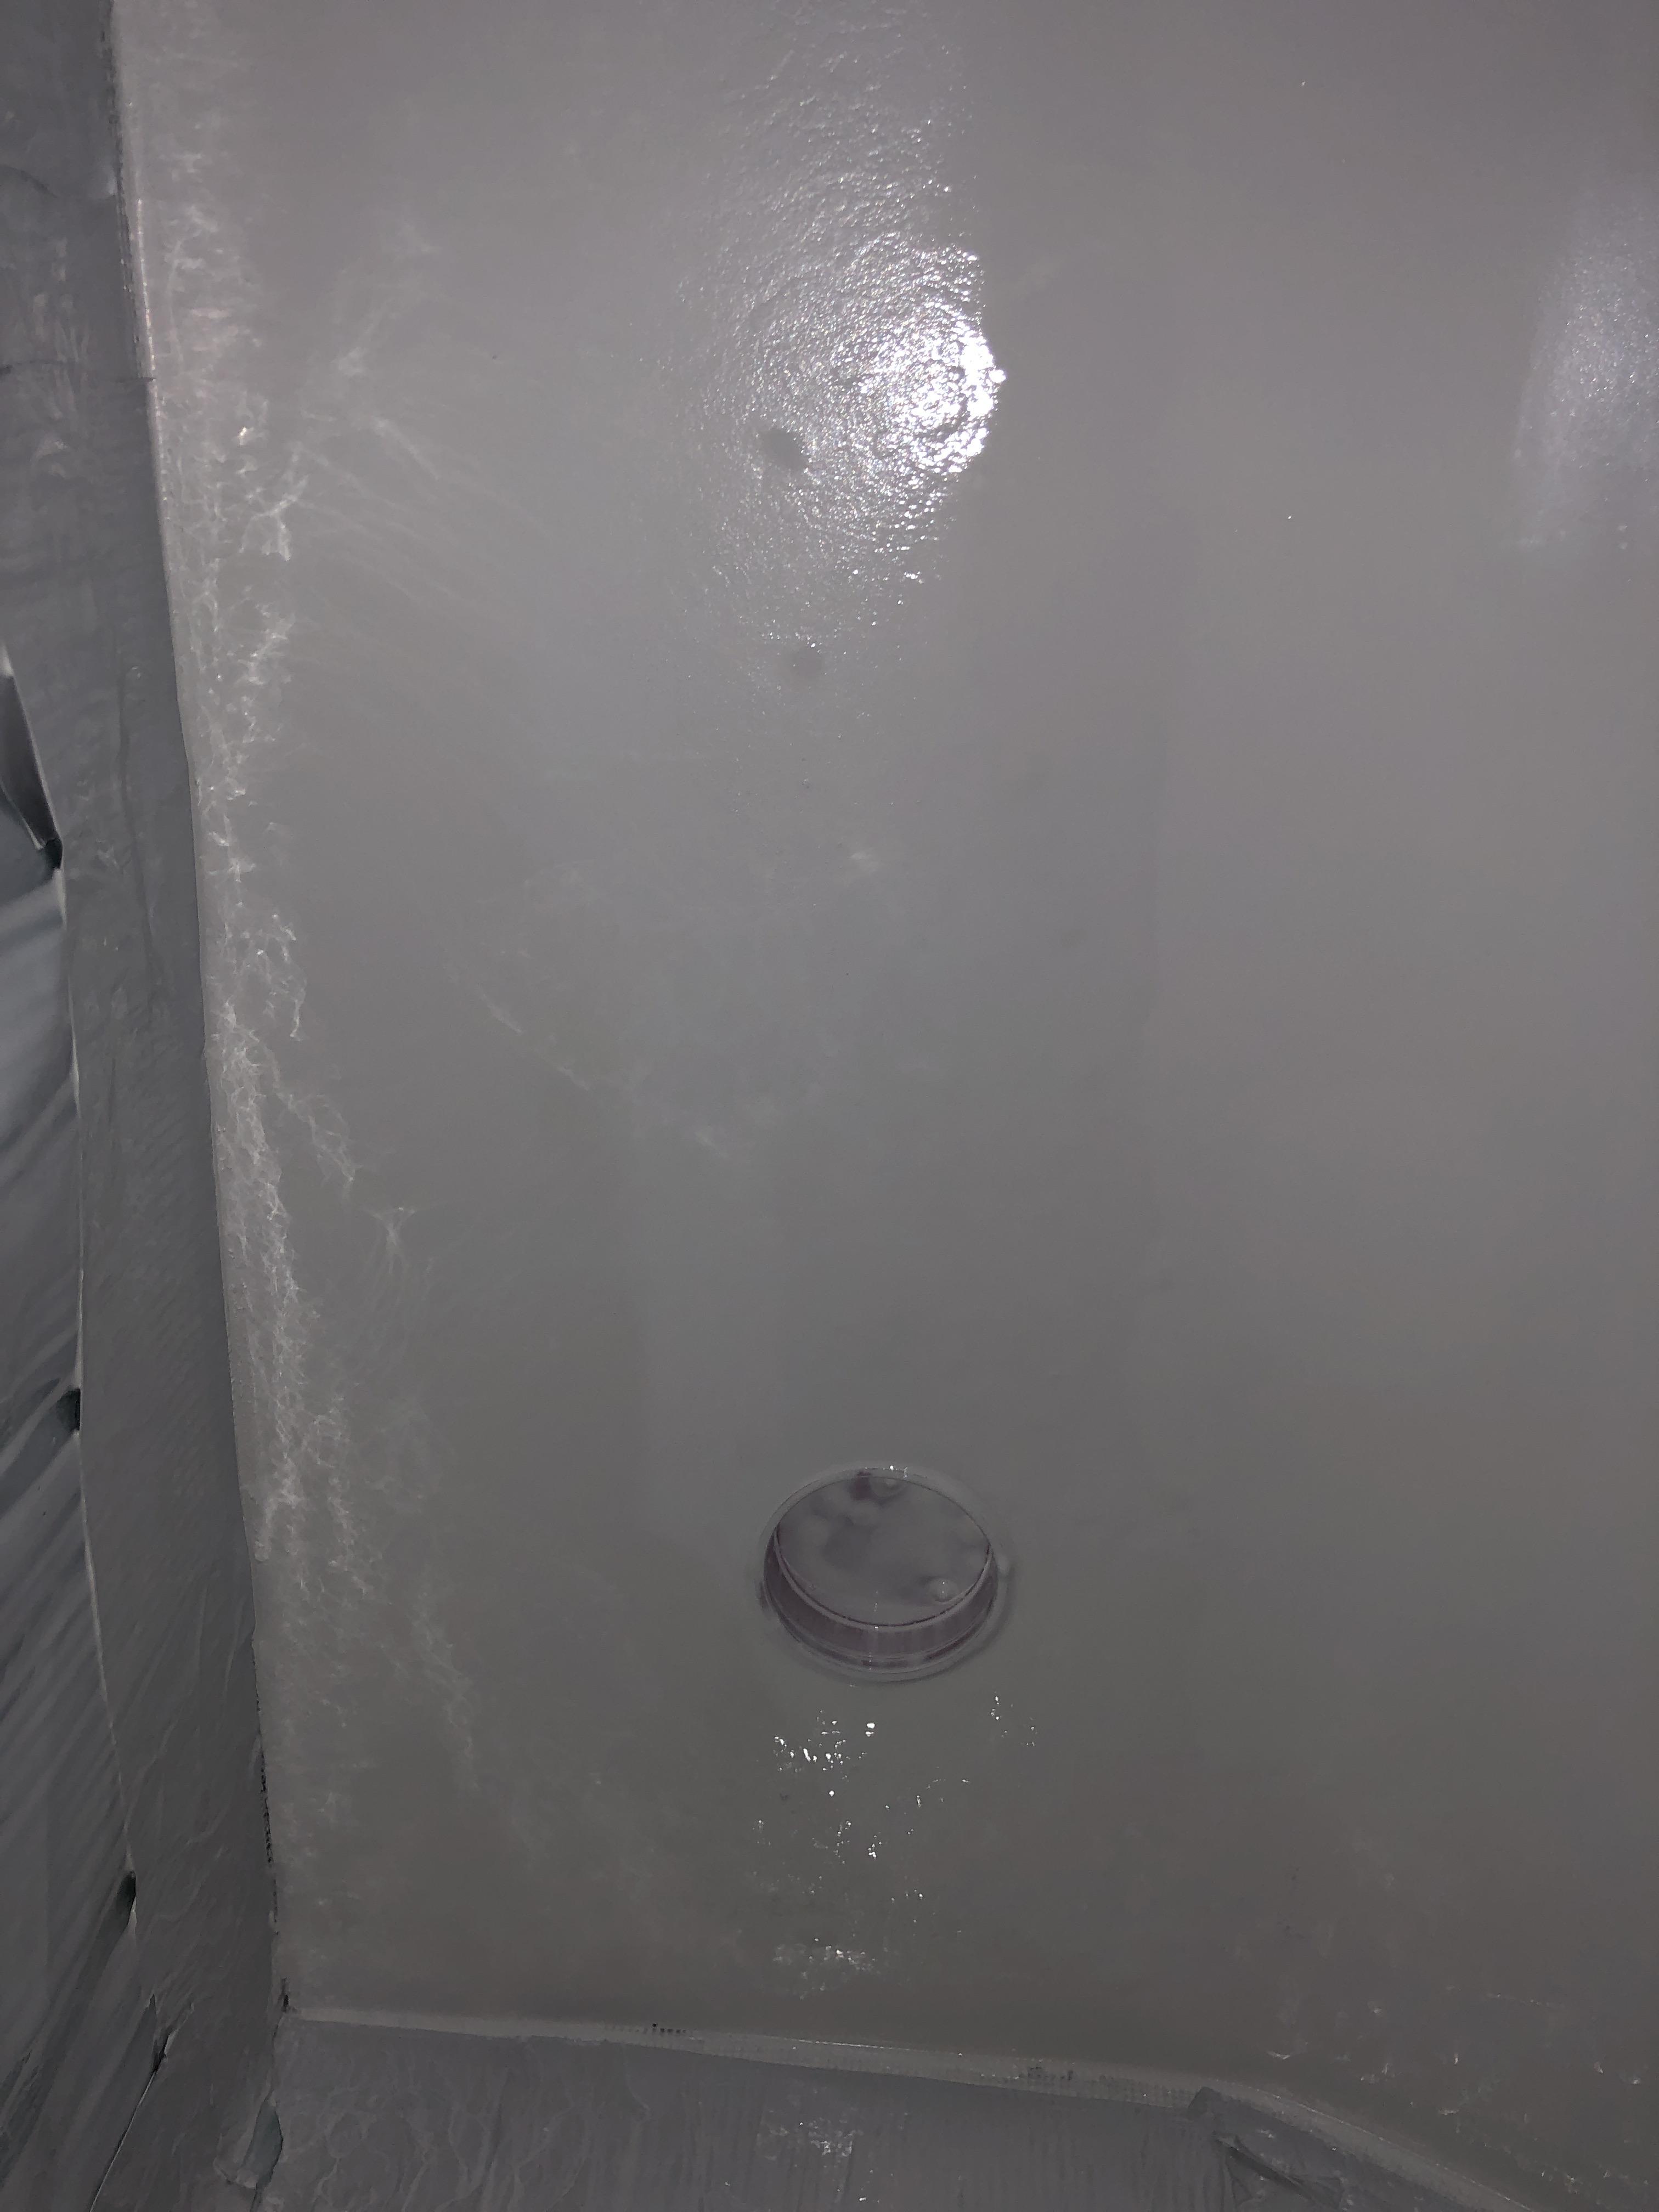
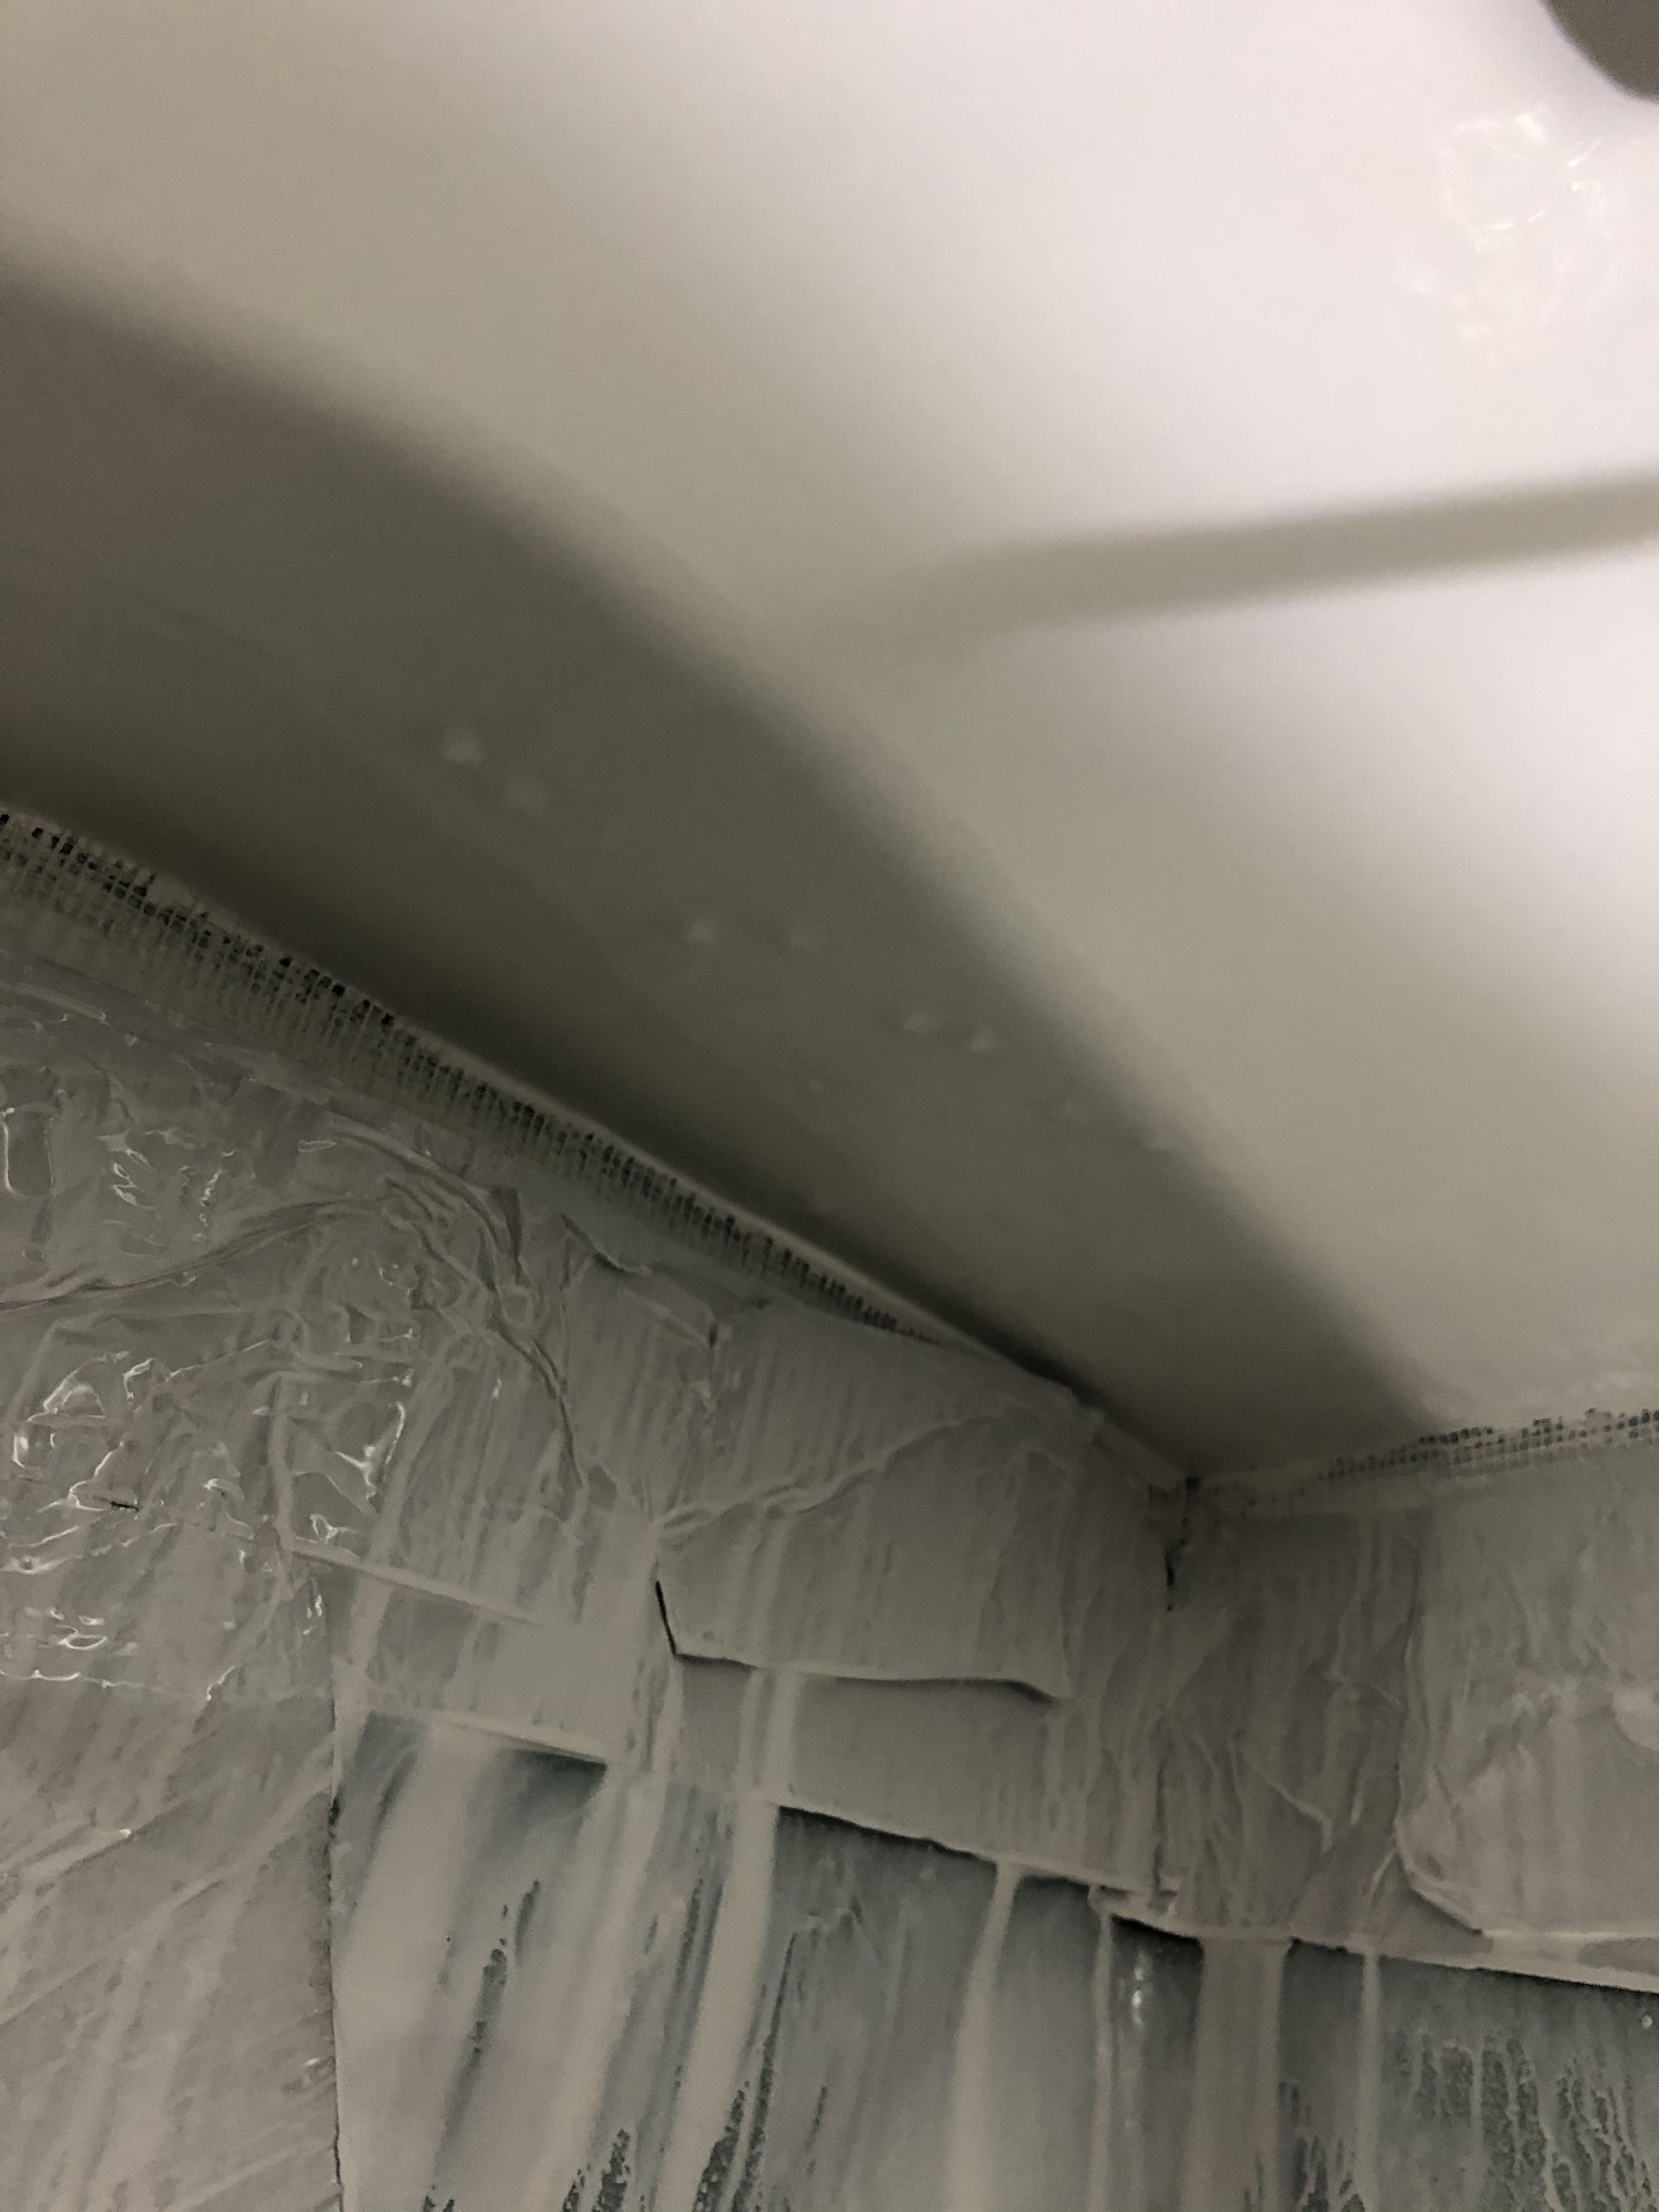
Some photos - using camera flash so ‘up’ lighting !!

-
Ensuite ceiling will be less than perfect ! But I also remember from the bathroom when I re install the lighting it’s far less noticeable as the lighting is downwards . That’s the runniest silk paint I’ve ever used . But then again 99% of the time I use emultion . Is silk paint usually like p*ss ?
-
Argh ! Runs all down the ceiling curve ! sponged out ; it’s hot so drying real fast Just enough paint to really quickly over spray
-
Bubbles !!!!! I’ll sponge them gently out then over spray from a greater distance
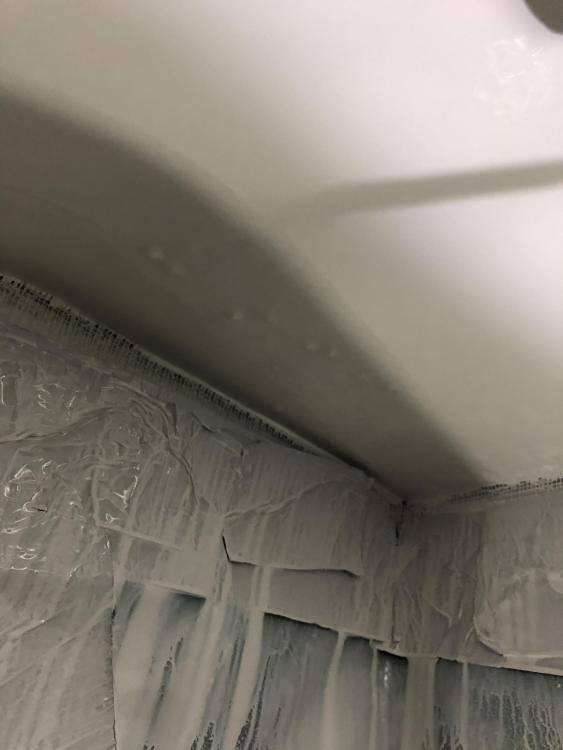
-
Decided to be brave and finally spray the ensuite ceiling . Forgot what a faff it is ! Noticed something different in the ensuite - paint would form ‘bubbles’ and then run down the curved ceiling !!! Now I mixed it with the tinyist bit of water ; tbh it doesn’t seem to mix very well at all . Even after 10 mins in a electric paddle mixer when you first spray it’s just water coming out . As though the water has ‘sank’ to the bottom . Seemed to almost use twice as much paint than last time . Pretty sure I had the pressure in ‘2’ - assume my bubbles are simply too much paint coming through . Again noticed when it hits the wall to ceiling area it hits the wall and bouncing off causing issues . Will check in 10 mins . Maybe overspray patches if need be . This was silk paint . Rest of build is emulation ; so hoping it ( I ! ) fair better . I’m not completely white this time . Though still 2 hours of ‘clearing ‘ up to do ......
-
Boom boom !
-
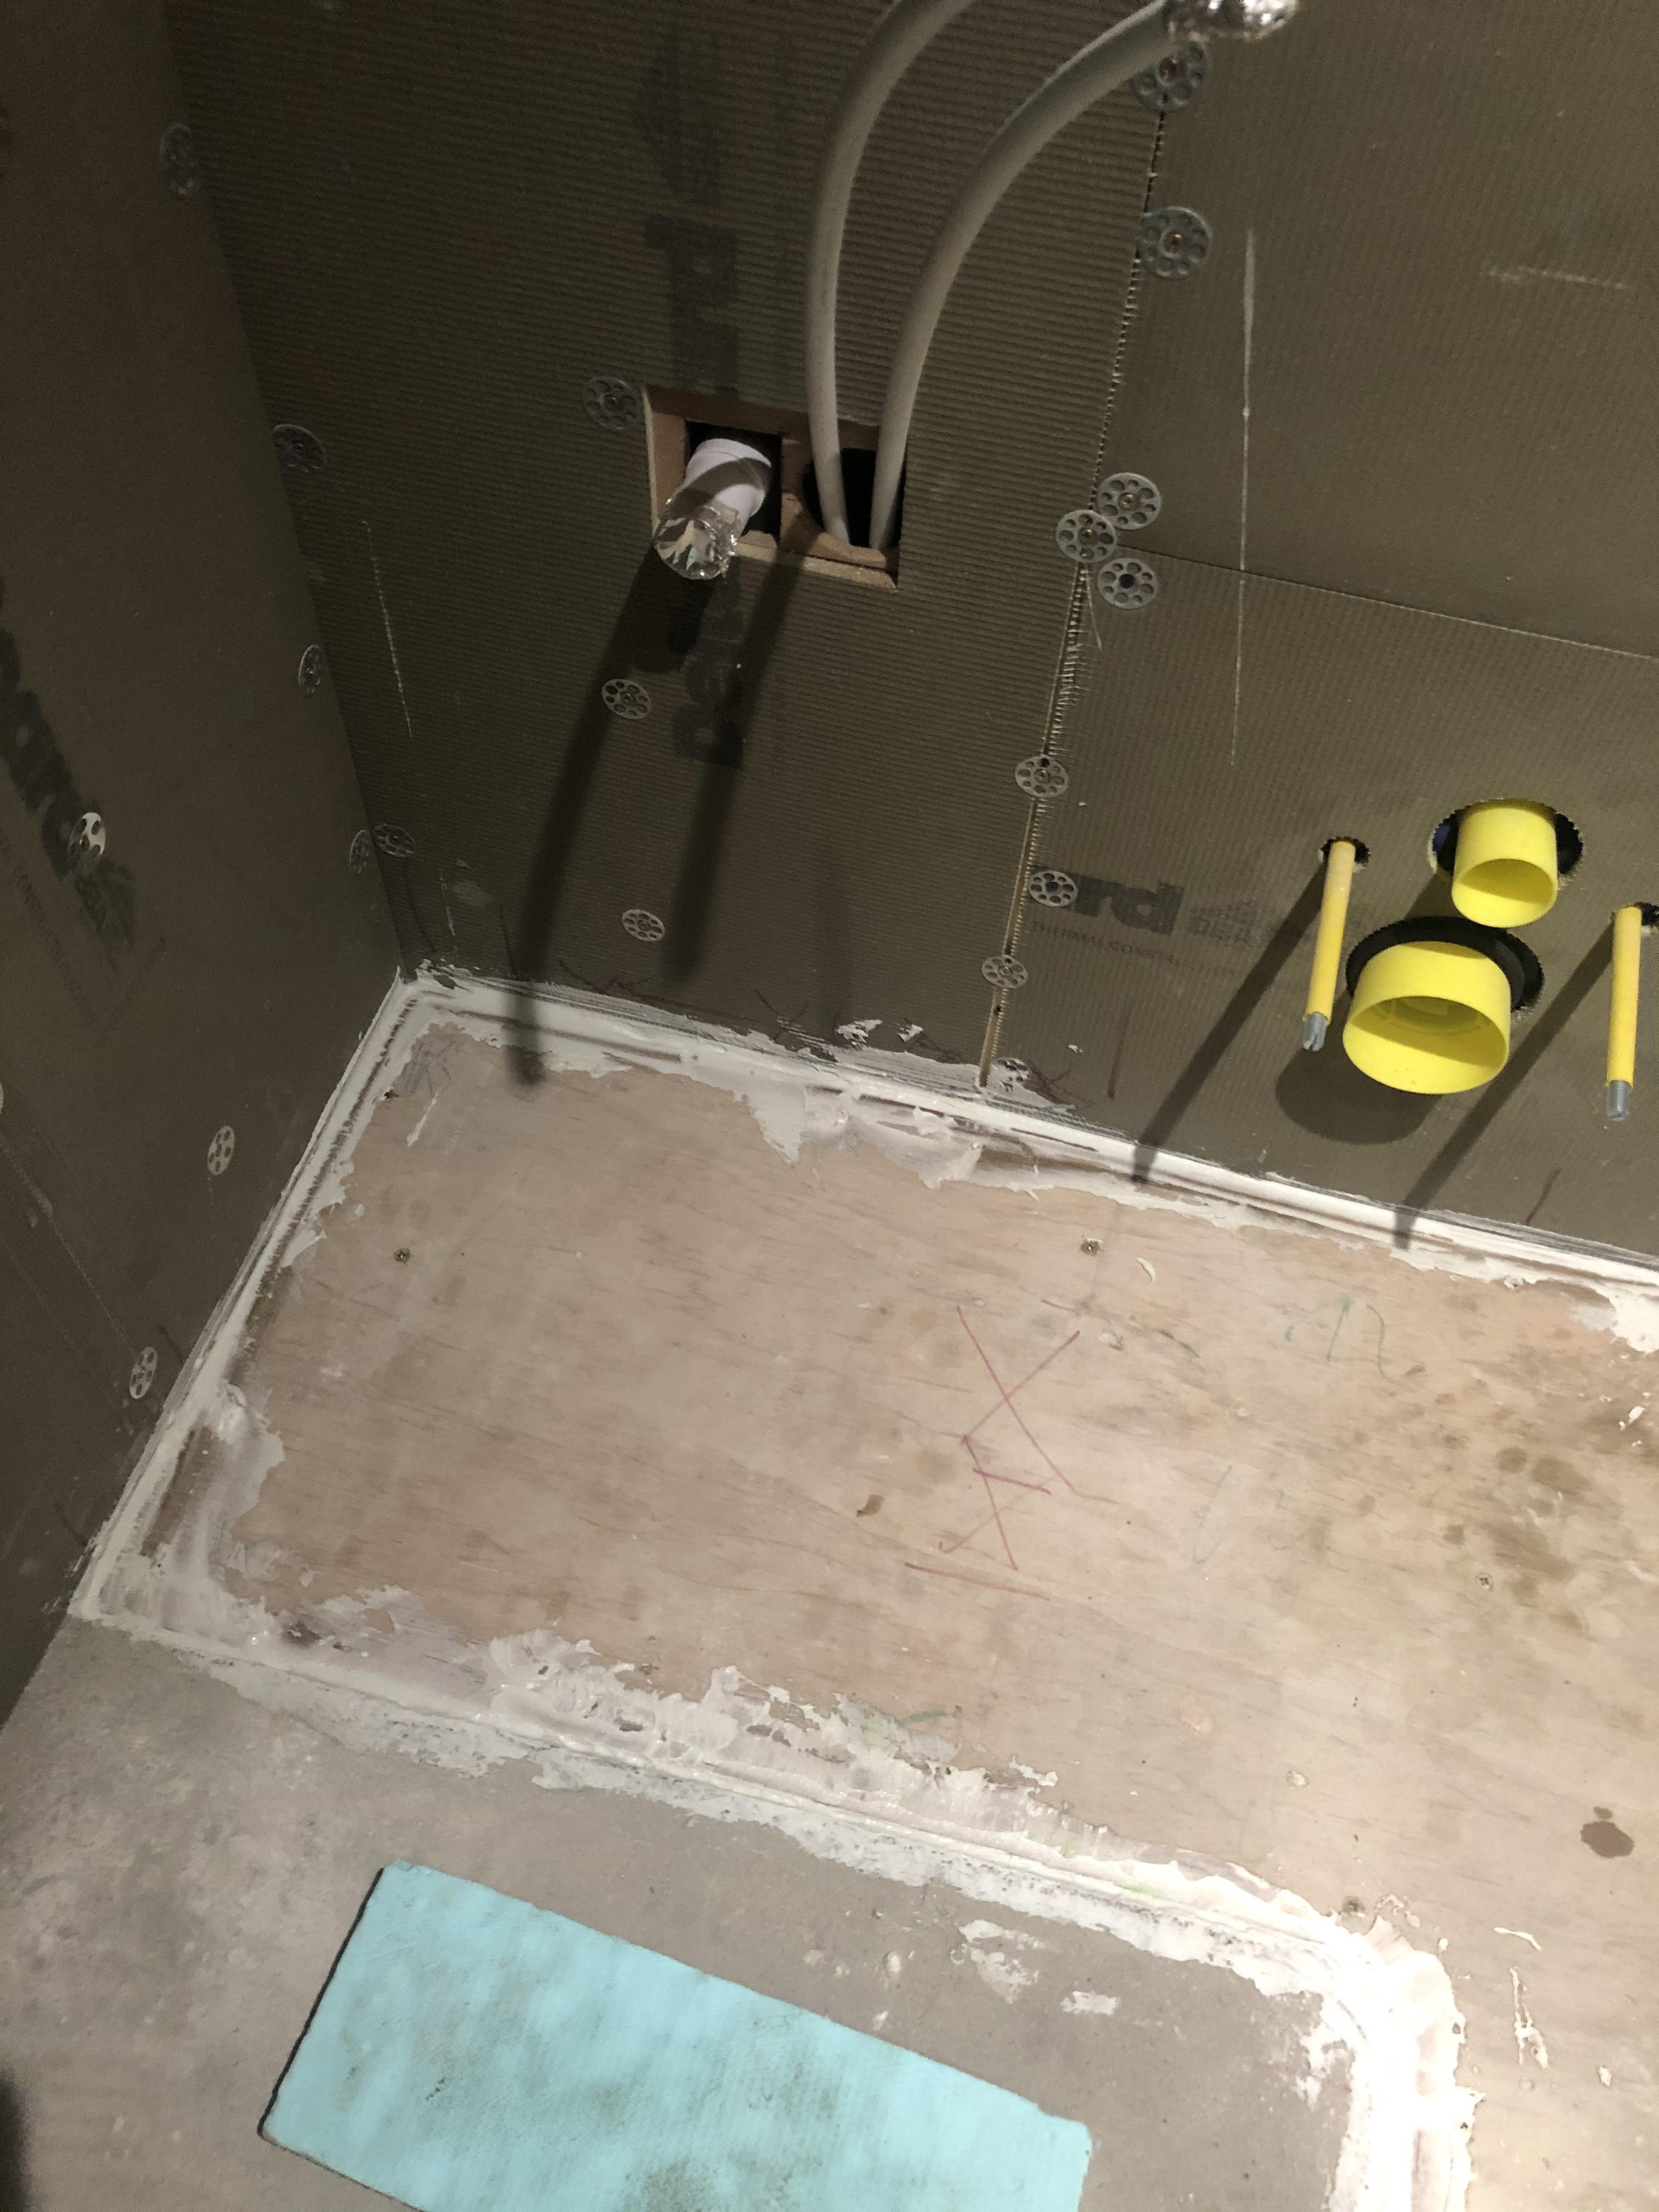
Mixed some flexible floor adhesive just to fill gaps at floor to wall joints and where ply meets screed . Followed the instructions ; but was way to fluid . Thought it would stiffen up as a hot day - but no . So added some more . I’ll leave this now and check tomorrow. If good will mix a stiff mix and bring the ply level upto screed level (3mm ish )
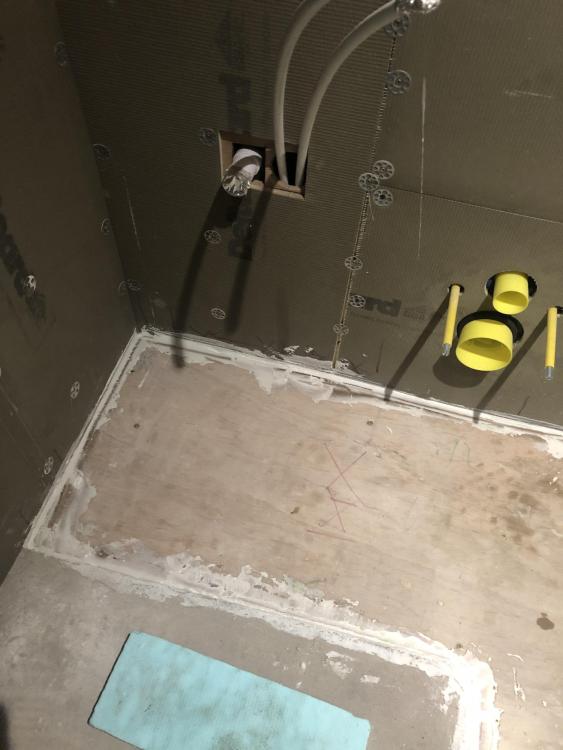
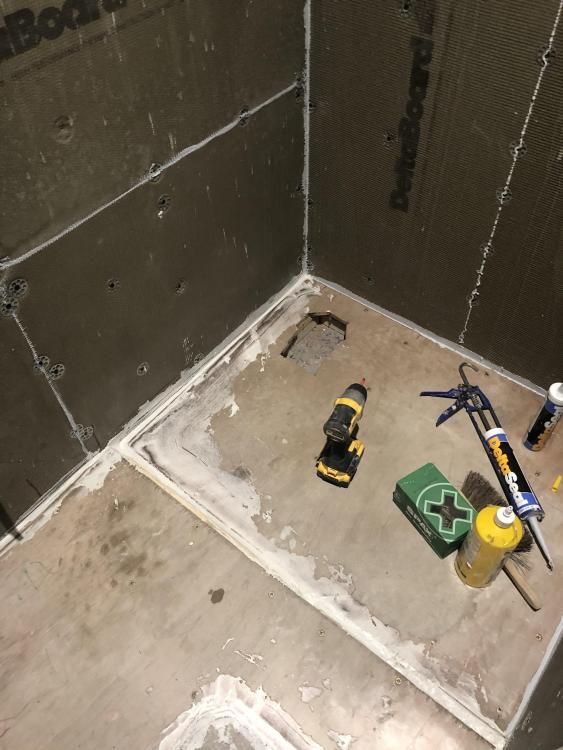
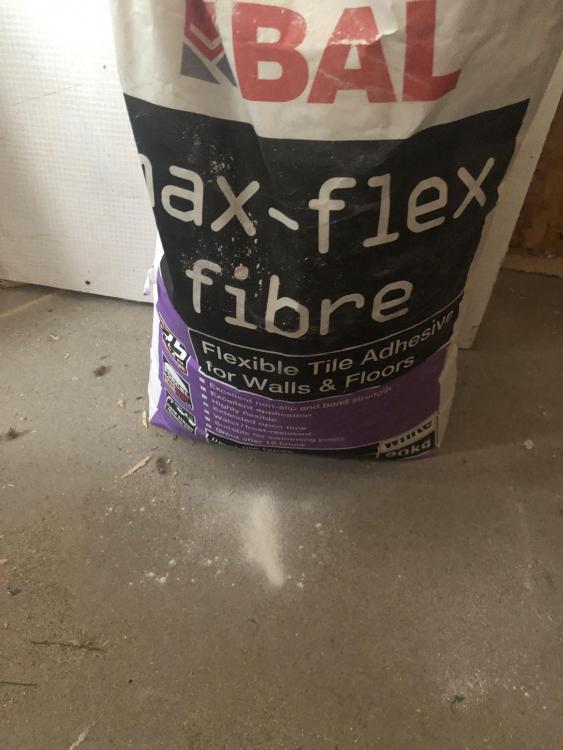
-
Thanks ! I’ll do that anyway !
-
And I swept it ???
-
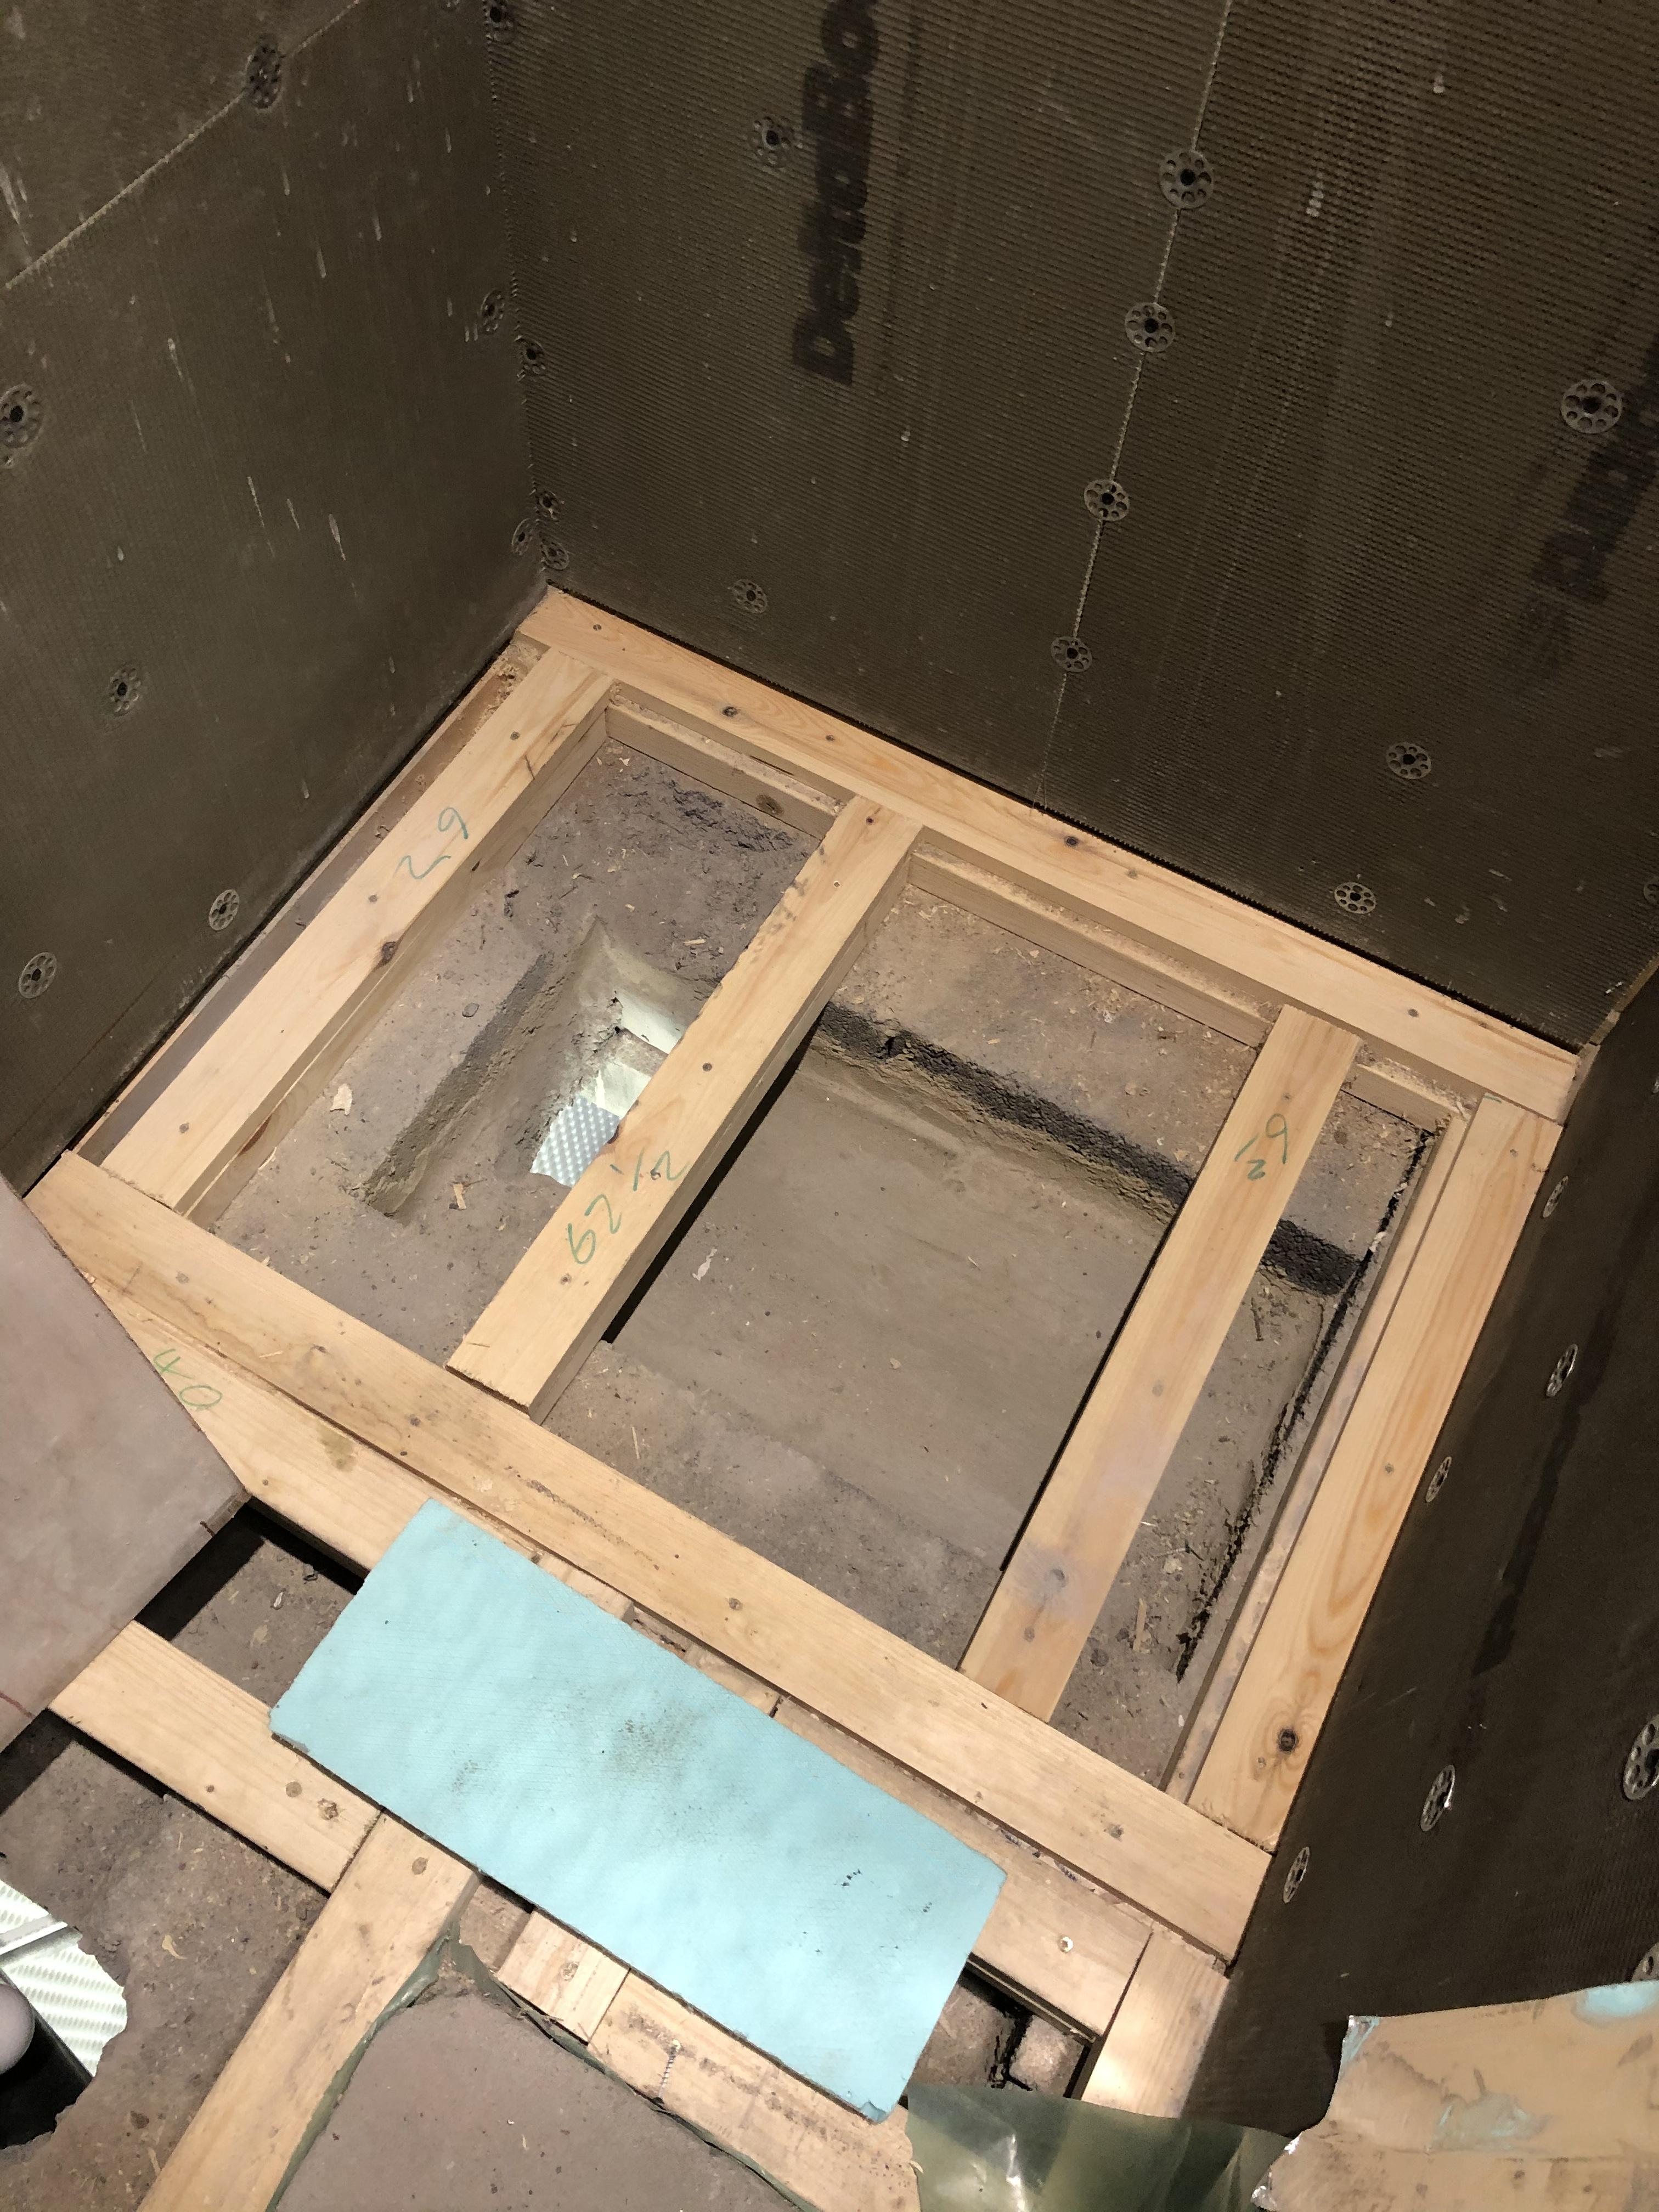
Glued and screwed - that ain’t going anywhere! ??
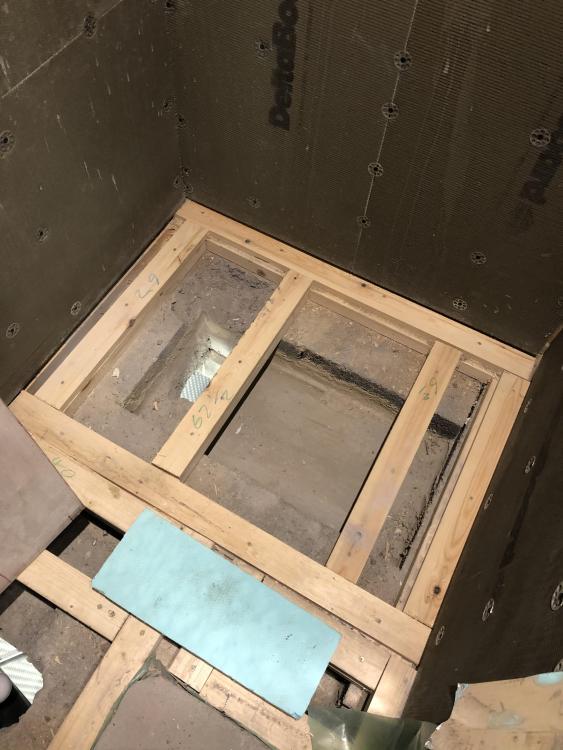
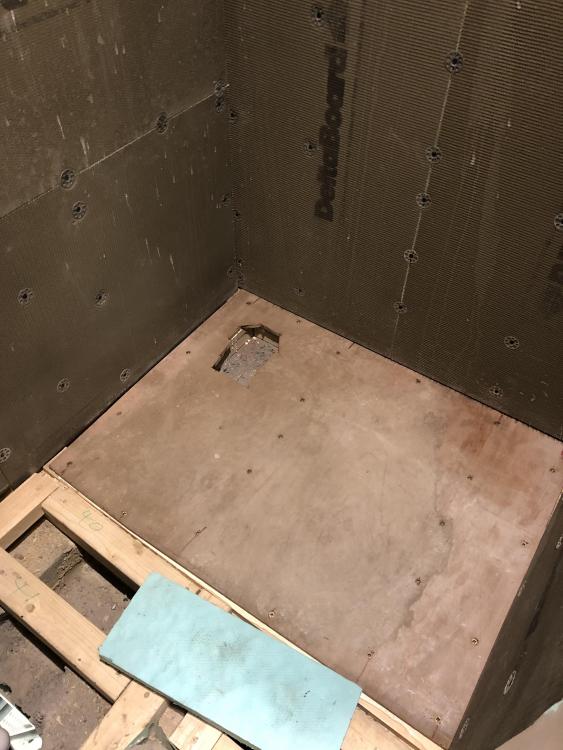
-
Back of tray doesn’t seem to have any coating or anything . Assume there’s actually nothing to do here ? I.e tile adhesive should stick to it ( but will test ! )
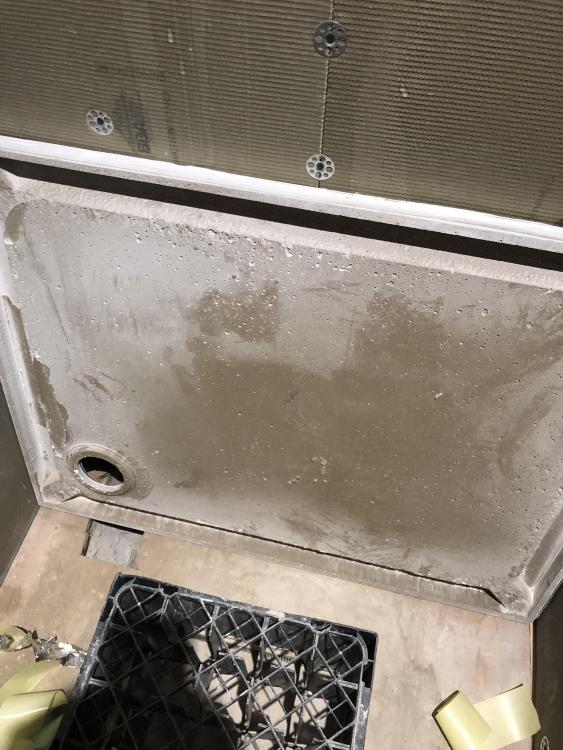
-
And the pics are of my legs - bonus !!
-
Star !
-
Nick , sometimes I’ve measured 10 times , cut 6 - and it’s still wrong !
-
I like the concept . But , the reality is - this could turn into a major F up . I’ll come back to my pig heavy , awkward tray later ....
-
Mine are just hand suckers . I used them to move my famous walk on glazing around . They are ok ; but you can ‘see’ them slowly losing their suction . Ok with glazing as you can set it down and re apply them . My bathroom will be complete before @Onoff ‘s which still isn’t finished ?
-
Got ya ! so ct1 through flattened applicator head down all 3 sides ! Instead of talking about it I’ll get on with the tanking of all the joints first . Funeral today so talking about fitting a shower tray needed to cheer me up ?
-
I've got some glass suckers and I certainly don't trust them to hold for any length of time.....