
Pocster
-
Posts
14055 -
Joined
-
Last visited
-
Days Won
29
Everything posted by Pocster
-
Can I move in please ?
-
What’s going to happen in this shed ? It doesn’t look like it will be filled with crap , but does look like a good place to keep the mistress .
-
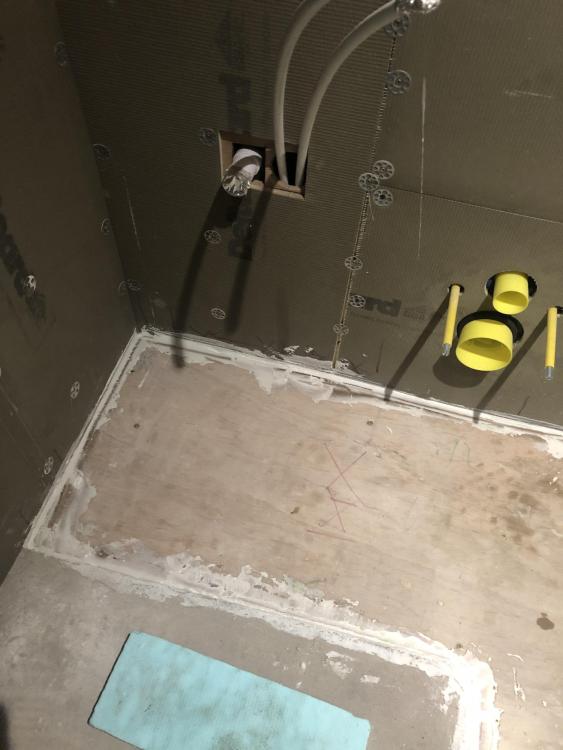
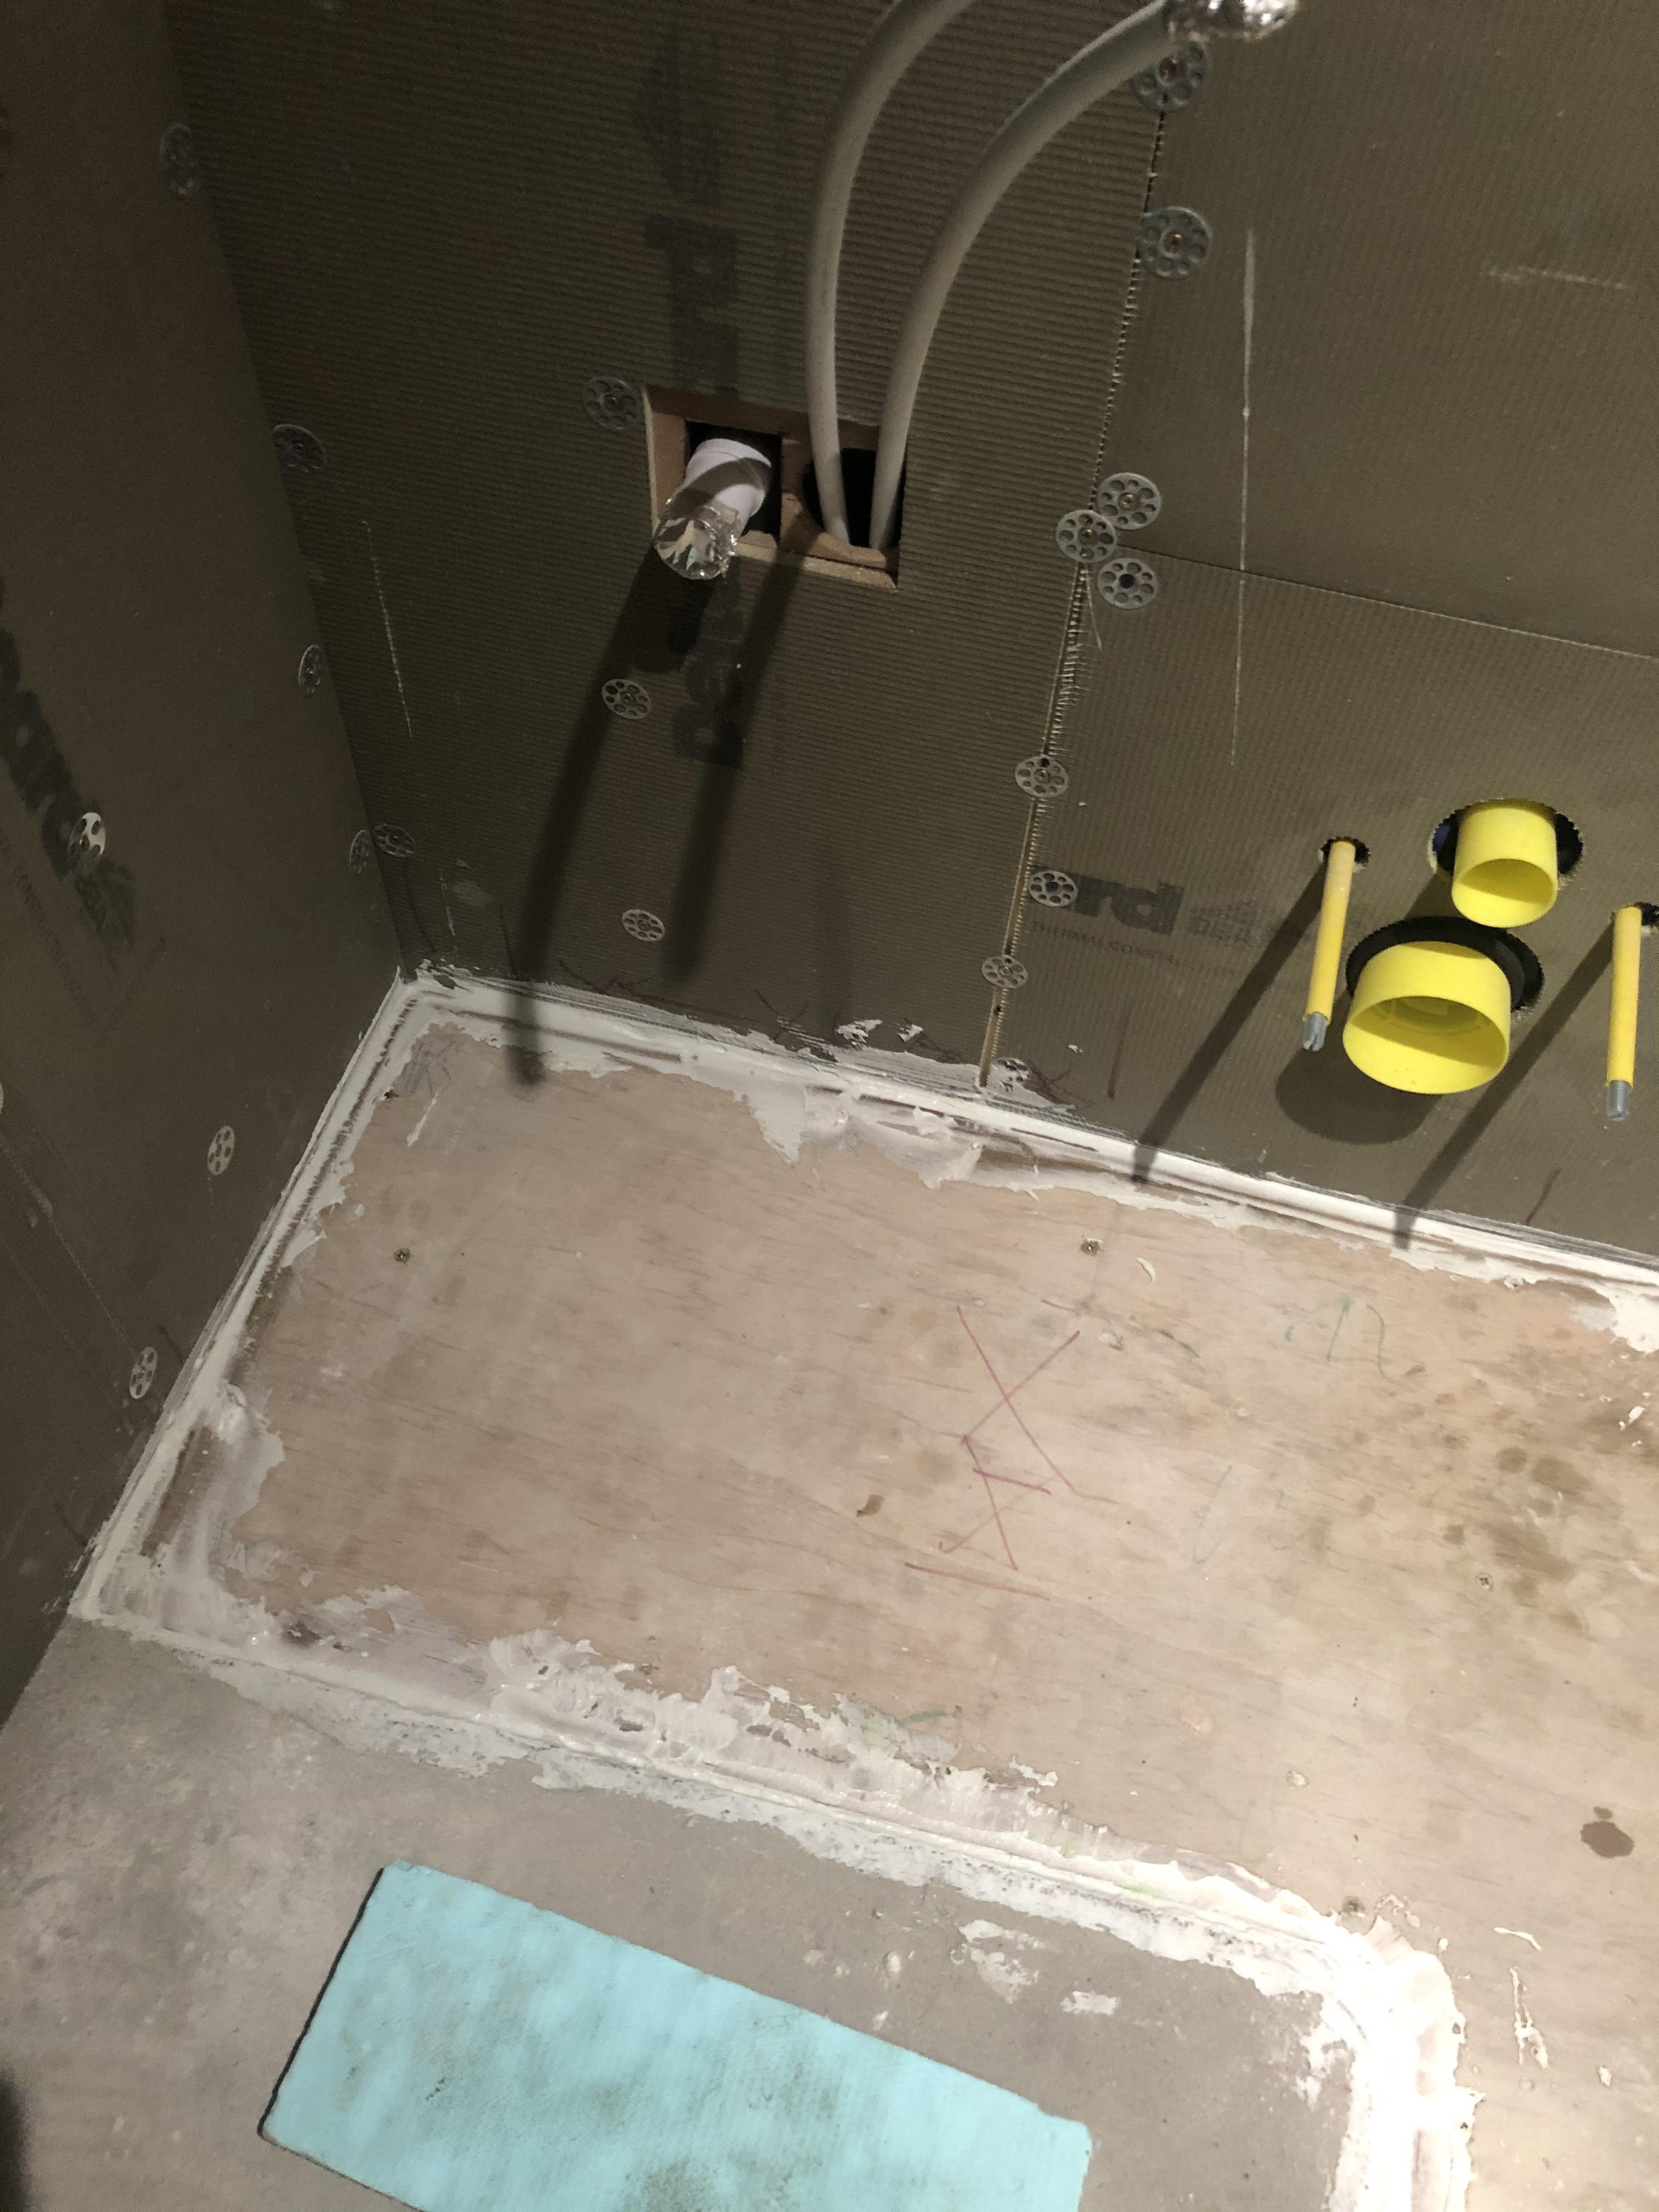
Tile adhesive on the ply to bring it up to near level with screed

-
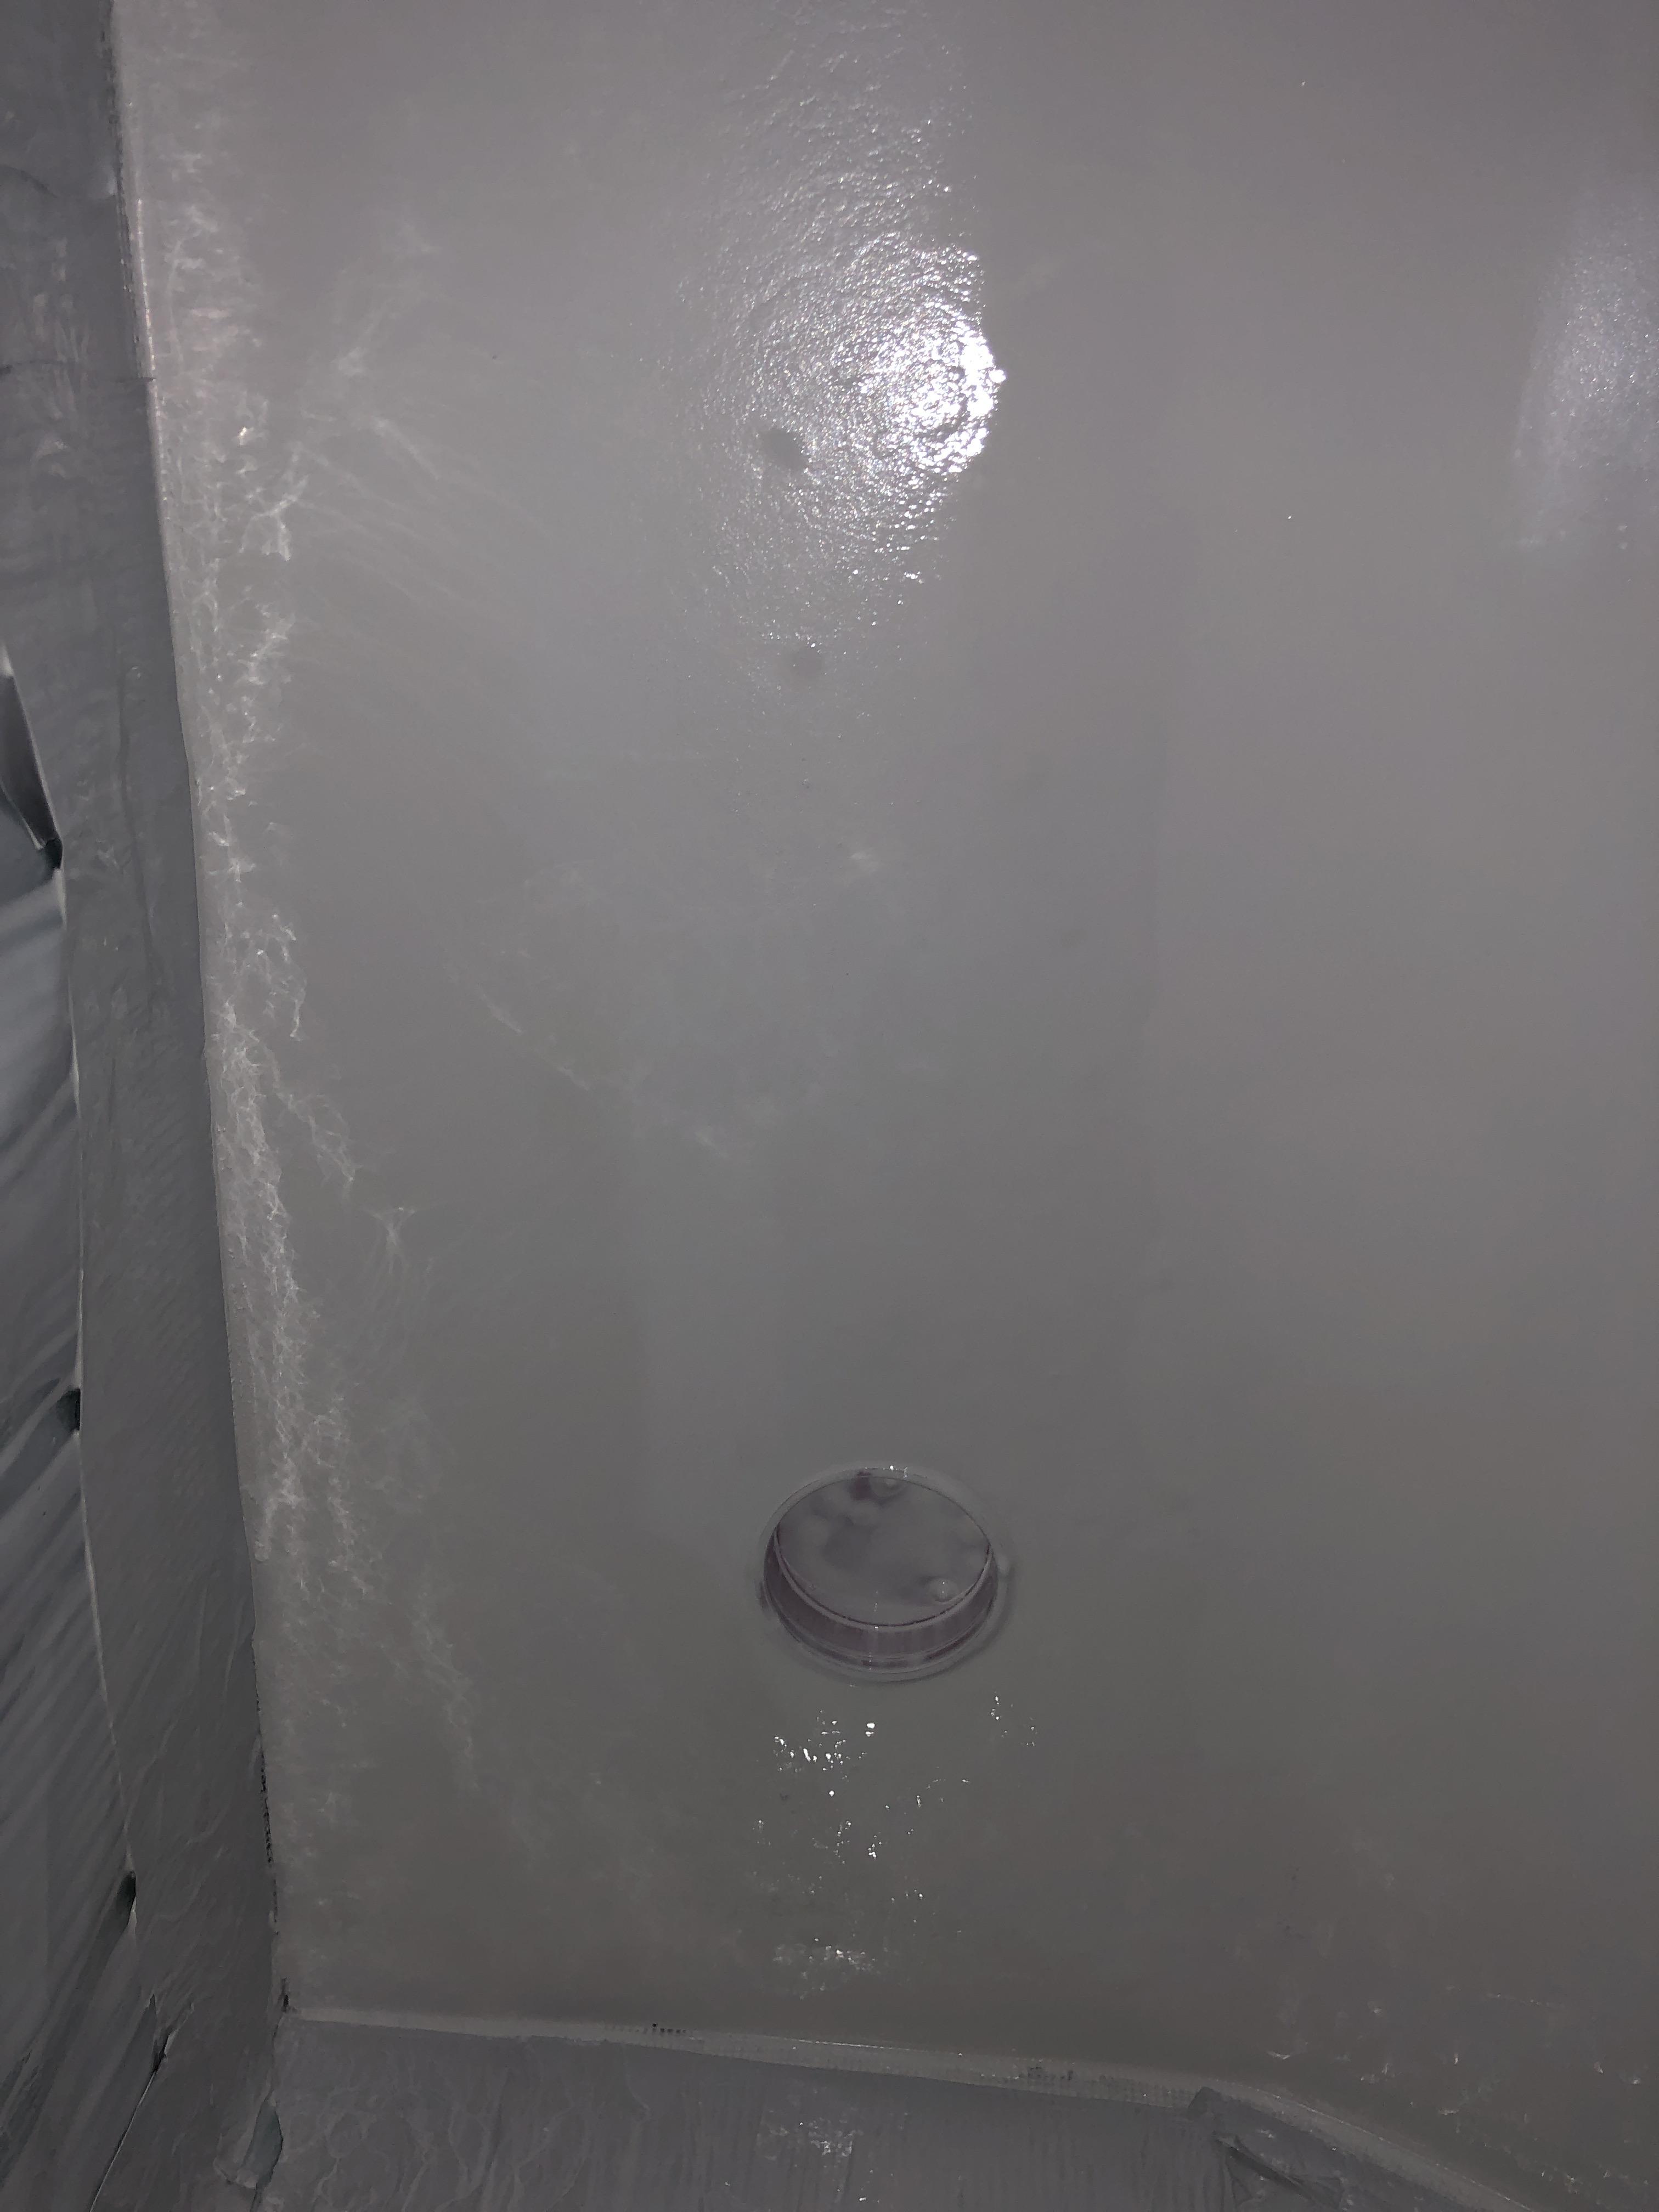
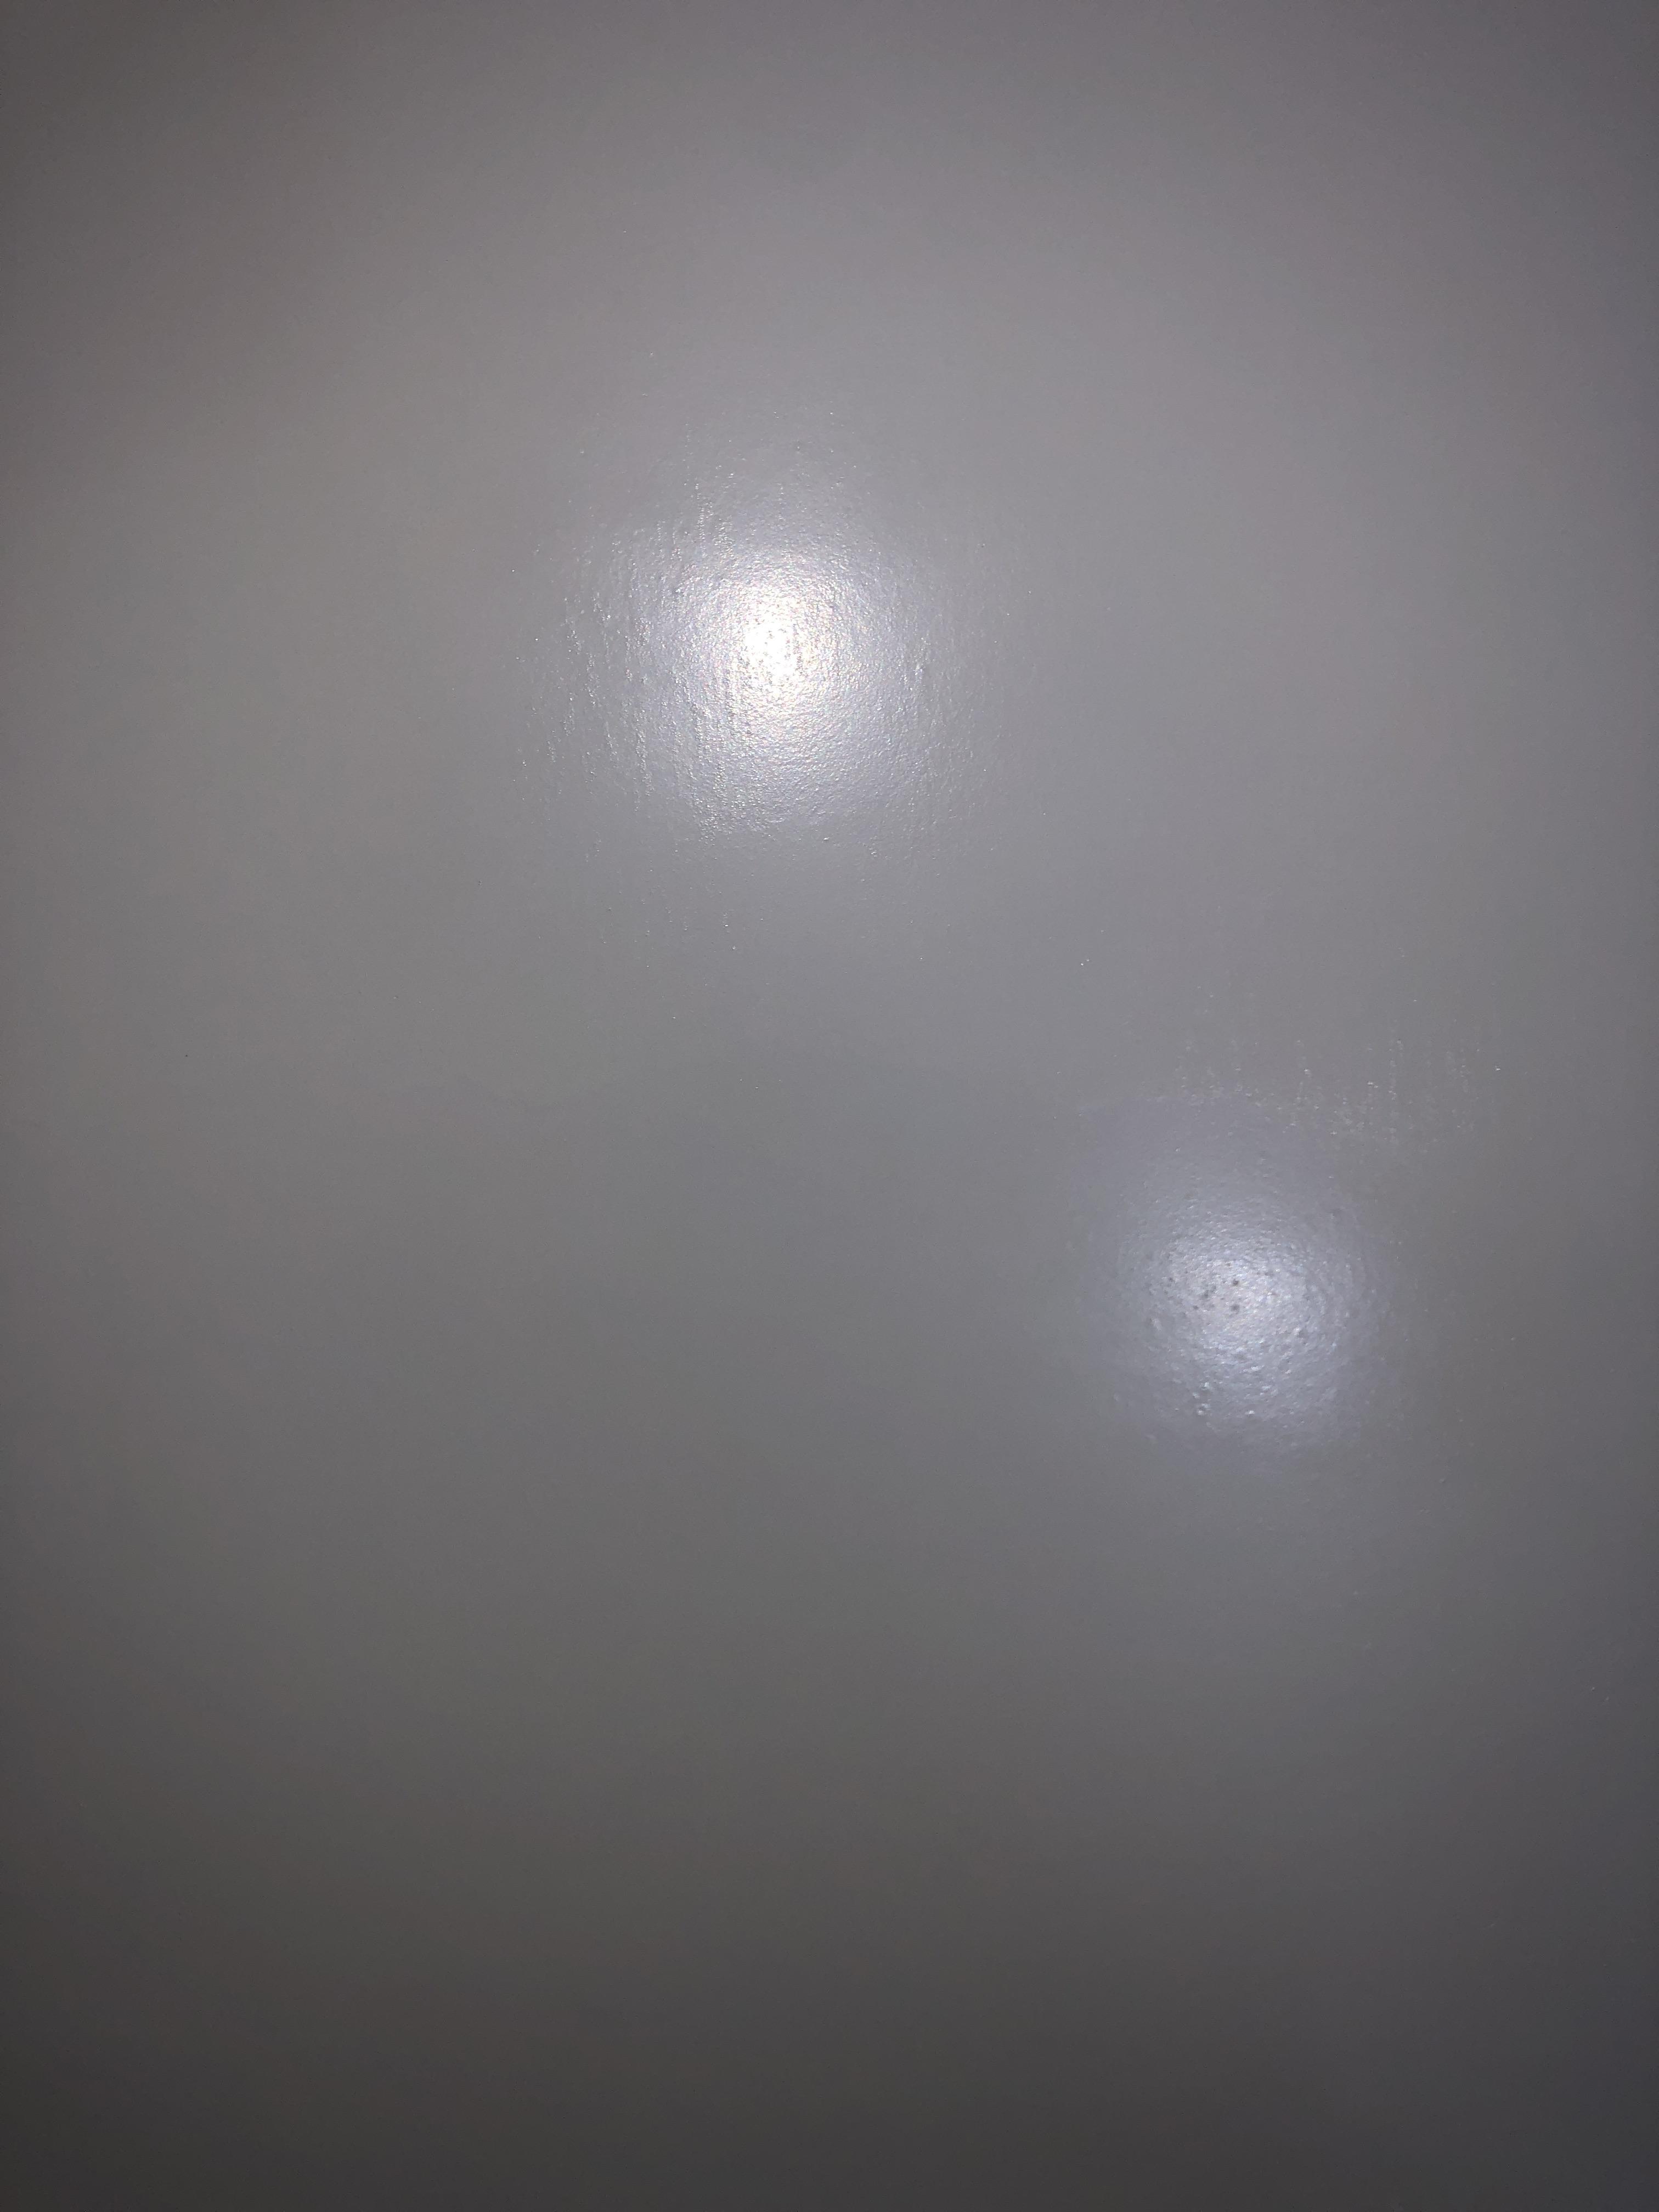
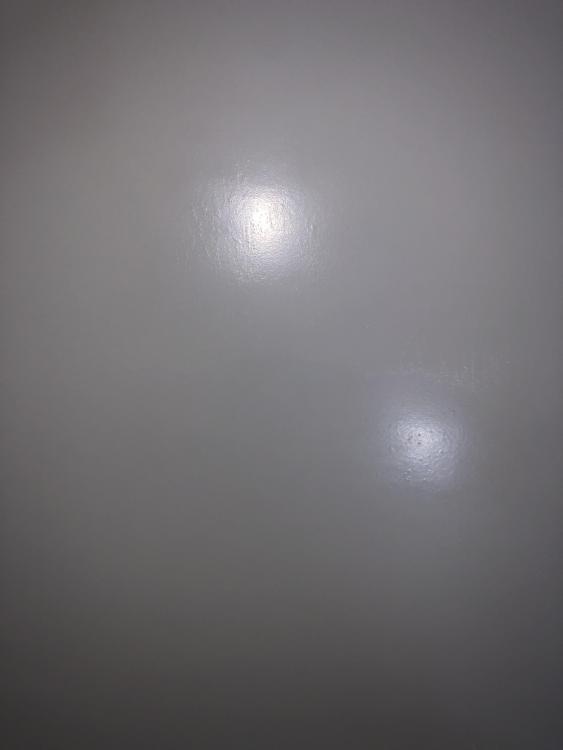
Yeah phone photos with flash usually make things look much worse . Standing in the ensuite with the light on and deliberately looking for ‘faults’ - it’s hard to see anything . So on that basis a success !!
-
Www.pcsboard.com Can’t buy direct . I bought a ‘kit’ from my tile supplier ( TileFlair ). I think the kit is only available from TF
-
Day of reckoning ! Put the light up and ....... If there are any problems I certainly can’t see them ! ??
-
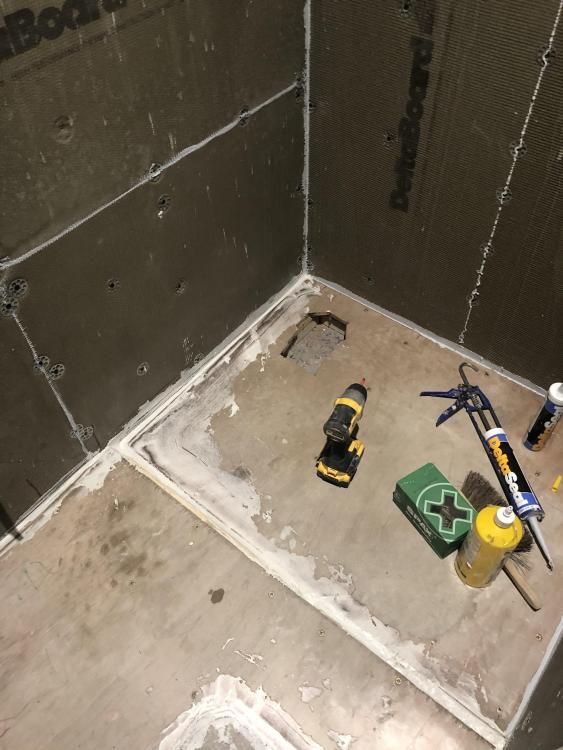
My waterproof system requires using delta seal between all the board joints . Then a water proof paste over joints , tanking strip membrane over that .Then paste again with pre made corner pieces and more tanking strip . Hard to see any leaks getting through that - if installed properly of course ???
-
Ok . So an ‘edge’ of ct1 for pic 2 where the horizontal tile hits the wall . This won’t be visible once the vertical tile is installed . Silicone then on that vertical line . yeah ? ?
-
So 2 . But coloured ct1 for this internal corner ( to match grout ) .
-
Yeah I know . Down lighting with different ‘whites’ can hide a lot ....
-
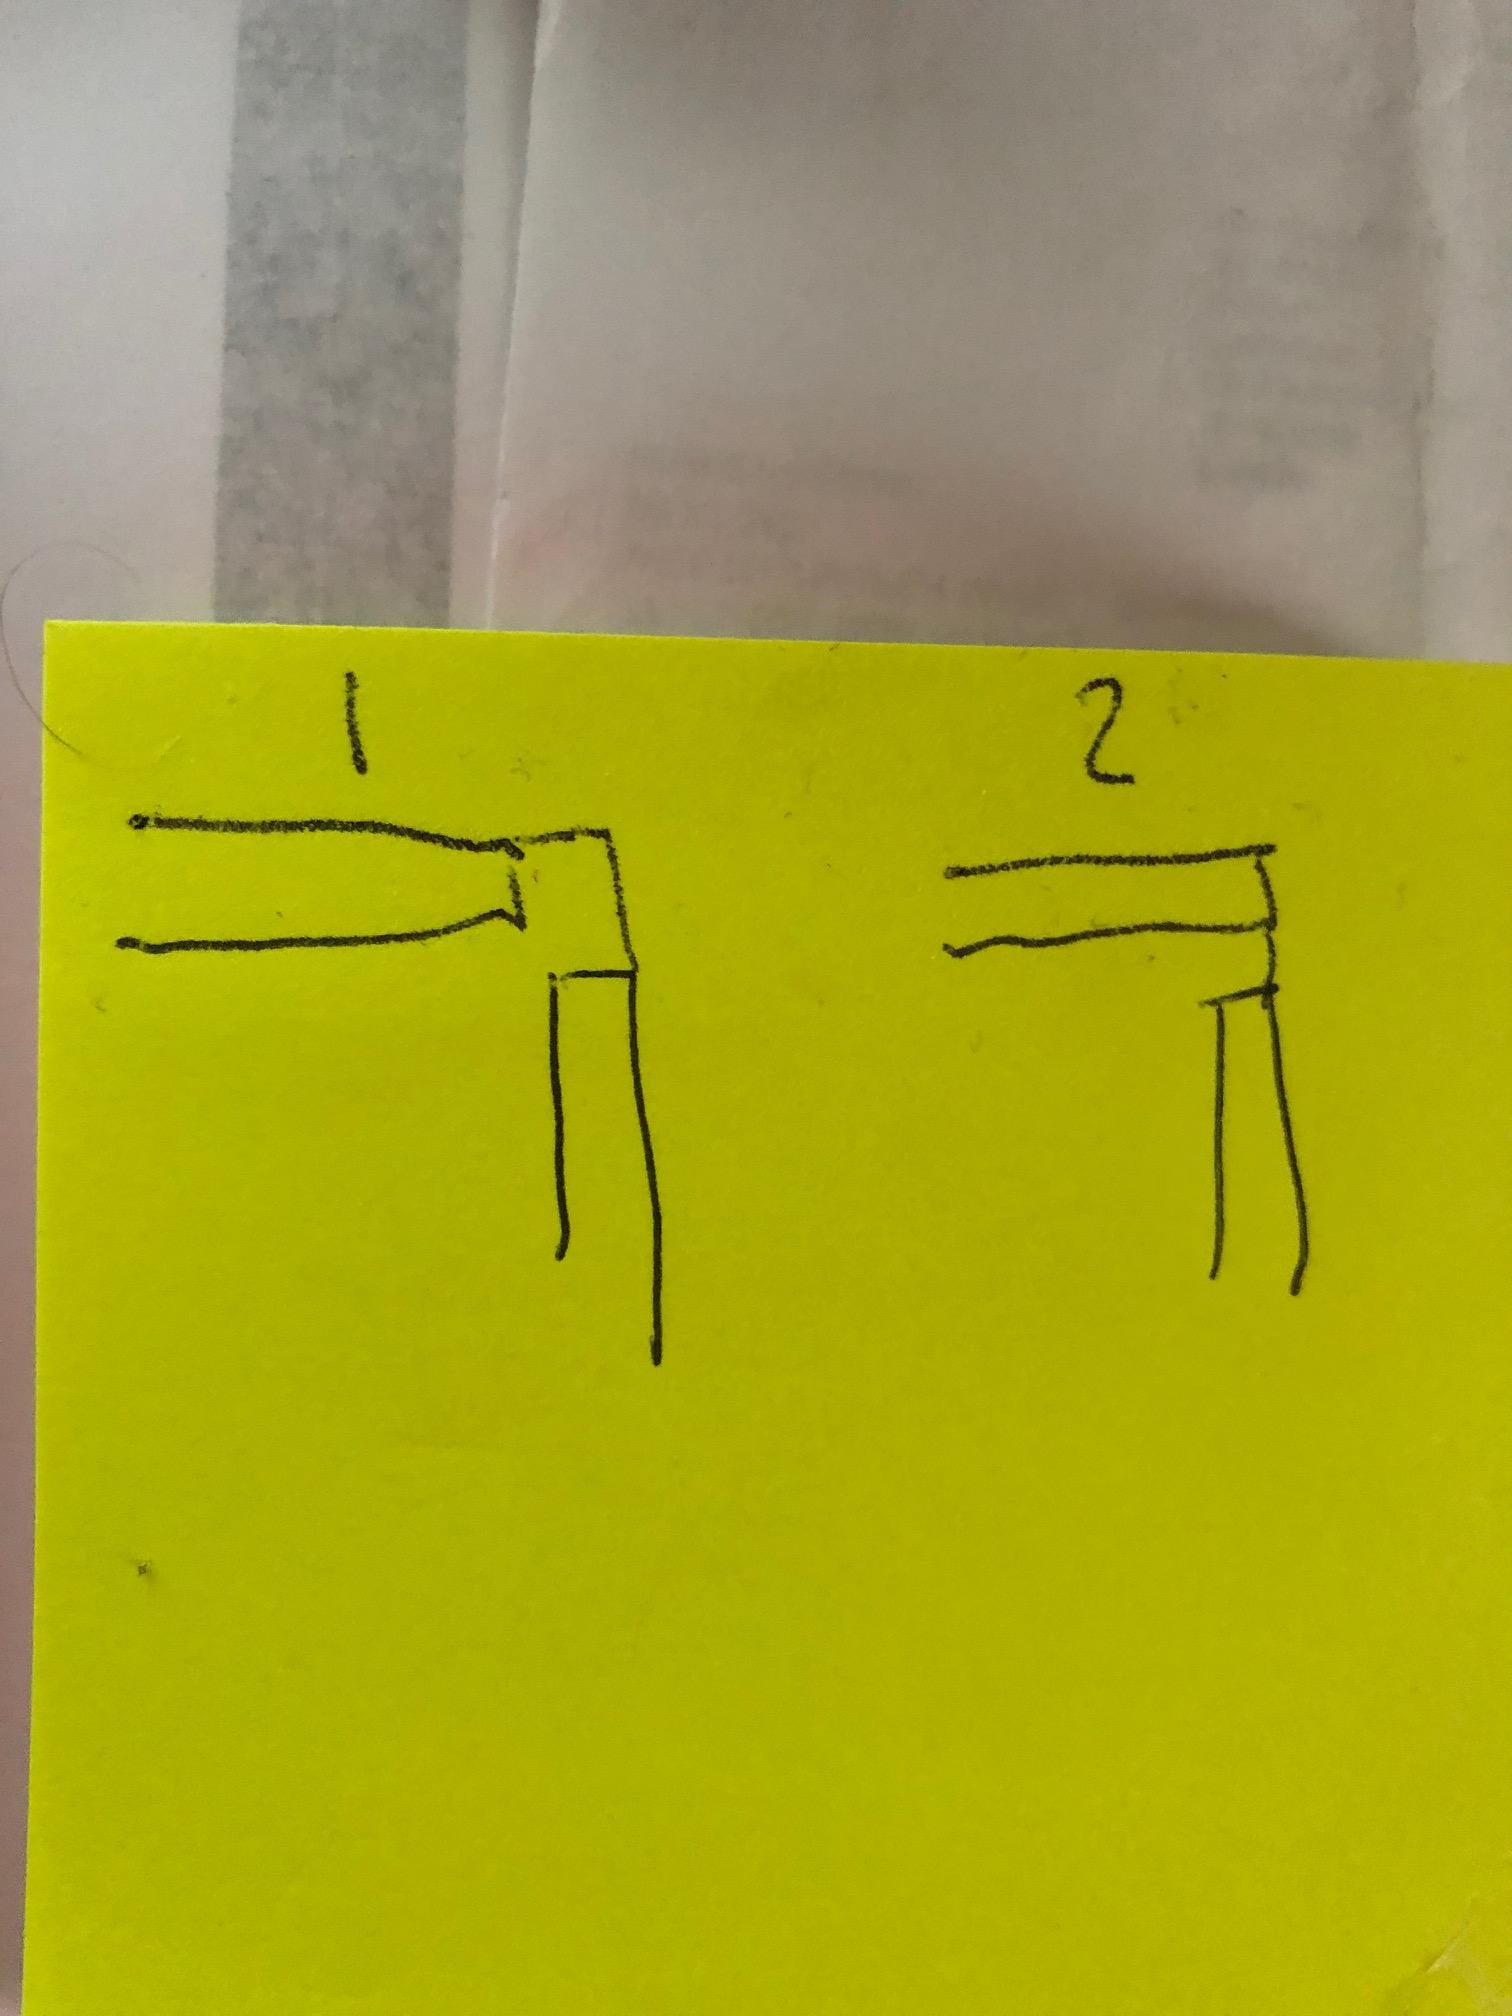
Well, I'm nearing the point of tiling the walls. Will use a laser to get my first whole course level i.e. so there's around half a tile height to the floor which goes in last. But when you get to a corner in a bathroom i.e. wet area do you... 1) Leave a 'gap' and fill with grout? (pic 1) 2) Leave a 'gap' and fill with sealant? (pic 1) 3) One tile butt's against the wall and the gap filled with grout? (pic 2) 4) One tile butt's against the wall and the gap filled with sealant? (pic 2) 5) None of the above

-
Yeah I know. I'm sure it's not that bad - just don't like it; when there's little you can do. Tomorrow will tell!!!
-
Is it possible to be a double bitch?
-
No,I should be ok. Their eye will be drawn away from the ceiling towards the dodgy tiling.
-
You bitch ! . ??
-
No , it’s lump free and very liquid . With colour I mean not like cheap watery paint . Glad that’s done though
-
Wait until tomorrow and ‘proper’ lighting
-
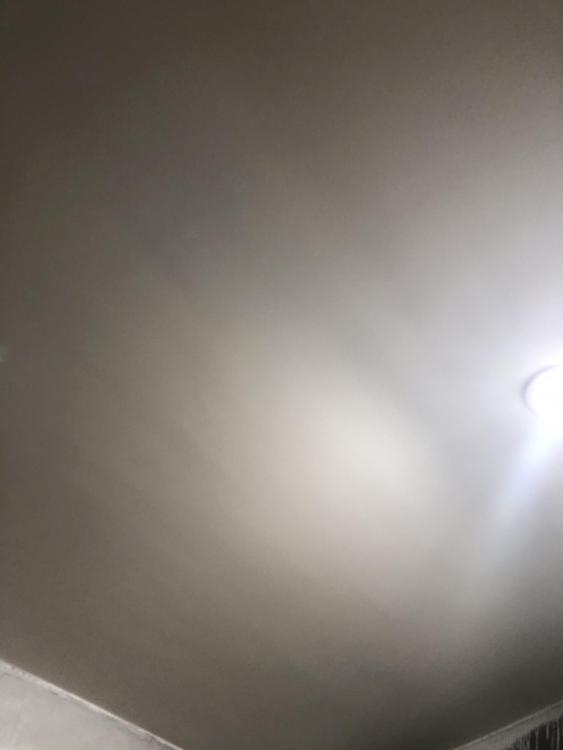
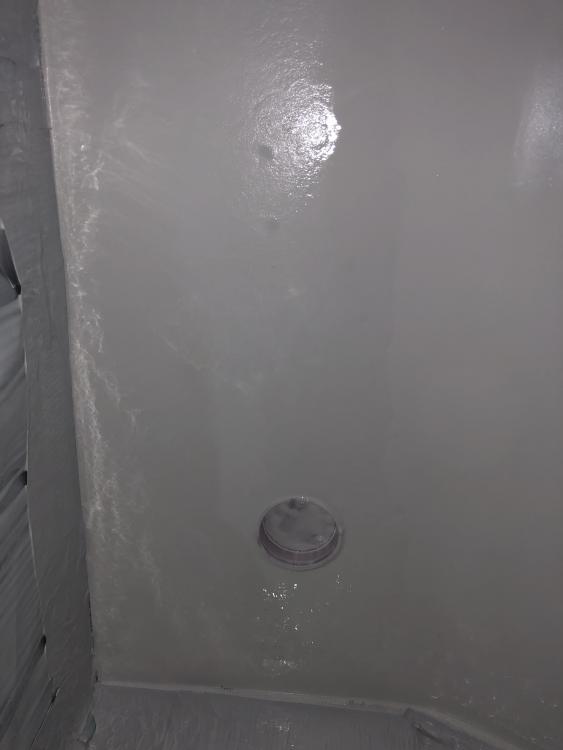
Hard to tell from photos . If I use the tip of my finger to touch the bubble paint comes off and bubble does ‘shrink ‘ . Problem is I’m inspecting it now close up and with a torch . So runs and plasterer imperfections even more obvious !
-
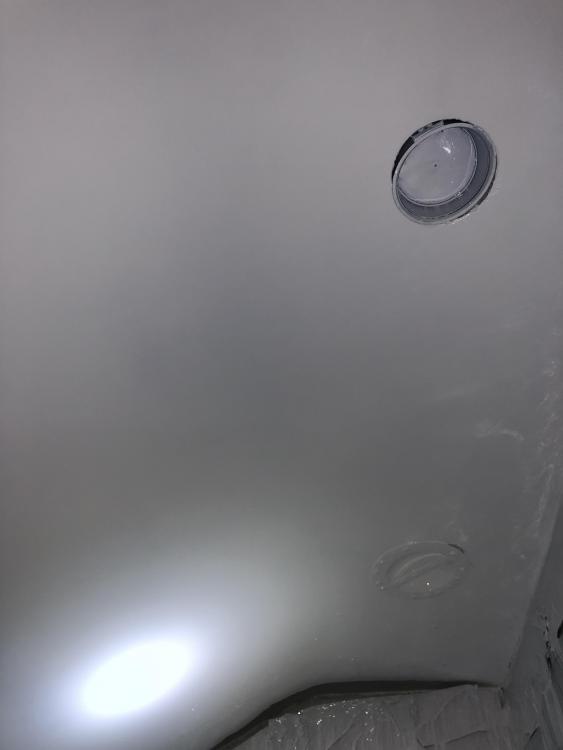
Some photos - using camera flash so ‘up’ lighting !!
-
Ensuite ceiling will be less than perfect ! But I also remember from the bathroom when I re install the lighting it’s far less noticeable as the lighting is downwards . That’s the runniest silk paint I’ve ever used . But then again 99% of the time I use emultion . Is silk paint usually like p*ss ?
-
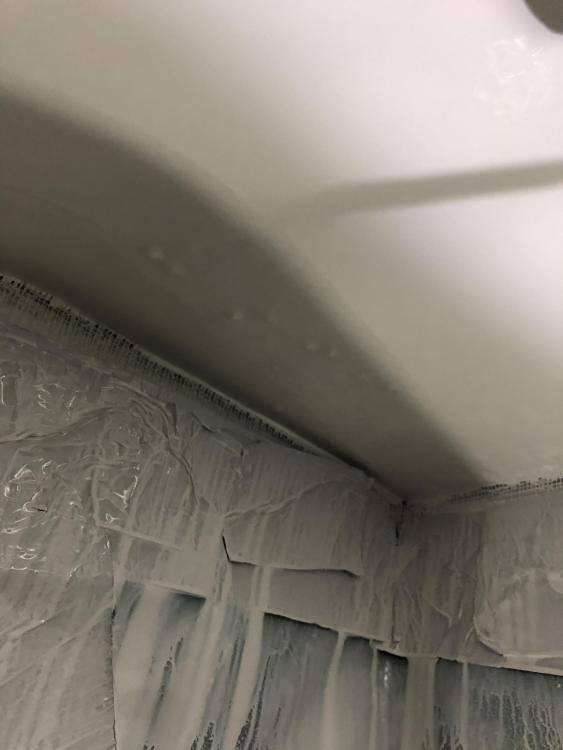
Argh ! Runs all down the ceiling curve ! sponged out ; it’s hot so drying real fast Just enough paint to really quickly over spray
-
Bubbles !!!!! I’ll sponge them gently out then over spray from a greater distance
-
Decided to be brave and finally spray the ensuite ceiling . Forgot what a faff it is ! Noticed something different in the ensuite - paint would form ‘bubbles’ and then run down the curved ceiling !!! Now I mixed it with the tinyist bit of water ; tbh it doesn’t seem to mix very well at all . Even after 10 mins in a electric paddle mixer when you first spray it’s just water coming out . As though the water has ‘sank’ to the bottom . Seemed to almost use twice as much paint than last time . Pretty sure I had the pressure in ‘2’ - assume my bubbles are simply too much paint coming through . Again noticed when it hits the wall to ceiling area it hits the wall and bouncing off causing issues . Will check in 10 mins . Maybe overspray patches if need be . This was silk paint . Rest of build is emulation ; so hoping it ( I ! ) fair better . I’m not completely white this time . Though still 2 hours of ‘clearing ‘ up to do ......
-
Boom boom !
-
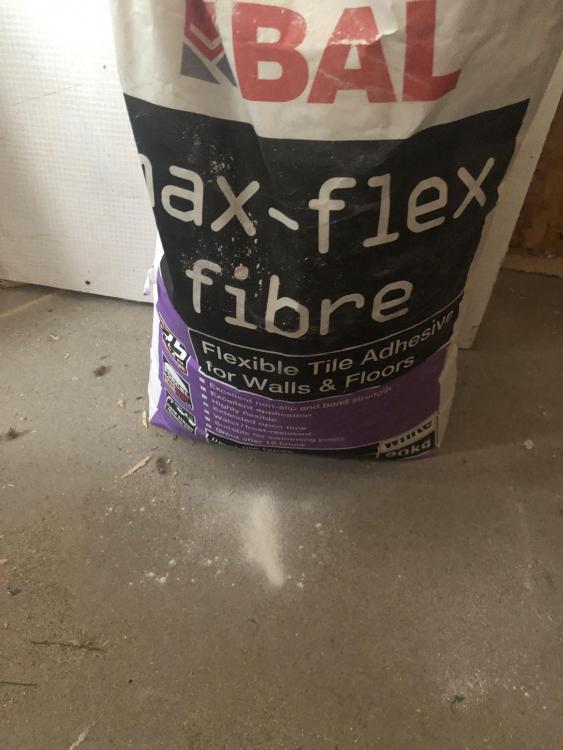
Mixed some flexible floor adhesive just to fill gaps at floor to wall joints and where ply meets screed . Followed the instructions ; but was way to fluid . Thought it would stiffen up as a hot day - but no . So added some more . I’ll leave this now and check tomorrow. If good will mix a stiff mix and bring the ply level upto screed level (3mm ish )