


MortarThePoint
-
Posts
2294 -
Joined
-
Last visited
Everything posted by MortarThePoint
-
There are only two alternative routes: Falling 100mm across 5m (1:50 so OK)but would then need to create a box out at the bottom of a large floor to ceiling window which would look terrible Passing through the ceiling of the en-suite below and then having a large box out along the ceiling to take the 110mm pipe about 1m across the ceiling It's a bit late in the game too as tiling and things have been done in the rooms below based on using a small pipe.
-
Macerators are definitely a serious compromise, but sometimes needs must. The whole path is down hill but I can't fit 110mm pipe, just 32mm solvent weld. The path is approximately 5m at a low downwards slope, then 3m straight down followed by 0.3m at a gentle slope leading into the 110mm stack. It should be as kind to the macerator as possible.
-
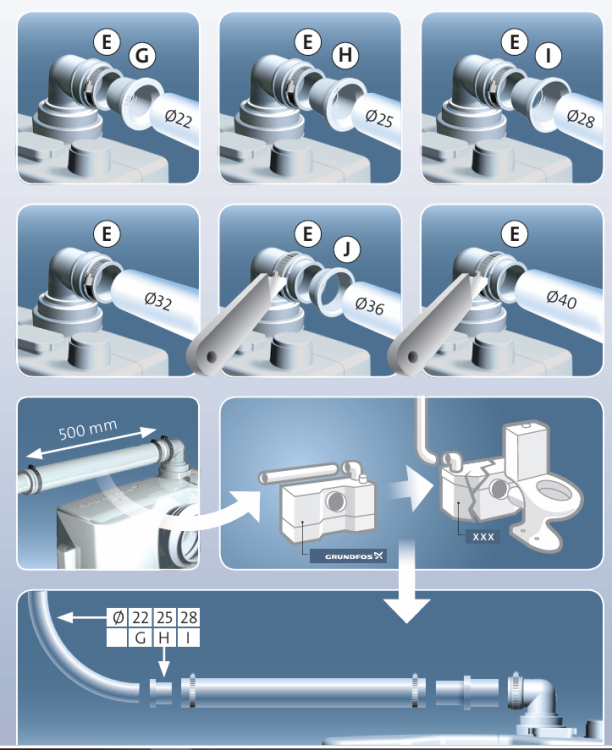
I'm considering a Grundfos Sololift2 WC-1 macerator over a Saniflo Santitop UP for a WC+basin situation. They seem cheaper which makes me nervous as Saniflo are the known brand. The Grundfos one looks better made though. Does anyone have any experience with either unit? If you've installed the Grundfos Sololift2 WC-1, is the installation guide just saying it needs to go horizontally in something larger before it goes down to 22/25/28mm?
-
Traditional Oak Framing or Modern Fixings
MortarThePoint replied to MortarThePoint's topic in General Joinery
A concern with the bridle cut that isn't an issue with the modern fixing approach is he possibility of the post splitting due to it shrinking more than the beam -
Traditional Oak Framing or Modern Fixings
MortarThePoint replied to MortarThePoint's topic in General Joinery
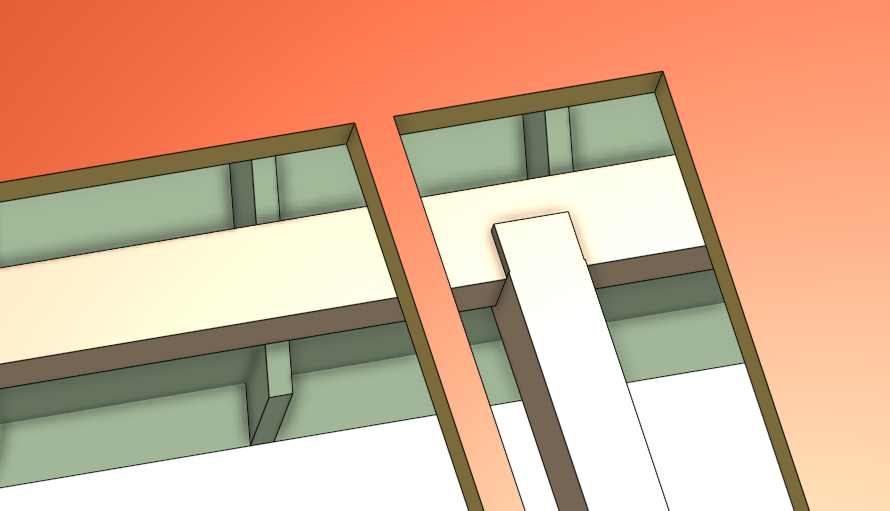
Good question. There are posts at each end of the beam which will be fixed lower down to the wall. The bridle cuts at the end would have to be like this I expect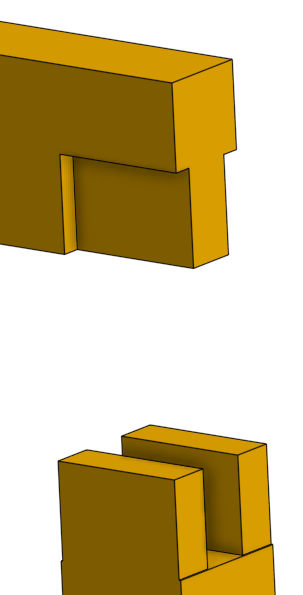
-
Traditional Oak Framing or Modern Fixings
MortarThePoint replied to MortarThePoint's topic in General Joinery
I could drill and peg at the join to fill the gap, but I'd have to be very careful not to blow through with the drill and there would still be a small unplugged gap left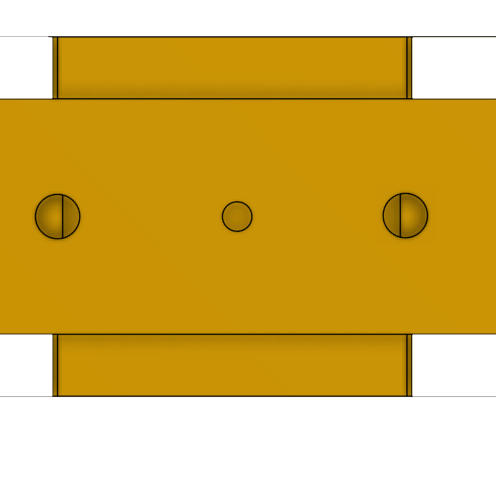
-
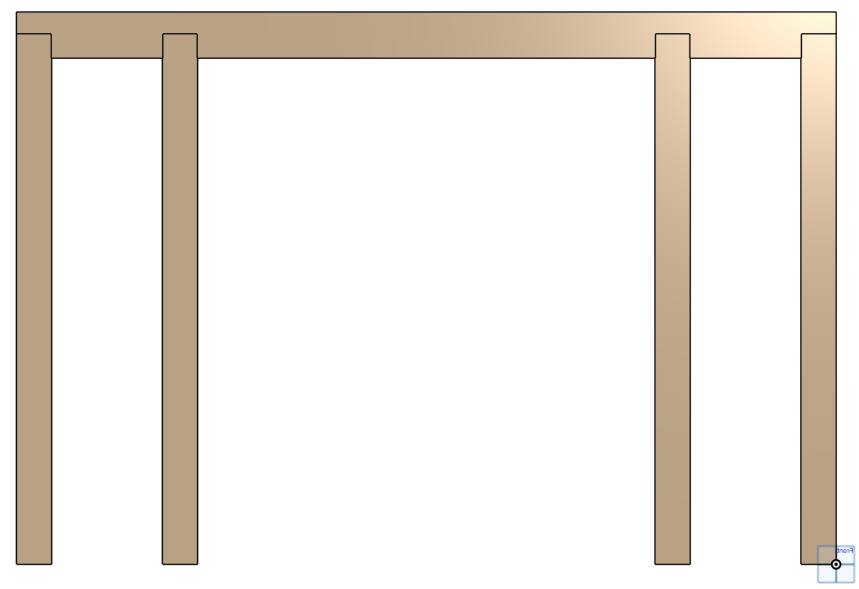
I'm making a simple porch frame to go between two walls and I am pondering between a bridle cut and a simpler to make bolt held option (M12 x 250 Stainless). The two options are at the bottom of this post (but at the top of the porch post :-). Vertical posts are 145x145 and horizontal beam is 95x195. Although it's more effort, I am currently leaning towards the bridle cut. It would prevent any light passing though a narrow gap that could open up through shrinkage. It's much more work to make though and the finished result will look identical bar any gaps. Silly?

-
Appliance water supply connection height
MortarThePoint replied to MortarThePoint's topic in General Plumbing
Another Noddy question, but are appliance hoses normally right angle at the supply connection end? -
Appliance water supply connection height
MortarThePoint replied to MortarThePoint's topic in General Plumbing
I never knew they had these leak detectors, thanks for the heads up -
Appliance water supply connection height
MortarThePoint replied to MortarThePoint's topic in General Plumbing
I was surprised to see how deep some of the condenser dfiers are. Some of the Bosch ones are deeper than 600mm and many others are just under 600mm (eg Hisense). -
Appliance water supply connection height
MortarThePoint replied to MortarThePoint's topic in General Plumbing
Great, the plumbing is working out so it can be to the side, but much easier to plumb if low down rather than high up. -
Appliance water supply connection height
MortarThePoint replied to MortarThePoint's topic in General Plumbing
Does the height not matter at all? -
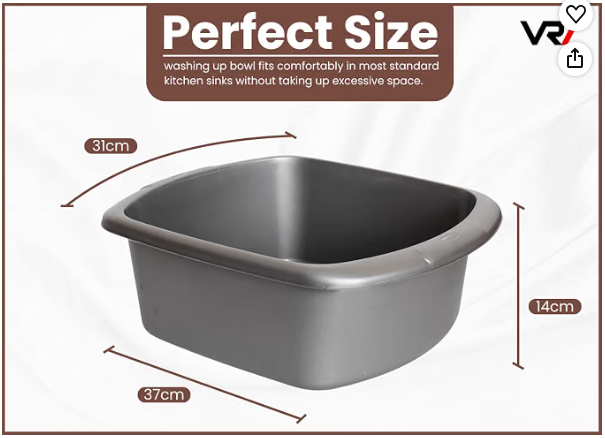
Like most (I assume) we are to fit our washing machine under a worktop. In an ideal world you'd have a water supply with isolator just above the washing machine, but that's obviously not possible with it under a worktop. Given that option is off the cards, does it make any difference to have the connection and any particular height? The only consideration I can think of is to have it at a height that you can get a tub underneath to catch any water when disconnecting. That suggests a height of something like 150mm would be good. I suppose the other option is to still have it high, higher than the machine's own connection point, so the hose can remain full when disconnected and then get drained.
-
That's a lot of compression fittings
MortarThePoint replied to MortarThePoint's topic in General Plumbing
I'd love to go the borehole route but the only people I have spoken to suggest it will cost something like £15k which seems crazy. £5k and I'd go for it -
That's a lot of compression fittings
MortarThePoint replied to MortarThePoint's topic in General Plumbing
Thank you, very useful It's a new build. I think my best solution is probably to have a separate dedicated drinking water tap in the kitchen separate from the mixer. The mixer can then be fed by softened balanced hot and cold. That dedicated drinking water tap could then be fed from upstream of the main PRV, but there feels little point since the most that will need to happen is filling a jug which should be quick anyway. That leaves just the garden on unregulated pressure. I checked a Karcher washer manual and they support 12bar max feed pressure. Really it's going to the be garden tap that would be the worry point, but hopefully that is PN16 though I can't see any such markings. -
That's a lot of compression fittings
MortarThePoint replied to MortarThePoint's topic in General Plumbing
@Nickfromwales In the photo layout I've shown the drinking water and garden tap branching off before the PRV. Is that a good idea or not. It has occurred to me that some some kitchen sink taps may have a maximum working pressure that could mean it wants to be downstream of the PRV. A high pressure for the garden tap feels a good idea as it will help with the garden hose etc, but I guess there could be a similar issue there. What would you recommend? -
That's a good point since the maximum flowrate through a 10mm pipe is probably around 10L/m[1] so a 6L flush would take 36 seconds. That maximum flow rate is even for short sections dropping relatively high pressures. For a larger diameter pipe, I guess it is limited by the filler mechanism itself.
-
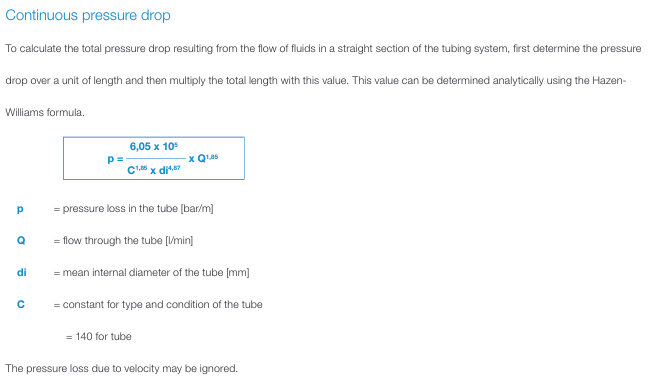
Realised on the first page of this thread I reference a Pegler Equation with no reference. It's below. The ID values are 6.7mm, 11.3mm and 17.7mm for 10mm, 15mm and 22mm Hep2O respectively. Q = 140 * (((PD * di^4.87) / 6.05E6) ^ (1/1.85)) , where PD is pressure drop across 10m. 82498733_Pressure_Loss_Tables.pdf

-
You can get Hep2O flexible hoses, but they also do a bewildering array of tap connectors. I've got 10mm Hep2O pipe taking hot to various basins and am also considering the same for cold to cisterns. Is there any reason not to like the HD26A/10W which is plastic hand tighten and includes a rubber washer. It's all white which helps it to blend in. Is a visible Hep2O pip considered naff vs a flexible hose? 10mm Hep2O is more discrete in many ways. Plumbing Superstore have a good price on them (£1.70inc each) but delivery on top pushes it up.
-
With an angle grinder?
-
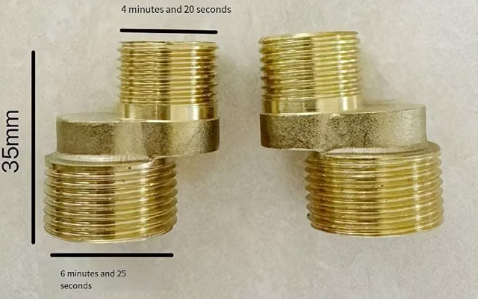
Somewhat amusingly, I have now ended up with the opposite problem. The offset connectors supplied with the mixer are 46mm long and it all now sticks out too far for the threads to get fully covered. The face of the brass BES extension is flush with the surface of tile and they have a short thread section so don't allow the offset connector all the way in. That leaves two options: PREFERRED: shorter offset connector of around 40mm or 35mm. https://www.amazon.co.uk/HanOaki-Connector-S-Adapter-Adjustable-140-160mm/dp/B0G2S1W4DQ/ deep covers like the image in the post just before this one. (NB: the Aliexpress link doesn't work anymore but a reverse image search on their site finds similar).
-
Oops!
-
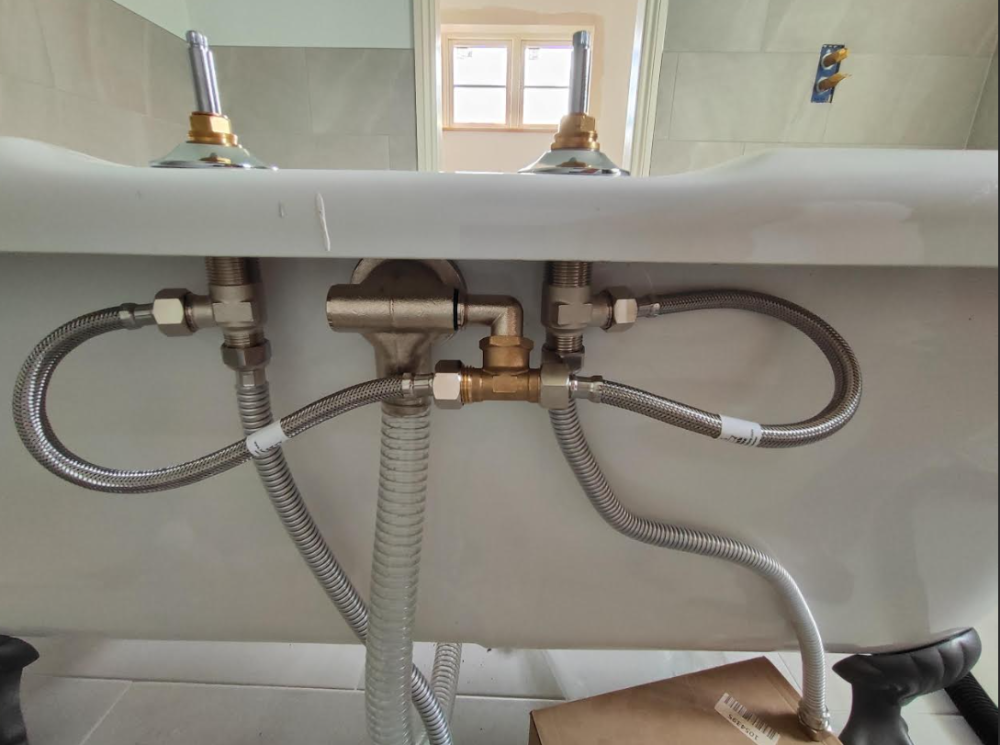
I know flexible hoses are a regular failure point and I wouldn't look to do this upstream of a tap, but does the arrangement below look OK. It's between two deck taps and the filler so should never see significant pressure and isn't pressurised when the taps are closed. I'm planning to pop Bonfix compression fitting inserts with o-rings into the compression / BSP tee (15 x 15 x 1/2). Only mocked up at this point. For permanently pressurised flexible connections, I like the RigidLine range: https://ridgelinetubes.com/flexis/ https://www.monsterplumb.co.uk/ridgeline-flexible-connectors https://www.macdonaldplumbingsupplies.com/ridgeline-m176
-
Water Supply Automation (aka Smart Meter)
MortarThePoint replied to MortarThePoint's topic in Boffin's Corner
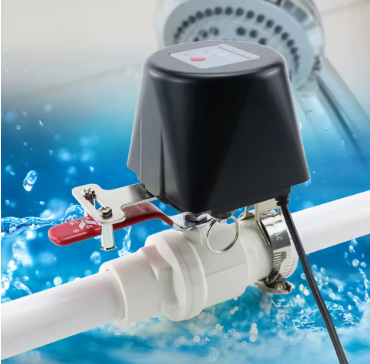
Interesting (bit of an issue with the website, but hopefully fine tomorrow). I don't need failsafe operation really since it's a bit of a bonus system. I quite like the ideal of a retrofit approach, but those bolt on ones look a bit weak. There are some stronger looking ones, but still not very satisfactory. I might see if I can 3D print a large cog and pinion arrangement, but that starts to look like a long term project.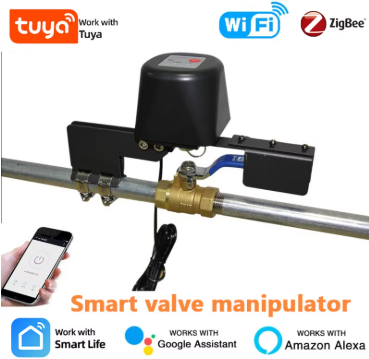
-
Water Supply Automation (aka Smart Meter)
MortarThePoint replied to MortarThePoint's topic in Boffin's Corner
I'm not sure I understand, how would no flor represent a leak? I'm still going to be drinking the water downstream of the check valve so want something drinking water approved




