Onoff
-
Posts
21052 -
Joined
-
Last visited
-
Days Won
206
Everything posted by Onoff
-
Matchsticks or cocktail stick to help keep the studs level. Put the smaller washer at the back of the tube if you want. I can't remember what it was for! 😂
-

How does your garden grow?
Onoff replied to recoveringbuilder's topic in Landscaping, Decking & Patios
Is that it the whole crop? Now then, do you just top and tail or string the sides too? -
How does your garden grow?
Onoff replied to recoveringbuilder's topic in Landscaping, Decking & Patios
Had our first crop of runners the other night. Simply top and tailed, chopped with scissors and boiled. With some fish cakes. Very nice. Somebody said you can eat them with butter? I really want to try a runner bean chutney recipe. -
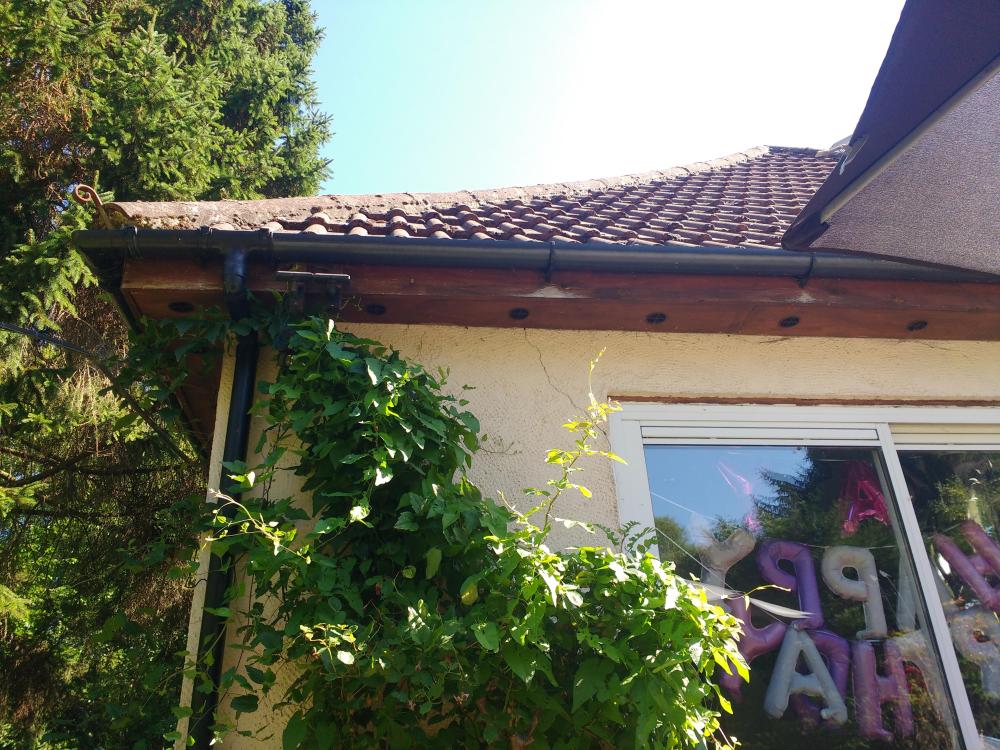
@Oxbow16, you'll note I've retro fitted soffit vents. Easy to do.
-
Sitting here mulling the same question. I often do. As I'd like to do EWI, a warm, new roof and hip to gable conversion I figure that would negate all the new soffits and fascias if I did them now. So I carry on mulling and do nothing... Tbh it's only time and money stopping me 😂
-
Says it's used for "exterior cladding" so all good imo:

-
Just make sure it says for exterior use. Don't forget anything outside will be rated for frost proof etc whereas stuff in a bathroom wouldn't need to be. For example: https://www.knauf.co.uk/store/aquapanel-cement-board-outdoor/c-23/p-555
-
You misunderstand, post the link if you can. There's ways of finding out. I won't ask again, got my own shit to do without going over old ground because you can't remember what you used.
-
Got the link? May be able to find it still.
-
Wow, that was a mistake. I went back and read this: I've now a headache coming on and have just taken two paracetamol.
-
Me and a mate were using glass capsules to try and fix angle iron to a wall. We were young and had no idea. The capsules kept falling into the cavity 😂 Went down to the local car spares place and bought a big tub of body filler. Stuffed the holes with scrunched up newspaper then put the studs in with body filler trowelled into the holes. That was 35 years ago and the place/extension is still standing. I remember telling the BCO and him being quite happy.
-
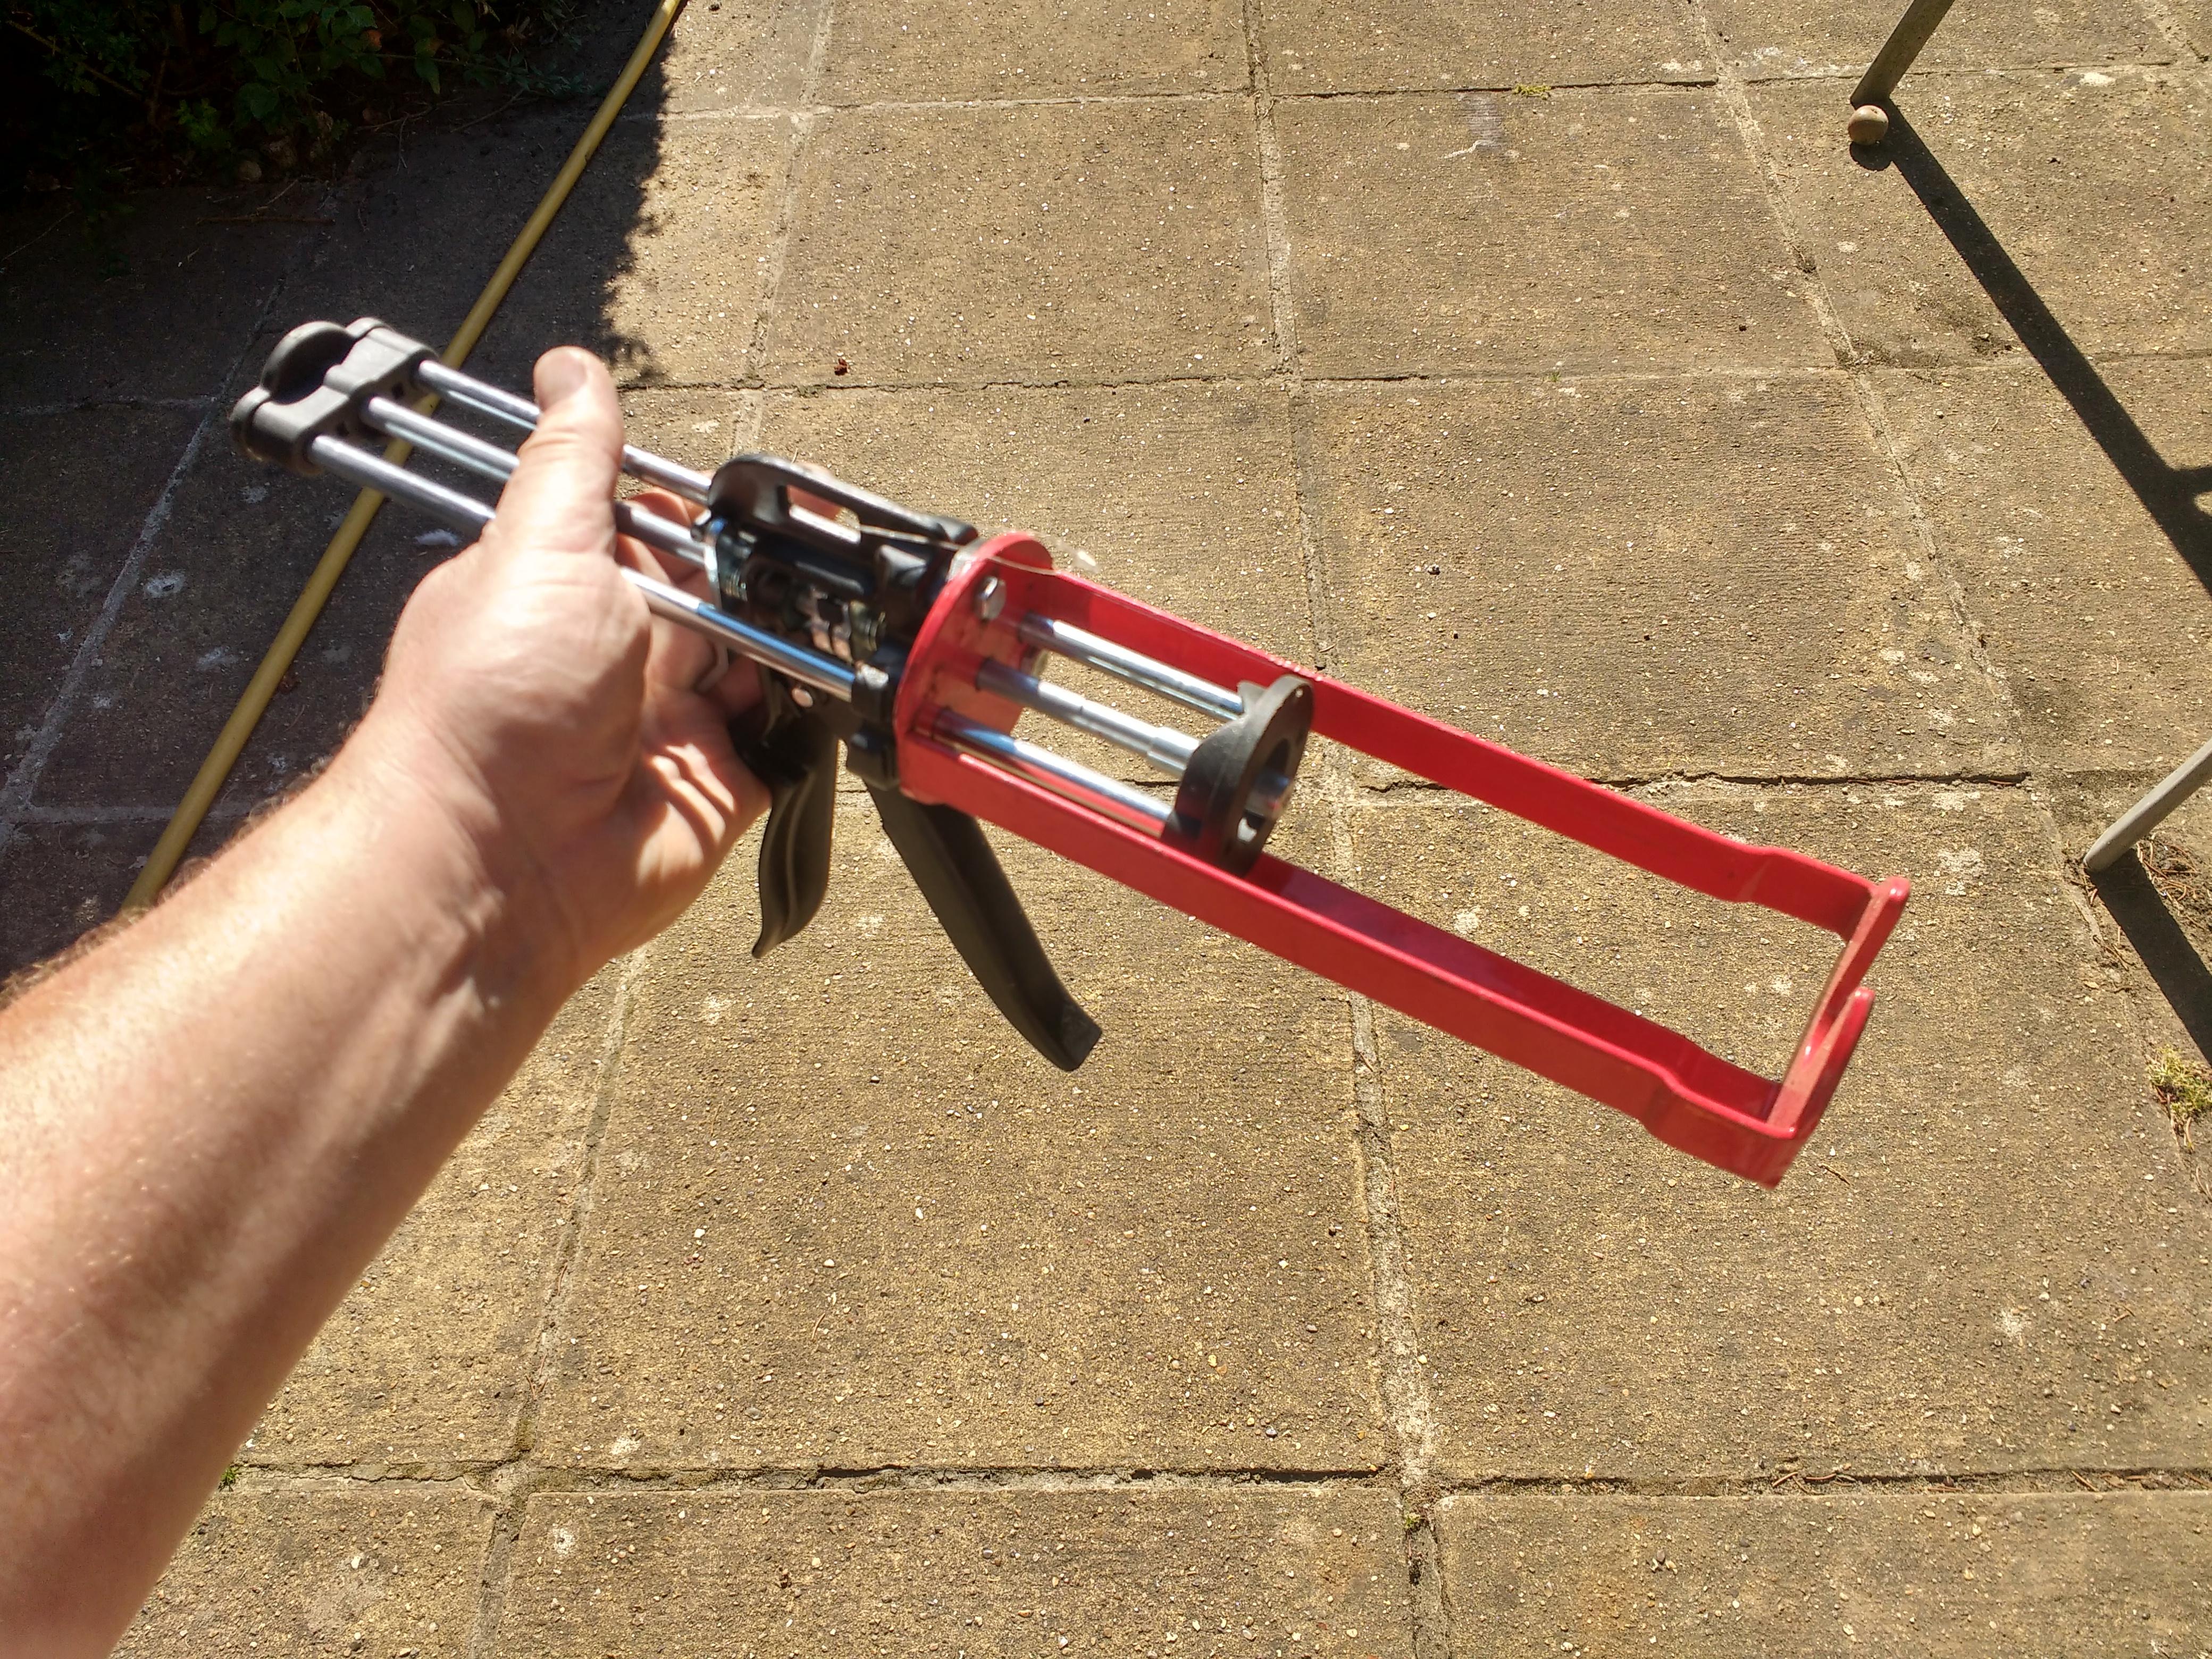
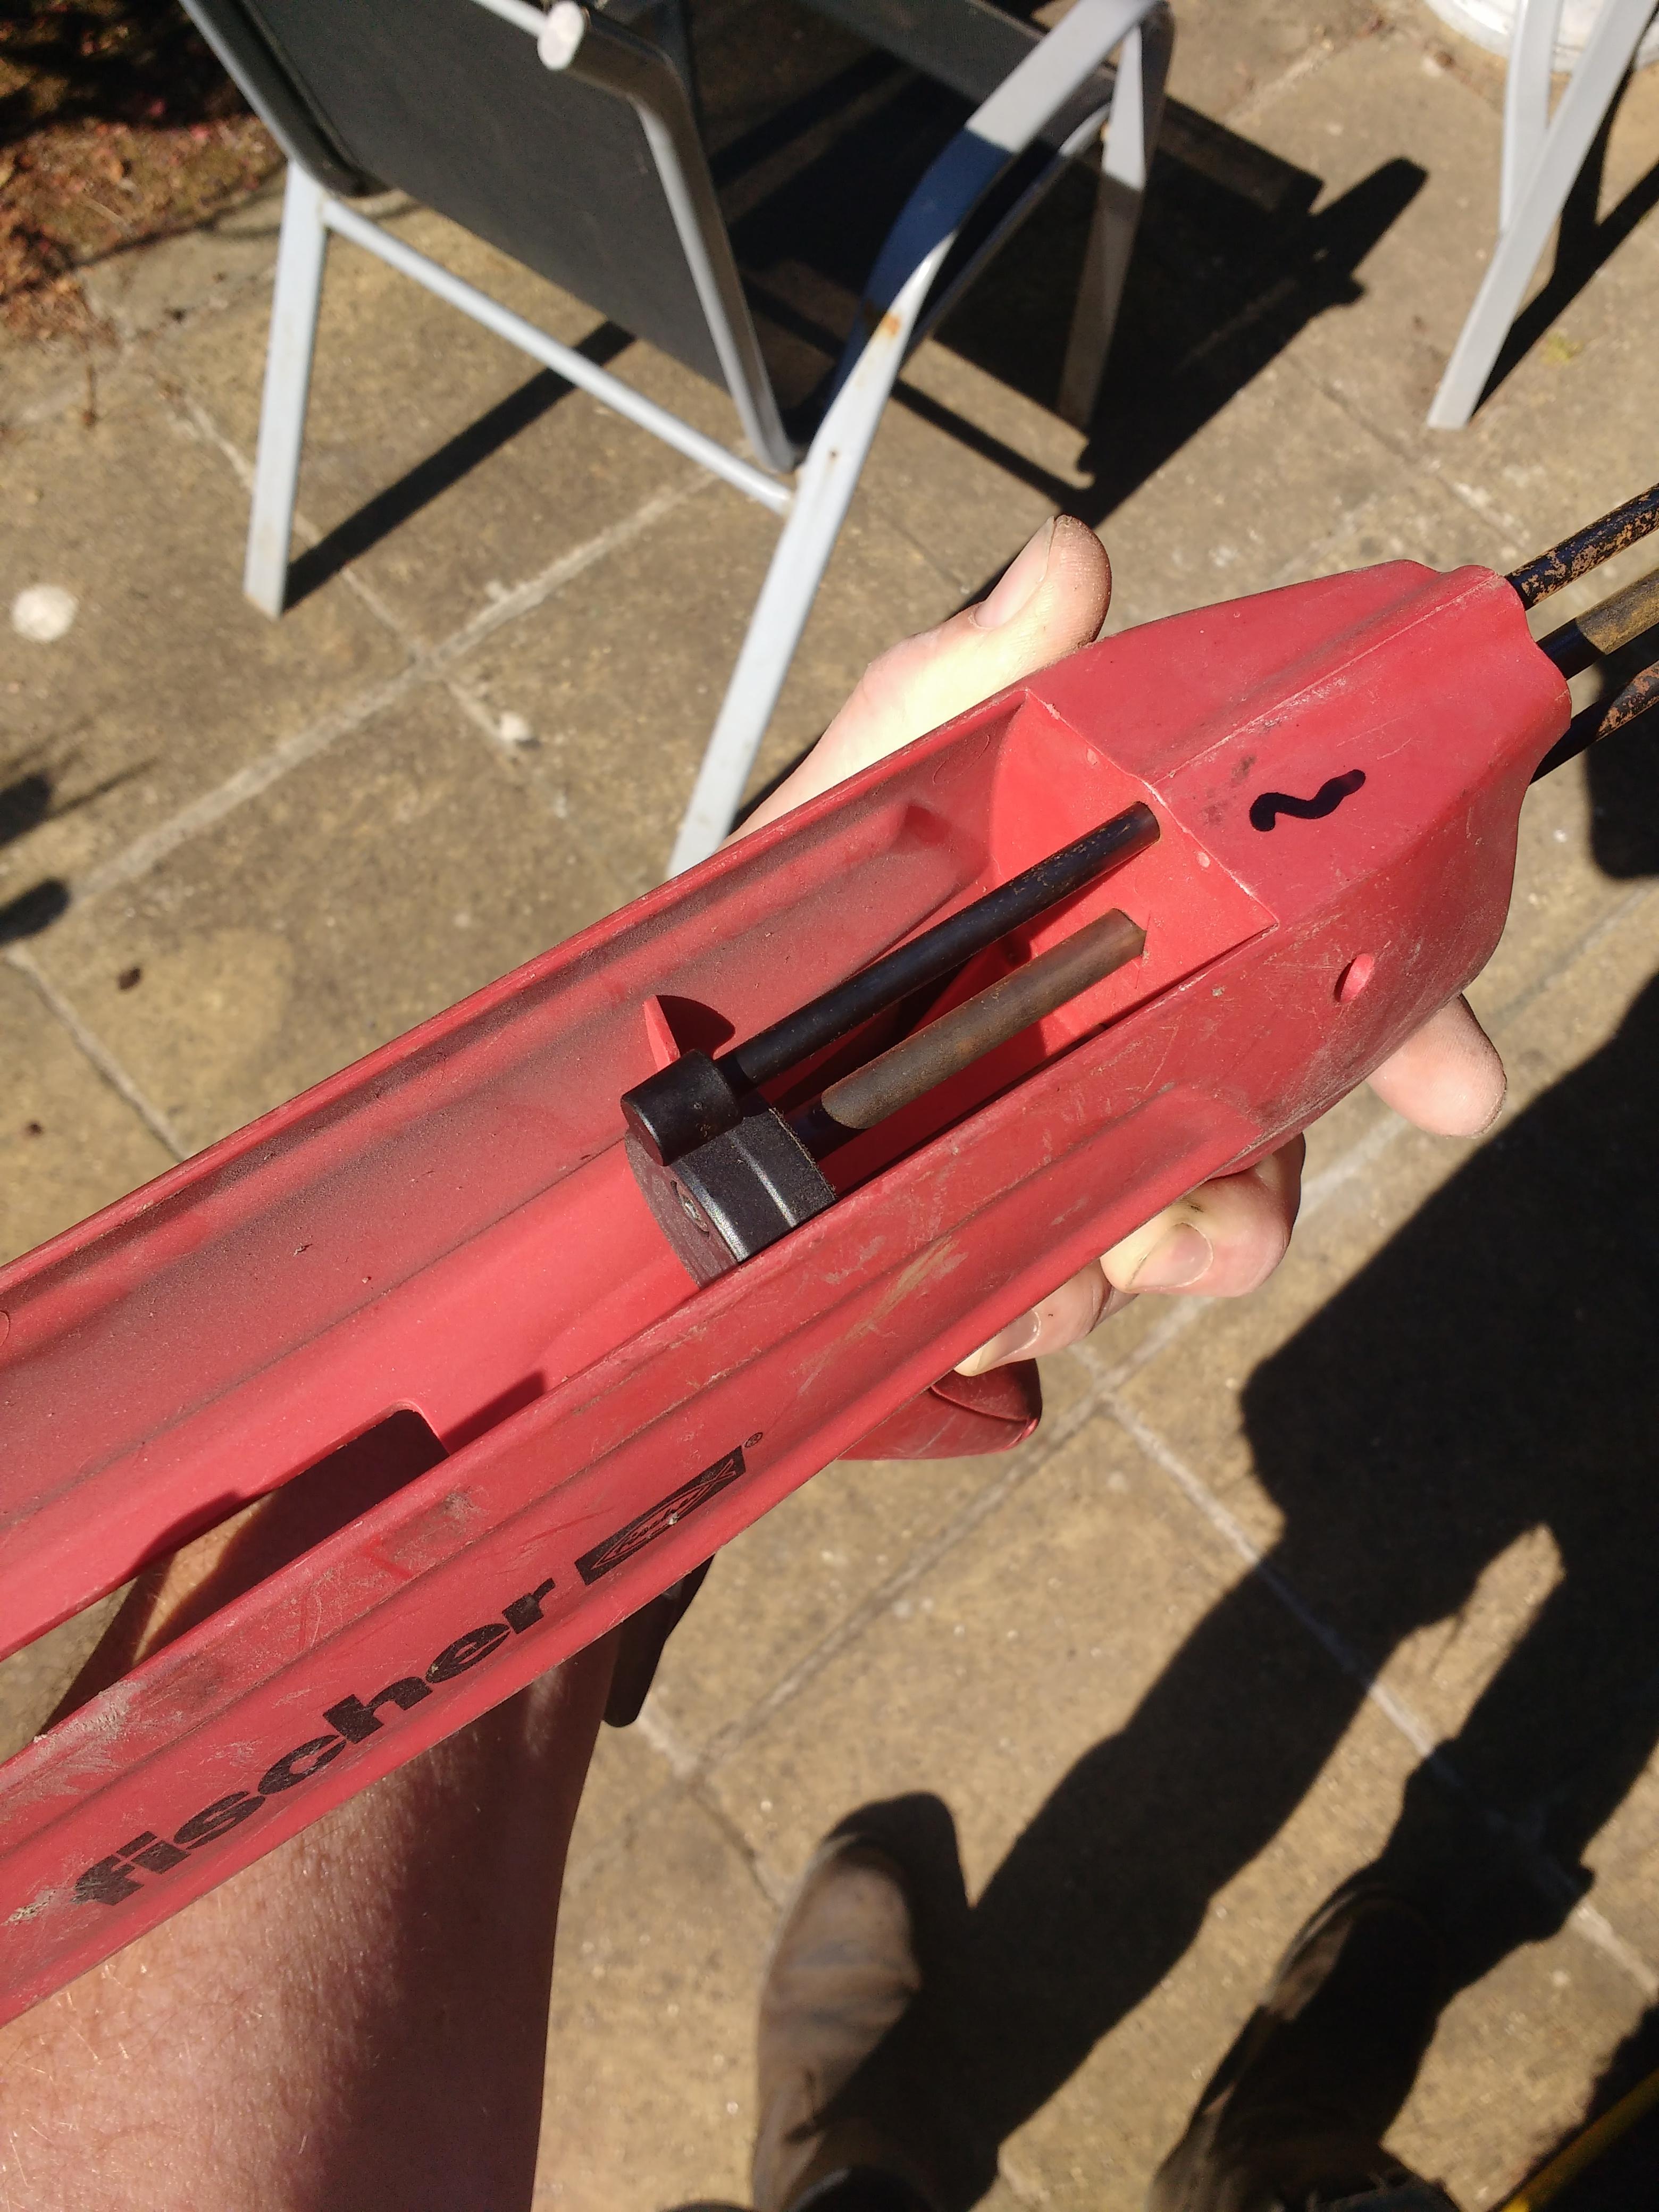
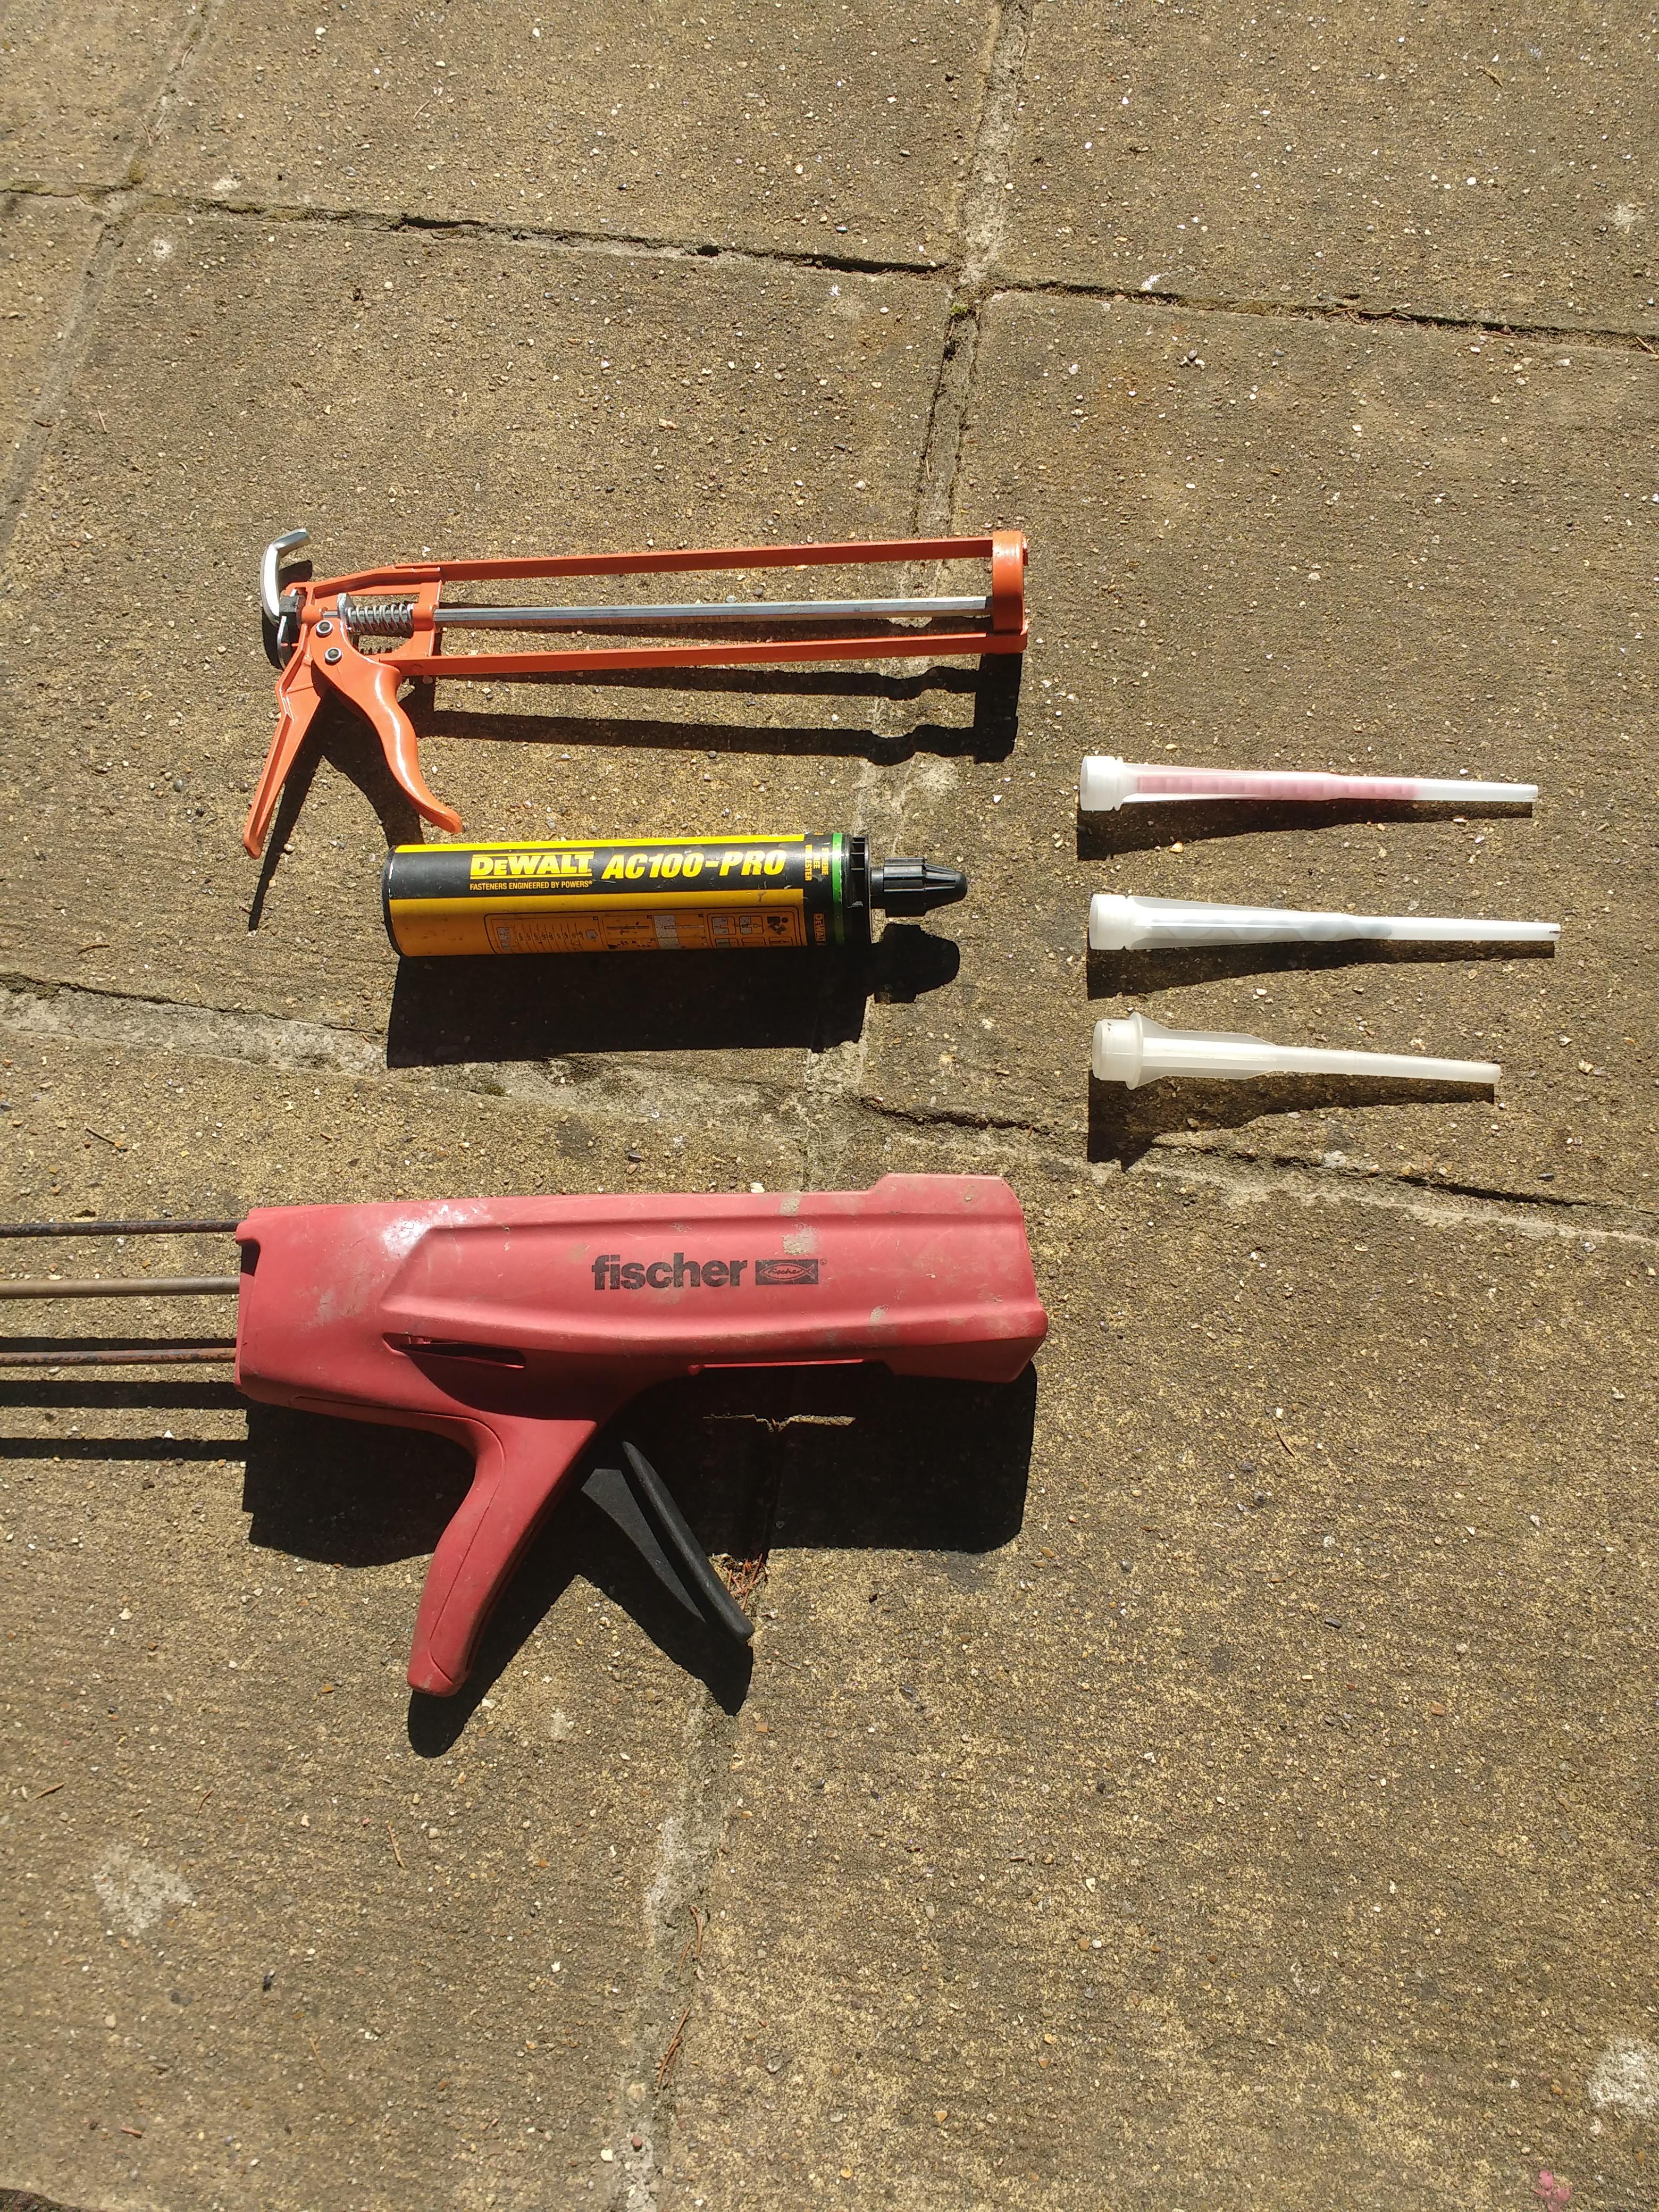
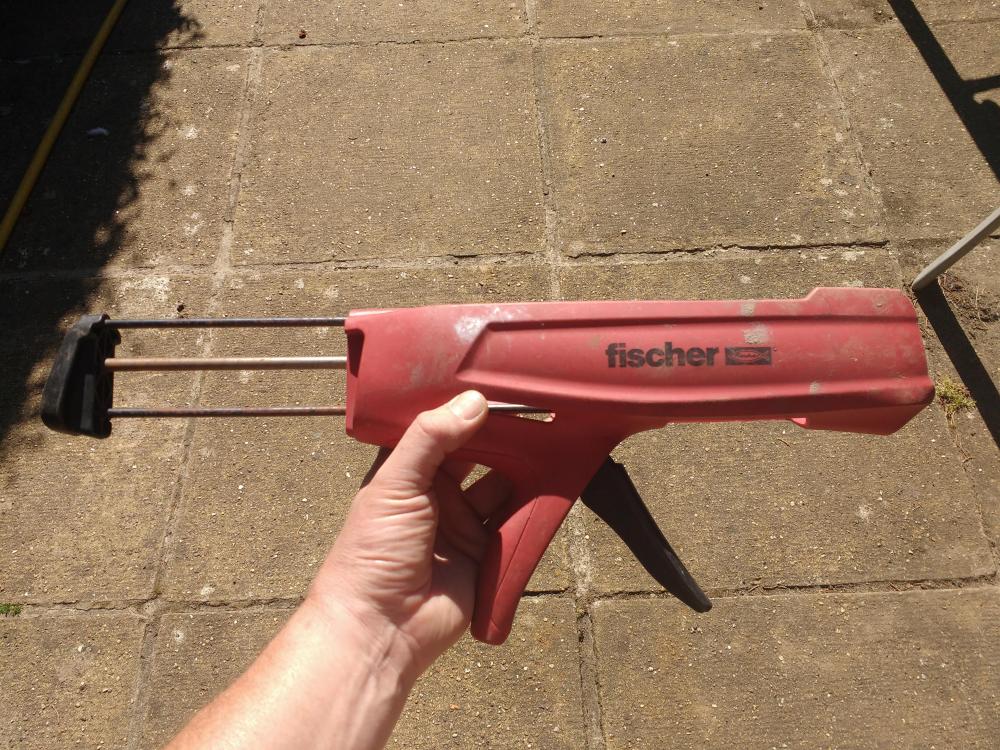
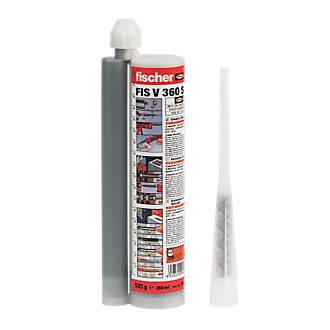
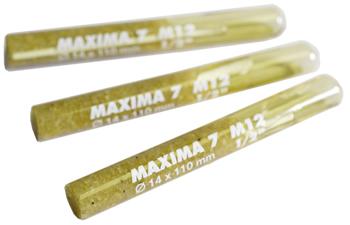
Resin guns... Traditionally these were the preserve of industry as was resin technology. At one time, even now in some places, the resin came in a glass capsule like a test tube. That contained the resin and hardener, separated until you used it by an internal wall. Then you drilled your hole, blew the dust out and popped in the glass phial. You then drove your stud in on a drill that would break the phial and mix the resin, hardener and broken glass up, which would then set around the stud. Think I last used those around 1987! Then you have resin "guns". Guns like this that take big, chunky, 380ml+ "oversize" cartridges were common. This I think from memory is a Fischer compatible one. All metal, takes a resin cartridge about 3" diameter: I favour my other Fischer one. This is the h.duty plastic bodied gun. You'll note is has two plungers: It's used with a special cartridge. The same diameter as a normal "tube of mastic" but with a piggy back tube on. Not cheap, about £16 a tube from Screwfix: The resin is in the main body, the hardener in the grey tube. As you operate the gun both plungers operate pushing out a controlled amount of each. These enter the nozzle where the plastic screw mixes them. The gun is a pleasure to use. Of course, the DIY sector wanted access to the technology and they wanted it easy. Thus you can get resin in a standard size tube that goes in a standard gun, like this. The tube is divided internally to contain resin and hardener that only come together when pumped out and mixed. Whether my Space Shuttle type piggy back Fischer one, or a standard mastic gun one they all take a bigger nozzle with integral, mixing screw. Three different nozzle makes shown: The DIY ones are OK. A bit harder maybe, to squeeze the gun etc. I'd go for a name tbh, something like this: https://www.screwfix.com/p/fischer-fis-vl-300-t-vinylester-resin-300ml/3613x You might need extra nozzles and a puffer to clean out the holes is an absolute must have.


-
From the ground, to the nominal underside of the ledger, how high is it? Could you use a couple of the 6x2s, set at an angle, to prop up the ledger whilst you drill it?
-
You're in there mate, a proper Welsh welcome!
-
+1 An alternative is to prop the ledger up on some timbers against the wall and drill through it like that. You could pre-drill the ledger on the deck then just spot through when it's propped.
-
@zoothorncelebrates the successful fixing of his ledger board:
-
He's a Mormon I believe.
-
'Nuff said.
-
For authenticity I'd have to add a few scratch marks and a final message written to his loved ones.
-
I know what it means!

-
When I find them I'll put them on! 😂 There's no "13" either...can't remember why...must consult the book of fag packet sketches...
-
Sweet Jesus you'll be using dog's cocks next! 😱
-
Bottom feeder!
-
I really like the idea of placing some shed skins from a bfo snake under the floor for future sparks/plumbers to find...
-
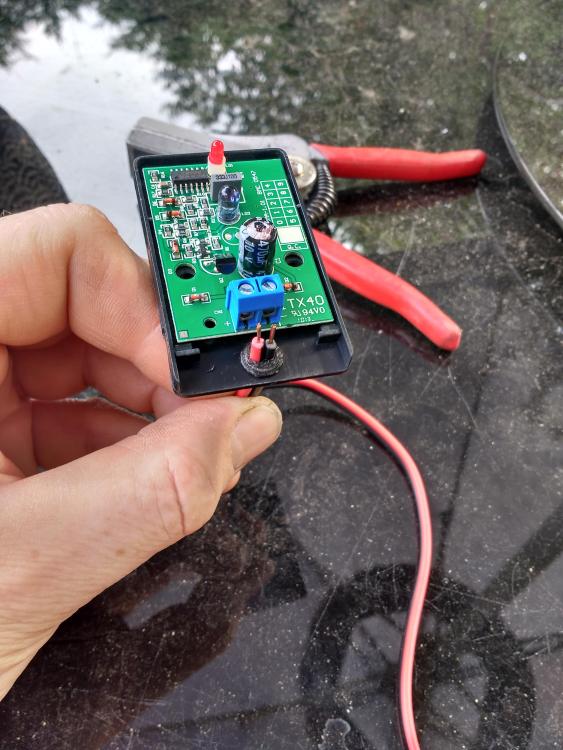
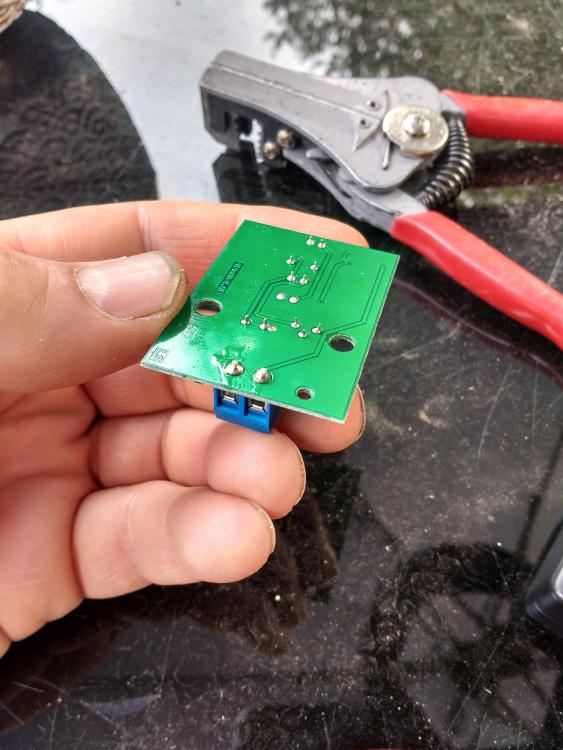
Not the most weather proof of things, these photocells. I'm wondering if giving both sides of the PCB a spray with some conformal coating / laquer will help prolong their life?