


canalsiderenovation
-
Posts
1703 -
Joined
-
Last visited
-
Days Won
9
Everything posted by canalsiderenovation
-
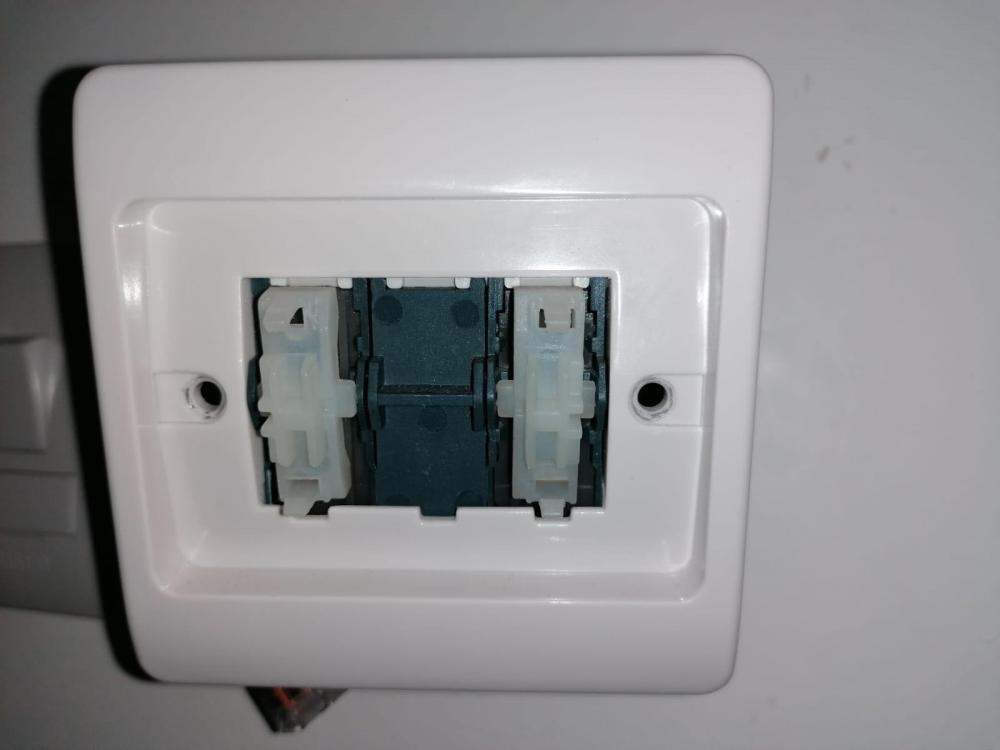
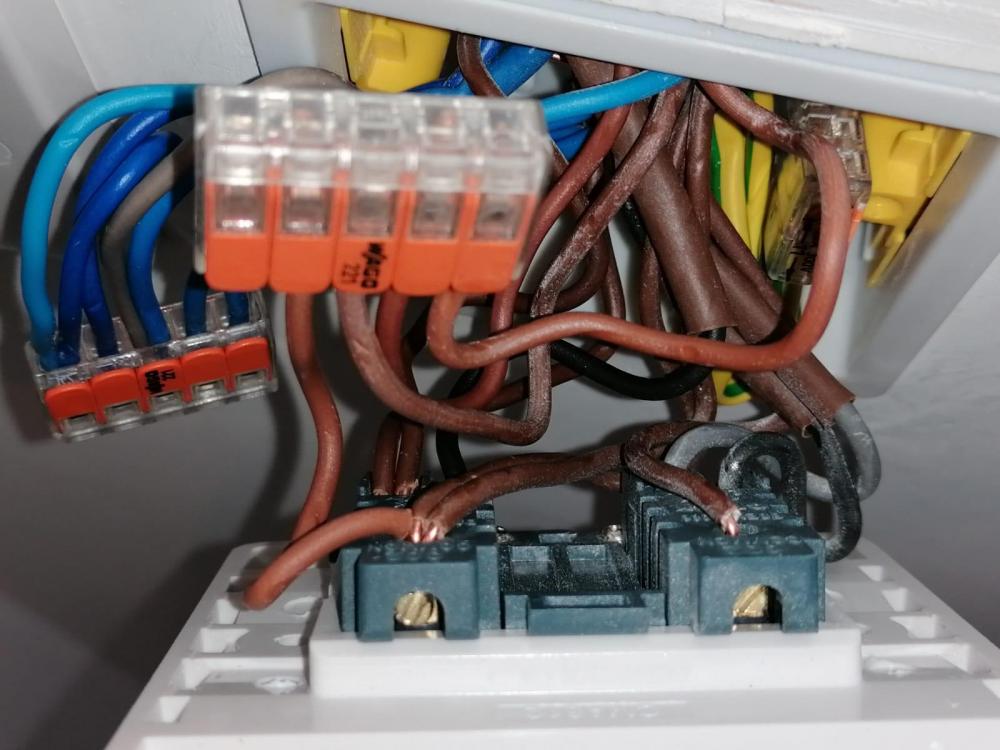
It's never been connected, we are putting new lights on. The lights are only on when the switch is on inside the house. We want them to work with the sensor. If we were to walk outside at night the lights wouldn't work with the sensor unless we turned them on by the switch inside the house. If the lights are off on the switch inside the house and we go outside when it's dark you can hear PIR sensor clicking. We just can't get the lights AND the sensor working together.
-
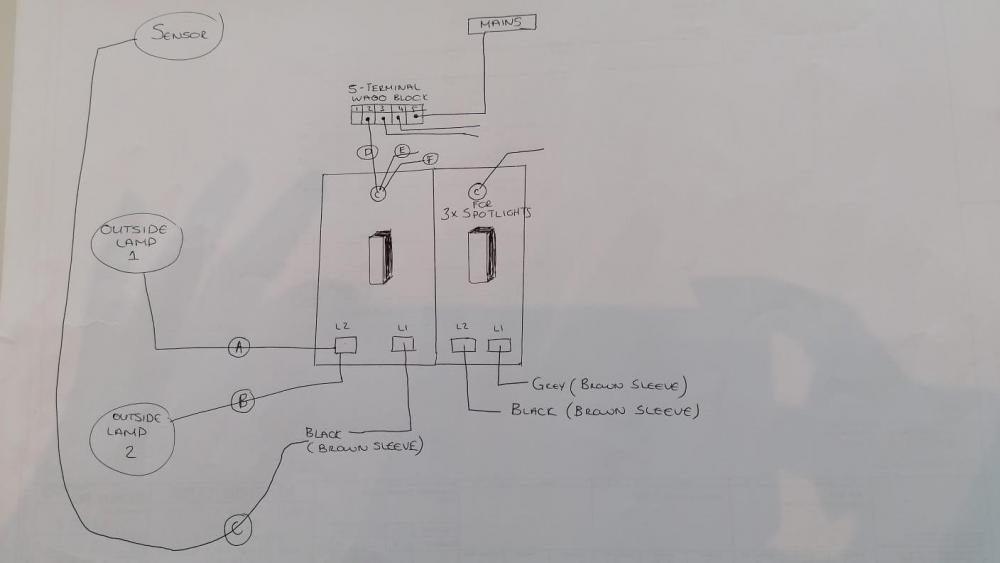
My wife has asked me to put this on here. I'm posting it so she doesn't blow everything up.... On the drawingbelow only the live wires have been shown for as the switch is packed with wires. The left hand side of a rocker switch is the one we are struggling to decipher, the right hand side deals with the inside hall x3 spotlights. The left hand side is dedicated to a sensor and 2 outside light with wires to the switch for both the lights and the sensor. How this is currently wired the lights can switch on or off OR the sensor can be clicking on without any lights, but both the lights and sensor do not work together. If we move the sensor wire marked up C in L1 into the live wago block will the sensor will be permanently fed, but do the A and B wires need to be relocated?
-
Success, Hudson Reed are replacing the sink so just need to get the other one off the unit (think it's been siliconed on). Ordered a new plug/waste and going to fit everything myself thanks @wozza for the video. The new tap we have ordered from Bristan comes with plug/waste but I will probably order this as well https://www.screwfix.com/p/thomas-dudley-ltd-basin-waste-seal-kit-3-piece-set/8795r which seems to get good reviews to make sure everything is sealed properly. Hopefully that will be the end of the issues.
-
Ok so previously this plumber has replaced the bottle trap and the chrome plug/silver thread waste (twice he has replaced the chrome plug/silver thread waste and I do believe it was all sealed. In desperation last night we messaged a local plumber, one that comes highly recommended but is booked til Feb asking for advice. I sent him the pictures, video and he asked for pictures from the top/of the sink itself. I explained the dripping doesn't start immediately, rather seems to occur shortly after running the tap. His comments mirror @PeterW as this is what he said: I've seen this before.. its a faulty basin where there is a small crack in the shell of the basin as it has an over flow in it. Replace the basin.. I've messaged Hudson Reed to see what they say as it their sink and it hasn't been fitted 12 months. Thanks for the video, I've got PTF tape from plumbing in the boat so I'll be fitting any new sink like shown there. I should be an expert by then as I'm doing a complete fit out of the bathroom on the boat with new shower and folding sink and fitting a whale gulper pump. Wish me luck ?
-
Here's a better video. Whatever is causing it doesn't happen immediately when running water, it's more once the tap is off as water passes through VID_20211014_144016.mp4 VID_20211014_144016.mp4 VID_20211014_144016.mp4 ;
-
Wouldn't I see a crack in the sink? Nothing visible on the inside of the sink.
-
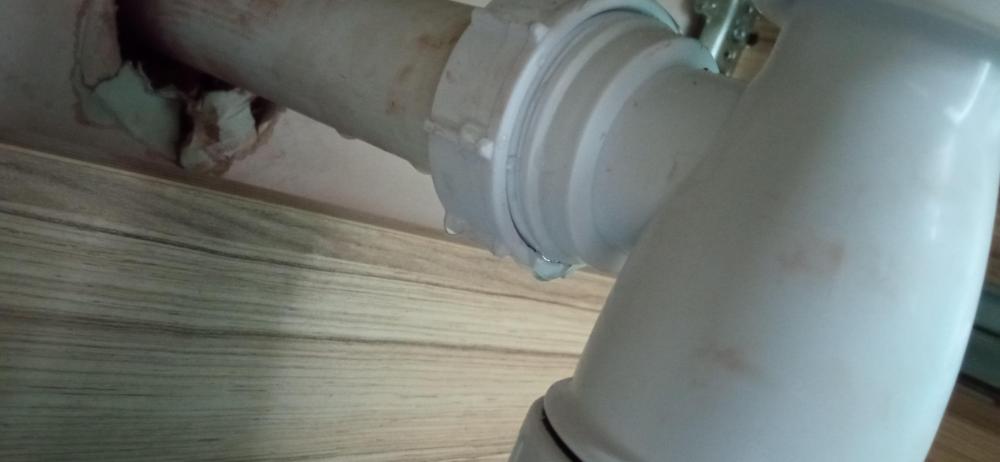
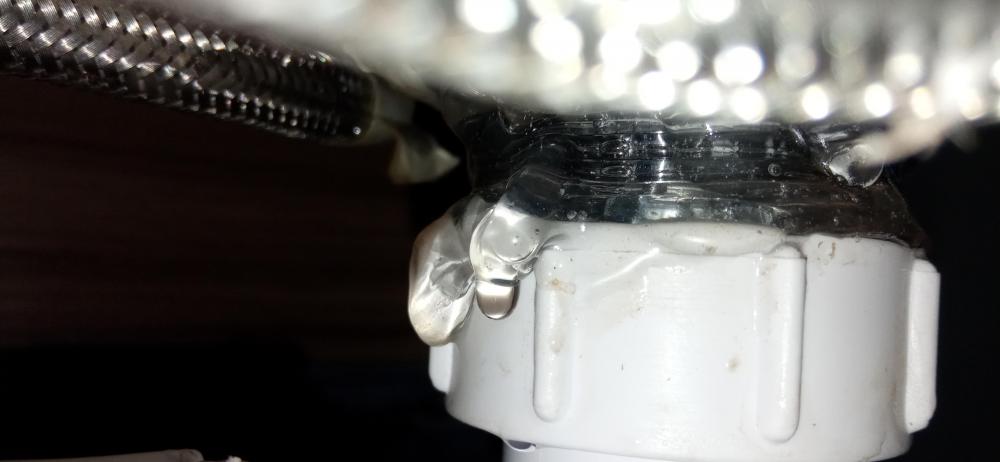
Ok since the new plumber fixed the sink leak, he's been back twice. Once we noticed it dripping and he tightened everything again, fine for a week and then leaking again and he came today and he's replaced the whole trap, plug, checked the waste pipe and resealed it, less than 2 hours later it's leaking again. He seems completely perplexed and is returning again later today again for the third time. We have no idea why it keeps leaking. Does anyone have any clue? Pics and video attached after running water .... VID_20211014_135804.mp4
-
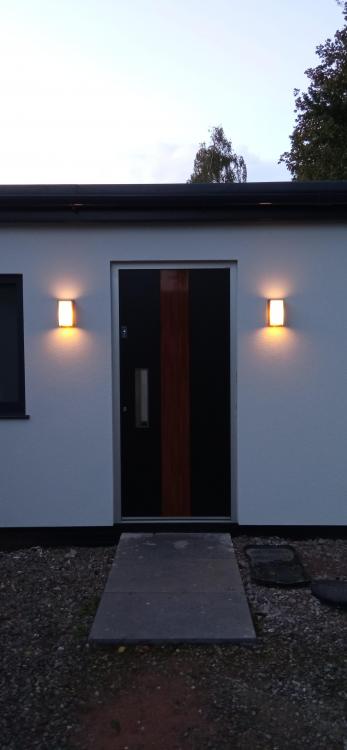
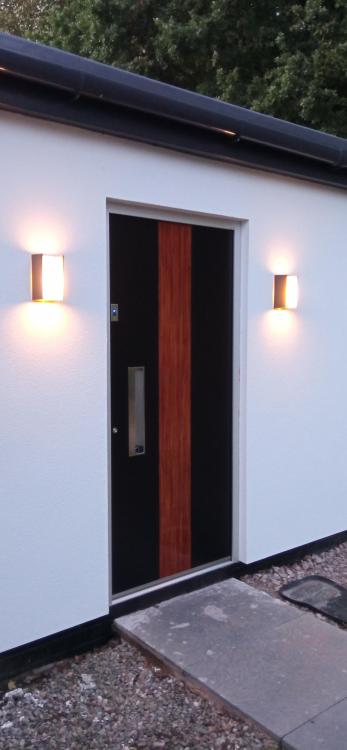
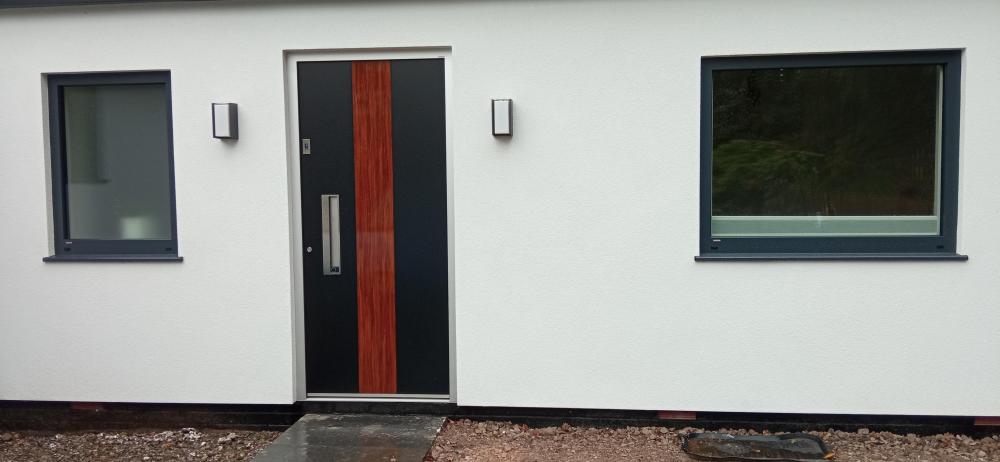
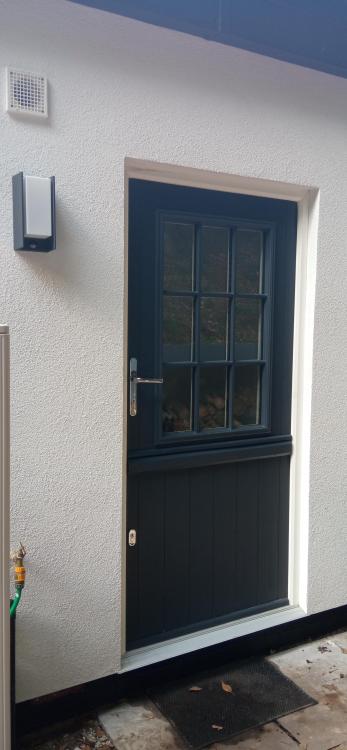
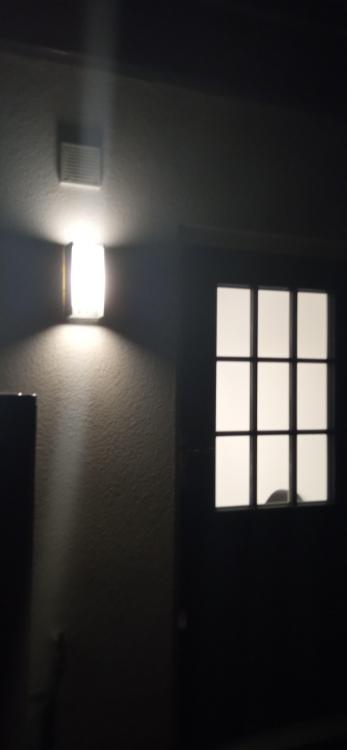
Front door lights now up and look really smart.....
-
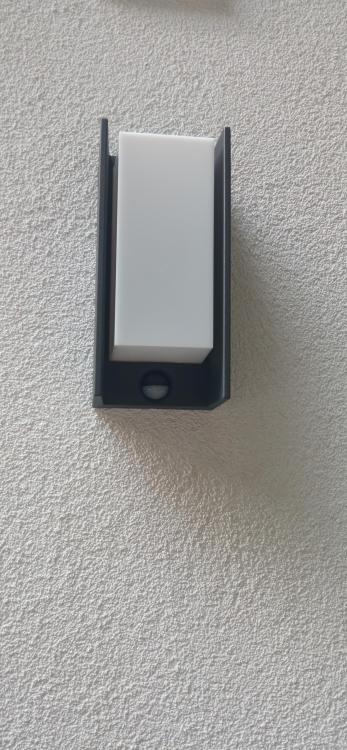
We had a discount code (we ordered them a while ago) and got them from https://www.dmlights.co.uk/philips_mygarden_bridge_anthracite~04XGZ?gclid=Cj0KCQjwqKuKBhCxARIsACf4XuEK7eiH8utwpiu89_rL4VXlQAGKOnpgid3gU8KfqiBZX2qdMdRT4bIaAl0XEALw_wcB They were also on Amazon too which is where I had the sensor one from for else than this but their prices of late shot up. The bulb they come with is the old style E27 bulbs but we replaced them with LED ones. I believe Philips do a newer version called Arbour but these don't have the option to put in a bulb rather a sealed unit but we wanted to have a bulb as it gives us the option of using Hue type bulbs in them at a later date. I'll update when we have the other 5 fitted.
-
One up! Really impressed with our anthracite Philips lights for outside IP44. This is the version with the built in PIR - the others to be fitted haven't got PIRs built in as they are switched internally. Each has a E27 bulb rather than built in LEDs (we purchased 40w LED ones).
-
I think we are almost identical to @Bramco. On the Octopus app I can see the usage per half hour and it's not drawing power from the grid when it's working. We can see from the lights on our Solic 200 exactly what is happening. So now for instance, we have surplus power and it is being offered to the immersion as well as other things (washing machine likely). If I was to turn the washing machine off the sensor light would flash red/green as we'd have all excess going to the immersion. Out DHW is only at 34 degrees as we both had baths last night (water was at 52 degrees last night after a sunny day). I'd expect if we continue with the mixed cloud/blue skies the temp will be high 40s by the end of the day from the solar alone (as has been the case for the past few months).


-
We moved earlier in the year to Octopus Go Faster for the same reason. Their normal day rate was cheaper than any competitor at 14.63 KwH AND we got to pick 3, 4 or 5 hours of cheap electricity with 4.5p, 5p or 5.5p per KwH depending on duration/time you pick. Note that this is the Go Faster Tarrif which has more options than the standard Go one. We went for the maximum 5 hours from 8:30pm until 1:30am at 5.5p. These times suit us as it covers our DHW in the evenings when I'm most likely to be having a bath and the solar tops it up in the day (though granted since May/June the solar has primarily done all our hot water) and its at a time when I am still likely to be using electricity with TV, housework like hoovering etc. @ProDave these earlier hours may work better if you don't want the ASHP running through the night. You can even just have 3 hours of cheap electricity at 4.5p from 8:30-11:30pm? I'm looking forward to making full us of it in winter when we won't have much solar when I'll programme all appliances like washer, dryer, dishwasher to come on those times as well as our heating. I know we will still have the heating timed at various points to come on in the day to maintain a temperature I'm happy with but any cheaper rate at anytime is a bonus! I think my 12 months renewal is up at the beginning of March and I'm hoping I can stay on this or a similar tarrif though I expect the normal day rate will have shot up, as it has with other competitors. Whilst I did have major issues with the app and double recording I did eventually get compensation from Octopus and I do actually now like the app now it's working so I can see the electricity use every half an hour and indeed it made me realize we had a STP pump issue which we had a sudden spike in electricity!
-

Sealant and Toilet Holes
canalsiderenovation replied to canalsiderenovation's topic in Bathrooms, Ensuites & Wetrooms
Cheers @Onoff I'll have a play around with the Fugi tool first. And yes the pan needs to stay in place. -
Sealant and Toilet Holes
canalsiderenovation replied to canalsiderenovation's topic in Bathrooms, Ensuites & Wetrooms
Thanks really helpful I'll get stuff ordered. When you say clear CT1 to seal between pan and floor and then seal around the pan with the white do you mean the white goes over the top once the clear has dried? @bassanclan thanks for the link to silicone remover. That will help me get the existing stuff out without damaging things. I'll see if I can buy another toilet fixing kit as we don't seem to have one and just use the caps. -
Sealant and Toilet Holes
canalsiderenovation replied to canalsiderenovation's topic in Bathrooms, Ensuites & Wetrooms
Ooer I need to find these threads about where I should be sealing so I don't caus Yes I need to be super careful getting off the existing as it's on the tray and showerwall and I don't want to scratch it so I'll probably not use any blade. So clear CT1 to seal around loo but in the shower a white which can be Dow Conning 785, Forever White or BT1 or similar. I've ordered the Fugi kit, I aren't too bad at using silicone but anything that helps is a bonus! -
Sealant and Toilet Holes
canalsiderenovation replied to canalsiderenovation's topic in Bathrooms, Ensuites & Wetrooms
Thanks will look at CT1 or Dow Conning 785. I presume white for dealing shower but would it be clear for sealing round the toilet/floor? No, it hasn't been since last year. Just not got round to doing it and the plumber didn't do it but I didn't trust him to! -
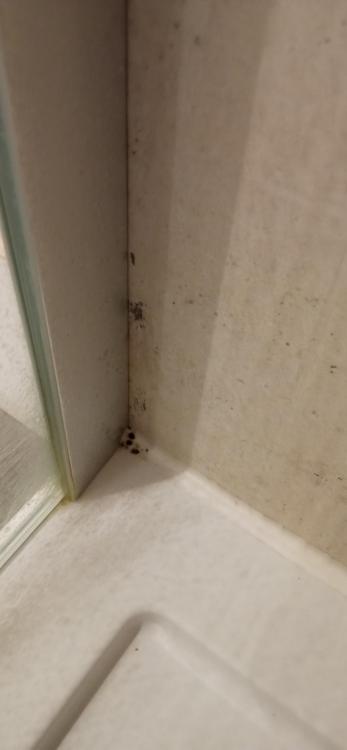
Couple of questions: Our plumber didn't seal round the toilets (they can't be screwed to the floor because of the UFH). I'm more competent than him to seal round them however I still haven't got round to this. Can anyone advise which sealant I should use? I've got a Screwfix and Toolstation order to put in so I want to get it ordered. Also, is there anything I can get to put in these holes - I presume this is where they would be fixed to the floor normally. Second question, I don't think our shower is sealed properly as we have noticed a bit of water running out at the bottom. I think there is a bit of a gap in the corner and water is coming and I'm happy to reseal it all. Should I get rid of the existing? If so what's the best way of getting it up? It is looking a bit grubby/moukdy in places and we haven't used it for a while and I haven't cleaned it because I don't know I'd I should just get it all up and start again (SWMBO and various hair dye things haven't helped). Again, is there a particular sealant I should order?

-
Pipe off hot water tank
canalsiderenovation replied to canalsiderenovation's topic in General Plumbing
I think we may have been a bit heavy handed pulling out the bed. I mean I've put on lockdown weight but I don't think I'm that heavy! We certainly haven't been jumping up and down on it. We have a good 2-3cm now spare above it which is much better. We noticed an odd water mark so it did make me wonder if it's happened before but as there is two beds they may not have used this one much. We find it's the comfier one. -
Pipe off hot water tank
canalsiderenovation replied to canalsiderenovation's topic in General Plumbing
I did it thank you all and @Nickfromwales who is probably rolling his eyes with my stupidity earlier on in the thread!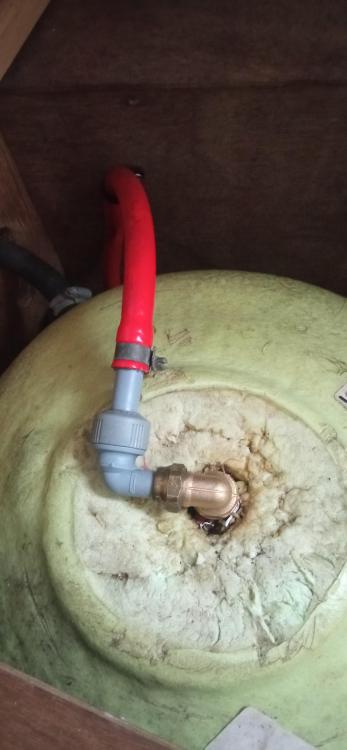
-
Pipe off hot water tank
canalsiderenovation replied to canalsiderenovation's topic in General Plumbing
Sorry idiot question but if I put a new 90 degree elbow on like the one you linked how do I take the grey thing further away? I think I understand you, you just mean turn the grey think when it's connected to that new 90 degree brass thing so it isn't sticking up -
Pipe off hot water tank
canalsiderenovation replied to canalsiderenovation's topic in General Plumbing
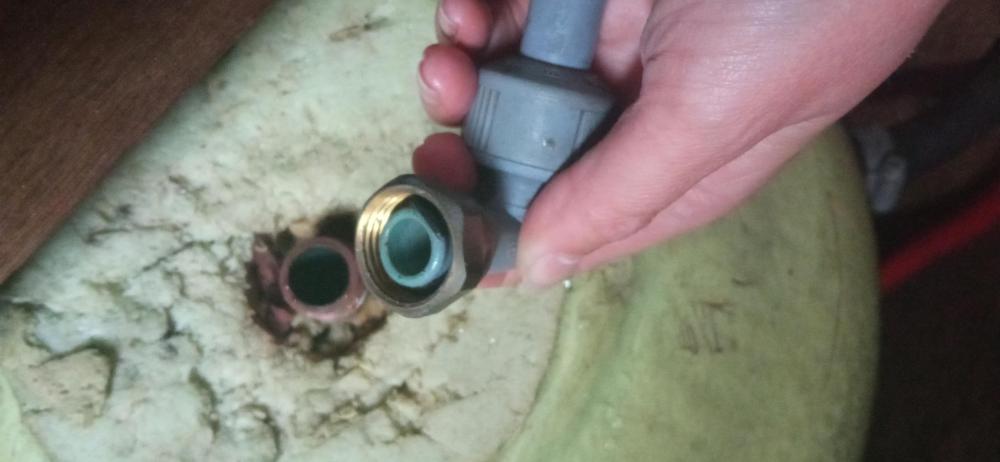
Okey dokey. Here are some pics. The end of the red hose looks like this so I think has the inserts already. When removing the plastic pipe I can't get the brass bit off it as it has a bit of a lip on the plastic thing they fixes onto the tank and even cutting it I don't think would reduce the height much. So cutting it I think wouldn't work. Hmmm, not sure what to do.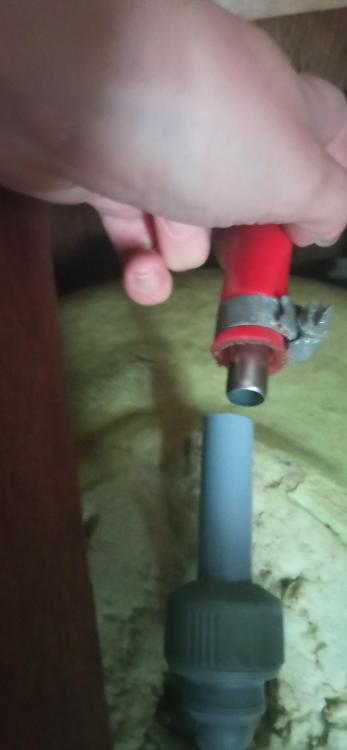
-
Pipe off hot water tank
canalsiderenovation replied to canalsiderenovation's topic in General Plumbing
Oh no! Hope you feel OK. Thanks for the offer ? -
Pipe off hot water tank
canalsiderenovation replied to canalsiderenovation's topic in General Plumbing
I'll double check tomorrow and see thanks ? -
Pipe off hot water tank
canalsiderenovation replied to canalsiderenovation's topic in General Plumbing
Any idea where I can source these from? I think the best option is going to be cut down the plastic grey bit, new olive and refit and see if that's made it lower. Or alternatively if this doesn't give us the height we need do what @Nickfromwalessuggested and fit an new elbow and move the grey thing further down as well. We made it home safely either way for now so need to do a couple of jobs before our next trip. -
Pipe off hot water tank
canalsiderenovation replied to canalsiderenovation's topic in General Plumbing
Yes you're correct. Our hot water is heated by the engine and the tank is a calorifier. Bigger and fancier boats have water heaters but not for us at 26.5ft. We also only have 12v (fridge is 12v and oven is gas). We have found 12v is fine for us even for a week away as the only real things we charge is our phones.










