
Super_Paulie
-
Posts
831 -
Joined
-
Last visited
-
Days Won
3
Everything posted by Super_Paulie
-
Definitely not normal. If it's plasterboard then the joins should be away from any edges but that's what it looks like for me. When I first plasterboarded my front room I just stopped the board at the "easiest point" and guess what, cracked at all these places a year later. Maybe that's what's happened? For what is worth, since then I've cut my boards to keep away from any edges and it's been rock solid.
-

Build has descended into a xxxx show
Super_Paulie replied to flanagaj's topic in General Self Build & DIY Discussion
Hard to argue that it's not difficult. My own place is a refurb of a 30s semi so hardly a full build, although often I think that works be easier. I'm 4 years in and exhausted but it's just a bit by bit, what else can you do. The guys on this forum have been a godsend and it's been a real eye opener starting with practically no knowledge. Stick in there fella, it'll get better once you've got walls! -
Wonderful, congratulations.
-
A blast from the past @Onoff, but I'm interested if this resulted in anything you regret or if you'd recommend it. I'm fitting a window this weekend and I'd thought about filling a chamber with foam so did a quick search and lo and behold, this post was found.
-
Contrasting opinions there, but as long as it doesn't dry out the trap I'll go for it.
-
Backer board or plasterboard
Super_Paulie replied to Super_Paulie's topic in Bathrooms, Ensuites & Wetrooms
Tile adhesive or traditional plasterboard adhesive? The wall is brick with cavity. -
im about to run my wet underfloor in the bathroom. I was going to run it under the resin shower tray because why not, might dry it out, help with mold etc. But then its dawned on me that it might dry out the trap which is obviously no good. My trap is as low a water seal as they come, 25mm. Does anyone have any thoughts or experience with the traps drying out due to UFH? Could easily not run it near the shower tray but it seems it would have its benefits. Obviously not at the expense of the bathroom stinking 2 hours after a shower.
-
Shower tray, waste rough?
Super_Paulie replied to Super_Paulie's topic in Bathrooms, Ensuites & Wetrooms
That's the tradesman wages for ya. -
Shower tray, waste rough?
Super_Paulie replied to Super_Paulie's topic in Bathrooms, Ensuites & Wetrooms
Sainsbury's own good enough for ya? -
Shower tray, waste rough?
Super_Paulie replied to Super_Paulie's topic in Bathrooms, Ensuites & Wetrooms
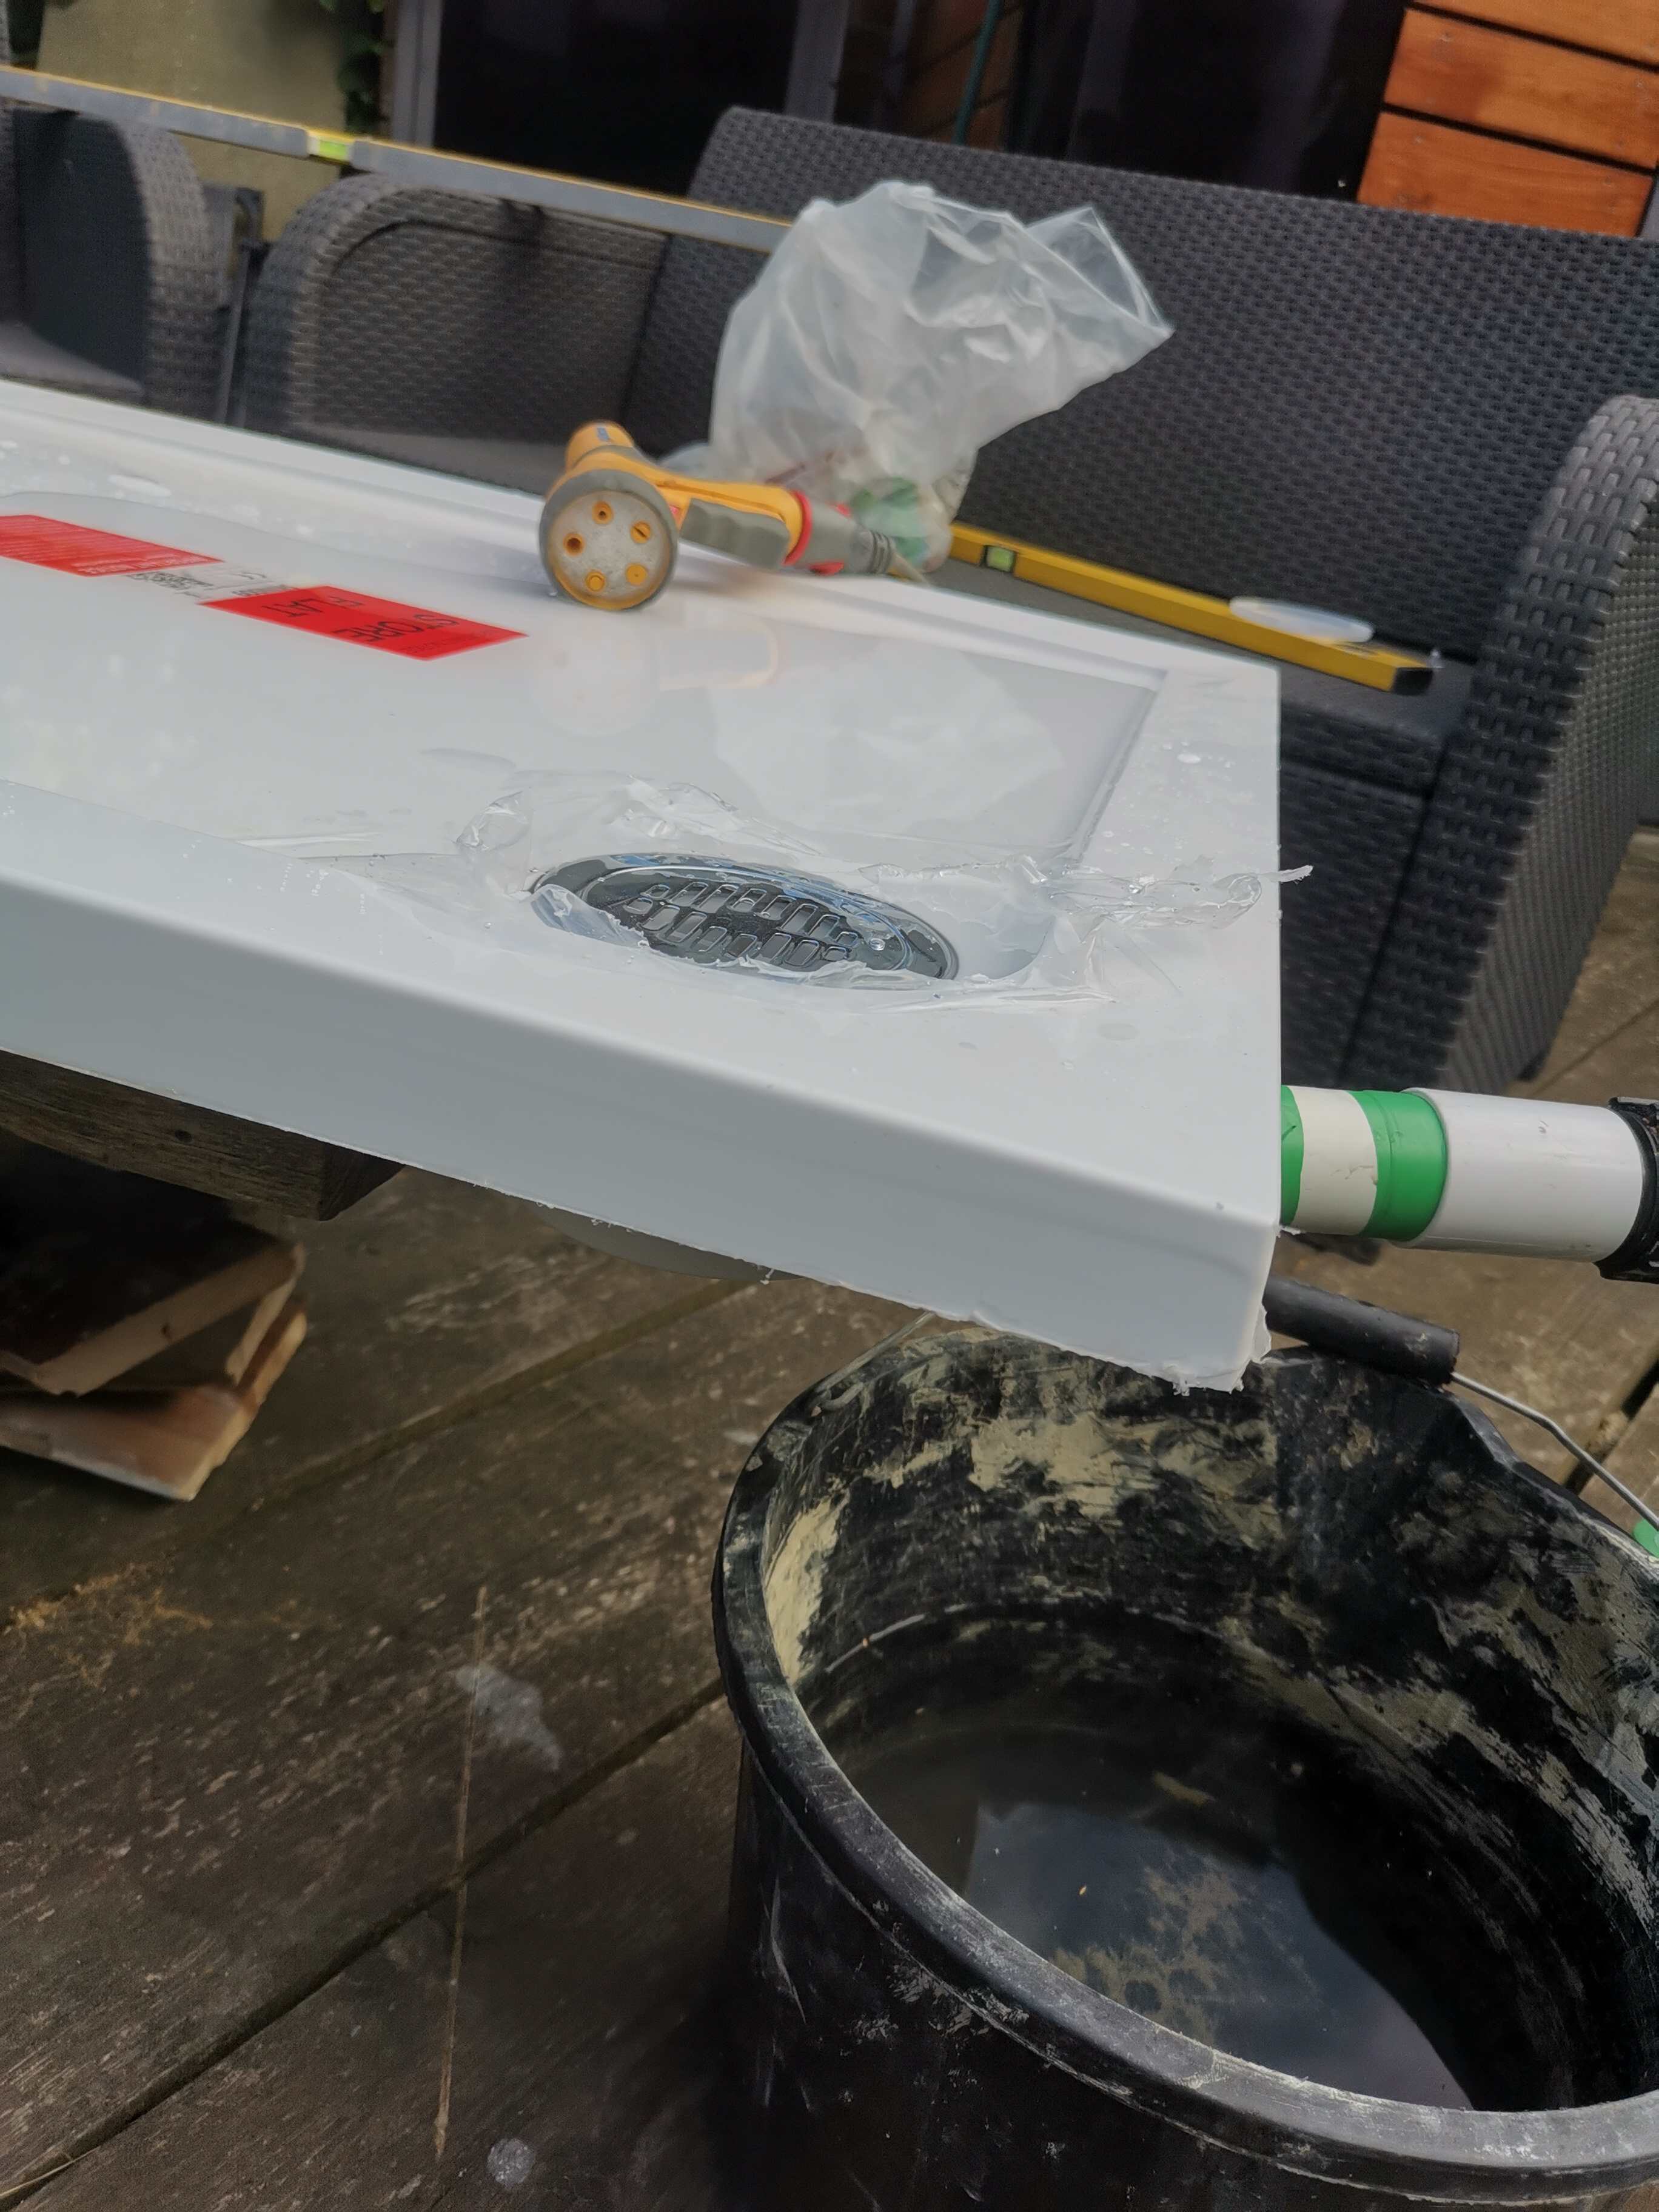
Proof is in the puddin, this thing isn't leaking even though it's under water. Overthinking things as per.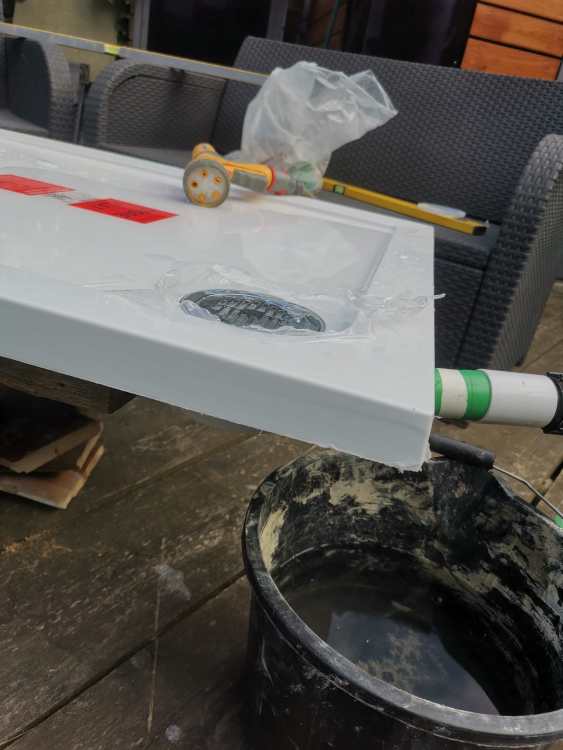
-
Shower tray, waste rough?
Super_Paulie replied to Super_Paulie's topic in Bathrooms, Ensuites & Wetrooms
In reference to my last post there. VID_20260617_174608.mp4 -
i inherited a table saw at work. It was totally obvious that i would end up losing a finger by using it every day so i got rid of it and got a dewalt chop saw and a dewalt track saw. Never looked back.
-
Shower tray, waste rough?
Super_Paulie replied to Super_Paulie's topic in Bathrooms, Ensuites & Wetrooms
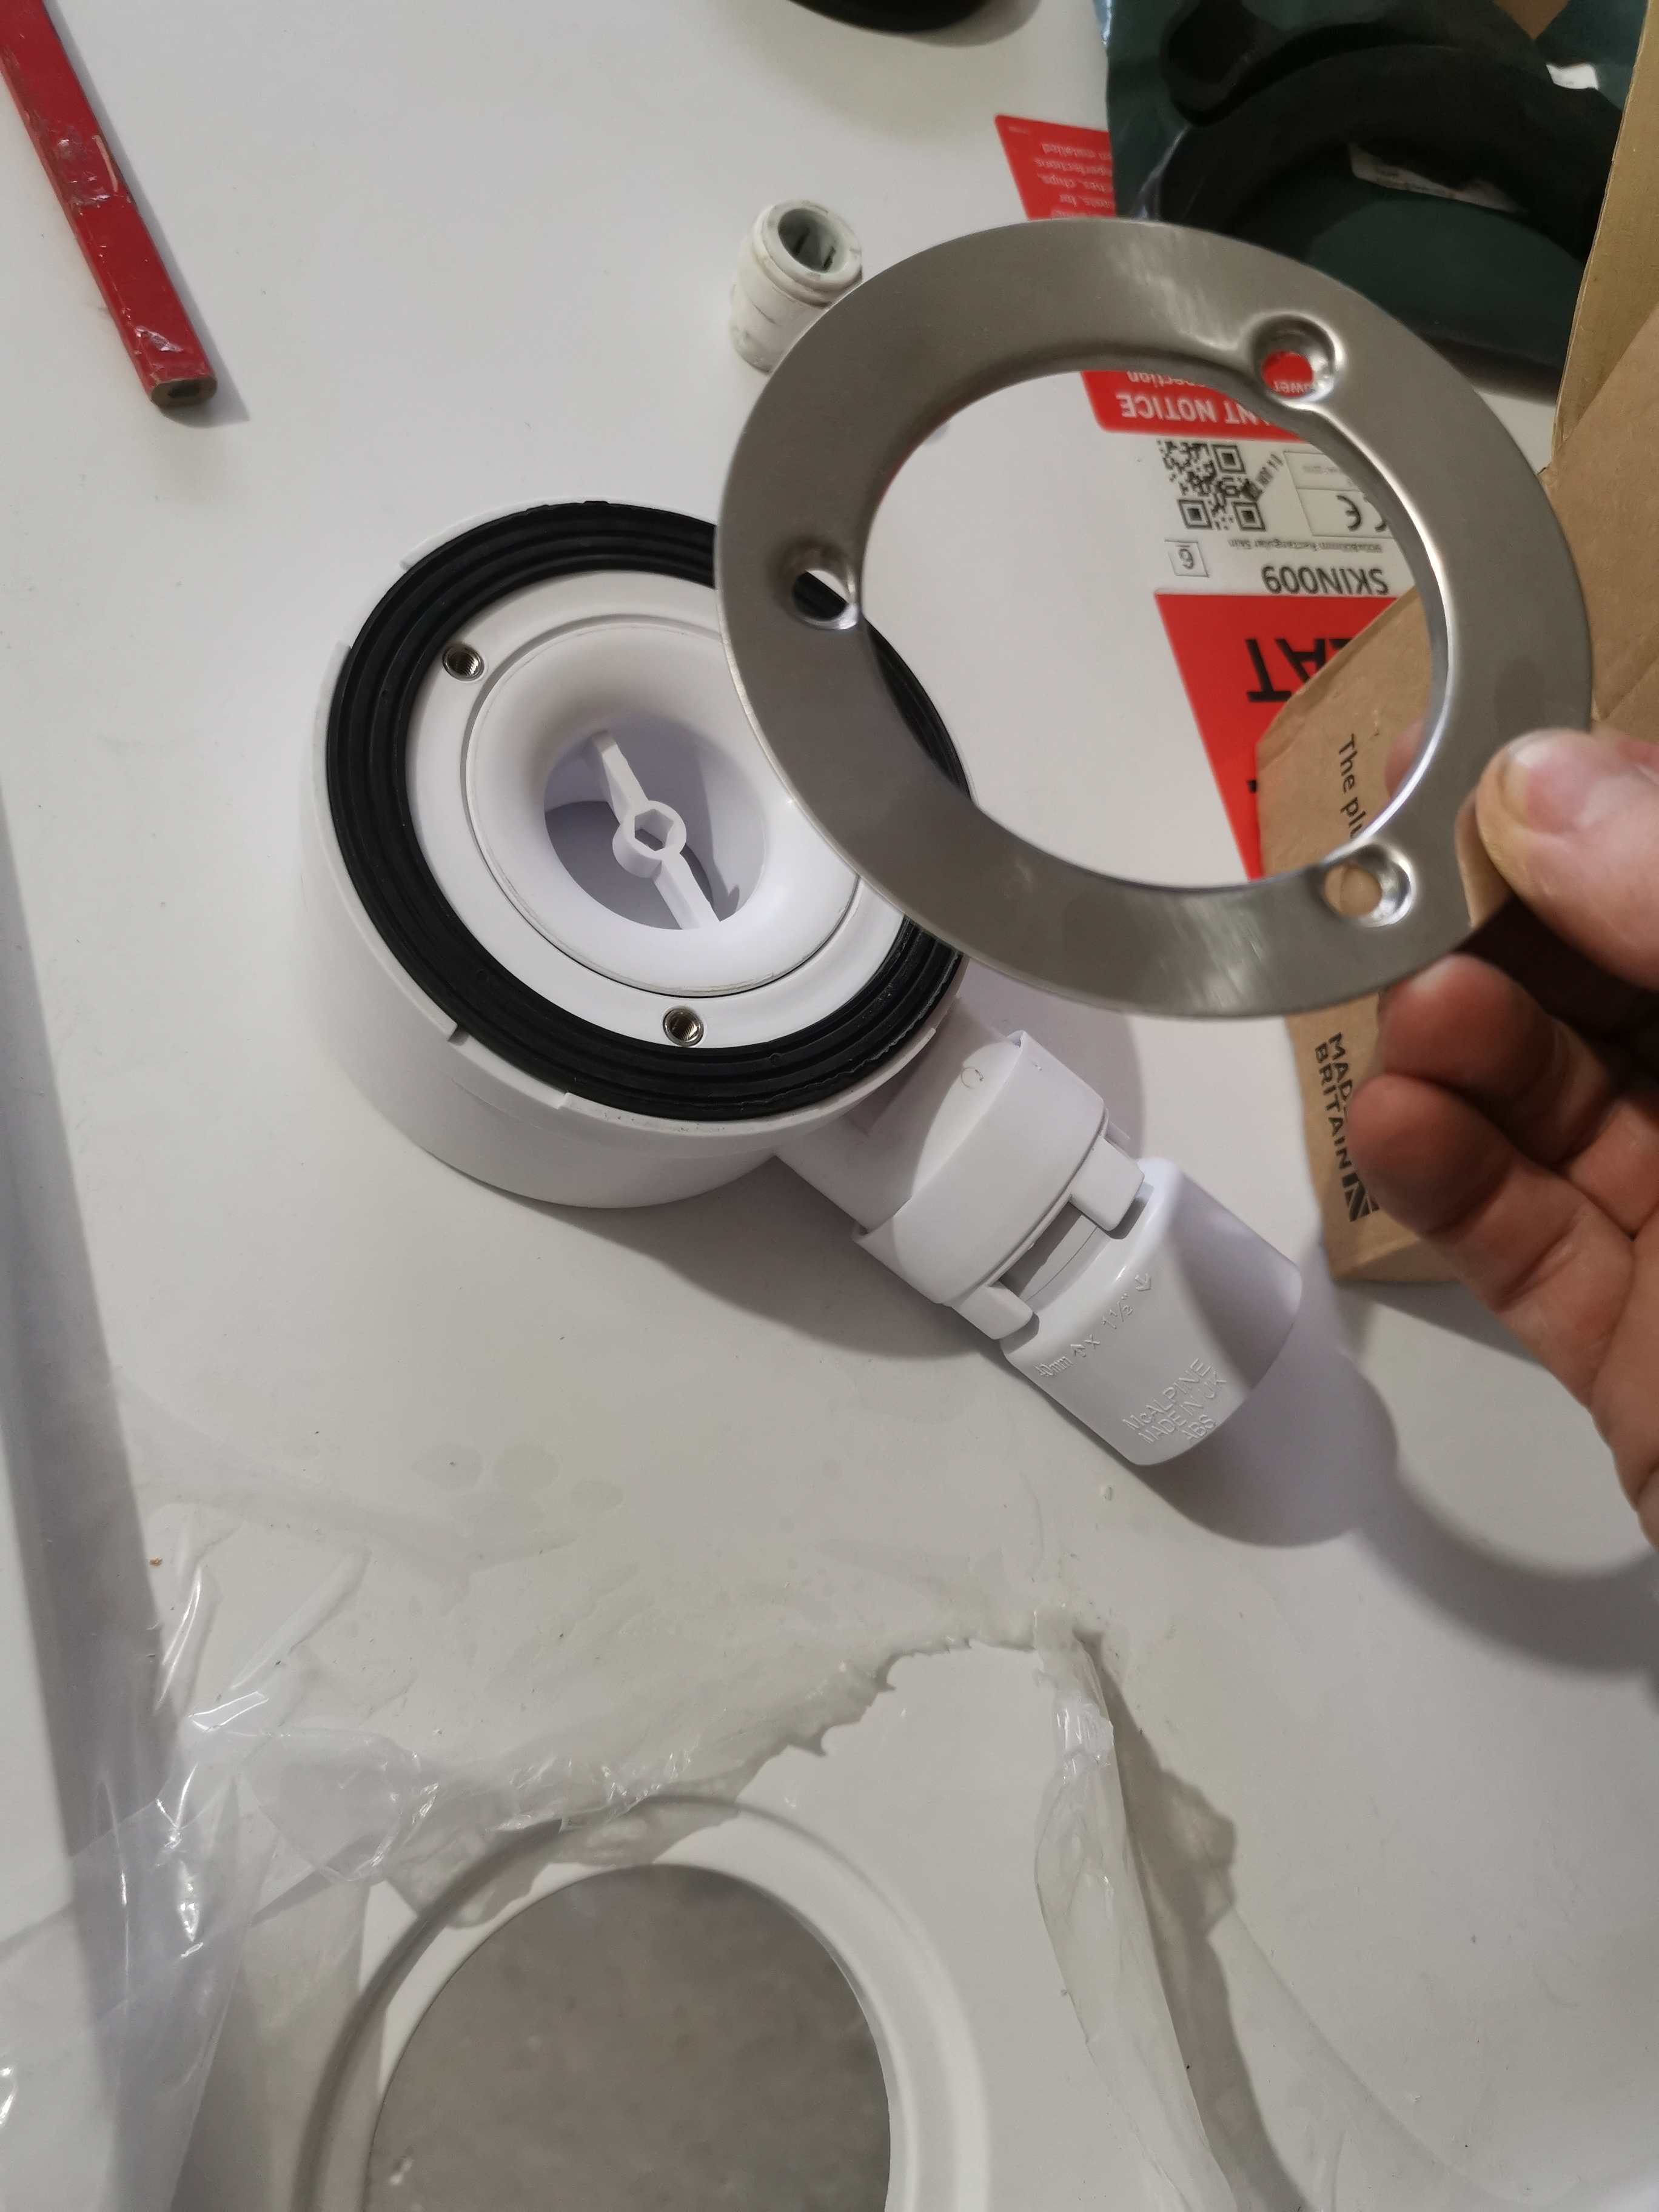
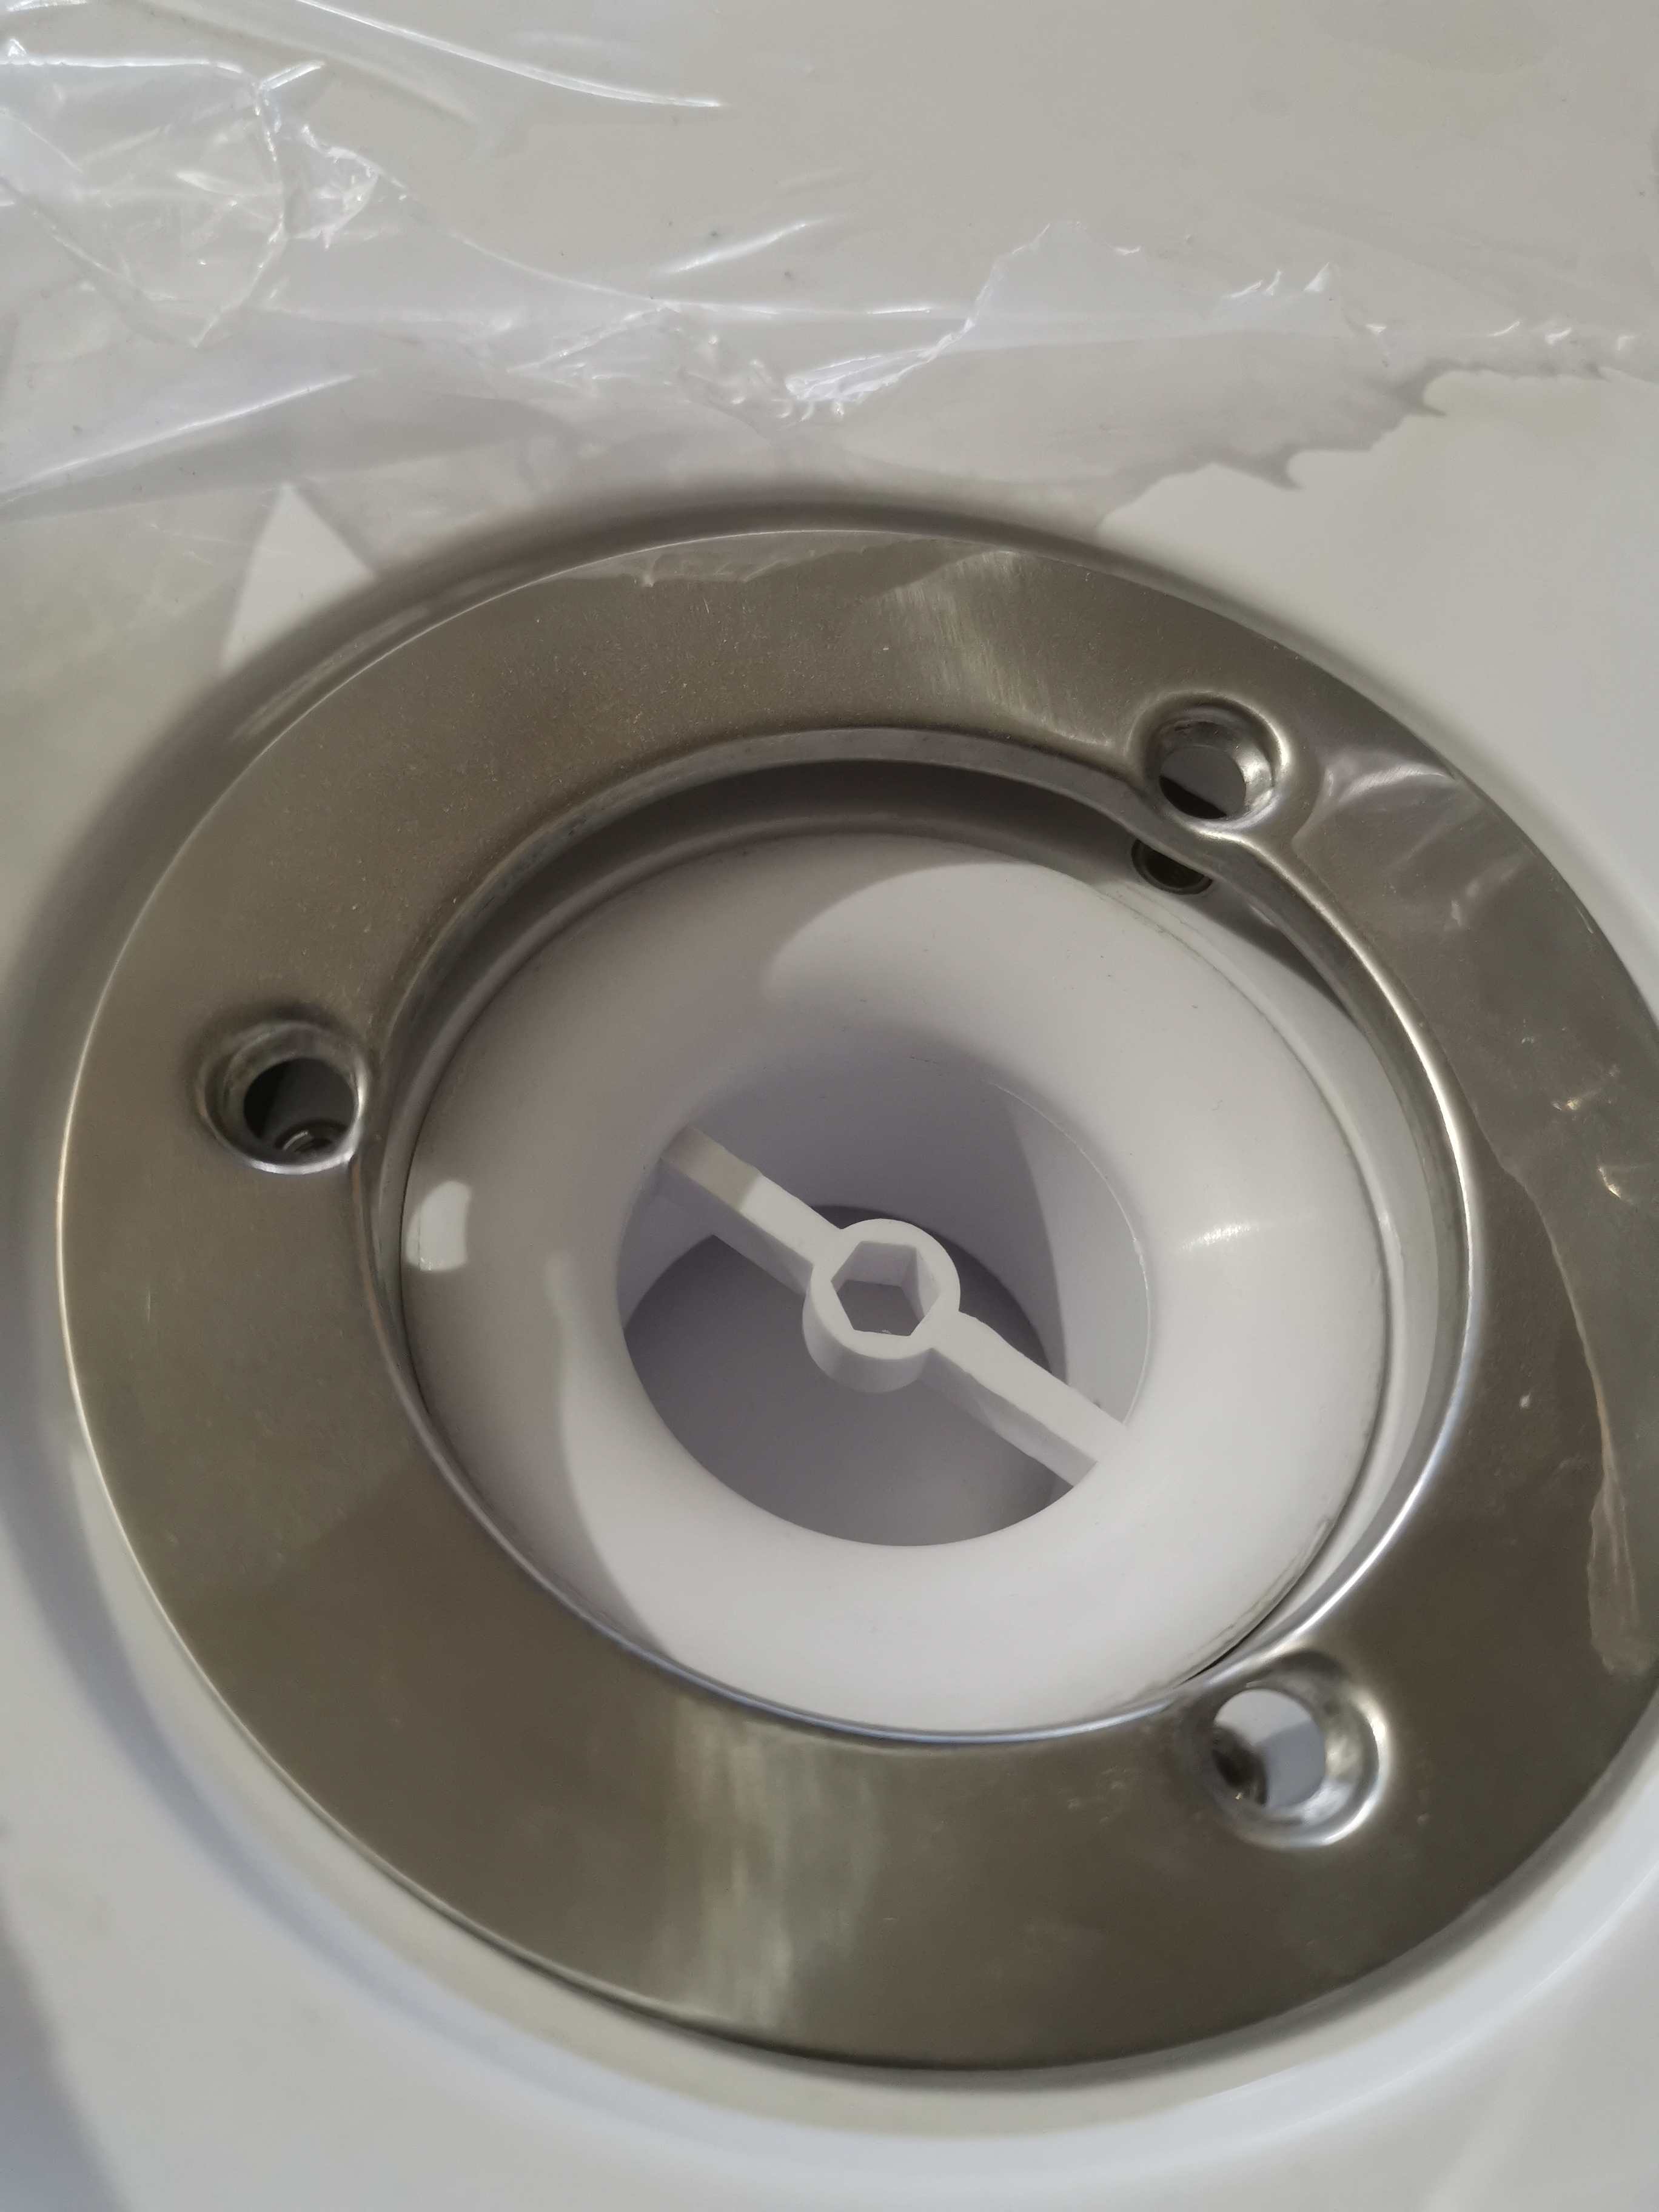
countersunk screws in flange fouling on tray mating surface. Use a file to take the tray down in these locations? only a few mm. Why is nowt easy.
-
Shower tray, waste rough?
Super_Paulie replied to Super_Paulie's topic in Bathrooms, Ensuites & Wetrooms
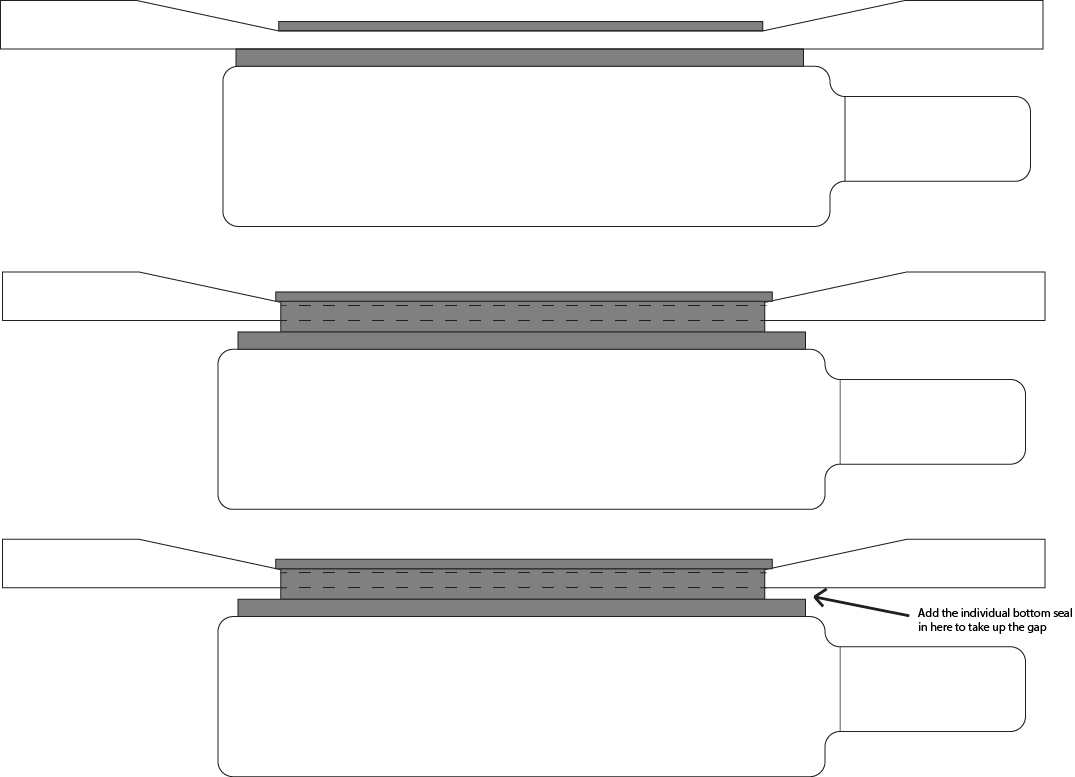
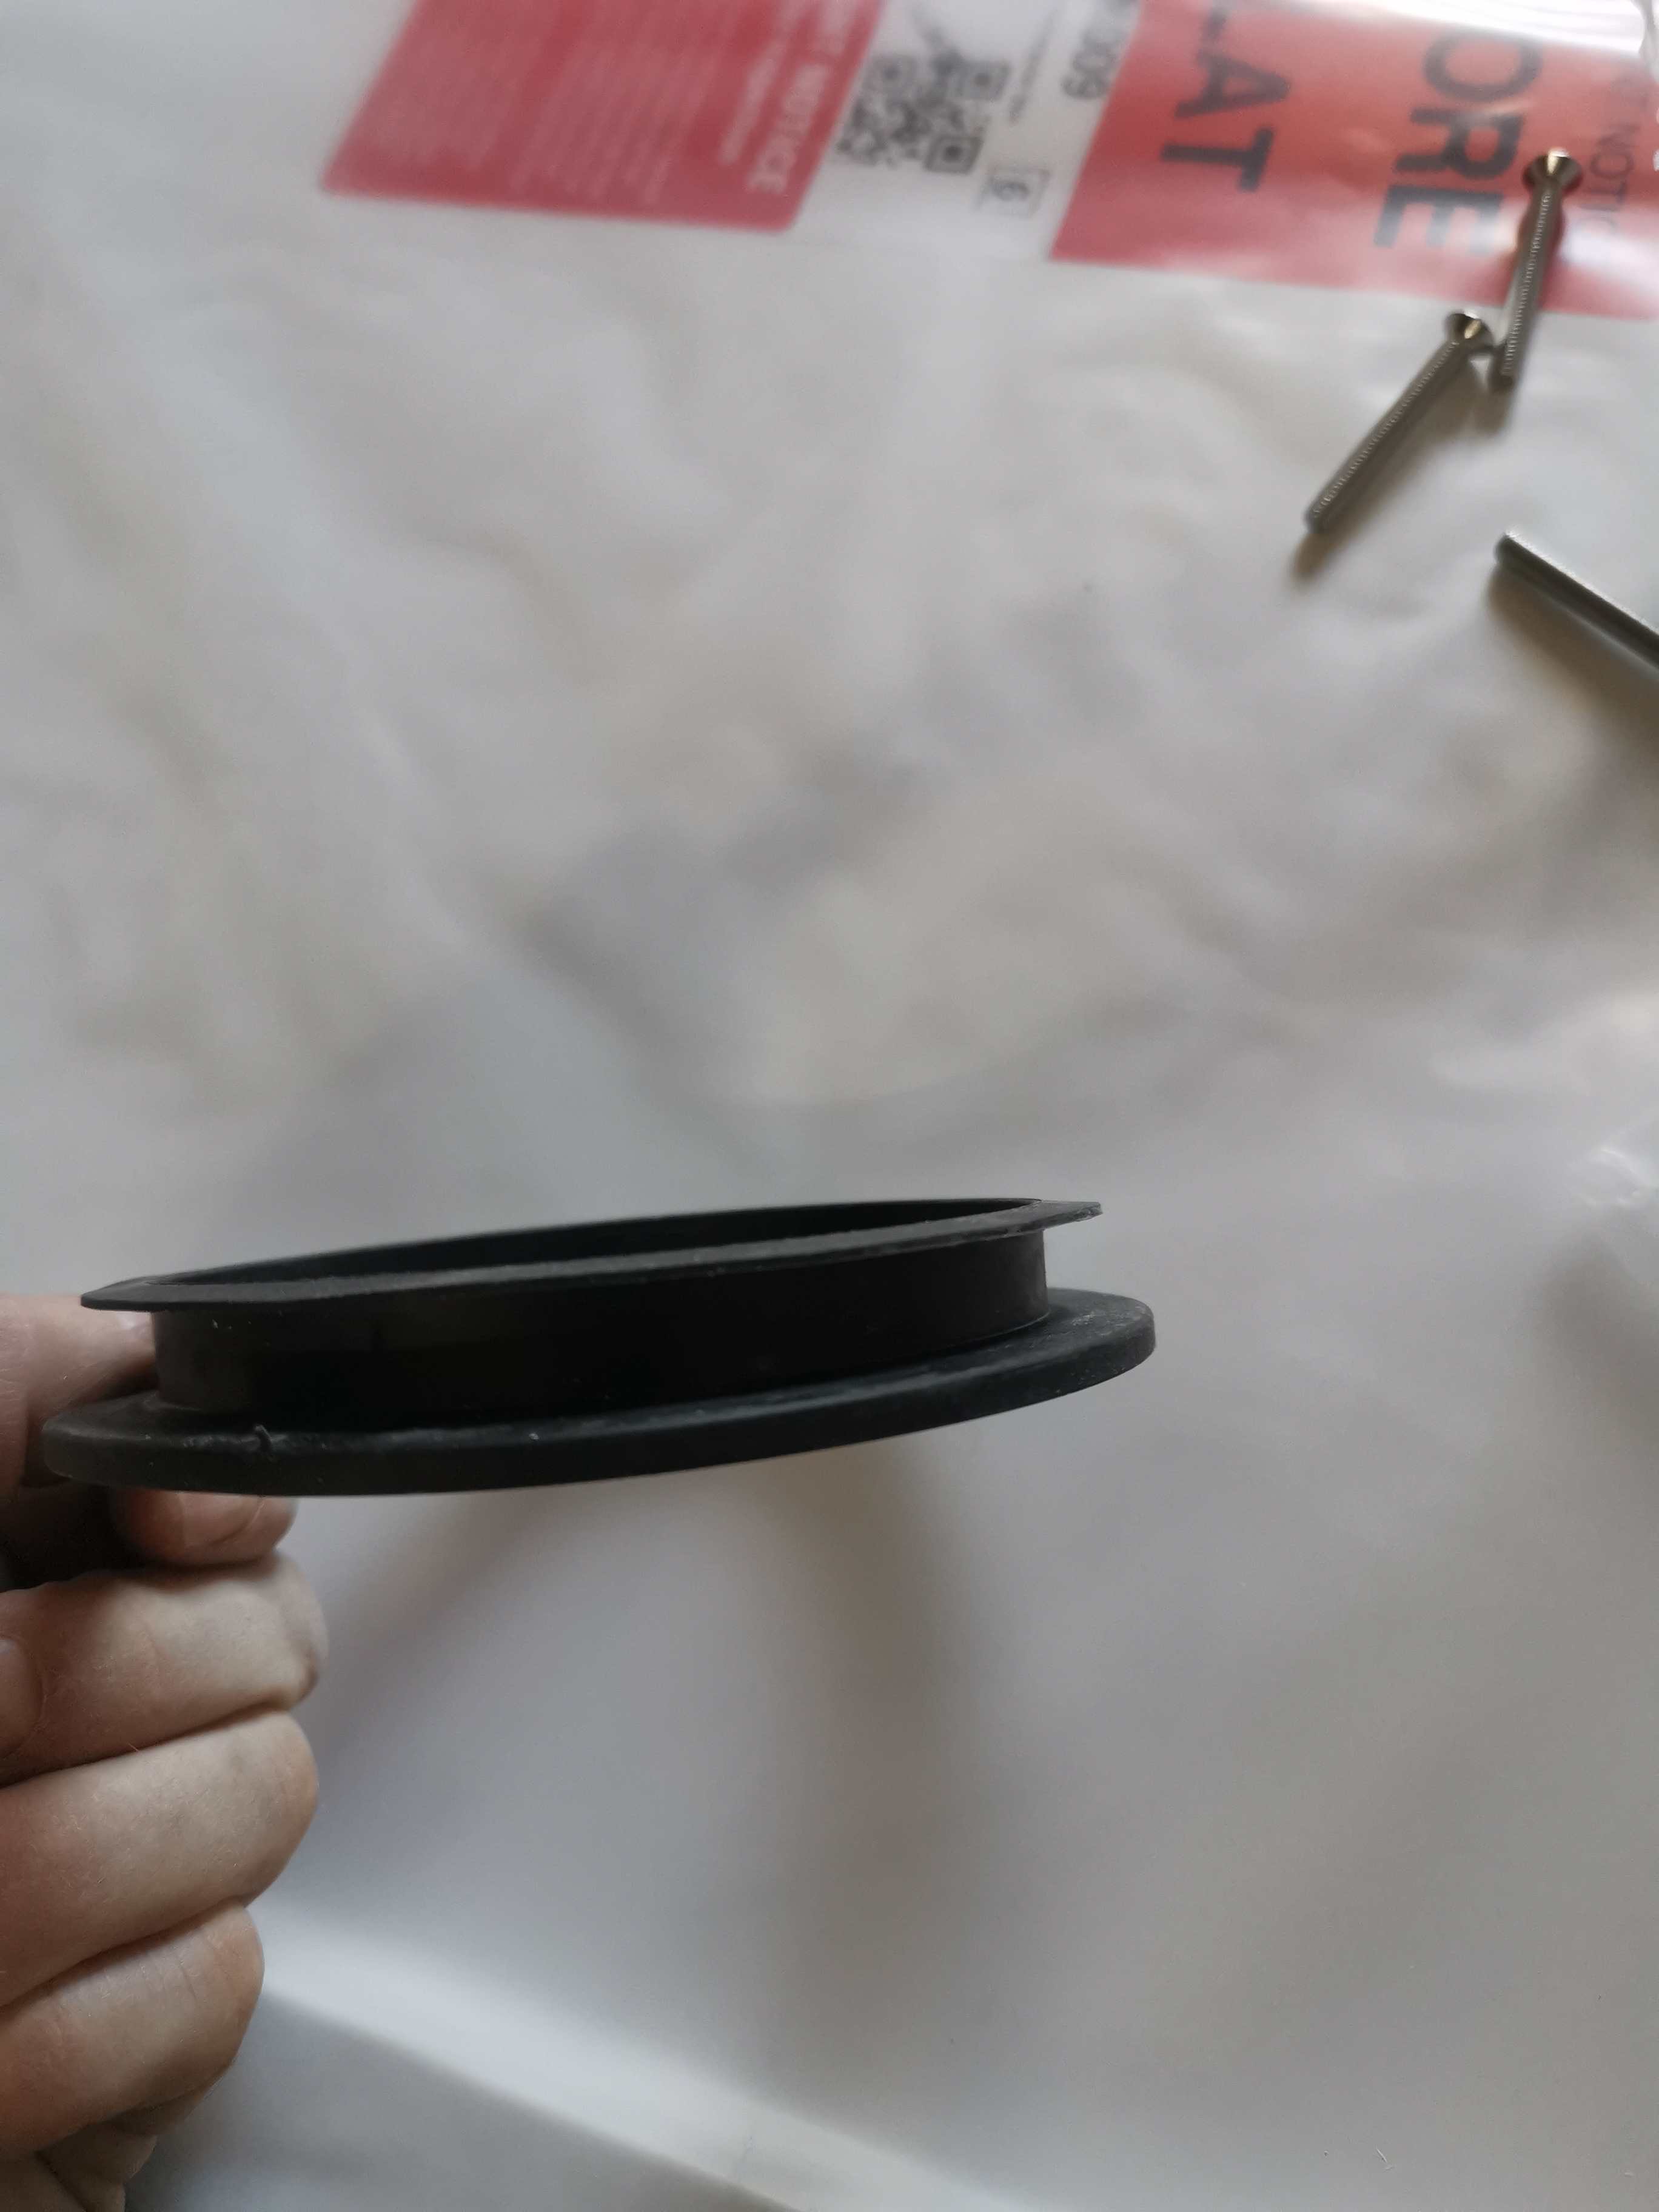
i guess im open to offers on which one... the "top hat" one is quite loose fitting around the middle shaft (too tall for the trays depth) unless i add in one of the additional seals underneath the bottom side it to pad it out. So it comes with 3 seals, rough image attached. The first 2 are i guess a set of one for the top and one for underneath. The third one is the one in the picture above, the "all in one" described as "alternative seal H". Bizarrely i cant find any real reference or pictures of the 2 seals, i wonder if they have stopped shipping the trap with the two options now, i got mine from ebay instead of off the shelf, could have been old stock but it is referenced in the paper manual that came with it as "alternative seal H". Ideally id not have a top seal at all to keep the flange as flat as possible but if i need it then so be it, being bombproof takes priority for this. To add further issues, the counter-sunk screw holes in the top metal flange obviously direct down over which means it doesnt drop in totally flat. Id have to file the tray away at the points the countersunk sections sit, just a few mm)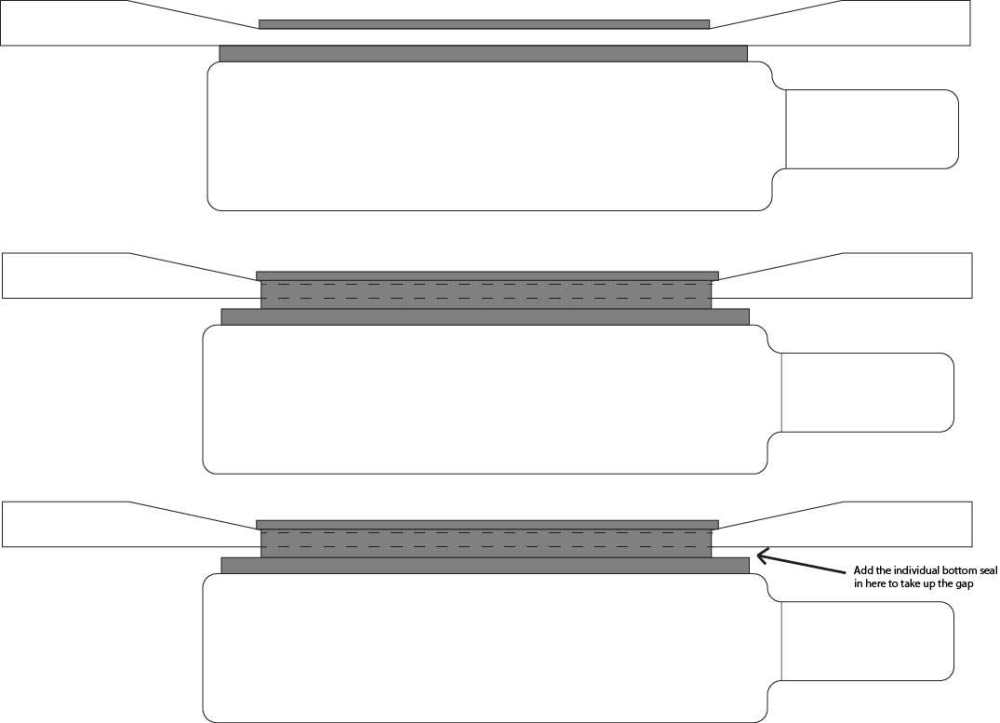
-
Shower tray, waste rough?
Super_Paulie replied to Super_Paulie's topic in Bathrooms, Ensuites & Wetrooms
it seems pretty important in this instance, the trap doesnt have a screw in central funnel from top to bottom but looks more like it relies on the seals. The bottom seal looks like it does the brunt of the work to me? Id ditch the top seal and use CT1 I'd imagine as well, as I'd want it as low as possible in the recess.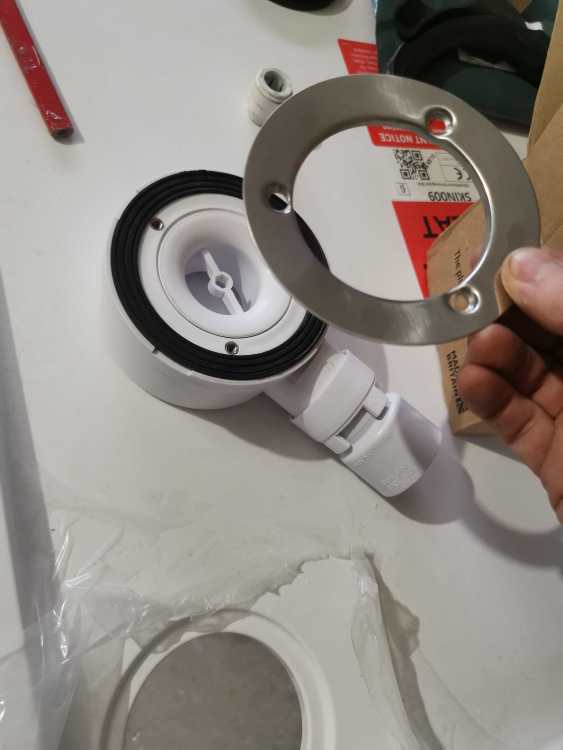
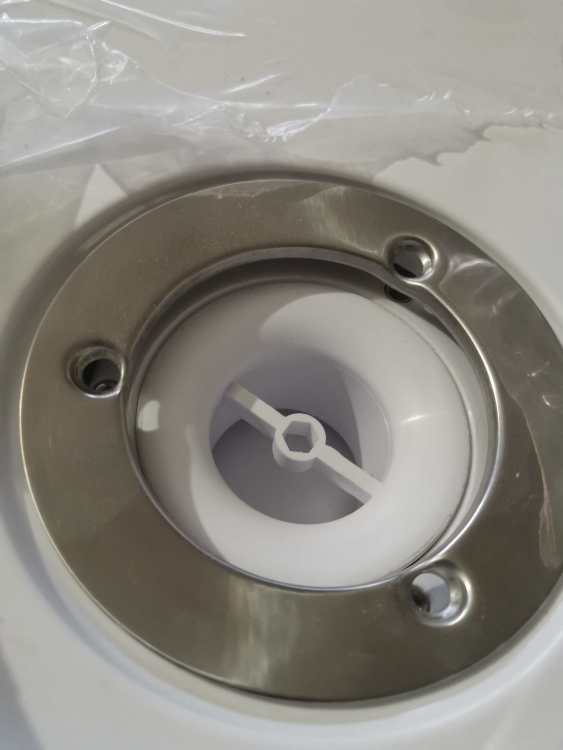
-
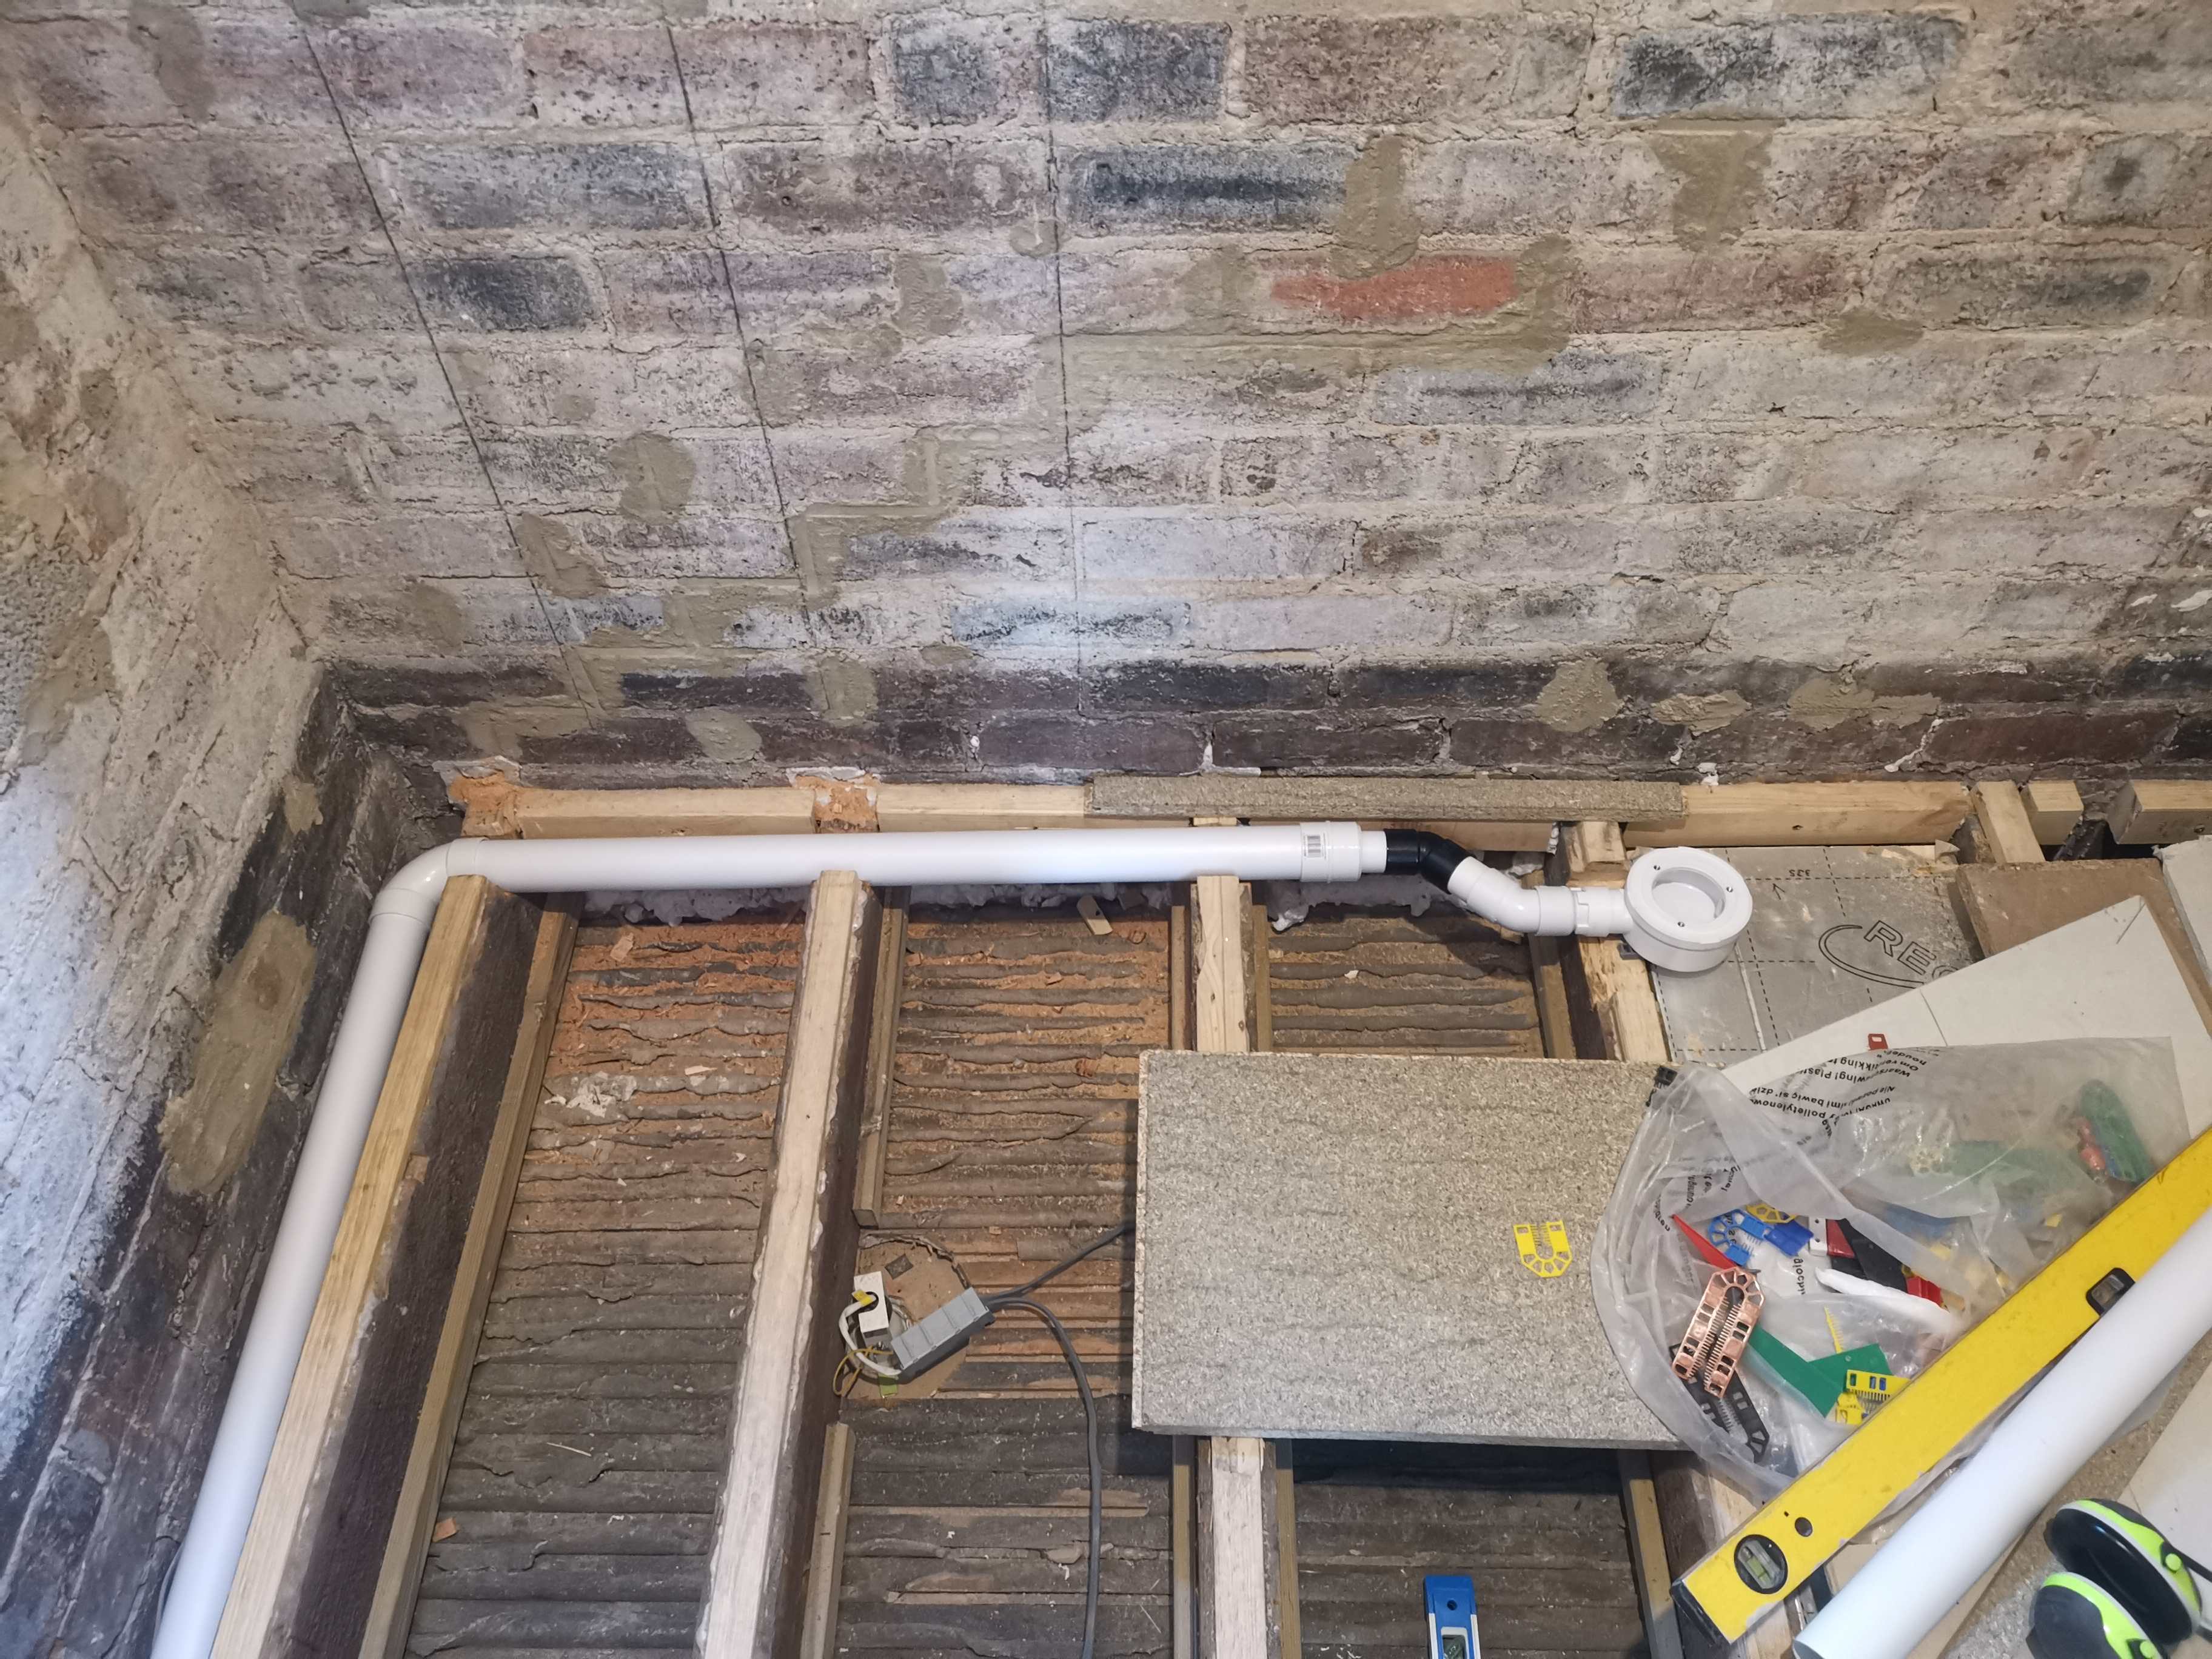
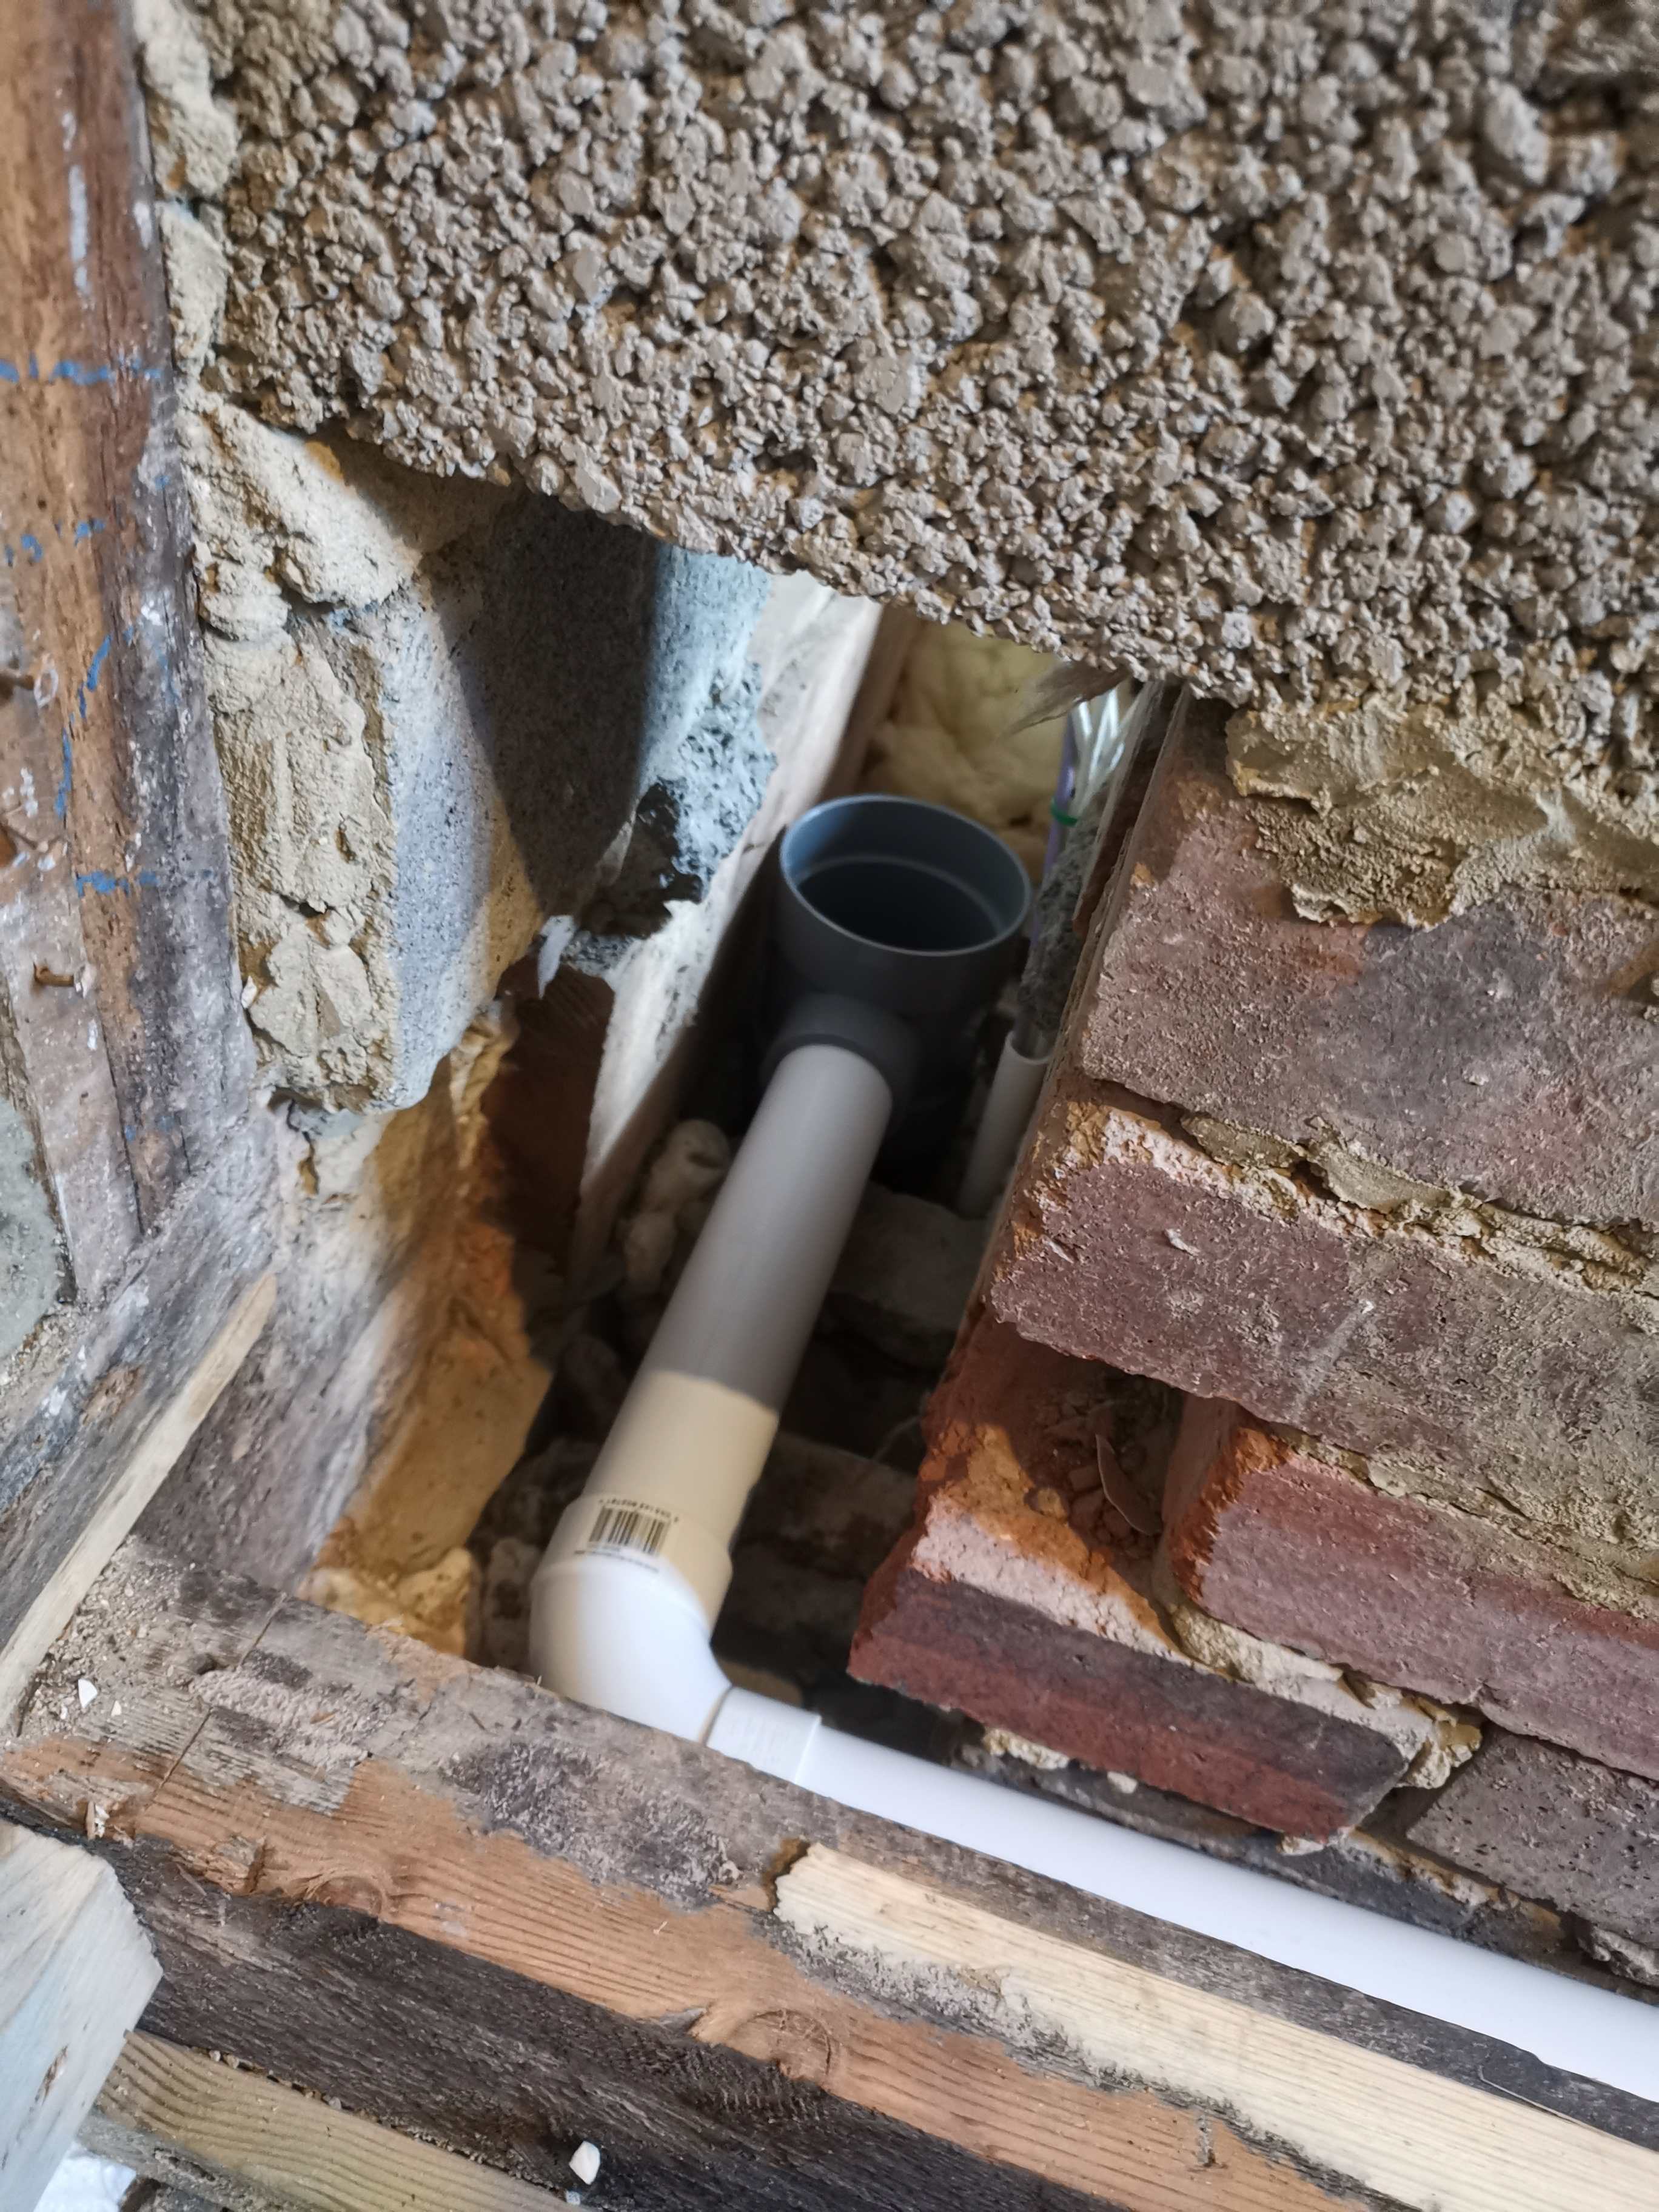
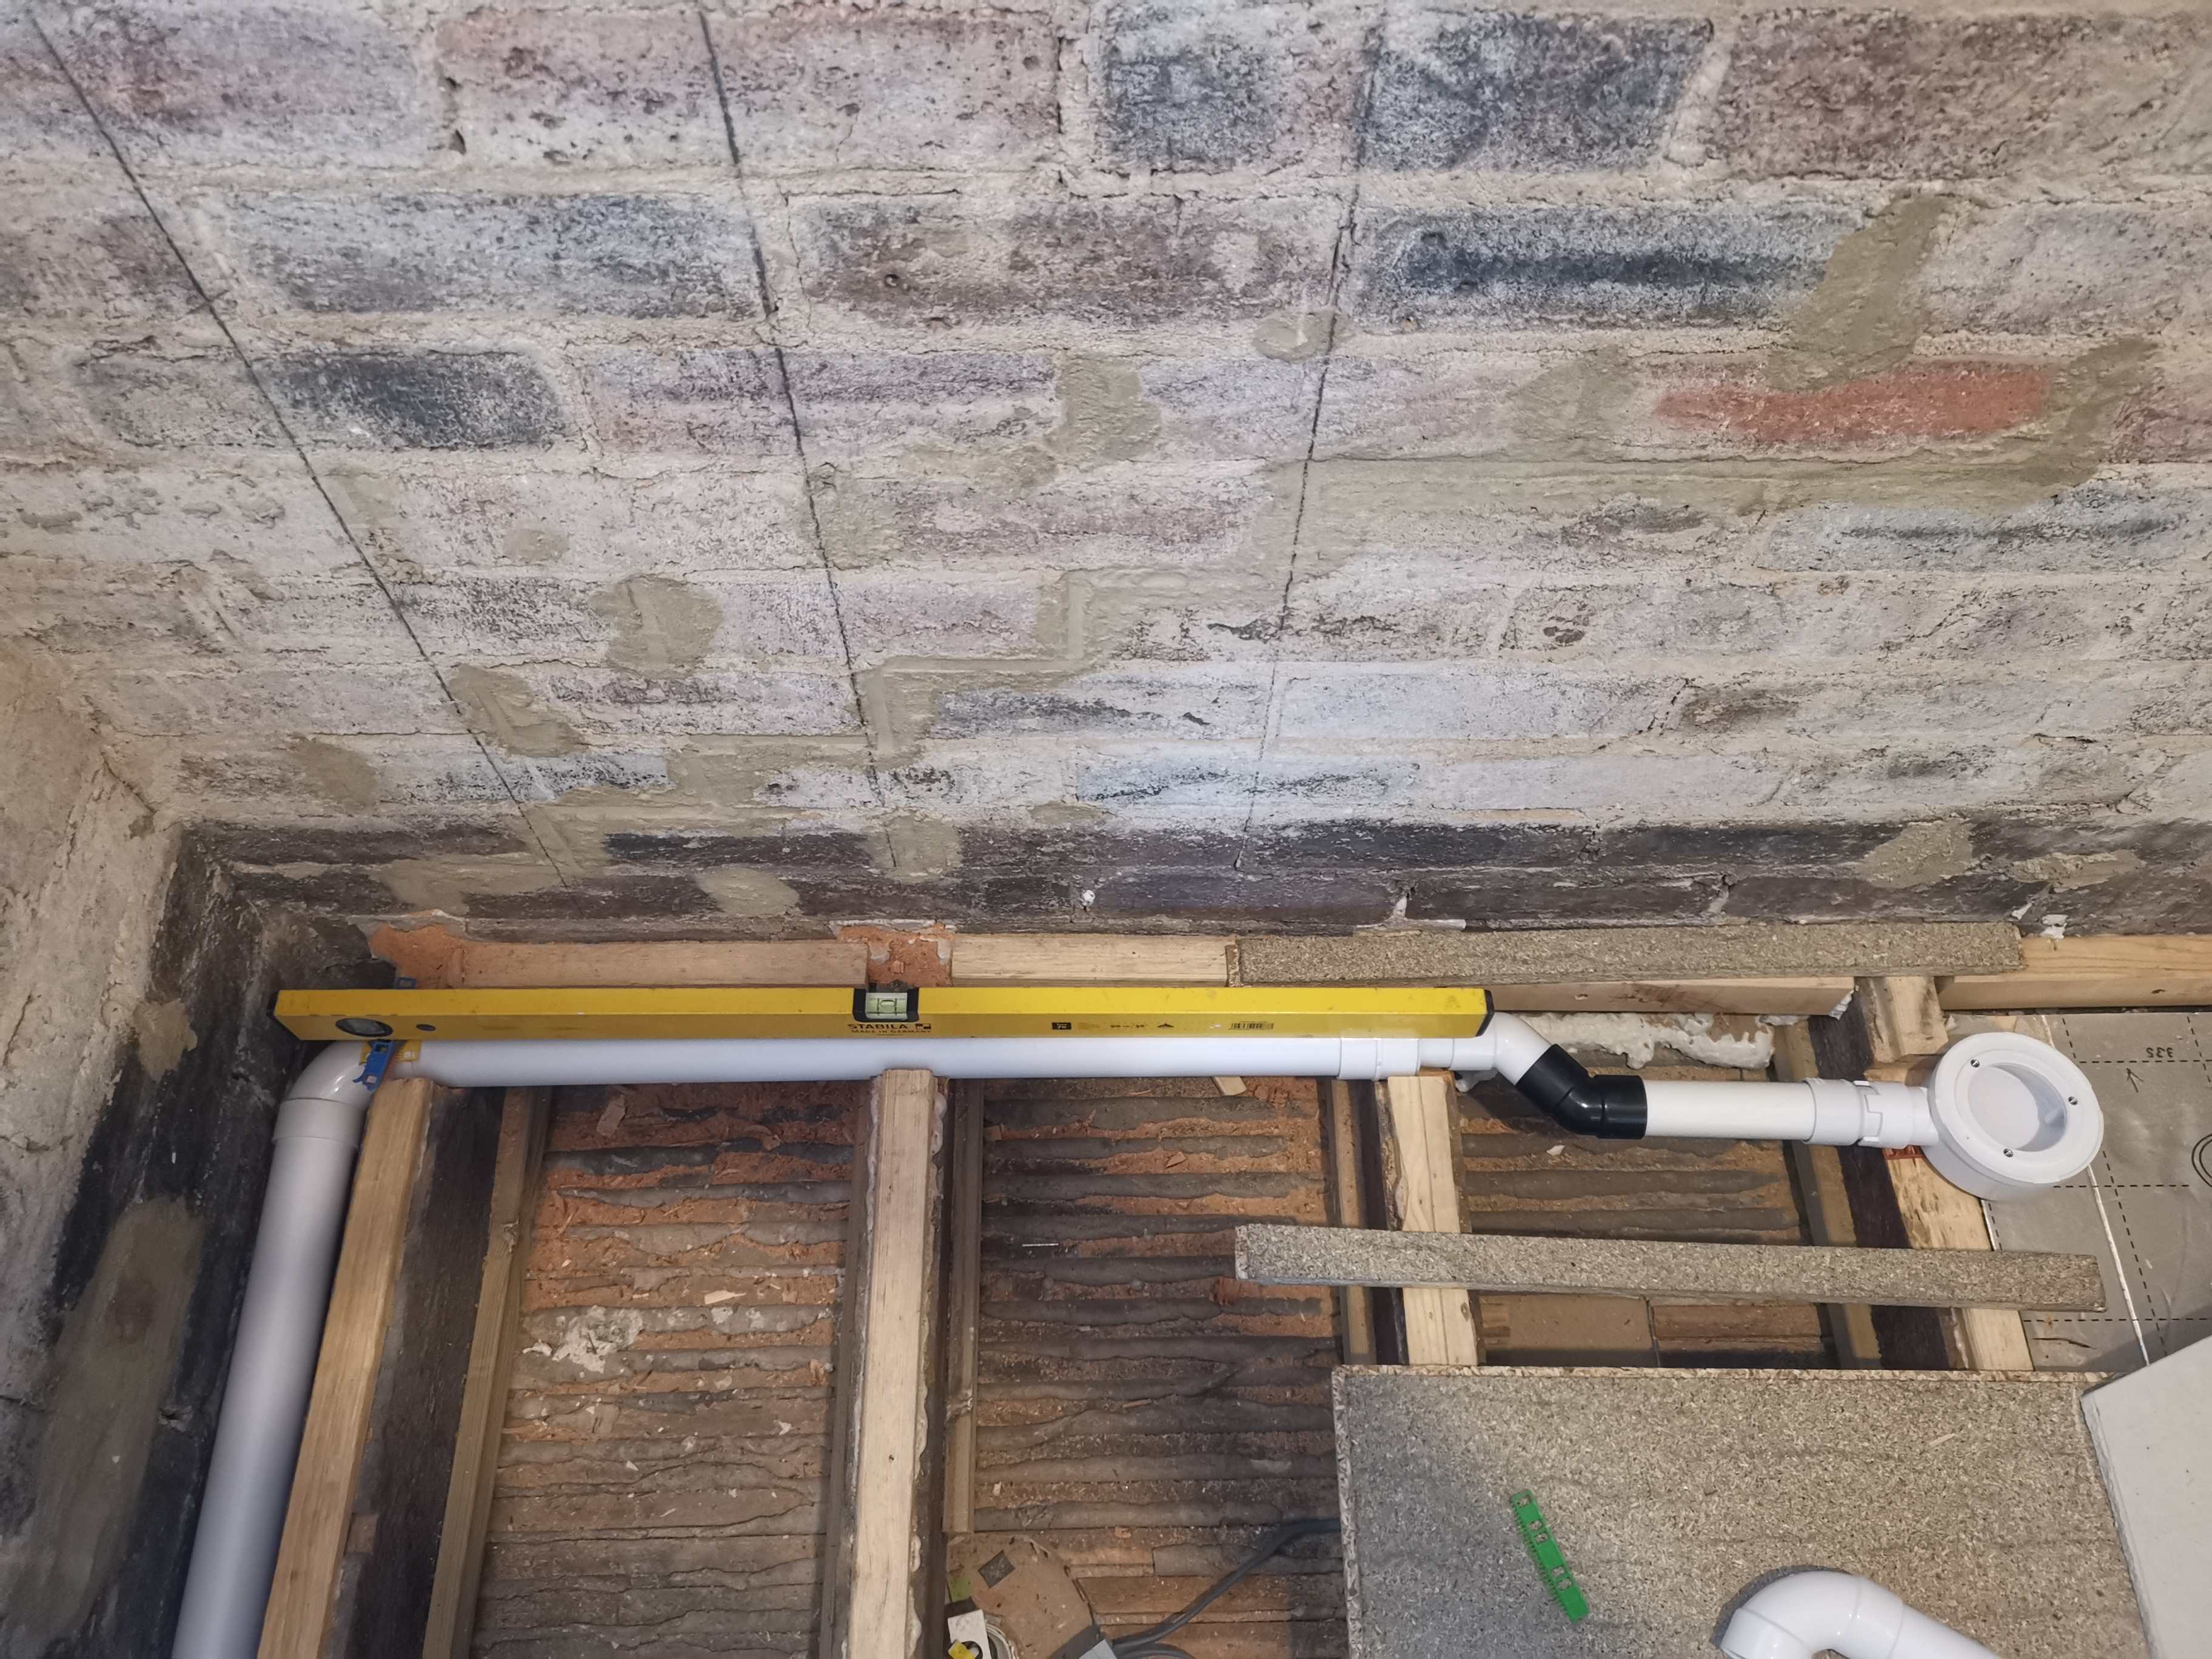
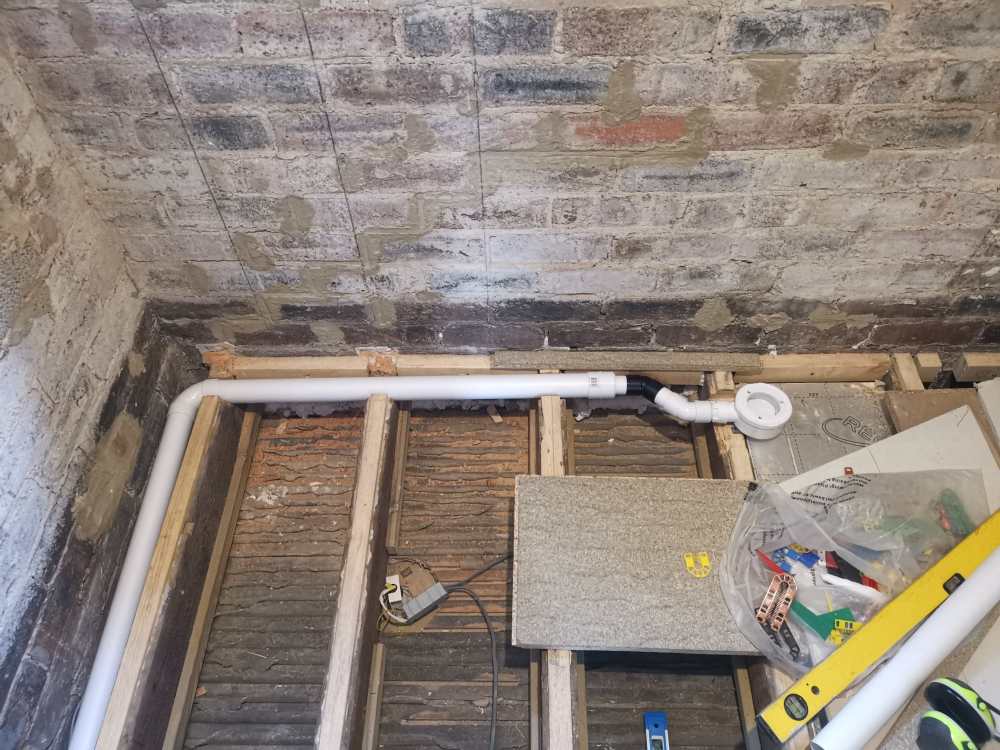
Incredibly I've been able to do this. 18mm/m fall on that back wall, more like 25mm/m on the long run. Cut the stack down and add in the boss. Toilet branch to go above it and then another for the sink, all on their own branches. Beer time.
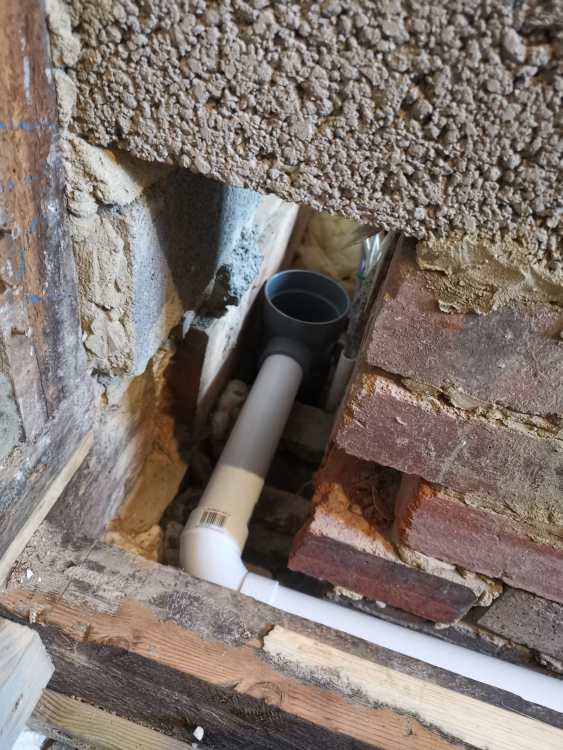
-
I'll be getting pretty much through the P5 by the time I get to near the trap but then I can step down to 40mm for that last 300mm which gains me back some height. I was then going to rely on the 6mm ply to bridge it over.
-
Scrub that, I can get an 18mm fall over 1m if I route out the underside of the chipboard floorb to accommodate the diminishing waste. The whole floor sinking onto the beam meant I needed to use full length shims to level it, meaning "I gained" 25mm (ish) on the ends of the joist to notch into. But even so I still had to go 30mm into the last joist when regs say 21 max. Nothing going in that corner so I'll take my chances, there are bigger notches all over this first floor from previous owners efforts. @Mr Punter I'd prefer not to go that route if possible.
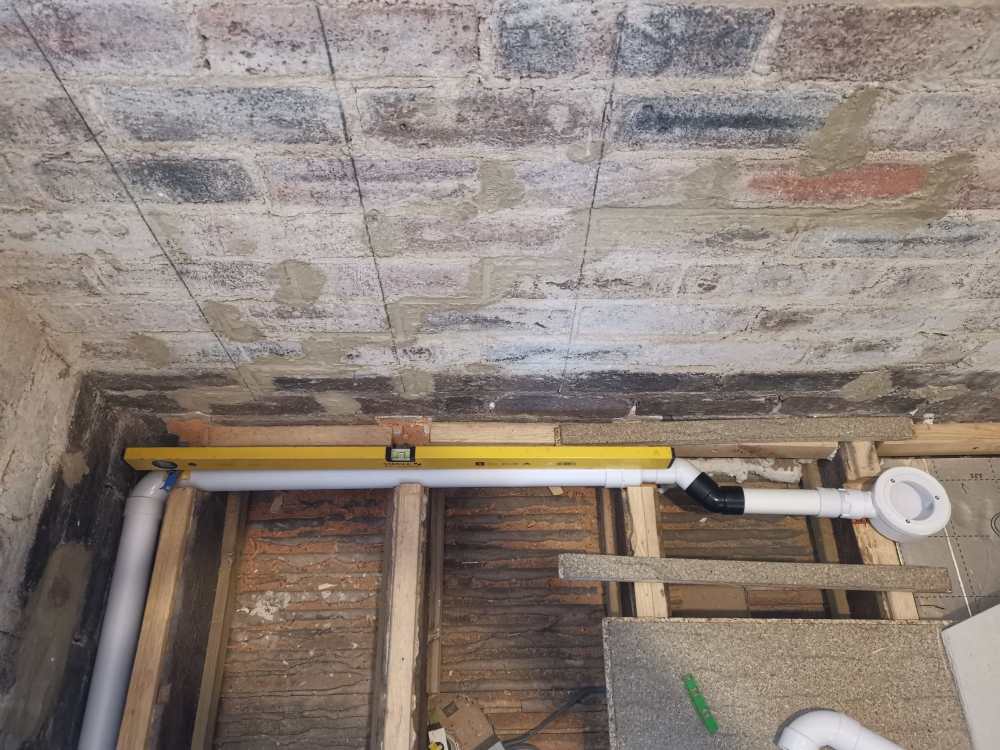
-
I can do it, but for that last meter towards the trap my fall is only around 10mm. The rest of the run is a normal fall, 25mm a meter (or more) for 2m.
-
I could, but I'd be losing more joist than I'm comfortable with... Or just cut the thing and move on? It's pretty much at the very end of the joist, bang up up the wall pocket where I'm cutting.
-
Turns out I'll have to run the first 1m in 40mm before upping to 50mm, just can't get the room. Not ideal but I assume this will be better than running it all in 40mm?
-
Shower tray, waste rough?
Super_Paulie replied to Super_Paulie's topic in Bathrooms, Ensuites & Wetrooms
What's your take on this @Nickfromwales? CT1 on the trap rim, add the seal, then a bolt load of CT1 on the seal to fill in all that irregularity. Then bring that up to the tray and screw the top clamp ring in bringing the 2 together? There's a top seal as well, not sure that's necessary. Or use that "all in one" seal which came with it, described as "an alternative seal" that seems to traverse from top to bottom, essentially 2 seals joined together with a middle section, I'm sure you'd have seen them. The trap is McAlpine low profile.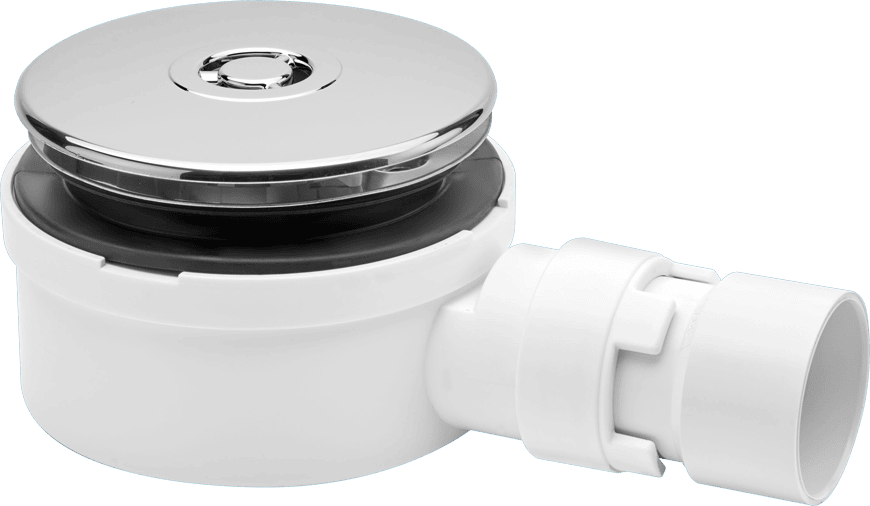
-
Shower tray, waste rough?
Super_Paulie replied to Super_Paulie's topic in Bathrooms, Ensuites & Wetrooms
Did you use the alternative seal like in the photo or just the 2 singles can you recall? -
Shower tray, waste rough?
Super_Paulie replied to Super_Paulie's topic in Bathrooms, Ensuites & Wetrooms
Actually it looks like this "alternative" flange that came with the McAlpine might make the underside a non-issue?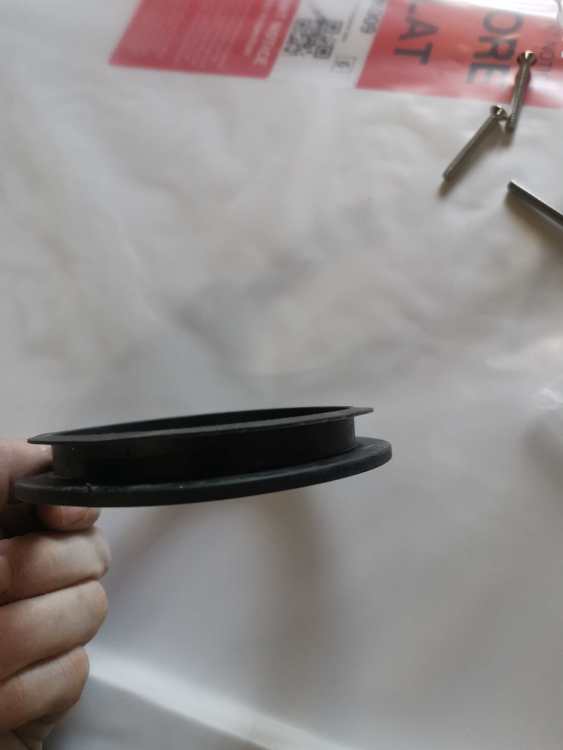
-
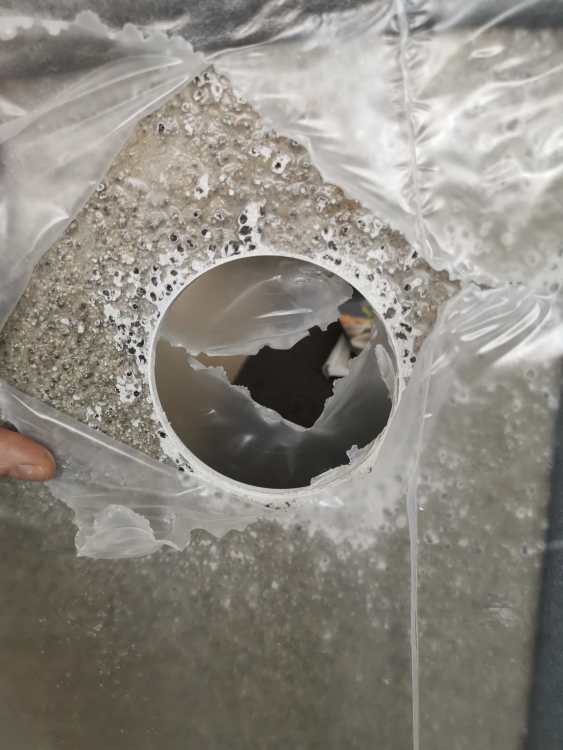
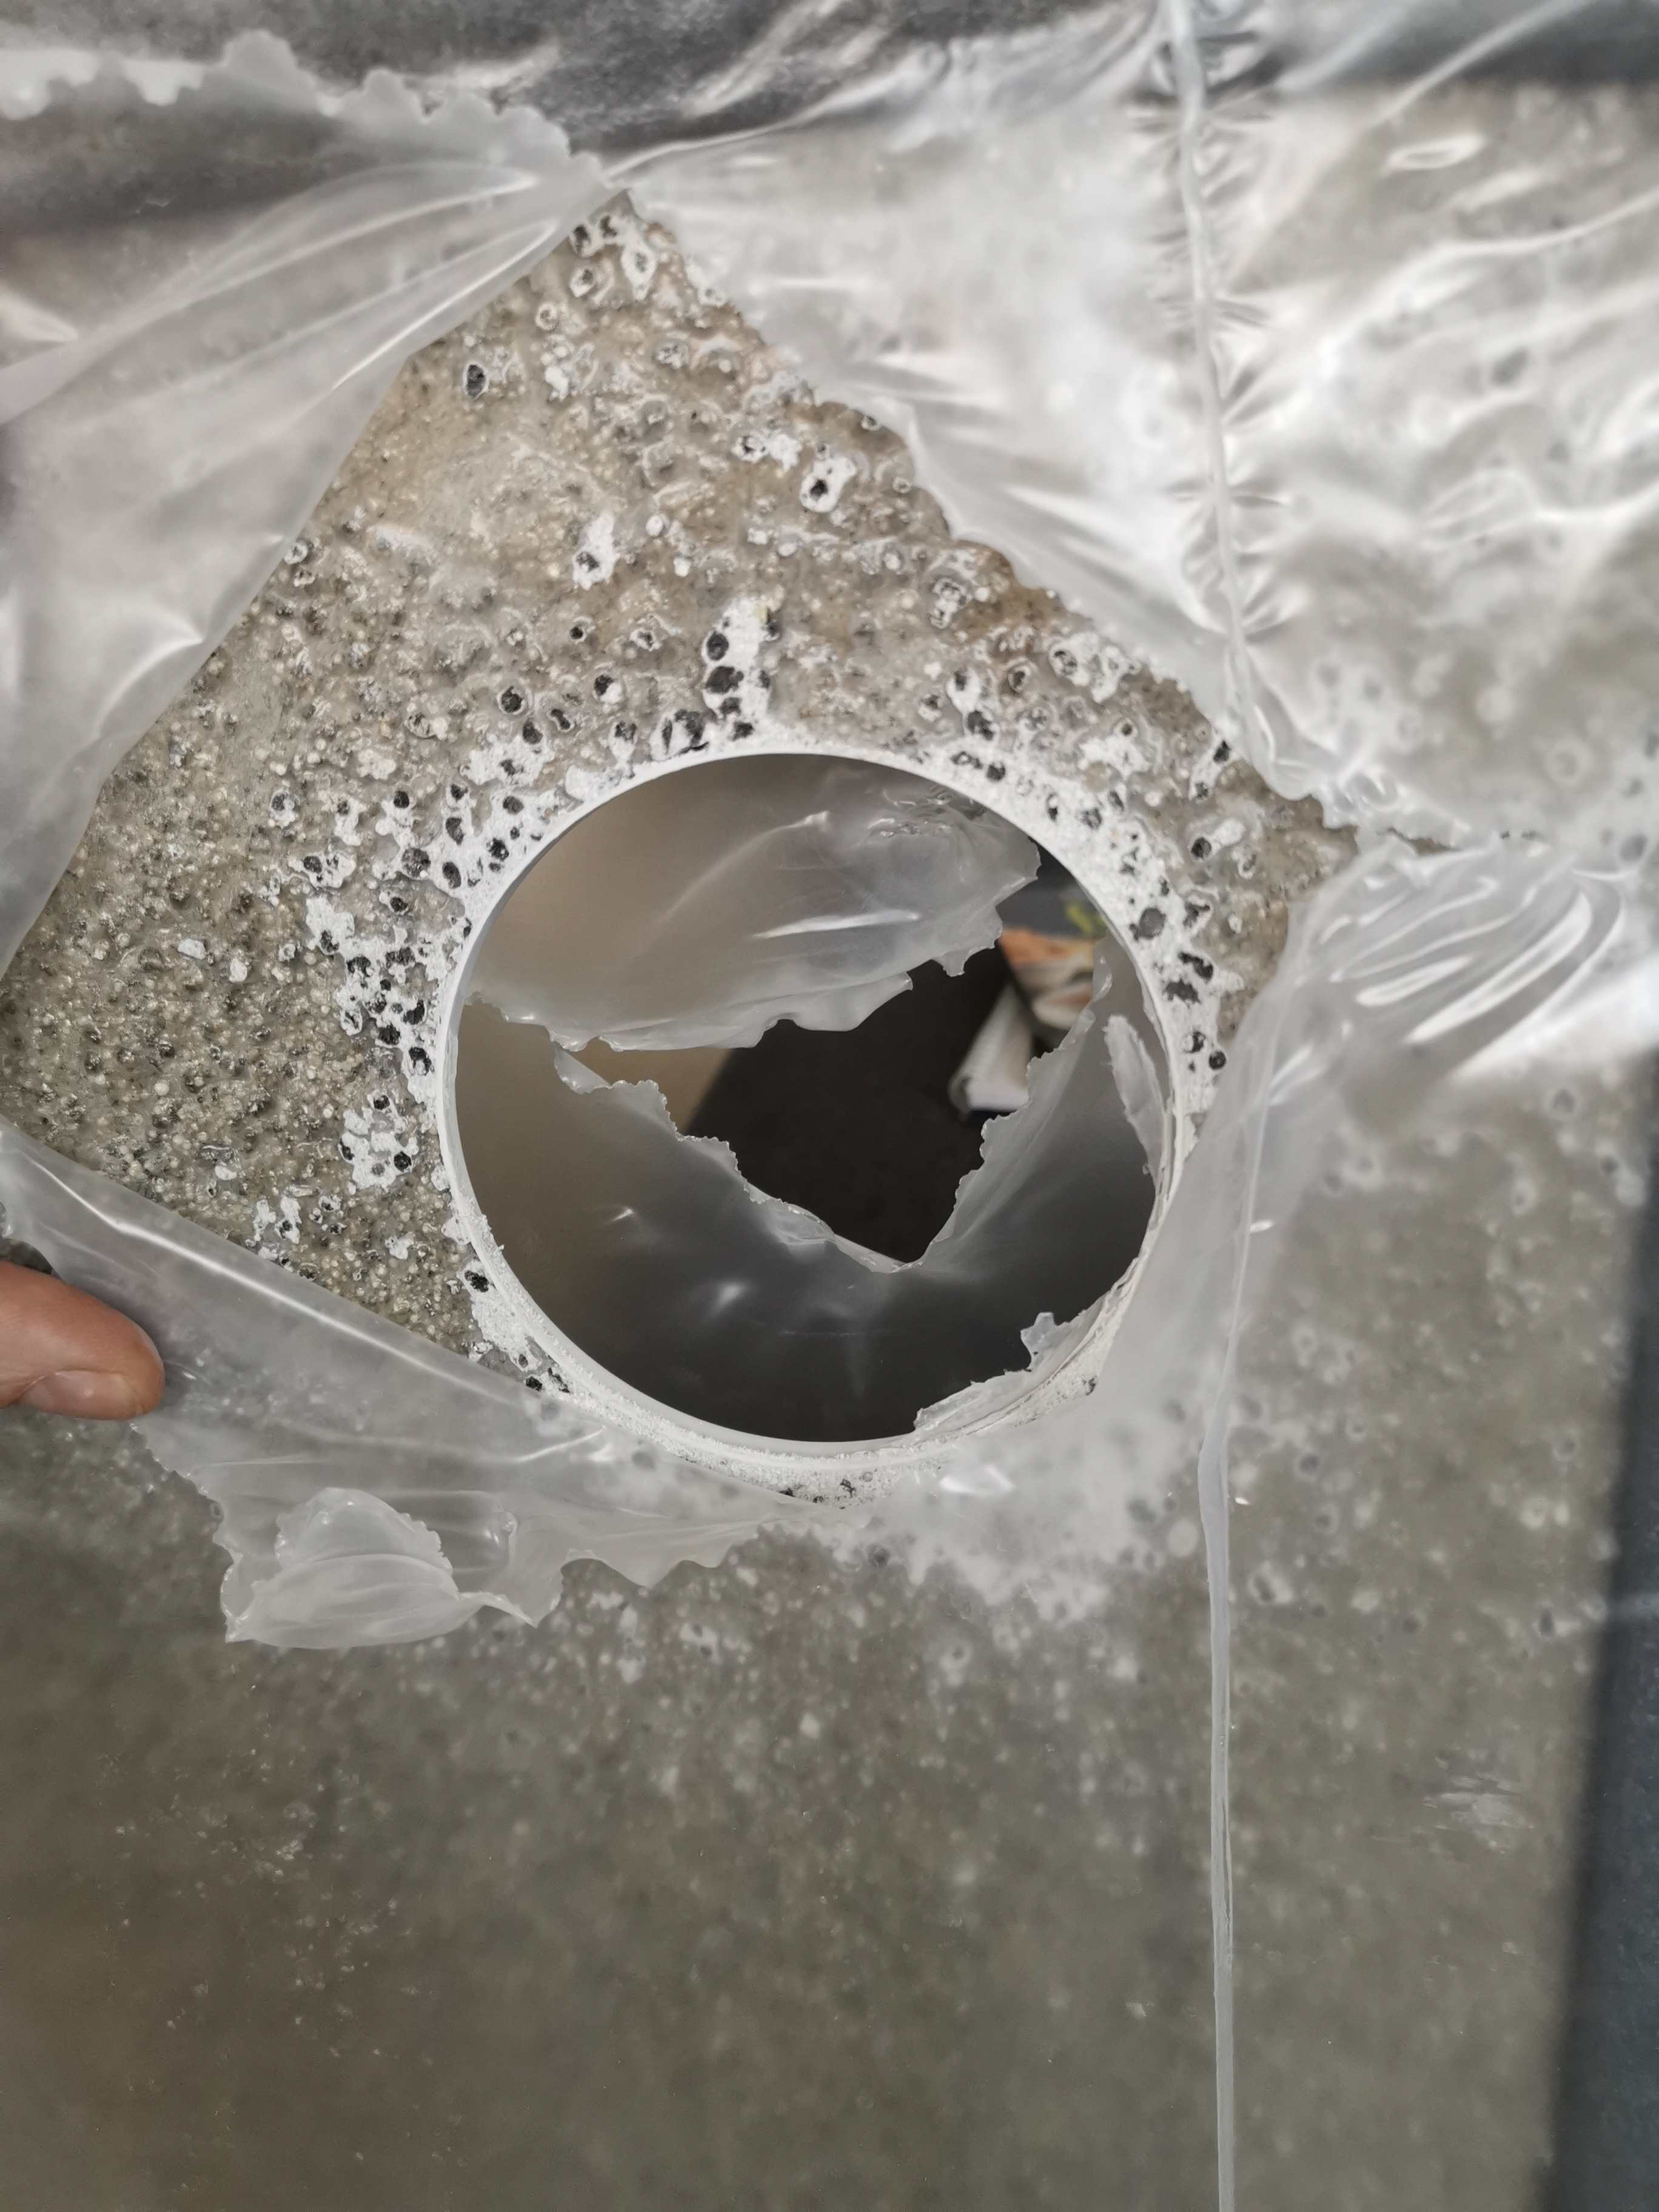
Shower tray from Victoria Plumbing. Under the waste is dog rough, will the seal be ok on this with enough CT1 on the rubber? Trap is McAlpine.