

LiamJones
-
Posts
257 -
Joined
-
Last visited
Recent Profile Visitors
3669 profile views


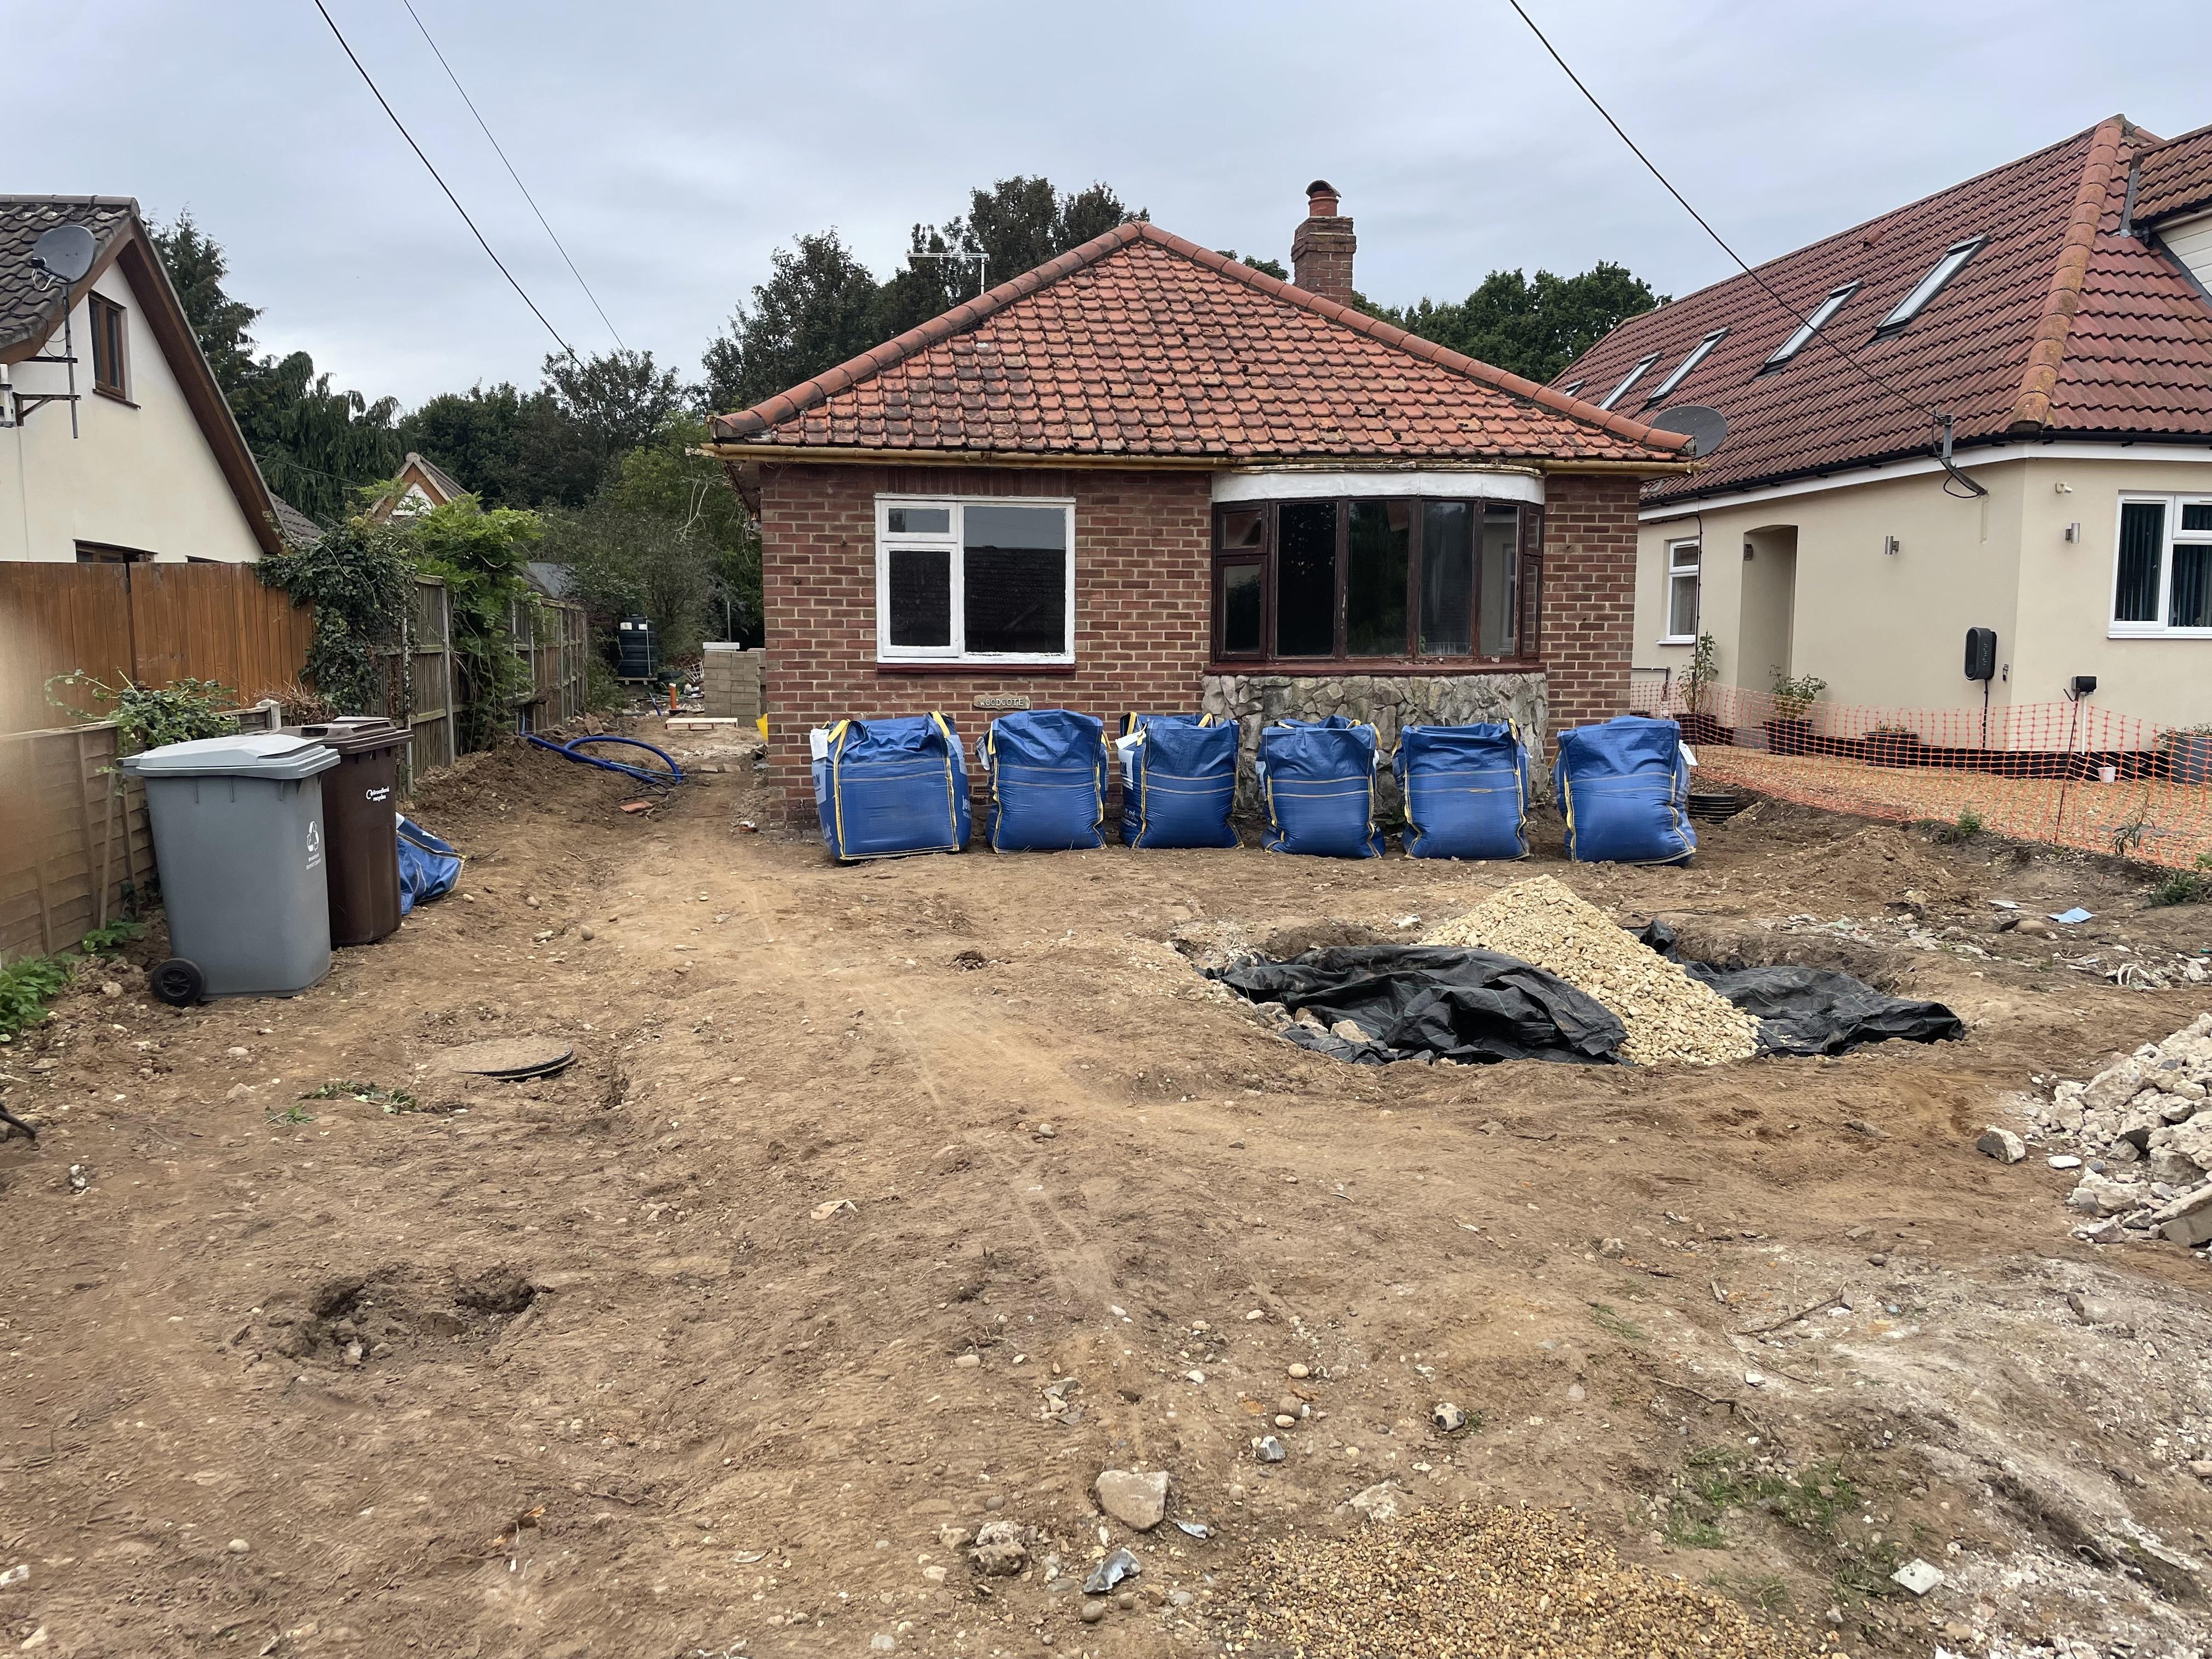
.jpg.c21f3ac78c9b7efd90cbdcb312744dc5.thumb.jpg.7adcad4c0e384f5ecd7d56b0618df6e5.jpg)


LiamJones's Achievements
Regular Member (4/5)
55
Reputation
-
Yeah this changed recently. For my first mortgage with ecology, I used buildaviator, equivalent to estimators online. To obtain additional borrowing I needed to provided costing, for which build aviator was no longer acceptable. I chose to get individual quotes from trades and material quotes from websites/merchants. The alternative was a (presumably costly) QS.
-
Video doorbell pain - so ring ?
LiamJones replied to Pocster's topic in Networks, AV, Security & Automation
The g6 doorbell(s) has just been announced https://blog.ui.com/article/introducing-all-new-g6-entry-lineup -
Ah okay; change of plans this weekend then 🤣 thank you!
-
How long should you wait after laying self levelling compound <5mm before laying (glue) engineered wood flooring? Is the day after okay? Only thing I’m concerned about is moisture, but I think this would all be locked up in the chemical reaction? Subfloor is bone dry concrete slab
-
Comparing Thermals of Laminate Flooring Underlays
LiamJones replied to MortarThePoint's topic in Wood & Laminate Flooring
Self level and glue? Minimum buildup and maximum heat transfer? -
panelling recommendations
LiamJones replied to Post and beam's topic in Bathrooms, Ensuites & Wetrooms
I’m also looking into this, favouring pine t+g at the moment -
ASHP grant without radiators/heating upstairs
LiamJones replied to BadgerBadger's topic in Air Source Heat Pumps (ASHP)
I had to put in writing I only wanted heating downstairs, and then they only sized for heat loss downstairs, which I was confident after using Jeremy’s spreadsheet was more than enough for whole house heat loss. Otherwise they were going to way oversize. I’ve no emitters upstairs so it all sort of worked out. This was under BUS scheme -
Do we know if the valuation office will revalue the property after a period of being uninhabitable? For renovation purposes, the trade off may be the saving of no council tax during renovation vs a potential re-band after renovation, offsetting any initial short term savings? I’ve currently not attempted to reclaim any council tax during a deep refurb, for fear of a steep increase in council tax once completed?
-
thinner alternative to flowing liquid screed - views?
LiamJones replied to mikeysoft's topic in Underfloor Heating
and for the lounge I laid wood fibre underlay and then floating laminate. Don’t have any pics of this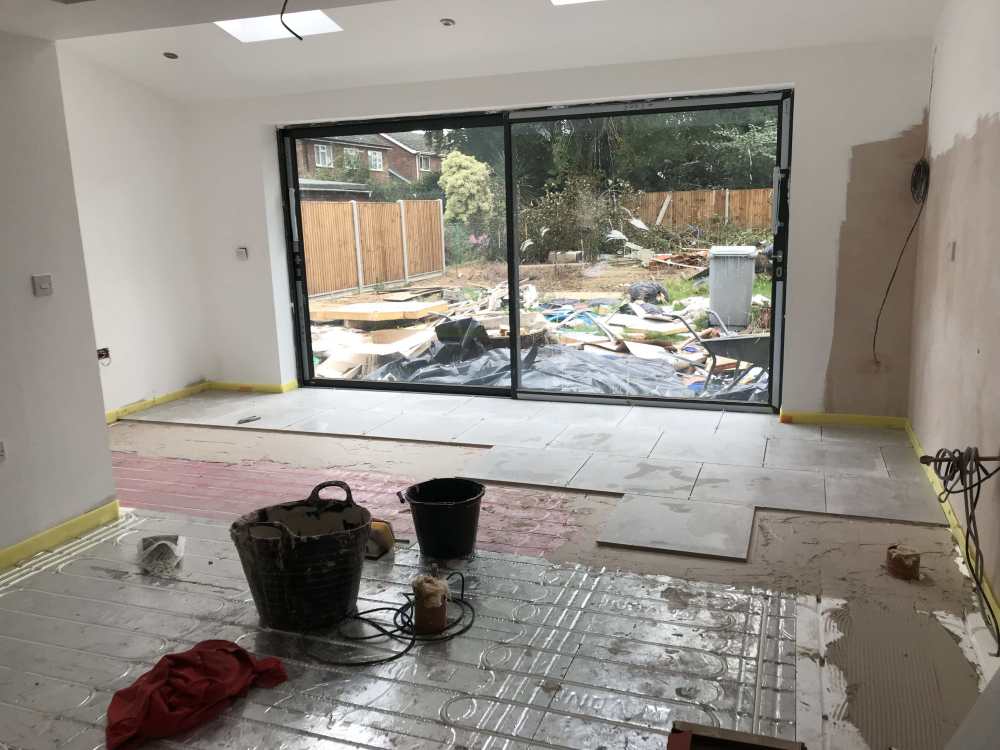
-
thinner alternative to flowing liquid screed - views?
LiamJones replied to mikeysoft's topic in Underfloor Heating
Are you going to tile over? If so, can you tile directly onto the over floor boards? I did that with the wundaboards, after applying the appropriate primer. -
If you’re insulated and air tight enough, there’s no need to heat upstairs. Get some cheap Bluetooth thermometers and place the around the house, you’ll get a feel for heat loss and wether you need to supplement heat upstairs.im more worried about cooling upstairs than heating mine!
-
Video doorbell pain - so ring ?
LiamJones replied to Pocster's topic in Networks, AV, Security & Automation
Running copper end to end is the only way to guarantee a solid connection, but that doesn’t help you now. Can you run a temporary cat5/6 to one of the cams, just until you sort out the plugs? Even then, I’m not sure I’d ever trust home plugs for home security purposes. -
Video doorbell pain - so ring ?
LiamJones replied to Pocster's topic in Networks, AV, Security & Automation
Can you remove the switch to take that out the equation? Run a single ring directly off the homeplug? Dependant on results, swap the homeplug or the switch? I’d be surprised if the route cause were the rings -
The forum generally pushes people to publishing disconnected threads about specific problem, rather than document progress via blogs.
-
I agree, I think blogs are very hidden here, coming from other forums I was used to seeing them front a centre. I love being able to follow people’s journeys, but here it’s hard. I’ve kinda got used to it now and just browse recent activity. A way to see all blogs, with options to order search, order by views, posts, most recent post. Or even build type, budget, stage, you could think of loads of ways to search for interesting blogs/projects.

