Benpointer
-
Posts
445 -
Joined
-
Last visited
-
Days Won
6
Everything posted by Benpointer
-

Triple glazed Vs double glazed patio doors
Benpointer replied to flanagaj's topic in Doors & Door Frames
Glass U-value = 0.53 W/m²K for the Norrsken 3g Lift and Slide doors. Whole window U-value = 0.87 W/m²K, which does indicate the importance of the frames in the overall calculation. For comparison, Norrsken's similar 2g doors are 1.1 W/m²K (pane) and 1.4 W/m²K (whole door). https://www.norrsken.co.uk/products/lift-slide-alu-clad-door-s315a -
Triple glazed Vs double glazed patio doors
Benpointer replied to flanagaj's topic in Doors & Door Frames
We had 3g windows throughout our last house except for the patio doors which were 2g slide and folders. They were definitely cold. This time we have gone for 3g throughout (from Norrsken) including some 4m lift and sliders. Too soon to say how they feel because we aren't in yet but early indications are good - running the house at just 18deg for the 2nd fix trades it feels amazingly comfortable and those sliders are not giving any impression of feeling cold. I'd go for it if you can. -
Great blog and good progress - well done! Interesting that the DPM and underfloor insulation took you much longer than you expected - that was the task which most severely stress us out and also took longer and cost a lot more than I estimated. If I were doing another build, I'd seriously consider poured floor insulation.
-
Bath fillers - Mira, or Aqualisa
Benpointer replied to crispy_wafer's topic in Bathrooms, Ensuites & Wetrooms
That Kohler filler is listed as £825. £825! for a 0.95" chrome orifice ?! WTAF? How about this for £27? Projects just 22mm from the bath wall. https://www.bathroomrepublic.co.uk/bath-filler-sprung-waste-overflow-and-easy-clean-1.html -
Week 30 - Cladding, kitchen, electrics
Benpointer posted a blog entry in Contemporary build in north Dorset
We are now in that phase where we can see the finish line not far away but, bizarrely, the closer we get the more there seems to be to do. The list the jobs that yet need to be done is a bit depressing; reflecting on all we have achieved so far is much more uplifting. We are certainly in a significantly better position as we approach the end of the year than we expected to be when we started the project. Work has continued in the run up to Christmas and several trades have asked if they can work some days during the holiday period (er… yes please!). We have sadly suffered a family bereavement this week which has naturally led to reduced focus on the house, so apologies if this week’s blog is a bit rambling. We do find creating the blog helpful and therapeutic, so we’re inflicting it on you regardless! Cladding Alan and Chris have now completed the ash cladding at the front of the house and the scaffold is down - yay! The cladding looks quite dark at the moment but it should fade to silver over the next year where exposed to daylight. It will be interesting to see how the silvering graduates under the soffits which will presumably remain darker for many years. Kitchen Our carpenter Chris has started to install the kitchen, utility and pantry units. In the past we’ve installed kitchens ourselves but various circumstances have meant we’ve not been in a position to do this and Chris is undoubtedly doing a better job than we could do. The main kitchen is bespoke from Husk Kitchens in Bristol and uses ply drawer fronts faced with Fenix. Mrs P. is, as you would expect, Artistic Director and I defer to her on all colour choices (or else we would probably end up with beige/grey everywhere). We both really like the effect now that we see the kitchen beginning to take shape. Of course Mrs P. does have extraordinary good taste - she chose me after all! Our signature 'Wall of Ovens': Here's the utility room. Mrs P. may have allowed me free rein with the colours on this one - I know my place 😉 Electric second fix Darren has been progressing fixing of sockets switches and lights. First lights fitted! Our batteries and inverters have finally arrived and been connected, so the solar panels we had fitted in July(!) are now actually generating for us. Annoyingly, OpenReach still haven’t installed the fibre, so we can’t monitor our generation in real-time just yet - the geek in me will have to wait a bit longer for that. For those interested, we have 14.88kW of solar panels and 27.12 kWh batteries. Focus for the next two weeks: Obviously a quieter period than usual but we expect there will still be progress in a number of areas: Floor tiling - Steve should be back over the holiday period to fix the porcelain skirting tiles. Second fix electrics - More progress expected on lights and switches. That depressing list of things to do: Kitchen worktops Porcelain skirtings Finish bathrooms (x3) 2nd fix Commission STP Electric 2nd fix including lights, switches, heating wiring centre, CCTV, PIRs… Install fibre to house Internal door linings, architraves Internal doors Hatches to loft storage areas (x3) Fitted wardrobes Rear timber cladding Cladding front and rear canopy soffits Front landscaping, including level access, highway apron, parking and turning Rear landscaping, including level access and garden lighting Final airtightness test ‘As built’ SAP report Building Control sign-off VAT reclaim! + probably others we haven’t thought of. Dashboard: Contractor days on site this fortnight: 16.5 Contractor days on site since build start: 458 Budget: No change - over budget but within contingency. Plan: Breaking news! We are now aiming to move in at the end of February. So, a month earlier than previously planned. Issues and worries closed this fortnight: Kitchen units are substantially in so will be ready for worktop templating. Current top issues and worries: None. -
Week 28 - Floor tiling, bathrooms, cladding, MVHR, electrics…
Benpointer commented on Benpointer's blog entry in Contemporary build in north Dorset
It's impossible to cover every decision and get them all right. 'Mistakes, we've made a few, but then again... '- 25 comments
-
- 1
-

-
- floor tiling
- cladding
- (and 2 more)
-
Further update from Octopus: "I’m sorry to hear that Royal Mail is taking some time to update their address database. Unfortunately, if we put through the request and the address is not updated with Royal Mail, it will be rejected on their end." Which begs a couple of questions: 1. Why do Octopus need Royal Mail's approval? 2. How did the current fictitious address come to be assigned to the meter? This is becoming Kafka-esque.
-
Indeed, and it's the sort of thing that can hold up a future house sale as the solicitors see a way to charge the buyer more money 'investigate further'.
-
Thanks for that info and link, very useful. I am currently trying to get Octopus to change the 'address' of our supply meter from a completely fictitious address made up be the plot vendor, to our actual 'approved by the council' address... I email the request as per the instructions on the Octopus website. They email back and asked for evidence that the council had approved the address, so I sent that. Then they came back and asked for a photo of the meter. Ok, I took one and sent it to them. Then they said: "I can process the address change for you, but first, please update your address with Royal Mail. Once you've done that, could you please send me a screenshot showing the updated address on the Royal Mail website?" Which of course RM have failed to do despite a request via their online form in June and two chasers since. So I have now sent Octopus a link to http://www.findmyaddress.co.uk in the hope they will pull their finger out and sort this. Octopus not covering themselves in glory here.
-
It's a 6 month window for VAT reclaims isn't it?
-
Week 28 - Floor tiling, bathrooms, cladding, MVHR, electrics…
Benpointer commented on Benpointer's blog entry in Contemporary build in north Dorset
Interesting idea but I can imagine Mrs. P's reaction when I tell her I've opened a Velux for her to climb through. I suspect she'd tell me where to go ('go and get a hammer').- 25 comments
-
- 1
-
-
- floor tiling
- cladding
- (and 2 more)
-
Week 28 - Floor tiling, bathrooms, cladding, MVHR, electrics…
Benpointer commented on Benpointer's blog entry in Contemporary build in north Dorset
I have been messaging @craig about this and he has suggested possibly replacing the current striker latch for a day latch on at least one door. It doesn't look that straightforward but may be doable.- 25 comments
-
- 2
-
-
- floor tiling
- cladding
- (and 2 more)
-
I've now found Dorset Council's policy, I assume other council will have their own similar policies. https://www.dorsetcouncil.gov.uk/w/new-build-properties In summary, once first fix is complete they can issue a Completion Notice allowing up to 3 months for 2nd fix. We are through first fix on our build but haven't had a completion notice yet so I am hoping that: a) their usual tardiness/backlog is delaying this, and b) they can't back date a completion notice.
-
I'm hoping that is not the case for Dorset Council - we registered our new address back in June, before the footings were complete. Still haven't heard anything about CT banding yet.
-
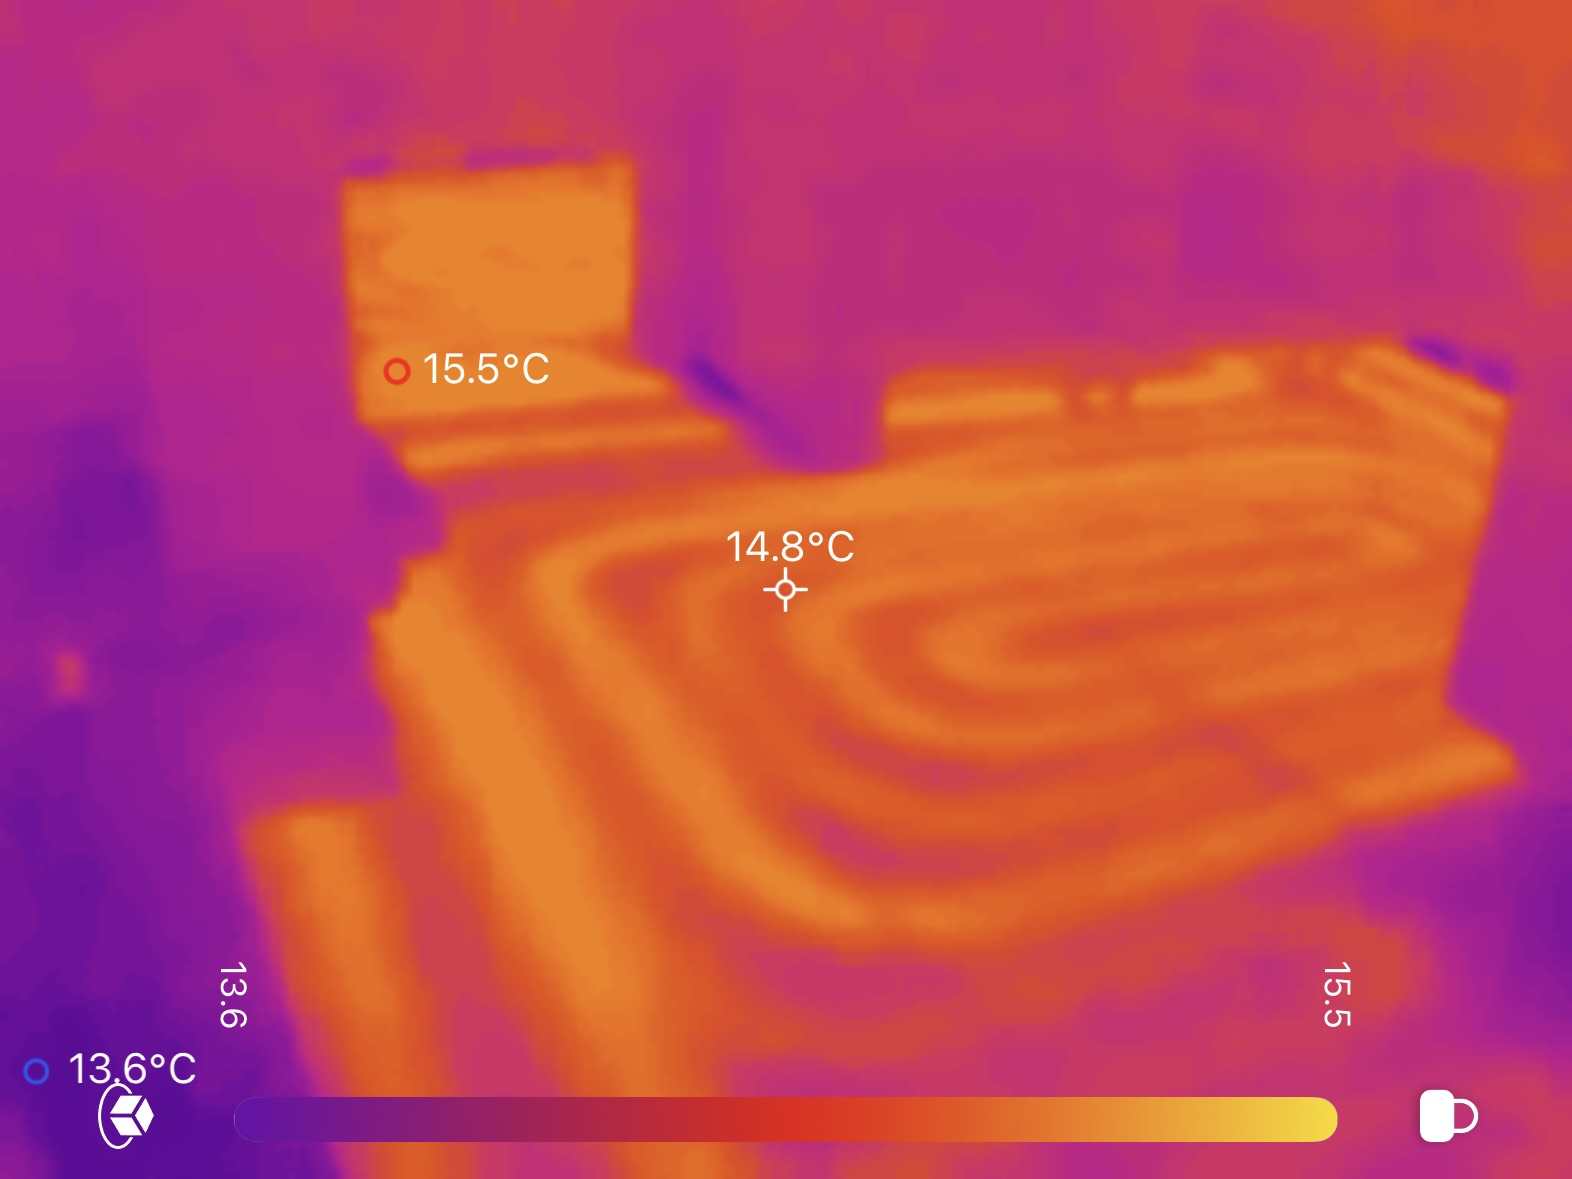
Get one of these: https://www.amazon.co.uk/TOPDON-TC001-Plus-Resolution-Maintenance/dp/B0D46K5CMK/?th=1 Worth the investment imo. Pics from our UFH on very low during the build.


-
What insurance needed to move in before completion?
Benpointer replied to YorkieSelfBuild's topic in Self Build Insurance
Just to confirm, Protek say we are covered to live in the house until our Building Completion Certificate is issued, at which point our self-build insurance ceases and we need standard buildings insurance. -
What insurance needed to move in before completion?
Benpointer replied to YorkieSelfBuild's topic in Self Build Insurance
Just to add that I have checked our Protek site/build insurance and it doesn't really mention whether the cover persists if we occupy the house but there is an exclusion as follows: The Insurer shall not be liable under this Sub-section in respect of: 4 Occupation of the works Loss or Damage due to the use or occupancy other than as dwellings of any portion of the Contract Works by any owner, tenant or occupier other than as herein provided. But since we would be occupying as a dwelling, my reading is that we would continue to be covered (no contents cover though). I am going to give Protek a call and double-check. -
What insurance needed to move in before completion?
Benpointer replied to YorkieSelfBuild's topic in Self Build Insurance
Hi Hannah, We're in the same boat - also timber frame, timber cladding and zinc roof, aiming to move in in the spring, probably before a completion certificate is issued. We currently have build insurance that runs until November 2026 but I suspect it won't cover us if we're actually living at the site (need to check). A month or so ago I did a search on a comparison site (Money Supermarket I think) as if the house was occupied, and it came back with a couple of options in the £400 p.a. range, which didn't seem too awful and eased our insurance concerns but I haven't yet put anything in place. Good luck - do please let us know where you get to with this. -
Week 28 - Floor tiling, bathrooms, cladding, MVHR, electrics…
Benpointer commented on Benpointer's blog entry in Contemporary build in north Dorset
Left hand diagram looks very similar to our wall build-up. Right hand side: we haven't used an angled timber head drip but we don't have very much clad wall above the window, as single storey but I can't see any reason why your design won't work fine. IANAE though.- 25 comments
-
- 1
-

-
- floor tiling
- cladding
- (and 2 more)
-
Week 28 - Floor tiling, bathrooms, cladding, MVHR, electrics…
Benpointer commented on Benpointer's blog entry in Contemporary build in north Dorset
Checked - it's as I thought, they are going to fix a strip of the ash to the cross batten, they have already done this on the tall window (photo looks a bit odd due to it being an angled reveal + the camera perspective). We are not going to worry about weep holes because: ventilated cavity, small gaps between the half lap boards, and its a relatively sheltered east facing wall. The window itself is set back from the cladding and very well sealed.- 25 comments
-
- 2
-
-
-
- floor tiling
- cladding
- (and 2 more)
-
We registered our address with the council in June and they said they notify Royal Mail amongst others but our address is still not appearing on the Royal Mail Postcode Finder. So I tried the Postcode Finder: Report an incorrect or missing address facility but it only accepts the new address if you have moved in or are moving in within the next two weeks. Which is a real pain because we have people wanting to deliver to the address regularly, MCS certificates and warranties needing to be registered to the address, etc. etc. I've told them via the facility that we've moved in even though we haven't - I'm now hoping Royal Mail don't tell* the council or else they'll be on our case for council tax! * Since RM don't seem to able to tell themselves about our address I doubt they'll be telling anyone else. Immediately after submitting the 'missing address' request via RM's online form I get an undeliverable email notice: "Delivery has failed to these recipients or groups: postcode.enquiry@royalmail.com" but also another email from RM stating: "Thank you for sending us your updated address request. We're currently experiencing higher-than-usual volumes, so it may take a little longer to reply than usual. If you've already been in touch, please be assured we'll respond as soon as possible." I don't hold out much hope of progress! Hey-ho.
-
Week 28 - Floor tiling, bathrooms, cladding, MVHR, electrics…
Benpointer commented on Benpointer's blog entry in Contemporary build in north Dorset
No we haven't rendered that top reveal - too fiddly. There's a cross batten behind the vertical cladding and I think they have added, or are going to add, a strip of ash to cover that batten but that strip will only be visible from below - the vertical cladding comes down further. I need to check tomorrow. Also I am now unsure how any water that gets behind the cladding will drain, so I need to check that too but I'd be surprised if the chippies haven't already considered and addressed it. (There's a ventilated cavity behind the cladding of course.) I'll report back.- 25 comments
-
- 1
-
-
- floor tiling
- cladding
- (and 2 more)
-
Week 28 - Floor tiling, bathrooms, cladding, MVHR, electrics…
Benpointer commented on Benpointer's blog entry in Contemporary build in north Dorset
Hah, yes, I spotted that in the photo too but you just don't notice the nail holes from ground unless you look for them. They are doing them by eye rather than marking out every hole and there are some slight variances - I'll forgive them that because we want the cladding done asap. The cables are indeed mainly cat 5/6 - for CCTV. The outside lights are all in the soffits, and obviously have power cables running up behind the cladding from the plant room to service those. There are just a couple of outside power sockets but not on these walls pictured. We have used British cedar before on previous projects and rated it highly. We bought it green from a local sawmill and was very heavy - I almost expected it to drip like a sponge. But once it was up it dried quickly and weathered very well. I might well use it when we re-clad the workshop, next year hopefully - no zinc to run on to so no issues with using cedar there. -
Week 28 - Floor tiling, bathrooms, cladding, MVHR, electrics…
Benpointer commented on Benpointer's blog entry in Contemporary build in north Dorset
Yes it's Brimstone Ash from Vastern timber. Expensive but really excellent quality - straight as a dye, virtually no knots, and it came really well packed. It cuts cleanly and we haven't experienced any splitting, despite Vastern warning that it can be brittle. We originally intended using western red cedar but discovered that cedar reacts with zinc and we have some high cladding above our zinc roof. The Brimstone Ash is inert (so we are told!). It's about the same price as Canadian cedar but has the benefit of going silver quicker, and it's British, so lower transport CO2 costs. Stainless nails are an absolute must. We're using Timco FirmaHold 16G 50mm Stainless 2nd fix nails through the face - very hard to see. Regarding the edge above the windows. Although it doesn't really show in the photo all the bottom edges are cut at a 30 degree angle to leave a drip point at the outside edge. This was recommended by Vastern. The same for any joins in long verticals, though incredibly I think we have only needed 2 or 3 due to lots of long lengths being supplied and careful selection by our carpenters. For the bottom edges they have fixed them slightly over sized then run a rail saw. Anyway we feel the angled cut at the bottom should stop water pooling on those bottom edges. Further progress on the cladding today:- 25 comments
-
- 2
-
-
- floor tiling
- cladding
- (and 2 more)
-
Week 28 - Floor tiling, bathrooms, cladding, MVHR, electrics…
Benpointer commented on Benpointer's blog entry in Contemporary build in north Dorset
We bought everything through them: design, kit, commissioning, and installed it ourselves. I am sure we could have done the design ourselves but we had too many other things going on. You would have to give Patrick Chester a call or email patrick@heatspaceandlight.com to see if they would just commission.- 25 comments
-
- 2
-
-
- floor tiling
- cladding
- (and 2 more)