
Topping out

Sunday in the Highlands, and the weather has a feel of changing, we've been so fortunate on the build so far, day 105 today, but the last week or so has been wet, windy, sunny, overcast usually everyday. So autumn is on the way.
July and August have been busy with the 2 cabins with around 100 nights occupied, that's over 250 people staying, and 30 +dogs 😂. The upshot being we can afford to eat, but the labour for the build has been affected with Mandy continually cleaning and washing.
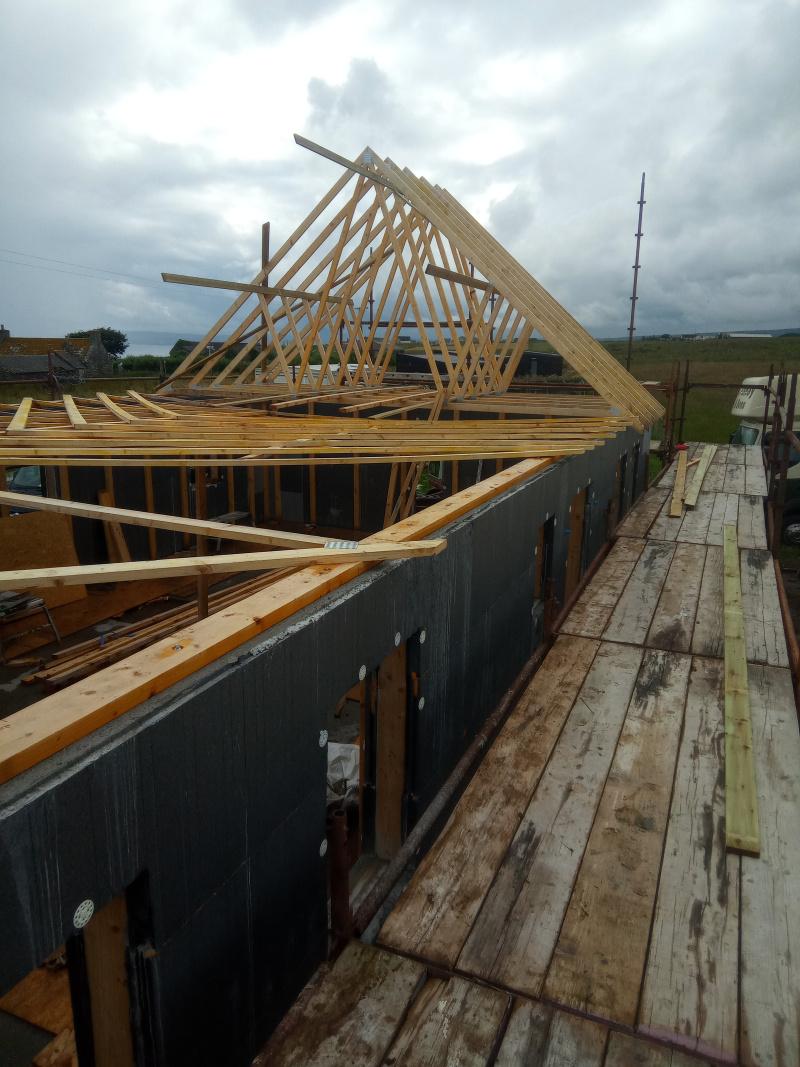
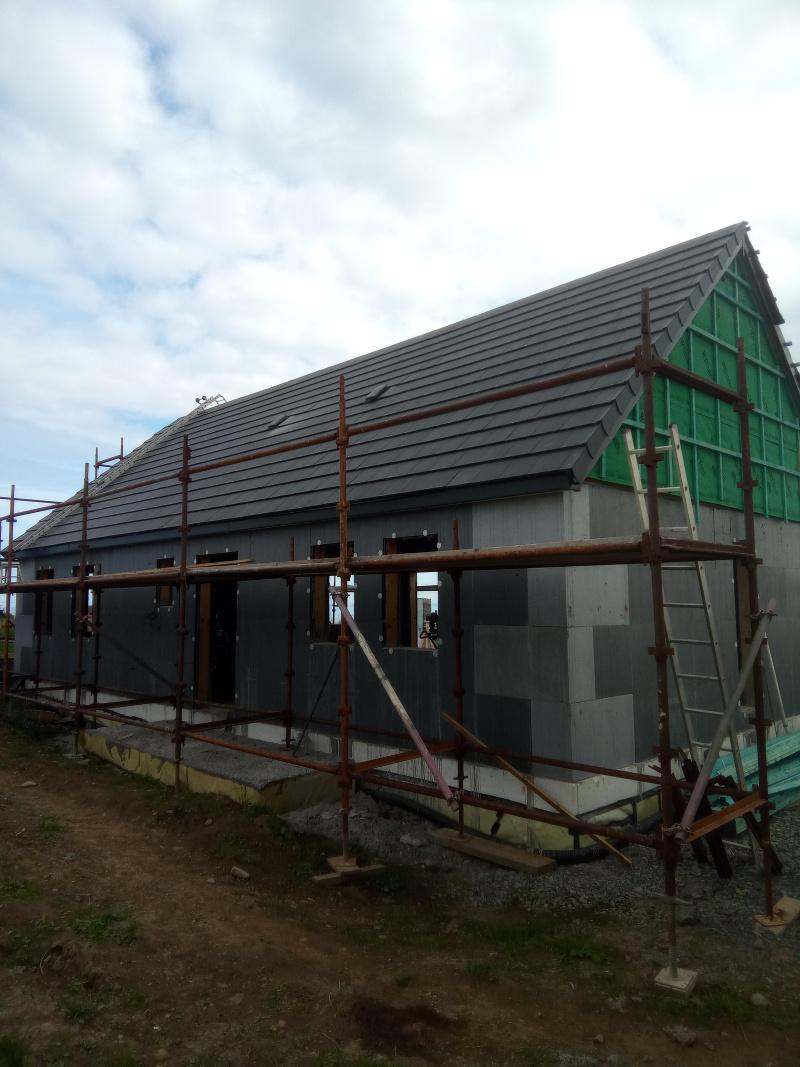
We've got a roof.
Again the labour for all this is me and Mandy.
The ICF allows the wall plates to be bolted to the core.
.jpg.ab17b4070003bbfeb923372b02054e58.jpg)
Getting the trusses, 44kg, onto the roof was going to be by using a borrowed small loadall. We used this to take them off the truck and set them next to the house, but lifting them onto the walls was proving tricky with access and wind.
So we resorted to leaning two lengths of 4x2 against the gable end , leaning 1 truss at a time against it and then sliding the truss up the 4x2 onto the wall plates. Then dragging them into place.
We had a scaffold erected at 1 end of the house and used this to raise the first truss.

Then it was repeat the process. Untill it was done.
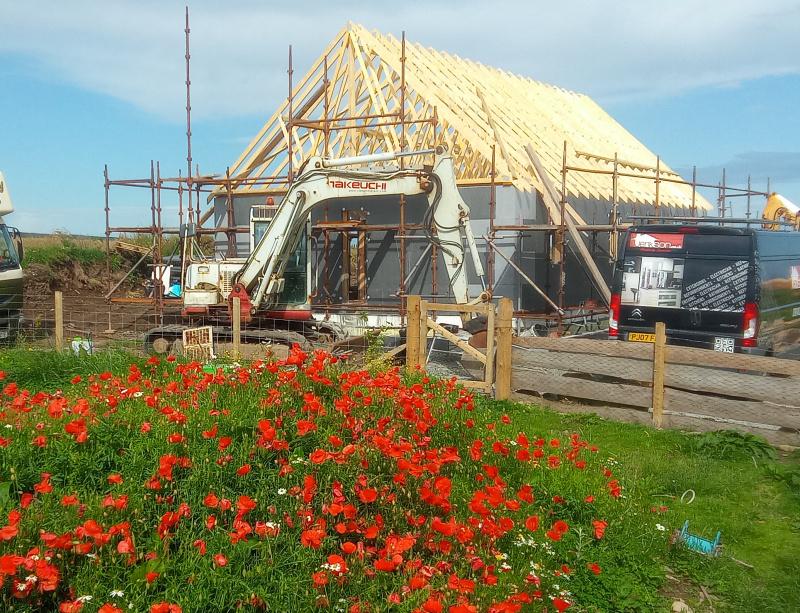
At either end of the house we used an additional truss to form a timber gable wall, this saved money on the ICF as we are having a cold loft.
I drew the gable frame on CAD and created a cut list, then framed the gable out of 8x2 Insitu.
I used 4x2 as a sub fascia to support the eaves trays, allowing the use of capit fascia boards keeping a keen eye on the budget🙈
.jpg.5111920e9fba012e12b3efafccff8ee1.jpg)
.jpg.385ad83bafea2fcda0d5d31da6599b69.jpg)
I held off boarding as I had some labour debts to repay to the local farmer, and the wind was up and down. Once we had a clear window
The roof and gables were boarded with OSB.
At this time I also fitted membrane and battened / counter battened the gables.
Black fascia boards, over fascia vents and eaves support trays were installed.
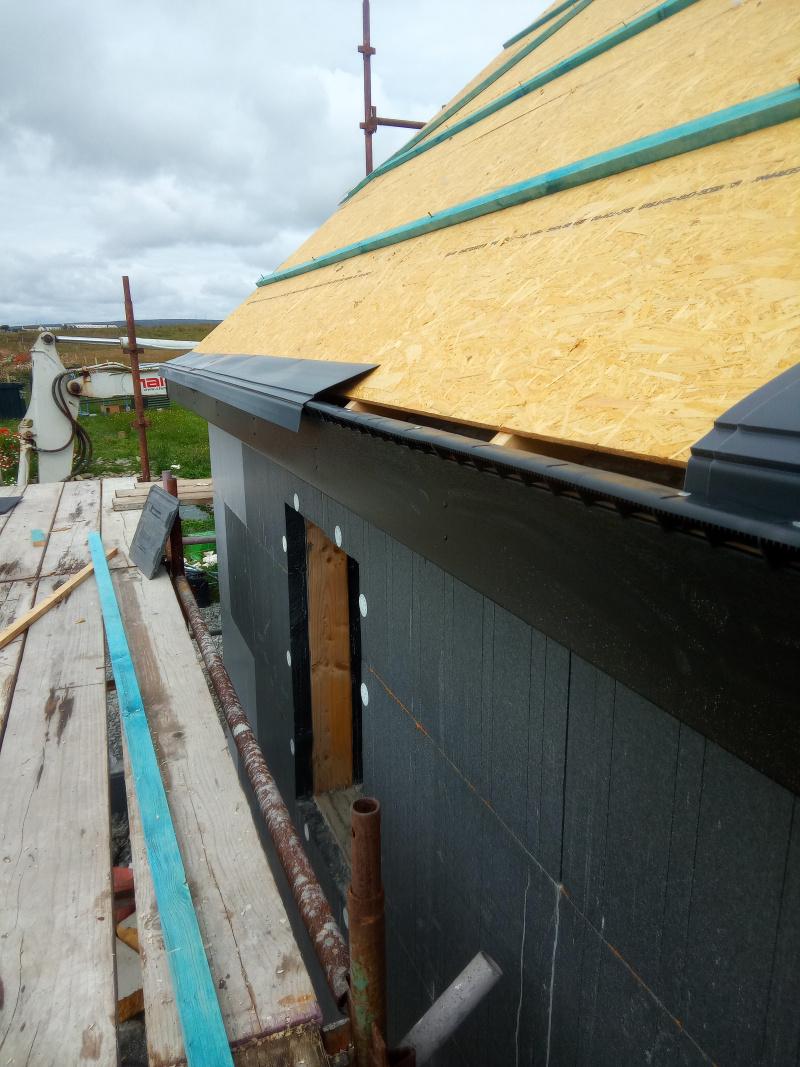
The Highland vernacular is for small soffits / no soffit. So working back from the board on board cladding thickness and the battens I should end up with just the return on the fascia showing, about 30mm. I used some 4x1 as the sub soffit that will also act as a fire stop / smoke from entering the loft.
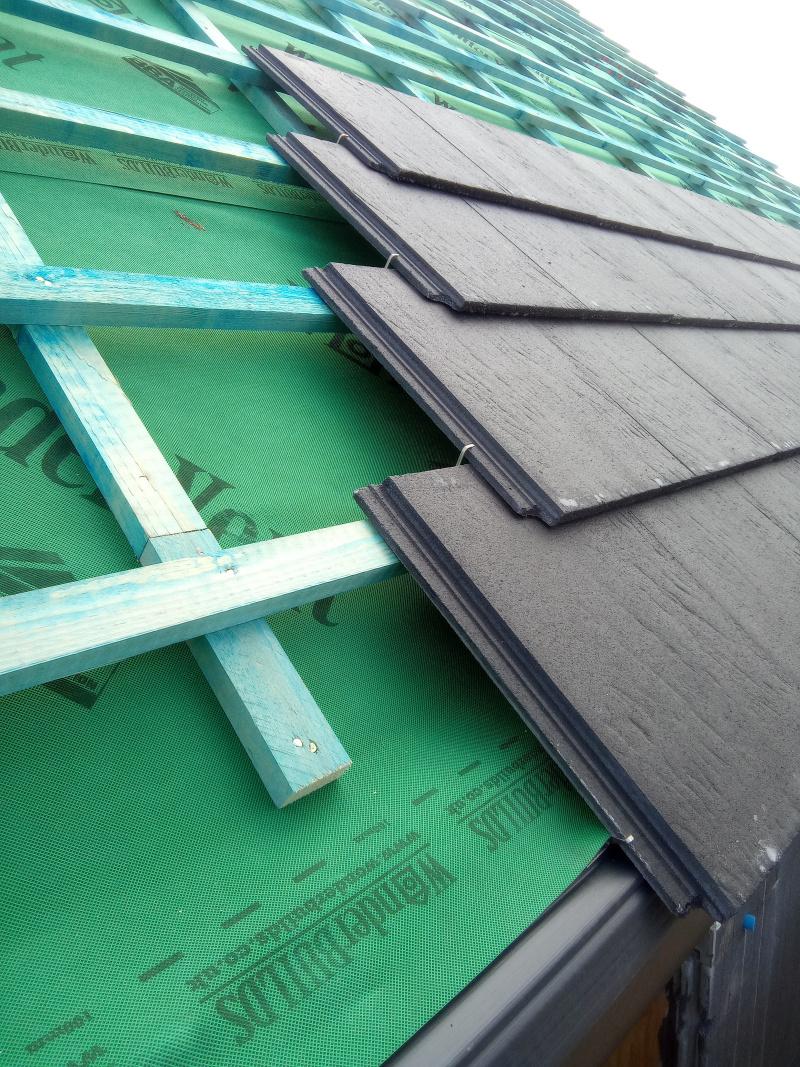
Our location, and elevation suggests we can't use enough fixings for the tiles, we opted for Marley Edgemere thin leading edge tiles in anthracite.
These were fixed at the eaves, every tile nailed and every tile clipped, more on this with the GSE trays.
(Mandy back to real work🤣)
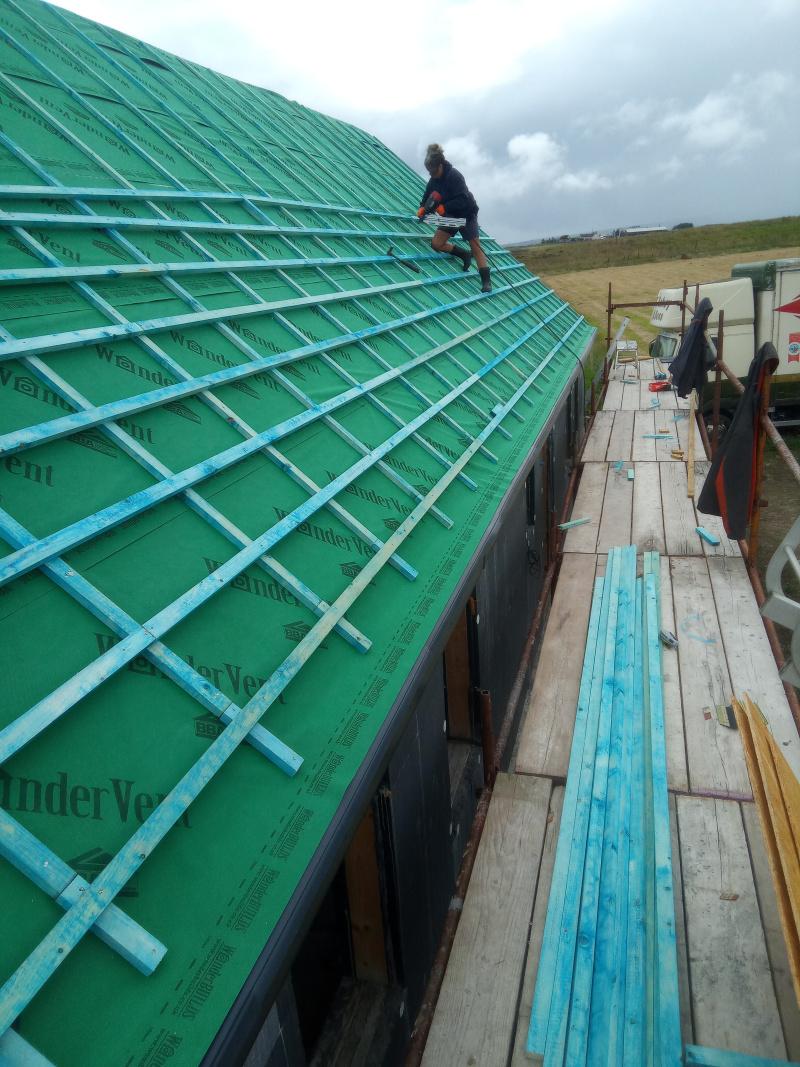
I also taped the joints of the membrane with tyvek membrane double sided tape.
We tiled the North elevation first as this was straightforward with only two roof vents (for MVHR)
These were klober 25000mm2 universal vents as the Edgemere vents only ventilated to 10,000mm2.
These are a good vent but it's a struggle with thin leading edge tiles to get them to sit flat. I ended up grinding a little of the back of the adjacent tiles and drilling an additional hole and nail to get them to sit as best as I could. There is a slight kick where the rubber flashing sits under the adjacent tiles but this doesn't affect the rows above, so decided I have to live with it.
(Picture from a distance to stop you zooming the vents😂)
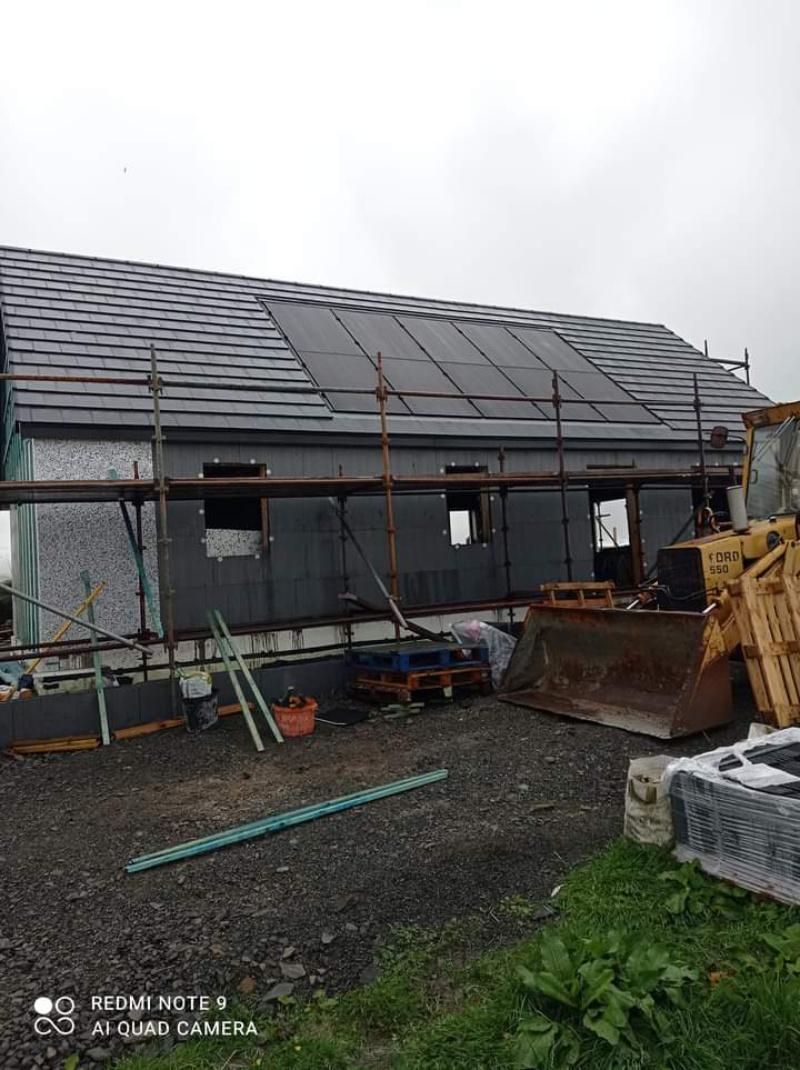
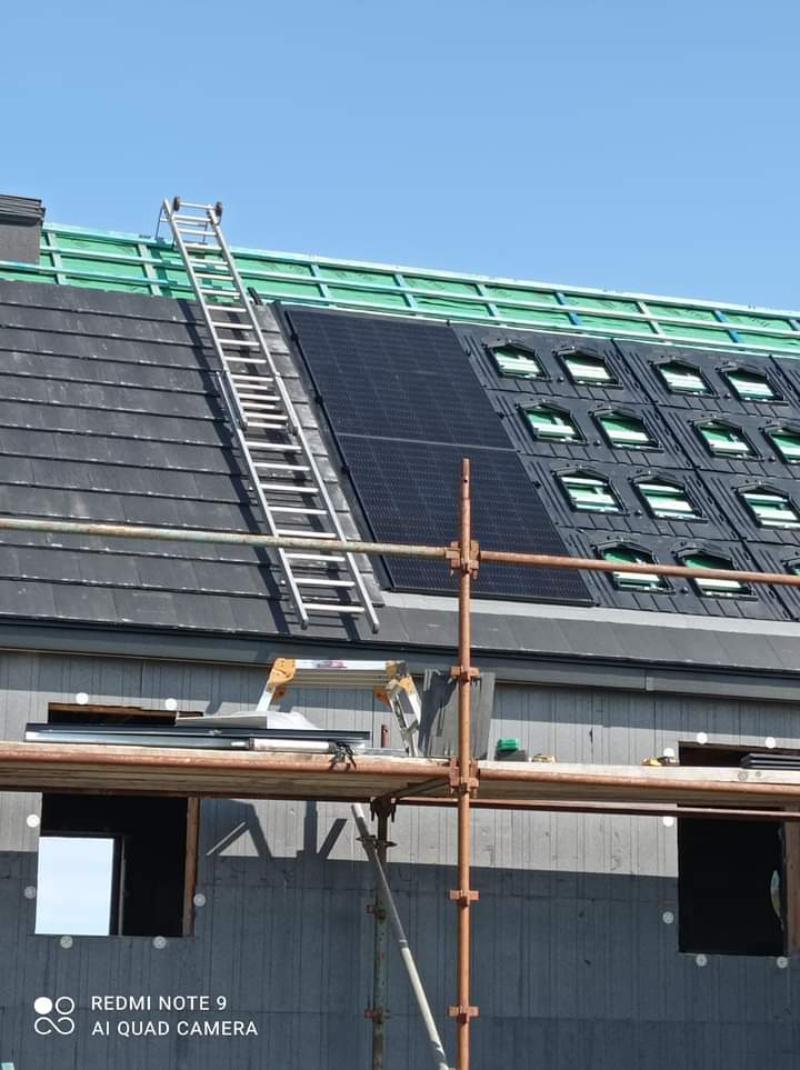
The south elevation has 10 longi 405w PV panels, so I was using the GSE trays. Incidentally these trays and flashing were 50% more than the panels😔.
GSE panels......
The instructions are very in-depth, but to be fair I just struggled with them. They suggest you don't need flashing for the top course as the tiles can sit over the trays, I doubt this works for any flat tiles / slates. Possible for pantiles if your lucky.
A few on here @Dave Jones, and @dpmiller (I think) suggested this was the case, and I confirm you need the flashing kit, or use Flexi flashing, but IMO the detailing of the raised sections of the trays ( between panels) would be tricky and ugly.
The thin leading edge tiles also caused slight kicking issues on the side flashing as well. So I had to be creative. (maybe this is standard for a proper roofer?)

For the bottom flashing I used a 4x1 and timber wedges and used a replacement self adhesive flashing. Annoyingly the width of the trays with the raised section etc and the side flashings made the overall width 6.2M wide, so I had to order another length, and this was held up with Evri for 10days🥲.
Fitting the extra battens for the clamps and tray support was painful for my brain, just too much timber. I ended up fitting a row of half trays at a time.
Once the trays were fitted we tiled the RH side of the roof upto the GSE tray lateral flashing. This is where I needed to think out of the box, the tiles on there own kicked up into the air a looked terrible. I also had narrow tiles (120mm) cuts to allow for the half bond. These tiles needed the nib on the back of the tile grinding off which in turn meant they had nothing to hang on, and couldn't be nailed as they were on the flashing.
So I used a hanging valley clip. To get these to sit flush I had to grind a little slot into the tile face, then to stop the tiles tipping into the flashing, and to give them a second fixing, I ground a groove in the rear of the tile, then once the next row was installed used a c clip to hold it all in place.

Picture shows the valley clip and wire to hang the tile.
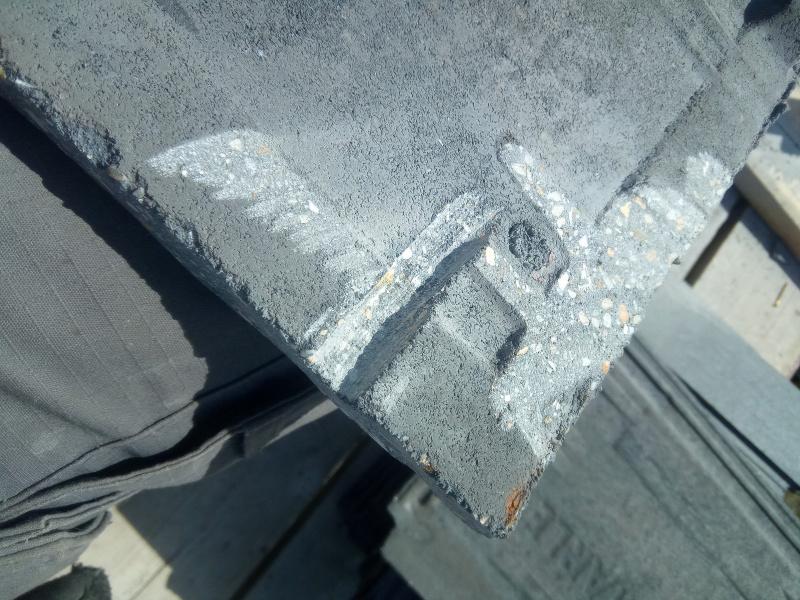
Groove for C clip.
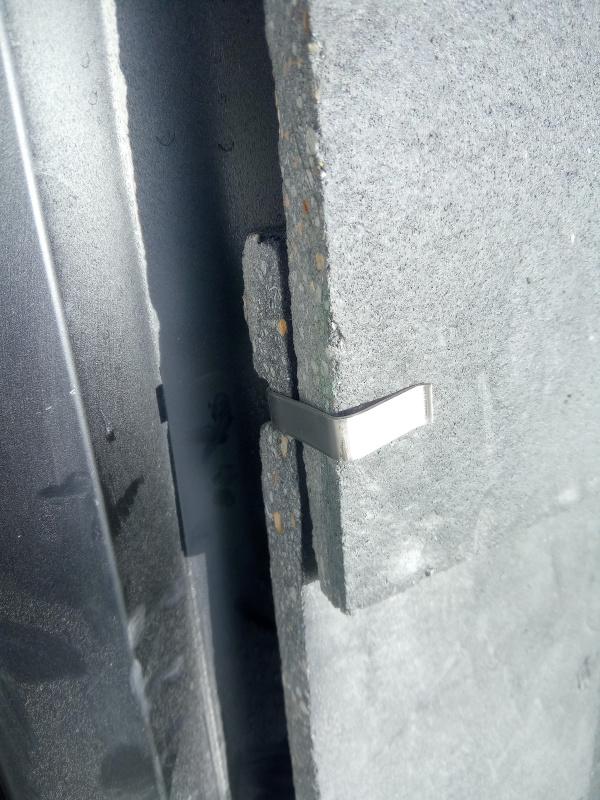
C clip in place.
This was repeated on all rows, so all tiles have at least two fixings. (Overkill?)
The top flashing as I mentioned, had to be ordered and the corner flashings need modifying to ensure they sit flush over the PV panel.
I installed two panels, then test fitted the flashing and corner flashing, which needed snipping with tin snips, then the overlapping cut edges pop riveted to reduce the height. This was sealed with lead mate.
Once I fitted the flashings, I tiled the remaining roof and top rows. The flashing kit is expensive, but works and looks neat from the ground.
Dry ridge installed,l and end caps finishing the roof.

Then the panels, these were simple with 8 clamps per panel. Just the gutters to fit and scaffolding can come down.
Some more EWI to fit then onto the windows and doors which are sat patiently waiting for us to pull our fingers out.
-
 3
3
4 Comments
Recommended Comments
Create an account or sign in to comment
You need to be a member in order to leave a comment
Create an account
Sign up for a new account in our community. It's easy!
Register a new accountSign in
Already have an account? Sign in here.
Sign In Now