
ICF walls and dodging bullets.

Day 48 of the build was a big one, we poured the ICF ( PolySteel) walls.
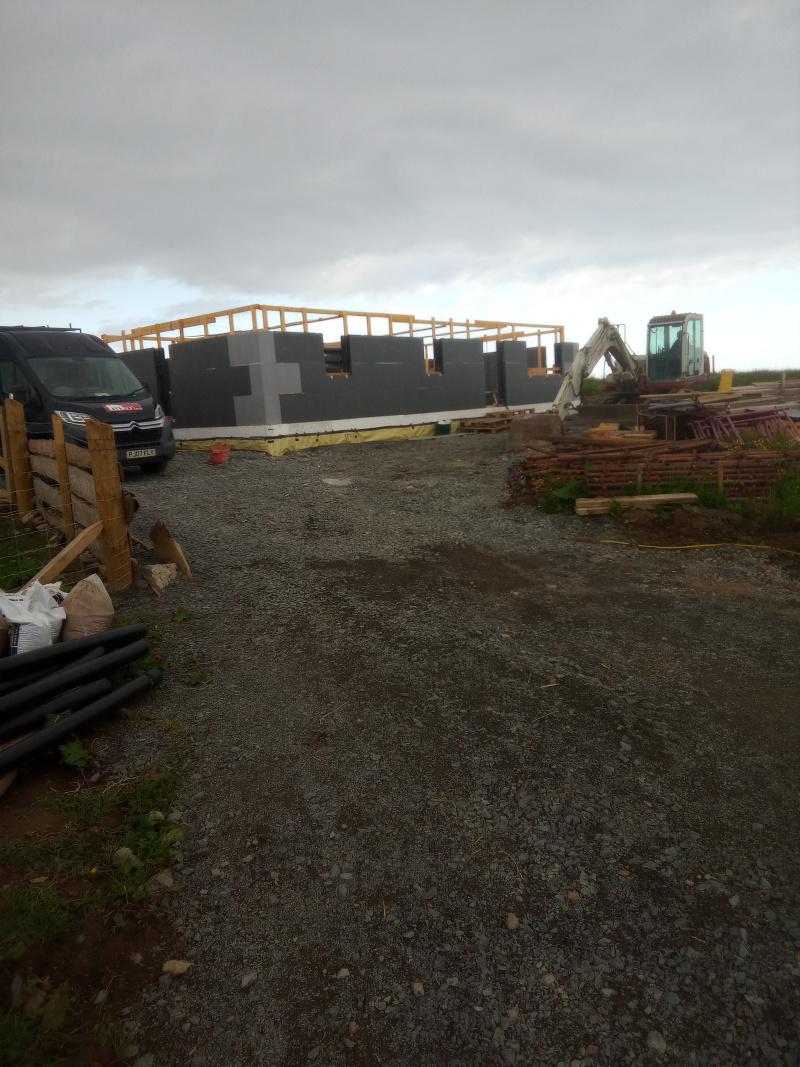
Following the slab pour 2 weeks earlier, we start on building the PolySteel ICF walls.
I've no experience with ICF, and thus can only comment on the usability and quality of PolySteel. The process is straightforward, all the blocks are t&g on all edges, so you simply use a bead of fire rated foam and push the blocks together. Each block clips to the last with two **clips joining the metal mesh inside the block together.
Our rebar spec, was I think over the top, but basically we had a pair of 10mm starter rebars vertically every 300mm centres so the first two rows we had to position the blocks over the starter bars. In addition to this each corner block( 2 left-hand and 2 right-hand in our case per course) have 4 off 10mm L bars and pairs of 10mm horizontally on 300mm centres.
Our perimeter is just shy of 40M, so all in that's just short of 2KM of rebar.
Point 1, the spec calls for 400 mm L corner bars, (which I had cut and bent) you can't fit these. You can get 1 in but the other 3 need to be shorter on one side to get in, this was more so on the first two courses with the precast starter bars in the way. I ended up cutting 1 to 400mm X 300mm and 2 to 400mm X 200mm per set.
These were tied in place to the metal grids in the PolySteel.
With so many starter bars I made the ones located at windows longer so that they were around 80mm below cill height l, (this was when I poured the foundation.) This saved me adding extra verticals bars after, and in the main worked out.
To cut out the windows I had to figure out a good way to cut the blocks. The Steel mesh in the block has a 30mm plate that sits under the surface of the IFC to allow you to screw into with self drilling screws ( one of the reasons I liked this block)
For window openings This needs to be cut, I had an old rage metal circular saw and this worked amazingly, if I did this again I would buy one for the job. But I'm never doing this again😂
The most difficult part was cutting the mesh, this is 3mm bars, I used a small cheap set of bolt cutters which worked but was difficult getting into the cavity of the block and then squeezing the cutters. The angle grinder was too cumbersome in the tight space, and ripsaw with metal blade just too bouncy it felt like a bodge, so patiently cut hundreds of 3mm bars to make the openings. I think a small cut off air grinder would work well, as I did try a Dremel type cutter but this was painfully slow.
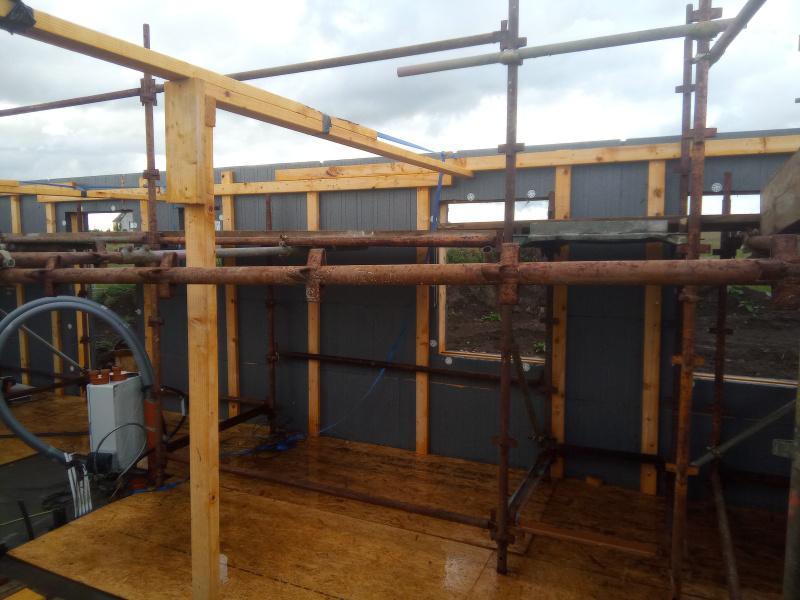
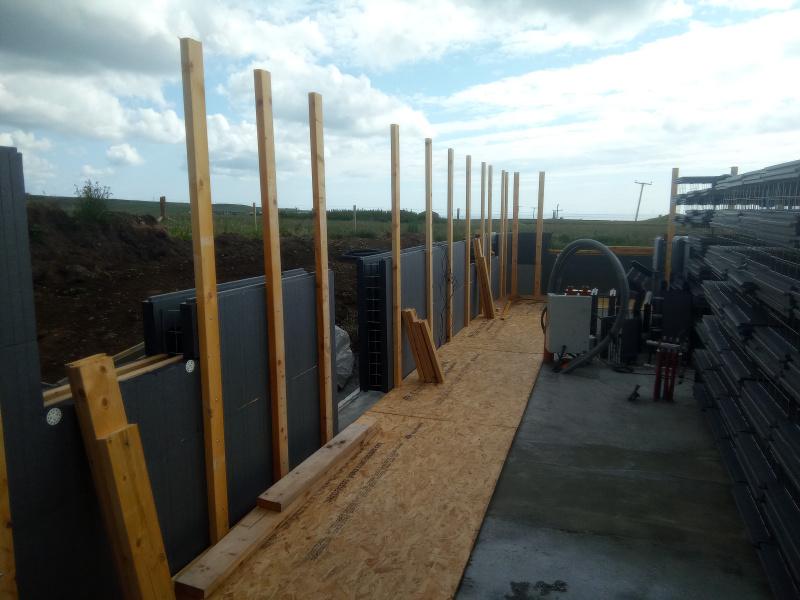
At two courses high it was time to start bracing. This was done by fixing 4x2 to the blocks on 1M centres and at every opening ( the 4x2 will be re-used for studding later)
I secured the timber to the blocks with 100mm baypole screws 3 per block in pre drilled holes. Below shows a bit later on but a 4x2 ring beam tied to all the verticals. We also tied the long walls (N&S) to each other with long ratchet straps and more 4x2. A little security if the winds picked up.
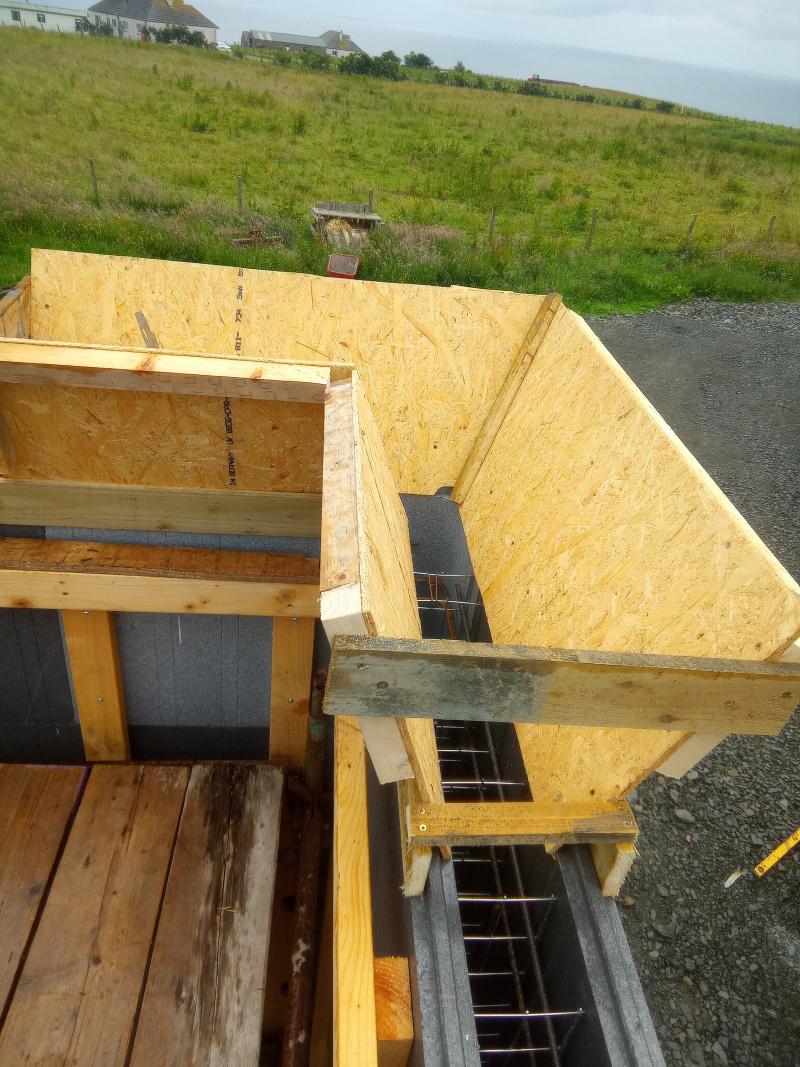
Once 3 course we're built, I made the boxes for the windows and doors, basically 6x2 screwed through the ICF into the timber. These we're then sealed with some silicon and or foam. On the back of the 6x2 I screwed in some coach bolts to act as a key to fix them to the concrete. Each course we added the corner and horizontal rebars.
We then erected some Kwikstage scaffold around the inside perimeter. This is old rusty scaffold but wasn't ready for the scrap man just yet.
The bays fit really well, snug if you like. When I purchased the scaffold I also got thrown in a load of 5ft tubes, swivel, couplers and clamps. So I went around and braced the scaffold and tied each section to each other with short sections of pole. This made the stage rigid, lastly used some standards to brace the North and South walls together, creating a mesh in the middle.
The final course of ICF seemed easier to cut out the openings, not sure why.
All blocks were screwed to the vertical 4x2 and then the vertical 4x2 we're plumbed and tied to the scaffold. This made the whole lot rock solid. I used string lines to make sure the walls were straight and plumb before fixing to the scaffold.
Now we put in the vertical rebar, pairs of 10mm rebar on 300 centres.
Pic below shows the corner L bars before the verticals were fitted.

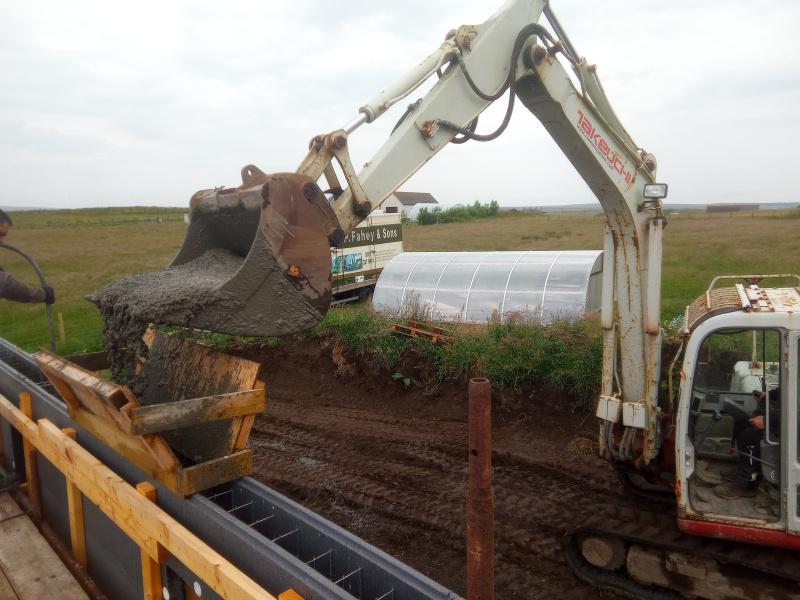
To pour the concrete, around 12M³, a pump was put of budget as they would have to come from Inverness, we were quoted 2K, so reverted to the 360 bucket method.
I created 2 pour boxes and 1 corner box put of OSB, to act as a funnel for the concrete.
We poured in 600mm levels and vibrated the concrete. Moving the pour boxes along as we went.
The first wagon had 7 cube so this would be over all the cills, once the cills were full, we capped them off and screwed some 4x1 in place. All working like a dream...
When vibrating I noticed some of the ** clips holding the blocks together pinged off..
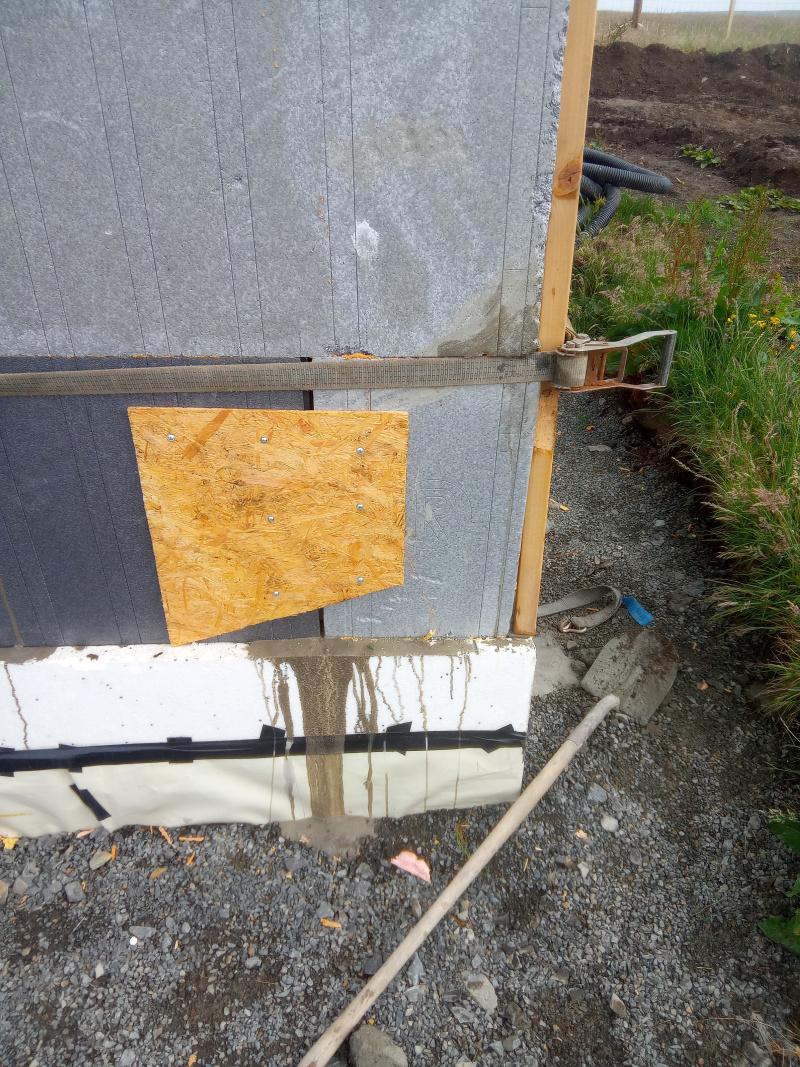
I went down to check levels etc, and noticed that one corner block on the SE corner, between a long window and large lounge window had moved😱. The t&g was holding but the was a 15mm gap. Ok panic starting now. We stopped pouring here and moved moved on but needed a solution. I'm not proud of this, but we used a haulage strap, through the window around and out through the door and back and ratcheted the section of wall together with some timber on the corners to prevent the strap digging into the ICF.
Followed this up with some OSB and timber straps.
Then the cheap electric vibrator we were using in to window voids gave up. Couldn't handle the stress of the day, my heart rate was in triple figure now.
The hired in vibrator we were using from the top was still going strong, and I also had some cheap plate vibrators to hold against the walls which were doing enough.
I went around all the corners and added more bracing, berating myself for not adding large strips of OSB on all the corners.why didn't I do that. If your reading this because your planning to use PolySteel then screw large sheets of OSB to the corners..
Ok, heart rate still in the hundreds, but the first truck was done, we were level, with the exception of the problem SE corner to about 1.4m. everything was holding and plumb. The moved corner will be ok, as long as it stays put. While waiting for the truck to go back and refill, around 90mins, I went manically around screwing more battens to the corners. The concrete was setting up on the SE so I was feeling a little better, but worried about filling up the corner
With the excitement of the corner issue and my manic battening, I forgot to add the additional supports for the two large windows, these were left out so we could fill the lower part of the wall from the 360 bucket.
We start the second lorry on the West wall, working out way to the SE problem, all working well, vibrating and filling as we go, shuffling the pour boxes around. Then the hired vibrator started smoking and gave up. Back to sticks and the flat plate vibrators for the last section. We skipped the SE corner and worked our way along the S and then W walls. With about 3m of wall to complete the digger shut down.
Spanners out, more fuel, clean the filters, bleed the injectors, no go, dead. Ok. Fire up my old loader and get it as close as possible and shovel it in... No this wasn't happening, the steering piston decided to come off, an old fault that came back just at the right time. FFS anything else. Yes, those supports for the lintels I forgot.. Pete!! Those lintels are sagging argghhhhh. Acro props and some more tense moments we jack them back into place level and plumb. Ok back to the other fire.
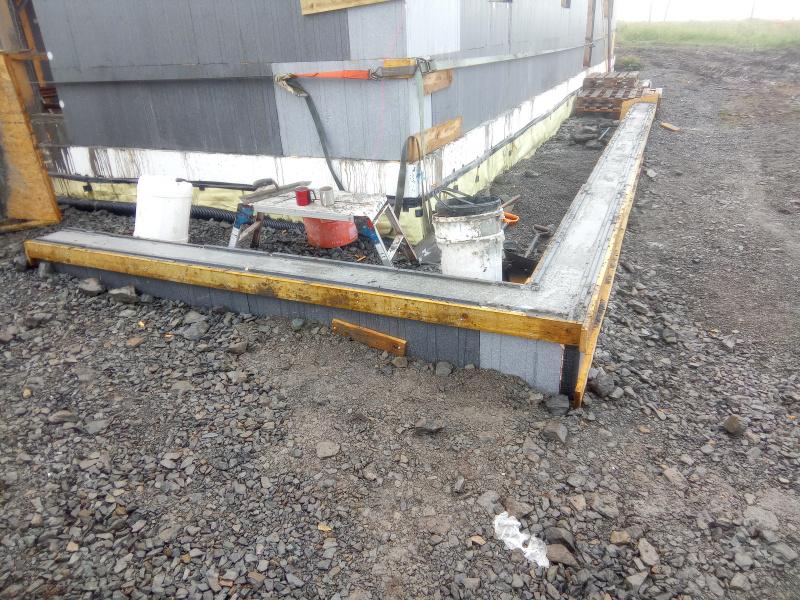
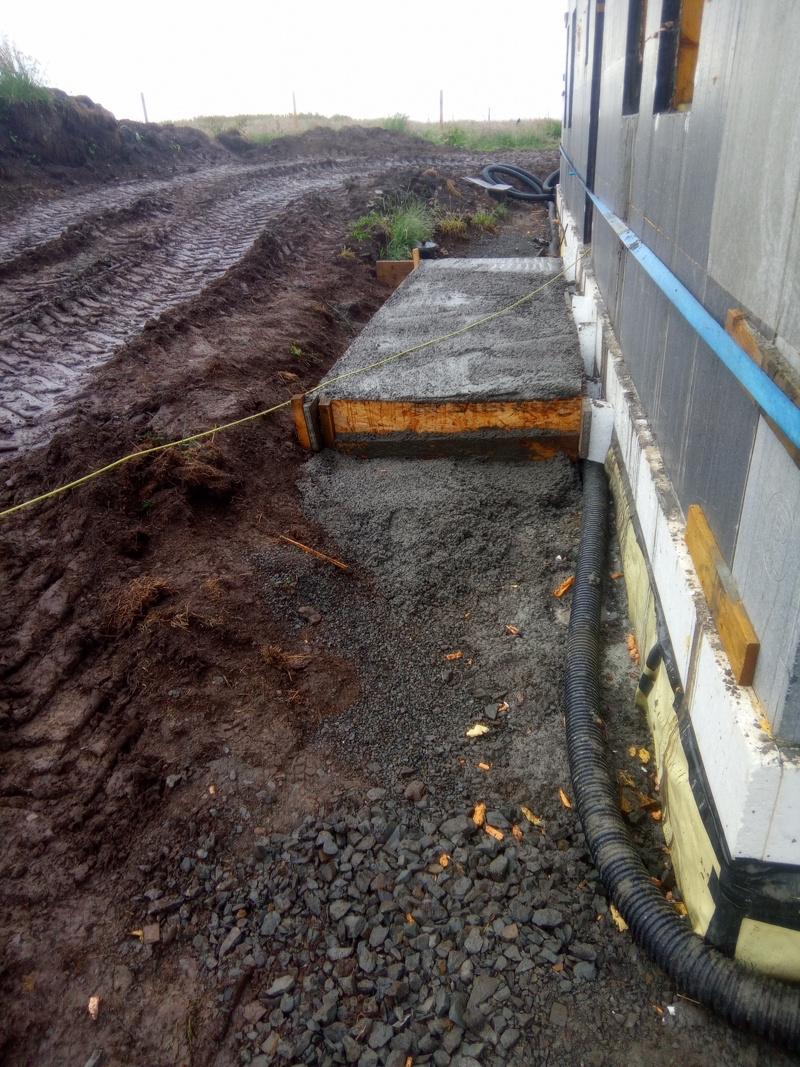
We were contemplating buckets when my neighbour brought his Manatu with a big bucket and managed with shovels for the last bit around 1/2 a cube. While the tops of the walls were being floated, and in anticipation for excess concrete we managed to fill some shuttering for a front path, and the start of the ramp to the rear door.
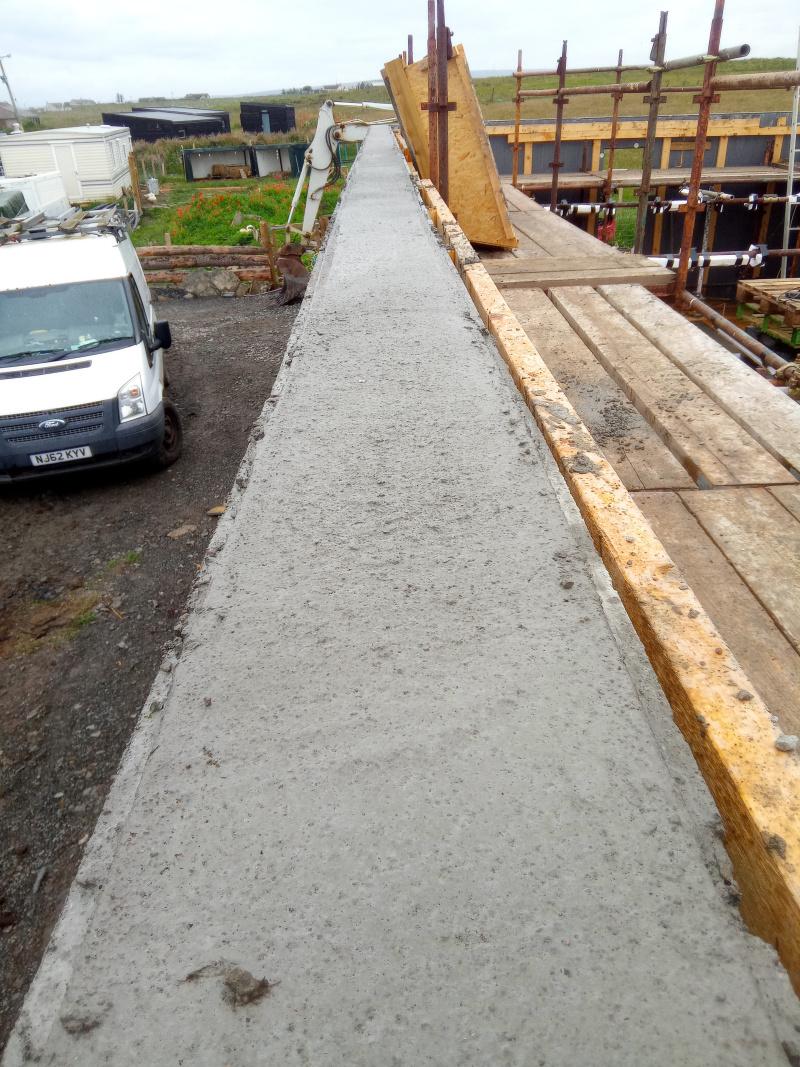
This is the offcuts of ICF from the windows that will form the path and increase the levels at this corner hopefully softening the height in this corner.
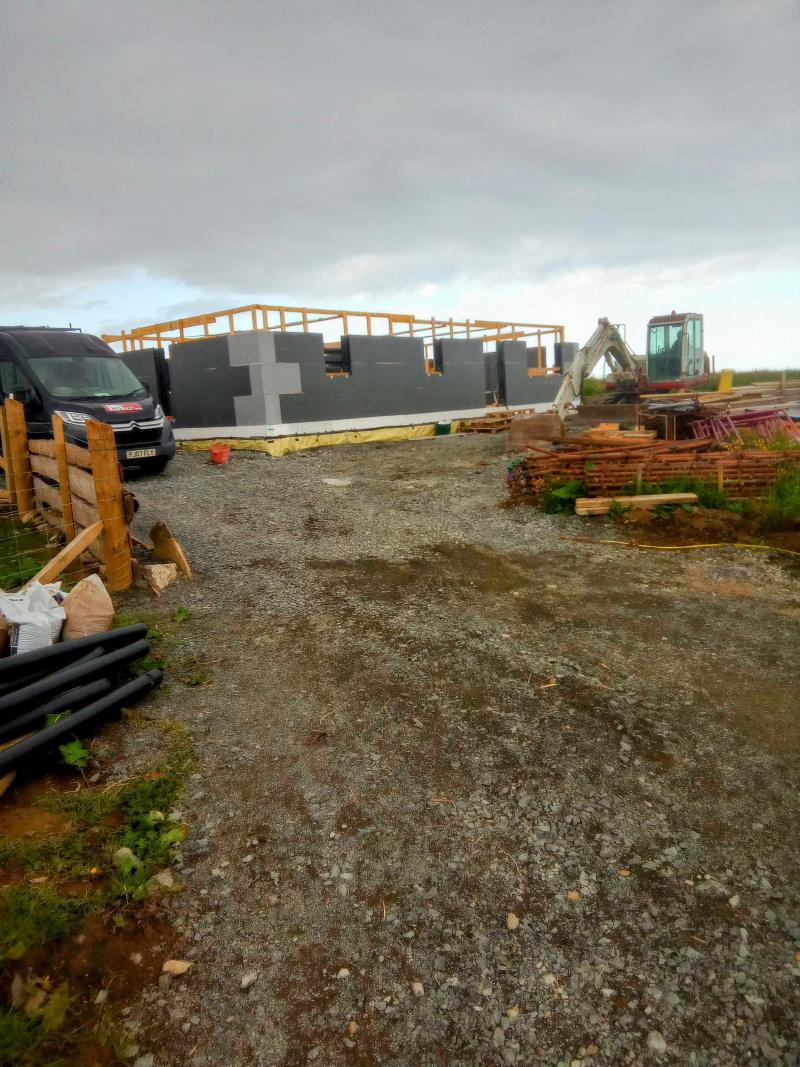
So it's done, it's up, my heart rate is now normal, and I think I dodged a bullet or two. But with DIY and house building you have to adapt to react to the events as they unfold. My list of favours I owe my neighbour has expanded. But we can sit here today and be proud of the product. the SE corner will need a little fettling to get square,but nothing to worry about.
On wards and upwards. Day of rest today, just off the strim around the pods, guests due later.
-
 5
5
3 Comments
Recommended Comments
Create an account or sign in to comment
You need to be a member in order to leave a comment
Create an account
Sign up for a new account in our community. It's easy!
Register a new accountSign in
Already have an account? Sign in here.
Sign In Now