
Twiddling our thumbs

Entry posted by Simon R
2779 views
With the lock down continuing it’s been hard to keep our enthusiasm levels up without the required supplies to continue any major projects. It’s been a case of “what can we do today” picking off tasks.
The gas boiler needed to be plumbed in, nice easy job as screwfix and toolstation were operating click and collect. Good to get a job ticked off.
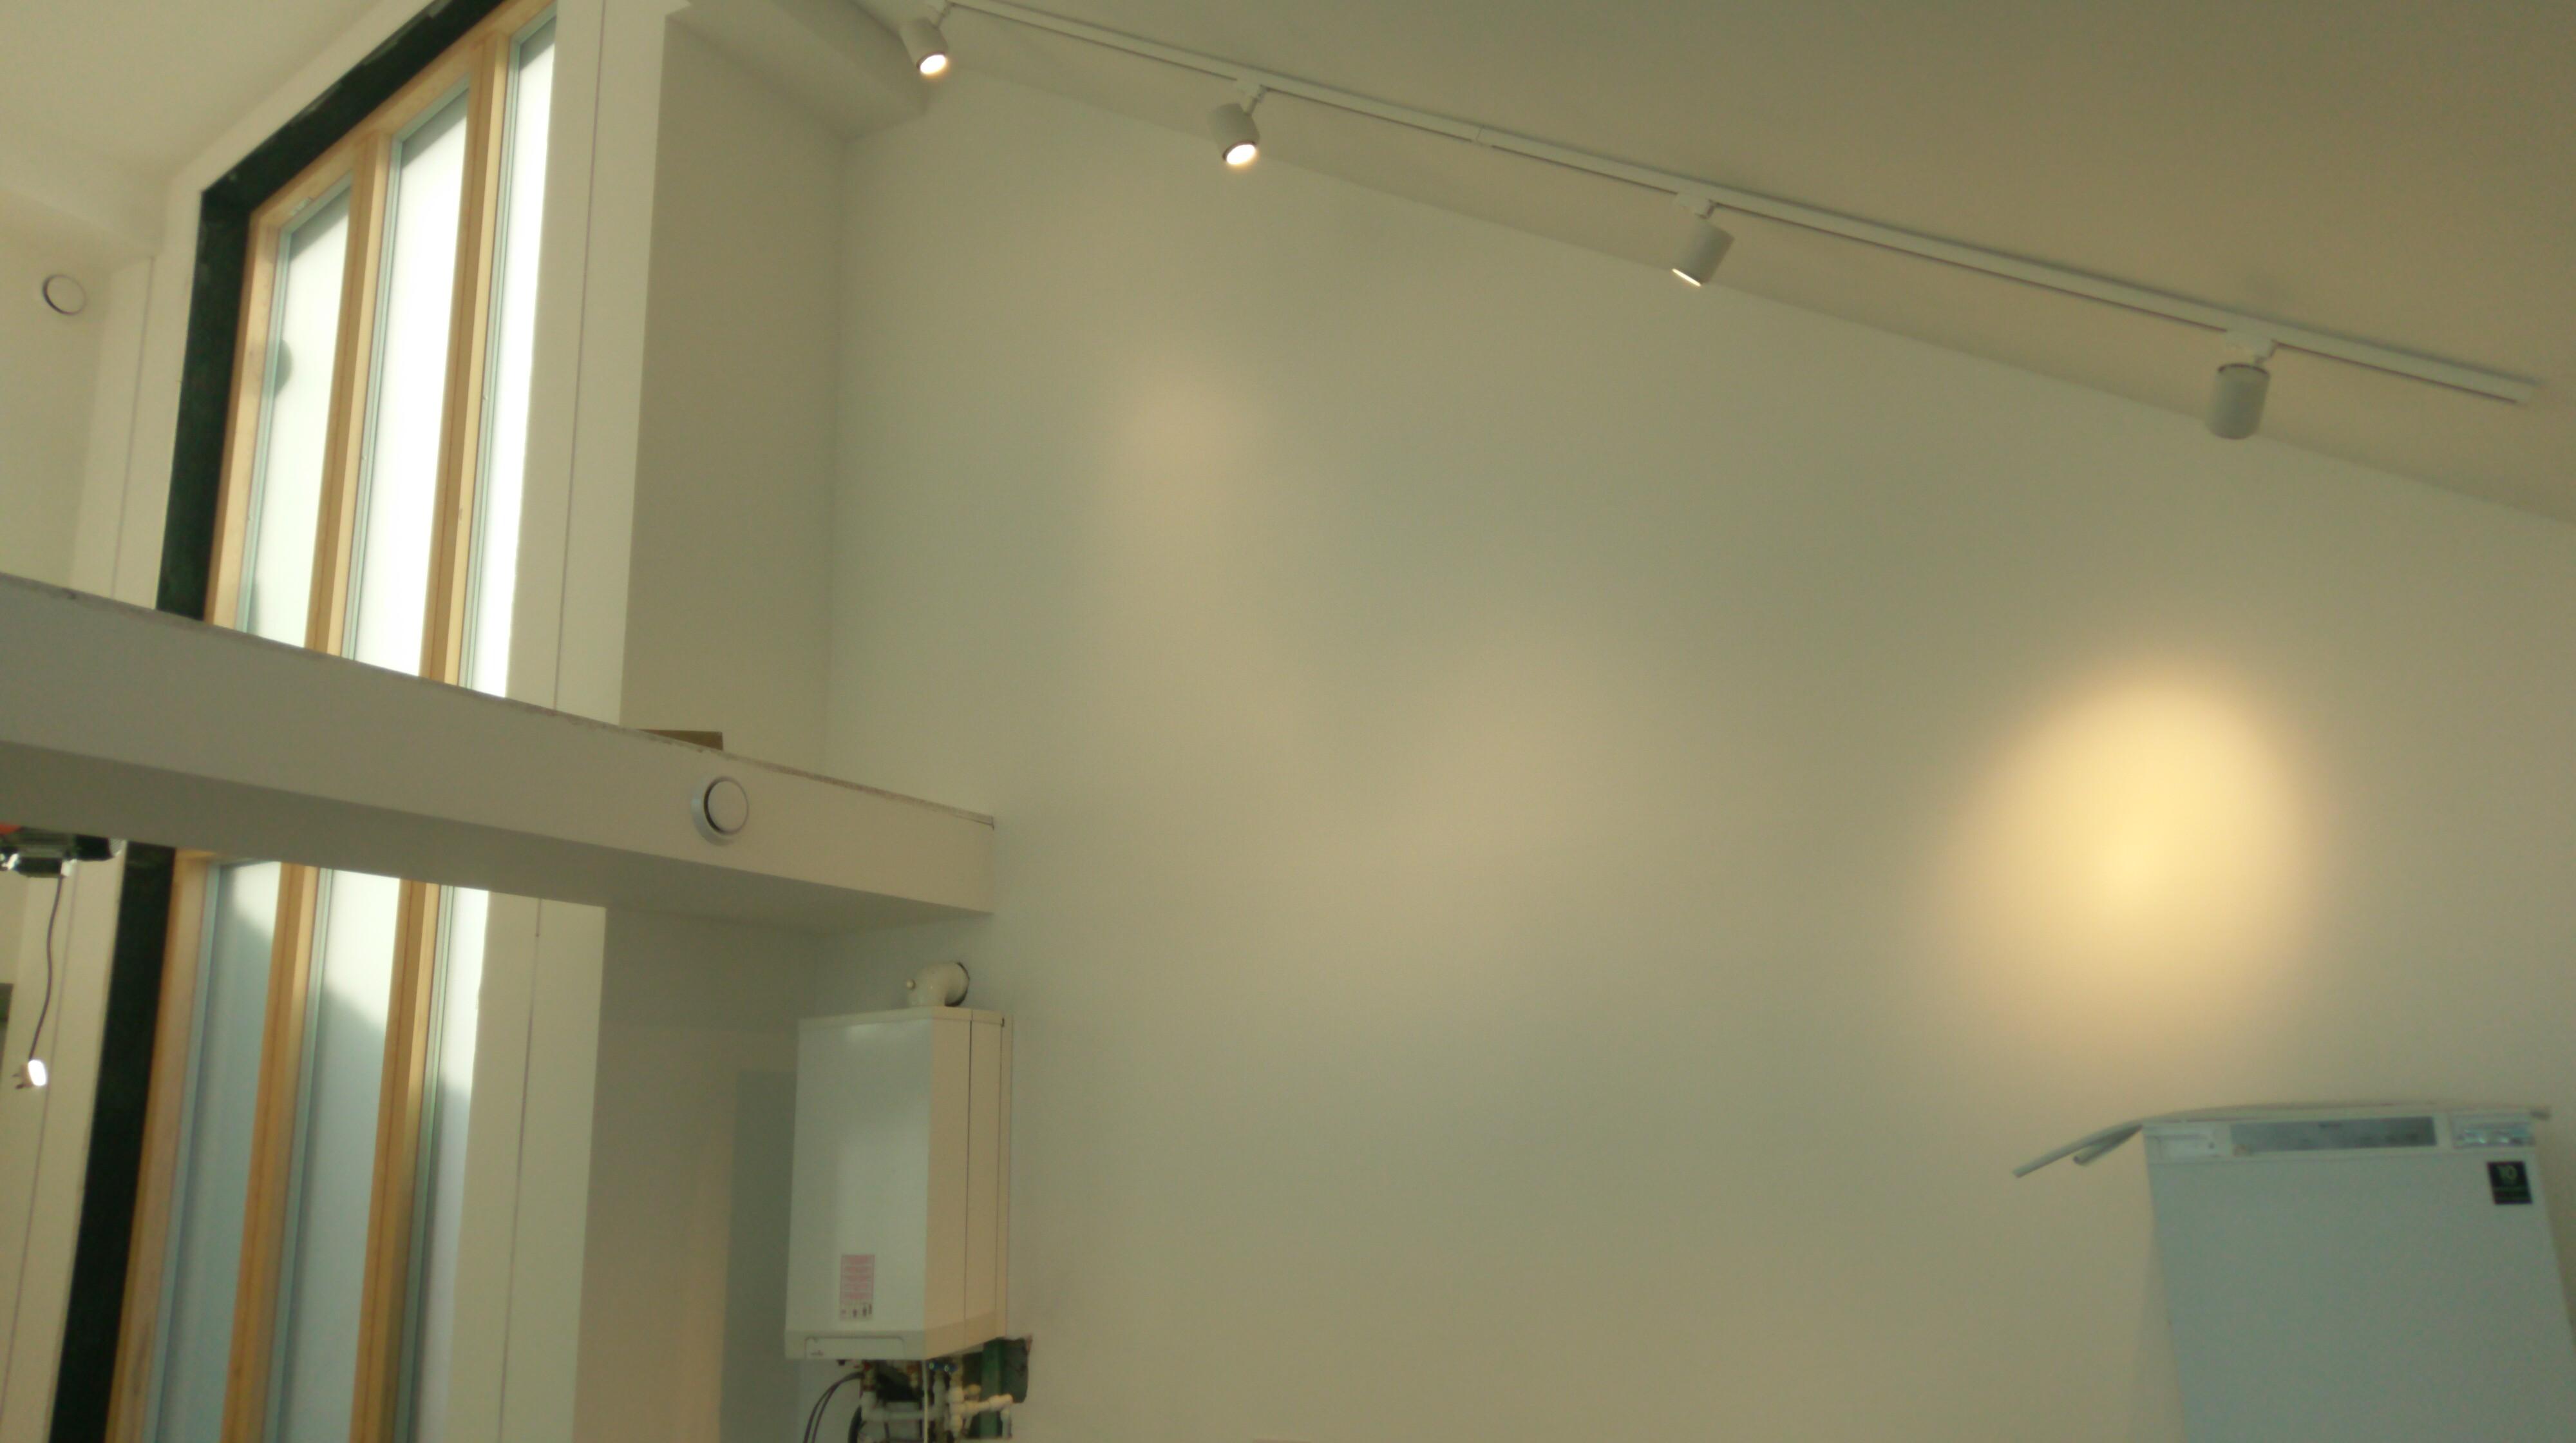
Our electrics had got to pretty much second fix stage, so we ordered an 12 way RCBO consumer unit, sockets and isolator switches and set about wiring it all up. We had been in contact with a very helpful electrician Lee, who had agreed to do testing and certification of our wiring. Lee came round a couple of months ago and did a visual inspection of our first fix work before agreeing to take the job on. Happy with what we were doing he agreed he would come and do the testing and certification. The testing went well and it only took half a day to test all circuits and get the consumer unit connect. Boy it’s good to say goodbye to the temporary supply and extension leads.
Our lights wiring consists of two 16amp supplies to a central area and from that all the lights wiring is radial. After a bit of indecision we had decided to not have any “wired” switches. There are lots of options out there for simple wireless solutions and for wi-fi. Using wi-fi did not appeal, having it all controlled from you phone was a step to far so we have used battery powered wireless switches located where we would have place wired switches. Simple to use and we can move them easily if we find out the positioning is not ideal.
We had thought all the wiring after the wireless switches would be low voltage, but we installed mains 1.5mm cable to give the option of using 220v to the fitting. This was a fortunate choice as we already have four circuits that are using 220v.
The lighting is working out well, we have about half the lights in and it’s bringing the house to life at night.
With the painting done we decided to install one of the doors we had ordered from Germany, always a bit concerning distance ordering and dimensions are not a good combination. The doors we ordered are from Hormann and the architrave/frame and door come as a single unit. As well as specifying the width and height you have to specify the wall thickness. The frames are easily assembled and have to be foam fixed into the wall door opening, taking care to keep everything square. It’s very satisfying to be able to put up a house door with what are automotive tolerances, lovely solid feel to the doors.
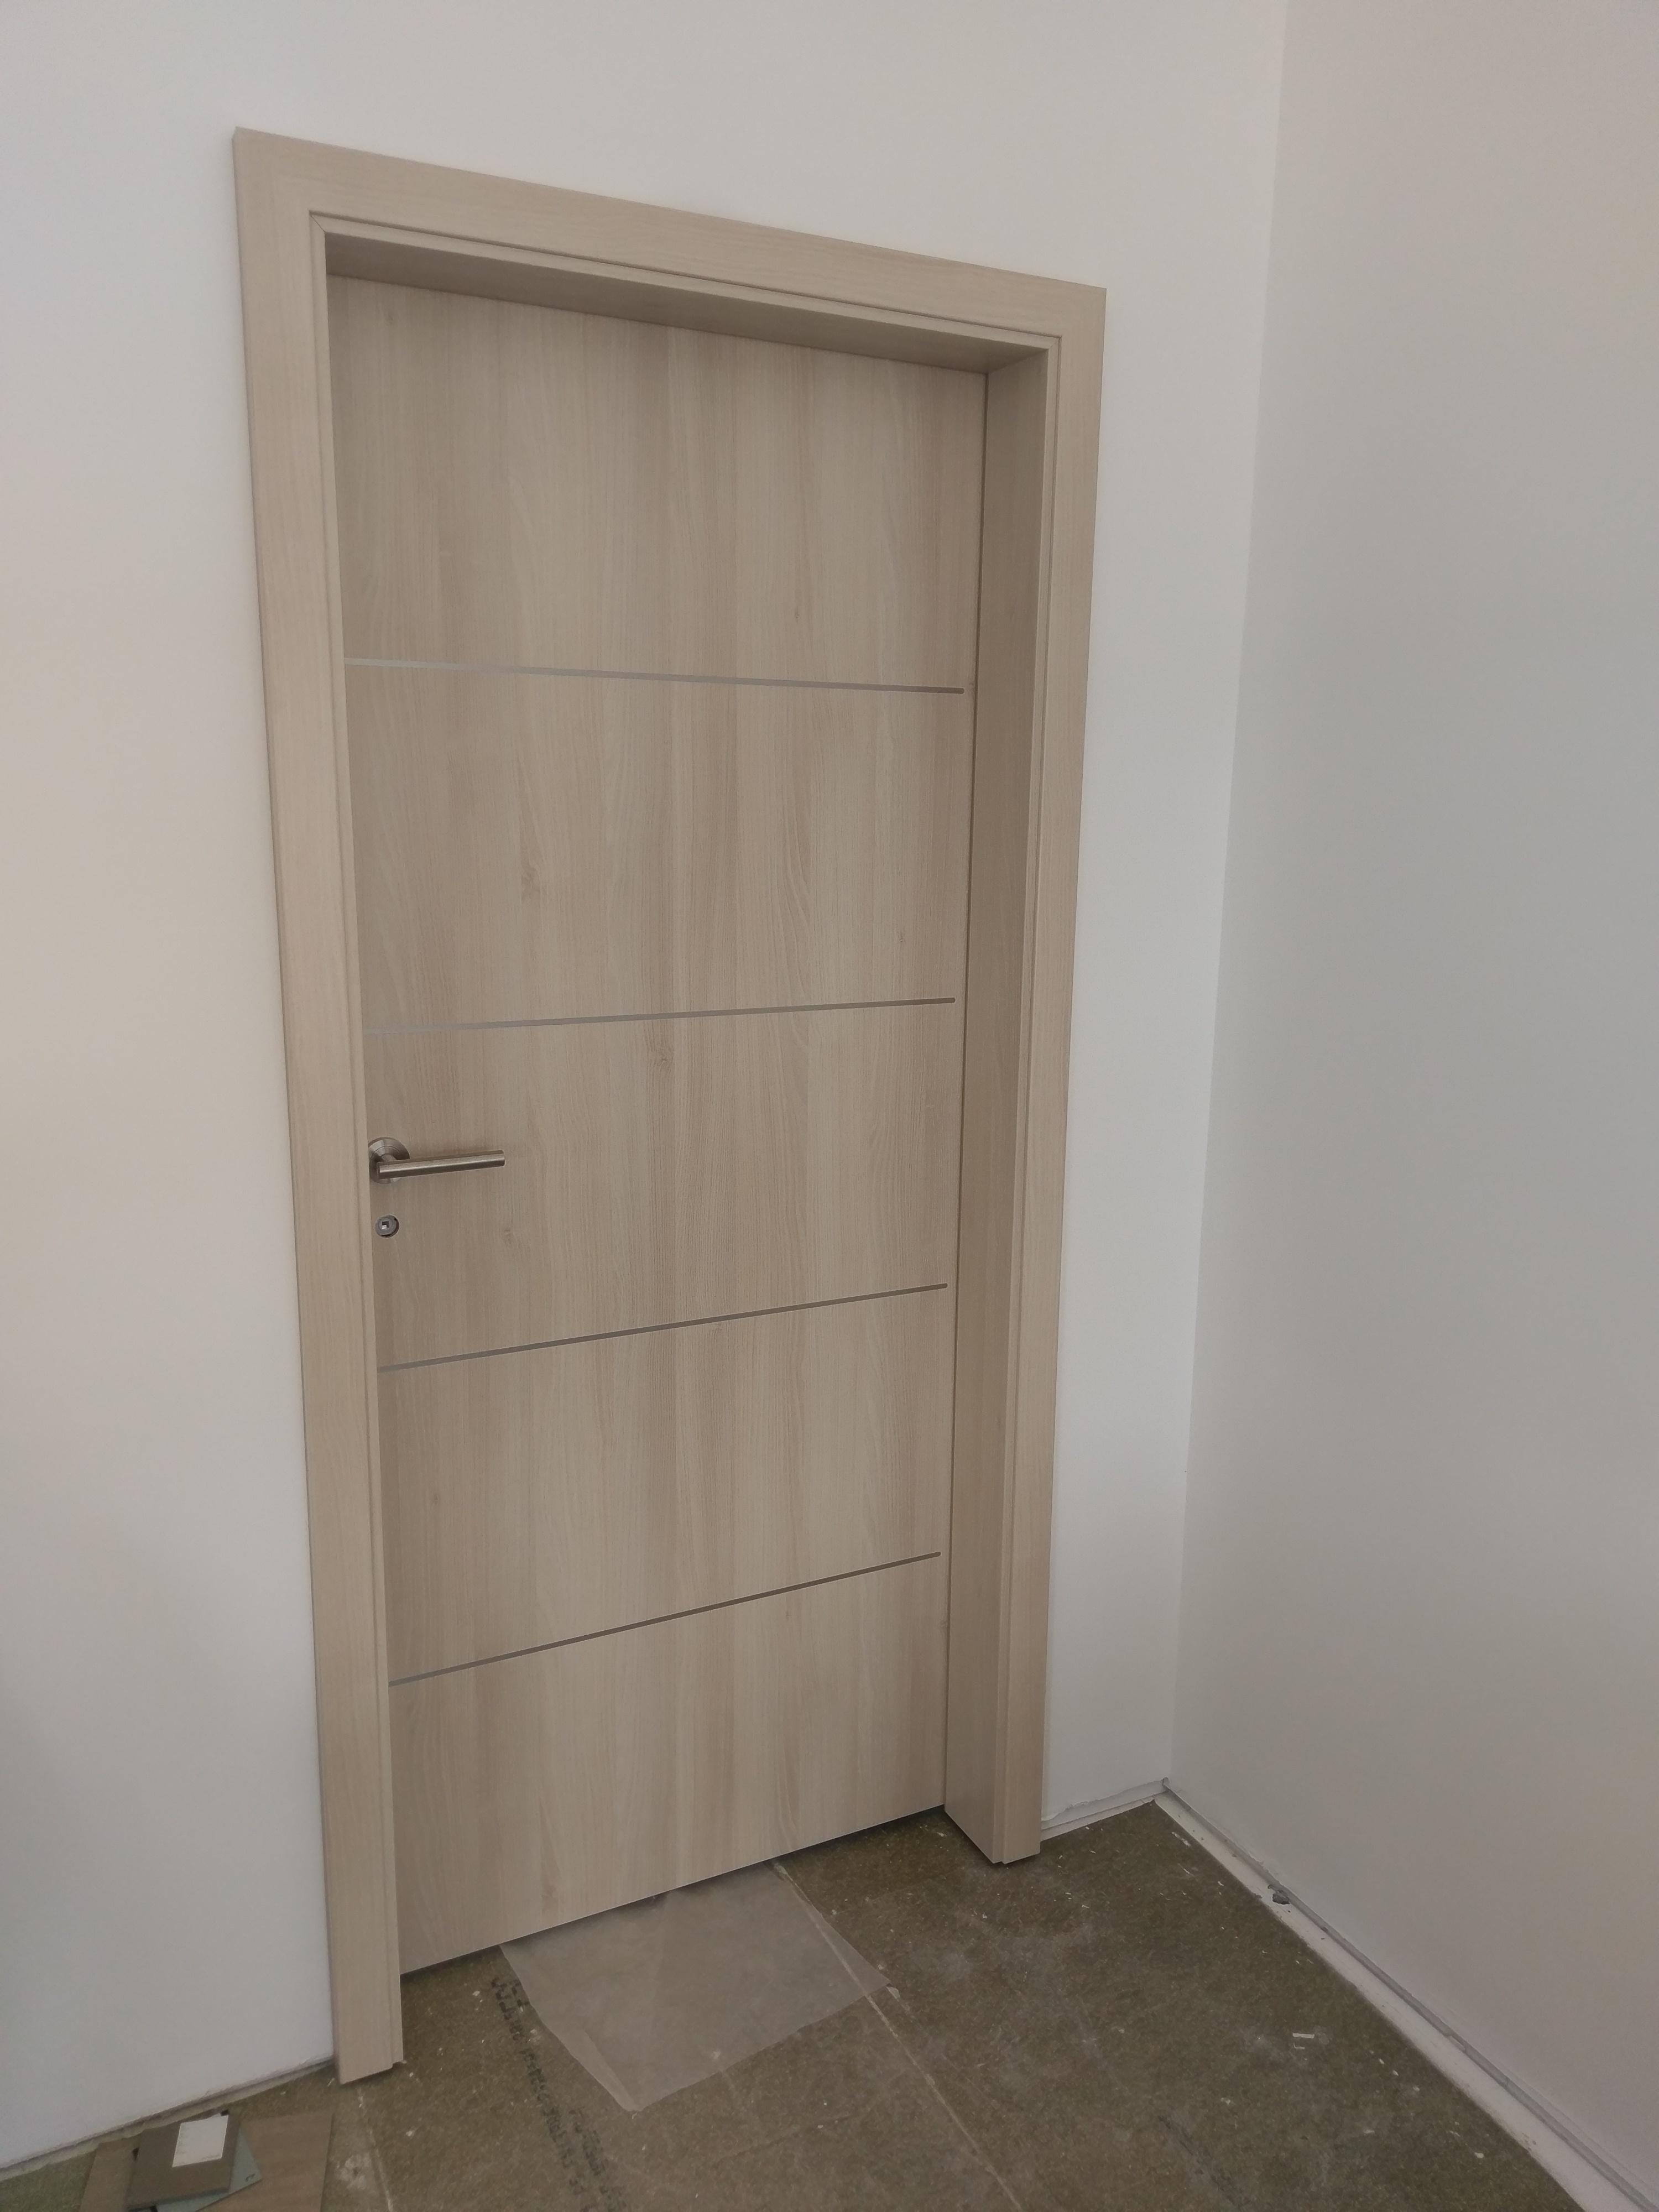
It was not all plain sailing though. Our doors are all the same size with the exception of the attic storage/plant room, this door need to be smaller to allow for the roof pitch. It turned out not to be the size ordered, after a few phone calls it looks as though it was a picking error on Hormann’s part as the paperwork on their system agrees with the ordered size. We’re waiting on a resolution, I expect Hormann will replace the door and we’ll have to pick up the shipping.
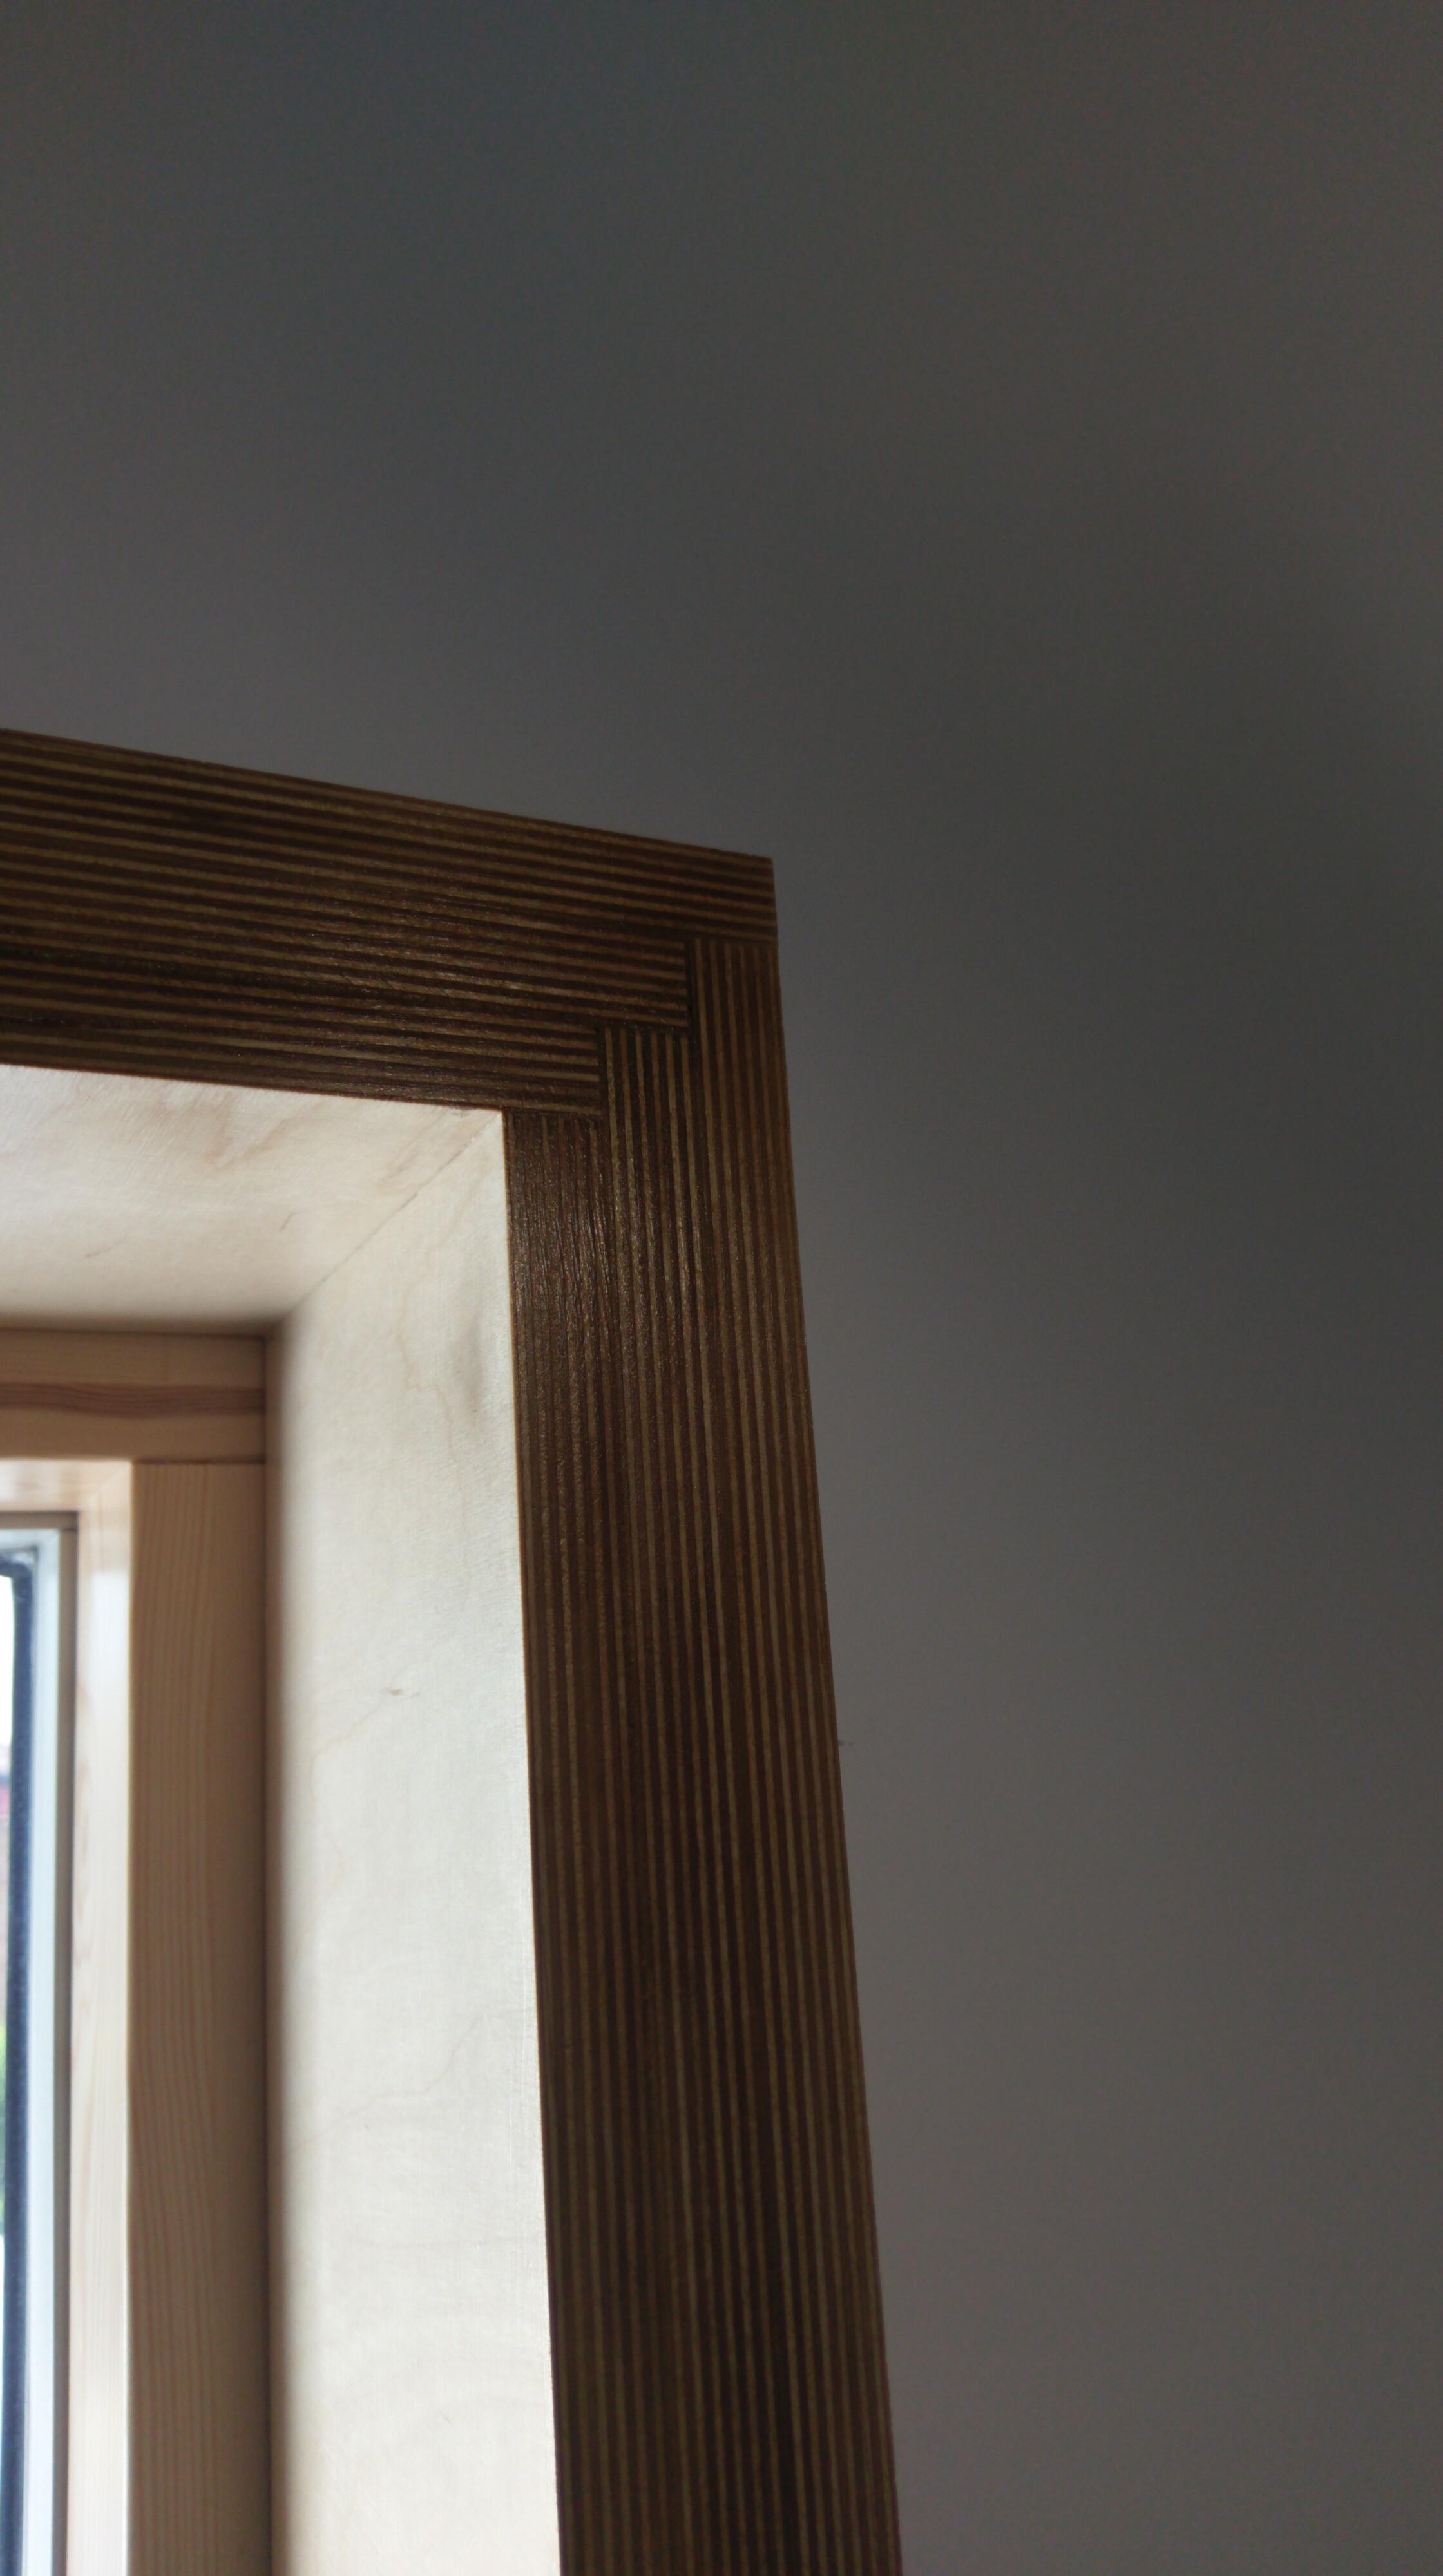
Next job...We’ve been planning on framing the window reveals with ply having seen the rather nice results shown on the buildhub
Buildhub has been a god sent for us, well mostly, the post should have come with a “don’t try this at home” caveat. Throwing caution to the wind we decided it looked a nice idea. After a bit of phoning around we found out a timber yard in Southampton was operational, so we measured all our window reveals, simple depth, width, height etc. At this point it dawns on you just how many windows you have and the fact that a they are all set at different depths, not to mention not being 100% on the plane of the wall. Once we had done our measurement and produced a cut list. We contacted the timber yard. It’s amazing how much material you can get through on a job like this, there is the main reveal board, then two 20mm edging/framing strips. The framing strips came out at 230m total. A whole 1524x3050 sheet! An awful lot of sawdust added to the 34 reveal boards. The quote was pretty much what I had anticipated, the 1200 x 2400 sheets were £56 each and the 1524x3050 sheets £101. Bill for sheets £530, bill for cutting £30 which was a surprise, even with some clever electronic saw gear I consider that very reasonable.
We’ve done just two windows so far, it’s an exacting task, but the results look good.
Plaster board lifter coming in for more abuse
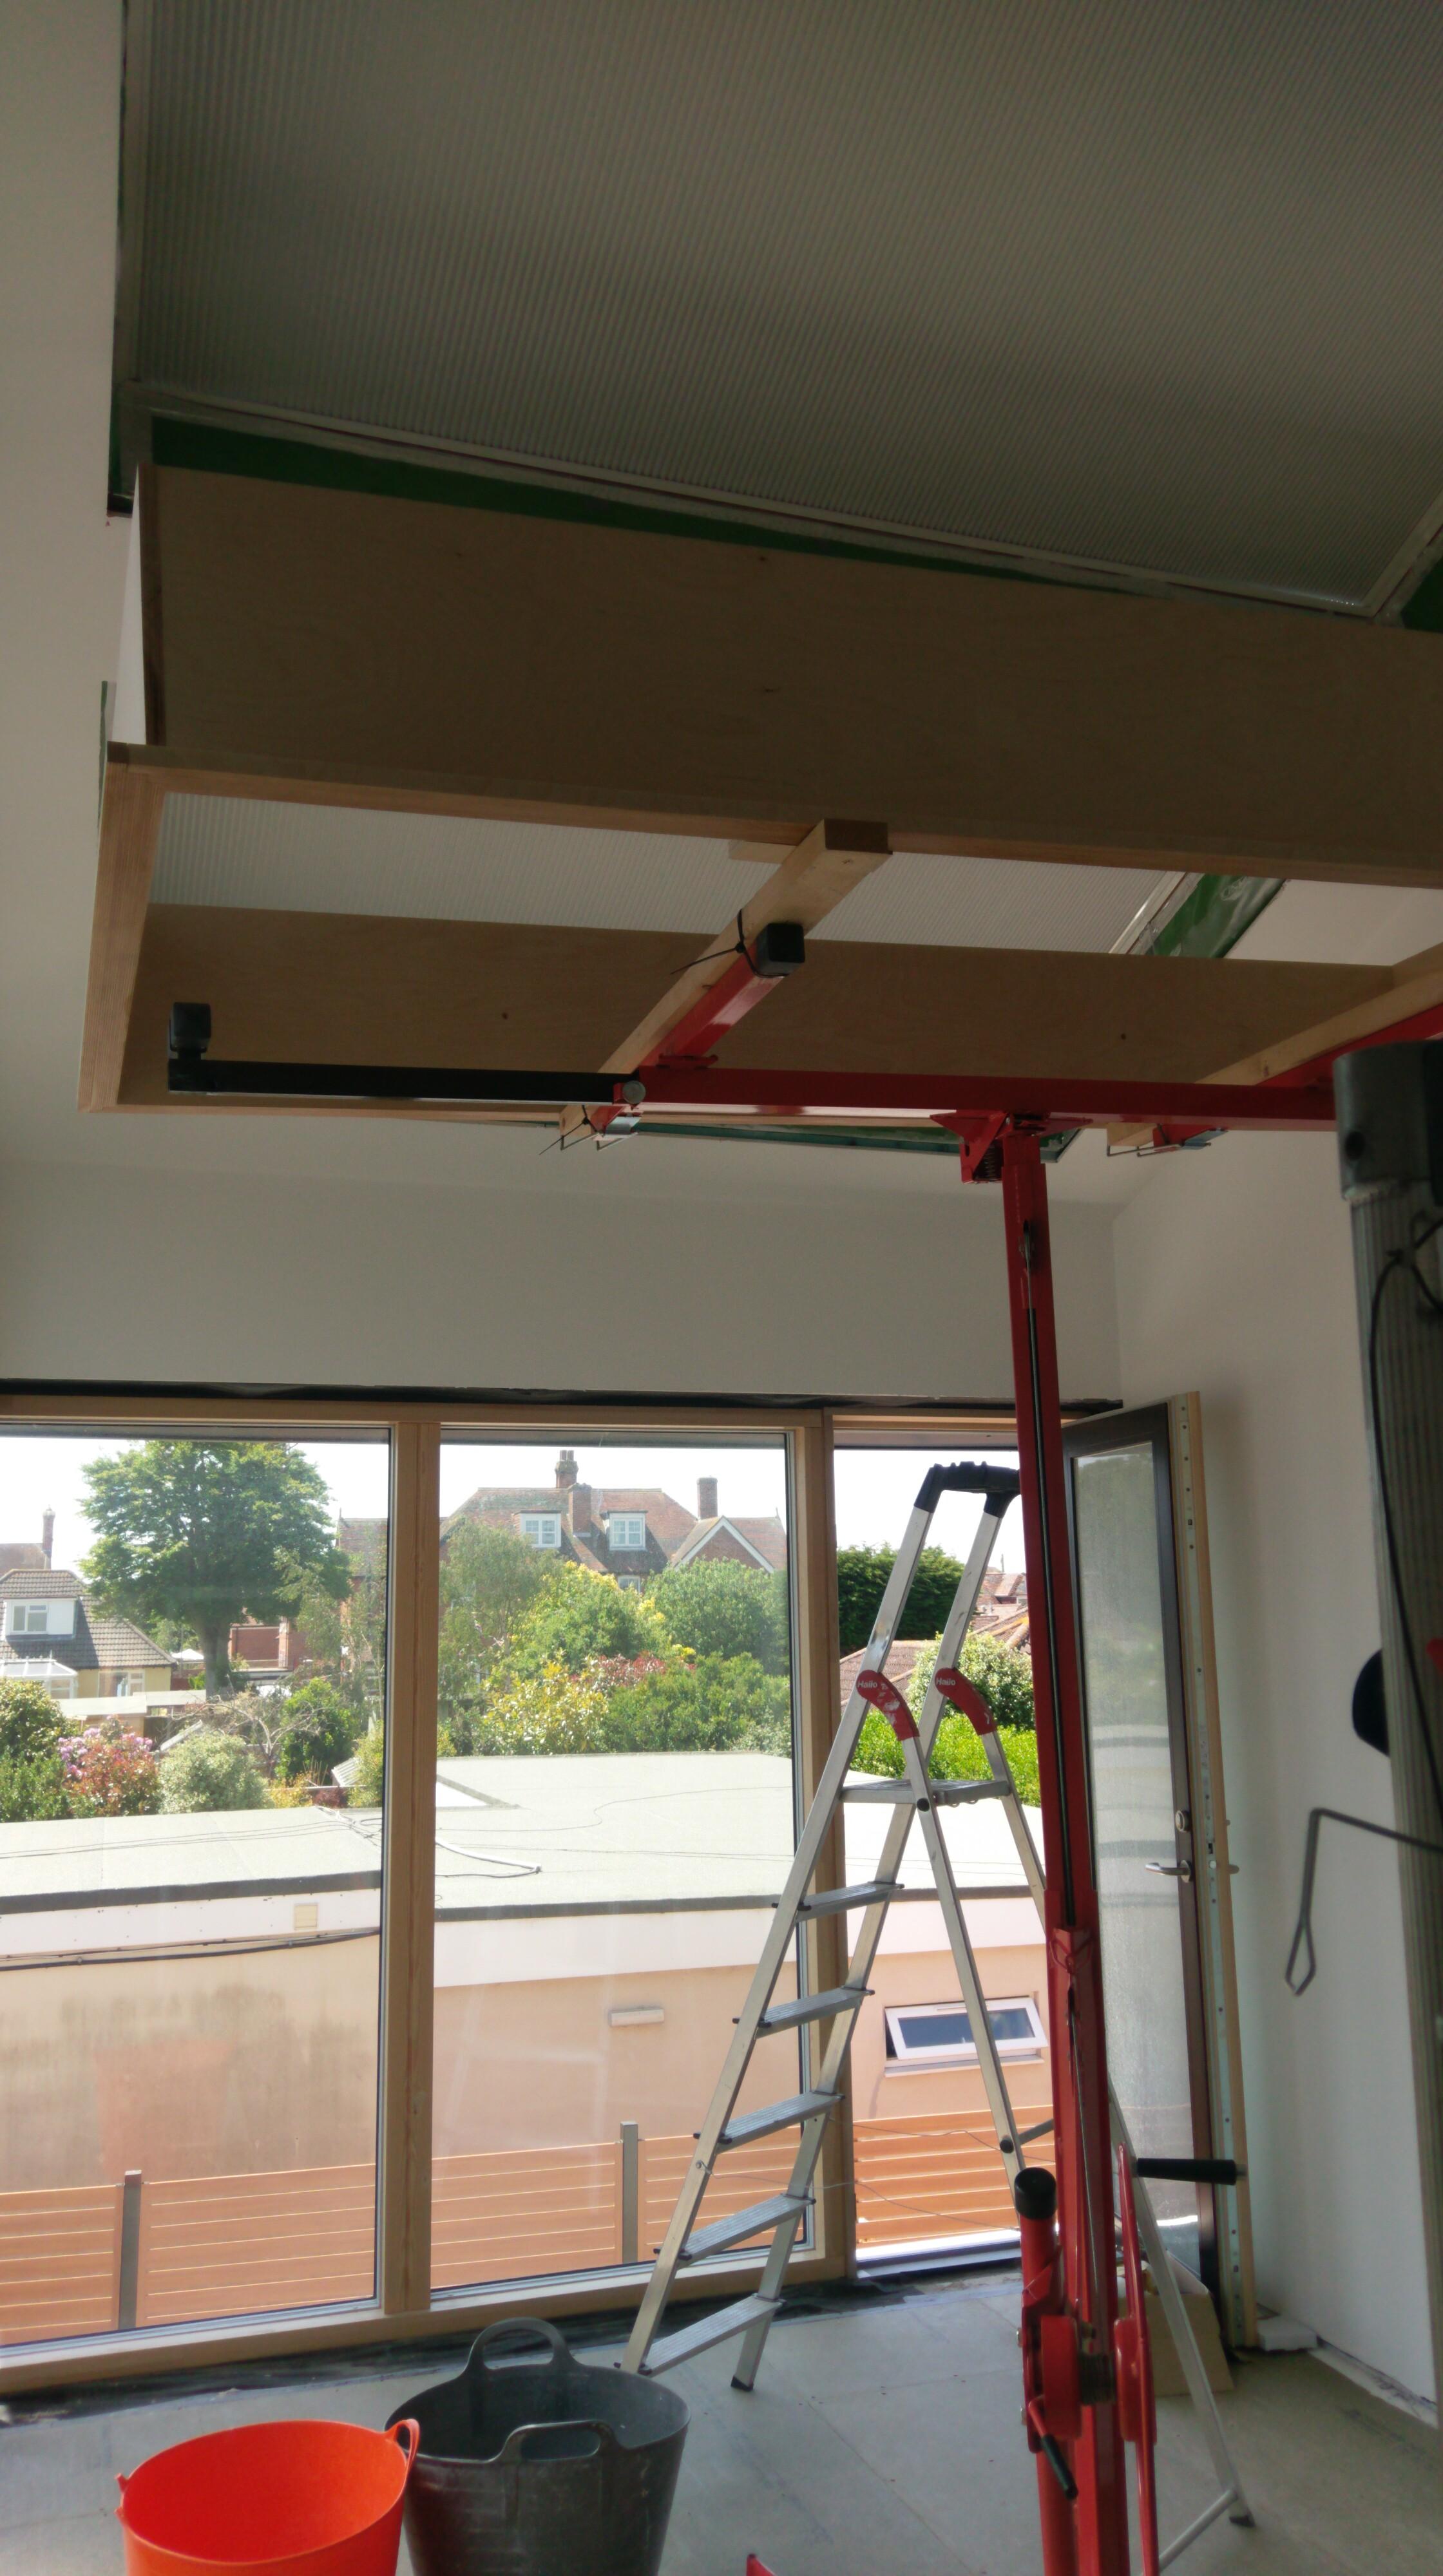
very helpful for getting the frame into place.
-
 5
5
6 Comments
Recommended Comments
Create an account or sign in to comment
You need to be a member in order to leave a comment
Create an account
Sign up for a new account in our community. It's easy!
Register a new accountSign in
Already have an account? Sign in here.
Sign In Now