Standing seam roof
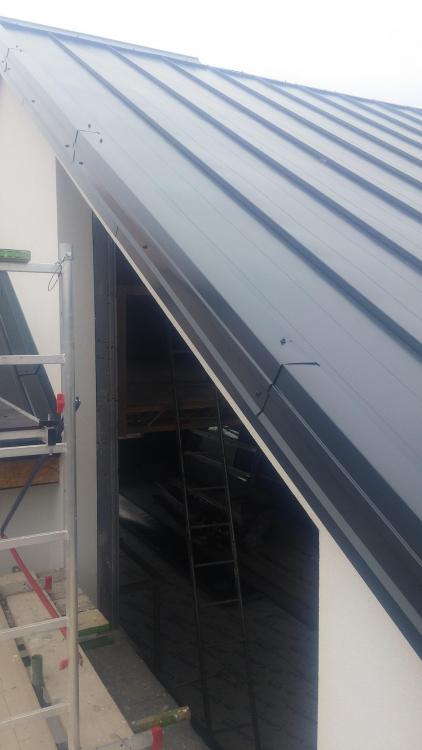
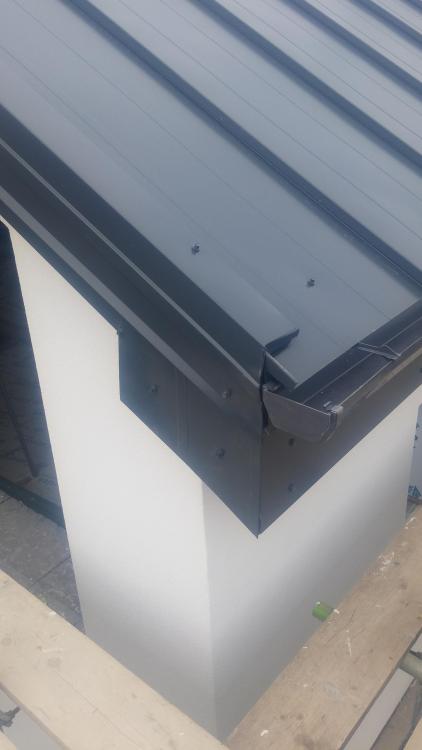
Since our last entry we've been concentrating of getting the standing seam roof covering on. It's one of those jobs where it would be nice to do someone else's roof before doing your own.
We're using a roofing system from Blacho Trapez, broadly similar to the Tata colourcoat. It requires no crimping and minimal special tooling. It's around half the price of Colorcoat. The HPS200 coating we chose comes with a forty year guarantee. Our first impressions is that it's a quality product that's really well thought out. I'll raise a topic thread on the roof system with detail information from our install.. Here's a link to the Blacho documentation for more info:
https://www.blachotrapez.eu/pl/26/instrukcje
It was another Buildhub find. Back in April we came across an entry where one of the members @Patrick
Who wanted to buy his roof abroad and was looking for someone to share transport cost. Enter Patrick, we exchanged emails and found we were going to need a roof on a very different time frame as Patrick is still in the site clearance phase and we were going to be ready to start in around six weeks. Lots of emails were exchanged and there was much head scratching over which components to order, In the end it turned out that three Buildhub members wanted roofs making sharing transport even more attractive.
Patrick had been in contact with Blacho for some while, he's multi lingual himself and has a Polish wife. Without their help it would have been just too complex to sort our way through the parts catalogues even with the help of google translate. Having managed to get a list of parts we thought would do the roof, it occurred to us it would be good to get the guttering from the same source. It proved to be a step too far, we decided against it as the chances of getting all the required components correct the first time round was just too daunting, All is not lost though as it now looks as though there may well be an opportunity to get some steel guttering from them in future to replace the UPVC we have.
Back to the roof and installing it. The three roofs were ordered and transport arranged to collect them from the factory on 03rd and deliver them to the UK on the 6th. The other Buildhub member ordering a roof is Greg, who is a builder with a yard with plant to unload and was happy to store the roofs ready for collection. The initial plan was to have all three roofs delivered to Greg's place and then we would collect, again Greg could help out as he has a lorry. The only slight problem was some of our roof sheets are 7.2M long and too long for the lorry. More negotiation with the transport company and they agreed to do a second drop off for a an additional 200Euros. All set for an 11:30 delivery on the 6th, we had arranged to have help to unload, no machinery just bodies. To our surprise and dismay we turned up on site at 7:40am on the 6th to find the delivery lorry already waiting...with just Pat and I to unload...by hand. Help was at hand in the form of the two guys who had come that day to do our roof insulation spray foam. They were brilliant, and between the four of us we had the roof sheets off their palettes and safely stacked on site. In addition to the sheeting there where also two smaller pallets for the other roof components, such as barge boards, eaves edges, screws etc. The lorry driver was getting a little fraught by this stage as it was all taking longer than it should have, not aided by lack of a shared language and the delivery documentation all being in Polish.
Having unloaded and sent the driver on his way we started to look at the delivery documentation, this time under less time pressure. It turned out we had most of Greg's and some of Patrick's accessories. No big deal as we had already arranged to follow the lorry to Greg's yard to say hello and to borrow some roof tools that he had kindly offered to lend us. Meanwhile the delivery of the materials for our render arrived, 72 x 20kg sacks plus 20 x 25 kg tubs all to be shifted onto site..Just got that cleared when our MVHR system arrived, hotly followed by a soffit board delivery. Once done we set about loading the roof bits, only to find the length and volume of bit's overwhelmed the Jazz and we had to borrow a van great for volume but not so good for the 2M lengths and required me driving with my seat fully forward. Two and a half hours of agonizing cramp we arrived at Greg's, said our hellos and exchanged parts so we had the bits we needed to complete our roof. Finally got home around 10pm, oh the joys of a self build.
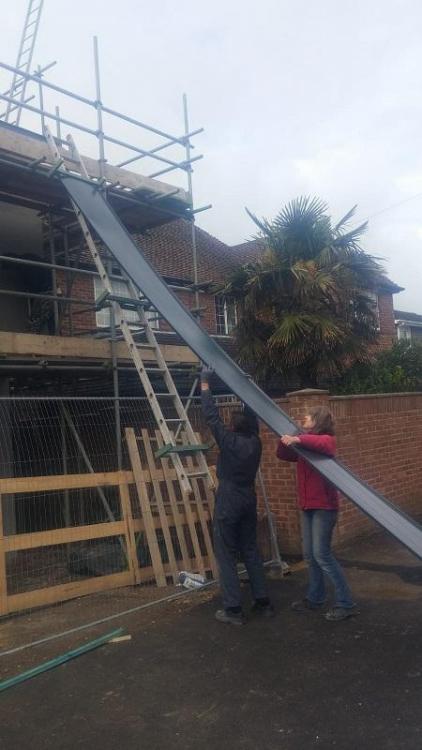
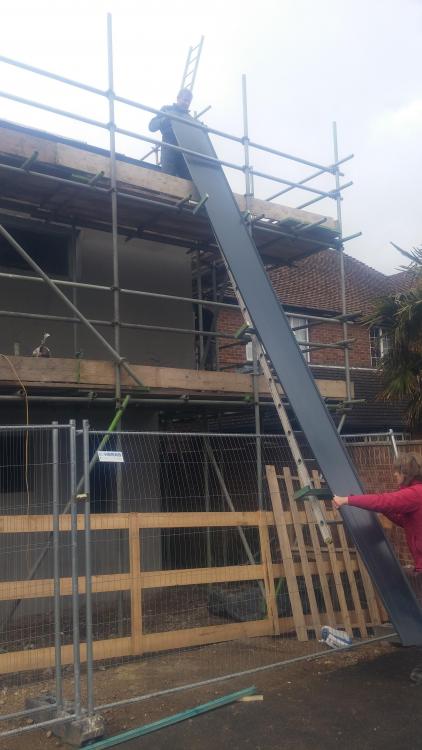
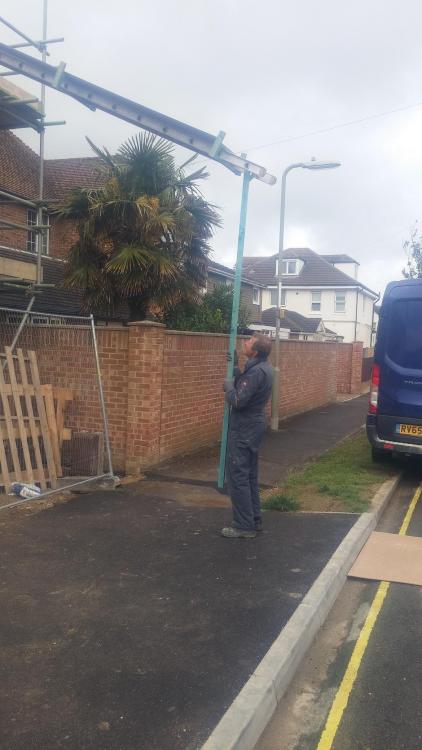
A day to draw breath and it was time to start putting the roof on. The sheets themselves are 540mm wide and supplied to the customers required lengths up to a maximum of 8M, Being just 0.5mm thick steel they are not heavy but they are fragile, picking up a long sheet badly will result it it creasing, so care is required handling the sheets. The sheets had been packed at the factory front to front with polystyrene packing spacers which had stuck to the surface of the sheet requiring it to be cleaned prior to installation. After a bit of head scratching we decided to use a ladder to support the sheets. With the ladder tied to the scaffold we loaded each sheet, one person pulling the sheet from the top and another raising the bottom of the ladder we managed to slide the first sheet onto the front of the roof. All a bit “Heath Robinson” but it worked. Each sheet was then fixed in place and the process repeated. Soon we had a good part of the front roof in place. Cleaning loading and fitting was taking about an 90 minutes a sheet.
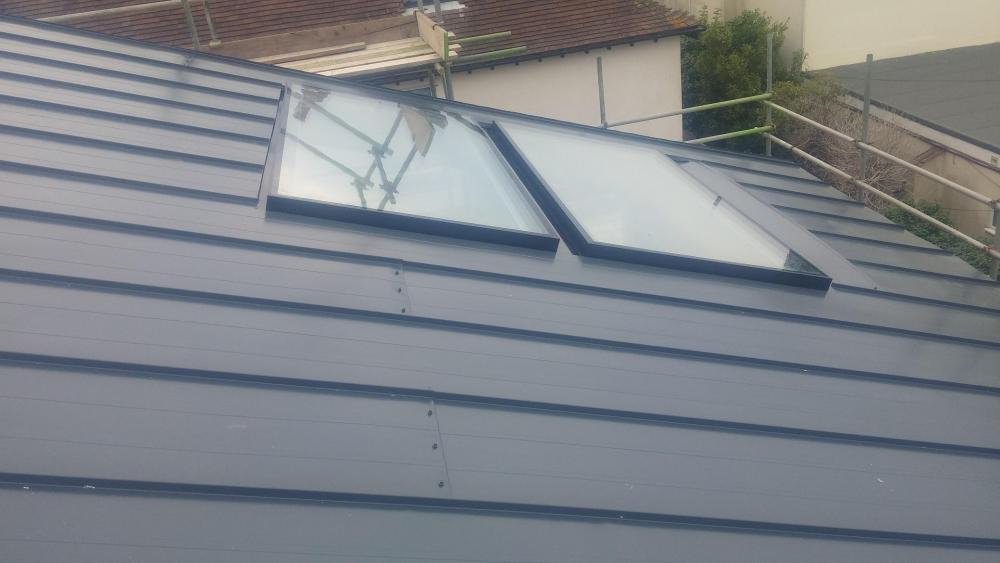
Doing uninterrupted areas of roof with decent access proved straight forward and the front part of the main roof was done in a couple of days. Then we started on the rear of the house. This part of roof has two large roof lights and requires sheets to be joined as the roof length 10M exceeds the 8M max sheet length. The roof has two sections one slightly shorter at 7.2M, the largest of the sheets we had ordered. It quickly became apparent that there was no way we could get a 7.2M sheet onto the roof from the rear of the house. At this length the sheet is very fragile and requires multiple supports to stop it from folding. We quickly abandoned any hope of using them. Fortunately we had ordered some surplus material, so not the end of the world. We decided to start on the side of the roof with the roof lights to allow us to minimise sheets cuts.
Partick had kindly volunteered to come over to get some first hand experience of the Blacho system. We started framing the roof lights. All did not go to plan and found that we had a 10-15mm alignment problem, nothing to do with Patrick just a bad datum line. No easy way to correct this so we removed the sheets and started again from a more accurate datum line. Second time round was a better result all round and we were able to continue across the main roof section. A lot of work but worth it..now we just need a good downpour to validate the flashing.
By good fortune a thunderstorm provided a test for the flashing, all was nice and dry round the roof lights. Sigh of relief all round, the roof is now on.
-
 11
11

11 Comments
Recommended Comments
Create an account or sign in to comment
You need to be a member in order to leave a comment
Create an account
Sign up for a new account in our community. It's easy!
Register a new accountSign in
Already have an account? Sign in here.
Sign In Now