Walls, walls, walls!
Right, Christmas came and went - I had spent enough time with my family and friends, recovering from the previous 3 months. It was time to resume on site! ☺️
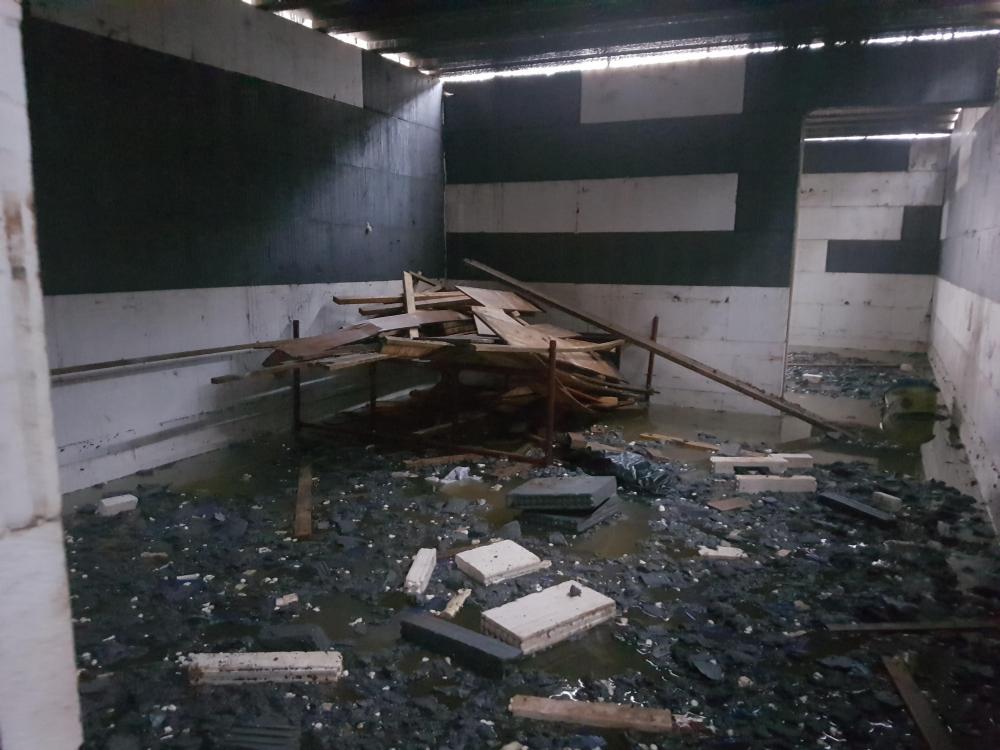
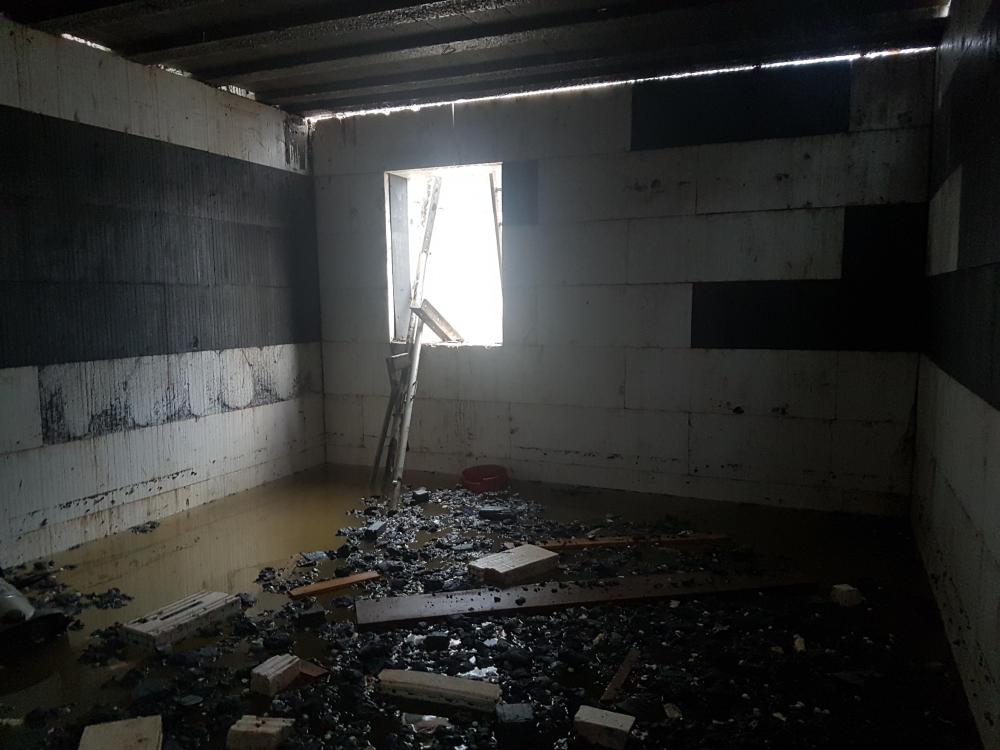
So, first up - inspect what the basement looked like, now that it was largely enclosed... Big mistake, because it was horrendous:
You can see that the water level is approx 2/3 of the way up the first course of blocks, so about 250mm deep. You can also see the bit of EPS that were chipped away to make the 95mm bearing surface for the floor beams, just floating around. Still, nothing that couldn't be remedied, and at least the basement was holding water - that suggested it might be able to keep the water out, too!
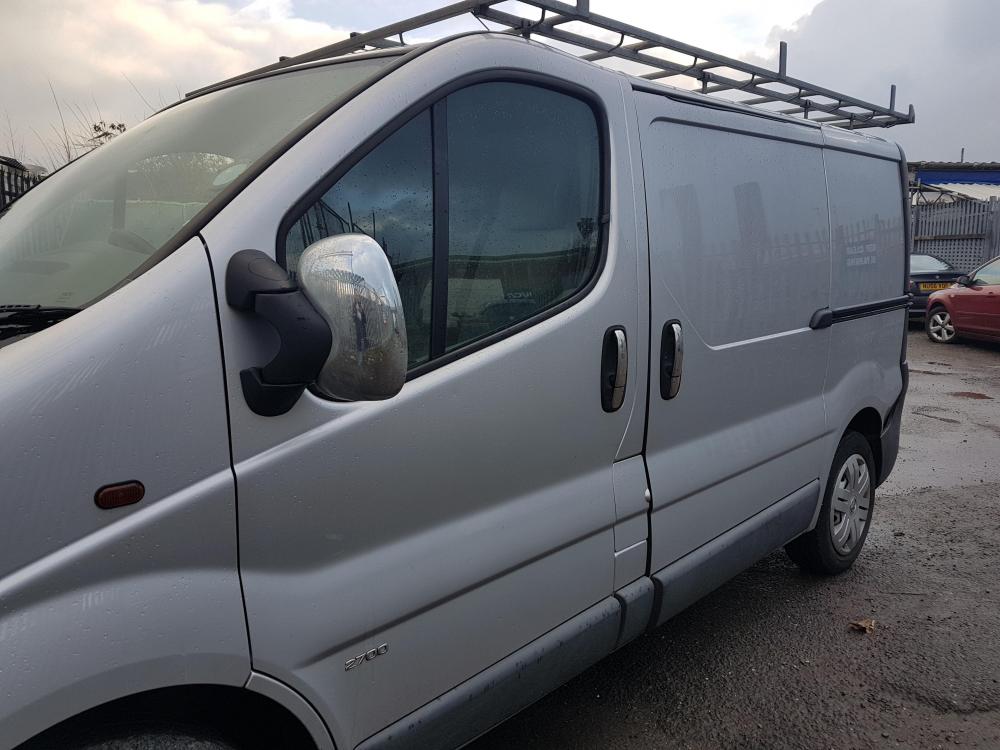
Now, we were starting to do things that required real tools to be kept on site. When the groundworkers were on site, we had hired a proper site cabin - hot and cold water, cooking facilities, drying room, toilet, etc etc etc. However, now that we were above ground, it was going to be just me and the occasional mate helping out. Kim had off-hired the site cabin, and swapped it for a porta-loo. Can't really keep much in the way of tools in a porta-loo if you don't want them nicked... So we decided to buy a van!
It had a few dents, but it was nice enough, and it would hold the tools, generator, etc, safely overnight. Cha-ching!
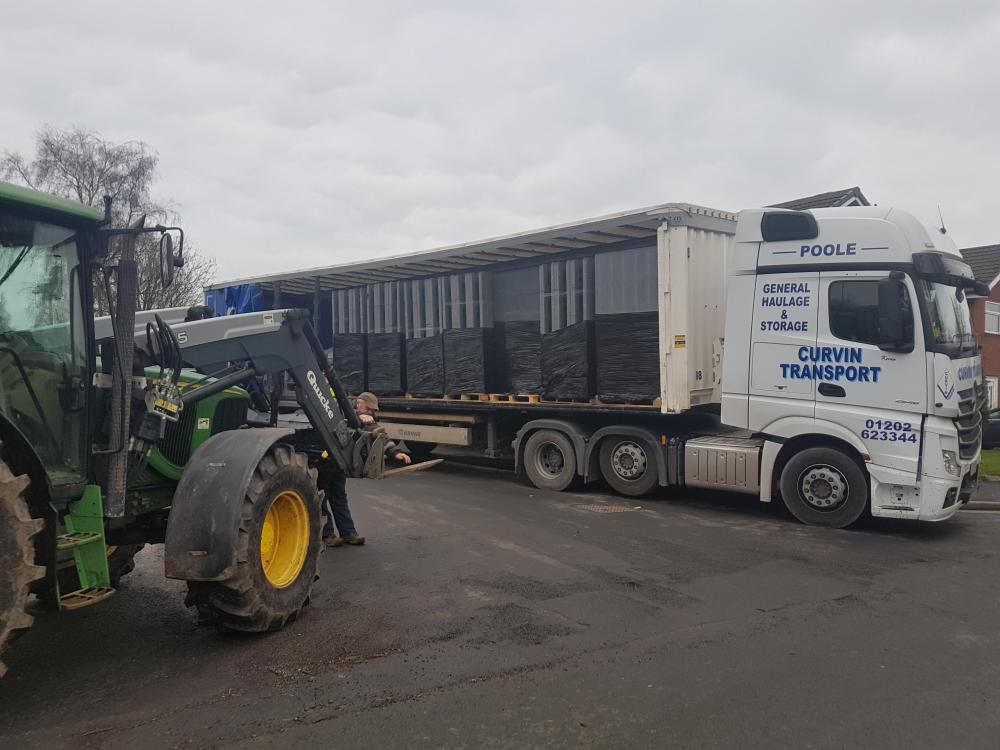
Now, another reason we hadn't made much progress over the holidays was because we were lacking some fairly necessary items to carry on building - the wall blocks. The ground floor ICF blocks were due for delivery the week commencing 11th December 2017. They actually arrived on site on the 12th January 2018, so just over 4 weeks late. This was something of a running theme with Logix, TBH... if you recall, the internal wall blocks for the basement were a few weeks late too (and you'll find out just how late the rest of the blocks were delivered later in the blog!) Still, they turned up eventually:
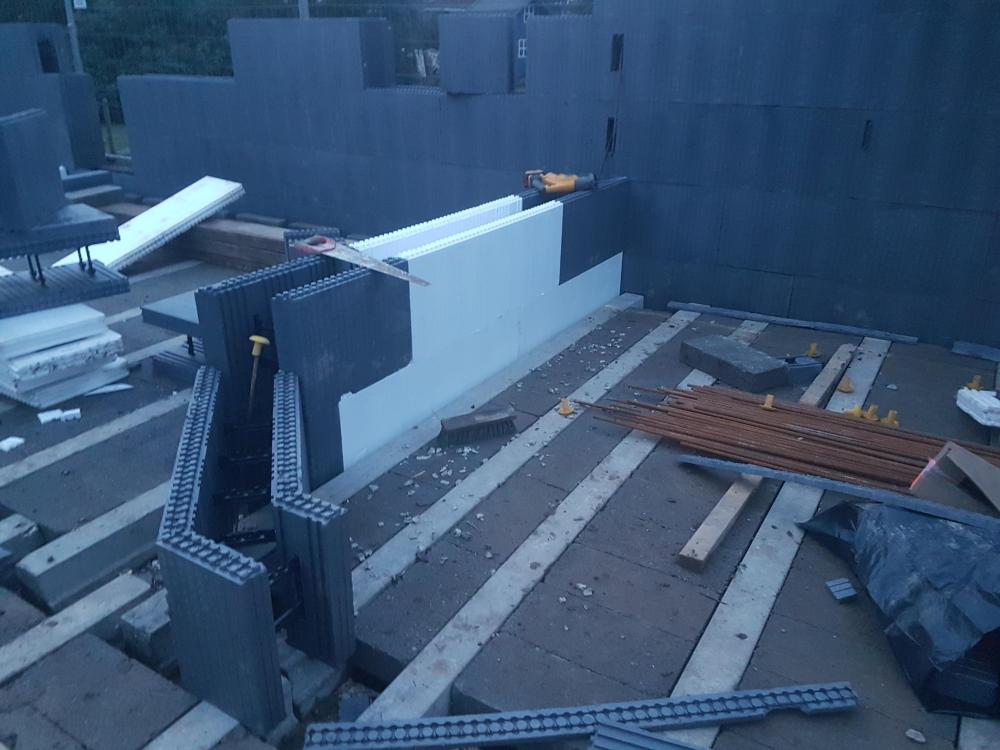
Still, ICF blocks now on site, we were able to progress... A day later, and we were looking at a decent amount of the external walls done (3 courses, most of the way around), and we were starting on the exciting 45-degree wall between the hallway and the garage:
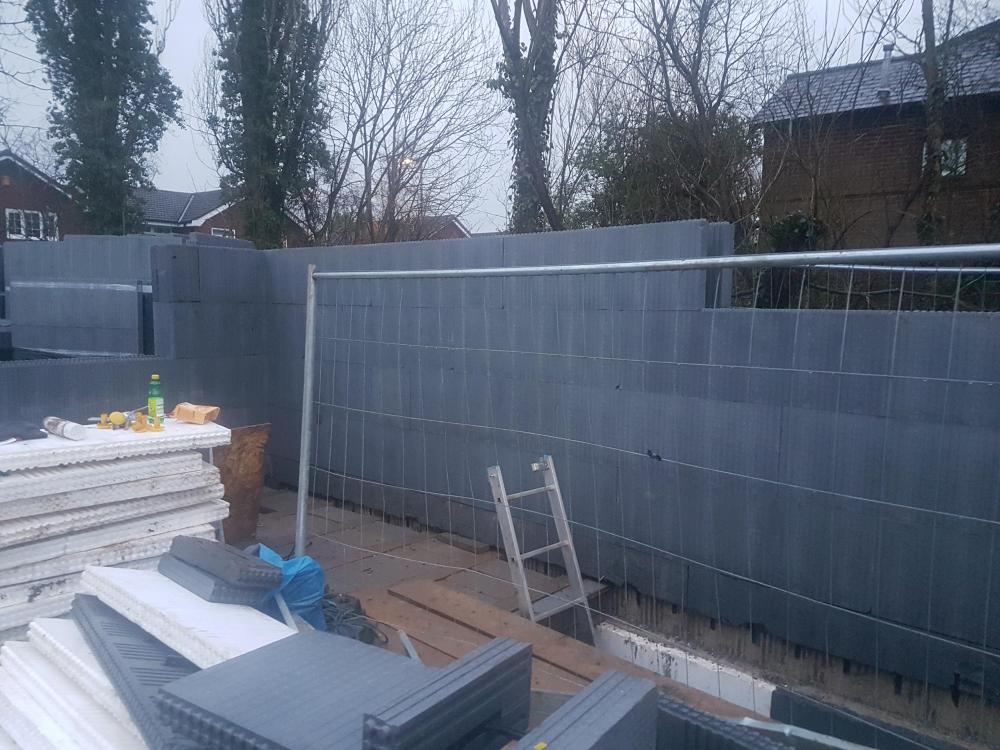
3 courses turned into 4 courses, and all of the window openings started to be formed:
(The ladder was our only means of getting into the basement now, but TBH we didn't really care about down there - we just wanted to get the shell completed and progress to watertight as quickly as possible... Regrettably, that was going to be more problematic than anyone could have envisaged at this time!)
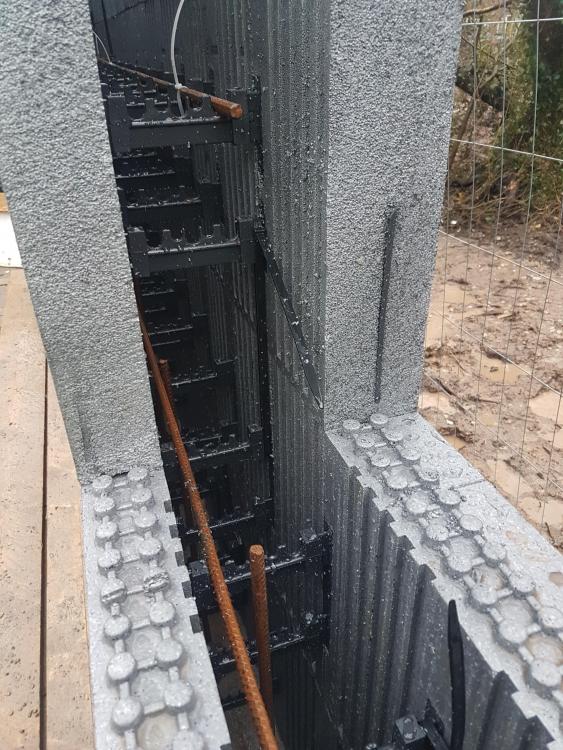
Anyway, the walls were flying up, even with all the steel reinforcement having to be put in. At least above-ground we only had a single face of steel to worry about (and our builder-turned-consultant pointed out that we didn't really need any steel at all except in lintels, because:
- the concrete mix we were using was so strong, and
- because you don't put steel into brick / block walls, which are perfectly acceptable for building houses with
But we did it anyway, just in case we ever decided to move the entire house to Jupiter (where 300mph winds area apparently possible, and where, therefore, our level of reinforcement would come in handy). ?
(In case you are wondering, the vertical steel isn't in as of this picture - they were all placed once the ICF walls were finished being assembled!)
4 more days on site (although 2 weeks had passed - remembering that I was only part-time at site, and I only had a mate helping me out on weekends), and we were putting up the bracing system again. Here's our exciting 45-degree wall inside the garage:
Isn't it lovely? You can also see the fantabulous set of steps I made from a couple of the many many 10" core ICF blocks we had left over, thanks to a considerable over-estimation by Logix. (I needed the steps anyway, because I am a short-arse and couldn't reach to put steel in above 3 courses!)
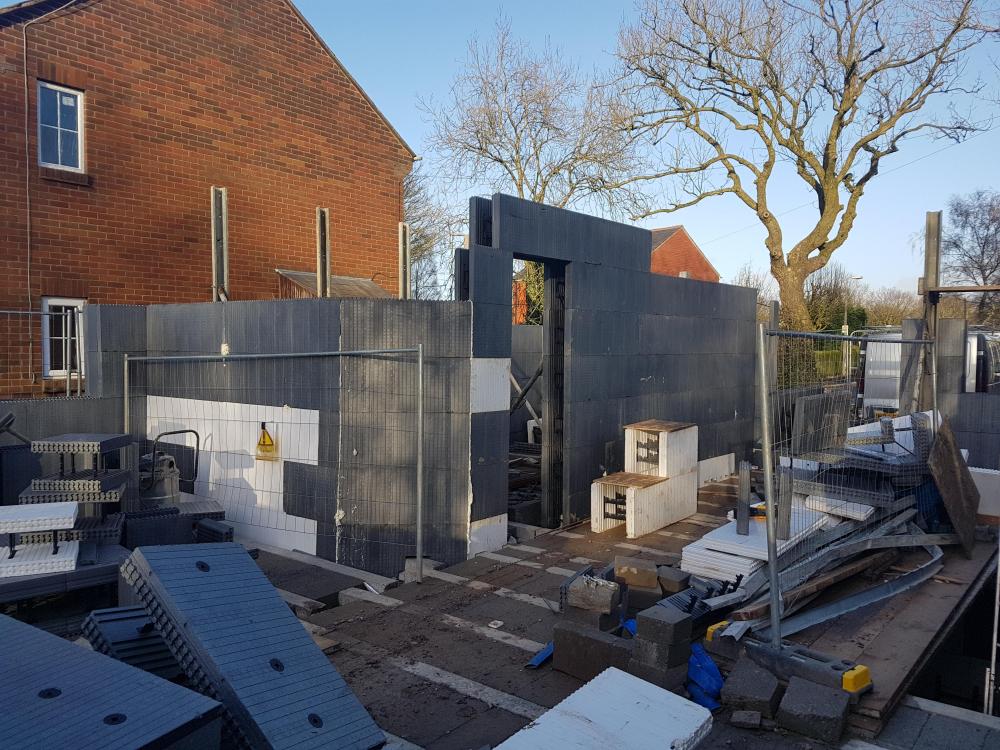
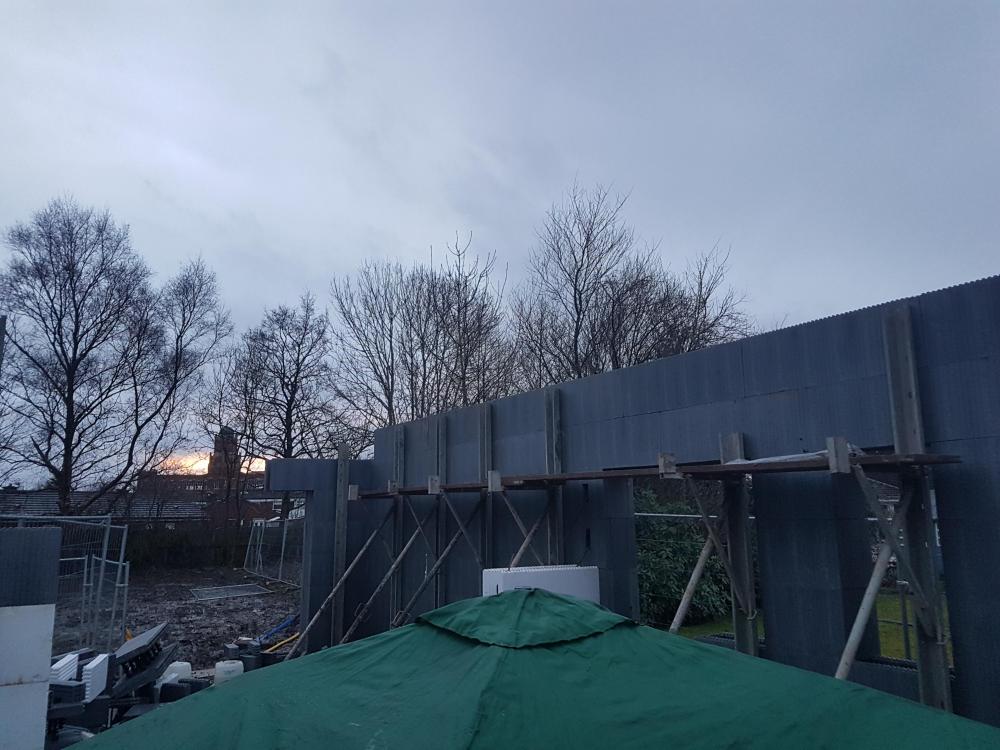
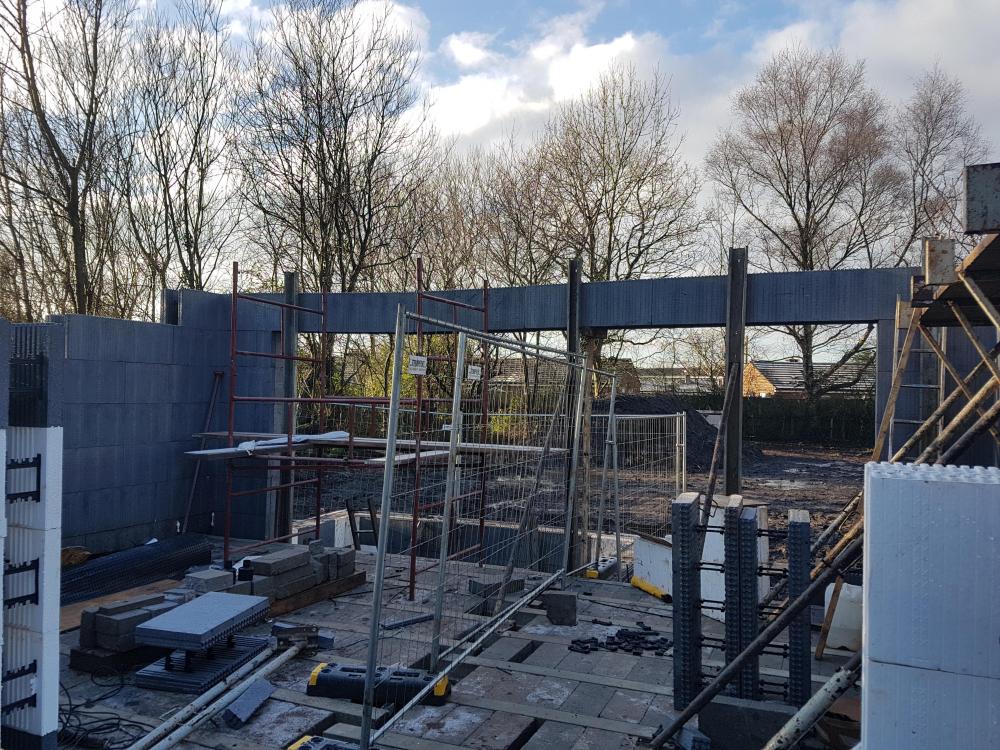
Some more pictures of the ICF going up:
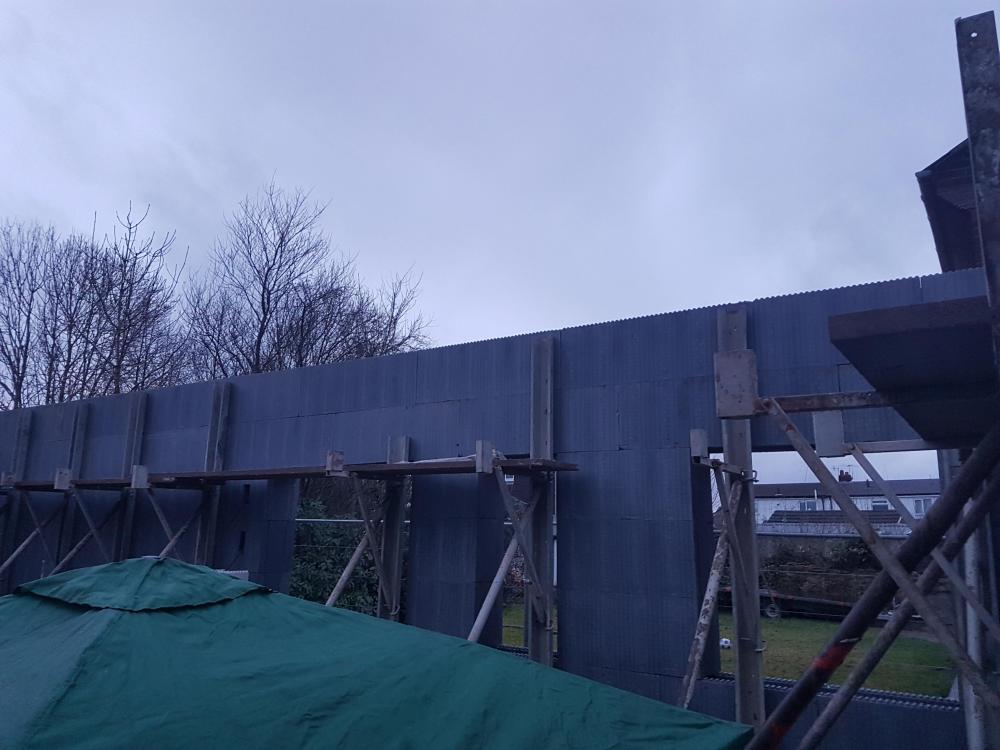
Another week passed... And here, at the end of January 2018 is where it got... hmm, let's say interesting... it was time to put in the lintel blocks for the 6m bifolds in the kitchen...
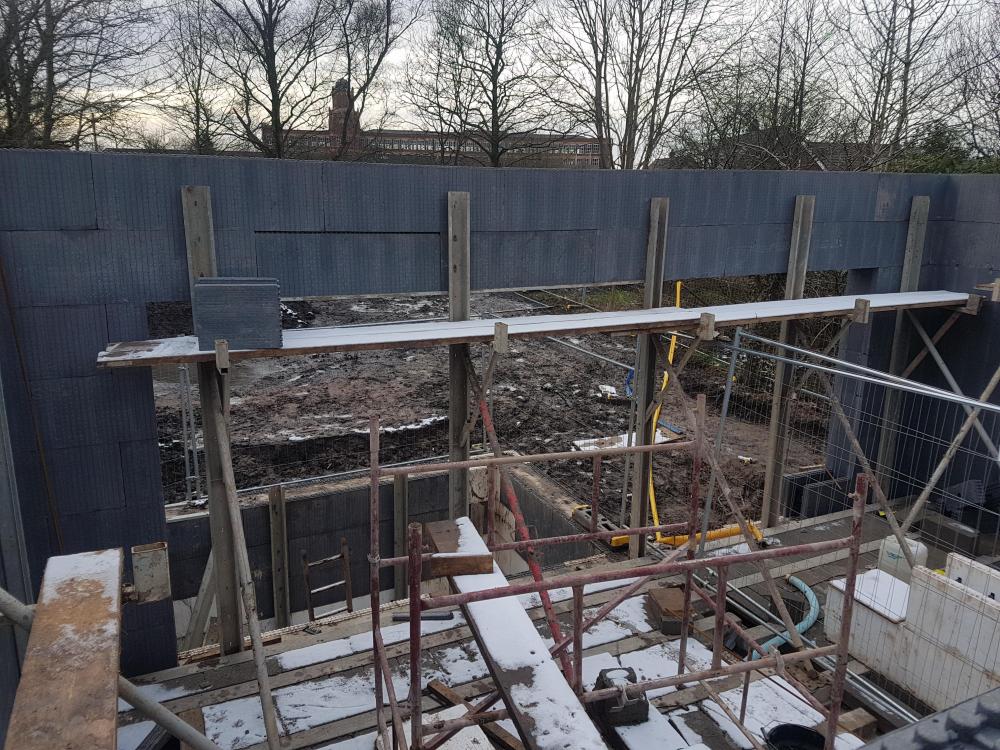
It took me 3 days (so 2 weeks in calendar time) to get those blocks up and to sit square, and there was no way on earth they were going to stay like that with all the steel in them... time for some supports to be introduced to the opening!
Size 1 acrows every 1m across the opening. They're bearing off the concrete wall below, so no problem taking the weight. We put a single 250x38mm timber across the entire 6m opening, with 11mm OSB cut to 330mm rips on top of that (to support the ICF blocks fully). On the inside, the bracing system stopped the OSB from moving. On the outside, we screwed timbers down from the webs to trap it. Then we jacked up the acrows approx 10mm at a time until everything was perfectly level / square / plumb.
For some curious reason, I don't have photos of the steelwork in this wall, but it was prodigious - 2x25mm steel rebar in the bottom of the bottom course of blocks, 2x 12mm steel rebar in the top of the bottom course of blocks, and 2x20mm steel rebar in the top of the top course of blocks. 8mm rebar links every 200mm across the entire opening, plus onto the columns. I lifted and placed nearly all that rebar on my own (because my mate Paul had some family event on, he missed one Saturday, and I figured I could handle it)... big mistake! 7.5m lengths of 25mm rebar are very very unwieldy! I trashed one ICF corner block just resting the first 25mm bar on it while I got up on the scaffolding! Still, 5 hours of sweating and swearing later, plus some help from a more glamorous assistant in the form of Kim, and it was done...just in time for Paul to arrive and see how I'd gotten on! ?
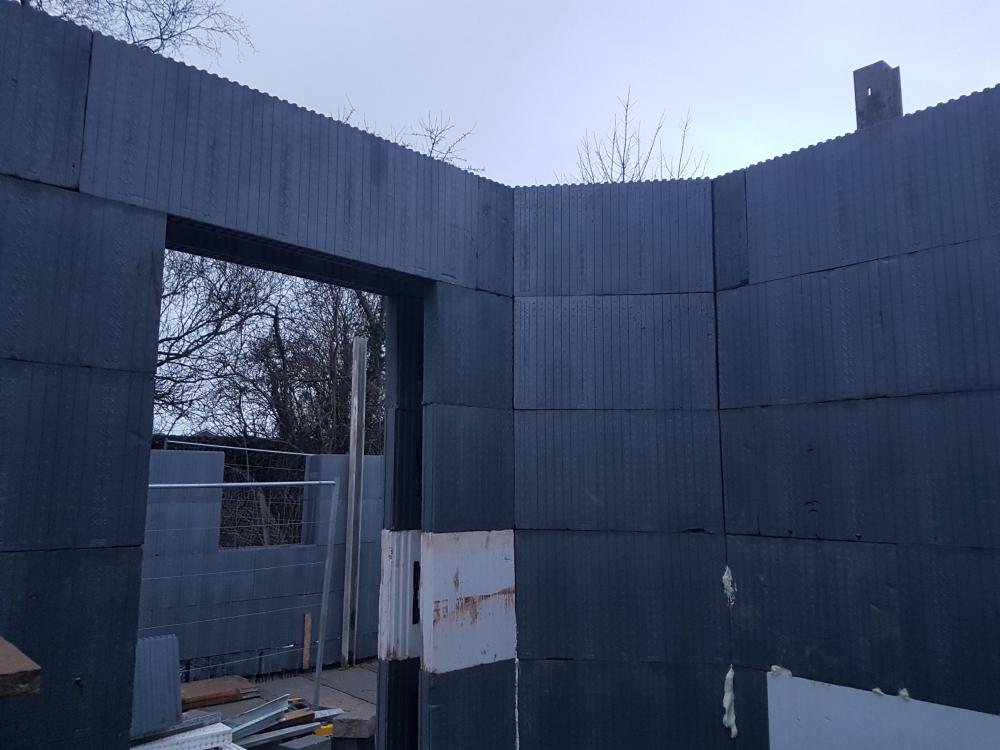
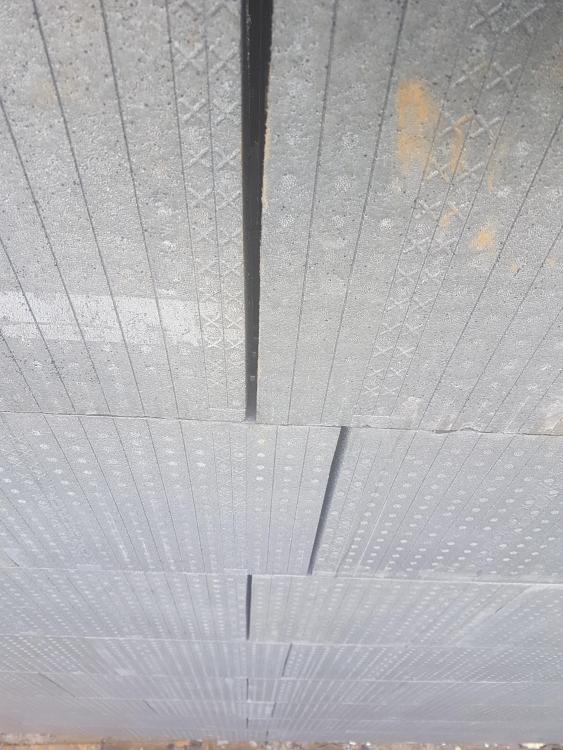
Now, for the most part, the ICF walls had gone up fine. Even the 45-degree wall was a doddle. But those of you who were following the basement wall pour will probably remember that we had a couple of places where the basement walls went a little wobbly. This caused us a bit of a headache, because blocks wouldn't sit down properly in those areas. As it turned out, there was also an issue with the blocks not being level in those places either. This led to ever-increasing gaps between joints as we went up above those points, as you can see here:
Solving this was quite a problem. We ended up using about half a can of PU foam in the 3 places this had happened, followed by some serious strapping across both faces of the wall to keep it together. I spent several weeks trying to get everything braced (making bucks for the window and door openings), and plumb, and before I knew what had happened, it was the end of March 2018, and time for another concrete pour...
Stay tuned for the next exciting instalment!
-
 4
4


.thumb.jpg.7f7cbd1ff86d98a90dd437dfd328f2fc.jpg)
10 Comments
Recommended Comments
Create an account or sign in to comment
You need to be a member in order to leave a comment
Create an account
Sign up for a new account in our community. It's easy!
Register a new accountSign in
Already have an account? Sign in here.
Sign In Now