

Entry posted by Benpointer in General
3923 views
Very busy again this week - we were probably running at the maximum people we can have on site without contractors getting in each other’s way. On Thursday we had the carpenters, the insulation team, a roofer and the window installation team on site, and it’s not a very big site.
Windows and doors
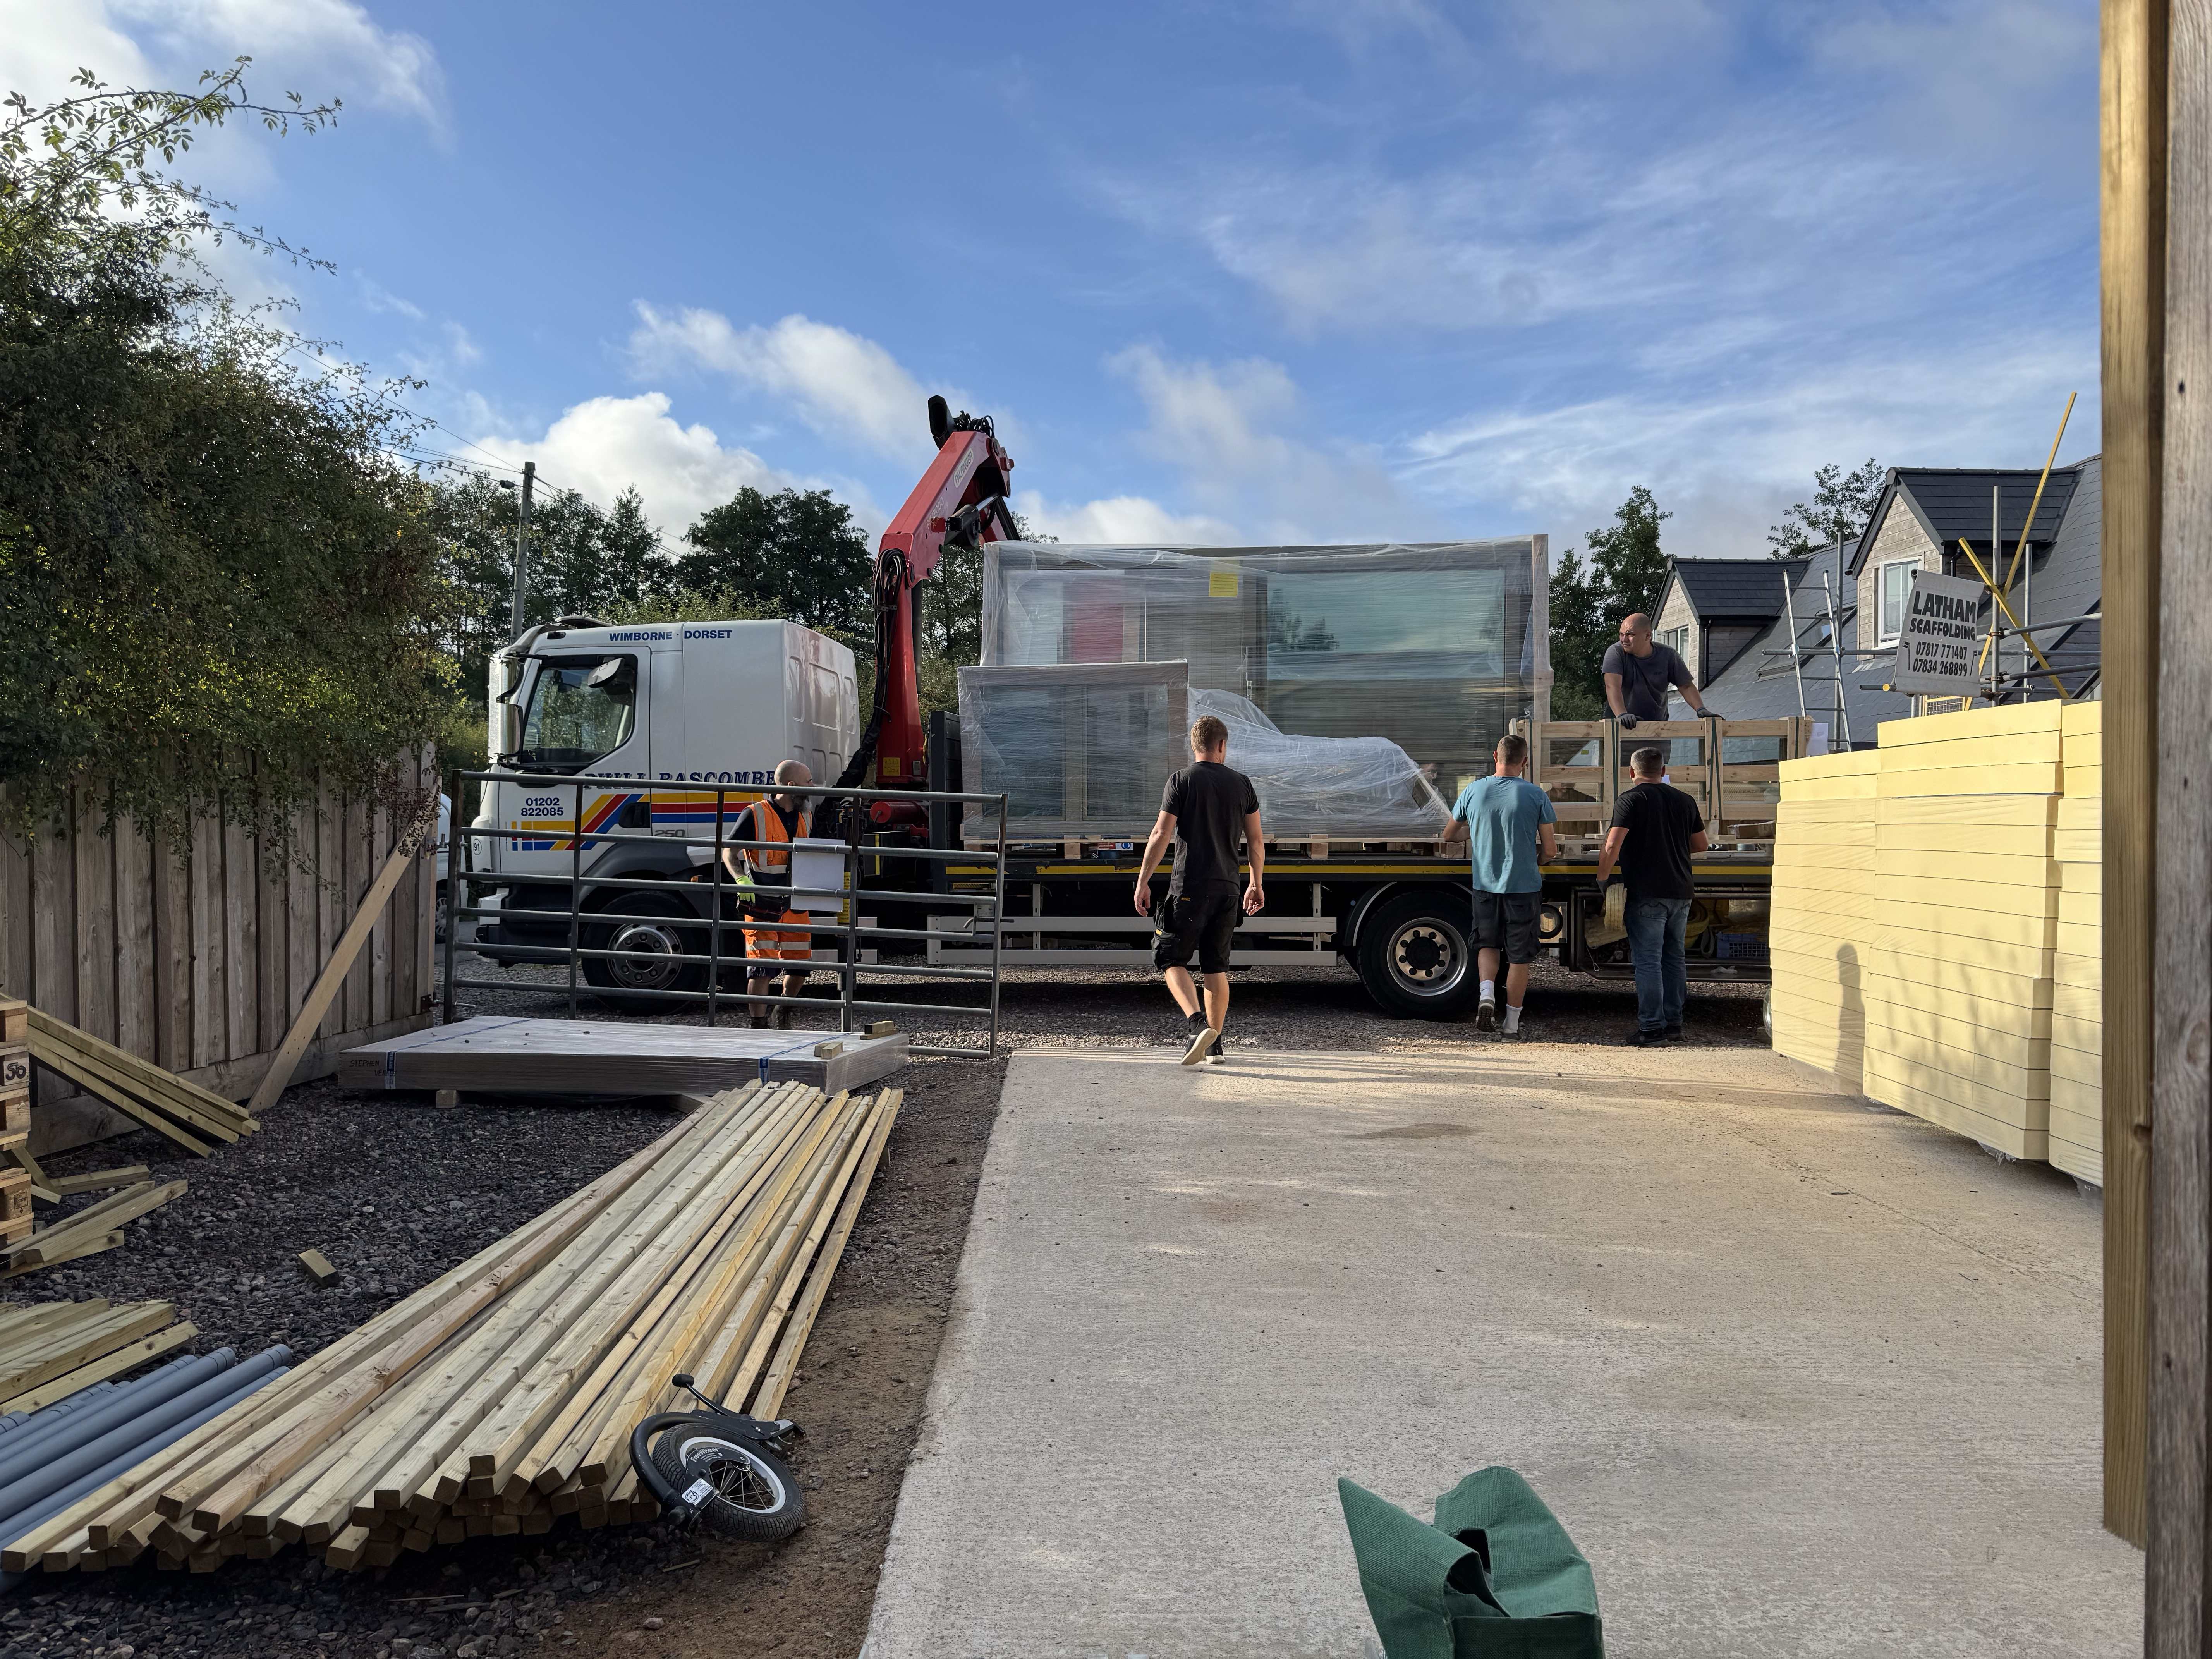
The main highlight of the week was the arrival of the windows and external doors on Thursday together with a team of four (from Ukraine, though the windows were made in Estonia). The installation team led by Alex and Val were on-site by 7:30am and the windows arrived at 8:00.
All the windows and doors went in smoothly over the next day and a half. Barring a factory error, we knew they were going to fit as Alex and Val had done a pre-installation site visit three weeks ago. There were no factory errors and everything fitted perfectly. There was no fuss about our difficulties with getting all the requested scaffold changes done (we didn’t) - the team worked around the shortcomings.

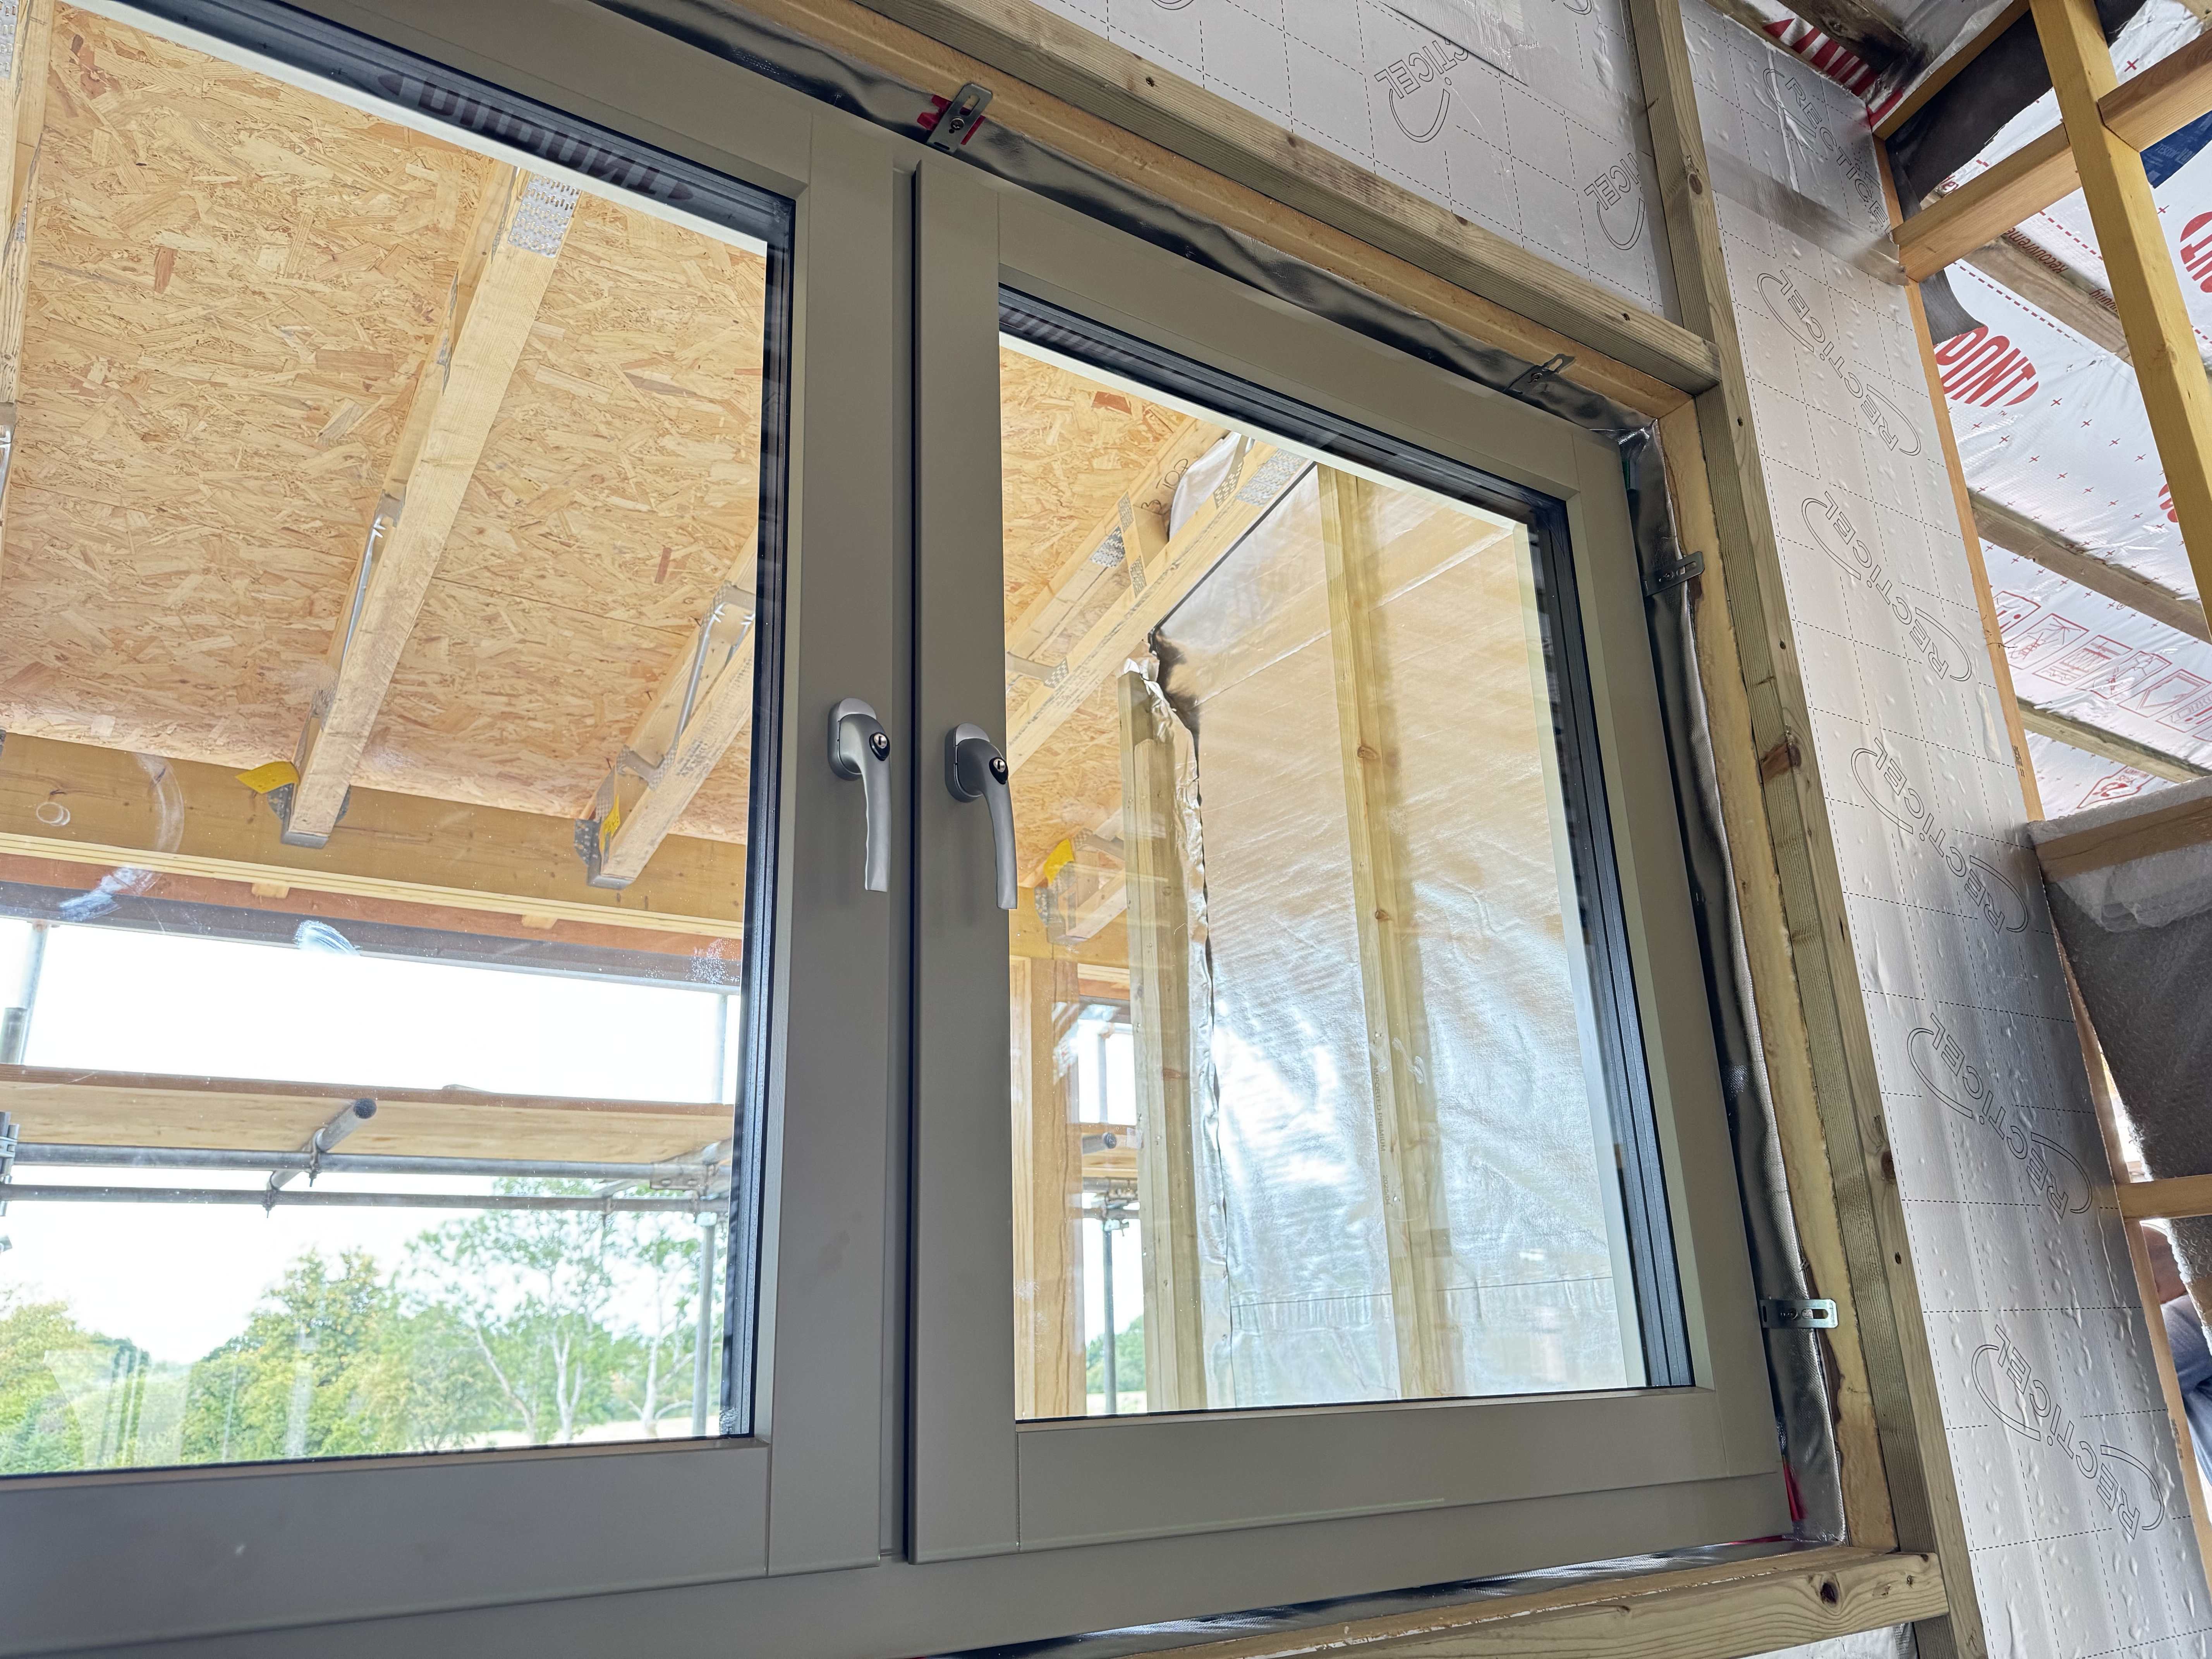
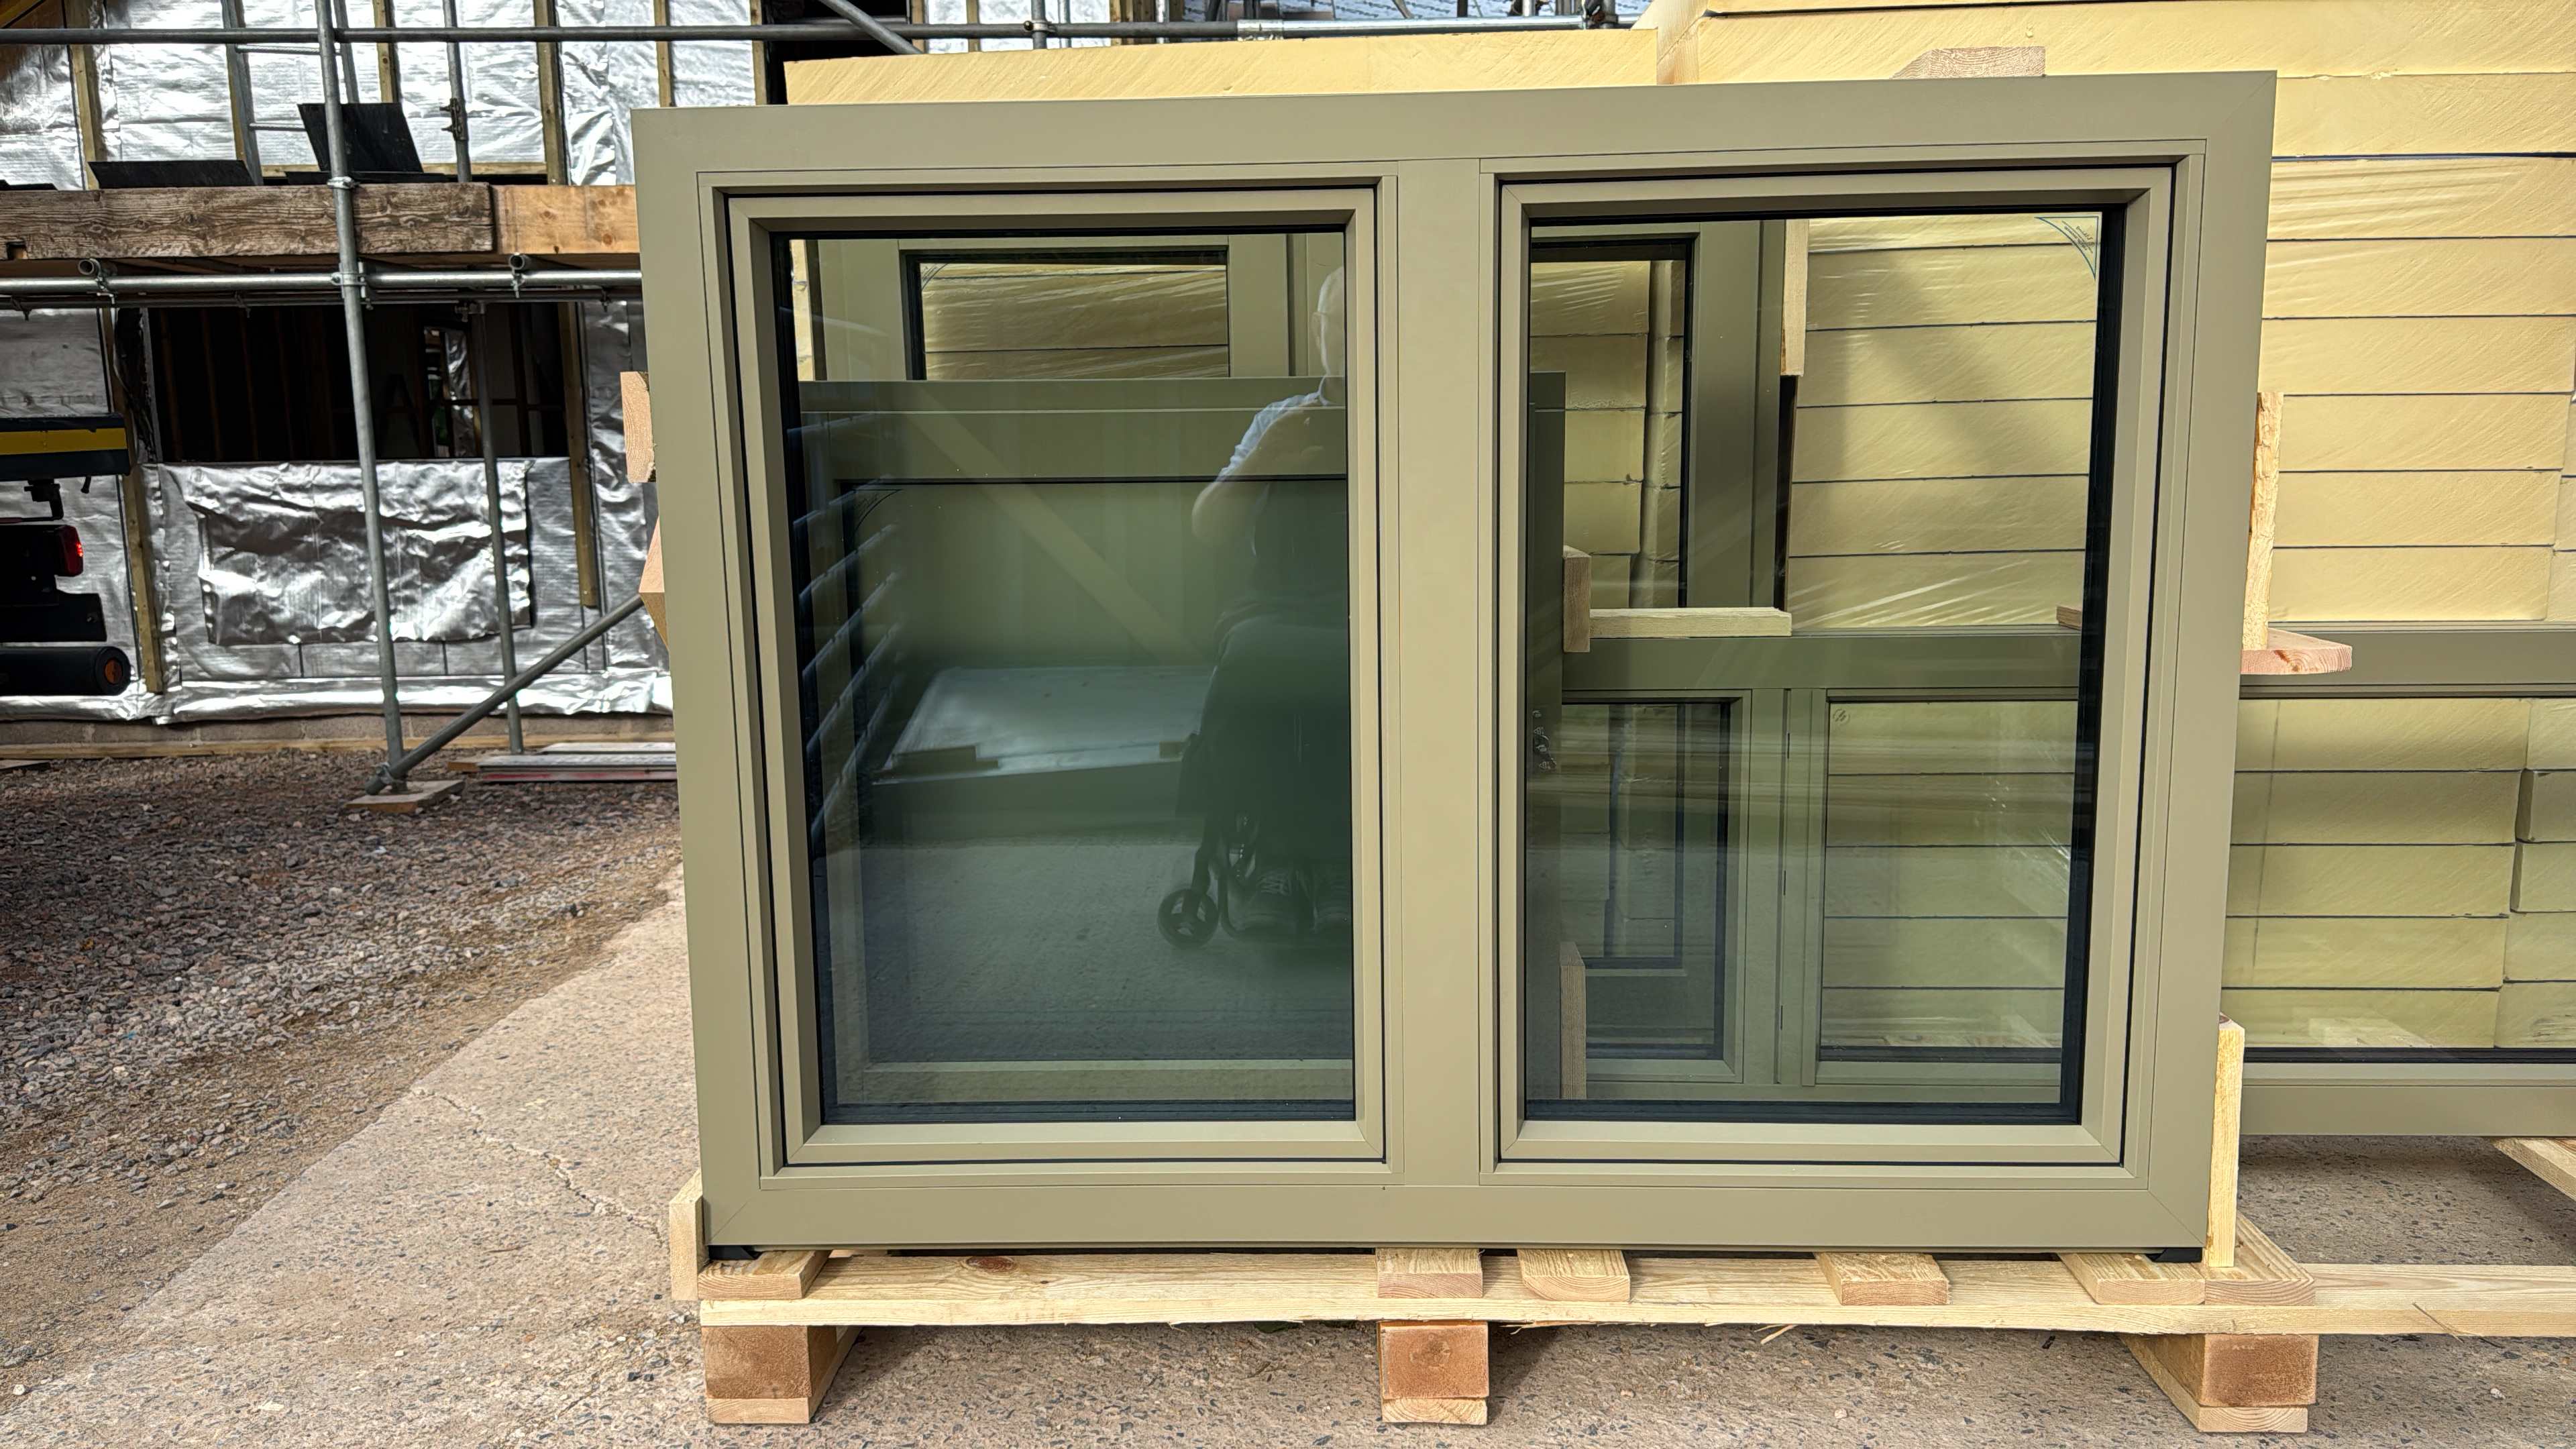
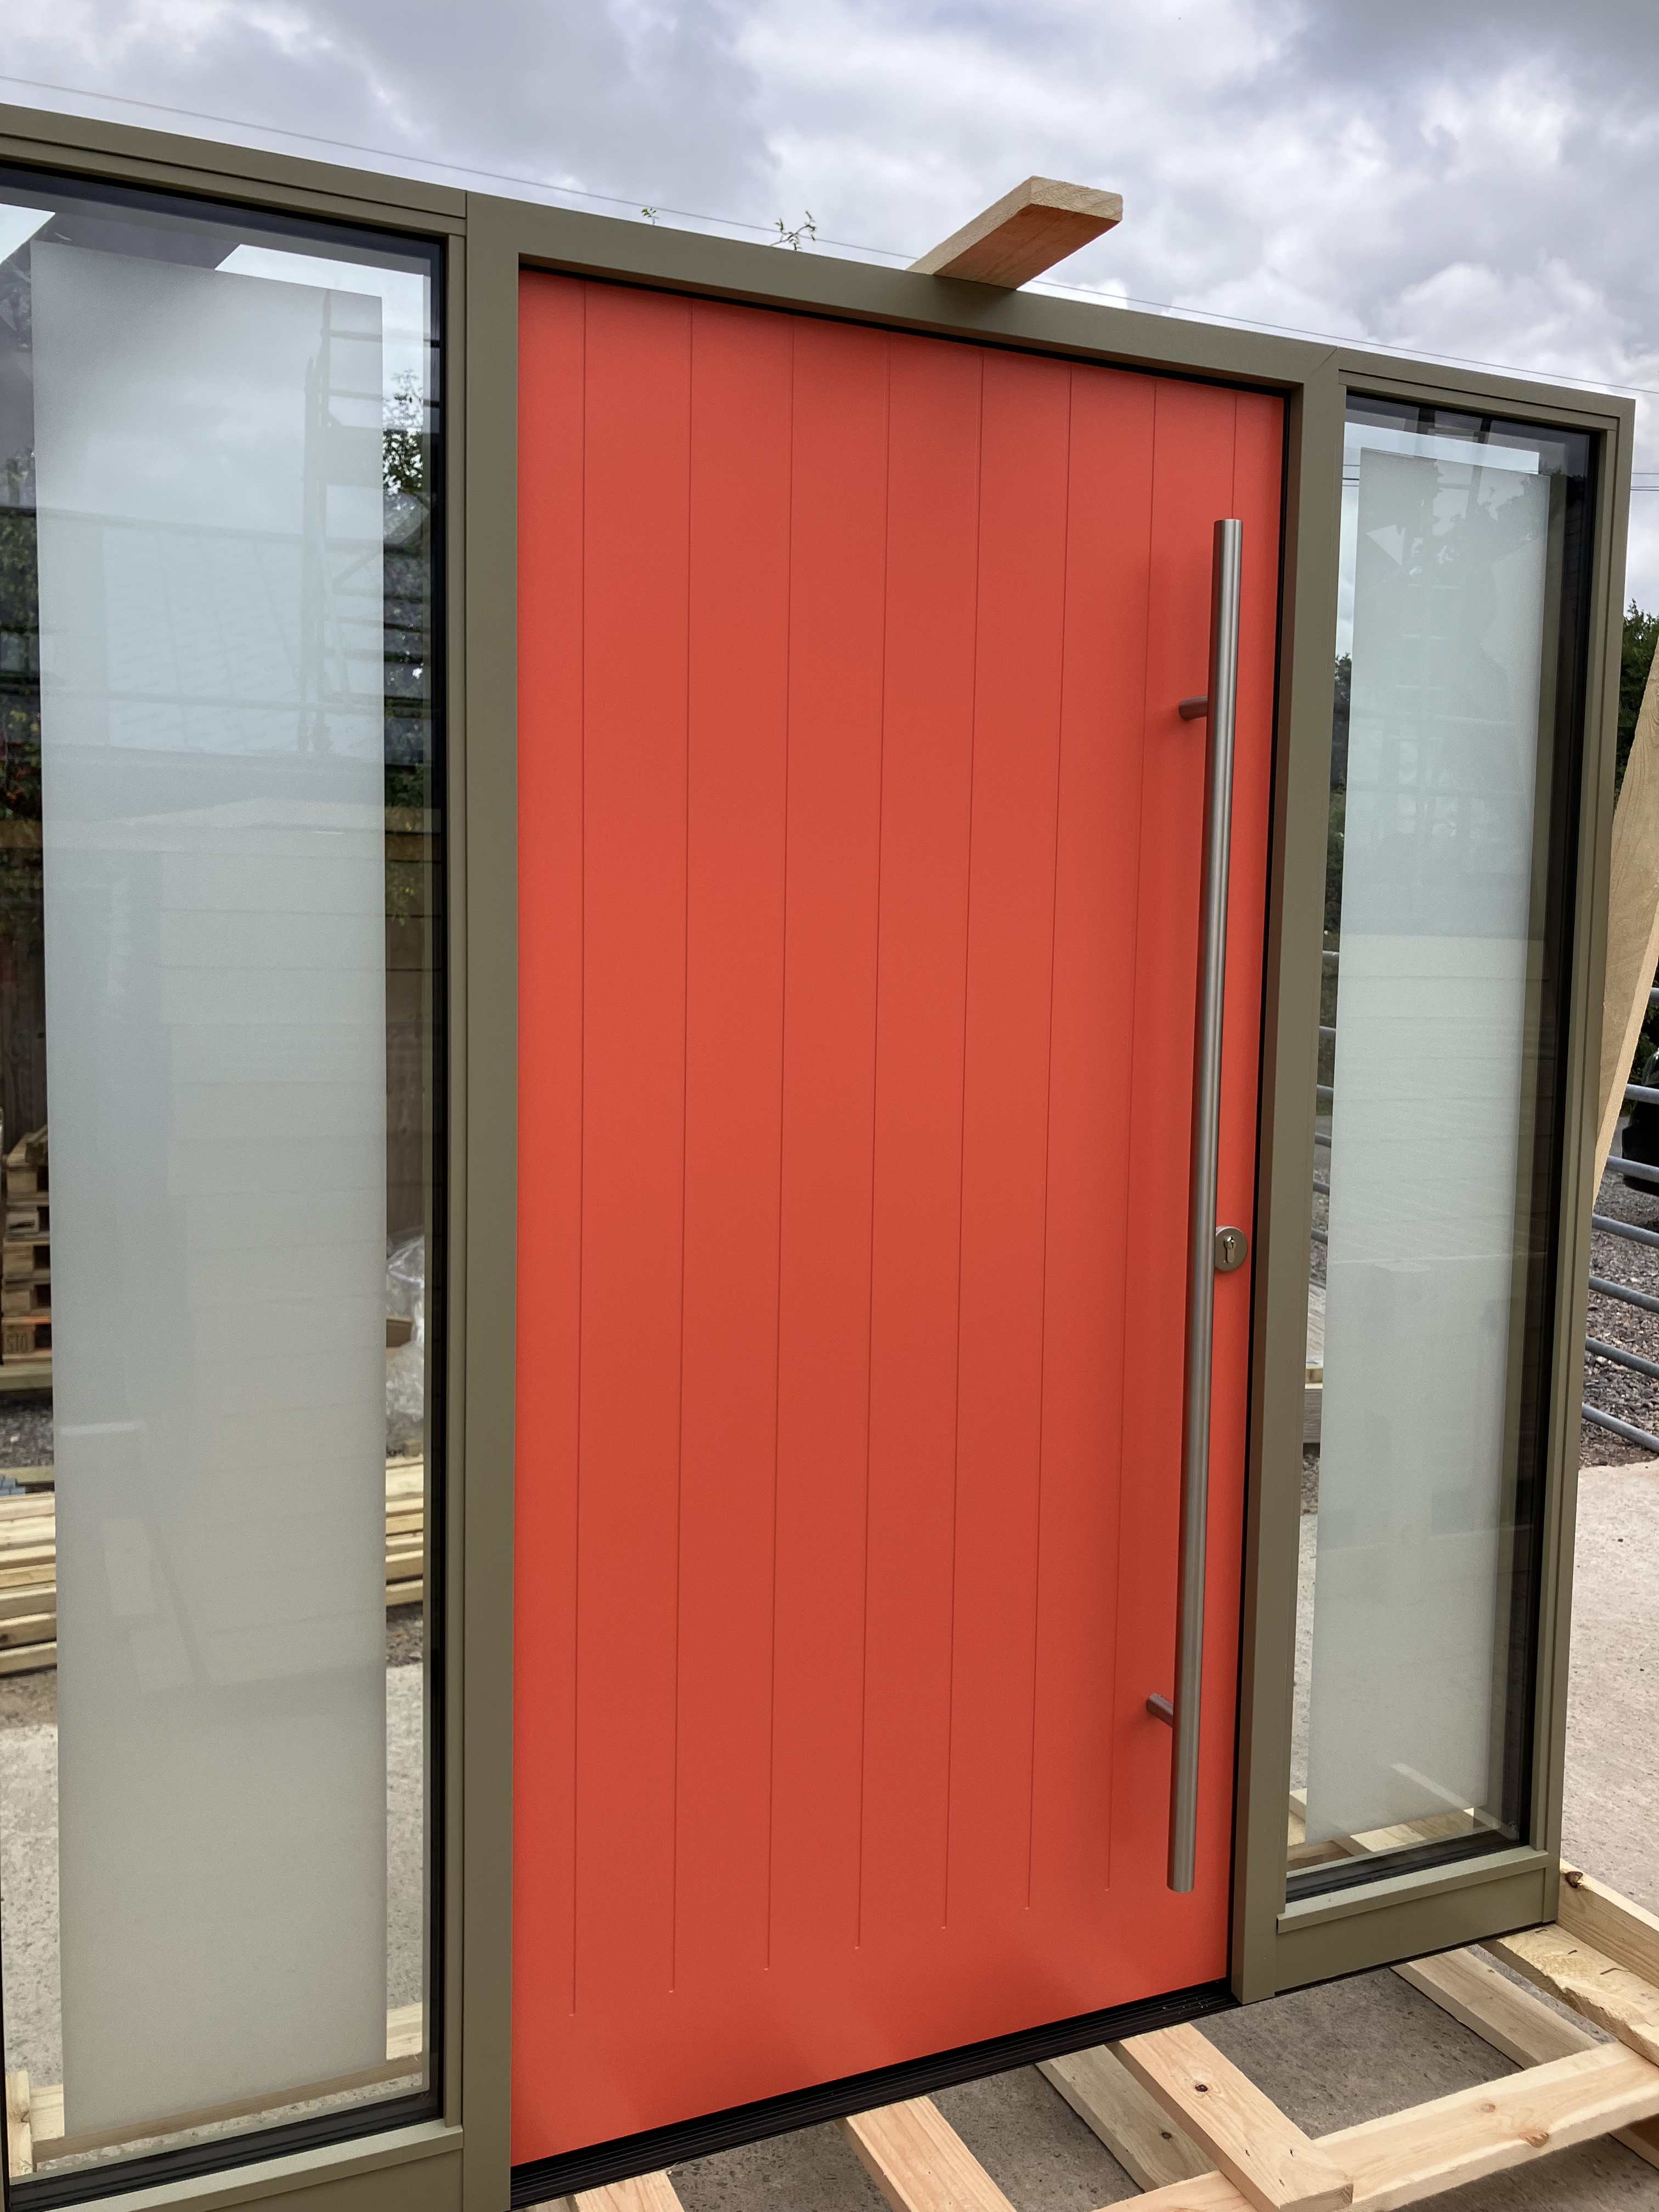
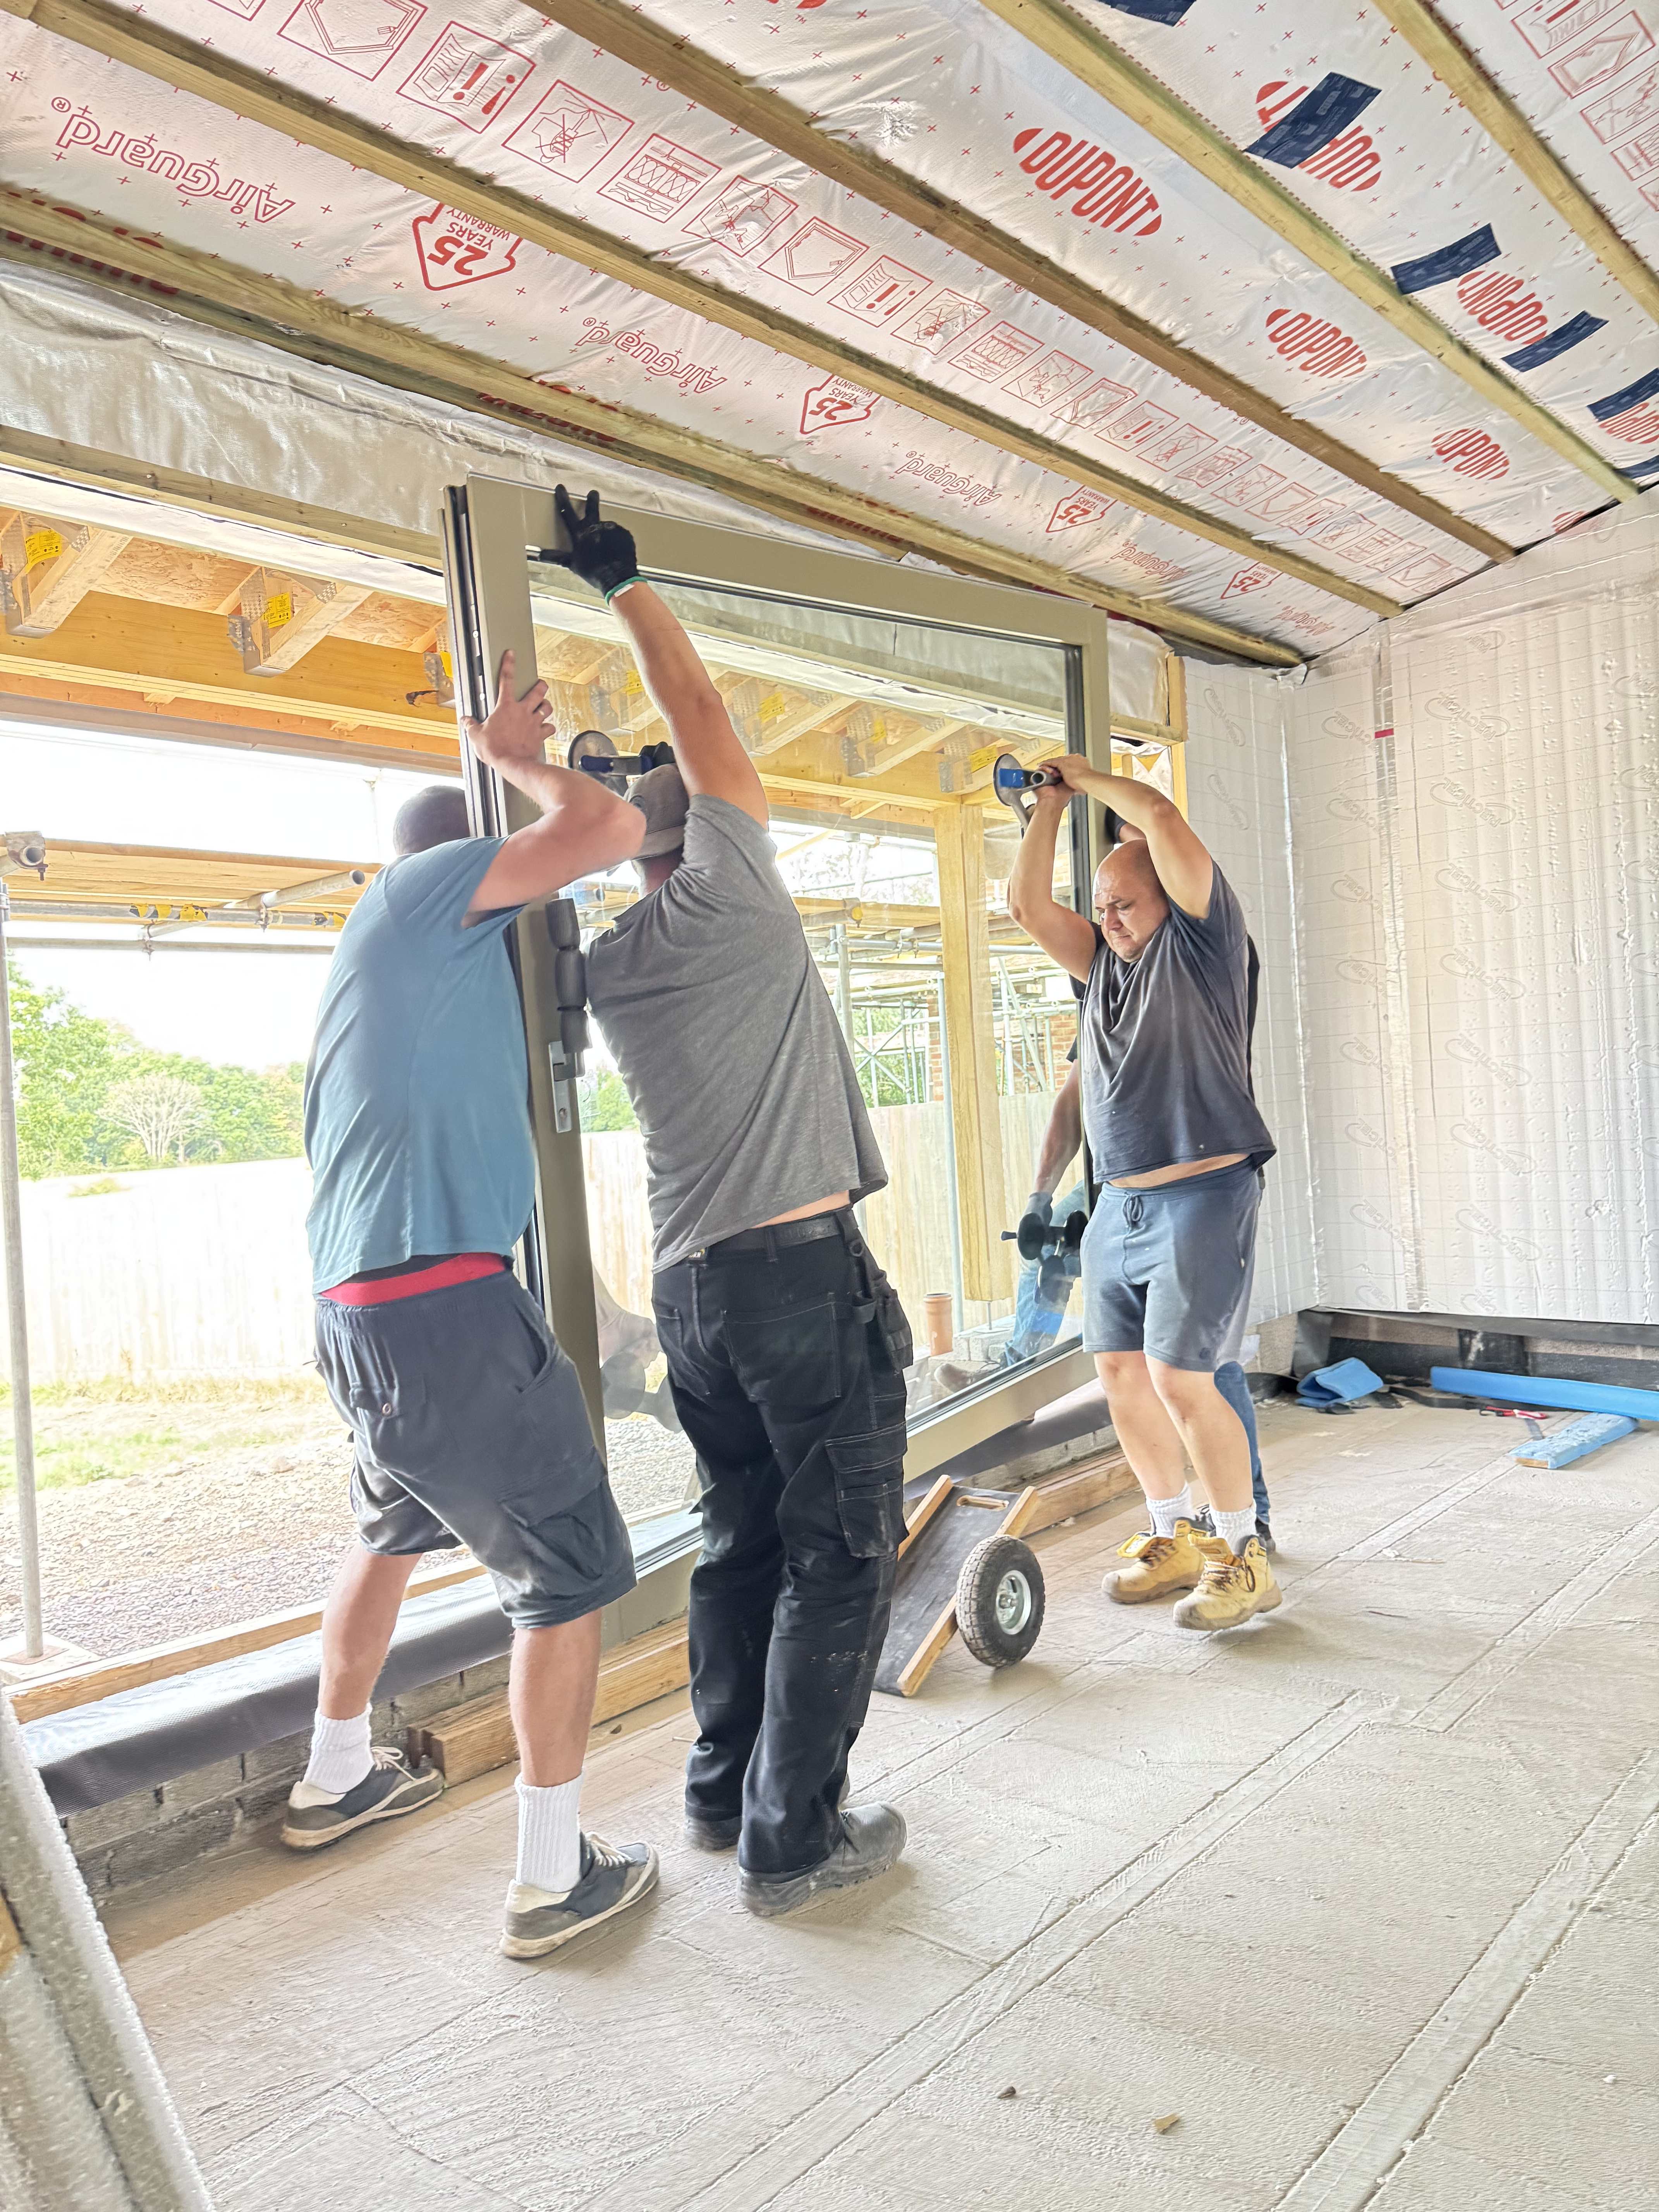
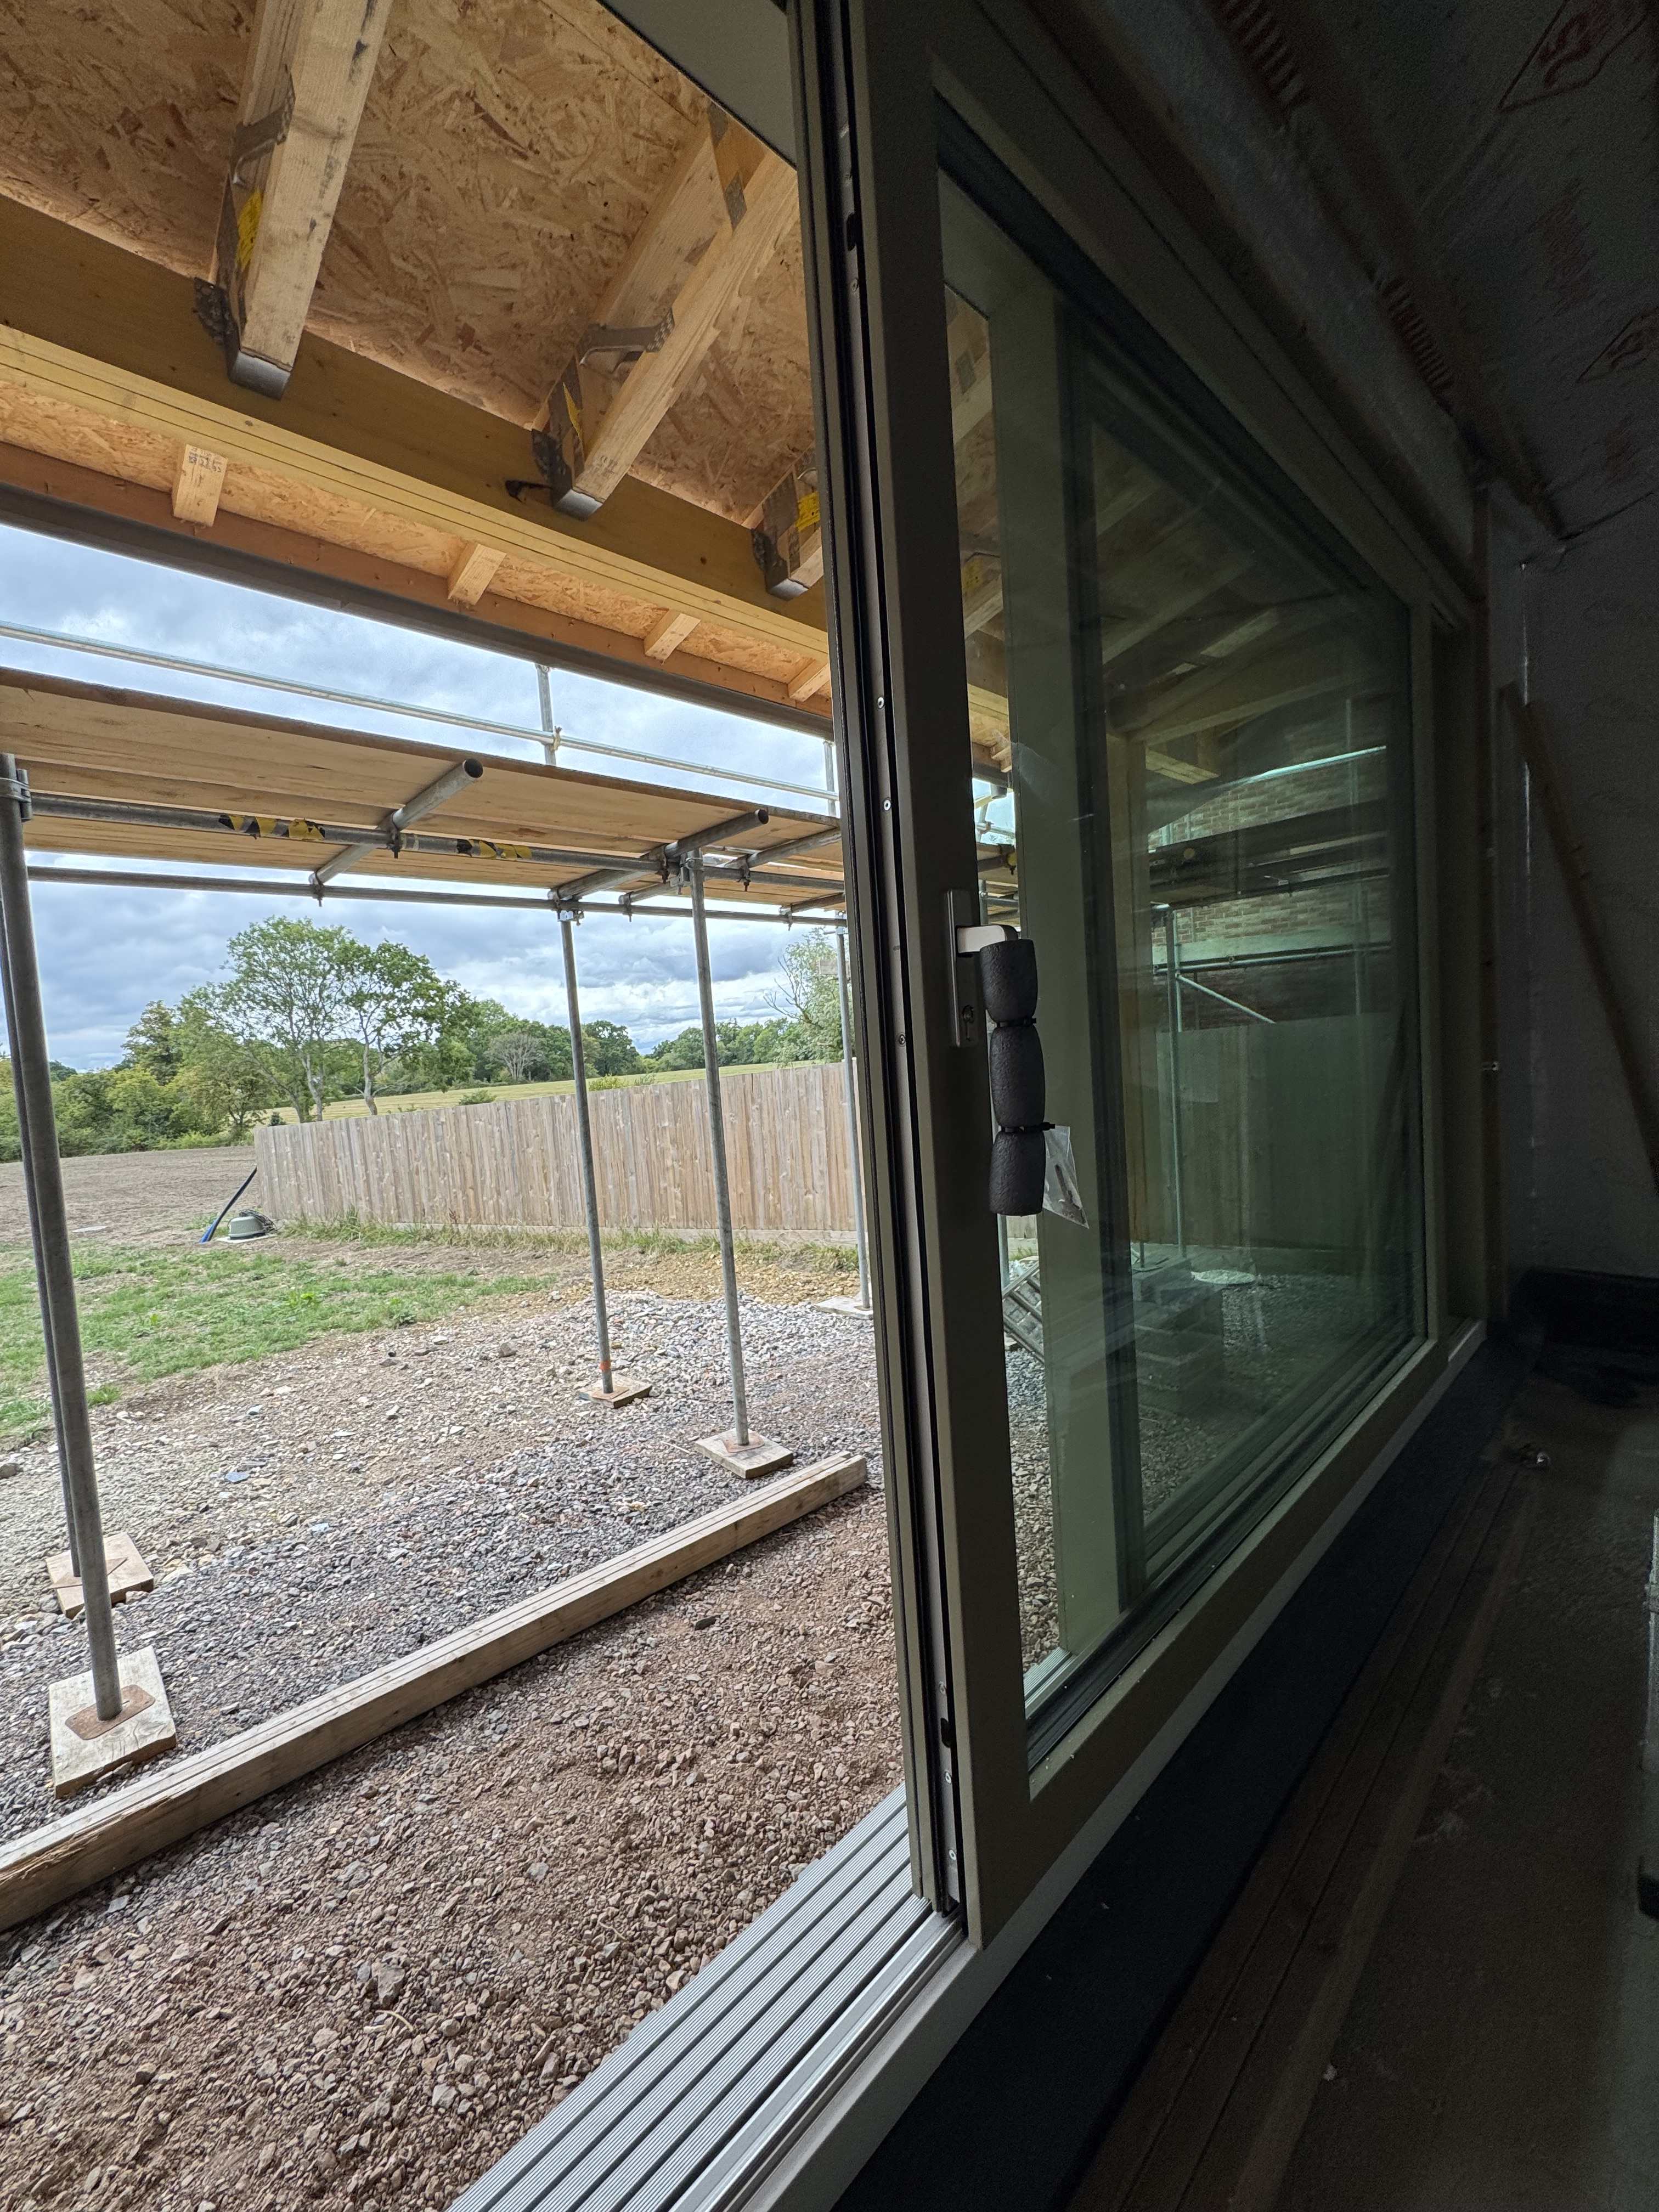
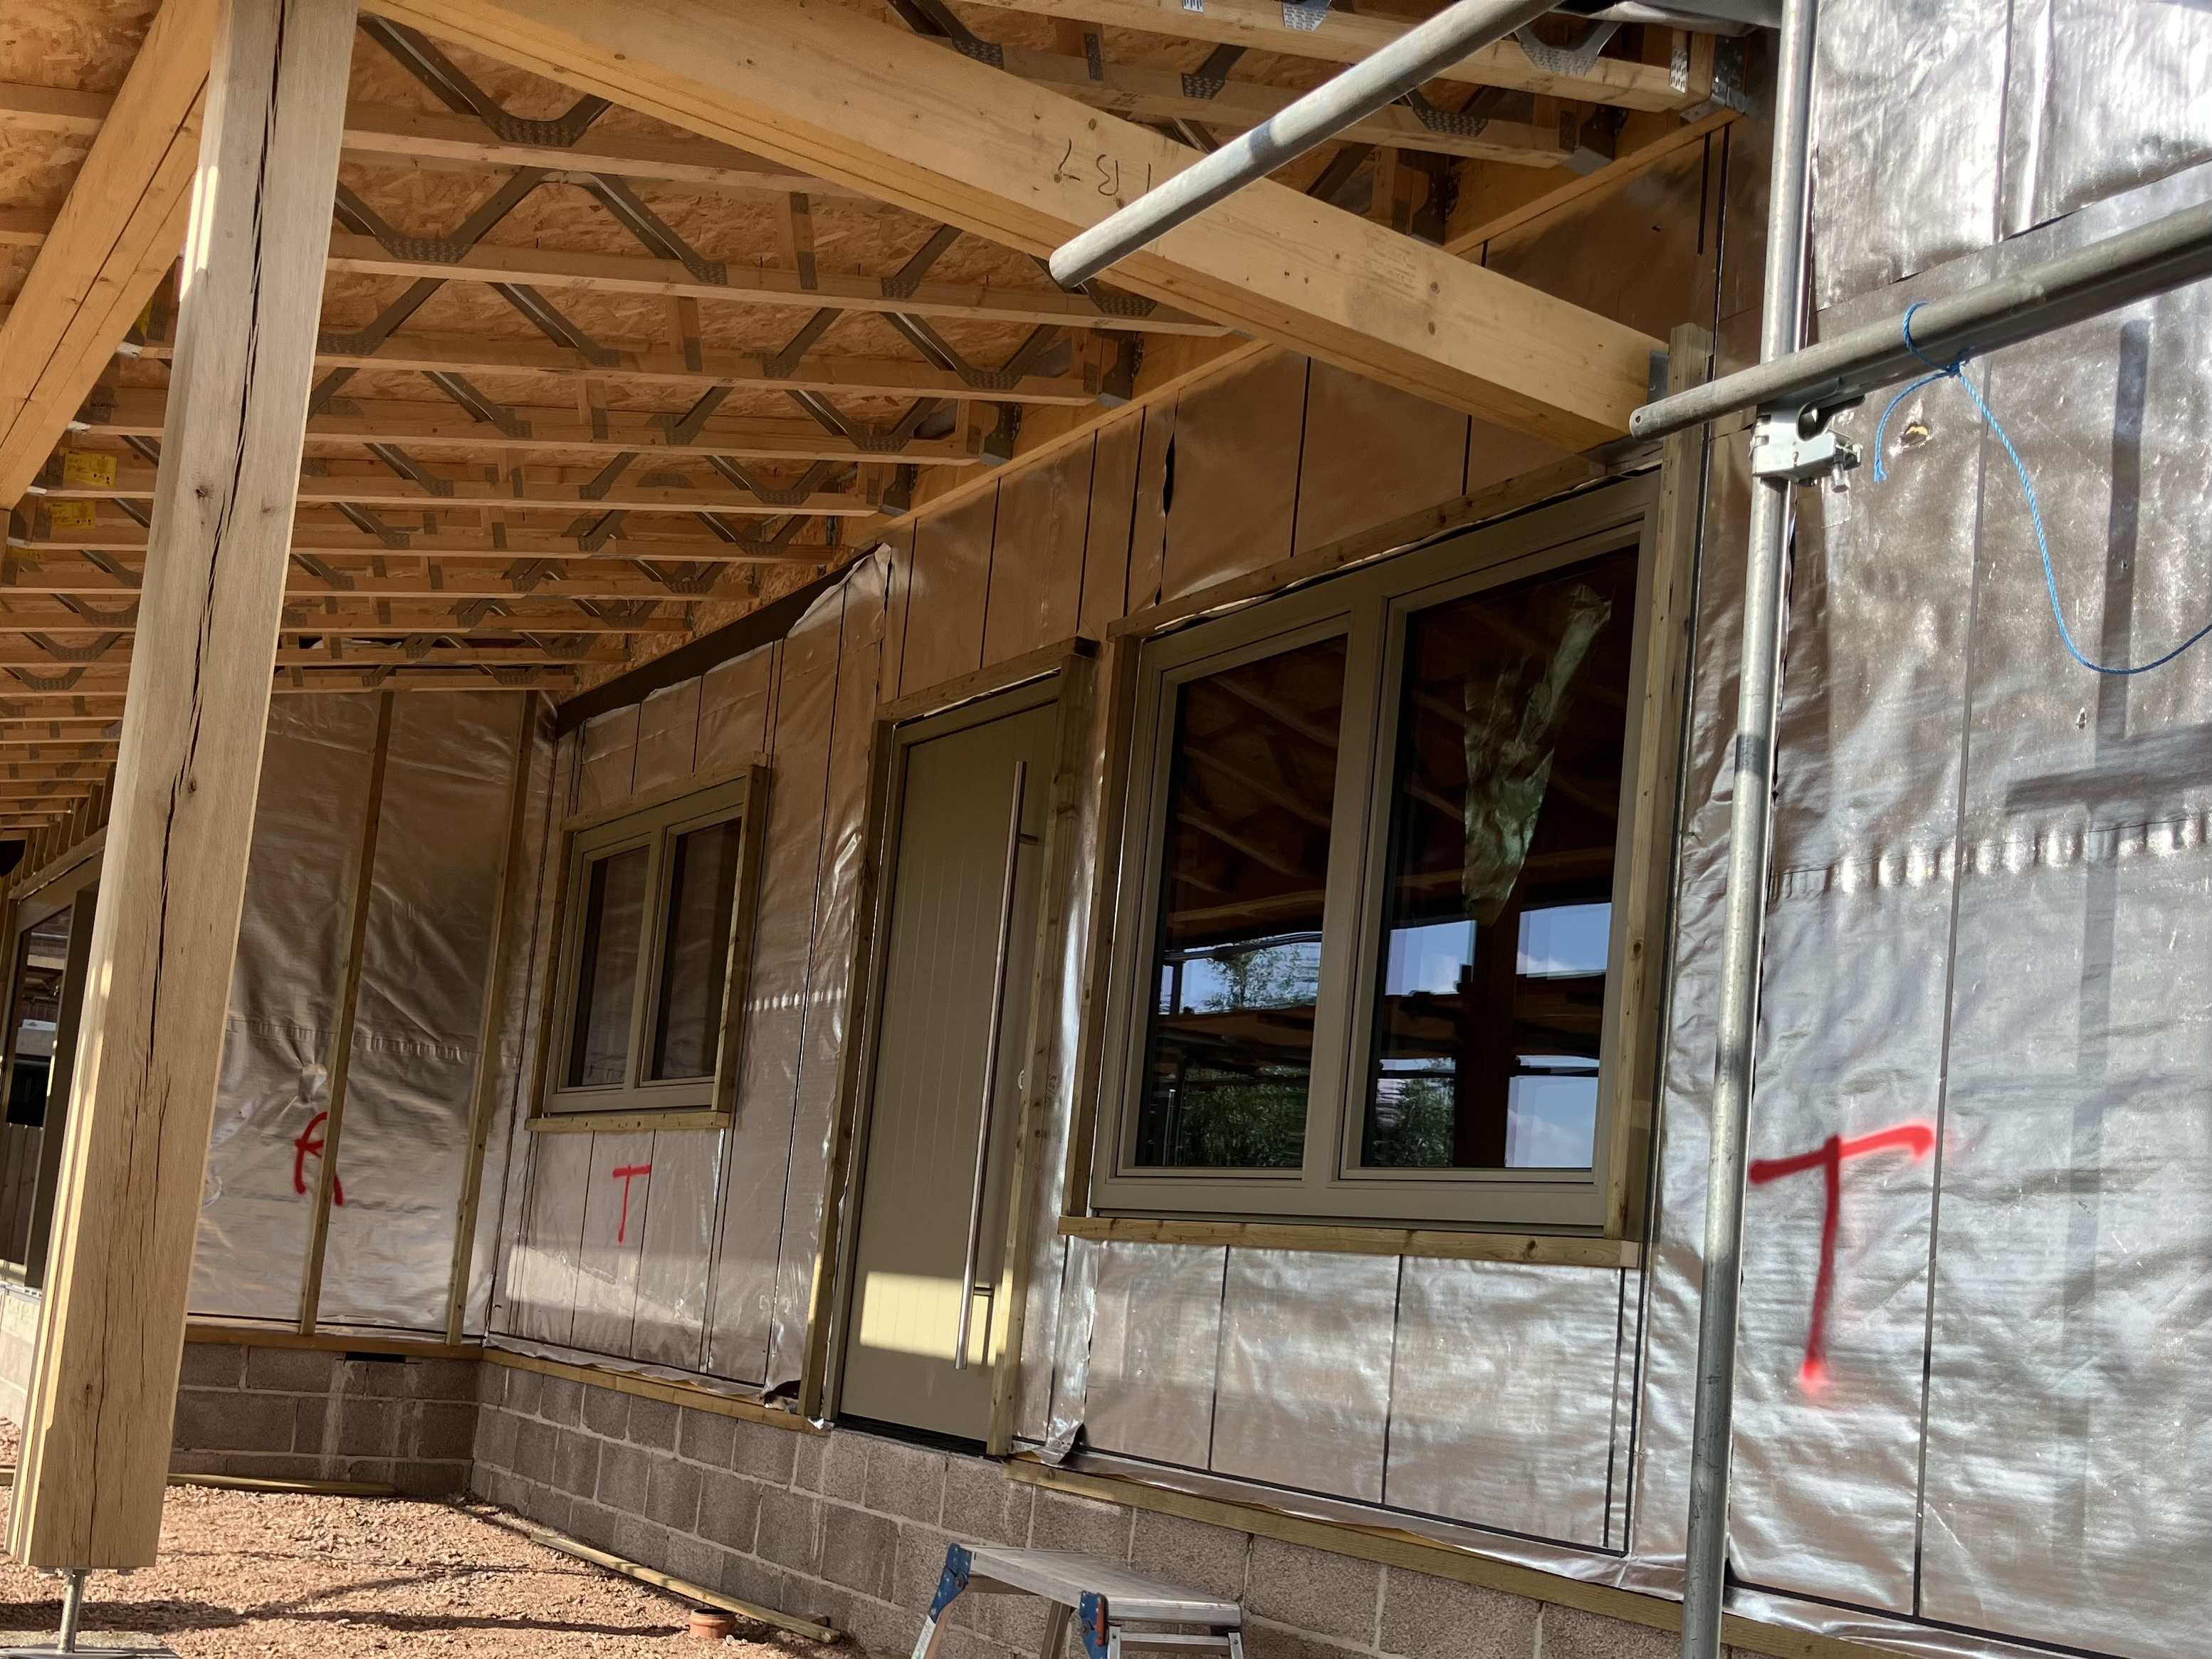
For those interested, the windows are triple-glazed, alu-clad, inward opening tilt and turn, Norrsken P33A units; the doors are S305A alu-clad, composite panels doors and the 4 metre lift and slide, which is also triple-glazed, is Norrsken’s S305A door. The lift and slide door weighs in at 475kg and was moved by hand down a 500mm wide gap between our scaffold and our neighbour’s fence, then lifted manually into place.
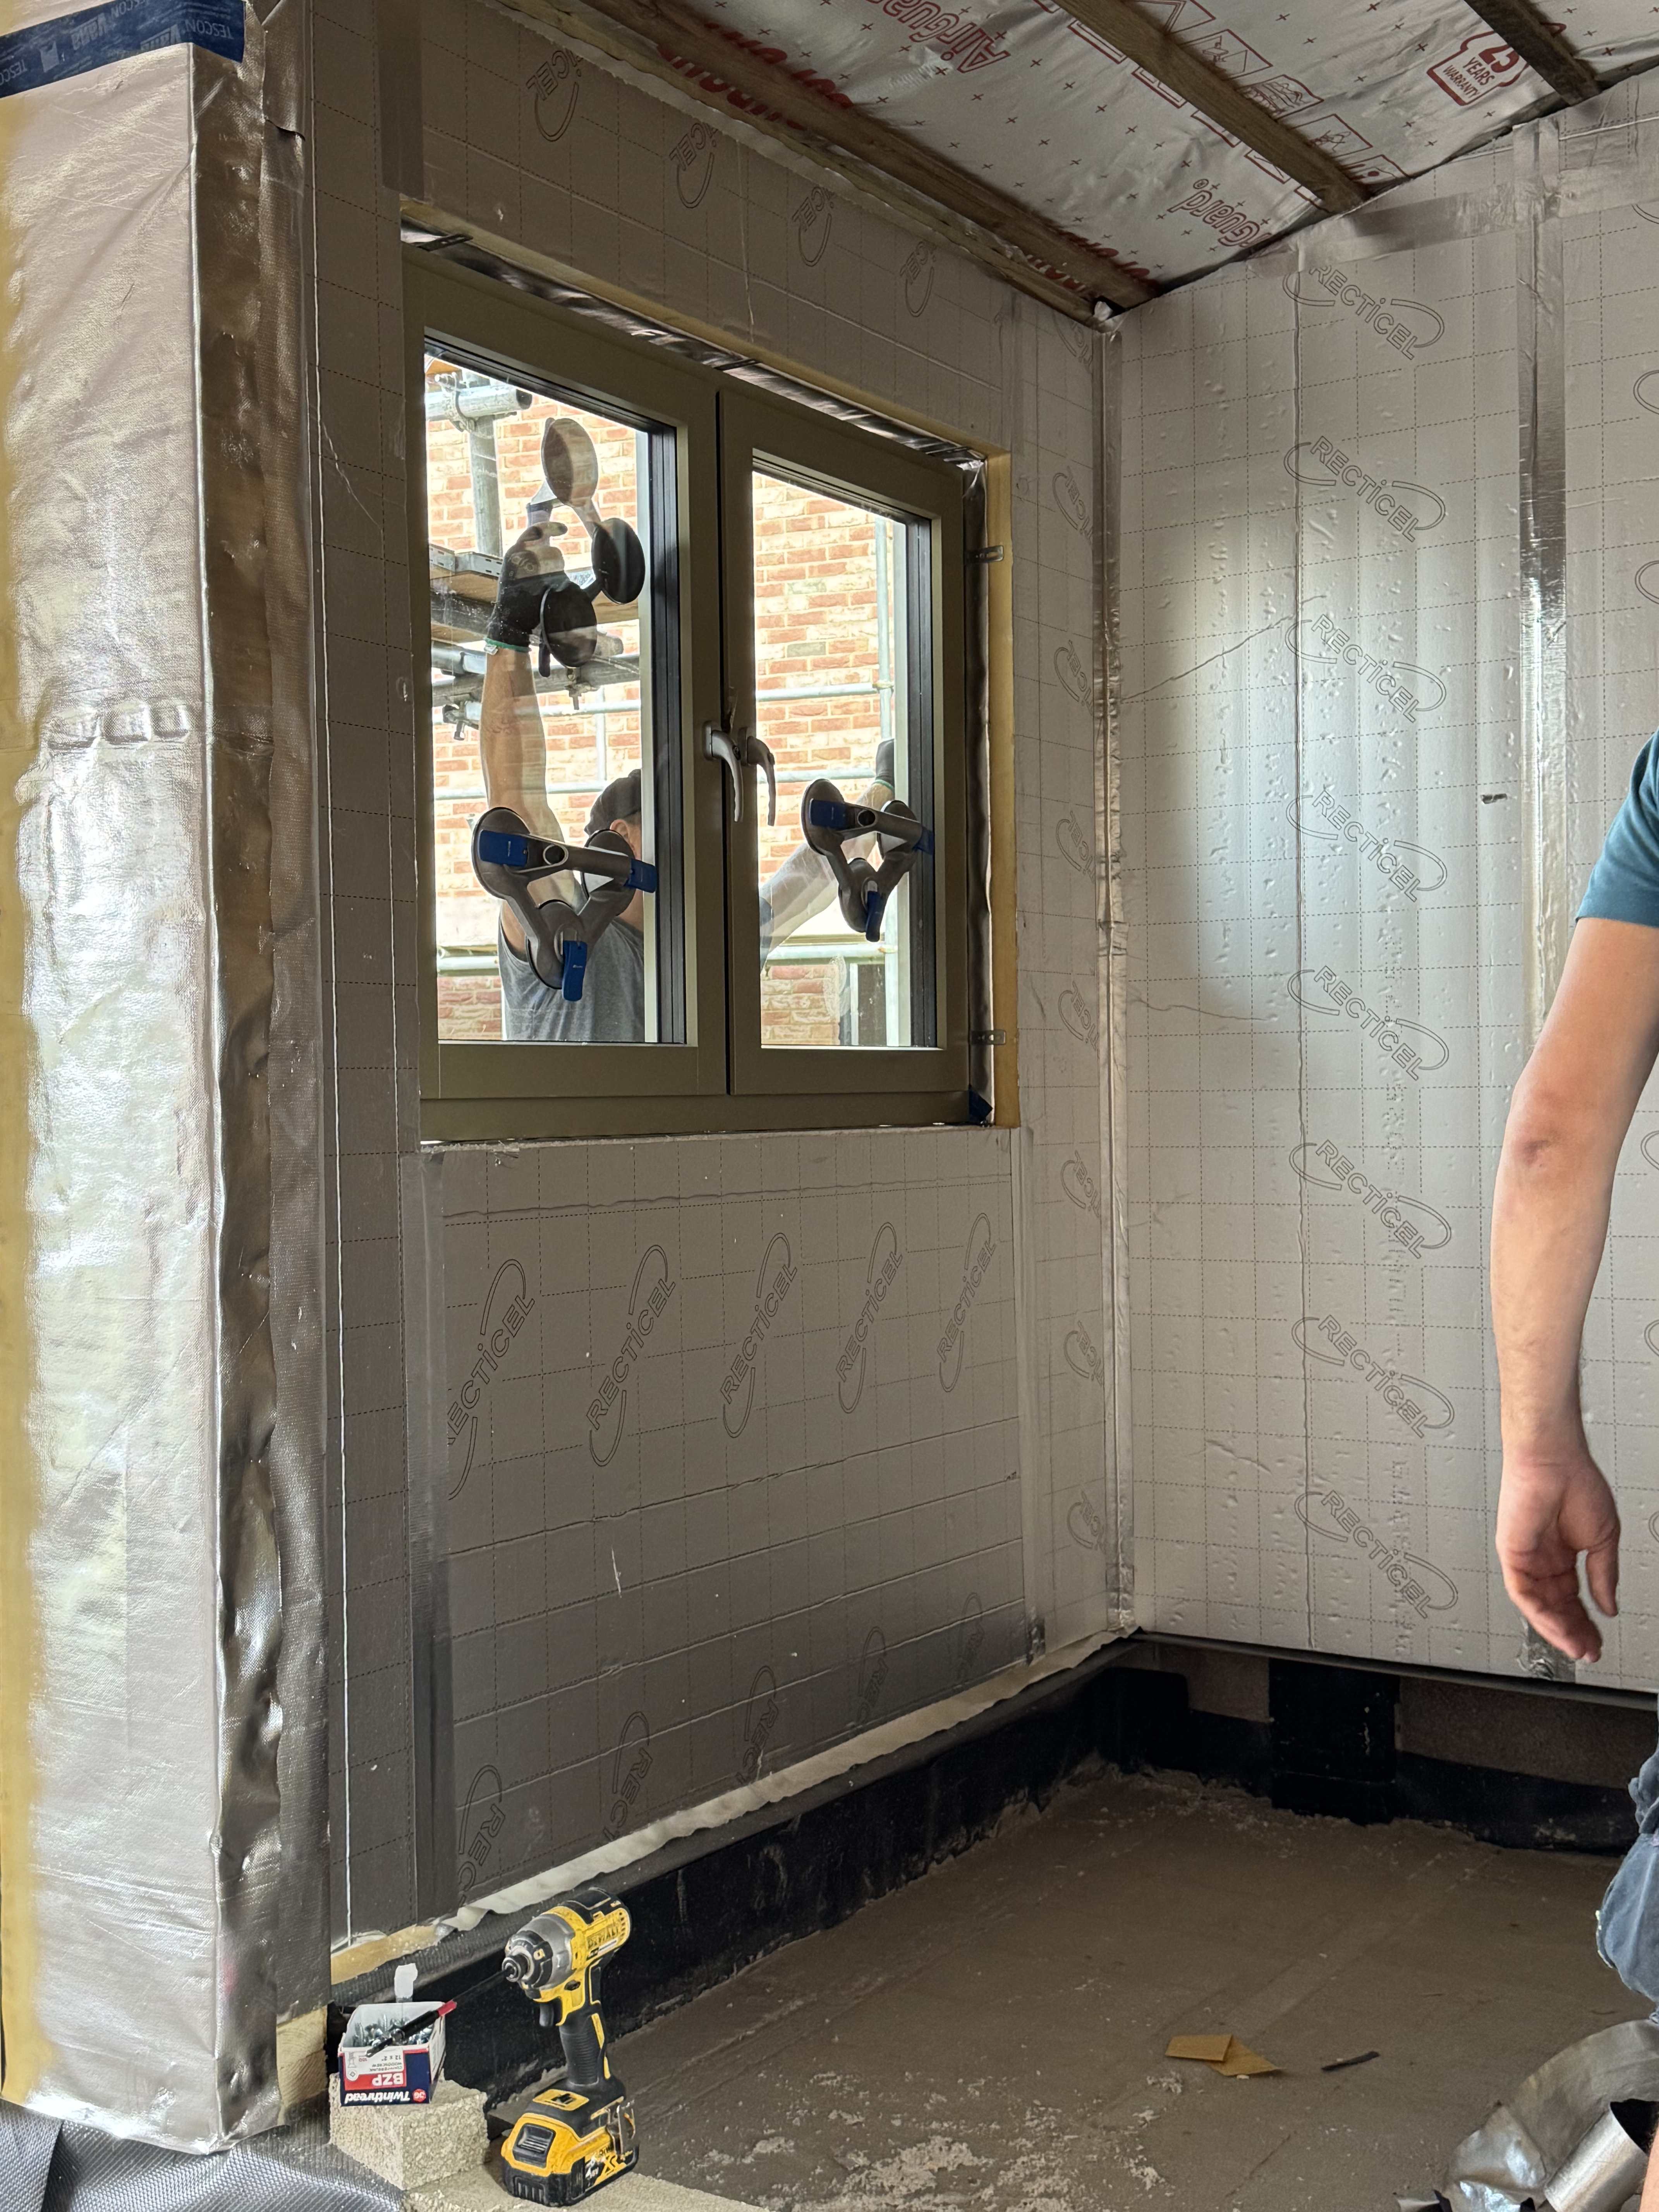
Here’s the sliding panel coming in first - it was stood to one side then fitted in once the frame and fixed panel were in place.
I have to say, we remain very impressed by Norrsken and would recommend both the product and their installation subcontractors.
Alex and Val suggested removing the front door, wrapping it and storing it safely, then cladding the frame in ply with a temporary door in place during the remainder of the build. Seemed a sensible suggestion and that is what we aim to do next week.
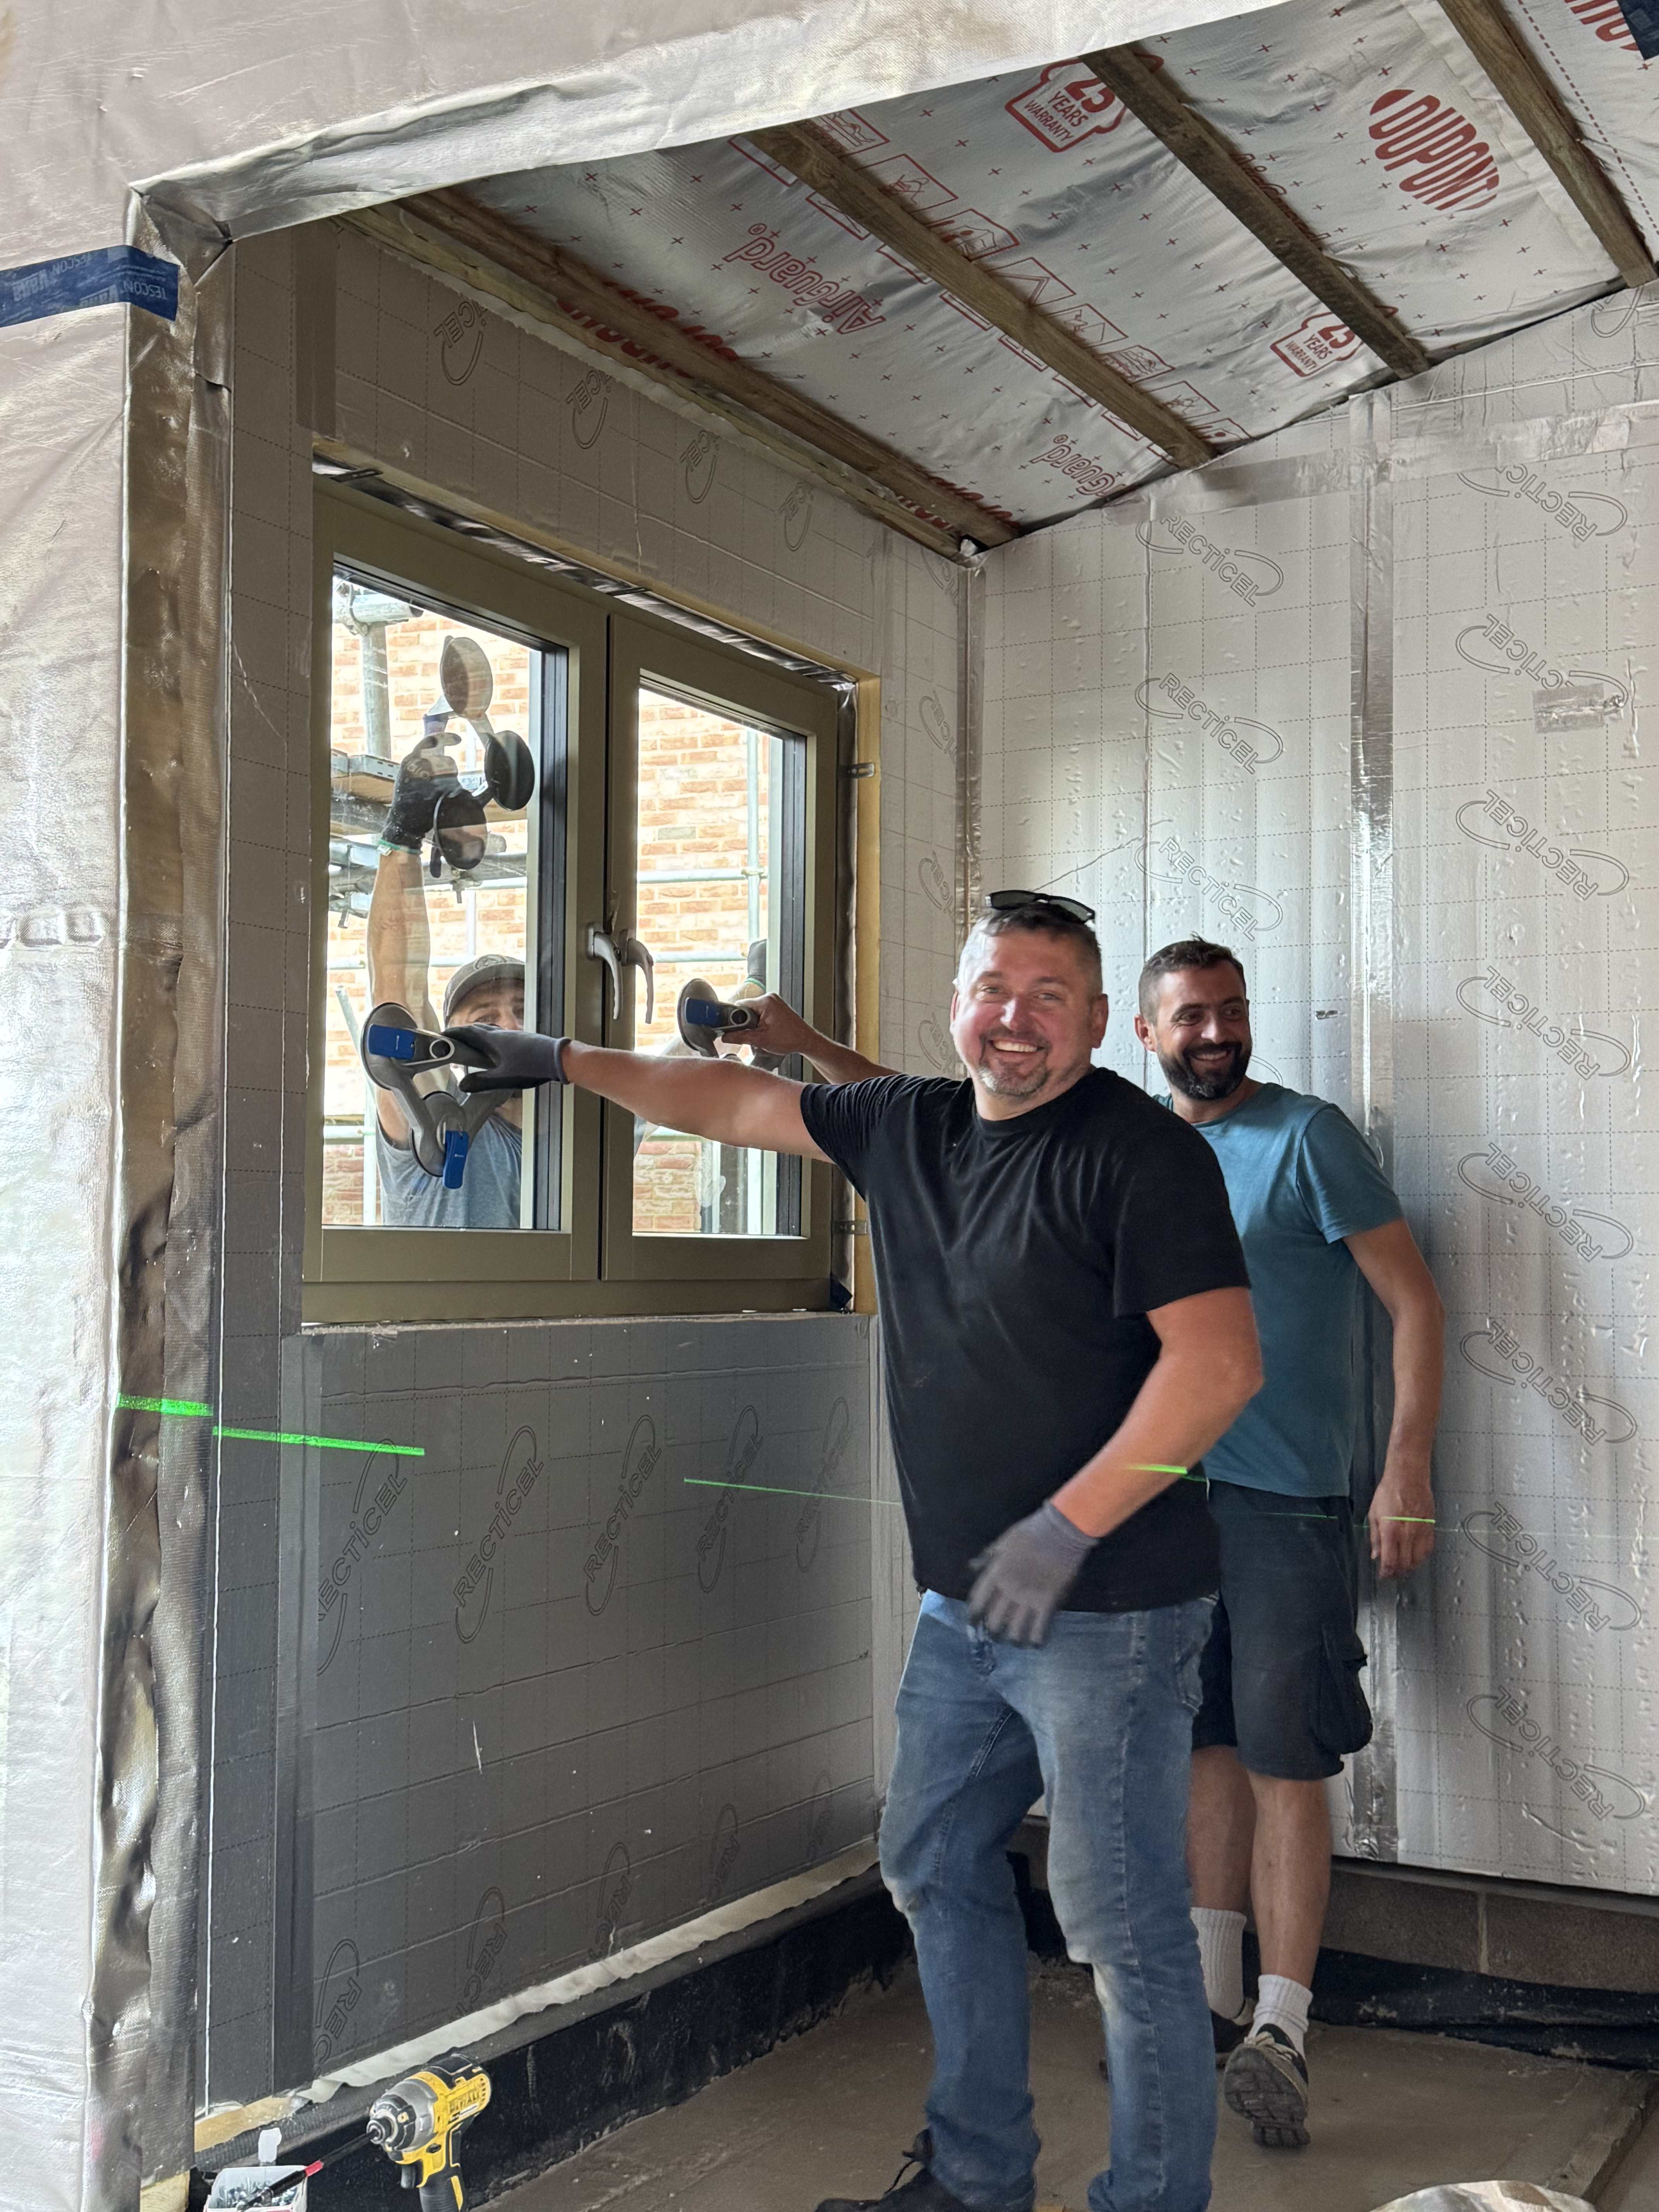
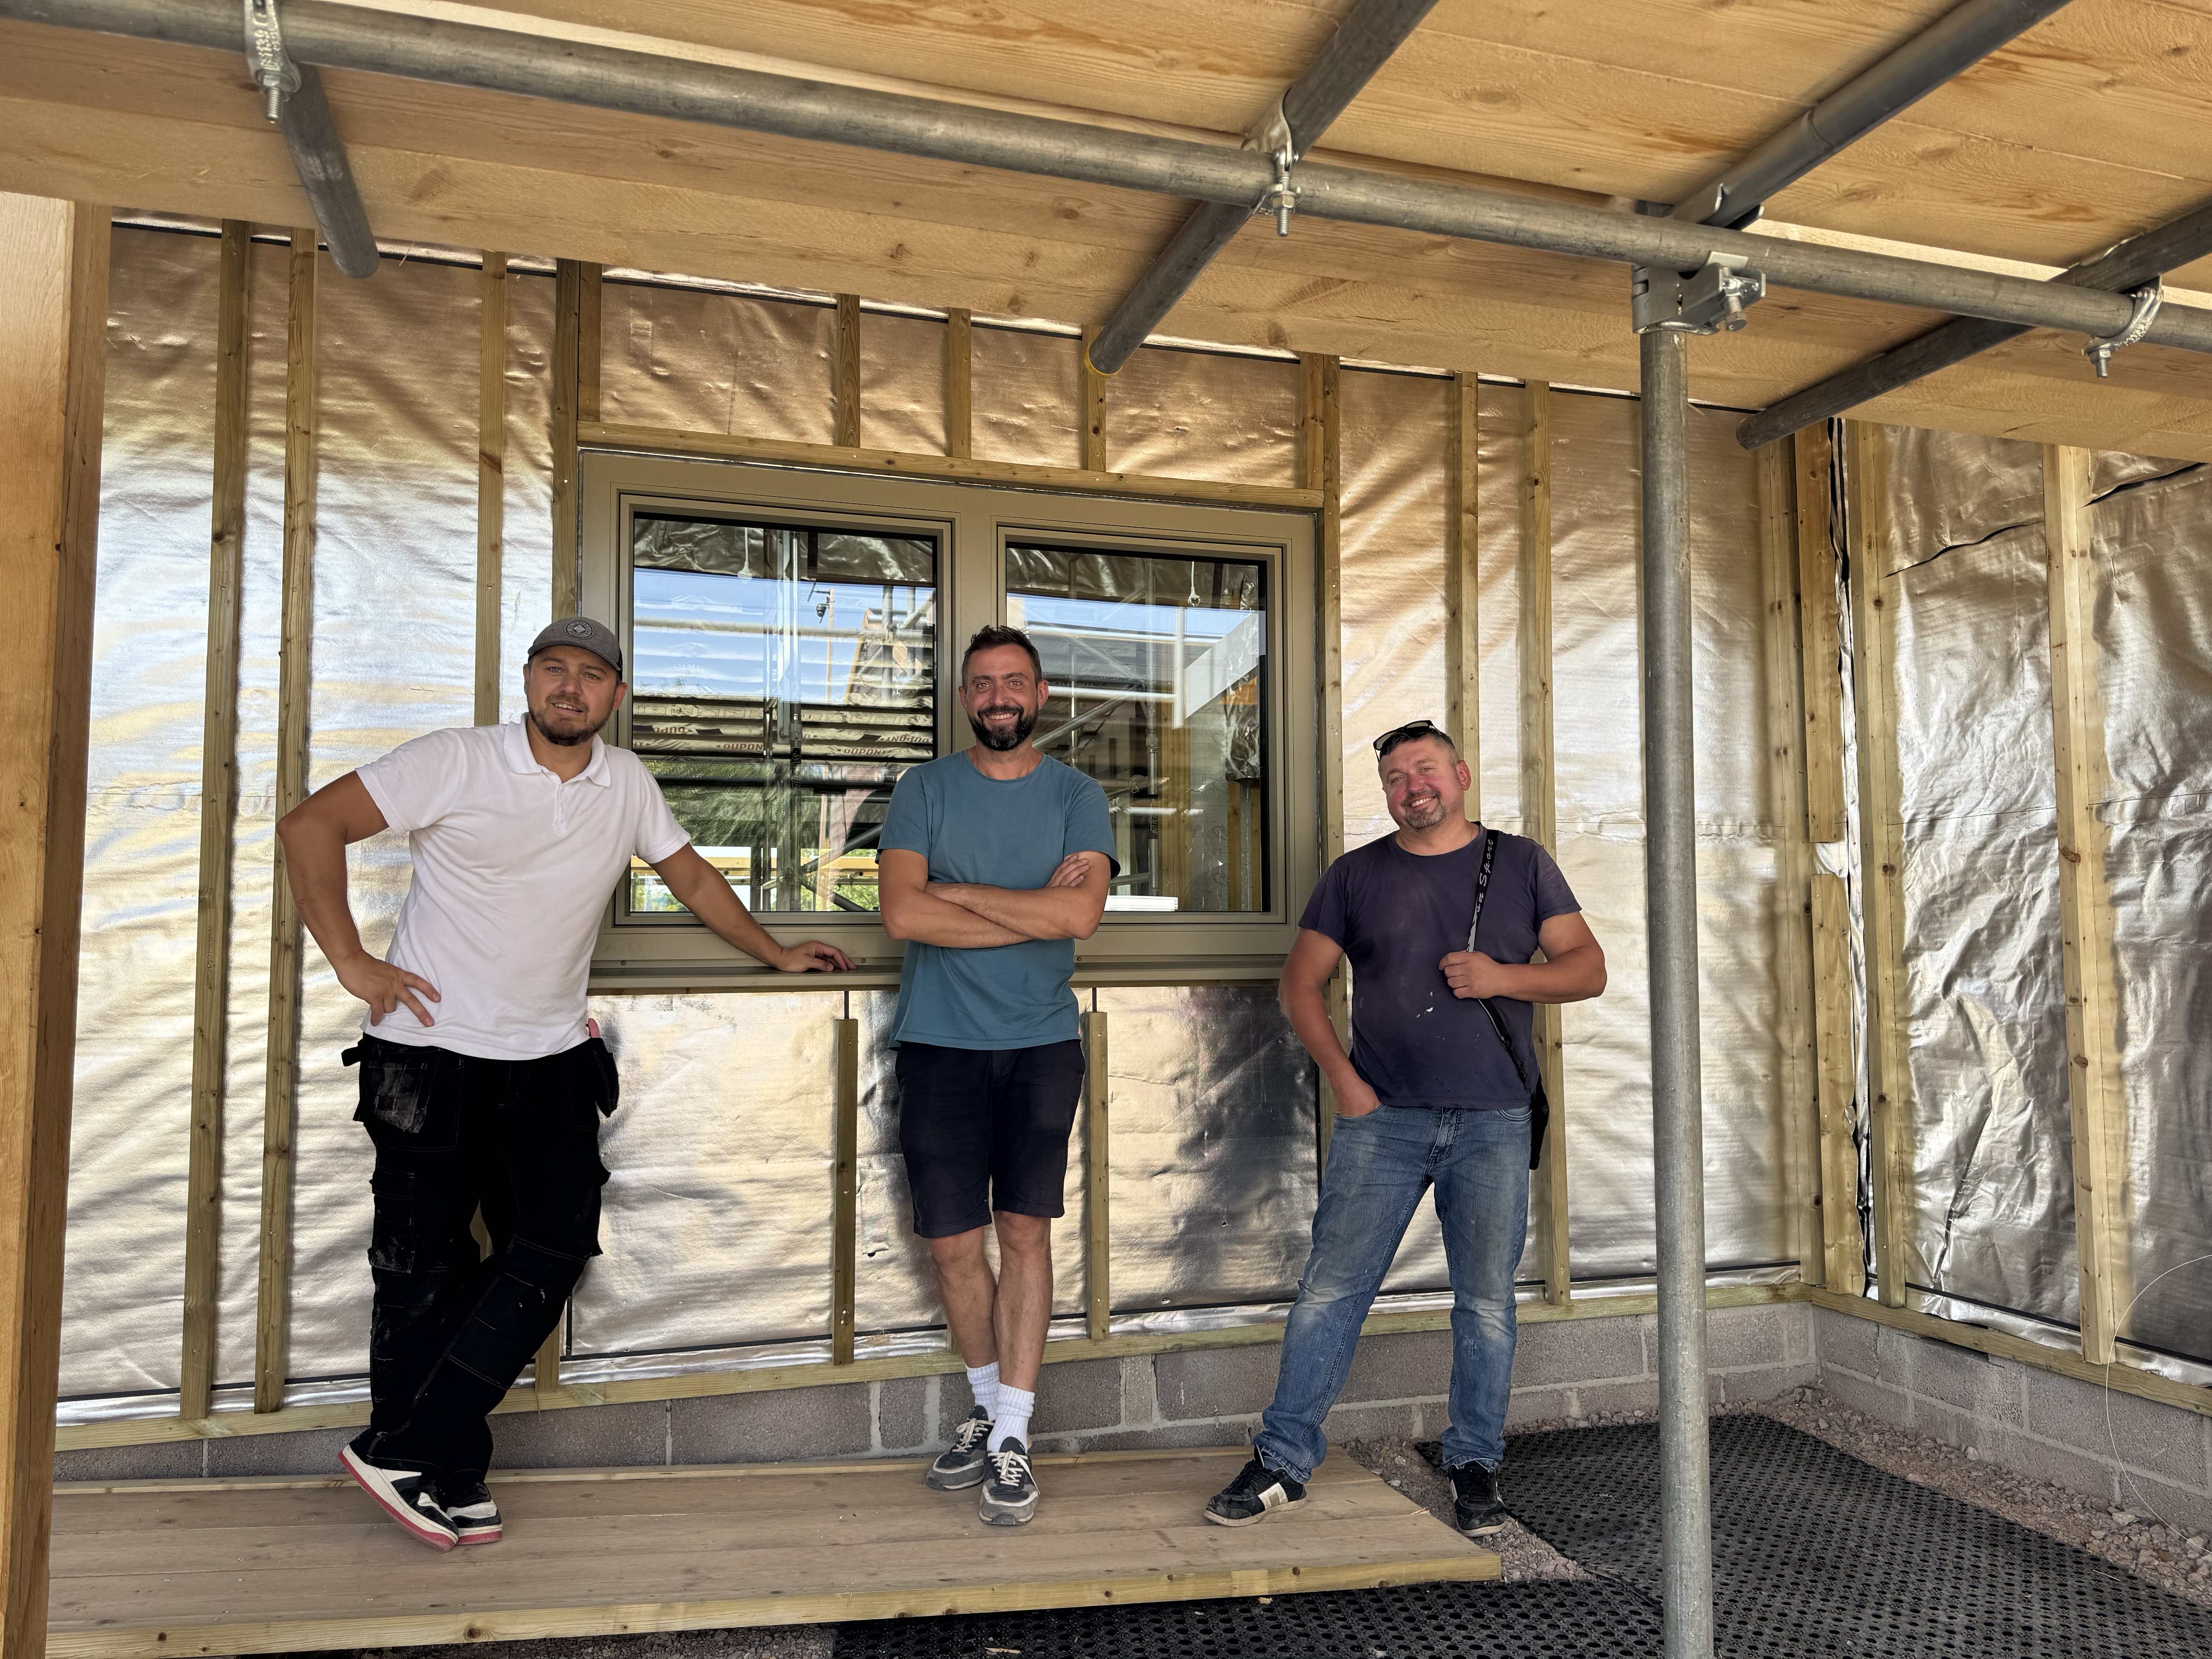
Here's Dima, Alex and Val from the Norrsken window installation team:
Having the windows and doors in is obviously a big step forward but we had progress on other fronts too:
External wall battens and roof
Our carpenters Alan and Chris made a start on (and indeed finished) fixing the 50 x 50mm external ventilation battens and have pretty much finished. (That’s messed up my wallplan - it’s not supposed to be done until next week!). They also boarded out the plant room walls with 18mm ply - it seems sensible given the amount of kit we need to fix to the walls in there. Just in time for the electricity supply, which SSE are coming next Tuesday to move into the plant room from the current external meter box.
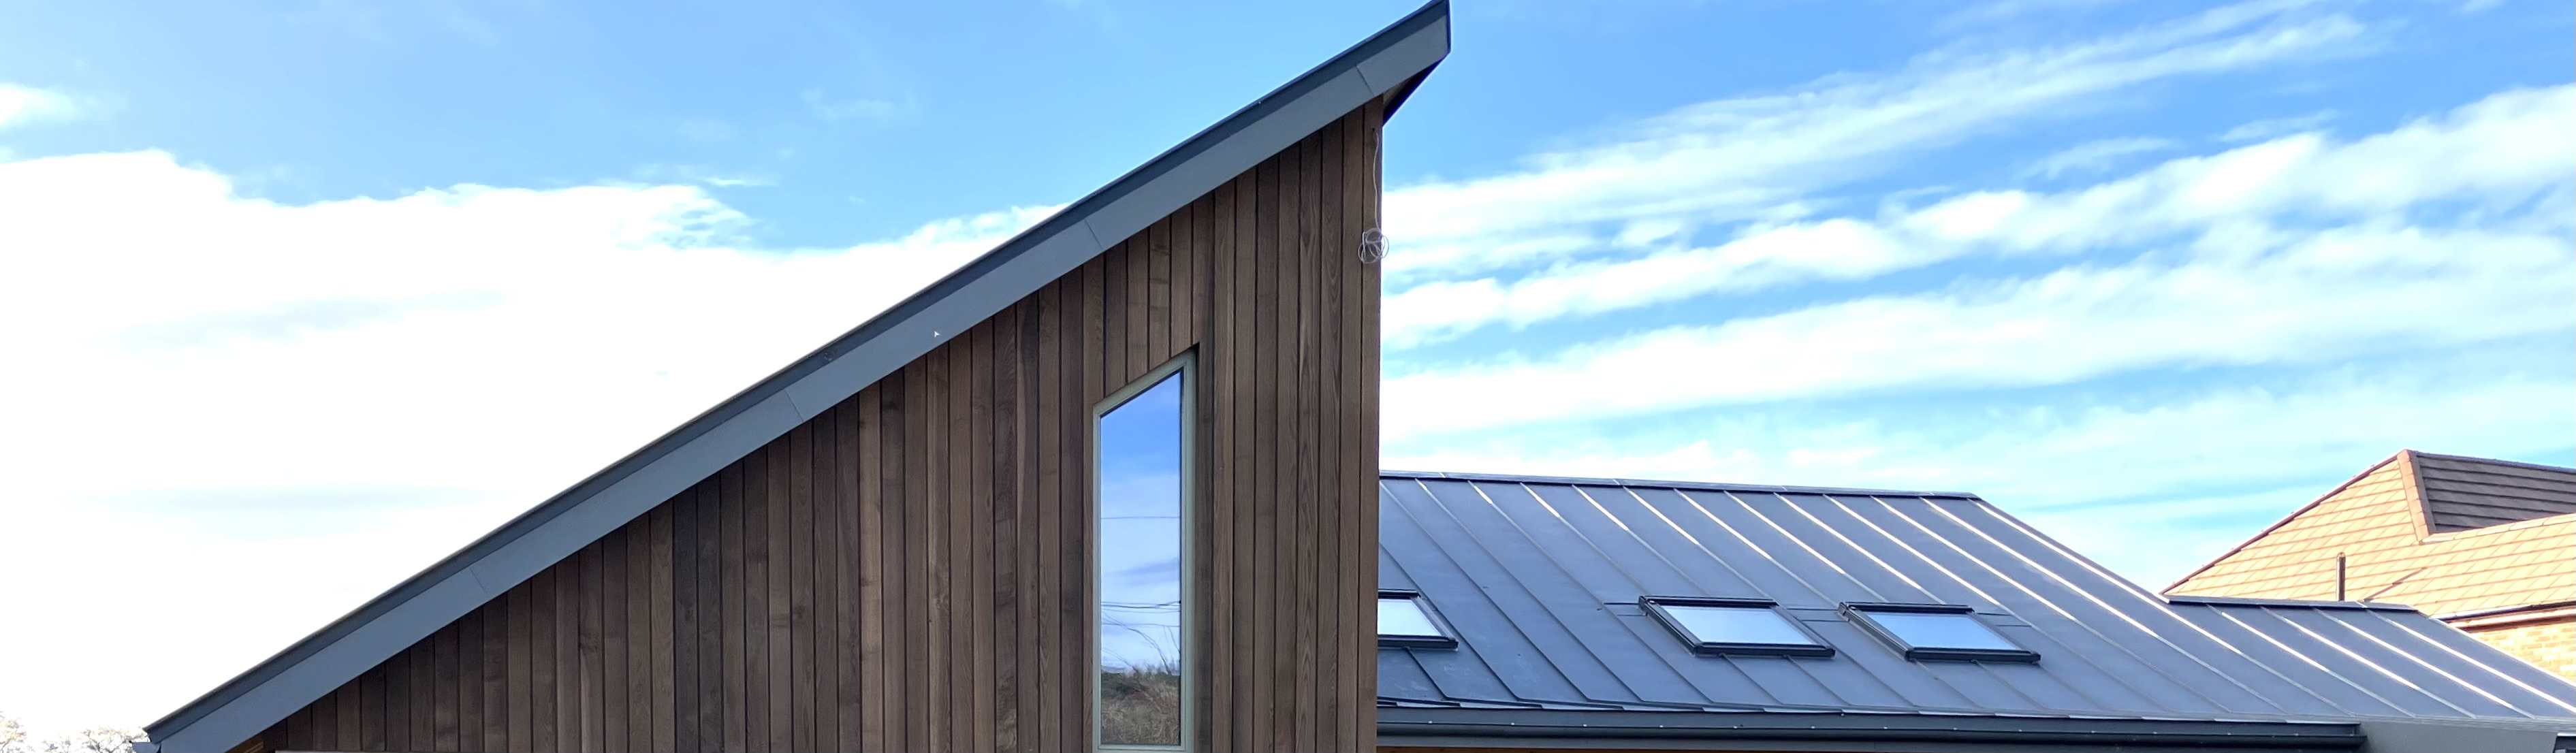
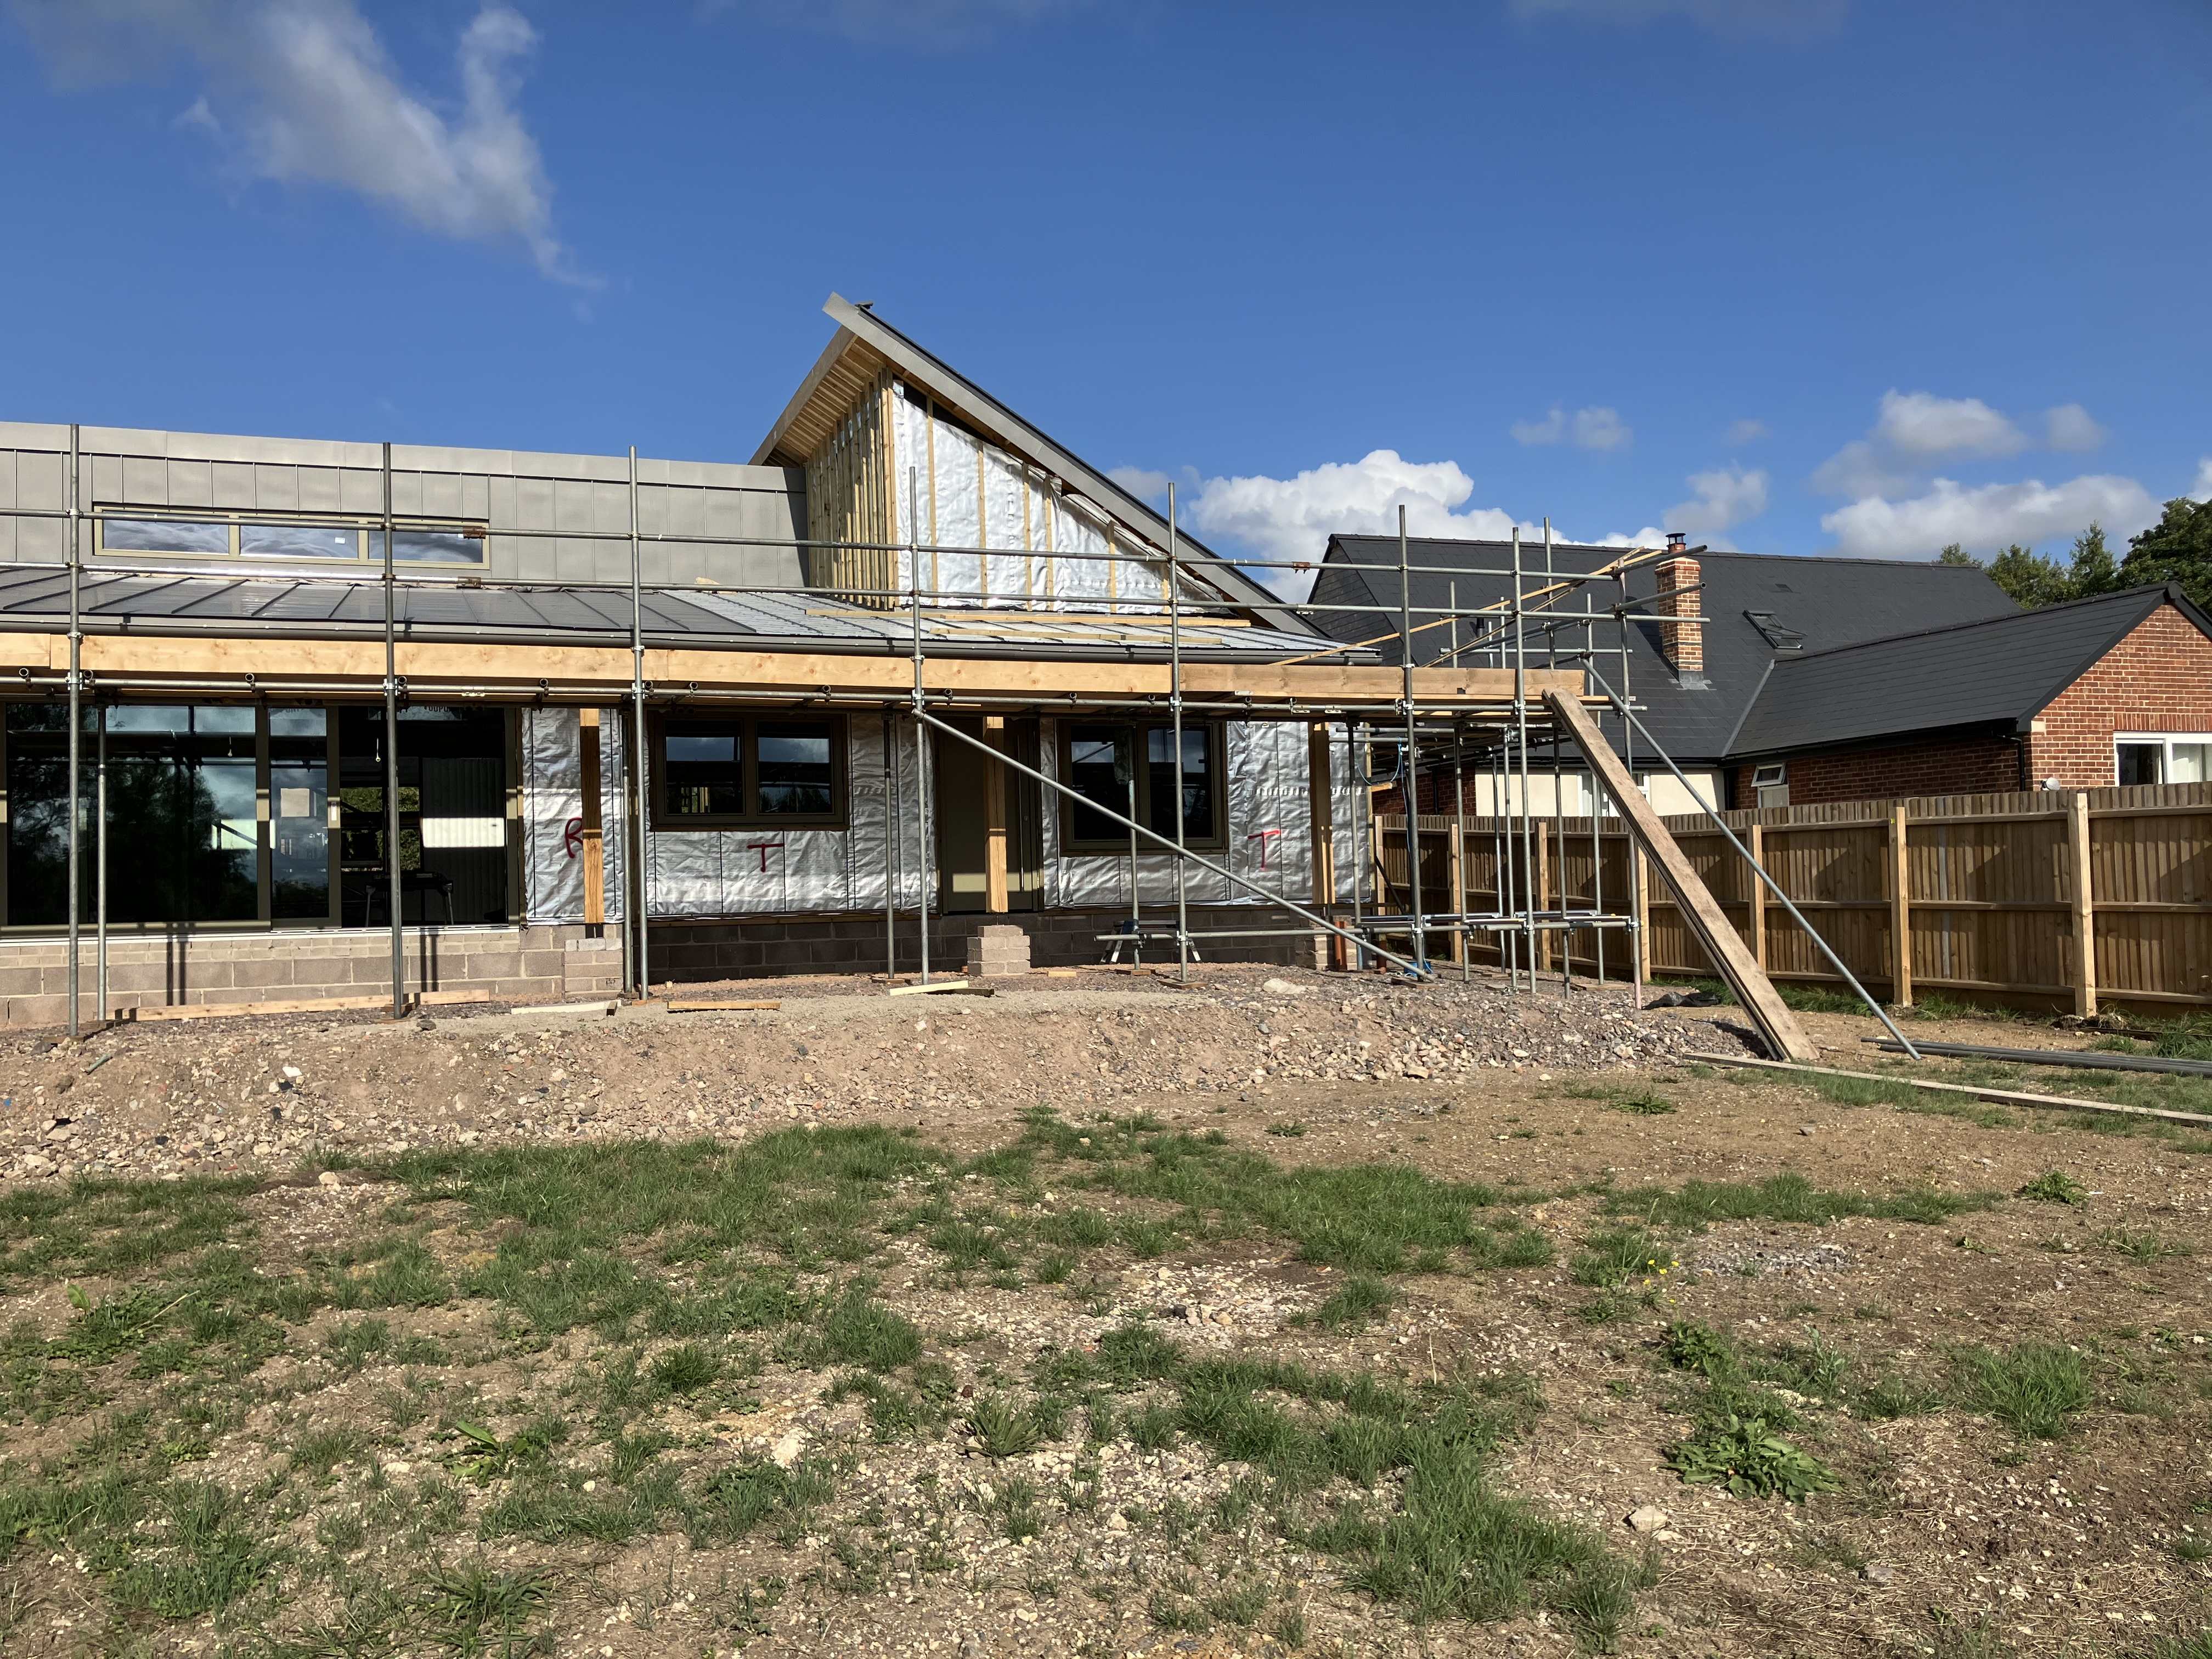
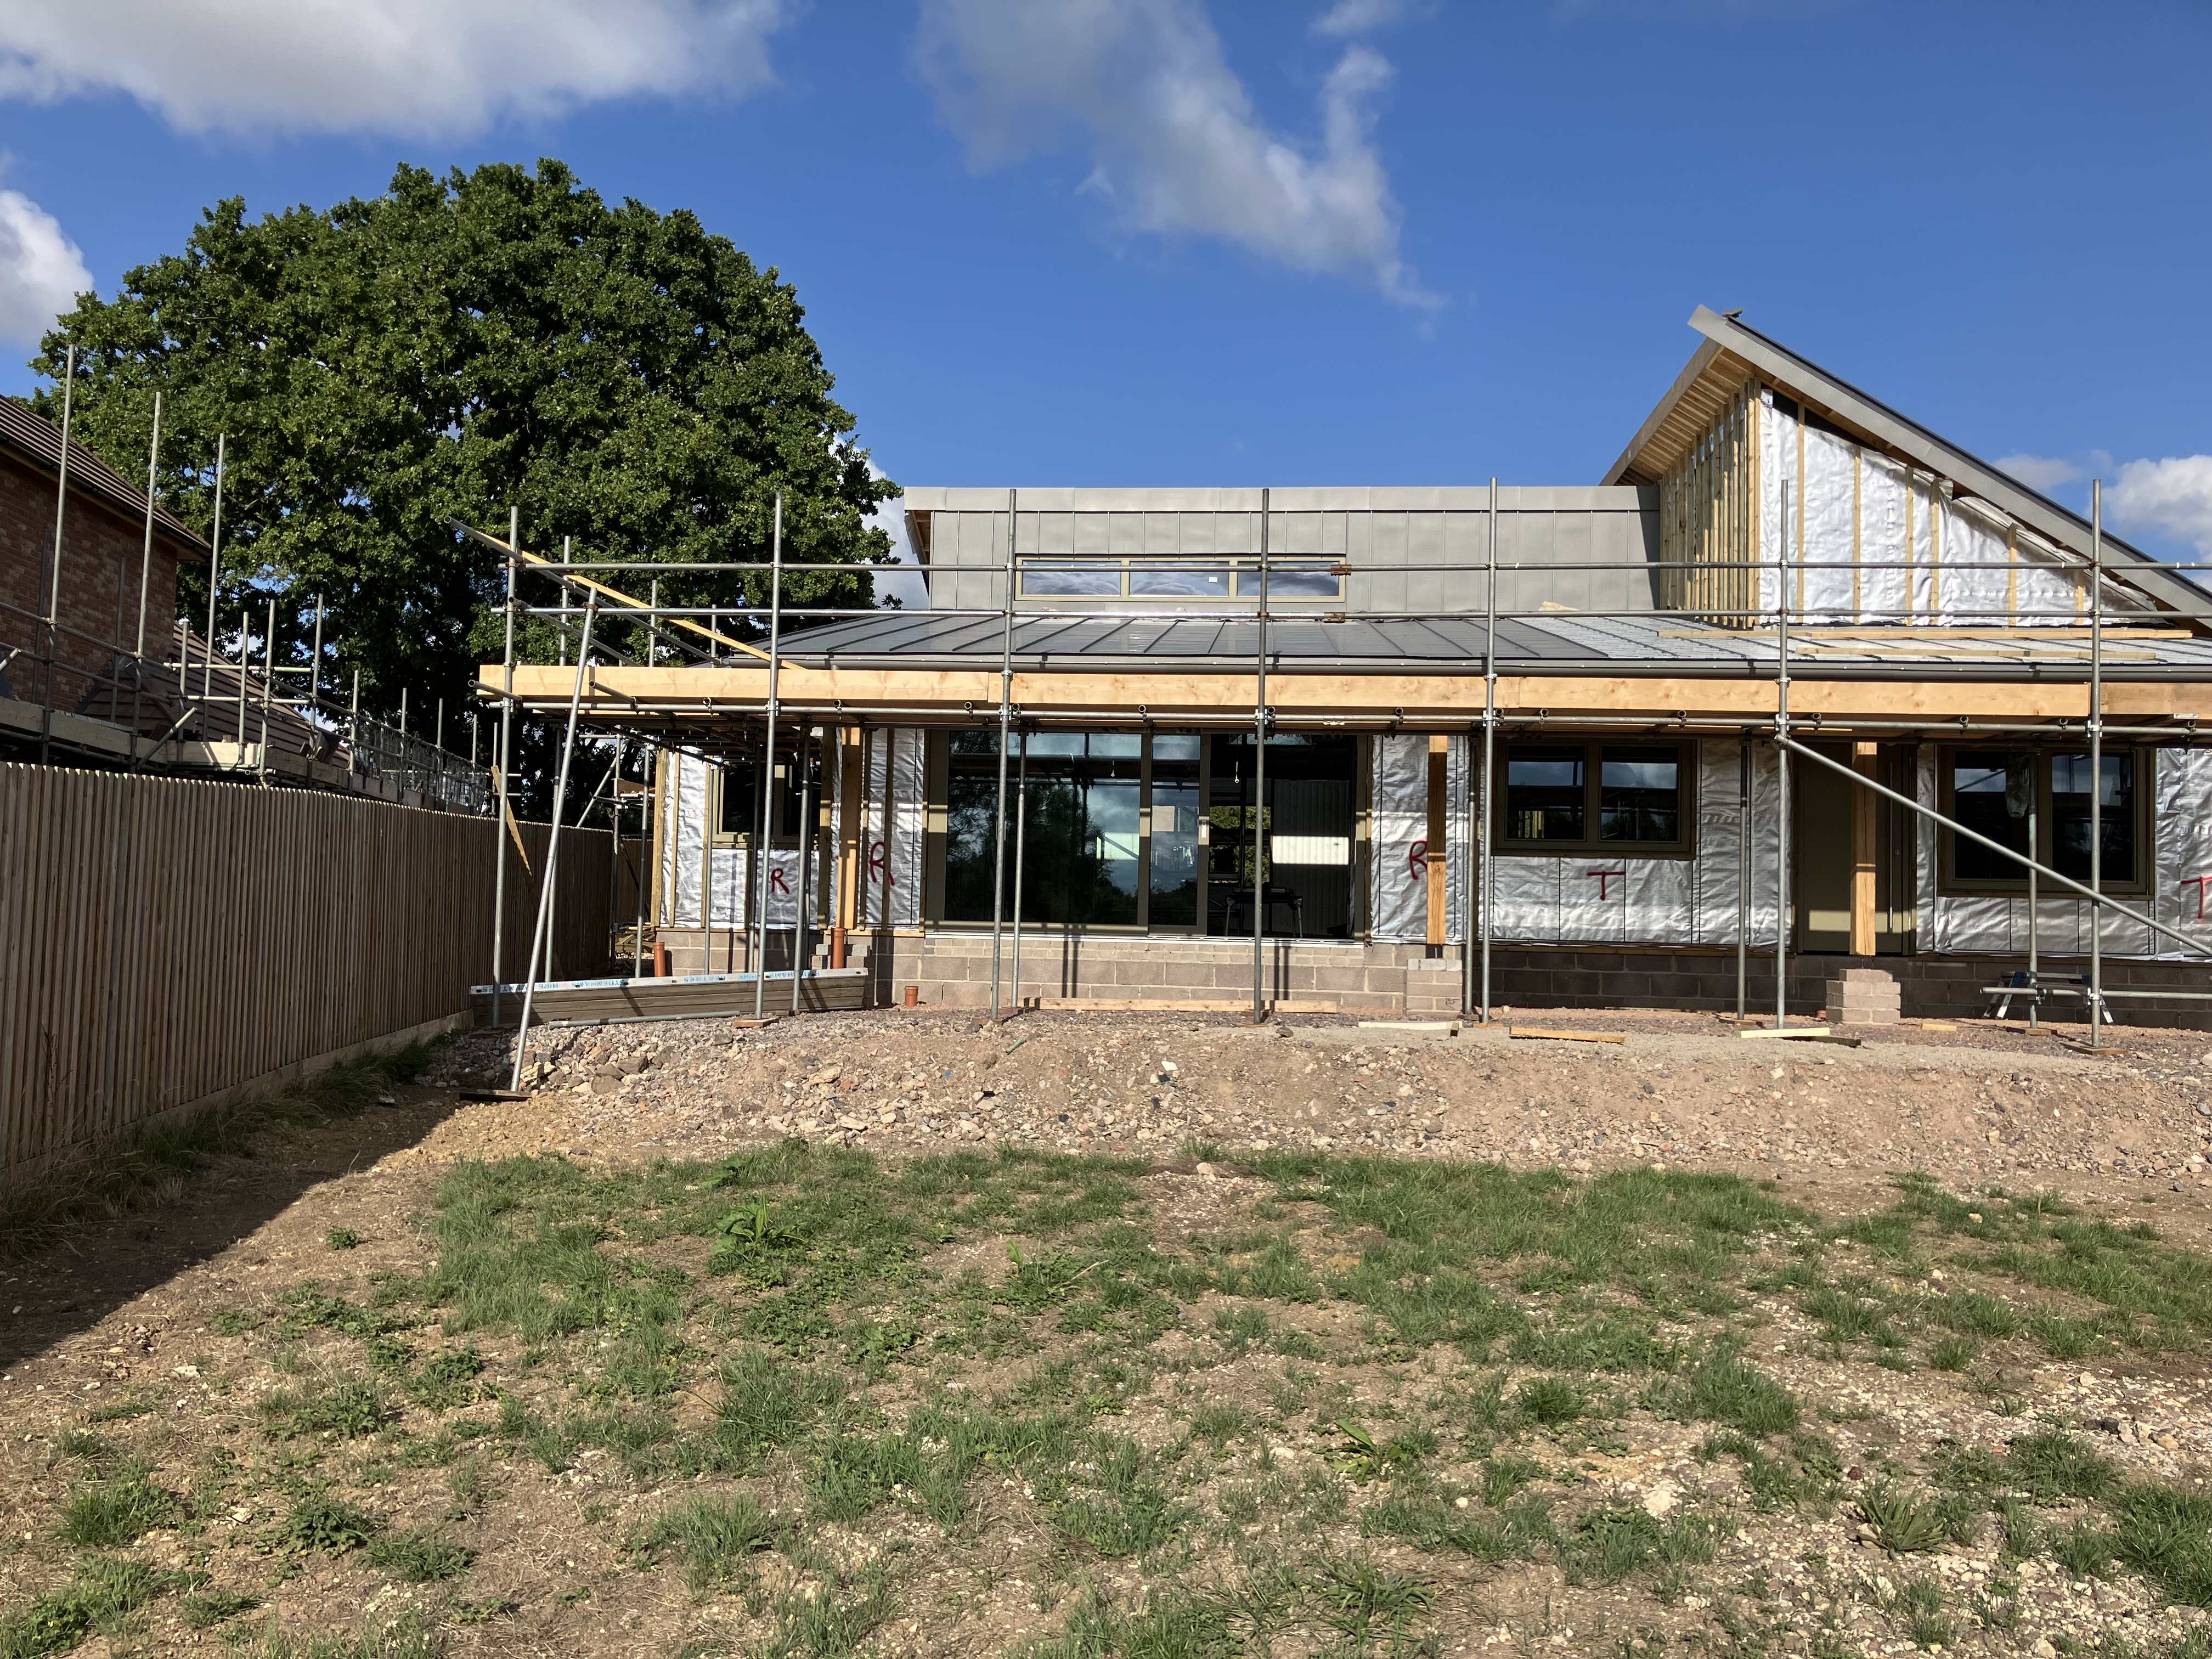
The slate edged, solar panel roof was finished this week too and now only needs the zinc mono-ridge capping/facia to be fitted (tomorrow) for the roofs to be complete.
Insulation
The team from Cornwall were back this week for what was supposed to be week two of two, to membrane and insulate the insides of the external walls and the underside of roof (below the blown cellulose layer). Progress has been slow for a number of reasons and the work remains a long way from complete. Still to do is the insulation on a couple of high walls and the whole of the roof.
Partly, the job has proved a lot more involved than I or the contractors realised. Also they were delayed this week by other work over-running, sickness, and a funeral.
On the one hand, given it’s a fixed price contract, we should not be too worried. But there is a potential impact on the schedule downstream if this work is not complete by about the 3rd week in September. And for the next 3 weeks our focus shifts to the floor: fixing the DPM, insulation and UFH pipes, then pouring the screed. So there is no access inside the house for the wall/roof insulation team until about 8th September.
I can see this getting messy but for the moment we are trying to keep to the current plan which leads to the plastering starting on 6th October.
It might be time to fire up Steve Jobs’ Reality Distortion Field (well, it worked for him... until it didn’t).
Mistakes - I’ve made a few…
Here’s a good one: We planned to fit an external blind to the master bedroom window, partly to keep the solar gain down and partly for blackout purposes. The idea was that the blind would be hidden in the timber cladding, out of sight when not in use.
But despite poring over drawings and designs endlessly, I failed to spot that the roof canopy has a return beam that comes in 20mm above the window reveal - so there is no way we are going hide a blind cassette in there.
I’m not actually sure what that beam is doing given there is no weight hanging off it and surely the roof trusses provide enough of a horizontal tie for the oak post? It’s probably too much effort to challenge or change now though and Mrs P. and I both feel we can live without an external blind there (and fortunately our Part O Overheating assessment did not take the external blind into account but listed it as an optional improvement).
Other mistakes are either too minor, or too embarrassing to mention.
Stress
Yes, I can confirm that running a self-build is pretty stressful - on a par with the stress levels I used to experience running big IT programmes, I’d say. I won’t deny we’ve both had a few sleepless nights worrying about what’s happening tomorrow, or the day after, or next week...
Still, every task done is one we (hopefully) no longer have to do.
Dashboard:
Contractor days on site this week: 26 (that’s our record week!)
Contractor days on site since build start: 192
Budget: No change, running slightly over.
Plan: On track to move in by Easter 2026.
Issues and worries closed this week:
- The windows are in! Our scaffold issues haven’t held the window installation up (though the scaffold itself did fortunately hold the window installers up!)
Current top issues and worries:
- Insulation - still lots to do, increasing potential for the dealys to impact our overall schedule.
- Scaffolding - still a worry, although we do now have a provisional date when the scaffolders plan to take the scaffold down, so fingers-crossed that holds.
- Scheduling future deliveries: insulation, battening, cladding, render boards, MVHR, UFH kit, ASHP, HW cylinder… all due in the next four weeks.
-
 7
7
10 Comments
Recommended Comments
Create an account or sign in to comment
You need to be a member in order to leave a comment
Create an account
Sign up for a new account in our community. It's easy!
Register a new accountSign in
Already have an account? Sign in here.
Sign In Now