
Pocster
-
Posts
14418 -
Joined
-
Last visited
-
Days Won
29
Everything posted by Pocster
-
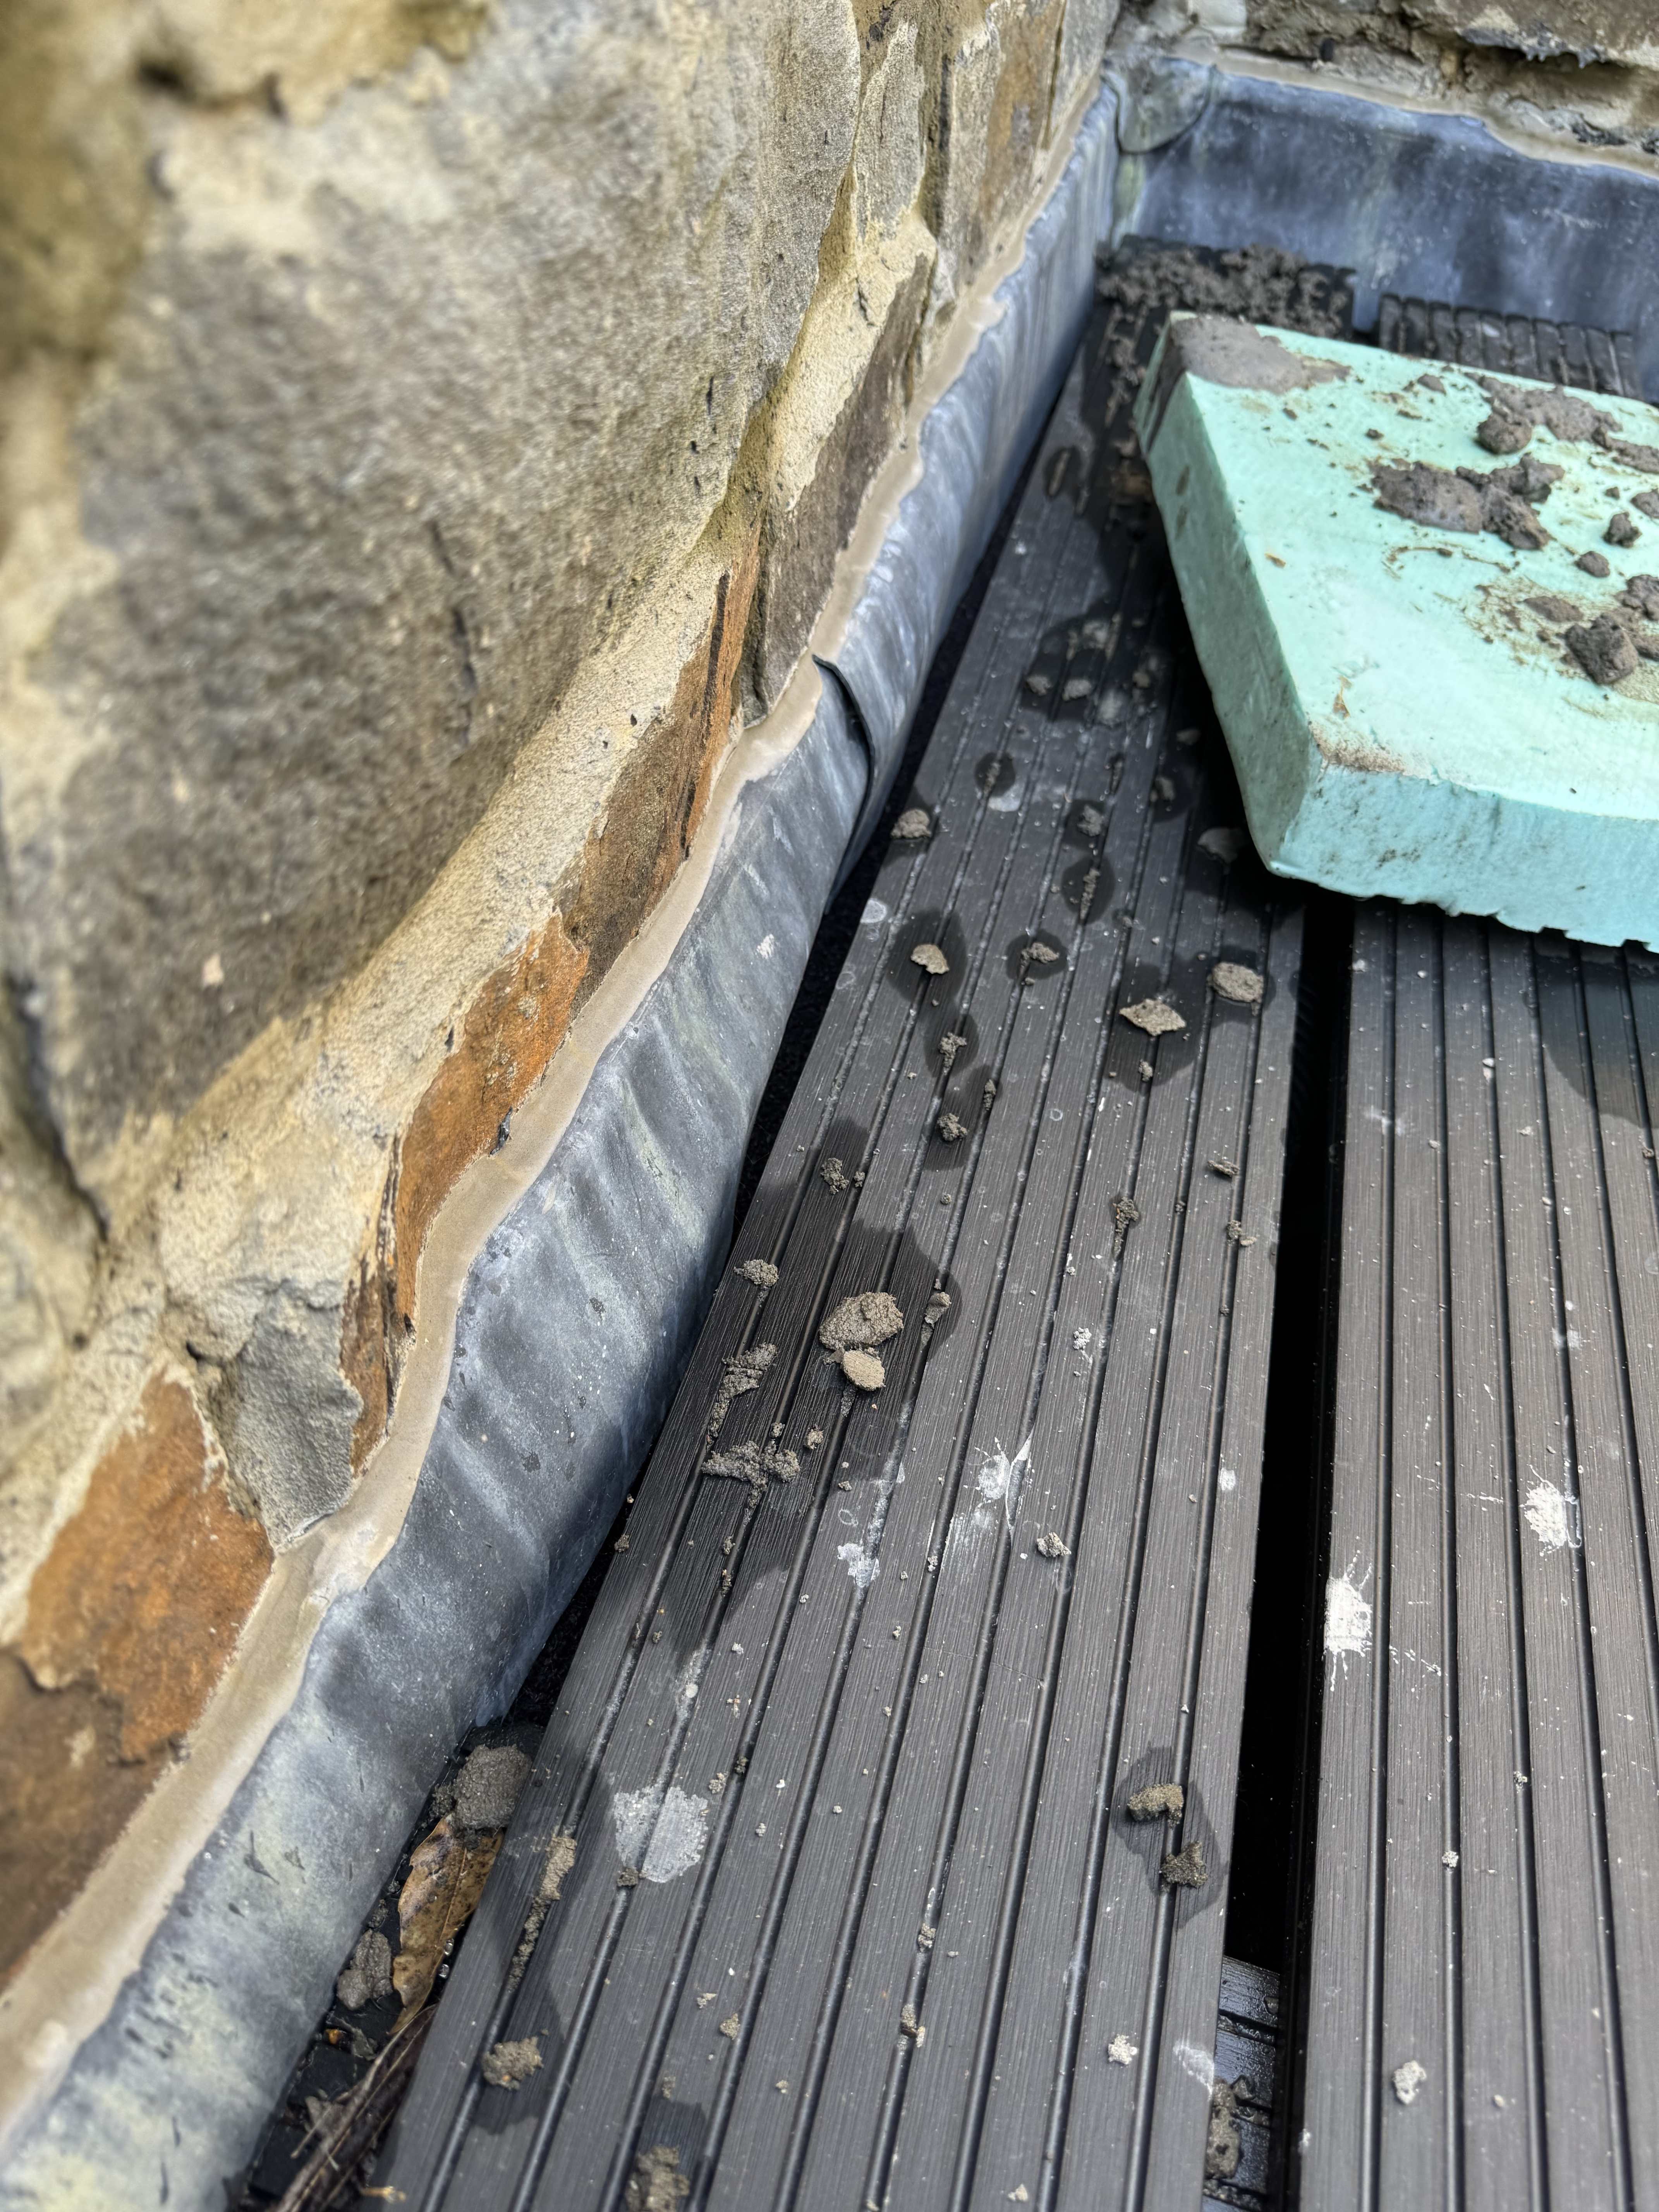
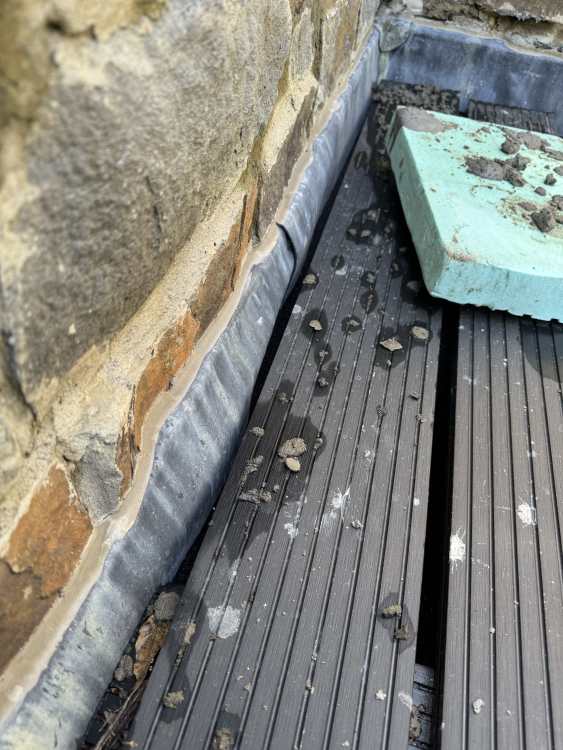
Assume that seams the issue . Just fill with ct1 ? Notice the roofers ‘gunk’ where the seam goes into the angle grinded wall slot is slightly recessed compared to the rest ….
-
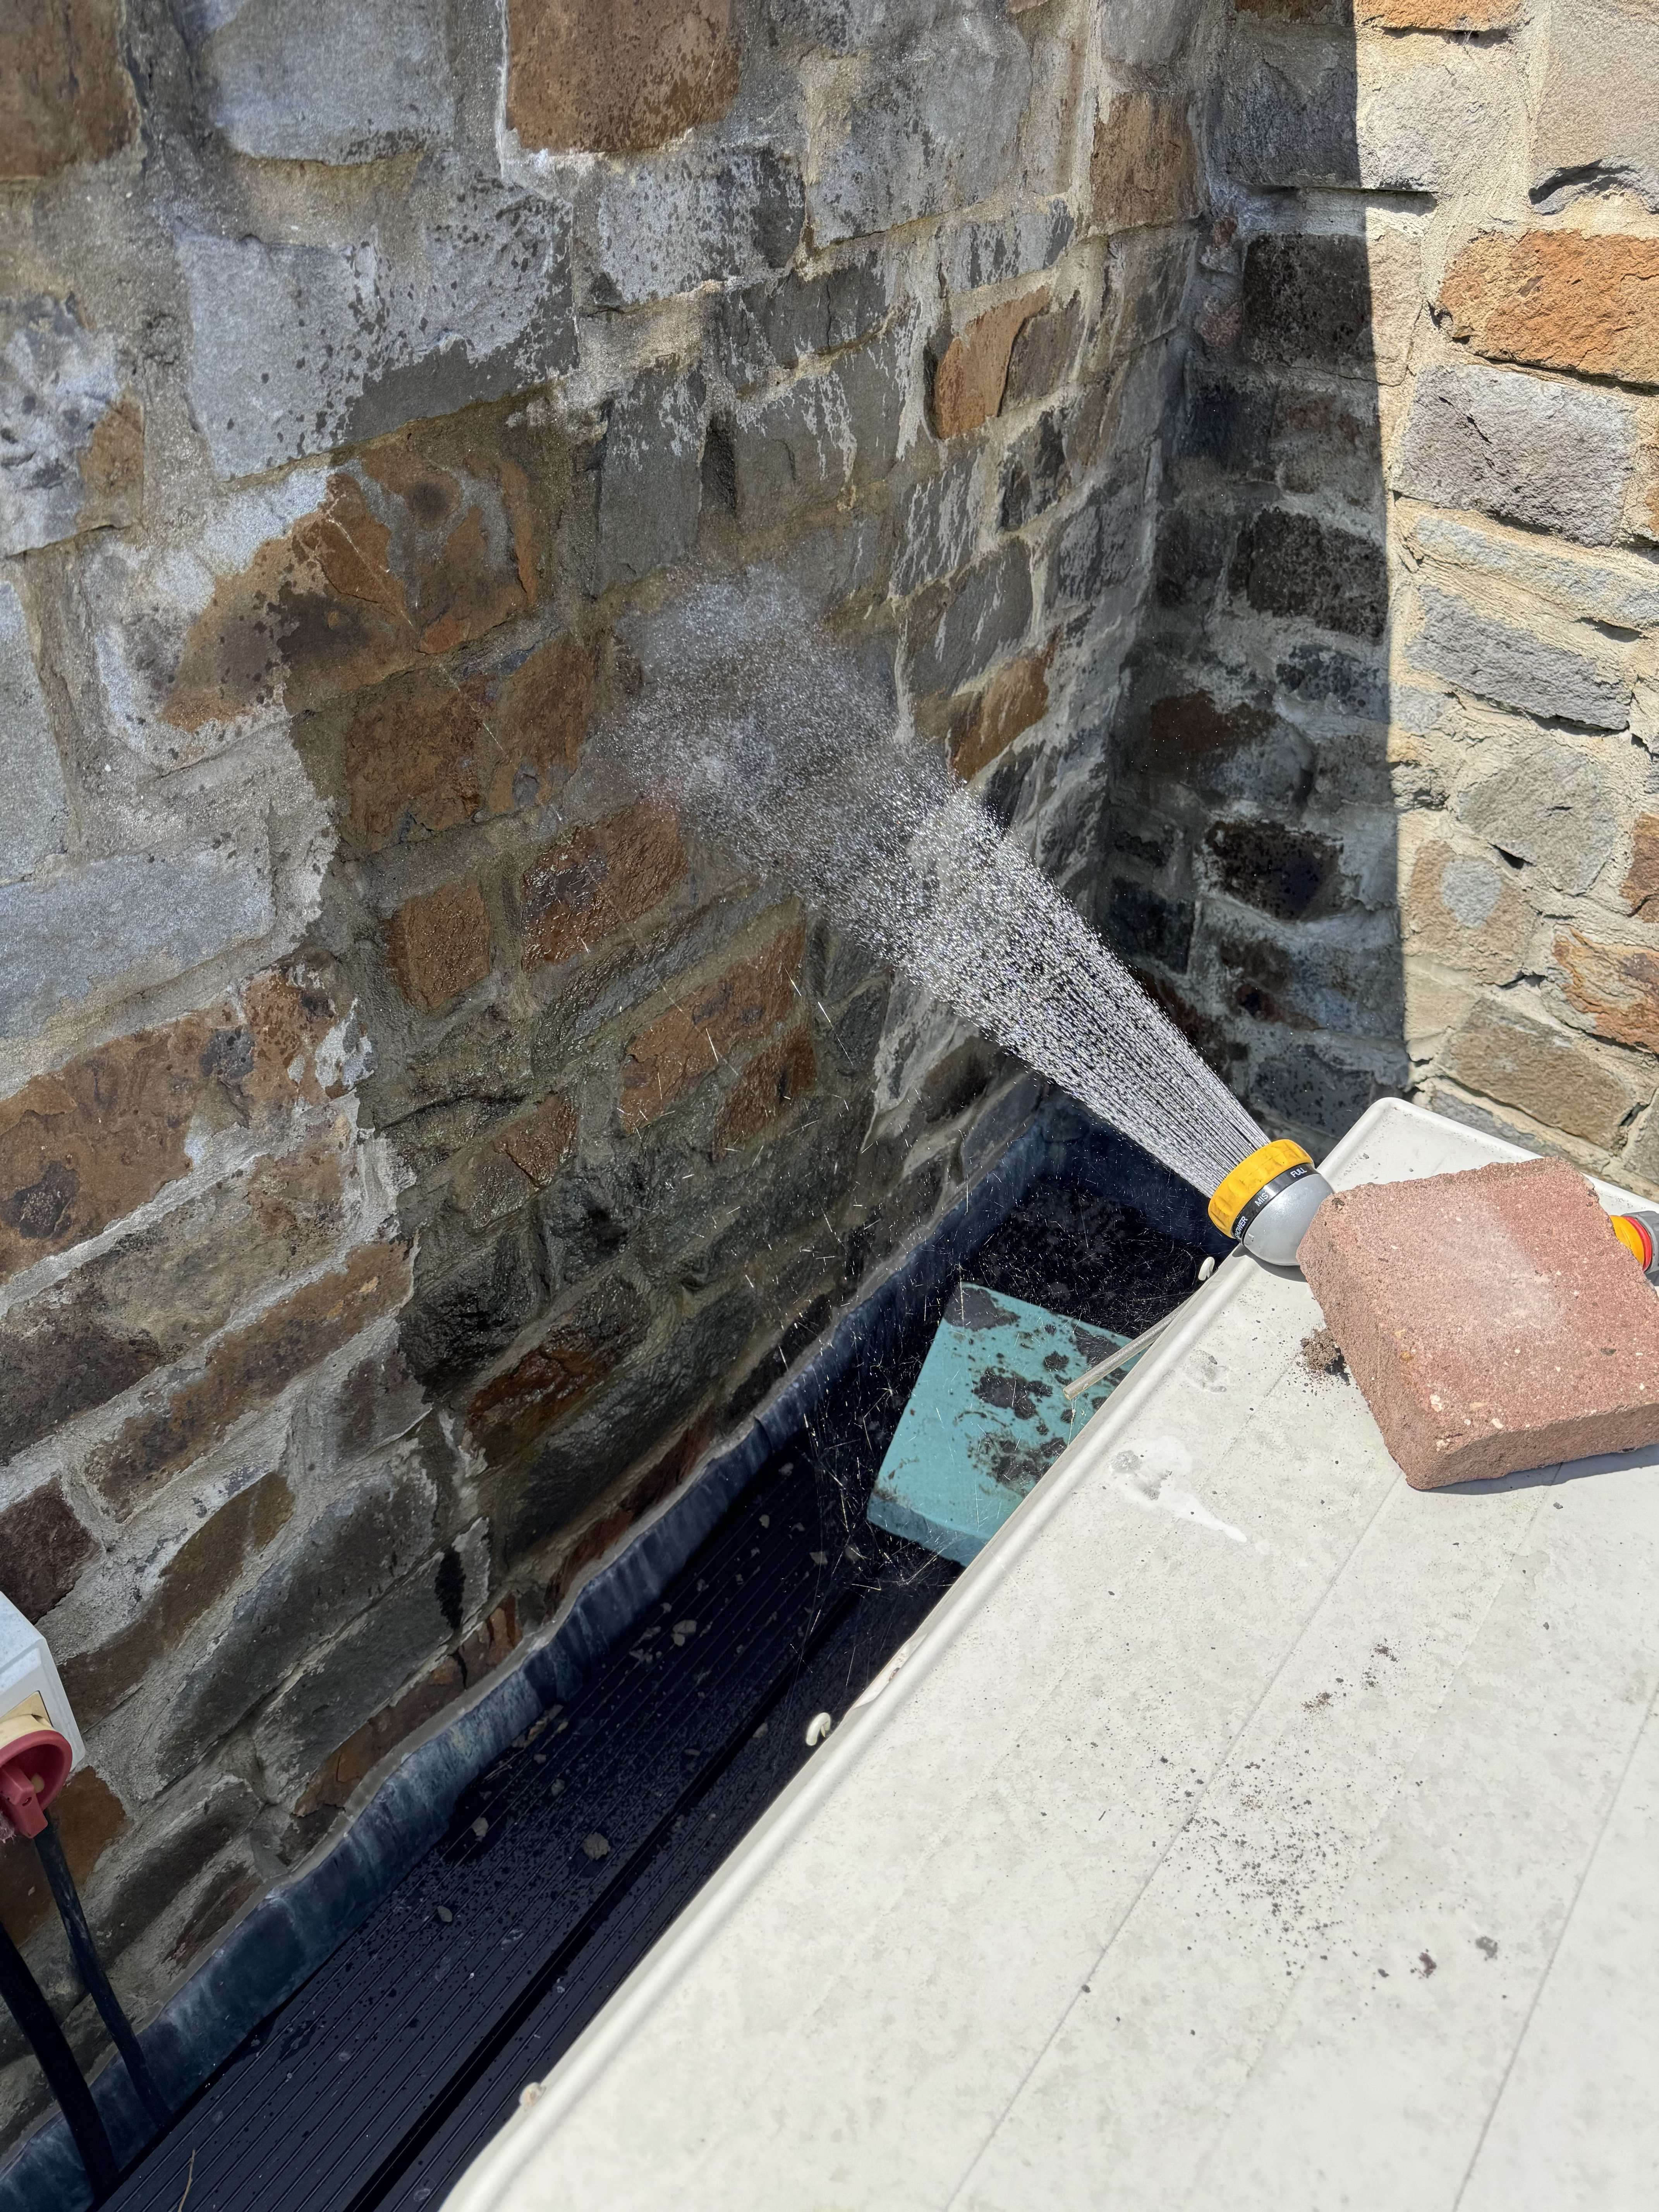
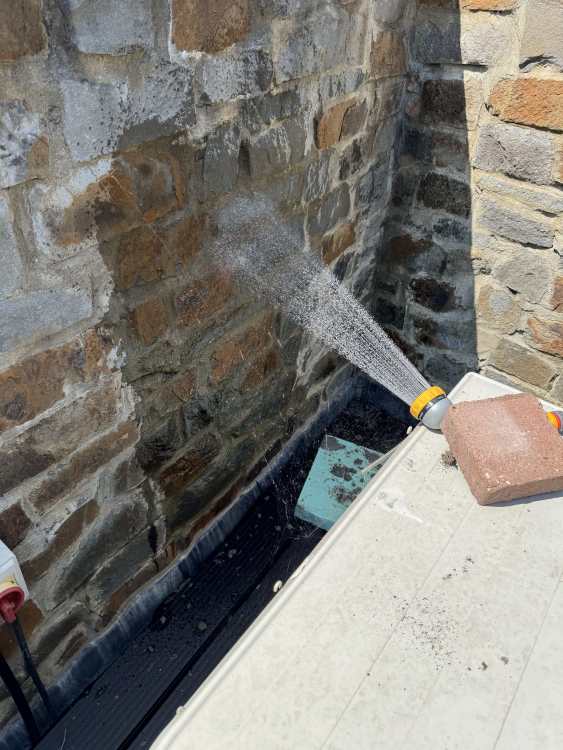
Ok ! This area . Jet on it for 15 mins - leaks It could be the flat roof damaged underneath the decking . But , that flashing seam looks like a possible candidate!!
-
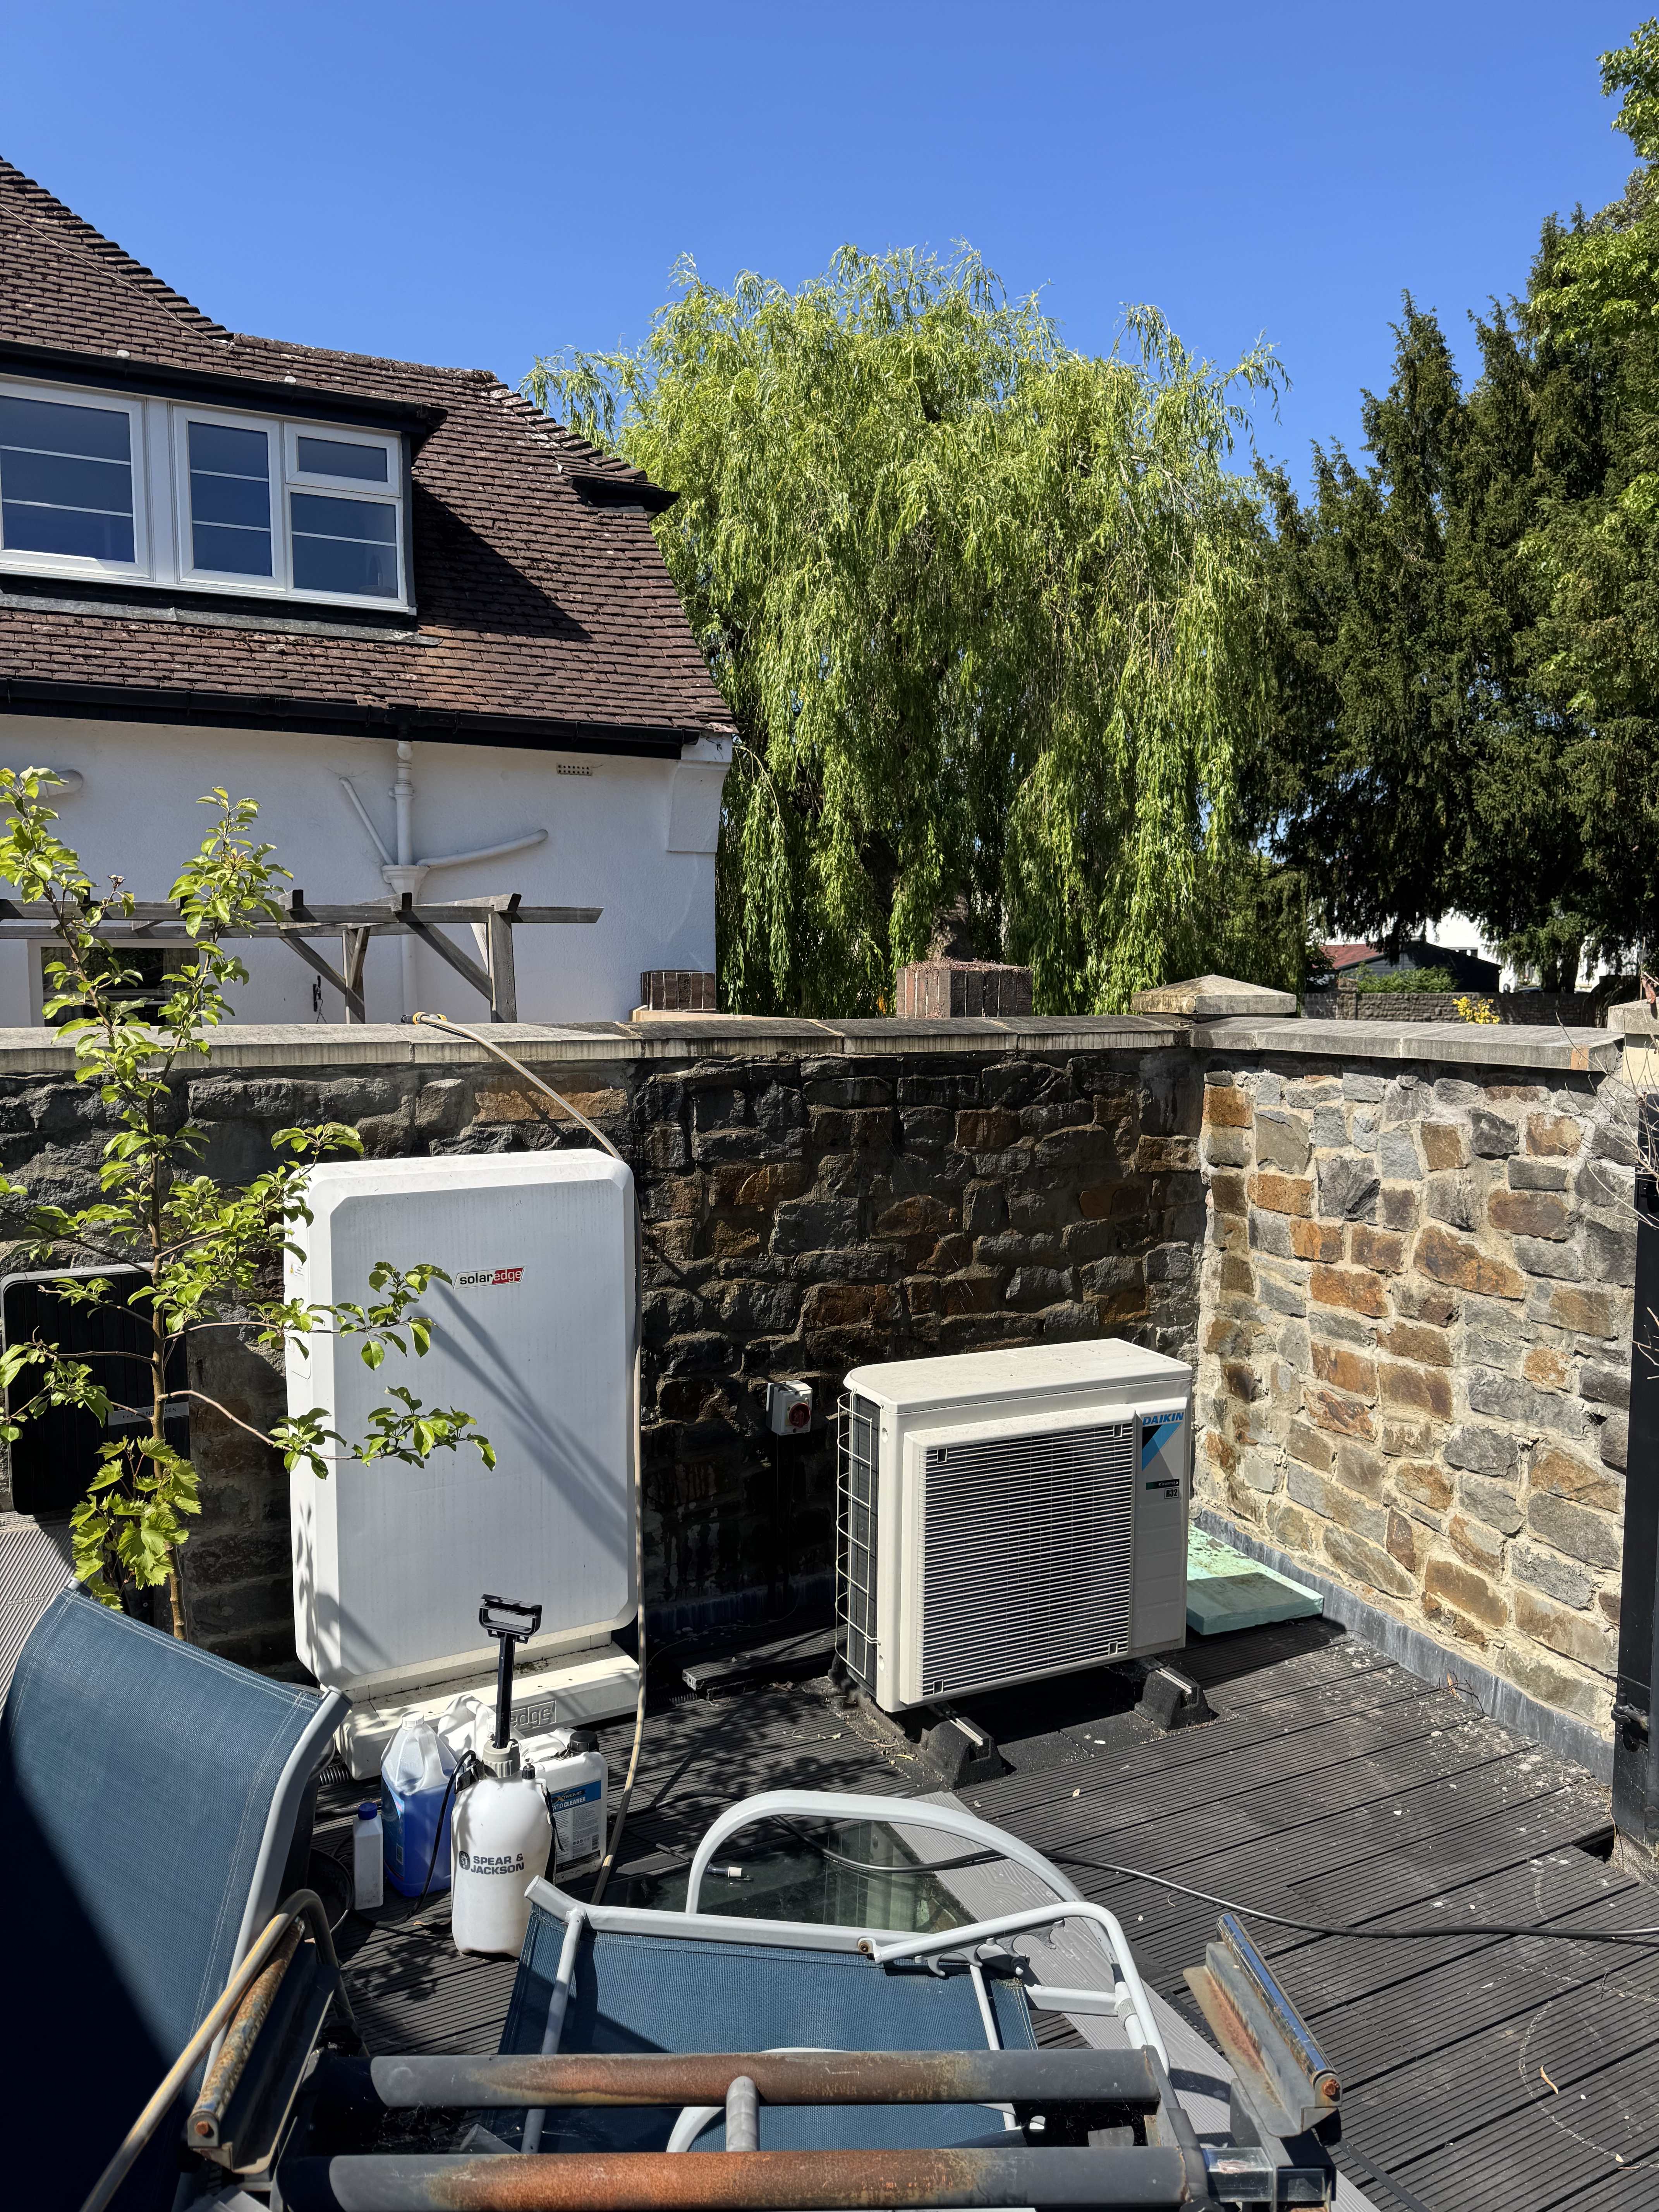
I made the (expletive deleted)er leak !!!! Been hosing various areas all day long with no joy . So can’t be certain of which bit tbh - but all areas tested today in the same area !!
-
So someone needs to buy them ! Not expensive !!
-
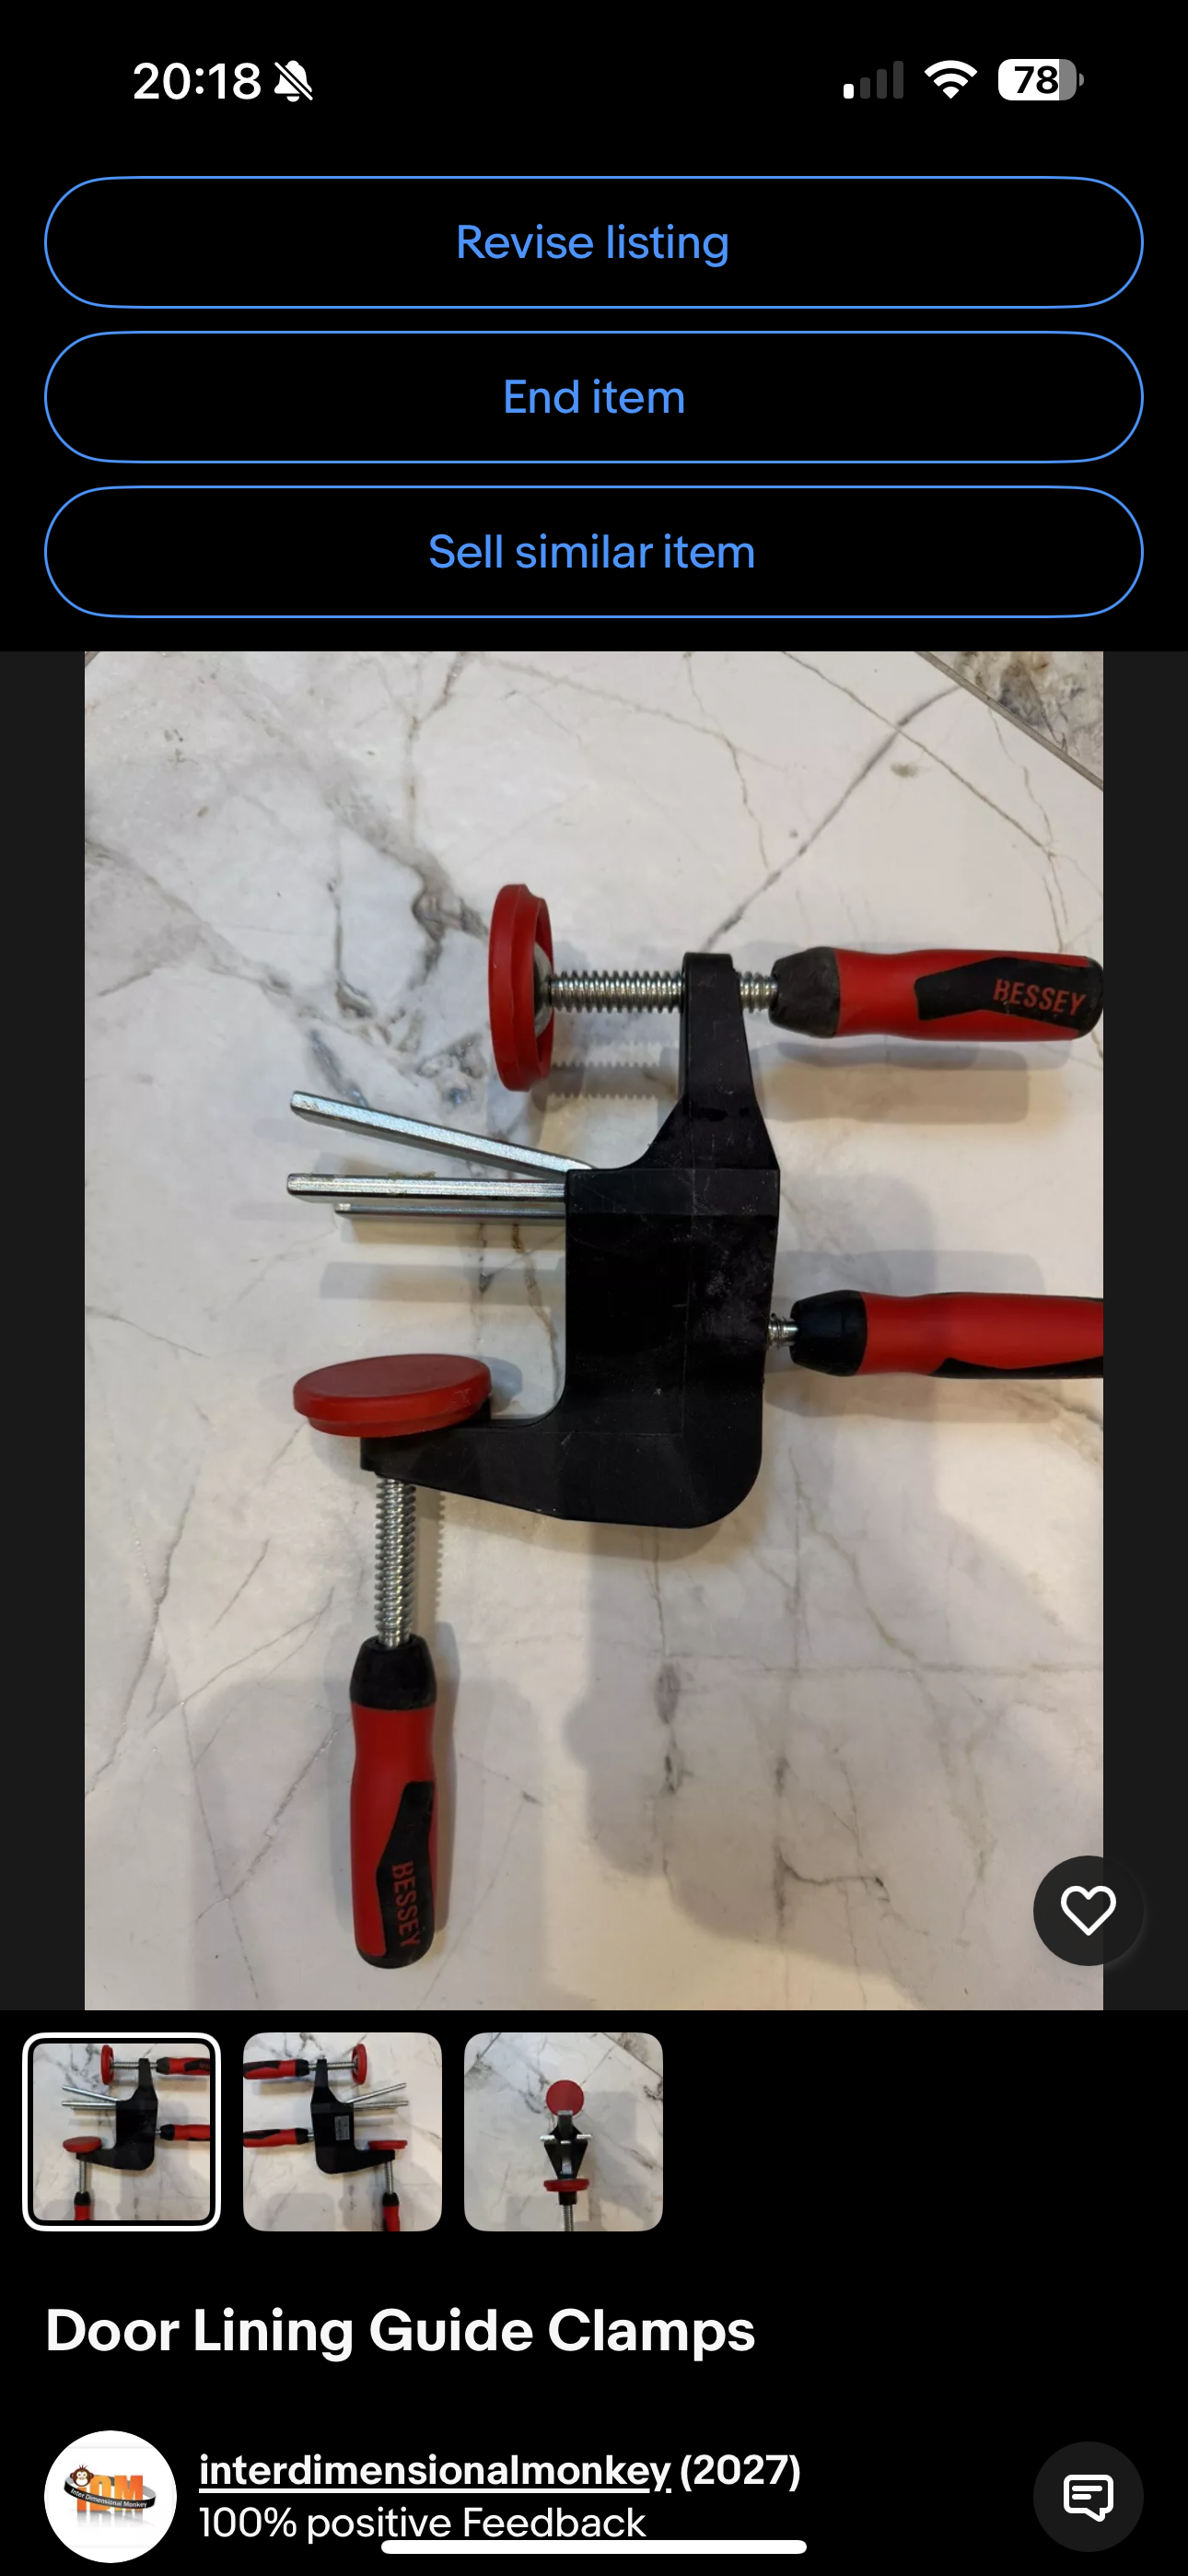
Of course . These are much easier . Effectively acting like packers but you can adjust as you level the frame . Much easier with these .
-
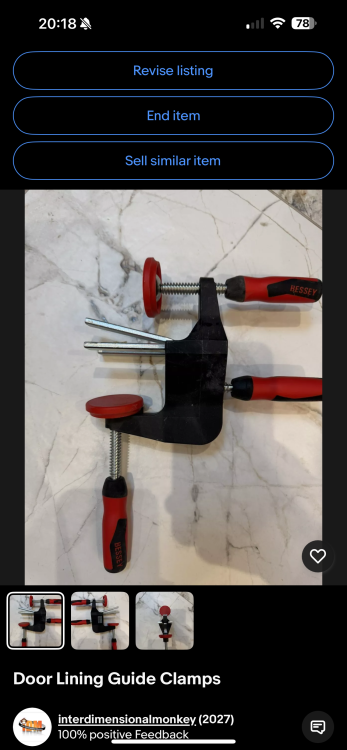
I think no one gets these . I did 6 door linings with them . 1 at top on each side and one at bottom . Go between the lining and the wall . Allows you to move the lining in all directions to get it perfect . Then I foam around the lining - making sure to protect the clamps so I can remove them . They take a bit of getting use to but make it far simpler and allow you to get it level in all directions so all your doors close nice 😊
-
You need my clamps aswell ! . They are for door linings - makes it much easier to get them level in all axis .
-
You need my door liner clamps . Perfect for this ! Got 4 of these …. For sale !
-
In the wall !!
-
Determined to fill all the cracks
-
Plenty of rain last night ; and still leaks 🫤
-
Have now hosed all the walls - nothing . Looks like we’re due heavy rain tomorrow- so the ultimate test !!!
-
Hmmmm , re adopted everything now the connection is showing as Gbe for everything . This parent thing ( after googling ) seems not to be a real topology thing - so…… I ignore it !
-
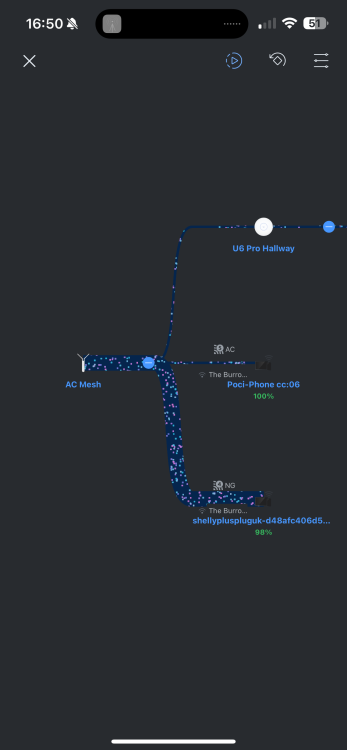
This - topology connection diagram - confusing or correct !?
-
I'm confused! These 3 devices are all plugged into the same poe switch. Yet 1 shows Gbe and the other just E, why? Also what's all this parent thing - I can get it to change ; but surely none of them have a parent as all supposedly backhauled????

-

Newly laid tiles have edge cracks
Pocster replied to AlanMeadows's topic in Roofing, Tiling & Slating
+1 on the membrane hanging in the gutter - that’s wrong . Membrane will soak up water and rot . -
Where is the kWh price heading in 2022?
Pocster replied to epsilonGreedy's topic in General Self Build & DIY Discussion
I’m ok - the Chims can watch me free from Only Fans . -
Hosed that front wall today for a change . Nothing ….
-
Yeah I did think that . How much is ‘enough ‘ ……
-
Taking shrink wrap off too late
Pocster replied to Tennentslager's topic in Kitchen Units & Worktops
I had some protective film on my glazing for 3 years . It was tricky to remove , and yes *gently* with a hair dryer ….- 1 reply
-
- 1
-

-
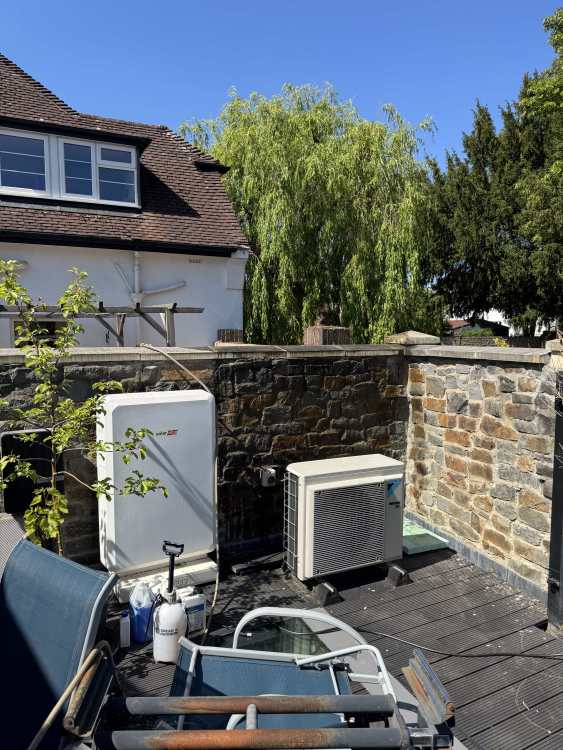
No leak on that section . So will do the wall part before that I.e roughly 3 coping stones worth of. Work my way back to my corner . Then if still no leak work across that part of front wall towards the gate . I hose each section for 2 minutes ….
-
@pudding I know I really need a new pie cable outside . But my house leaks without me drilling more holes 🤣 I think I can cheat and get one through via a different route. The ac m is out of stock in uk ( like most Ubiquiti stuff ) - but I’ve got one coming from Amazon eu in a week …
-
It’s all dried out . So , as it’s sunny decided to shower a section a day with the hose for 2 minutes . 1st section done , now wait …
-
What did you use ??
-
Your atmosphere must be better than mine ! 😊 Had issues with lots of rj45’s outdoors on cameras etc . Outdoor cat5 cable . Tests fine . Only thing that’s surviving is a ip camera with a fly lead female rj45 ; so the male and female go in a snap shut gel box . If only outdoor AP’s had a fly lead connector ! But I’ll try the ac-m which it looks like what you have .