
Pocster
-
Posts
14369 -
Joined
-
Last visited
-
Days Won
29
Everything posted by Pocster
-
So you don’t bring in ‘external’ air ??
-
Actually thinking about it more . Where can ( must ? ) the air vent in the property be relative to the log burner ? Can I literally stick a ceiling vent in above the log burner ? ( next to the flu ) ?
-
Thanks Floor makeup can’t be altered ( ufh etc . ) I could run a pipe from the wall/ceiling below ground to upstairs ( timber frame ) then go to the outside with a vent .
-
So my flu installer is coming next week . He wants an air brick in the underground section where the log burner is to go . Going to be tricky to install underground !! - can I pipe to it ? I.e air brick above ground but pipe work to below ground ? Also isn’t this just a draft maker ? - I could block it up for the air test at the end . I guess I’m asking if you can get an air brick that’s one way ? ? ; draws air in but doesn’t let it out . Assume mvhr isn’t any help/ relevant to air flow in this situation?!? ?
-
@Onoff gets brownie points though ?
-
My filthy joke was lost ...
-
Sure I’ve had a pint in there
-
Already fixed those sides . Don’t want the end of the plasterboard hanging on thin air . Funnily enough timber just turned up .
-
Yeah 600mm centres . Seems rather wide to me . Might still do a noggin every 300mm across them all for peace of mind .
-
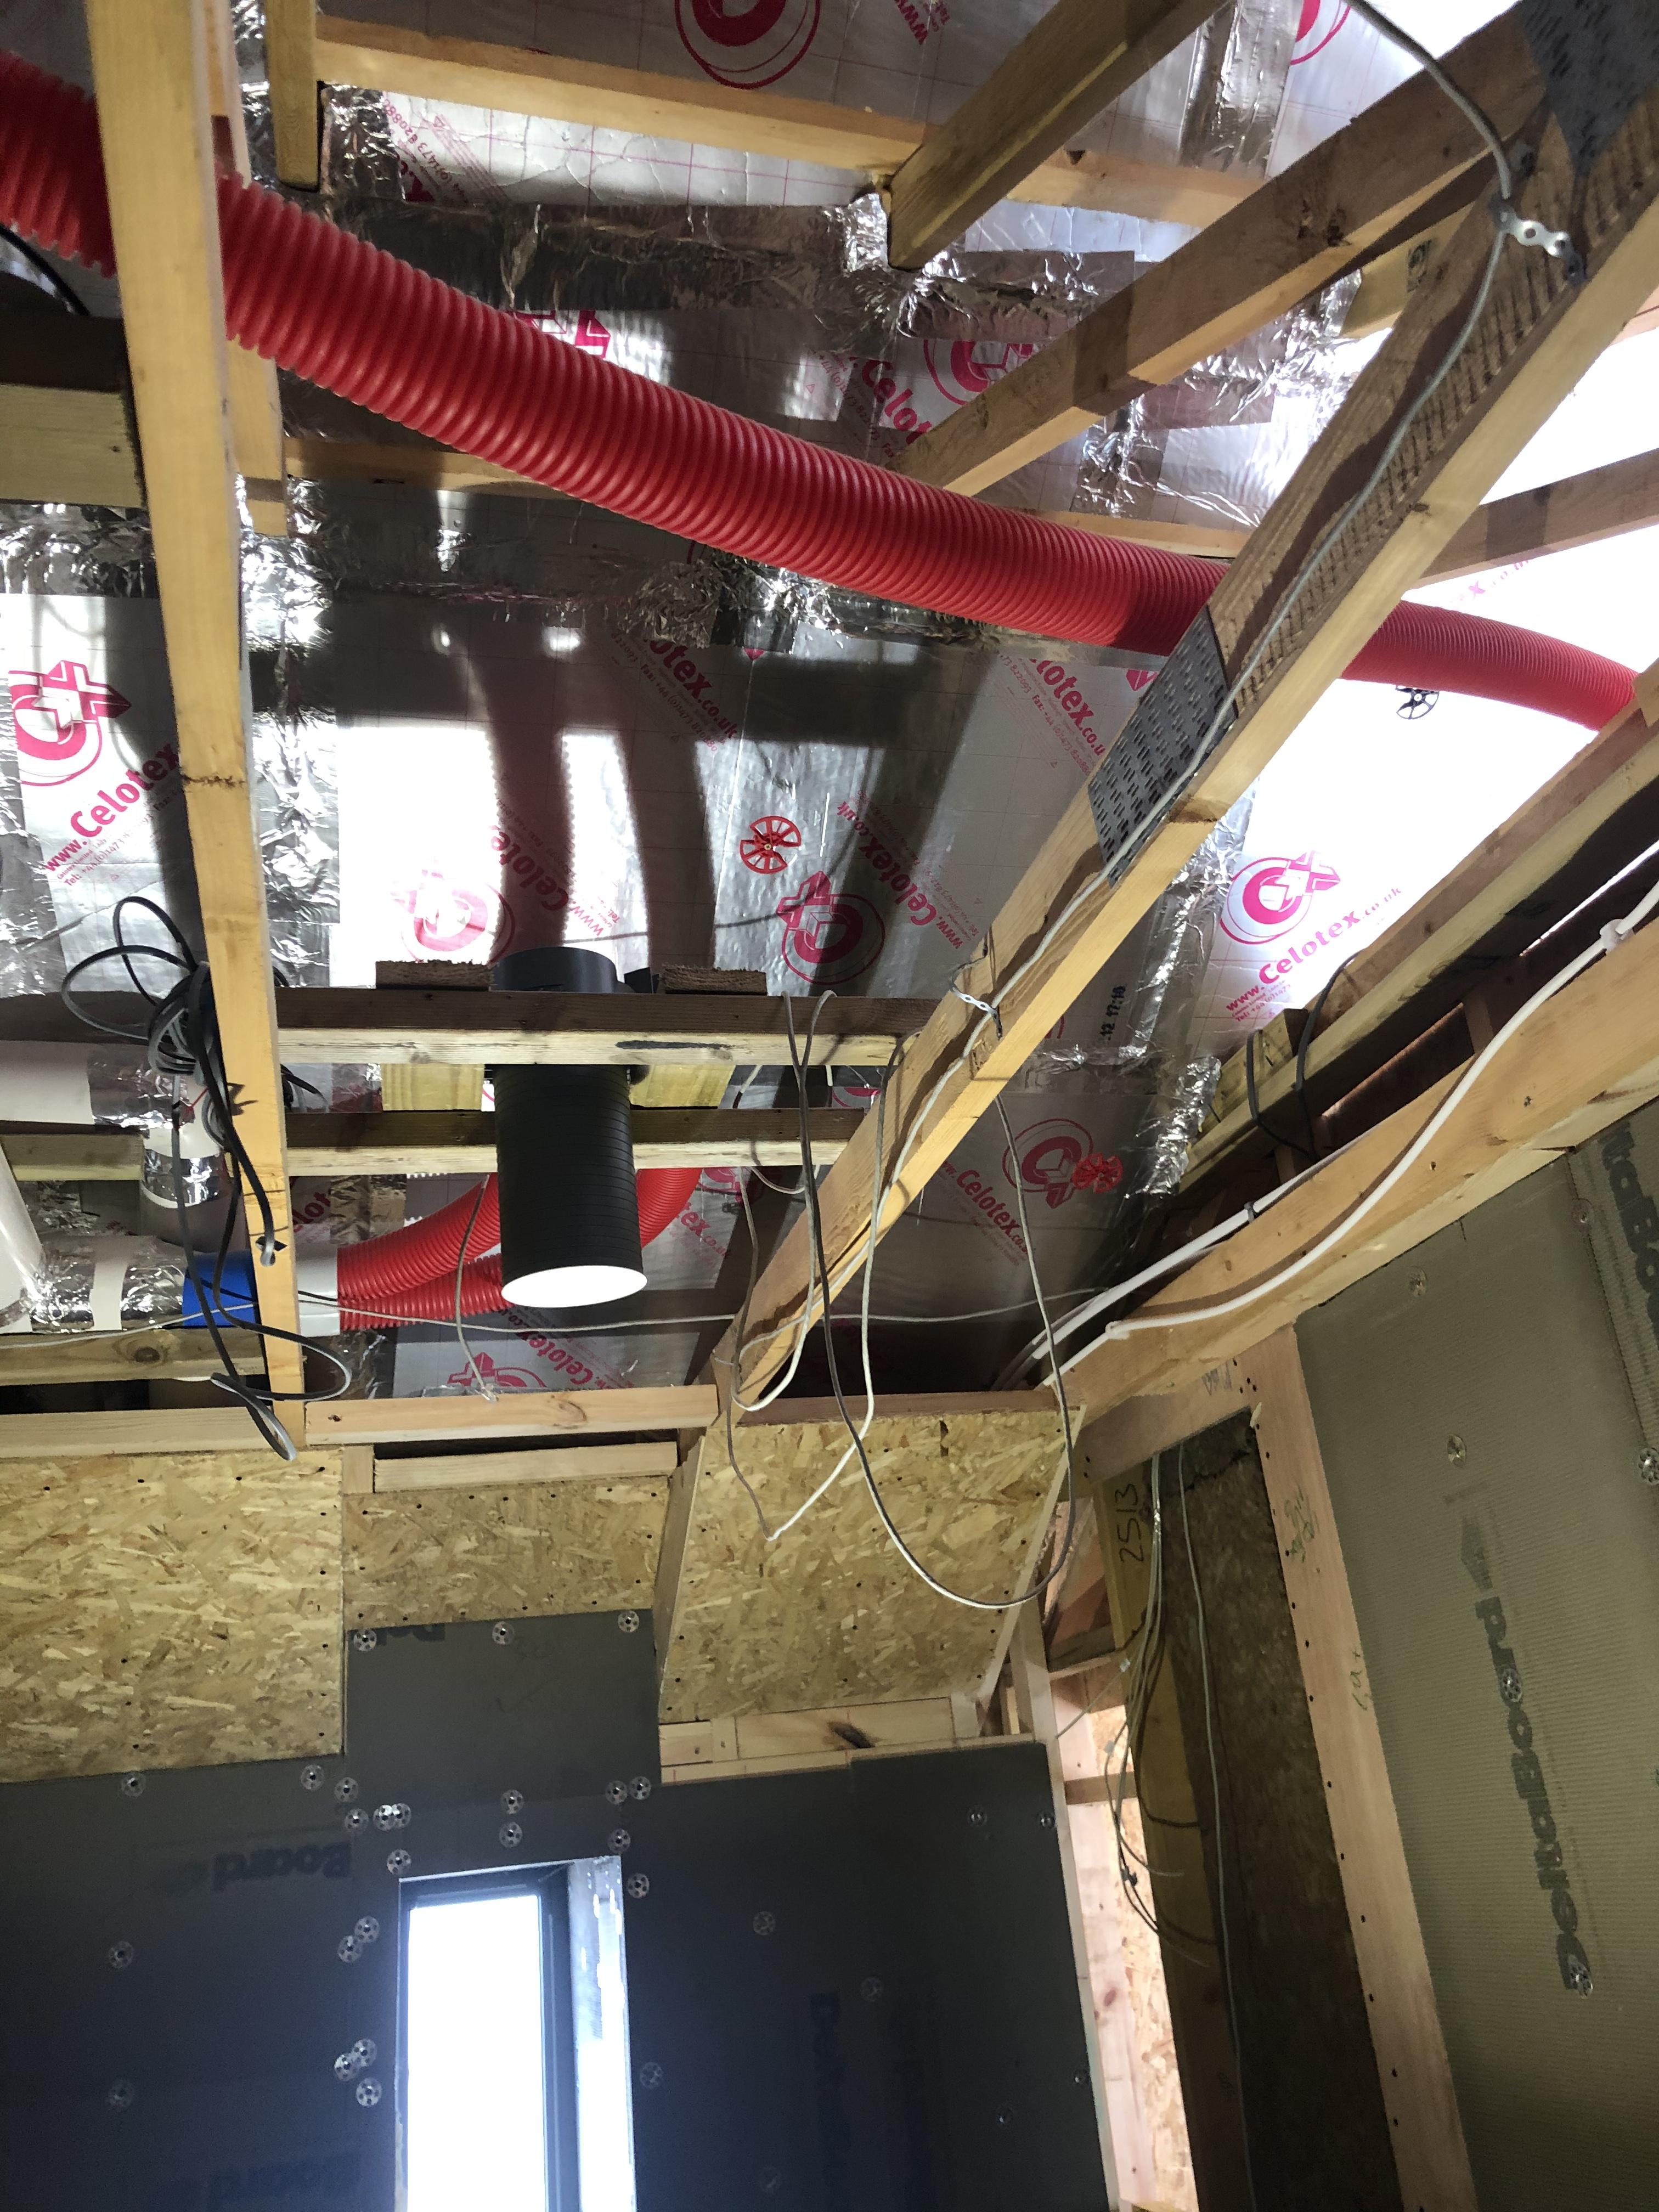
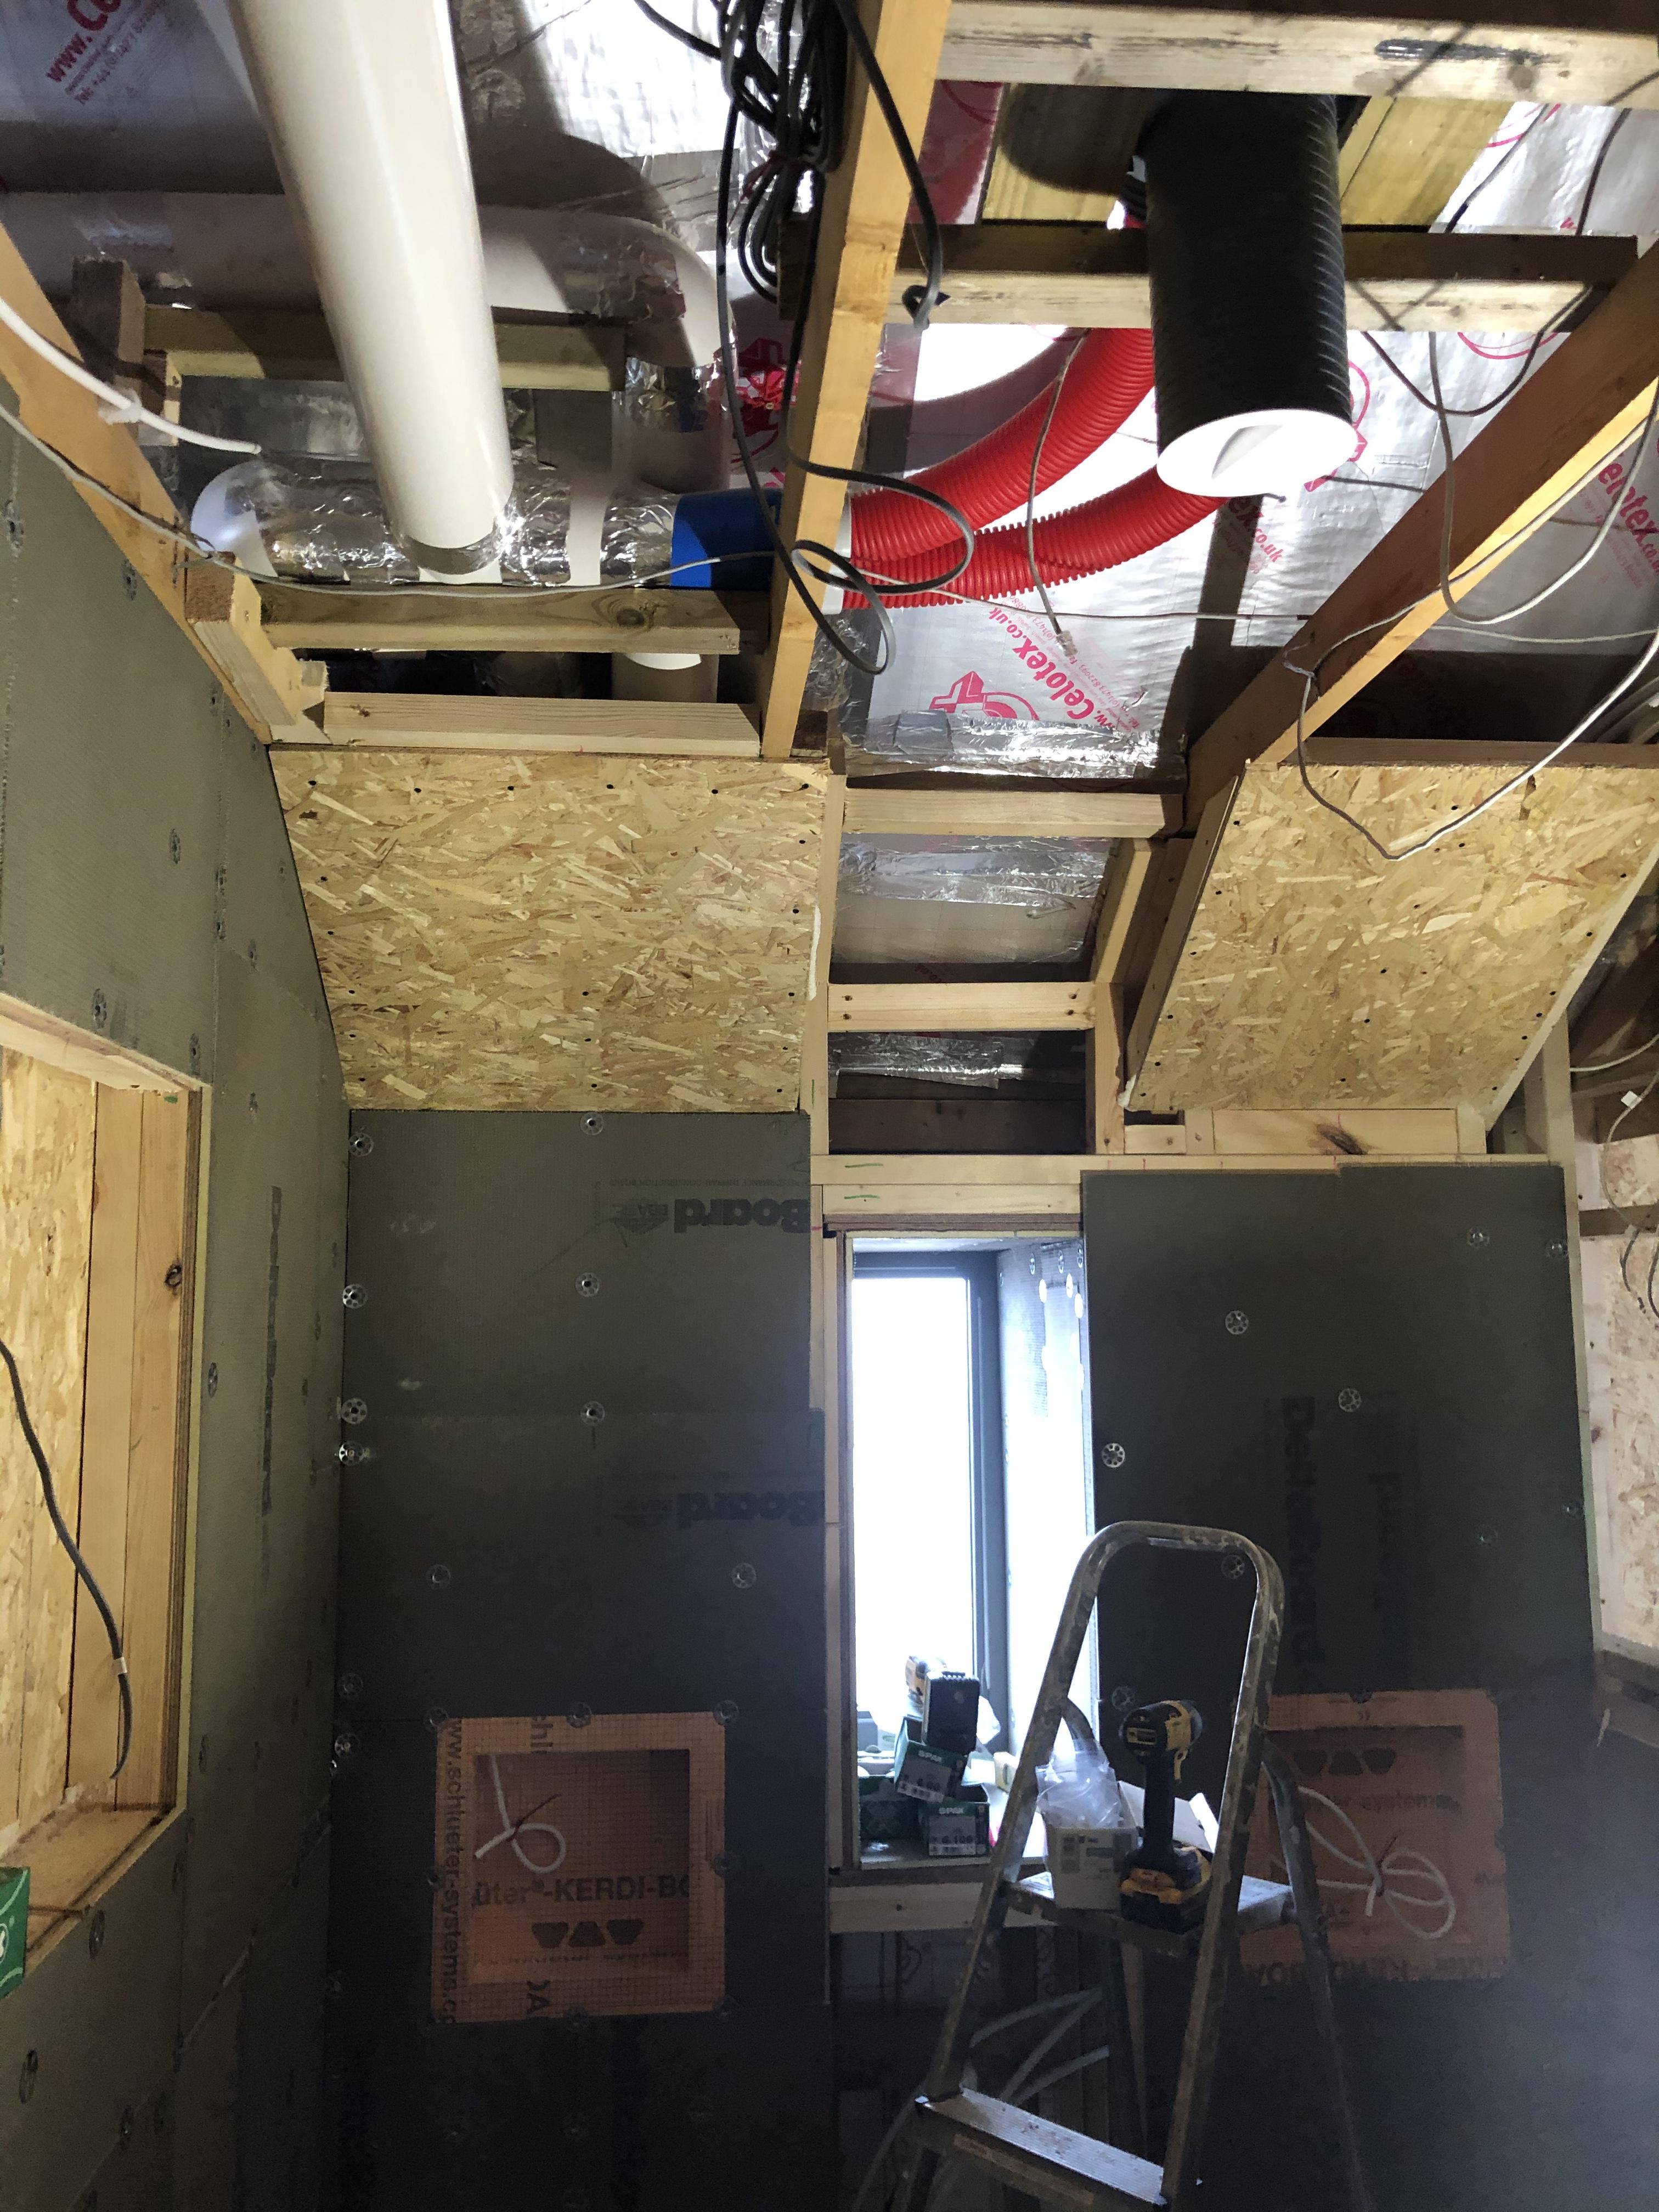
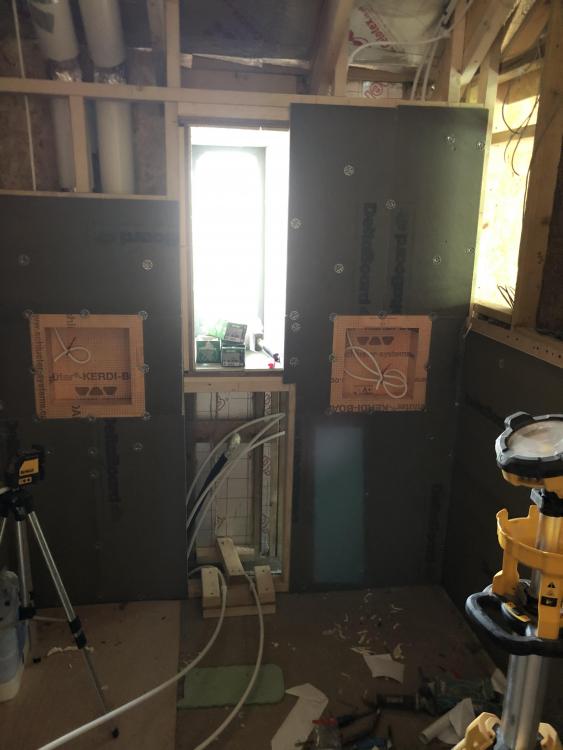
Don’t like these ceiling edges . Ceiling plasterboard would sit on nothing - shove some timber in there . Also assume I need to put noggins in the ceiling at 300mm apart for plasterboard.

-
Sorting out those awkward angled ceiling bits . Not much fun . They are at approximately the same angle now !! OSB’d them for extra strength .

-
That was such a crap joke even I missed it !! ??
-
Din rail is fanless .....
-
Yeah it’s not the most exciting video - but I was happy . Not strictly ‘ The bridge’ - but will interface to it later . More goodies tomorrow!!
-
Electronic lock tested ! Nearly wet my pants with excitement!! IMG_1290.MOV
-
You’re from Cornwall way aren’t you ? No vision - pasties and fudge that’s all ?
-
Phrased perfectly!
-
Yes
-
Yes via phone or iPad wall mounted in bathroom or indeed off other ‘inputs’ ...
-
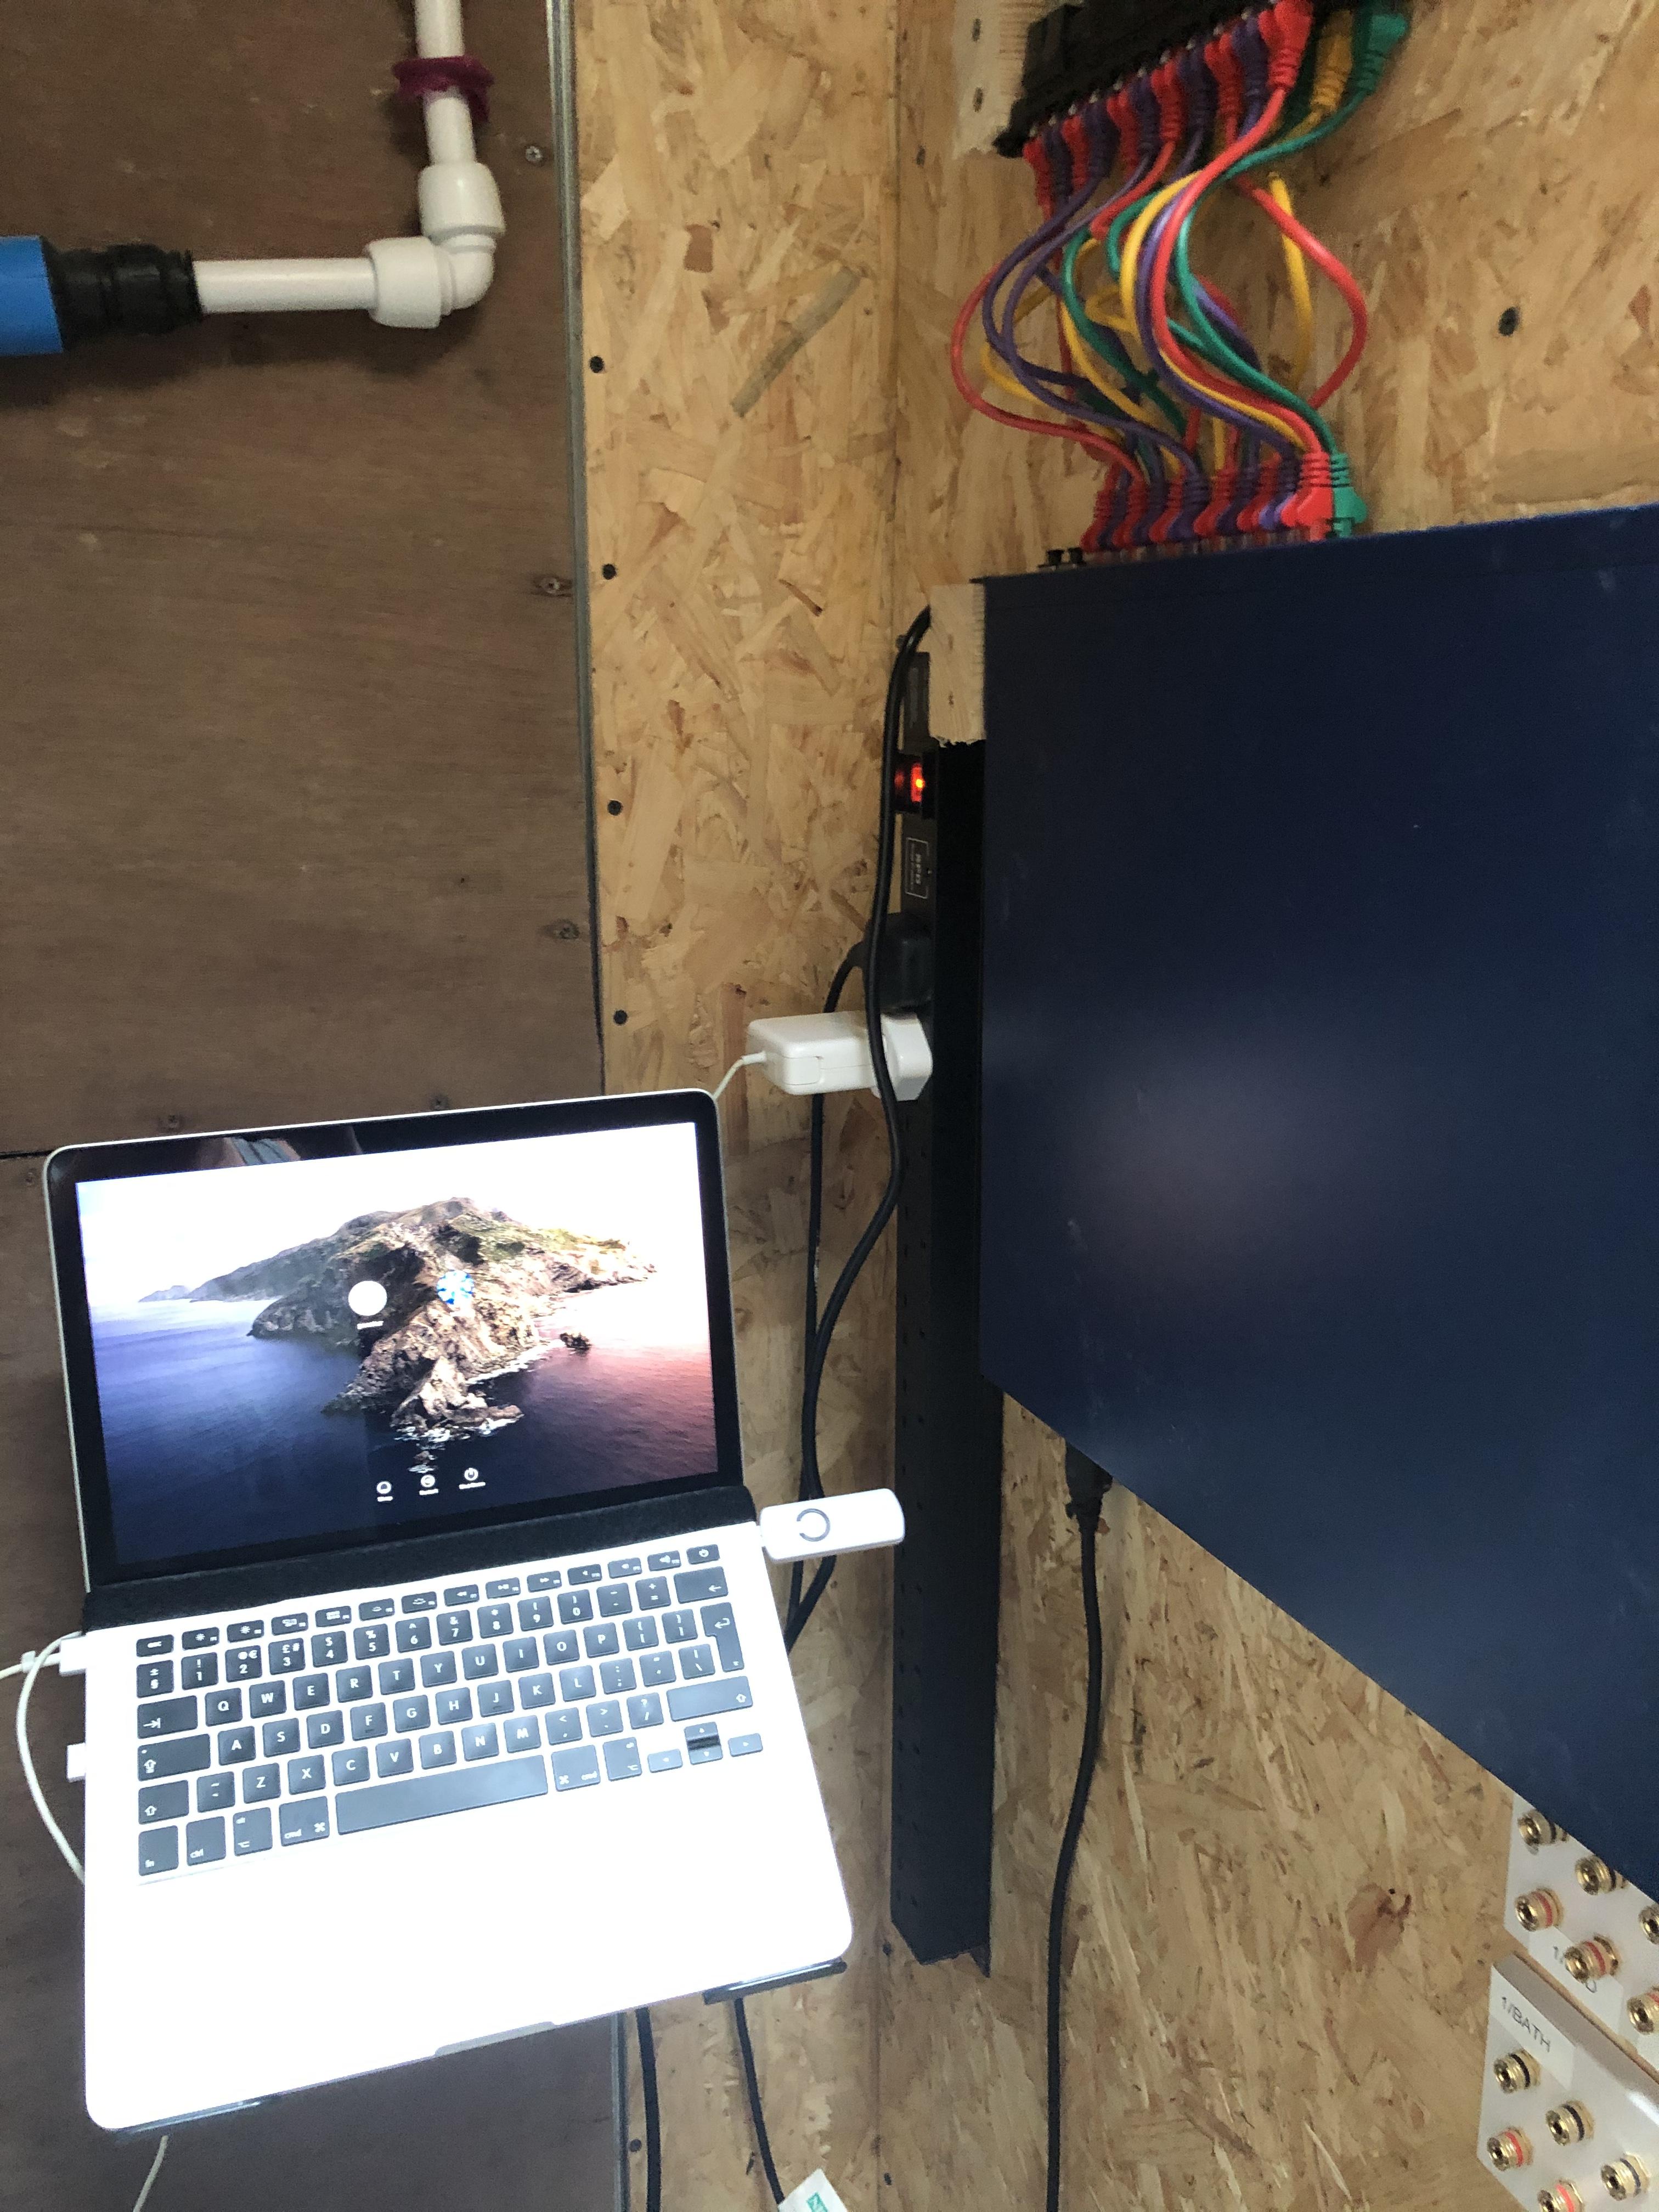
Decided some fun today ! Poe router fans all replaced ( still noisy but better ) . Mac with Z wave stick . One Qubino din rail dimmer installed ( by electrician! ) linked to one bath room led ceiling light , triggered by aeotec sensor 6 I.e movement put lights on with timer . I’ll periodically update this thread as I add new goodies !

-

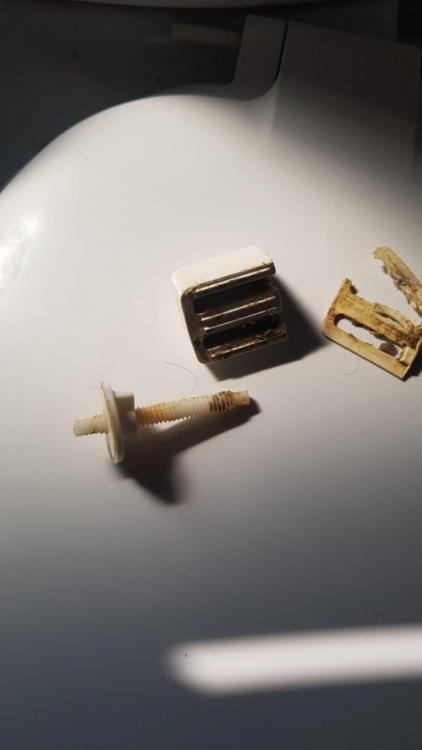
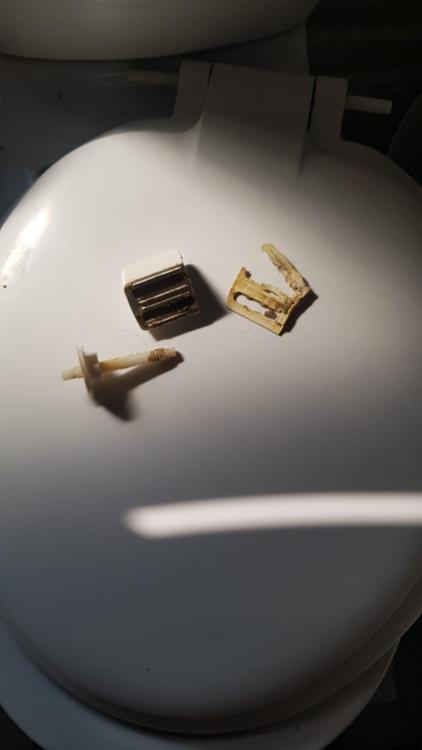
Toilet seat hinges and fittings
Pocster replied to Pocster's topic in Bathrooms, Ensuites & Wetrooms
Ordered ! i feel brave today ! -
Toilet seat hinges and fittings
Pocster replied to Pocster's topic in Bathrooms, Ensuites & Wetrooms
Possible match ? https://www.ebay.co.uk/itm/301997023261 -
Tenant sent me these photo's. I can't get to the site - hard to tell what I need to order to replace these. One of you guys will know for sure!! Appreciated!

-
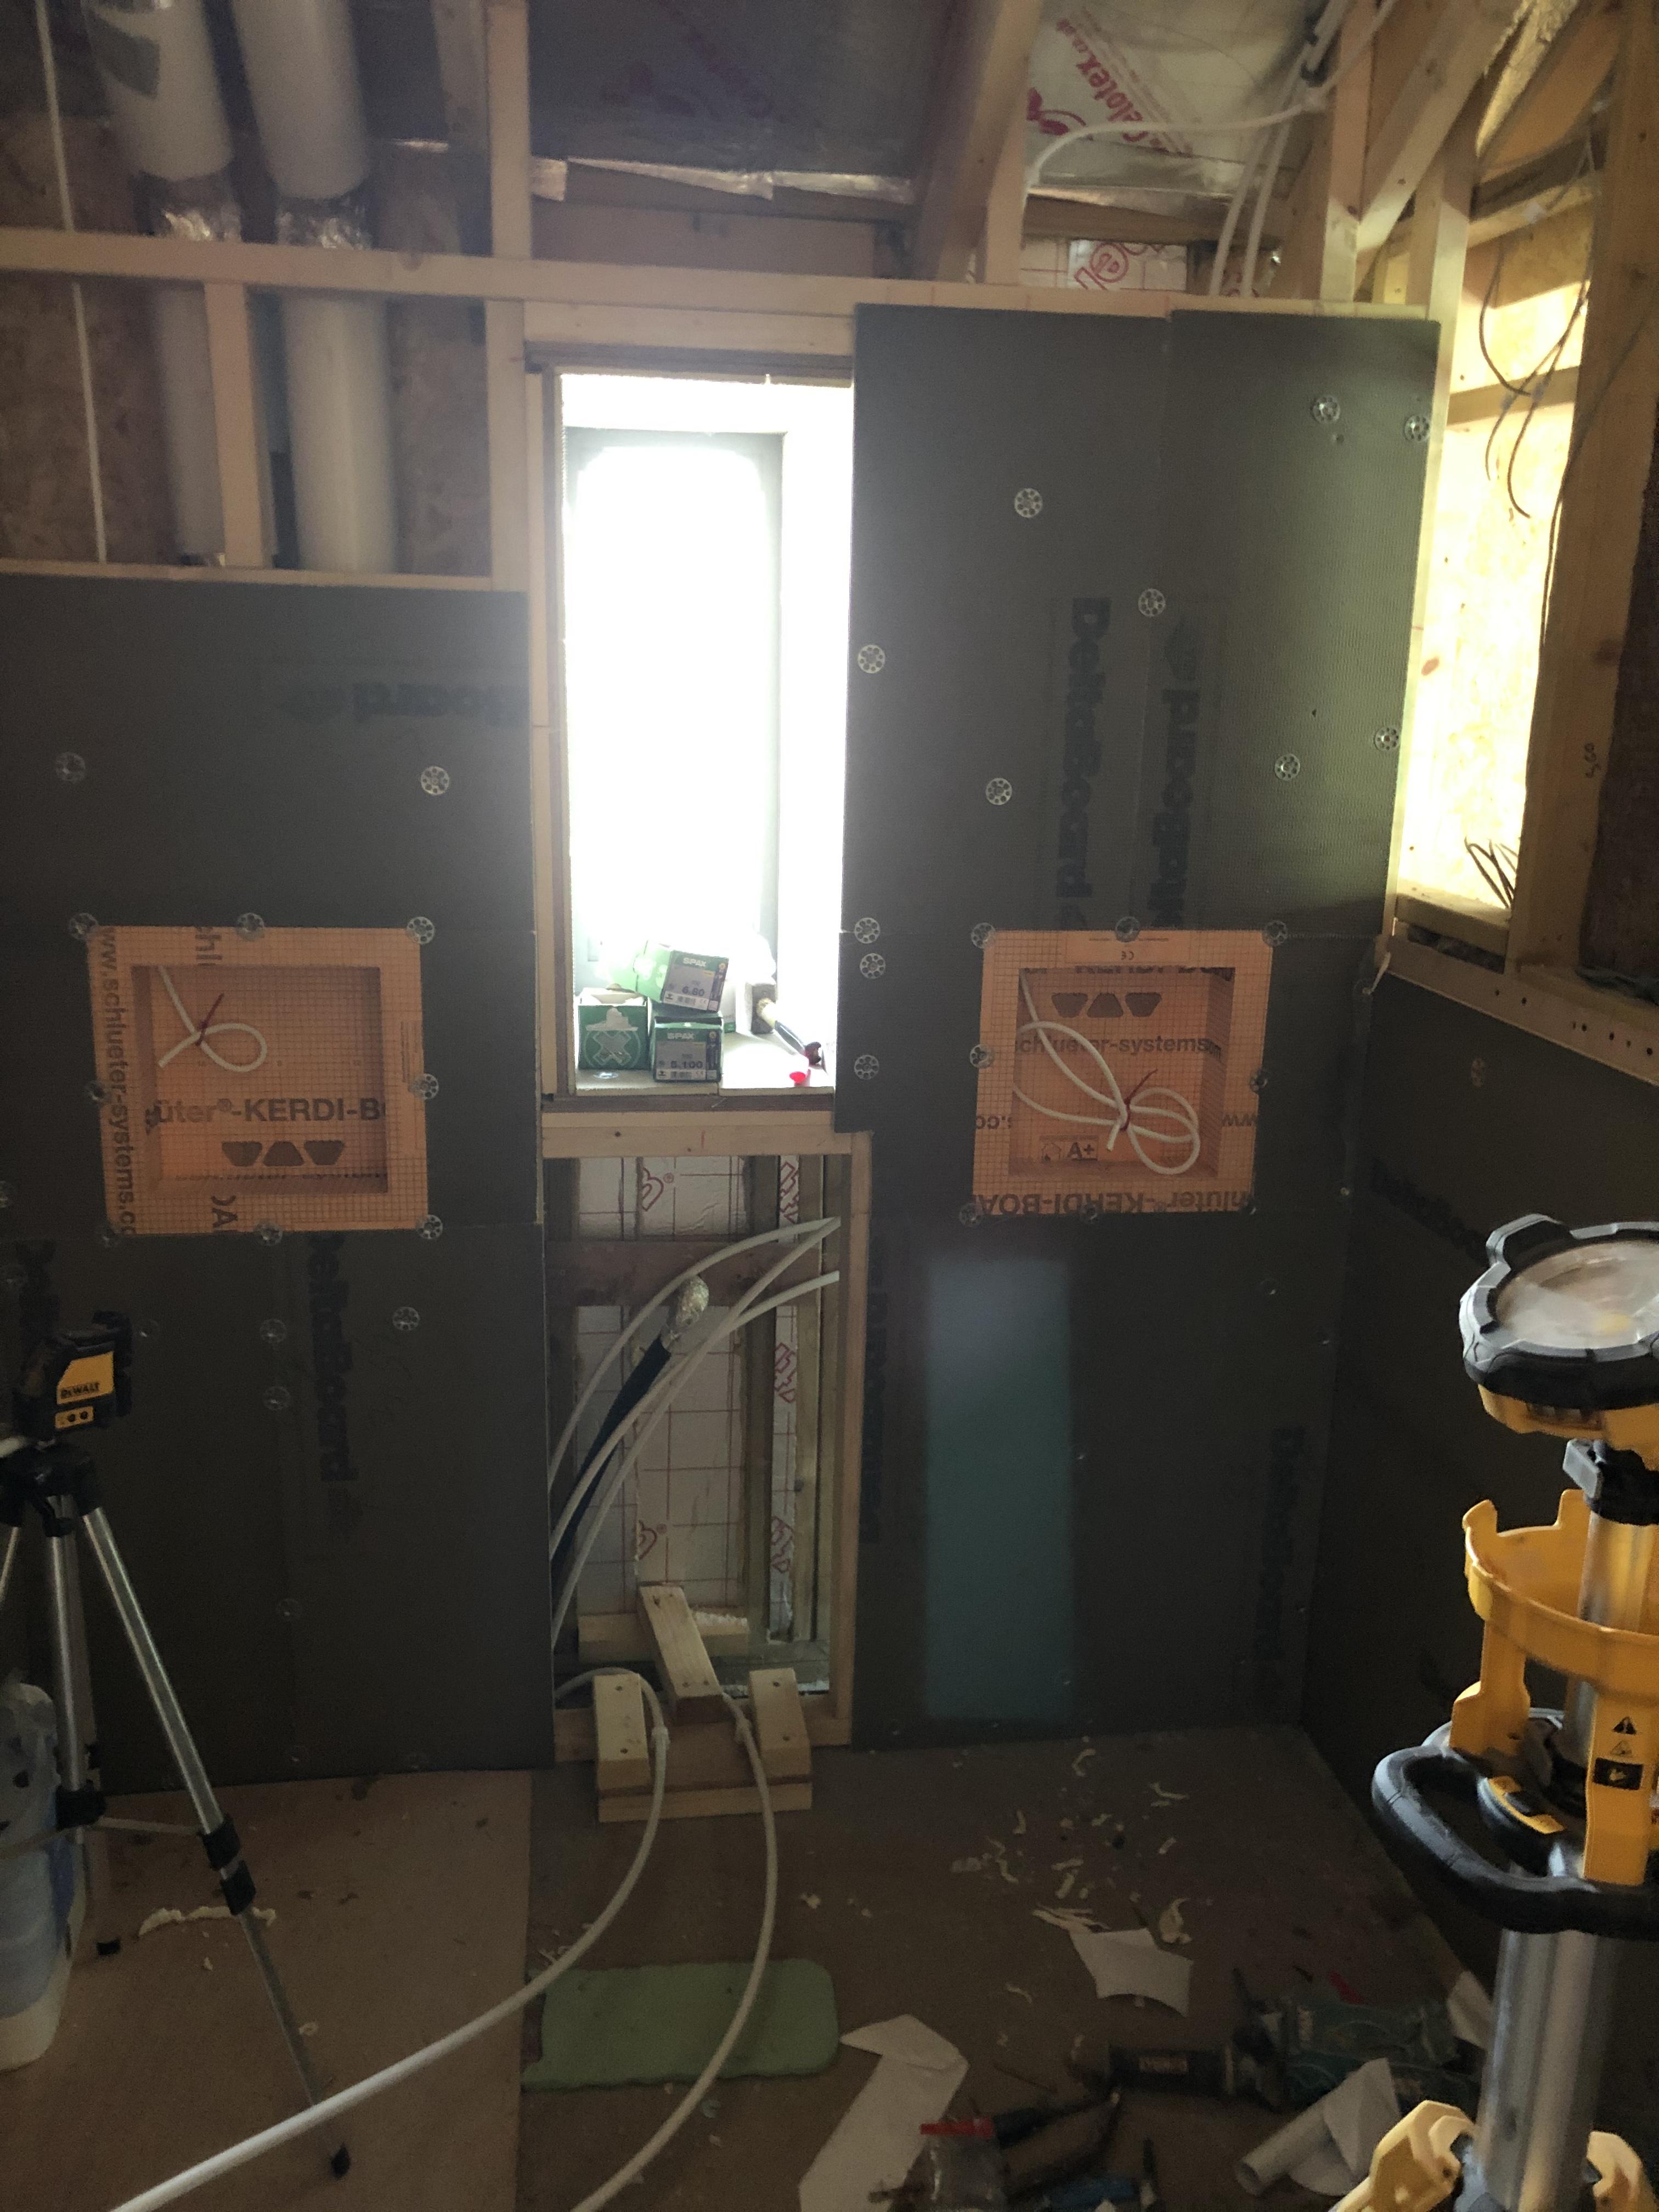
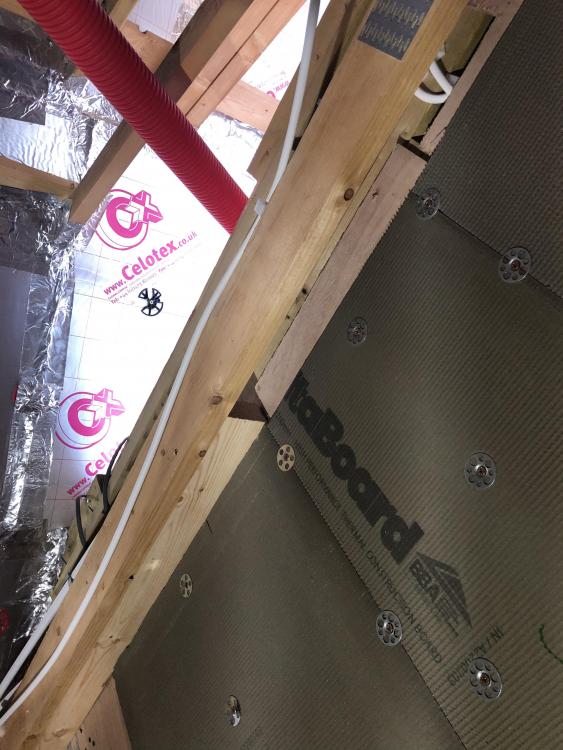
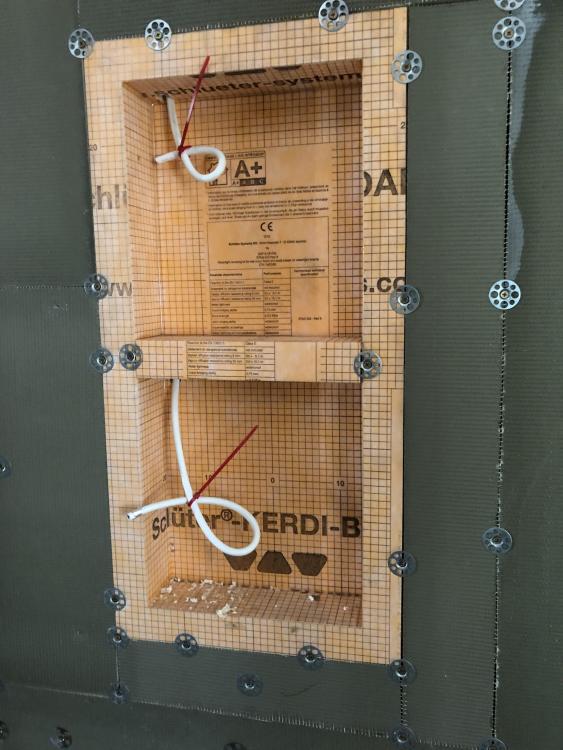
Decided to get the rather meaty 5 core cable through for rgbw led ( better than @Onoff ‘s )
-
Can’t seem to find my original post ... hmmmm. Apologies if repeating . Screed floor . Marine ply sections about 2 or 3 mm lower . What do I skim on the ply to get it level with the screed ? Just floor tile adhesive ? First to get it all level .