
Pocster
-
Posts
14055 -
Joined
-
Last visited
-
Days Won
29
Everything posted by Pocster
-
I could do . Just assumed a ‘cap’ was better …
-
I could try 3d printing something . Modelling the shape though will be difficult ( for me ! ) . But then it could be a continuous ‘cap’ ebt stuck down .
-
Was dry so repeated the soaking . Problem is just sweat on my fingers makes it tricky ! Will check inside in 10 mins
-
Bone dry today as expected inside . Just hosed the entire corner making sure it spills over the coping stone . Will wait 10 mins . Check inside . If dry will repeat .
-
I hosed the other side of the coping but made sure some ran onto this side . It does seem to get across the drip channel . So I think I do need something covering this entire end and directing all water away .
-
😊 - good measurements 🫤🤔 I did look at this type of thing - not sure if it’s practical for what I want . To do a neat job with it might be tricky .

-
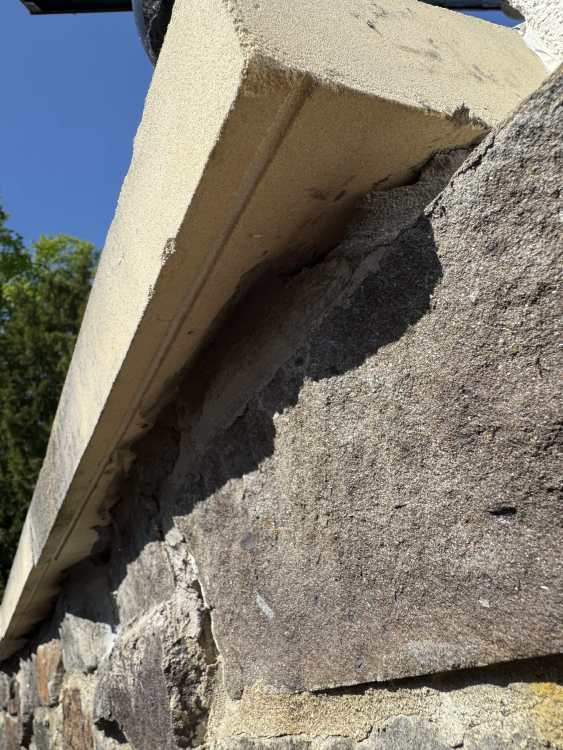
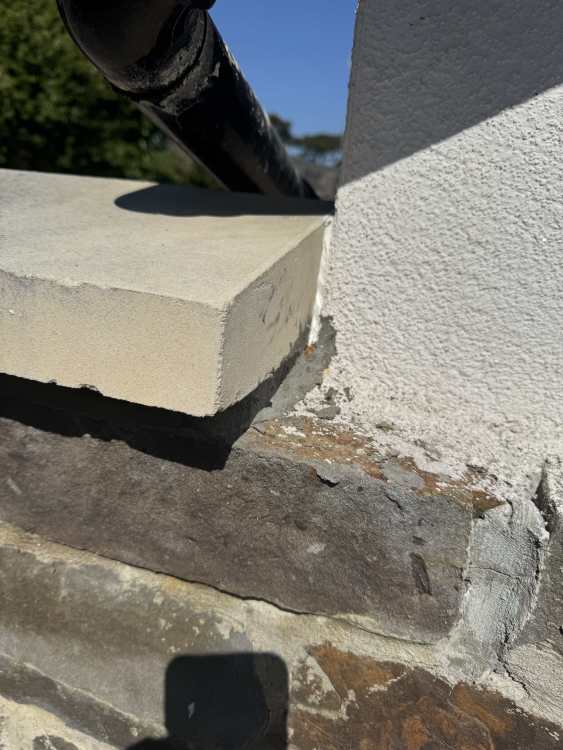
I *think* rainwater is getting in under / around it . Have cemented any gaps I can find but would prefer a ‘cap’ to fully cover it and force water to run off it completely.
-
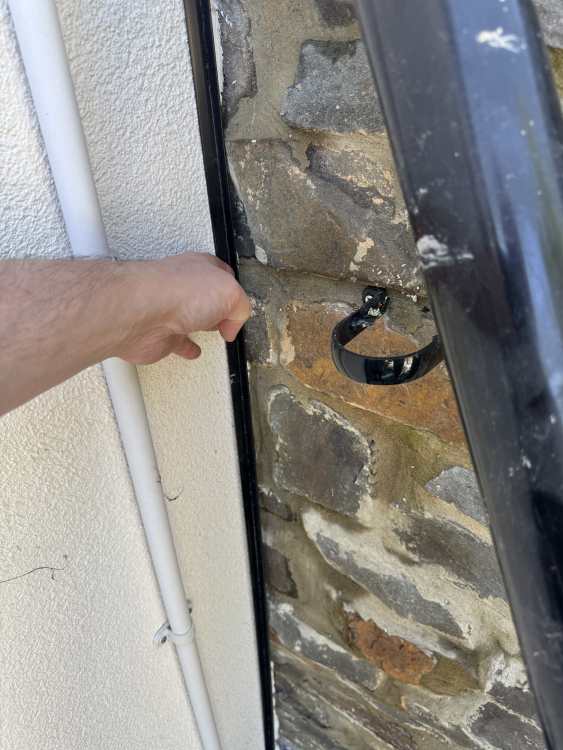
This is a question from my ‘that leak ‘ thread - but it’s a specific issue . I want to cap / flash the end of this twice weathered caping stone . Something malleable I guess ? . Want to completely cover it on the side and front edge . What’s best to use and how to apply it ?

-
Really want a better way to finish that edge - some form of flashing ???
-
Hmmmmm Some gaps . So I guess in theory when I hose the wall and coping stone it could run down this side - track under pass the drip channel . There are gaps - so will mix some cement and fill them

-
Zero water ingress as far as I can tell . So … need to look at that coping stone - the other side !
-
Was touch clammy on the leak spots this morning . So decided to tip carefully 2 watering cans of water over just the roof seams . Hour later no evidence of a drip . Hosed just the bottom 25cm of the render - so testing that stone joint and the roof seams again . Hour later no evidence of additional water ingress …. Going to try hosing the entire corner but not over the coping stone . Potentially as the coping stone is twice weathered water could run off in both directions .
-
Do you mean like a barrier on the asphalt ?
-
??? Idiot diagram please
-
Could do . My test on the seams was inconclusive. Going to tip watering cans of water just over the roof / seams tomorrow. You mean paint the seams with this rubberised paint yes ?
-
Leak is slightly damp to touch . So this time I hosed just the bottom of the render - completely sending water over all the roof seams in that corner . That was 30 mins ago . Zero difference inside . I’ll repeat this again in a few hours ; hot day so will dry out better . So looks like it’s still getting in somewhere on that render to stone joint .
-
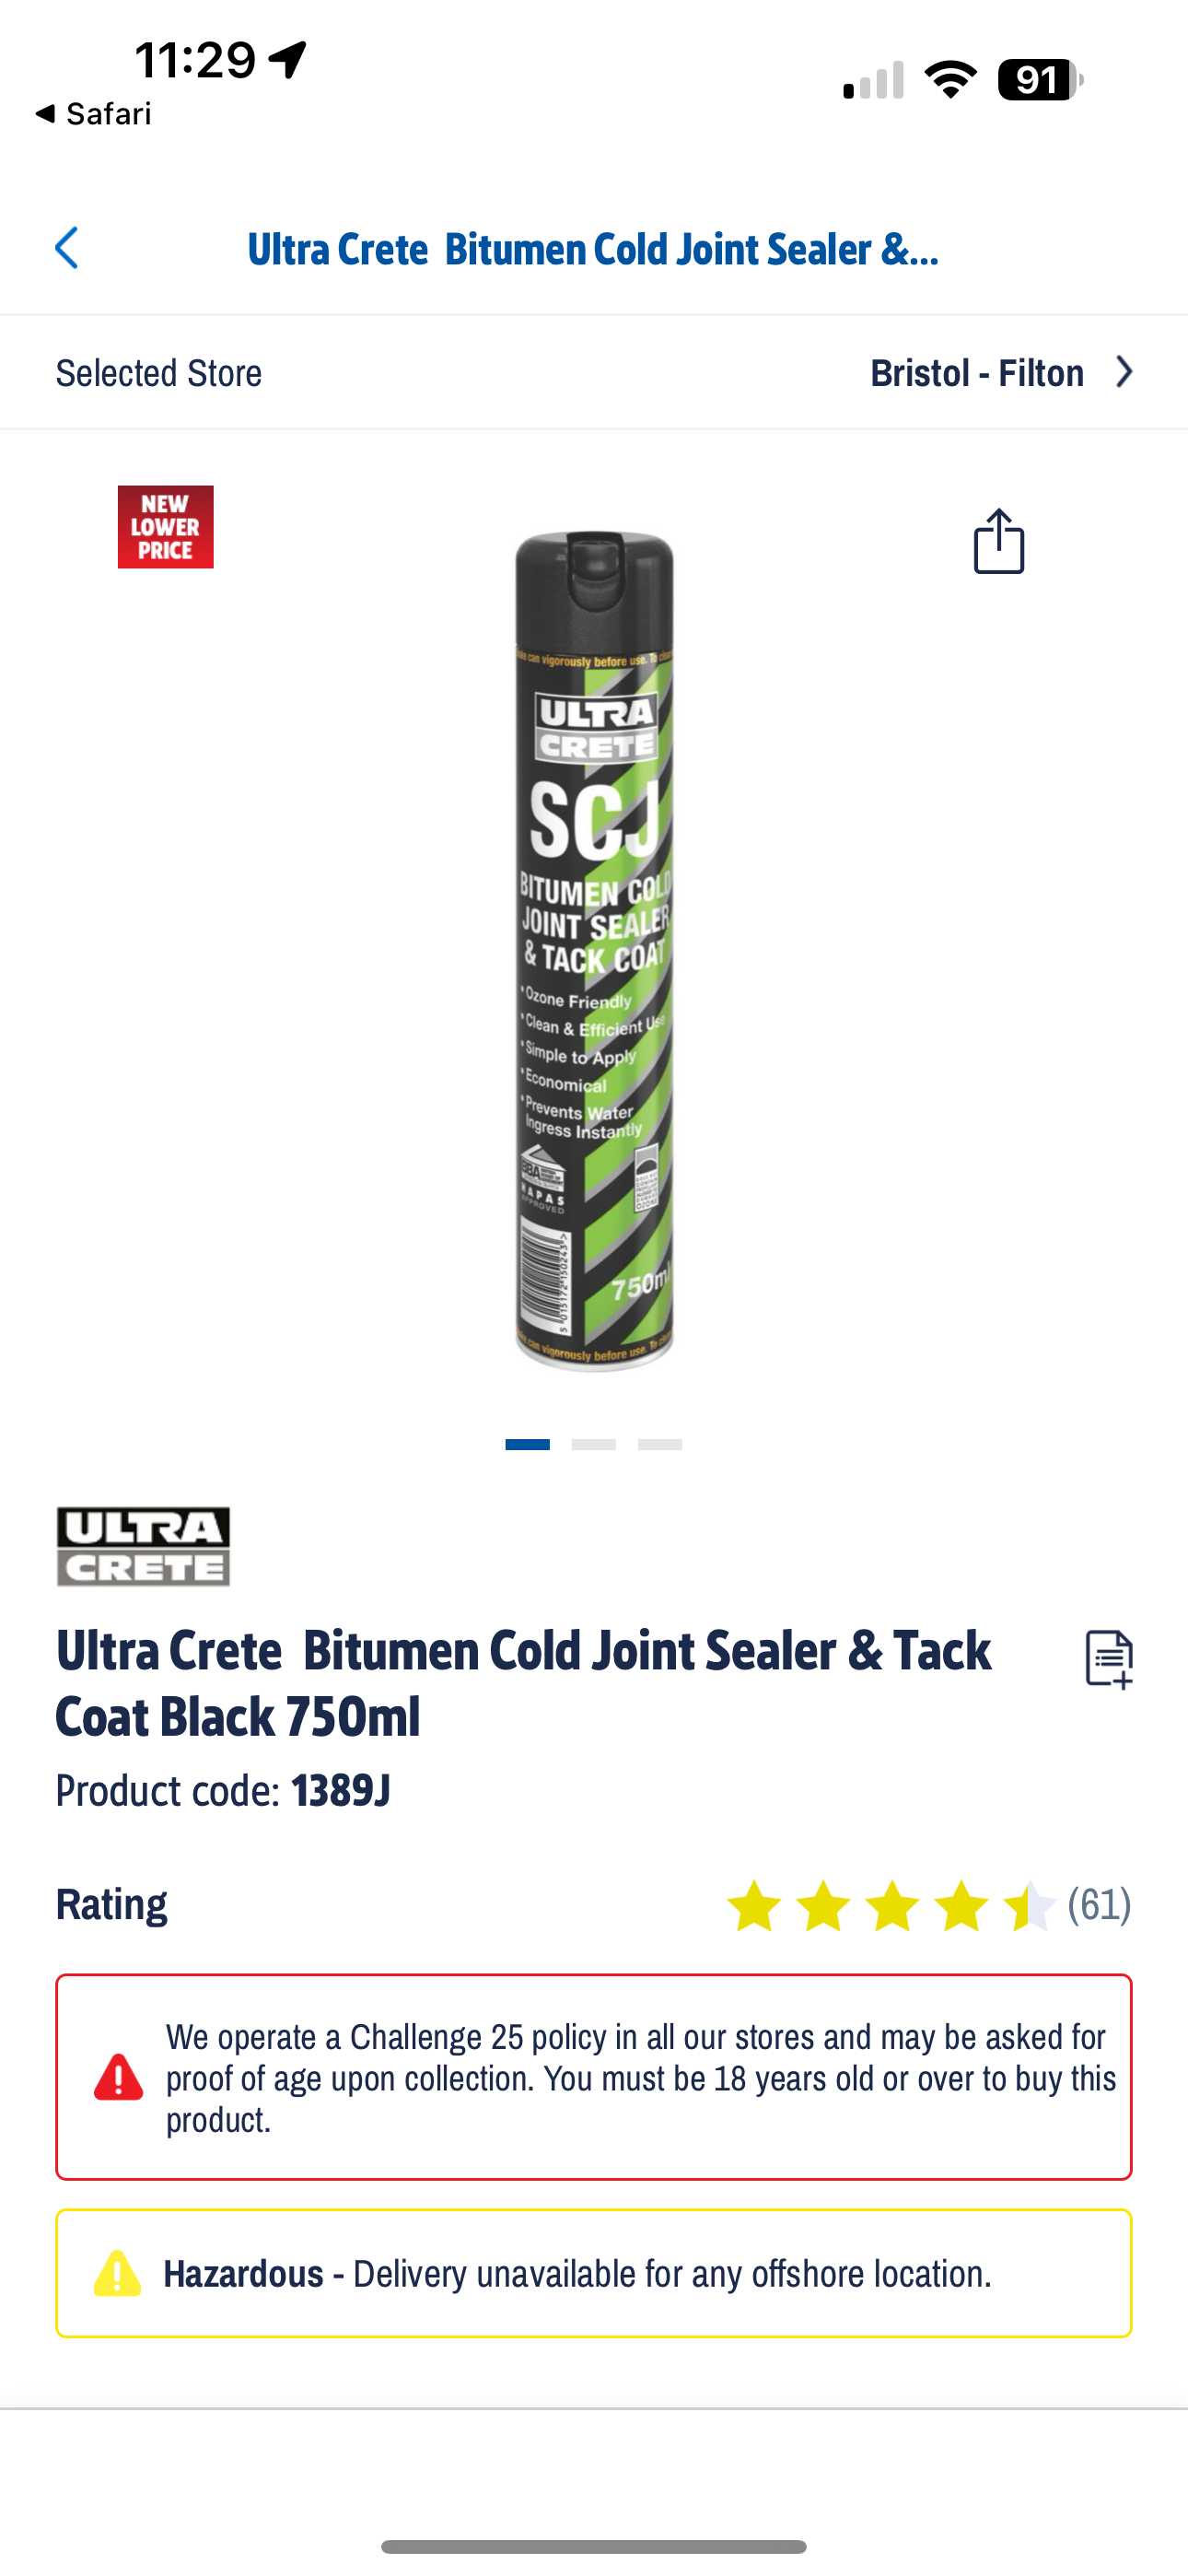
If that is the issue - do I need this sort of thing ???

-
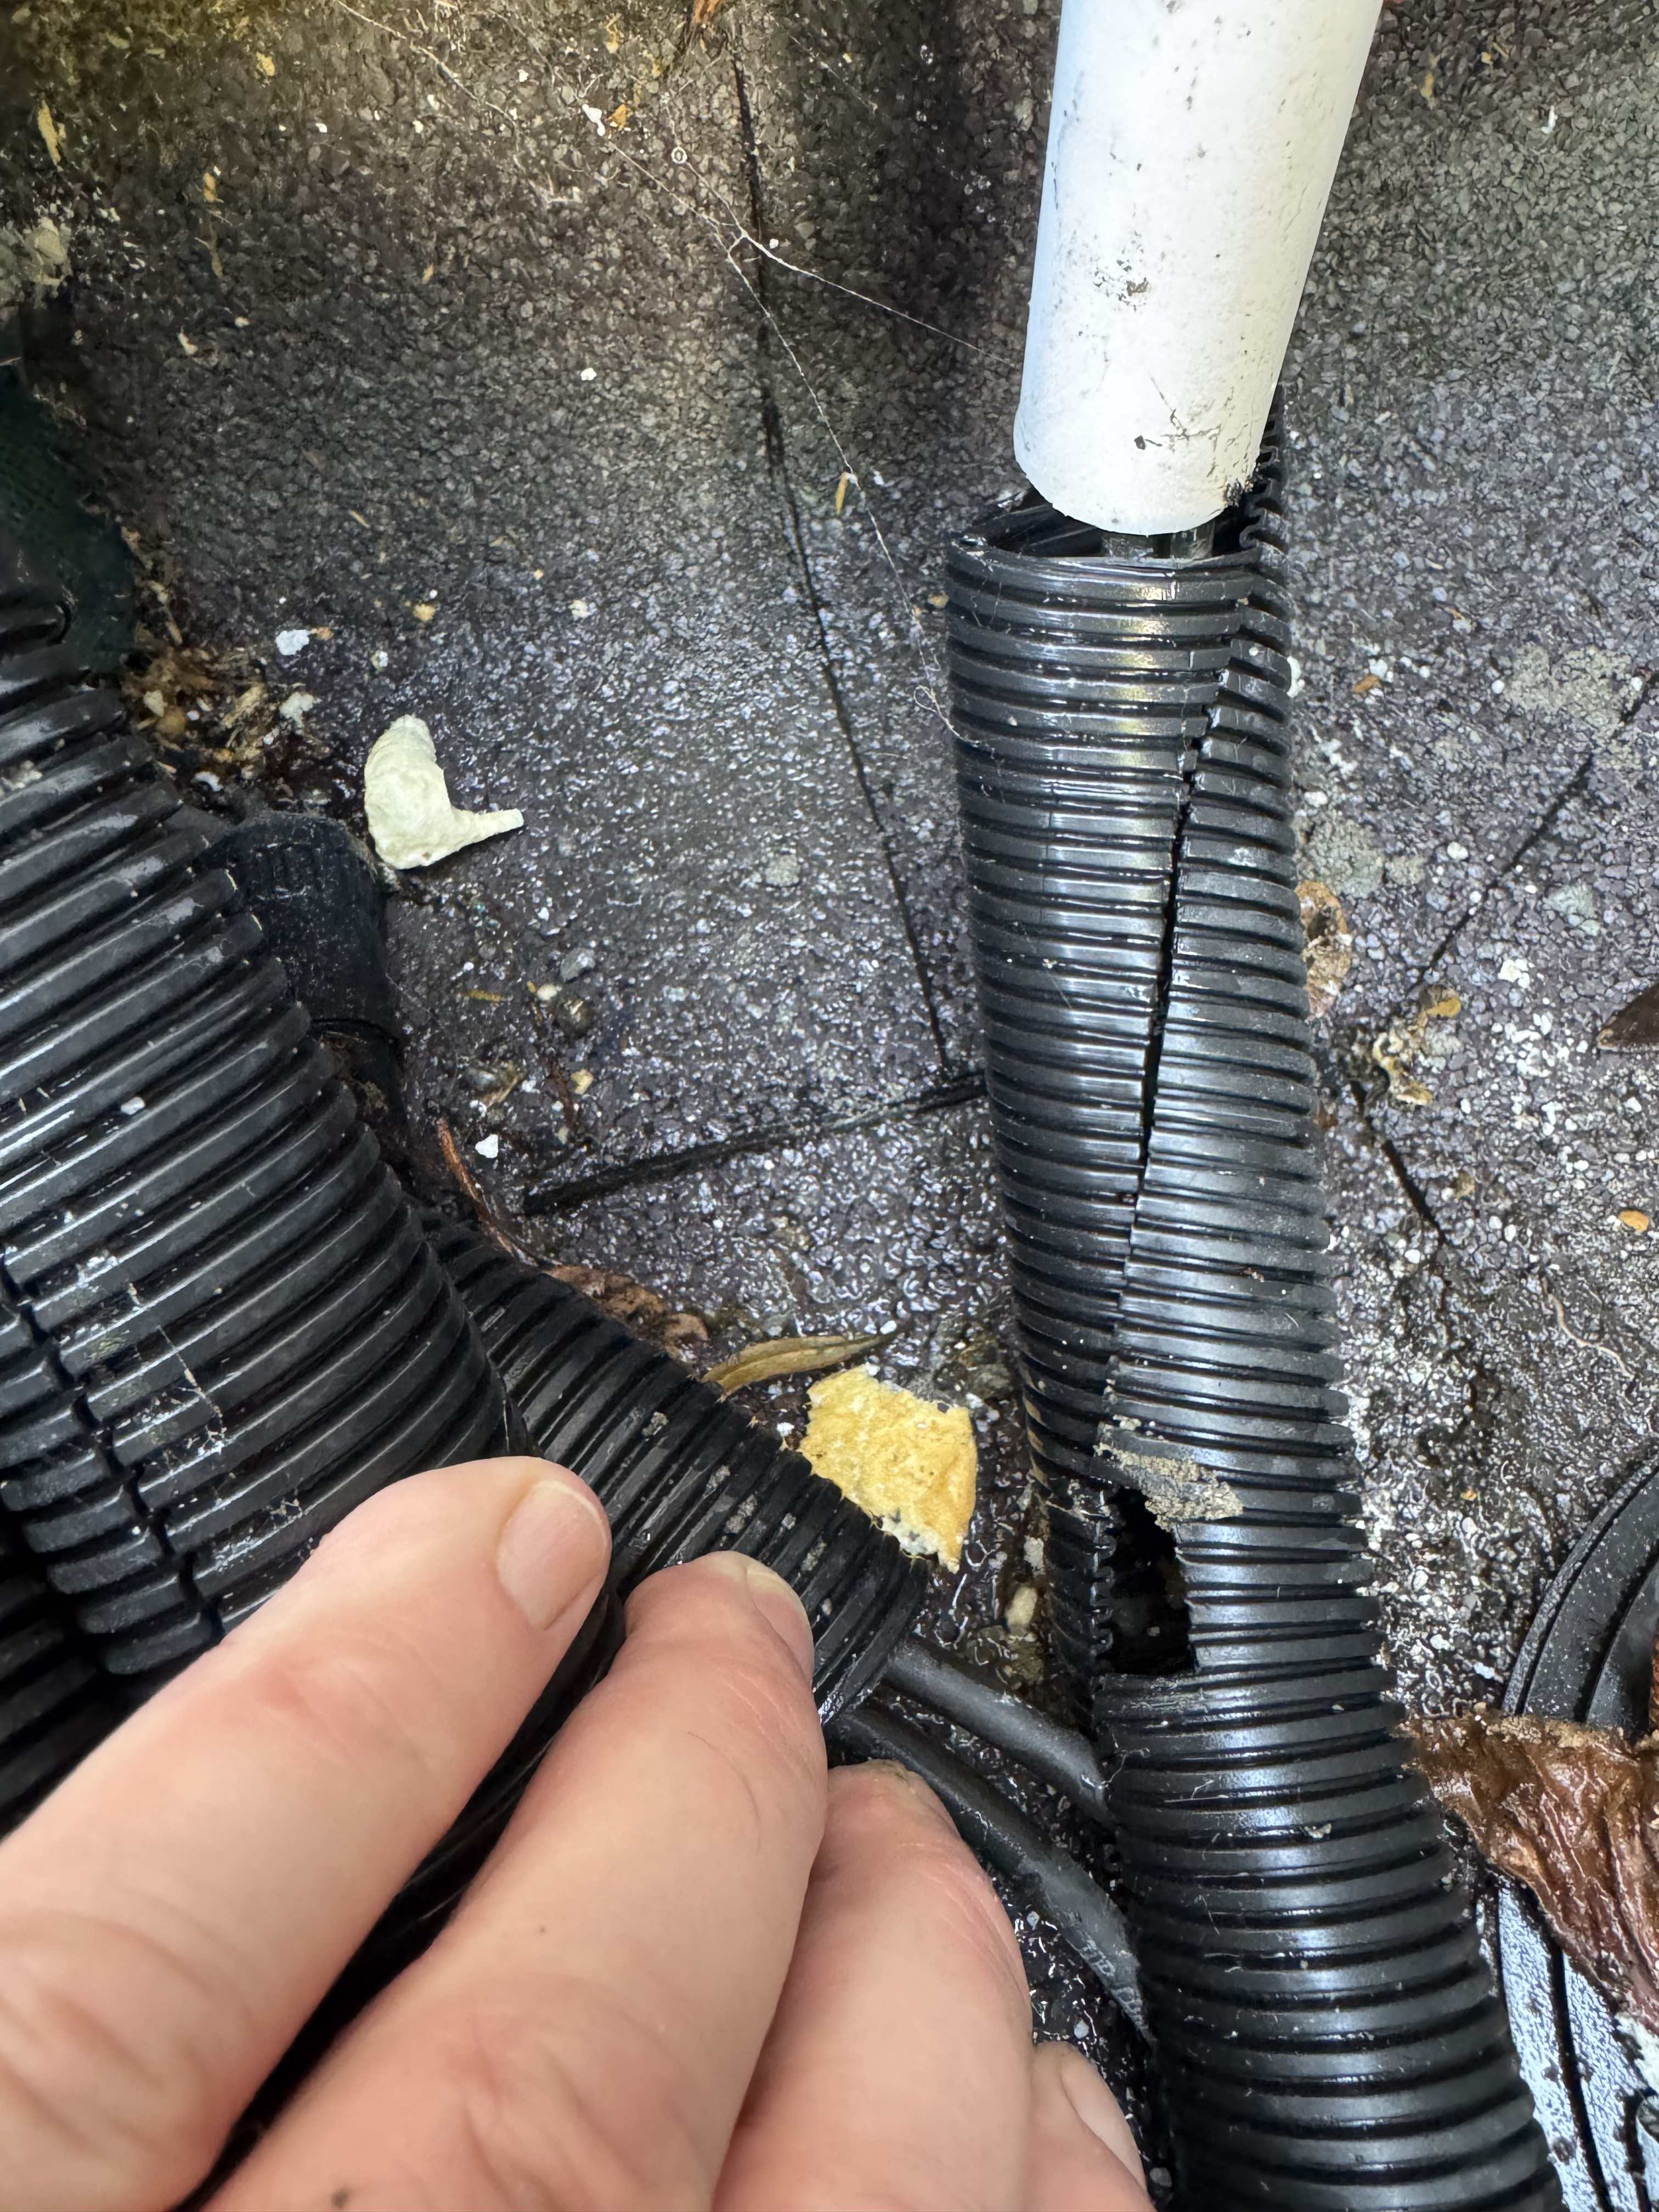
Tried to get endoscope photos of that seam. Nothing conclusive . Did notice this seam near by that has lifted a bit ( didn’t want to tug it too much ) . Will let it all dry out then will gently hose just the bottom bit of render I.e to check the roofing seams

-
Not yet . What’s best just smear ebt over the joint ? . Just water tested it now - still leaks .
-
Cemented the tinniest of gaps in the stone work . Ebt the tinniest of holes . Ordered a rain deflector for the bottom - for peace of mind . Will test tomorrow!
-
lol ! inadvertently noticed a gap in the grout round a stone ! . Possibly nothing …. but you know - will cement that ; and check closely for others today !

-
Spoke too soon . The tiniest 1 droplet of water just dripped . I’m pissing it in the corner ( you could argue it’s overkill ) - but I want to be 100% confident . Minuscule gaps like this are my suspects

-
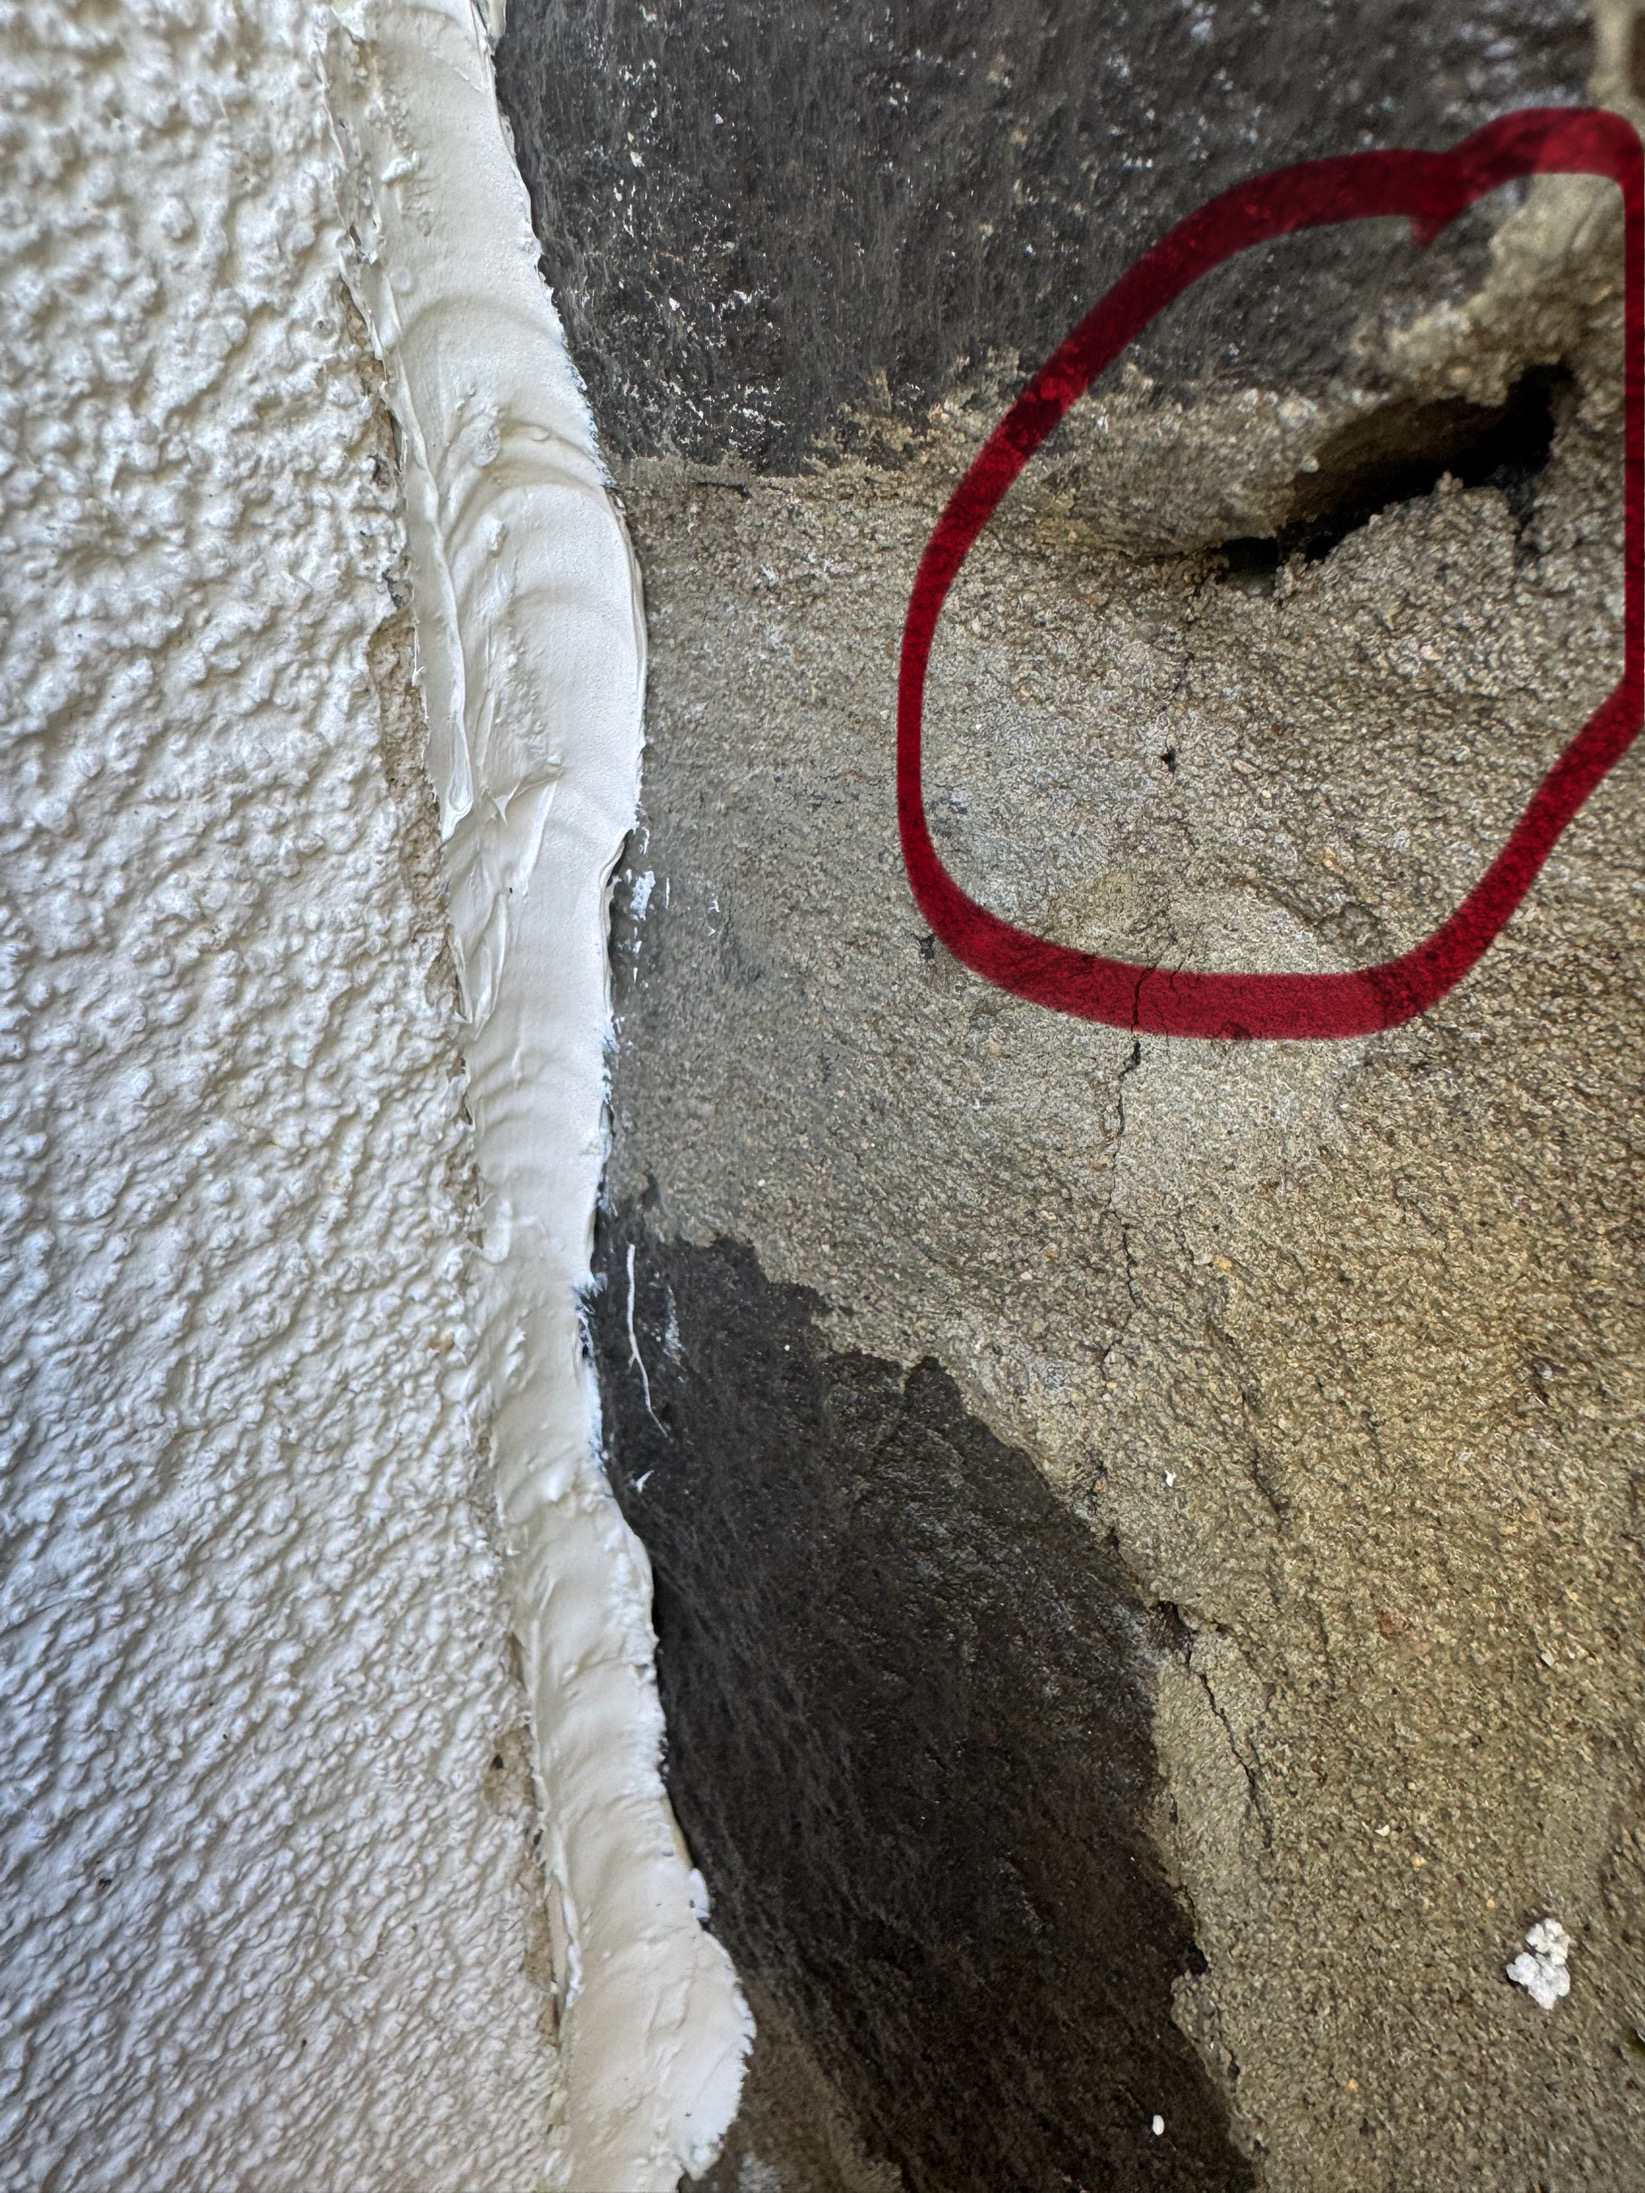
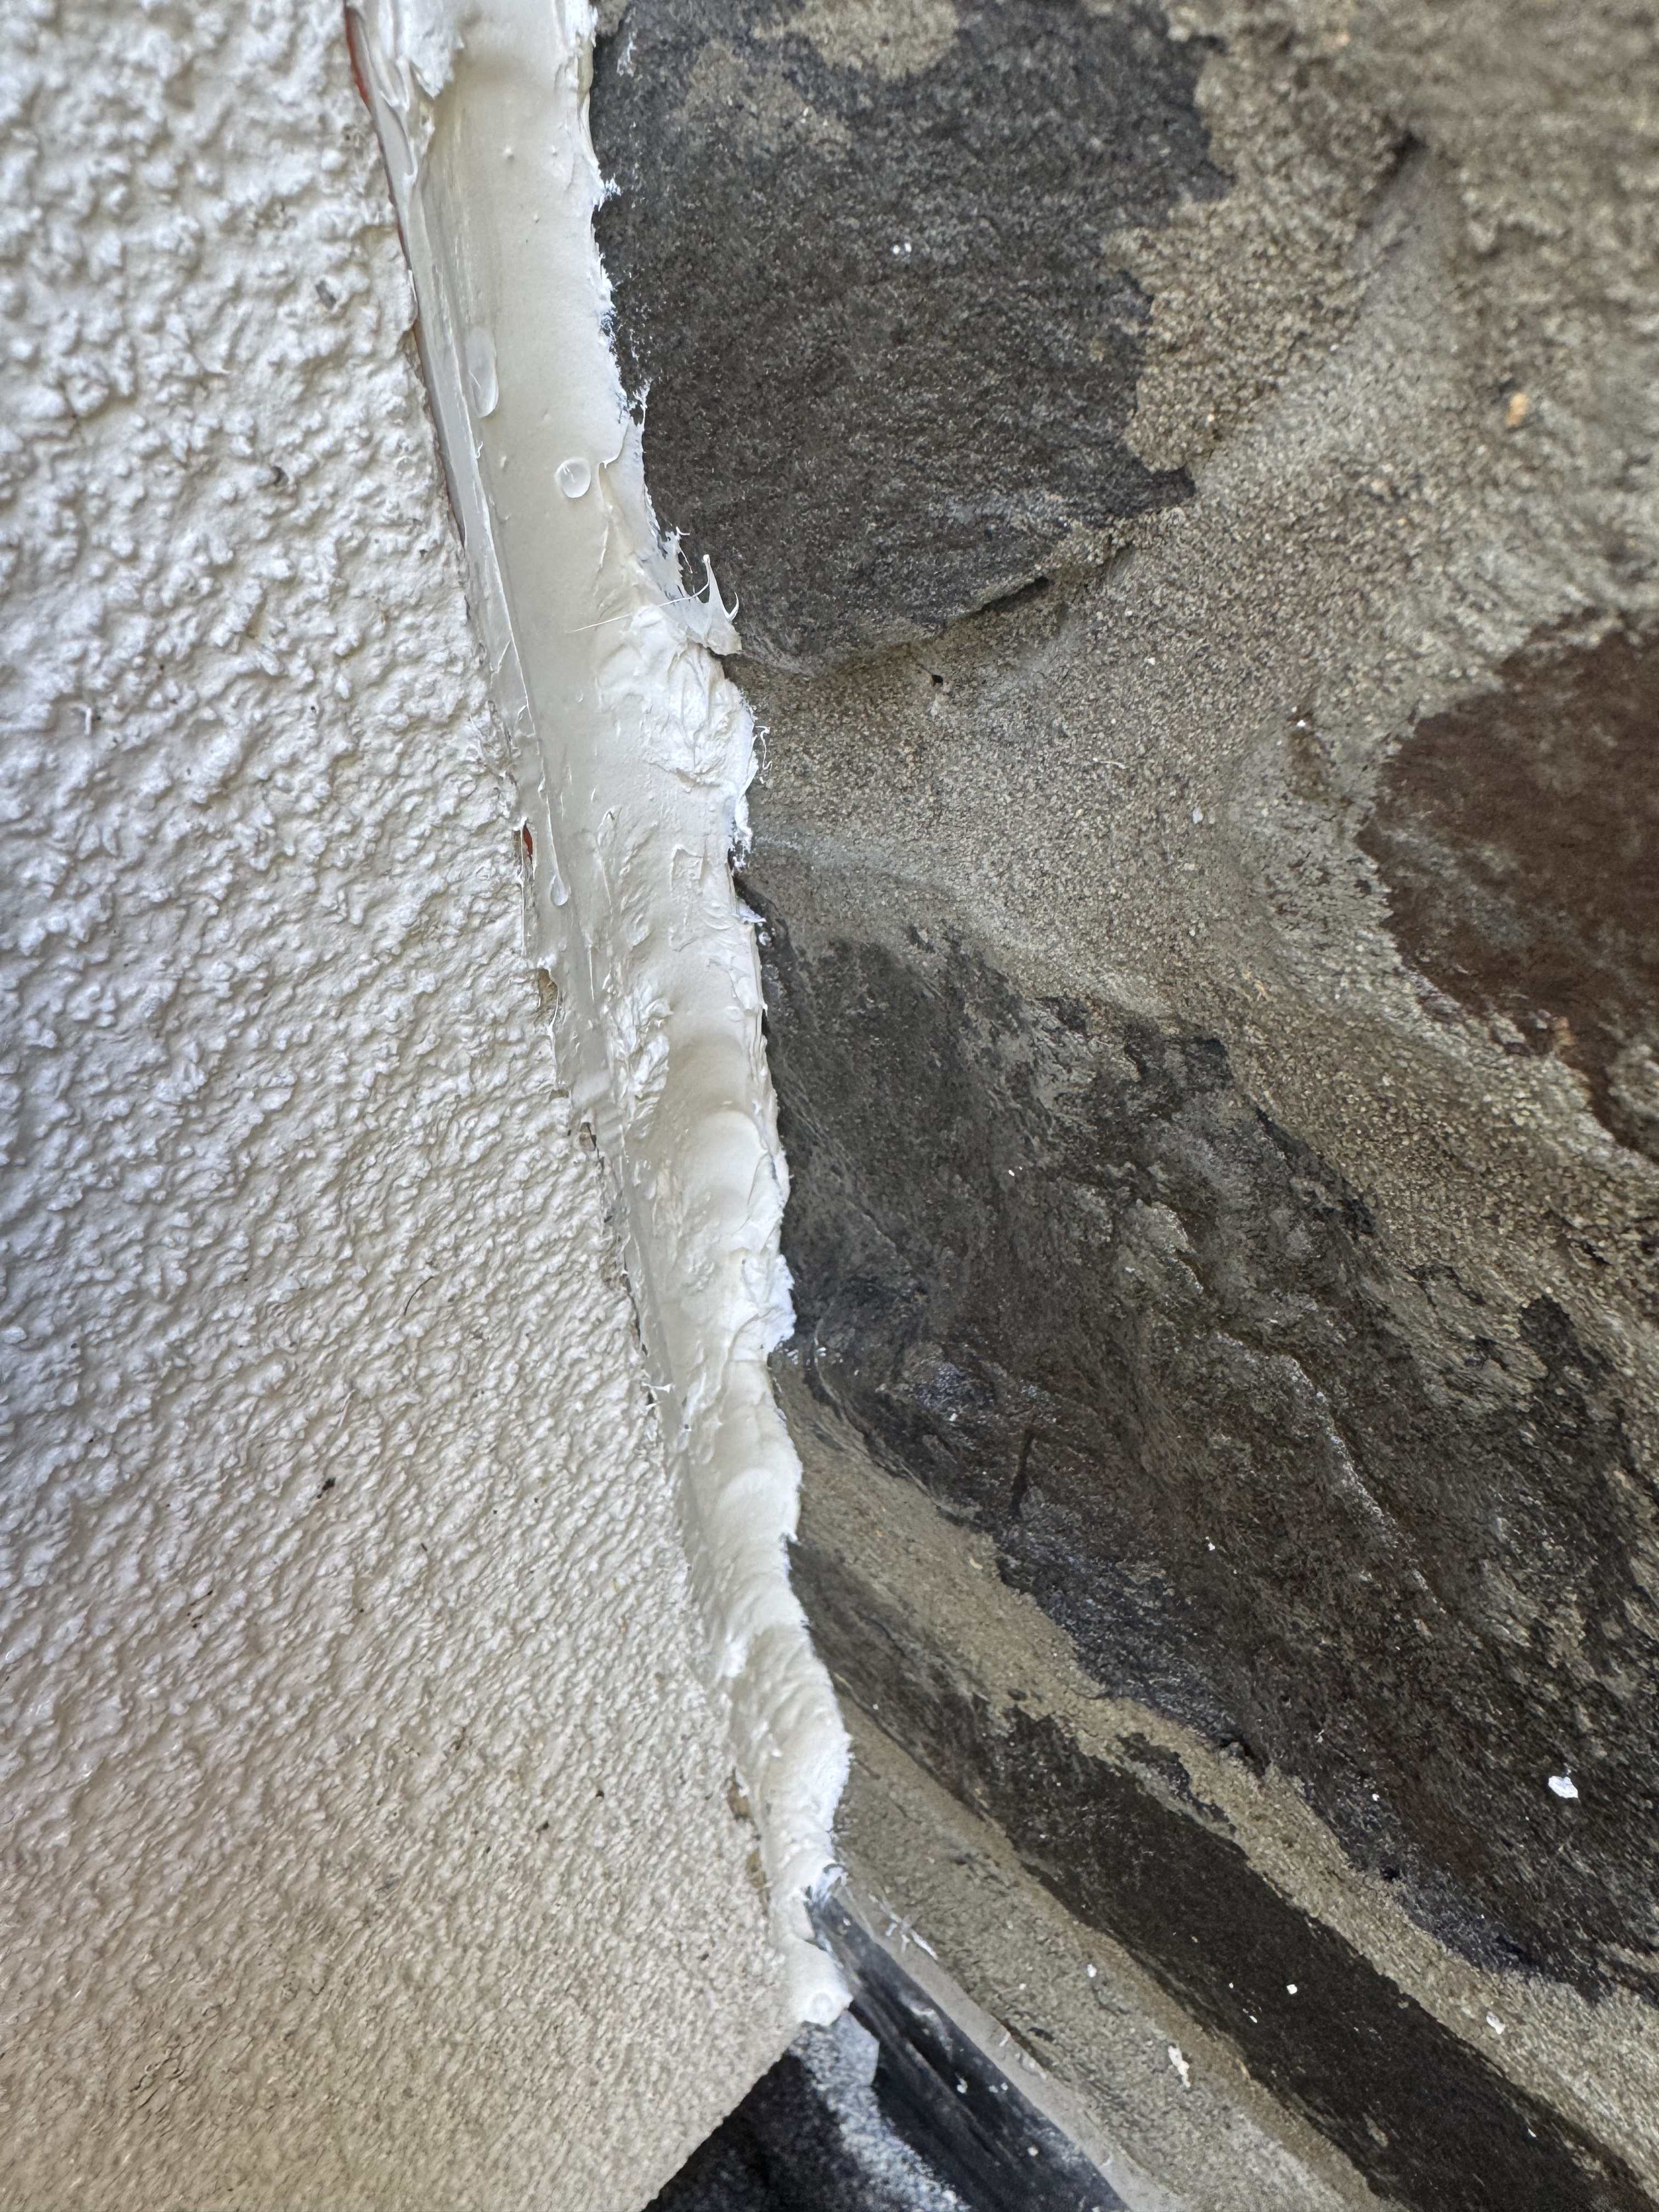
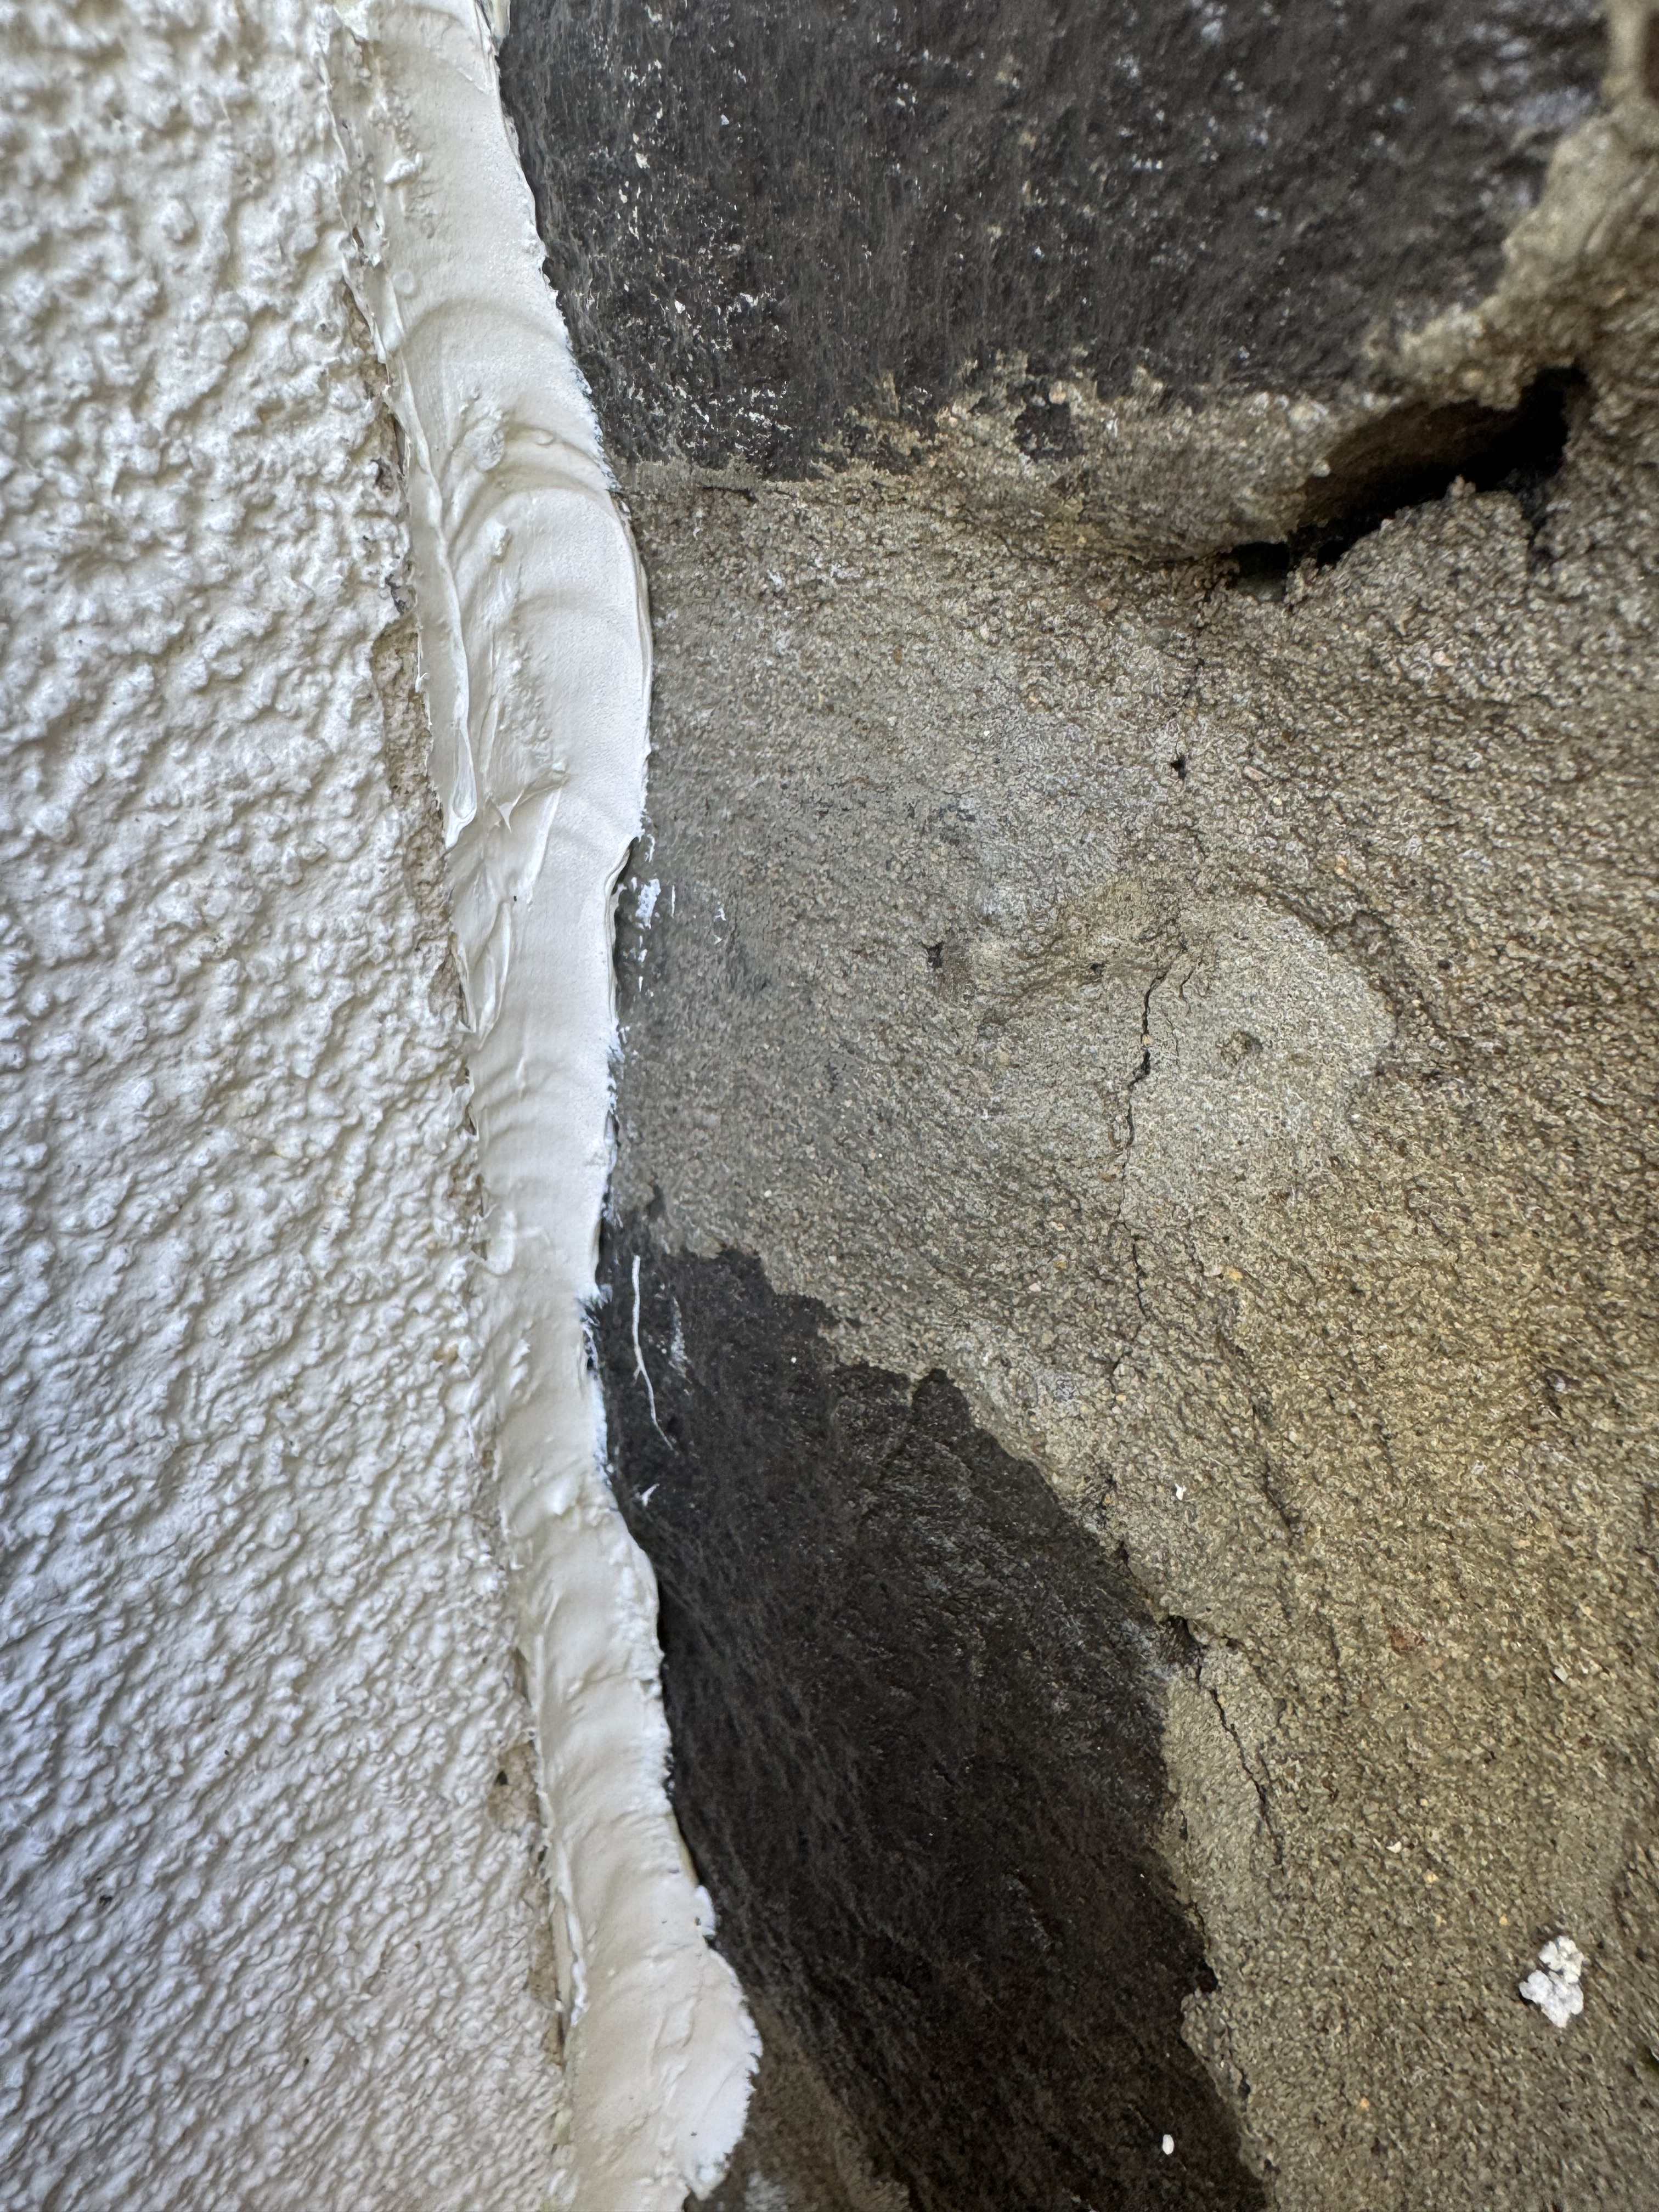
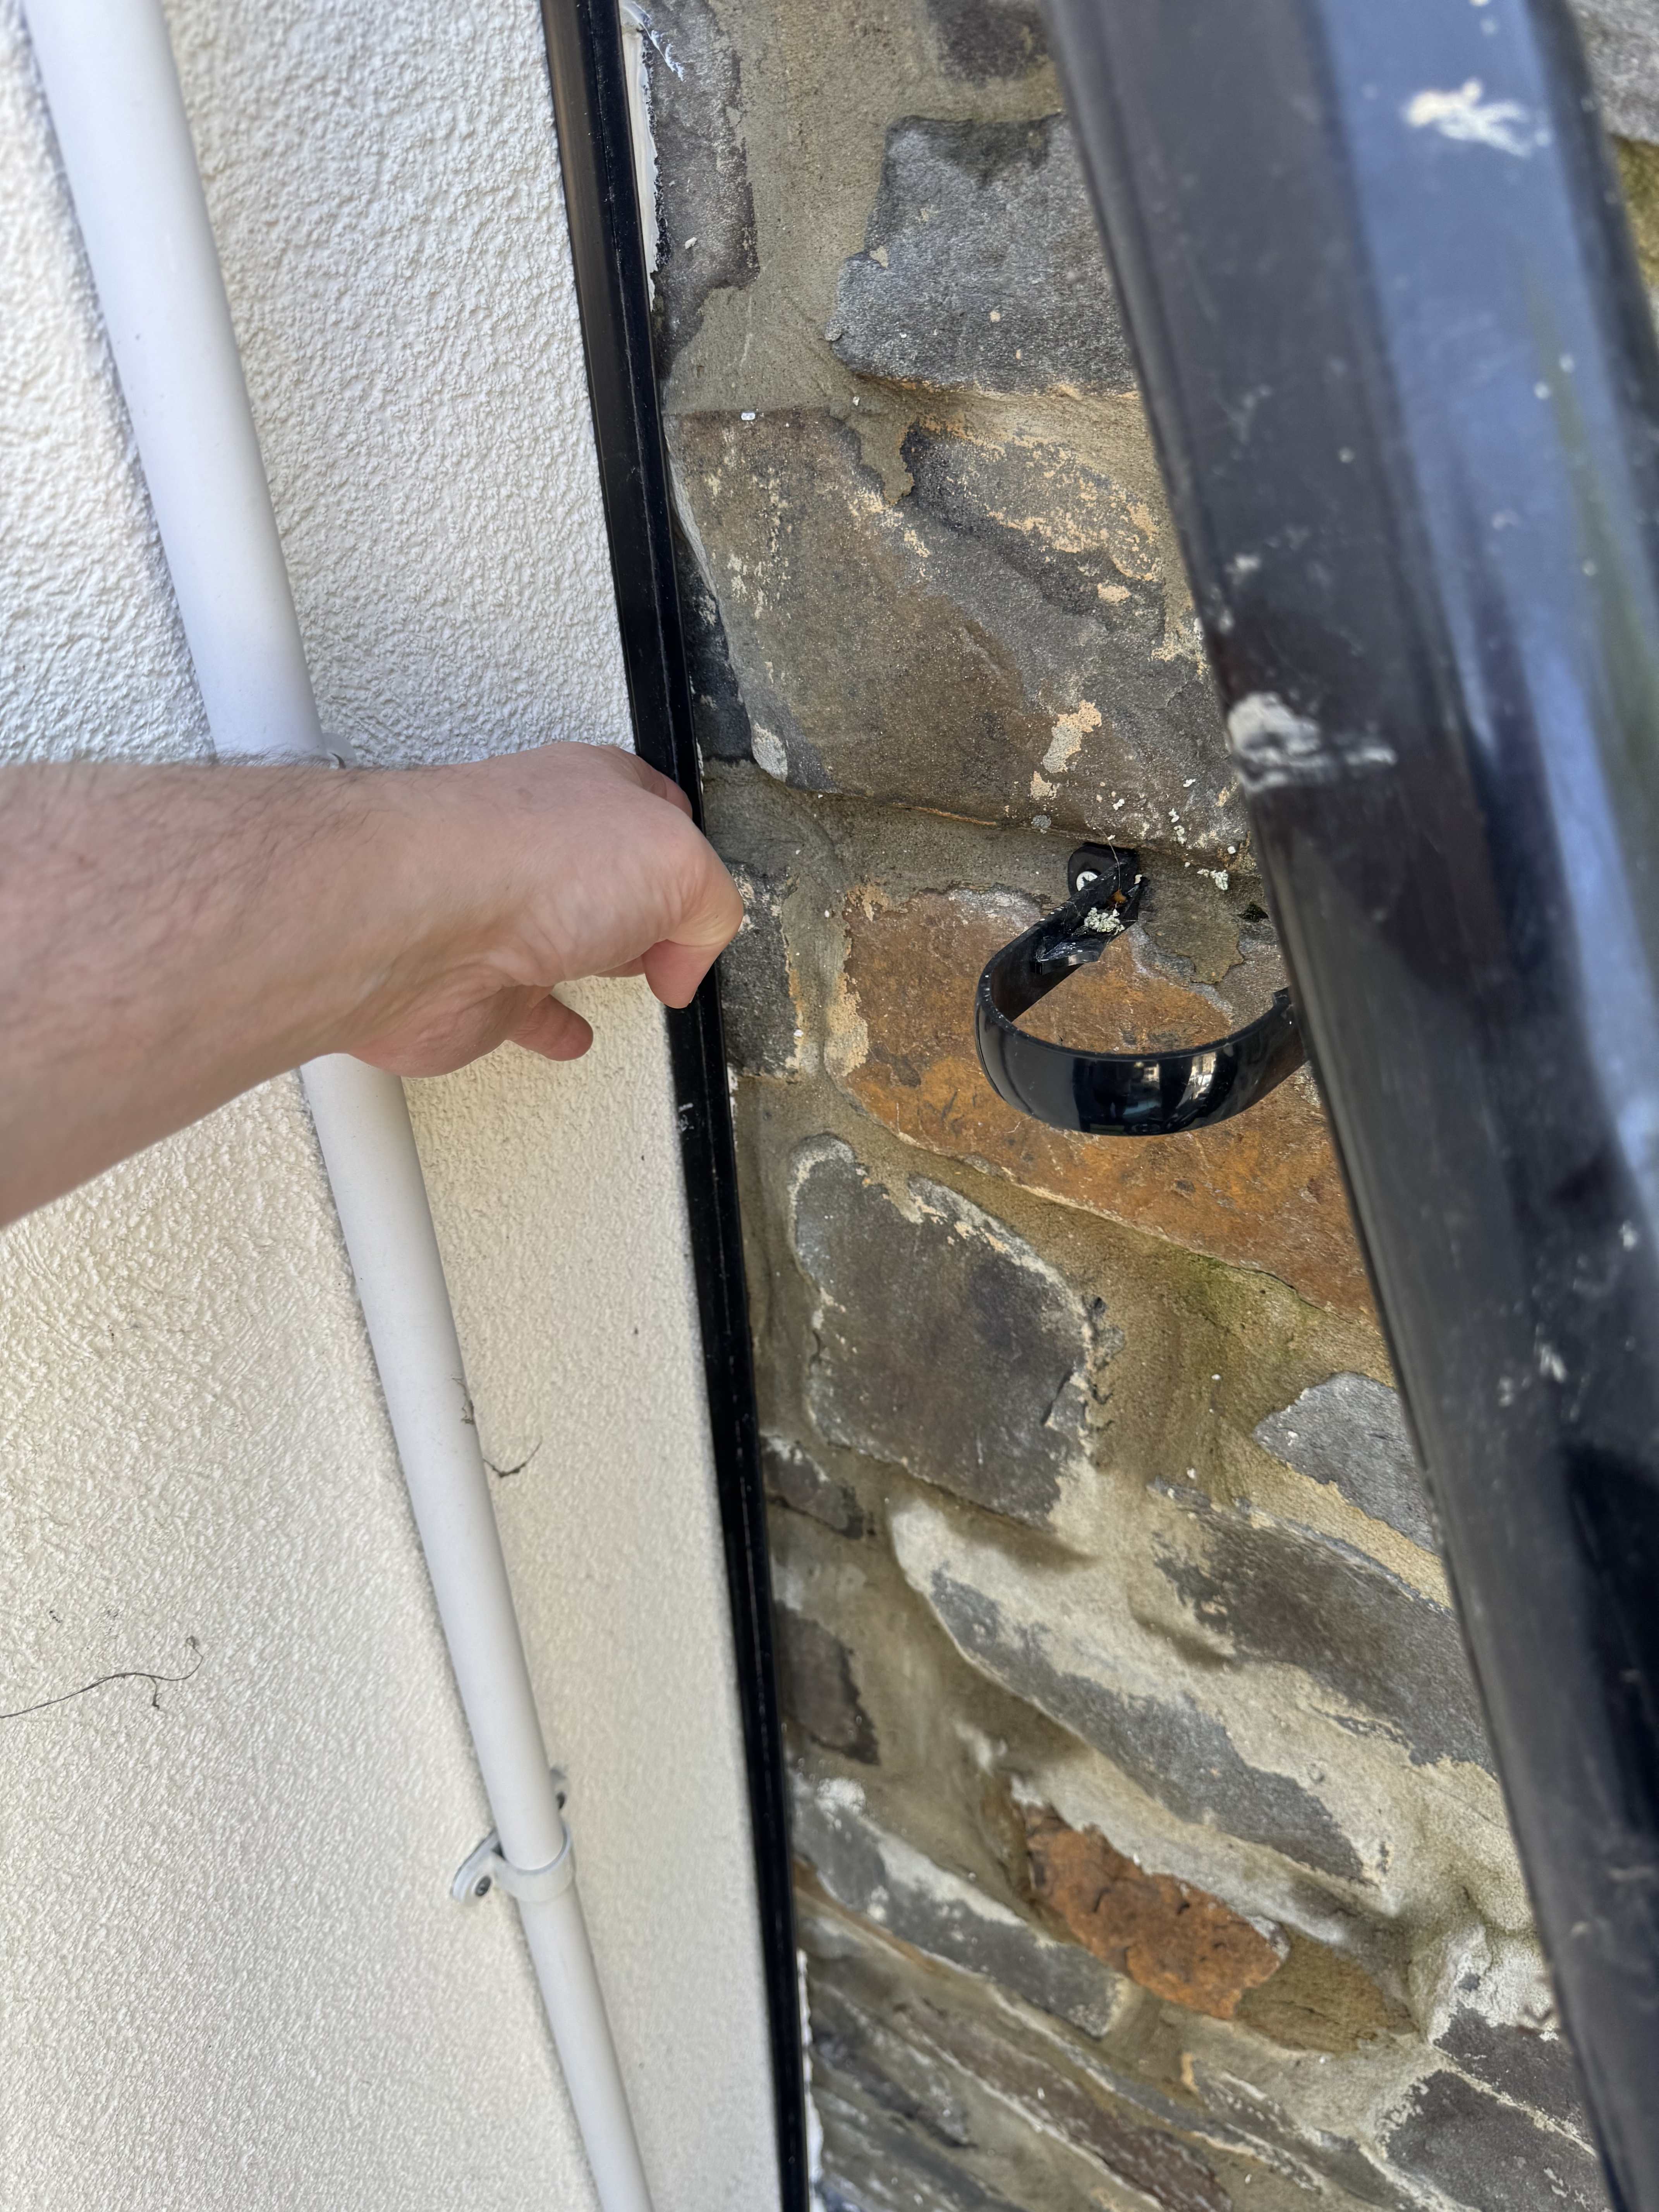
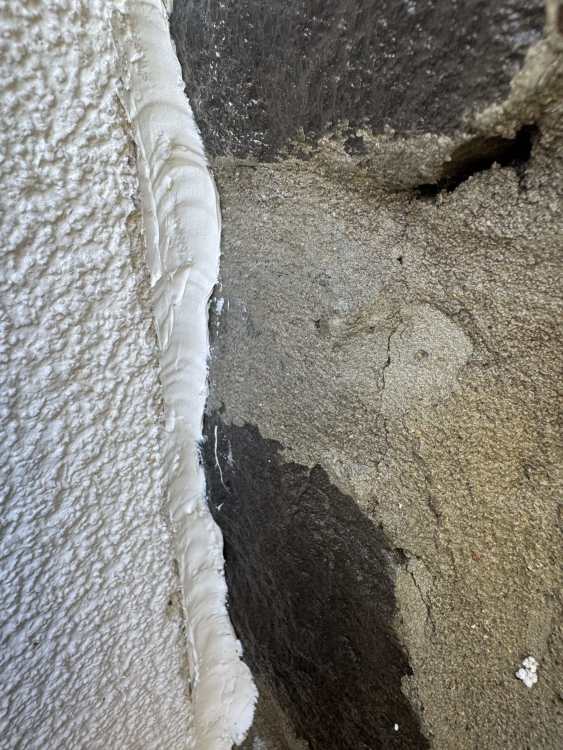
Hosed it down twice now . Cant make it leak - but can cause a small damp spot in one of the window upstands . So water is still getting in there . Tomorrow once dry ; I’m going to ebt all over it again but shape it better ( and messier ) to the stone shape ( currently can see tiny gaps between a few places of silicone and stone ) . Then to hide the mess might just stick the down pipe in the corner 😊 . Will redirect the down pipe further away from that corner for peace of mind aswell .
-
I can see blue plastic sheet , that hole’ could be plastic black membrane. Where the wall ends is exactly where the house begins . This is the issue 100% . So going to hose again today ( even though I went over the silicone again yesterday ) . Even if no leak still need to make the corner far more robust
-
Maybe something like this . Backfill the stone gap side with ebt so it’s flush with the trim . Even overlap another trim the opposite way around to cover the ebt side . Have to do something at the top so as not to make a nice tube for water to flow down . Again ; any other suggestions welcome !