
Pocster
-
Posts
14368 -
Joined
-
Last visited
-
Days Won
29
Everything posted by Pocster
-
I’m not a tight runt
-
No doing the floor ! That’s a whole new set of issues ! 1 problem at a time .
-
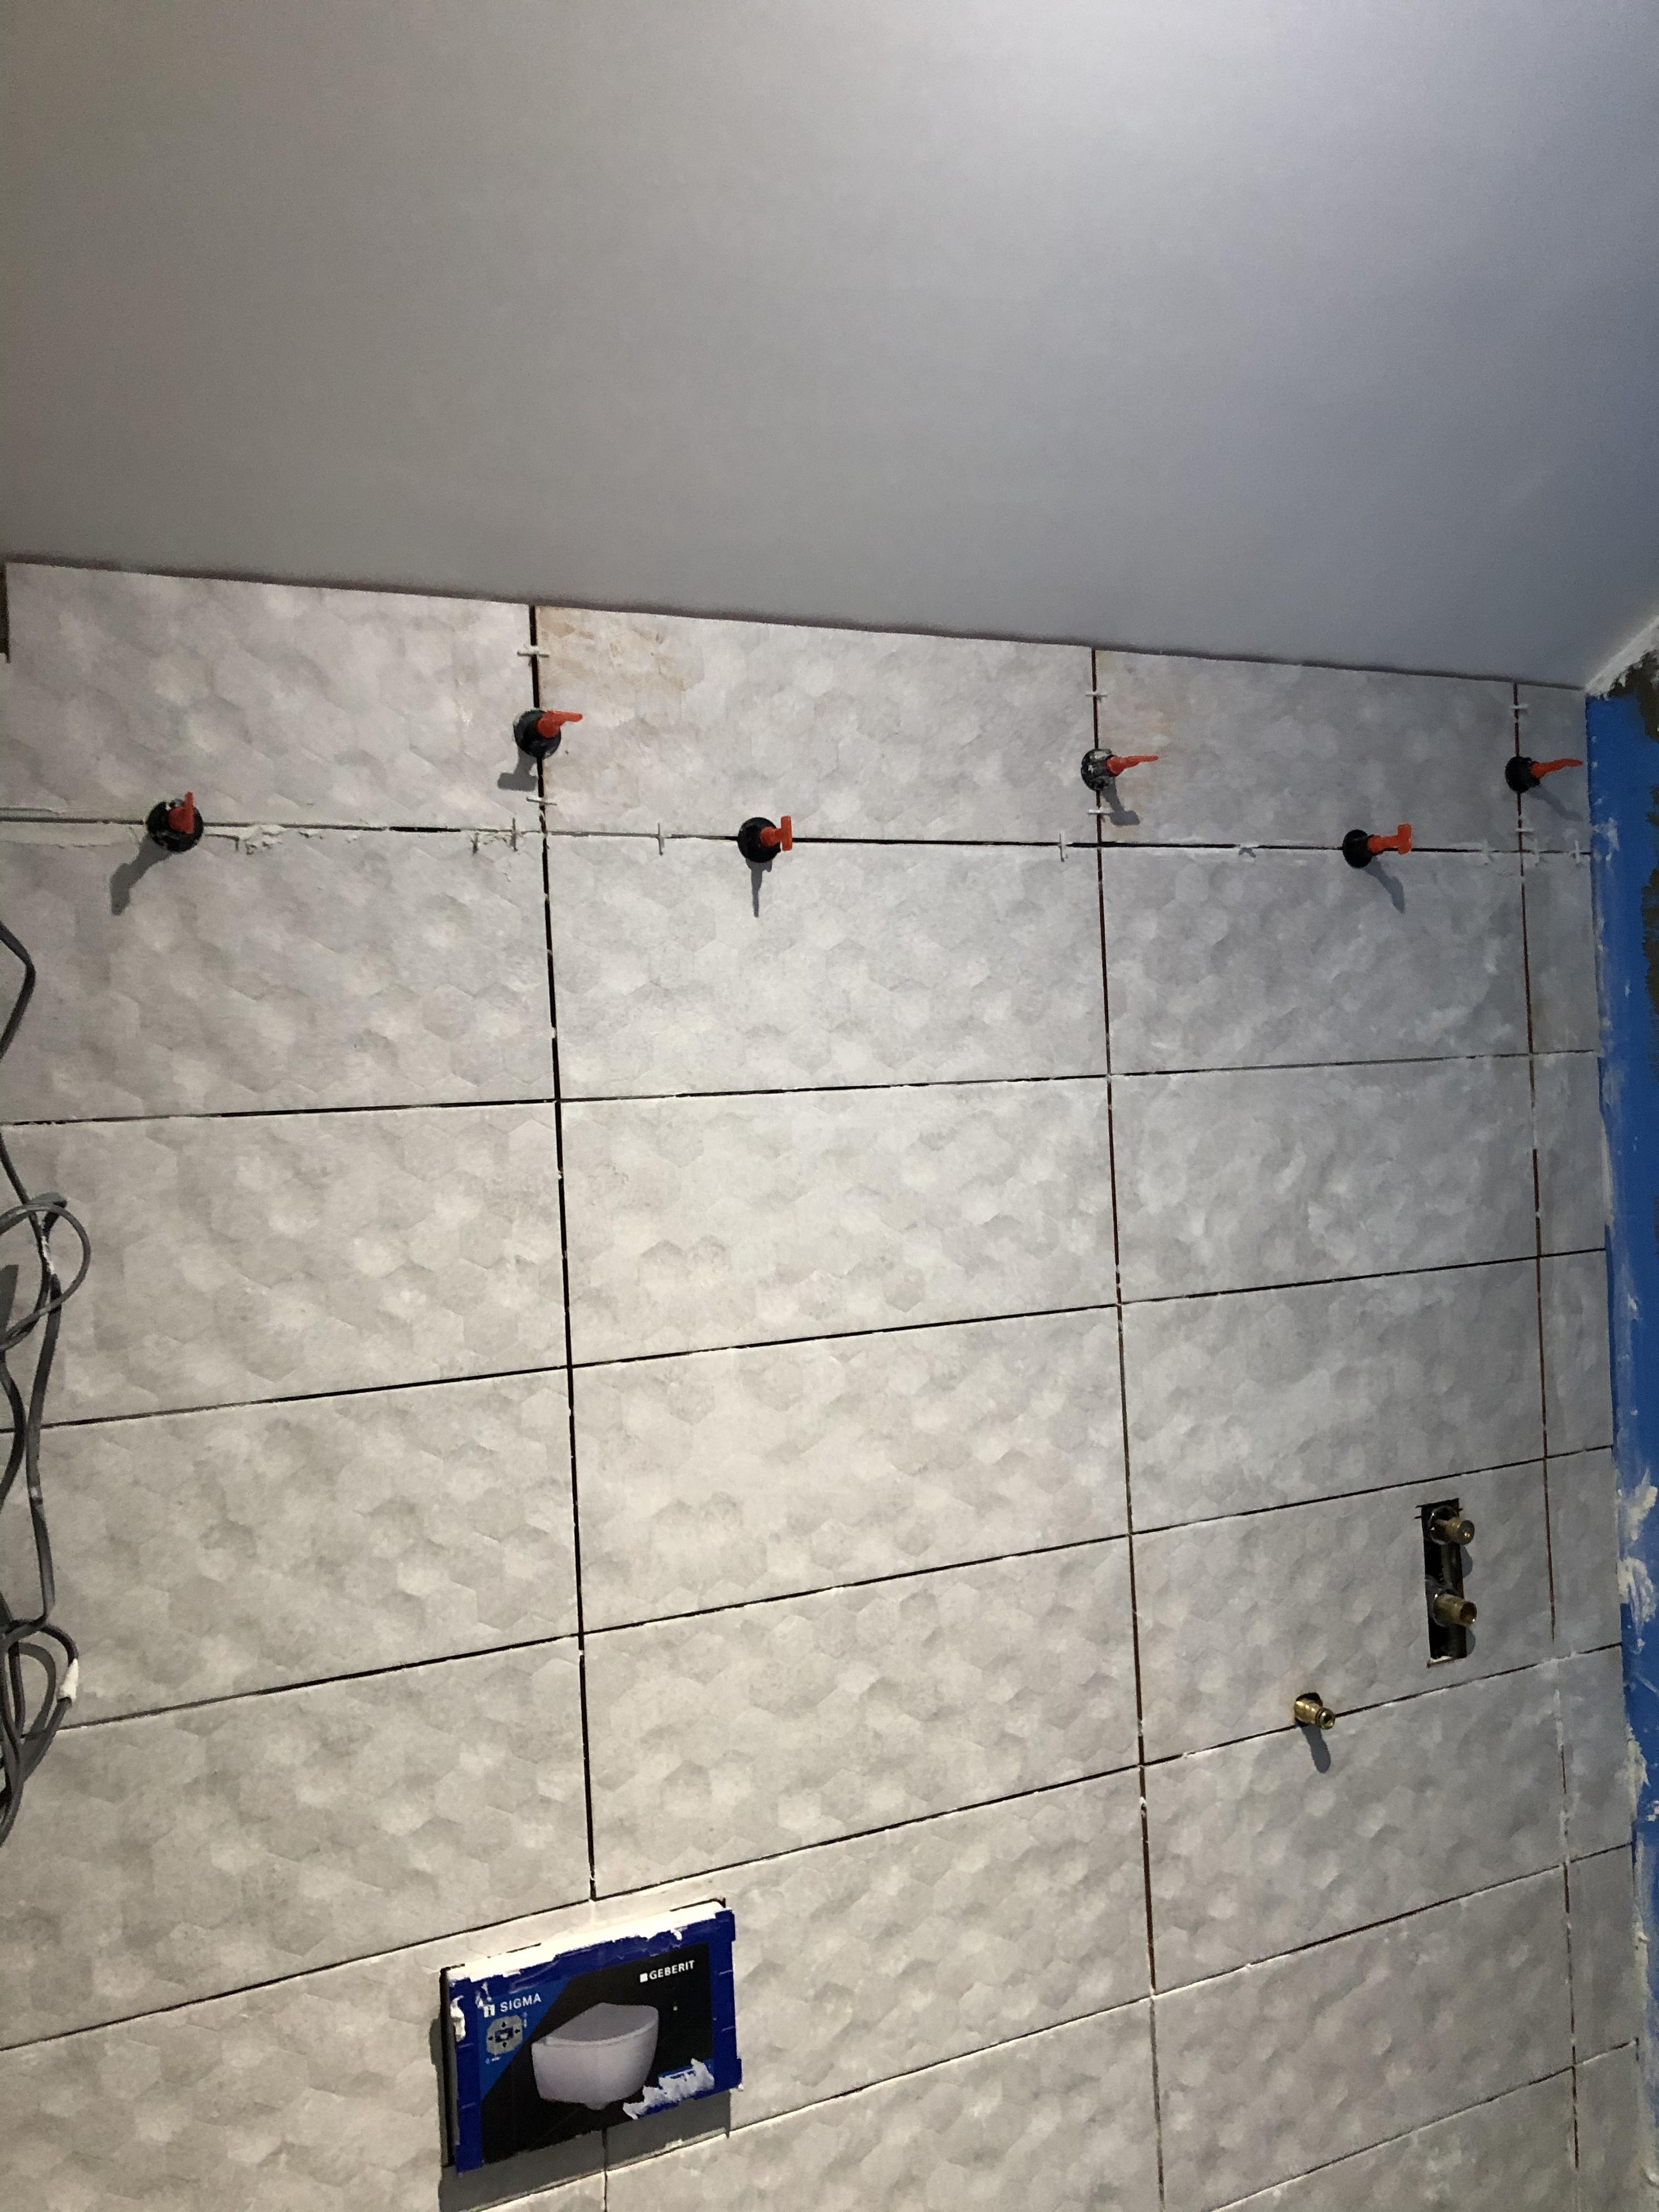
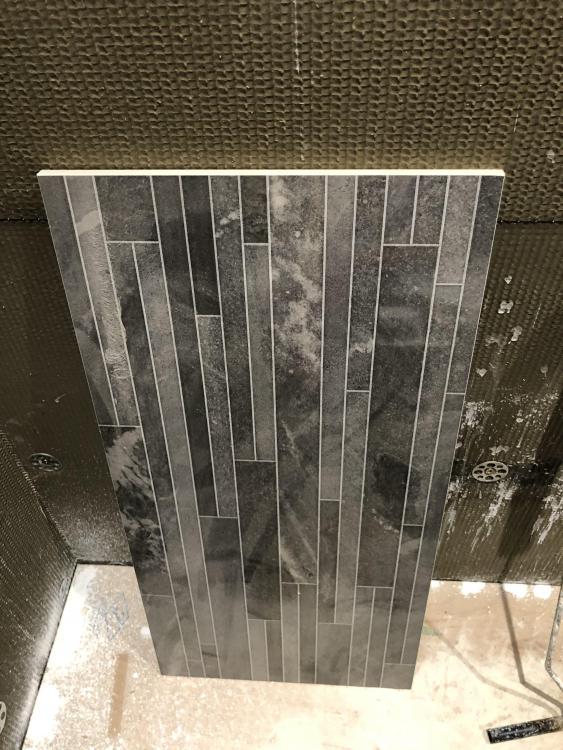
Ok - title slightly mis leading ! SWMBO inspected my ensuite effort so far , I was given the thumbs up ! ????? Unfortunately she is now delusional that my tiling skills are not finite ! And so forms her vision ..... The grey stripped mosaic tiles will run in a vertical strip floor to ceiling ( 2 strips in the bathroom somewhere ) . The pale tiles also run vertical but joints staggered ? So ! My assumption this is more tricky and therefore more prone to f up’s . For starters tiling ‘conventially’ i.e horizontally you start half a course up to allow for the bottom tiles to be cut to suit the floor level . No floor tiles are going down until walls done as that feels like a big job full of fun in itself . Therefore how do I start my strips ? I should of done a sh*t tiling job in the ensuite then SWMBO would of expected less ?
-
Looks like I did it
-
??????? I mean I wear each dremel fixing out in 1 minute ??
-
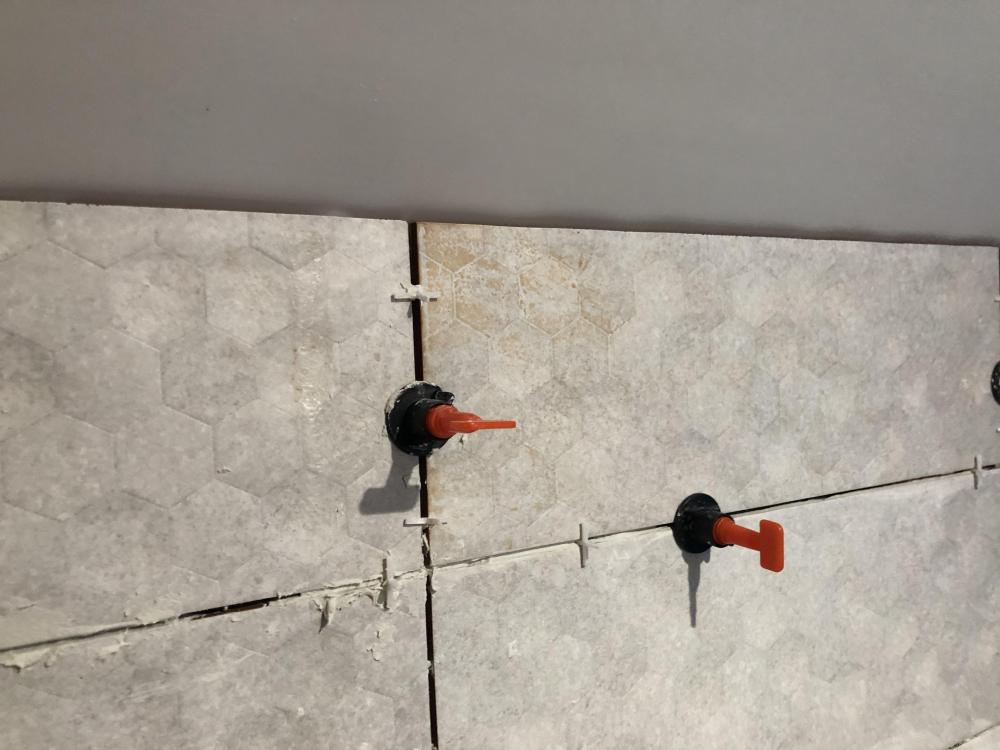
Got my dremel ! Manage to cut out those broken steel pins Decided to try and polish excess adhesive off tiles . Not only do I need a child to change the fittings but I guess I must be asking too much as I wear each one out in about 1 minute ?
-
Sure ! Lots of stuff I order in advance online . This I needed for tomorrow
-
BTW that large pink hairy mass to the lower right is my knee ?
-
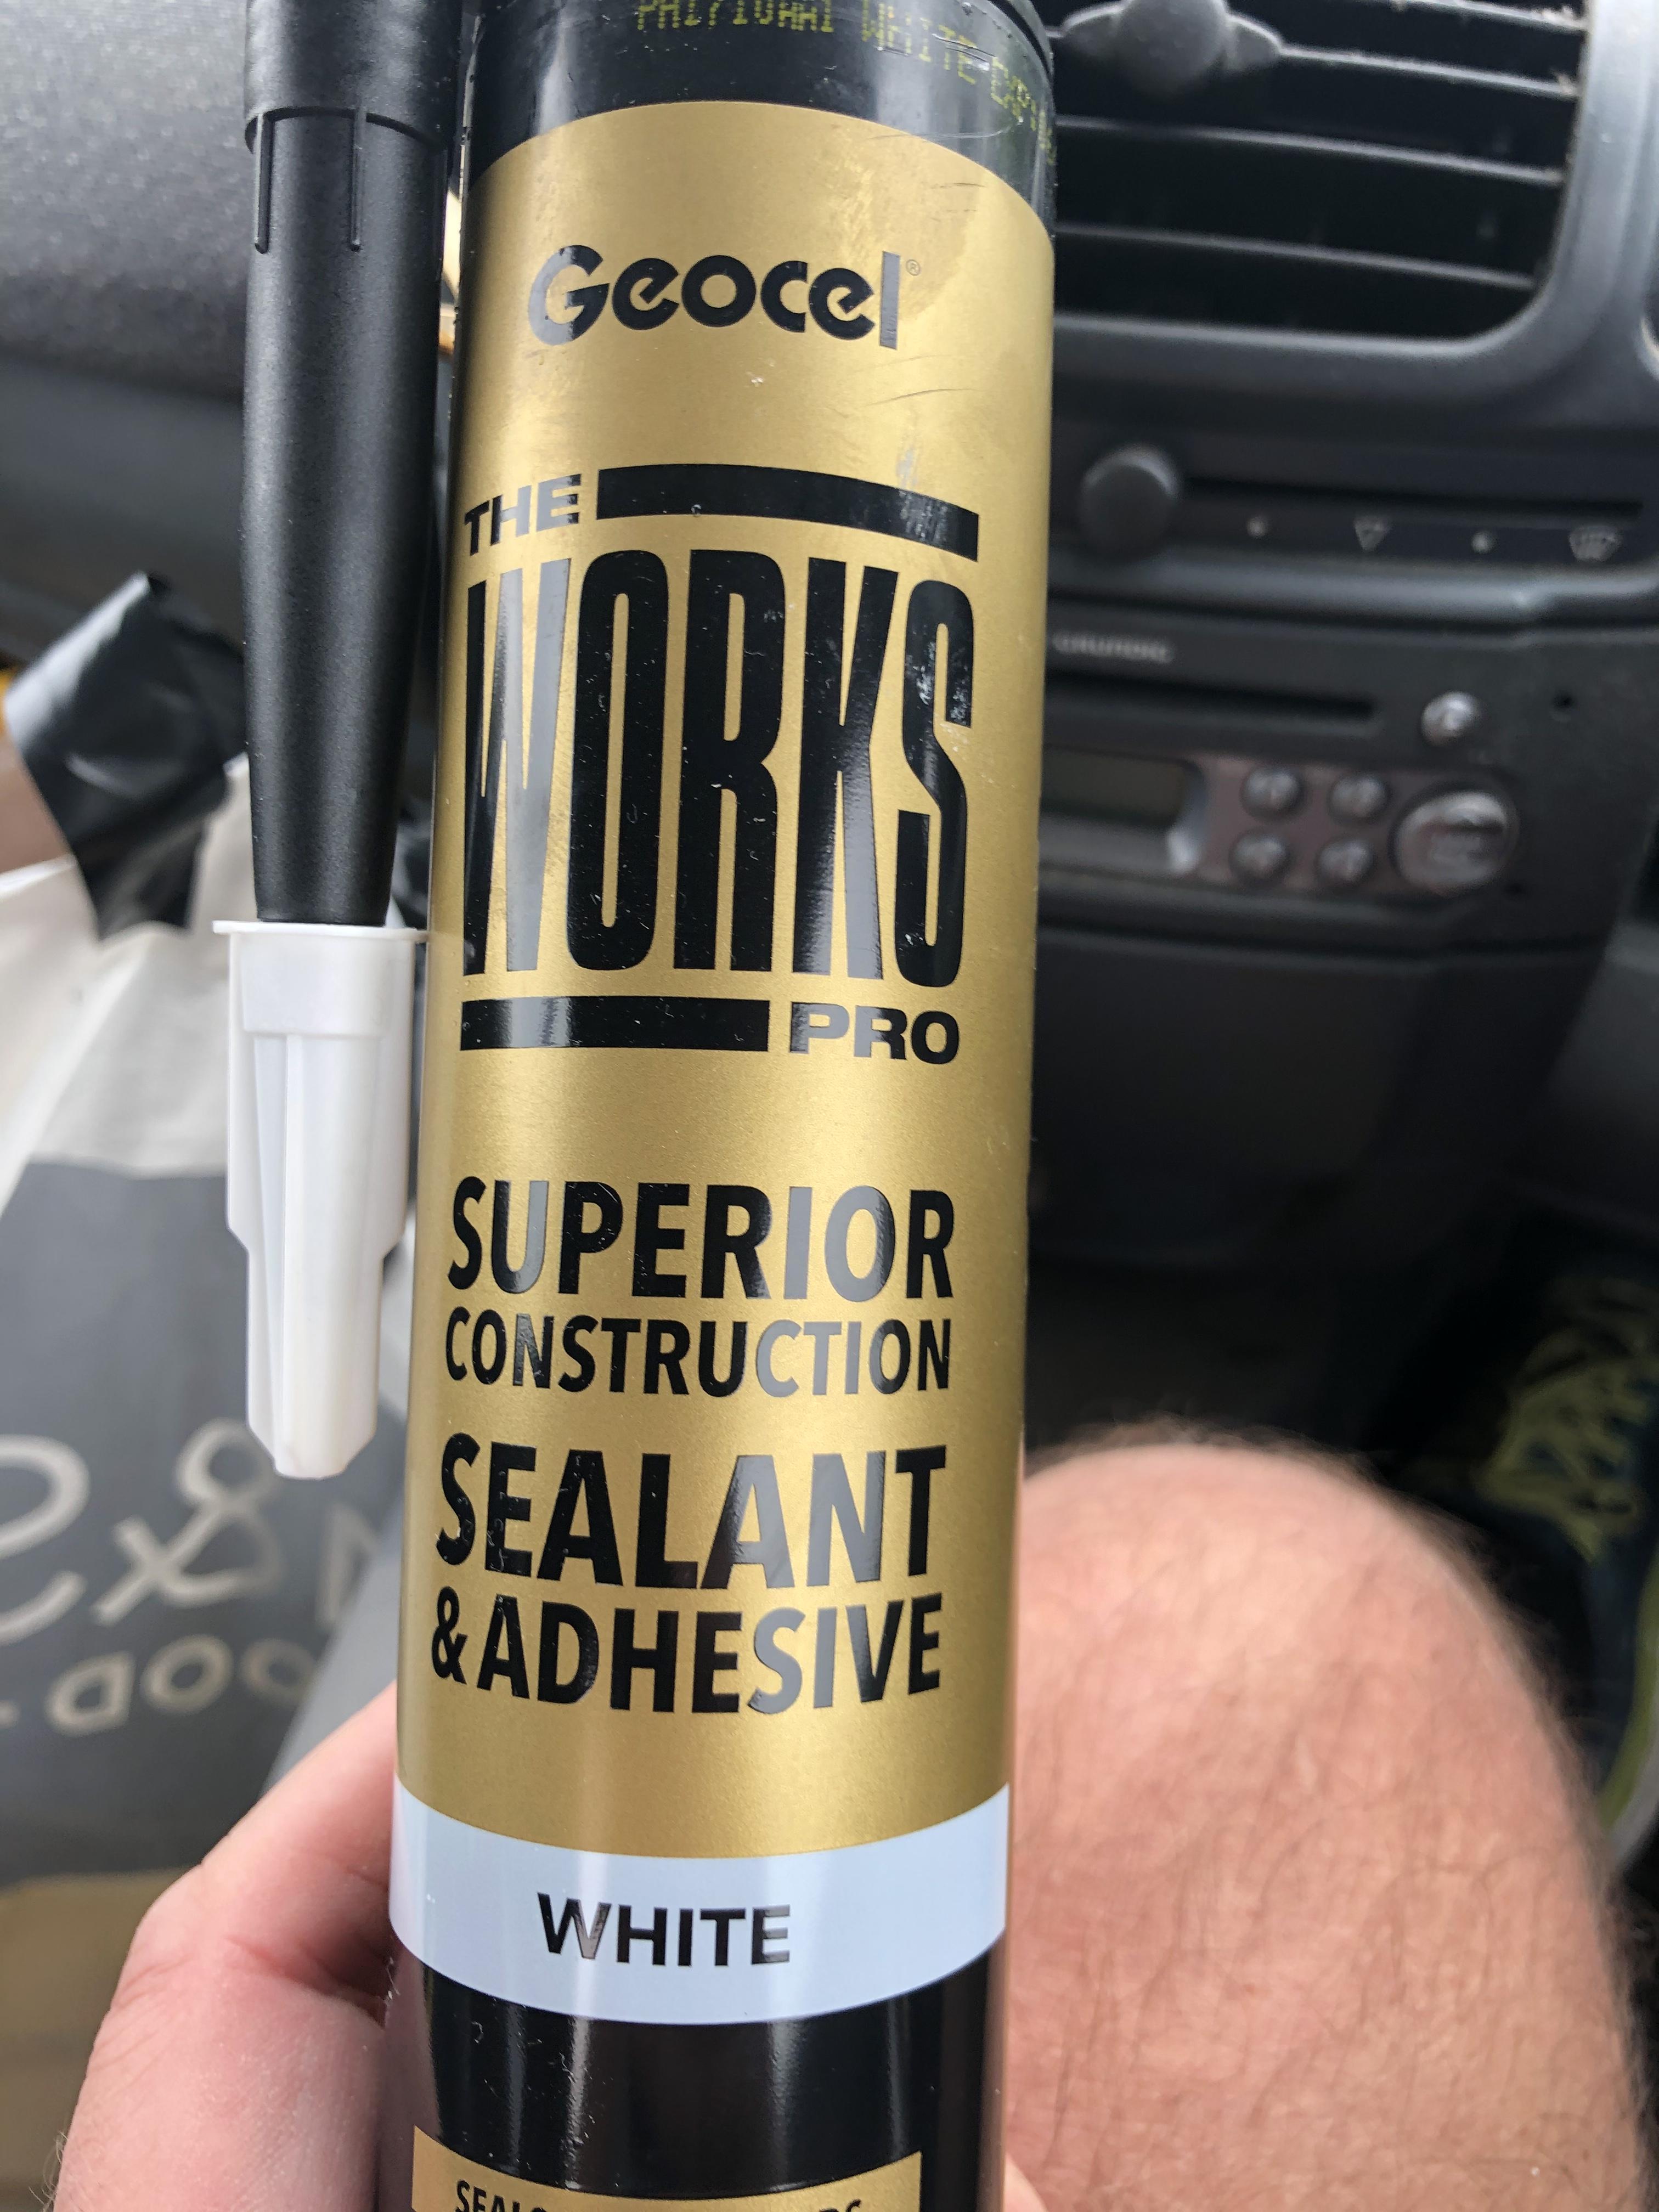
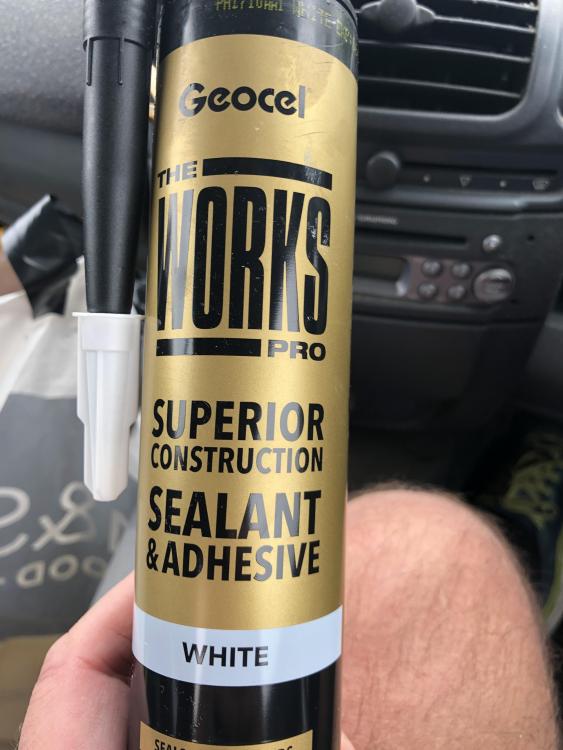
The thing is my BM is local so obviously if I need it ASAP it's convenient . Also they usually only sell high markup brands like schulter ,Geocel entire range. So *choice* is limited.
-
Yeah it was expensive! I did frown . On the shelf price was some like £14.50 I’ll get it for less on account by maybe 10% To make up for the extortion I’ll nick a tube next time . Put it down the front of my trousers . No one would notice the difference ?
-
BM said this stuff will apparently stick anything to anything. I did ask if I could use it on SWMBO mouth . He said it wasn’t that good !
-
Normal ct1 not good enough ? So any tubed adhesive would be ok . Only mention ct1 as that’s whats to hand .
-
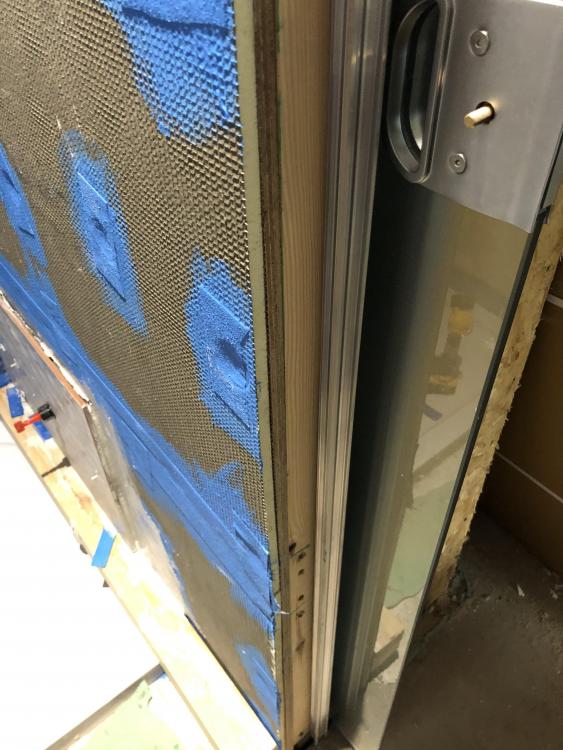
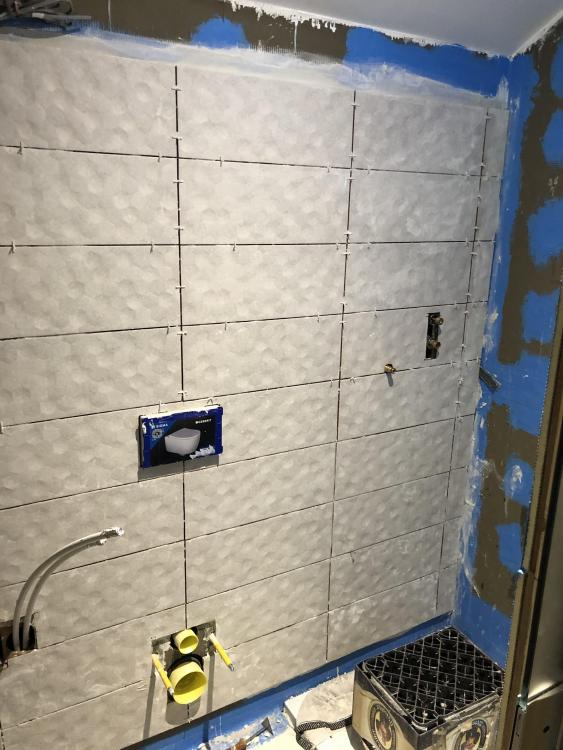
So on this wall return to the metal door surround . Just ct1 tiles to the timber ? . Assume that’s more than enough to hold them ( not very wide as you can see )
-
Not sure . I think the beading there shouldn’t say ‘ look at me ‘ unlike the profile edging . So perhaps plain white
-
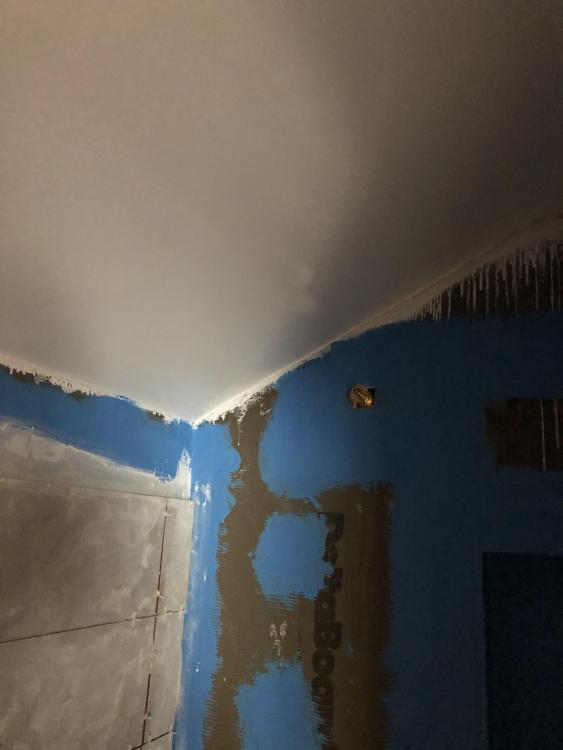
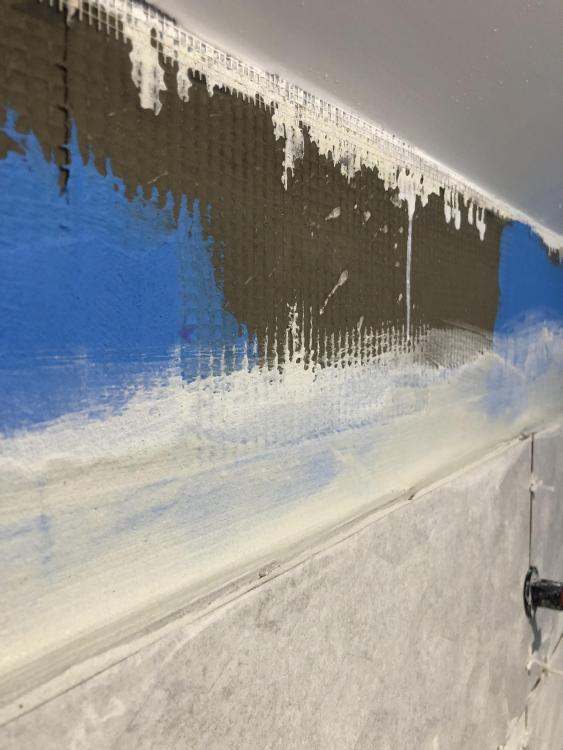
That wall done . As tight to the ceiling as I can get . It’s going to be a dog to Mastik . Might find a simple white plastic bead to stick on instead .
-

Bath Surround / Boxing In, and concealed pipework
Pocster replied to Onoff's topic in Bathrooms, Ensuites & Wetrooms
Wee is nice . It spreads everywhere. Could be worse .... ? -
Bath Surround / Boxing In, and concealed pipework
Pocster replied to Onoff's topic in Bathrooms, Ensuites & Wetrooms
Wee still goes everywhere. We all know everyone’s wee’s in the shower ... -
Then it shall be so !!
-
But If I use trim on that wall won’t it look odd it doesn’t continue up the angled ceiling edge ??
-
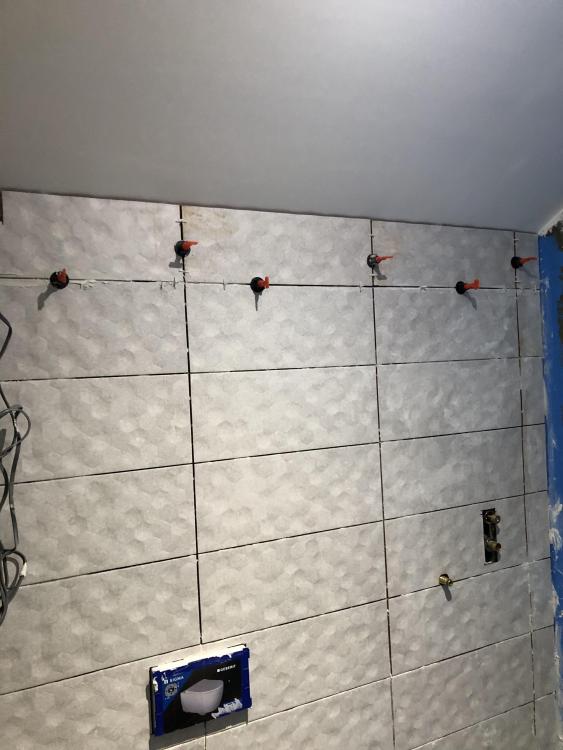
It will surprise none of you that the levellers come out much easier on the same day they went in ? I Hope @Mr Punter likes his ensuite I’m doing for him
-
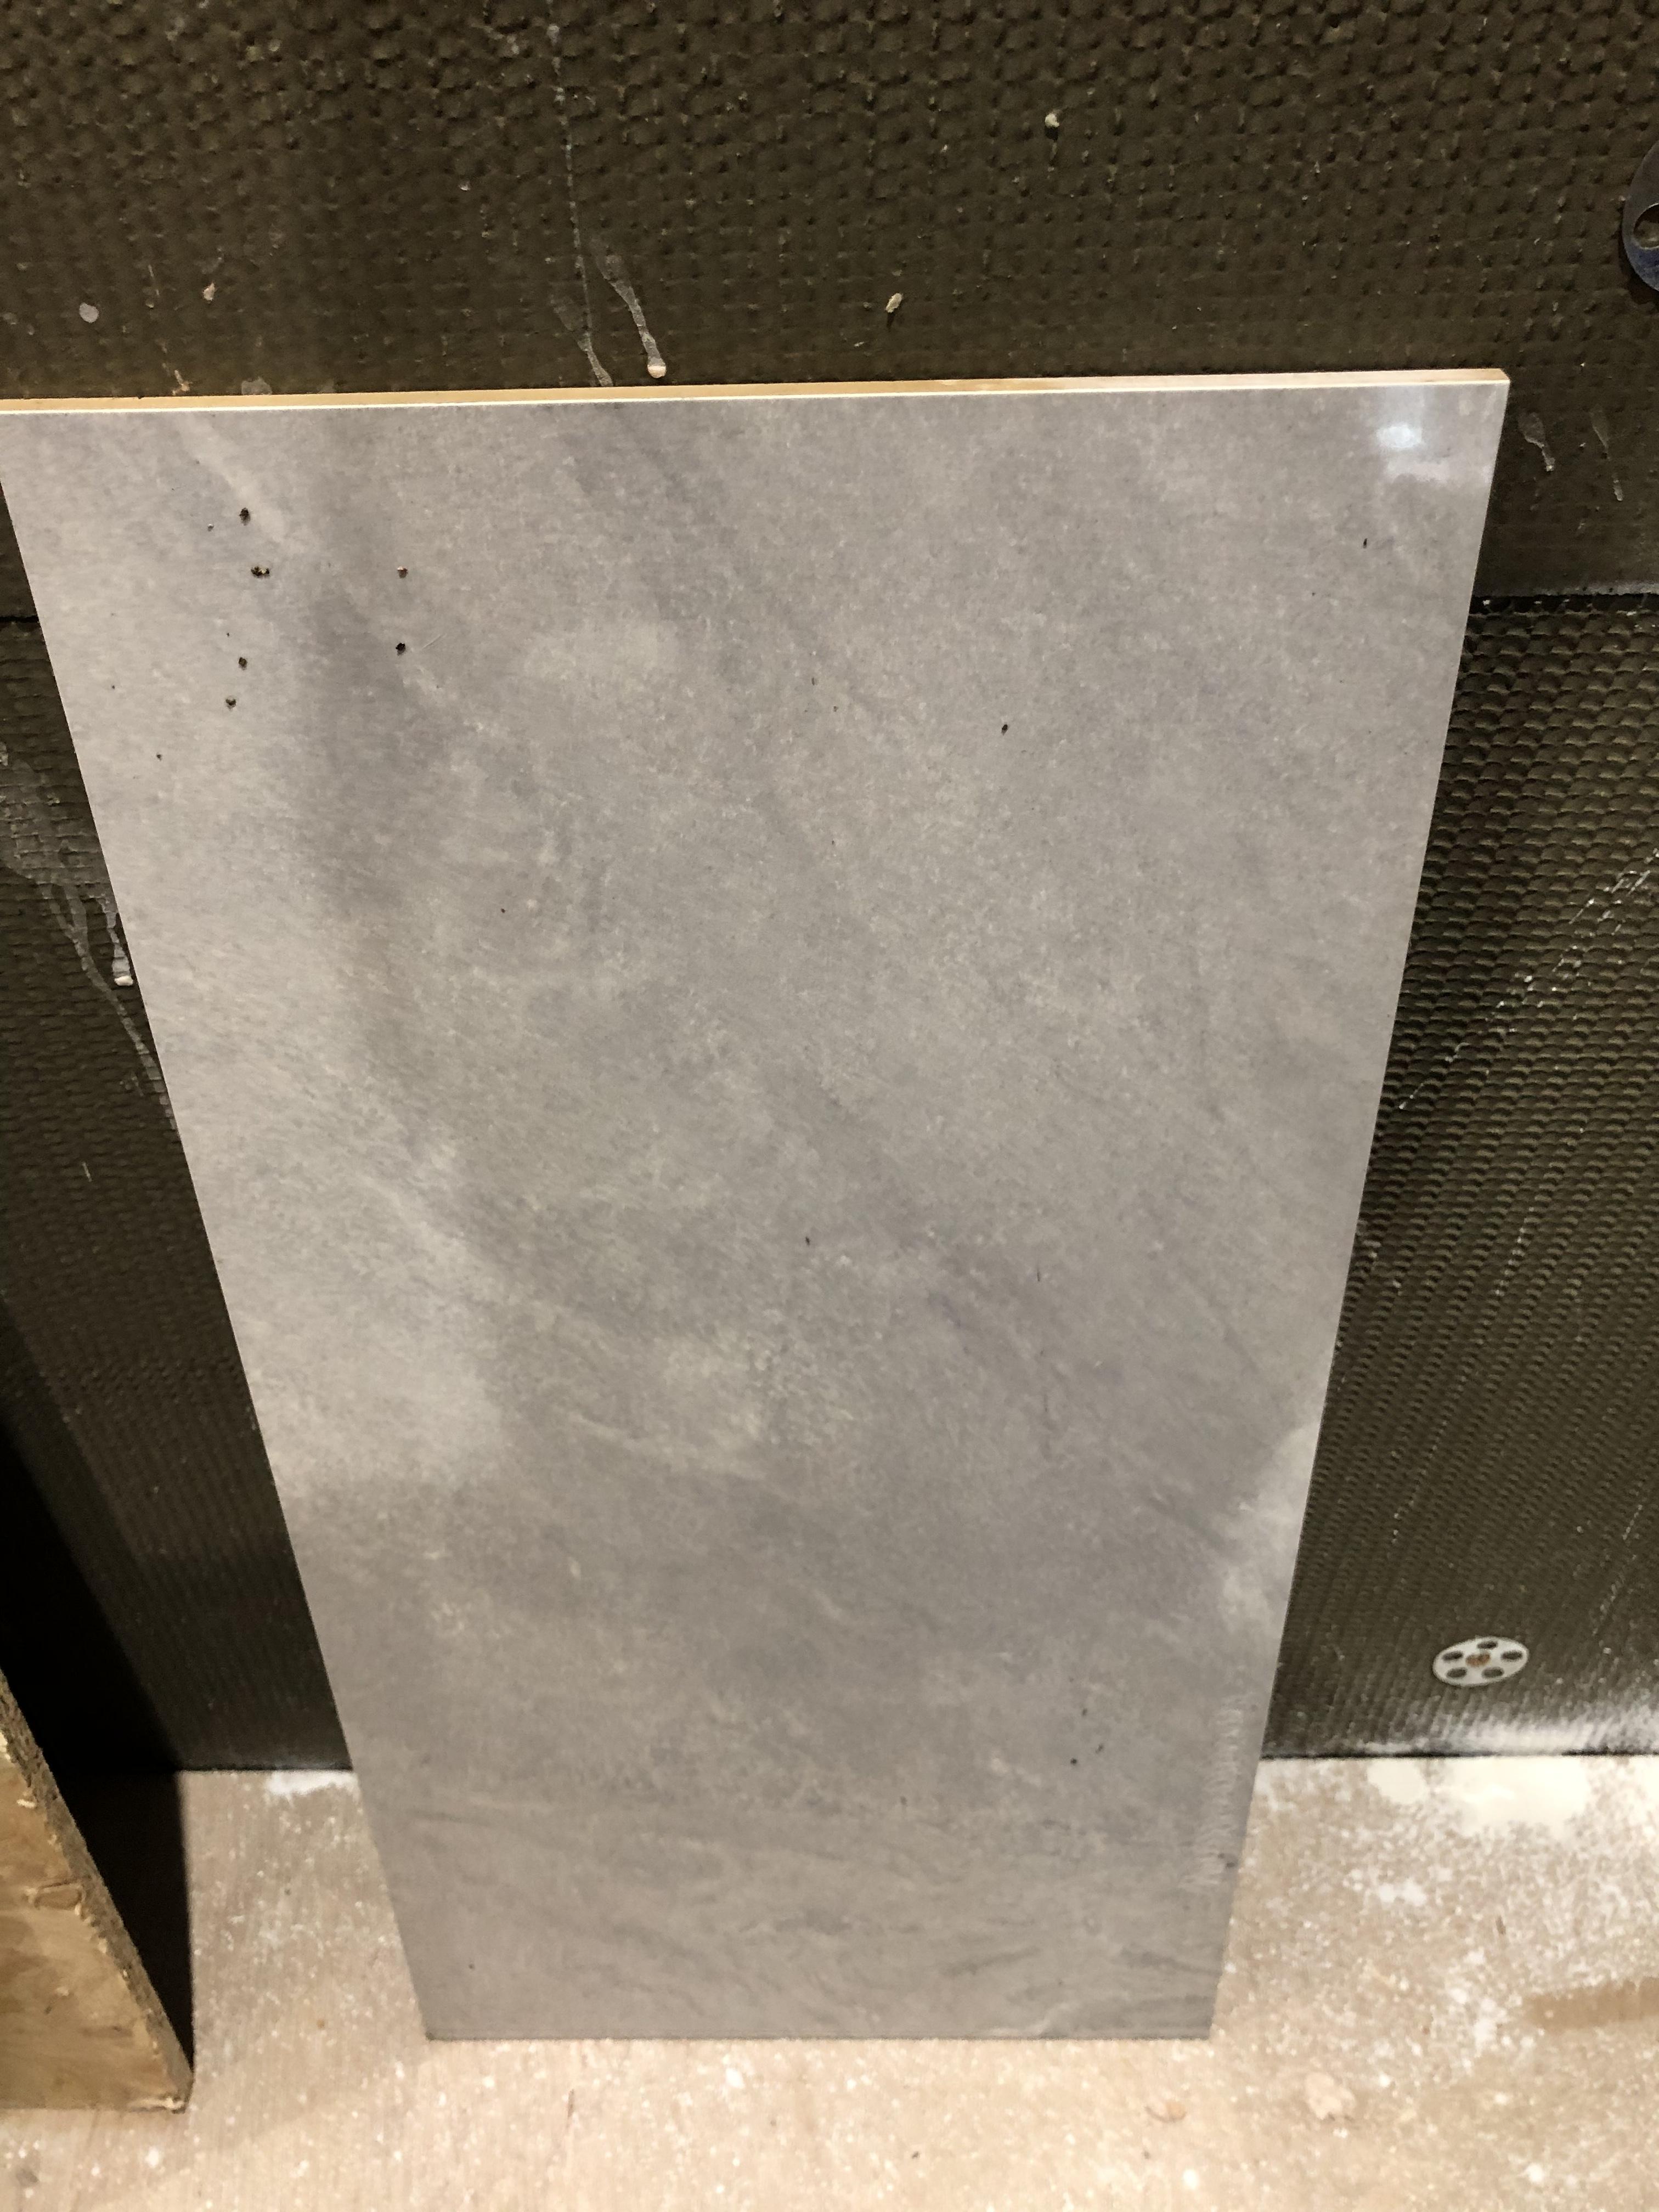
That’s true . I can actually see the difference in size and even thickness in my tiles . (expletive deleted)ing expensive rubbish . So stick a nice metal trim as tight to the ceiling as I can get ( whilst being level ! ) then tile upto it with my pro skills
-
That was my twin .
-
I *suppose* I could stick a straight beading along and cut each tile to meet it . I always though beading has a lip so the crap tile cut would go under it . What do I do with this ? . Just have a cut edge next to the bead ? . Should the bead be proud of the tile or flush ???
-
Don’t know . Will find out . Quick measure from tile at either end to ceiling about 4mm variation . Photo to show concern better
-
No ! Not there